How to Master Hand Quilting: Your Complete Guide to Must-Have Tools
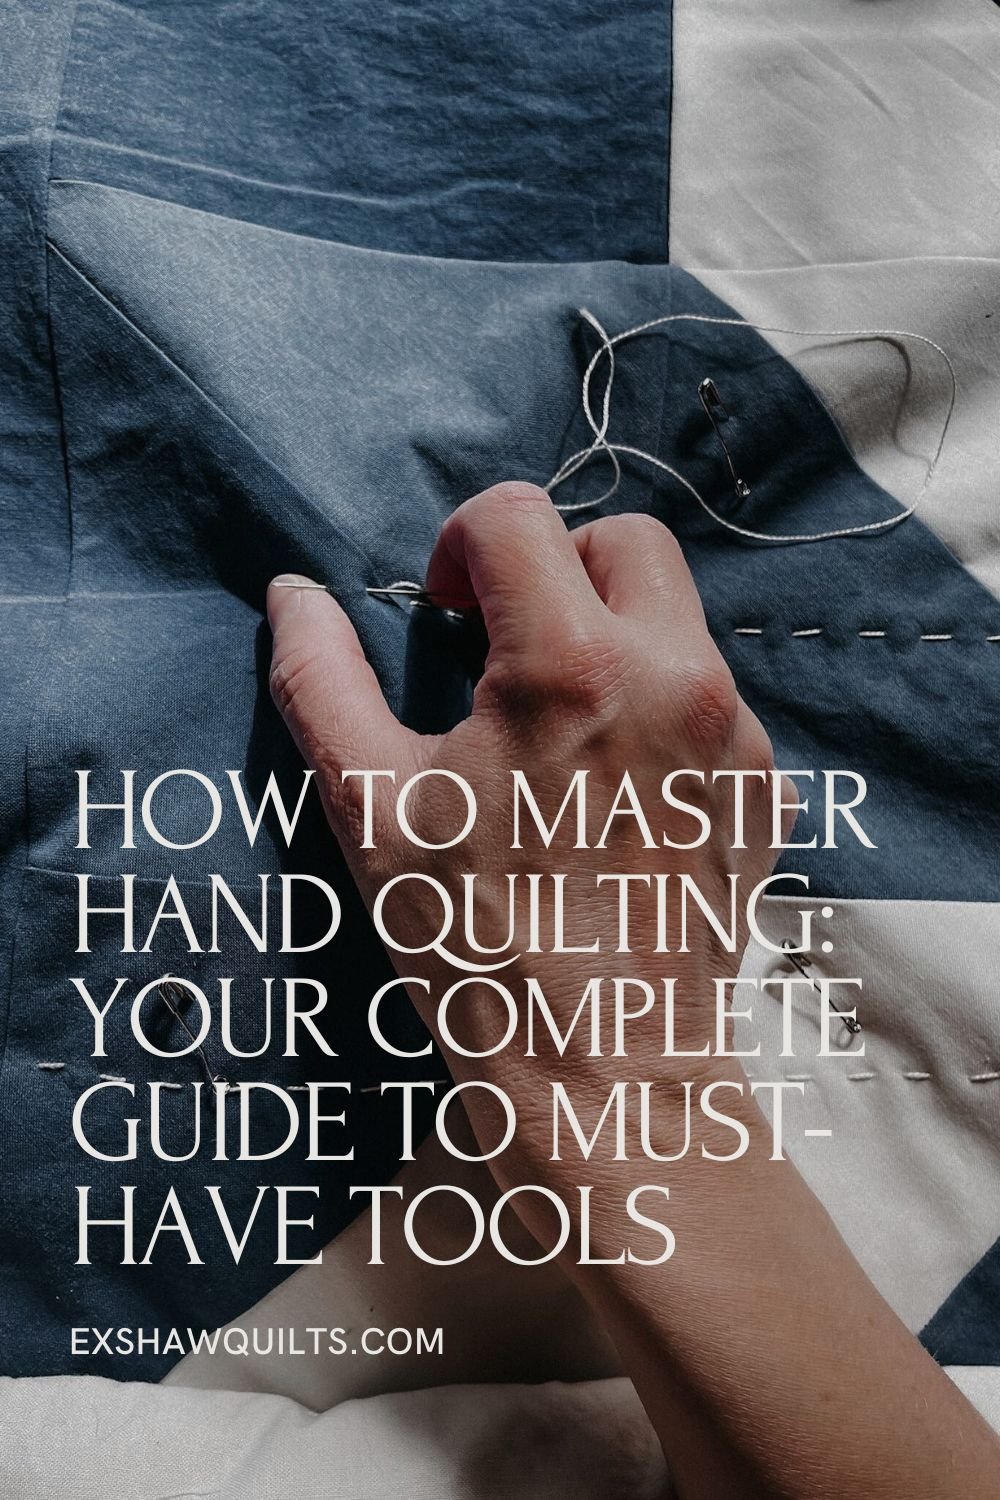
Slow stitching, timeless tools, and cozy comfort—this guide to hand quilting tools will walk you through exactly what you need to get started or fall in love with the process all over again.
There’s something beautifully grounding about hand quilting. The soft drag of thread through fabric. The quiet rhythm of a rocking stitch. It’s not fast—and that’s the point.
Here at Exshaw Quilts, I believe in the slow way. The simple joy of making something lasting with your hands. Whether you’re quilting your very first block or settling in for another cozy winter project, the right tools can turn frustration into flow. Let me walk you through my most-loved hand quilting tools—tested over many cups of tea, thread tangles, and long evenings stitching by the fire.

🪡 The Essentials: What You’ll Actually Use (and Love)
1. Needles That Feel Right in Your Hands
Let’s be honest—when you’re hand quilting, your needle becomes a bit of a companion. You’ll come to know how it feels in your fingers, how it moves through fabric, and whether it’s playing nice or giving you grief. And like any good companion, the right one might change depending on your mood, your fabric, or just how your hands are feeling that day.
Here are a few of my go-to needles that have earned their spot in my sewing basket:
Sashiko Needles – These are my favorite on days when my hands feel a bit tired. They’re longer, strong, and great for loading several stitches at once. Especially handy when you're in the flow and don’t want to stop after every stitch. I prefer the longer 0.84 x 50.8mm ones that comes in the kit.
Betweens (Traditional Quilting Needles) – Short, sharp, and classic. Perfect for those tidy little hand quilting stitches that feel like they’ve been passed down from grandmother to granddaughter.
Embroidery Needles – A lovely option if you’re using thicker thread or adding some visible mending or detail. These are great when you want your stitches to stand out a little more.
✂️ A little trick from my sewing tin: I keep a small piece of felt with a mix of needle types tucked into it. That way, I can switch things up mid-project if my hands are asking for something different—or if the fabric demands it. Kind of like having different brushes for different strokes.
Your needle doesn’t have to be fancy. It just has to feel like yours.
2. Thread You Can Trust
Not all thread is created equal—especially when you’re spending hours hand stitching a quilt that’ll (hopefully) be passed down for generations. You want something that glides through your layers like butter, doesn’t tangle in protest halfway through a stitch, and holds strong through years of snuggling, washing, and memory-making.
Here are a few of my tried-and-true favorites:
Pearl Cotton (No. 8 or 12)
Soft, slightly glossy, and a dream to stitch with. I love using it for visible hand quilting—it catches the light in the loveliest way and adds that little extra something to your stitches. It’s also my fave.Hand Quilting Thread
Pre-waxed and made to glide, this one’s your go-to for that traditional quilting feel. It’s strong, smooth, and less likely to twist into tiny knots when you least expect it.Sashiko Thread
Thicker, matte, and full of texture—perfect for bold, graphic stitches or simple utility quilting that still looks beautiful. It’s strong and satisfying to use, especially with a longer sashiko needle.
Cabin Tip: Dry hands? Static in the air? That’s when I grab my little tin of beeswax or thread gloss. Just a quick run through and your thread behaves like a dream—no more snarls or snapbacks.
3. Thimbles: Protect Those Stitching Fingers
Hand quilting without a thimble? It’s like hiking without boots—possible, but your fingers will never forgive you.
A good thimble becomes part of your rhythm. It saves your hands on long stitching days, and the right one feels almost invisible once you're in the flow. Here's what I've tried and loved:
Leather Thimbles – These are my personal favorite. They soften and mold to your finger like a well-worn glove. Perfect for hours of slow, steady stitching—especially when winter light stretches into evening. When Paige was just a baby (wow, that’s 16 years ago 😳) I had bought my first leather thimble. A small Clover. I really wanted to try quilting then but my confidence wasn’t there and I was so scared I’d ‘waste’ fabric and thread trying to make something. Anyway, when I made my first quilt for my great-nephew, I quickly got over the fear and let obsession take over. That was the first time I used that thimble and LOVED it. But then Jack (my blue heeler) ate it 😫, so I tried a lot of others and loathed them. Not all leather thimbles are created equal, that’s for sure. My hands are small, really small so size small is actually almost to big for me after I’ve broke it in. So, I recommended getting a size smaller than maybe you’d normally buy.
Rubber or Silicone Thimbles – If you’re just getting started, these are a great beginner-friendly option. Lightweight, grippy, and easy to find in cheerful colors if you’re prone to losing them in the couch cushions.
Metal Thimbles – The old-school classic. They’re sturdy and will last forever, though they can take some getting used to. Some come with little ridges to help guide your needle without slipping.
A cabin-side tip: I use my leather thimble on my middle finger (my needle pushing finger) and a rubber thimble on my pointer finger. The rubber thimble helps grab the needle firmly. Slipping sucks because you can stab yourself. Plus, it also helps prevent finger wear & tear. When you’re hand quilting for hours, your fingers get SORE and that extra layer is a godsend.

4. Marking Tools: Light Lines, No Regrets
When it comes to hand quilting, your markings should guide the way—not overstay their welcome. You don’t need anything fancy or high-tech here. Just simple tools that work with your fabric, not against it.
Here are a few of my go-to favorites:
Hera Marker – This one’s a gem. No ink, no chalk—just a clean crease that catches the light and leads your stitches. It’s perfect when you want something subtle (and zero clean-up).
Tailor’s Chalk Pencil – Classic for a reason. Easy to see, easy to brush away, and it comes in colors that work on both light and dark fabrics. I keep one tucked in my needle case at all times.
Water-Soluble Pens – Great for precise lines, but they must be tested first. Some vanish with a dab of water, others take a full rinse. And yes, a few rogue ones have surprised me by sticking around…
Quilter’s Wisdom: Always test on a fabric scrap before you mark your quilt top. Some tools are more stubborn than they let on—and nobody wants ghost lines on a finished piece.
Remember, the best marking tools are the ones that feel intuitive and trustworthy. Like a quiet nudge, not a shout.
5. Rulers That Do More Than Measure
Accurate measuring means fewer headaches later—and trust me, your future self will thank you. Good rulers make the whole process feel smoother, more satisfying, and a little less… wonky.
Here’s what I reach for over and over again:
6x24” Quilting Ruler – My go-to for cutting strips, squaring up fabric, and marking long lines. It’s the kind of ruler that earns its keep within the first week.
6” or 12” Square Ruler – Perfect for double-checking block size or tidying up edges. When you're aiming for precision (without the stress), these little squares do the heavy lifting.
Pro tip from the cabin: If you’re anything like me—aka slightly accident-prone—look for rulers with a grippy backing. A little extra grip goes a long way toward straighter cuts and fewer slips when your coffee table doubles as your cutting station.
6. Snips and Scissors: Small, Sharp, and Handy
Nothing pulls you out of your quilting rhythm quite like hunting for your scissors—or worse, using a dull pair that just chews the thread instead of slicing cleanly.
These two tools are simple but mighty. And if you’re anything like me, once you find a favorite, you’ll want one in every room, bag, and basket.
Thread Snips – Quick and one-handed, these little clippers are my go-to when I’m in the groove. Lightweight and spring-loaded, they’re perfect for trimming threads mid-stitch without breaking your flow.
Embroidery Scissors – Small, precise, and kind of charming, these are ideal for detail work or snipping thread tails clean. Bonus: they make your toolkit feel a little fancy in the best way.
Friendly tip: Keep a backup pair stashed in your favorite project bag—you’ll thank yourself later.
7. Basting Tools That Actually Make Life Easier
Before the stitches comes the sandwich—and how you baste can shape your whole quilting experience. A secure, wrinkle-free quilt sandwich means fewer frustrations and smoother stitching down the road.
Here are a few tried-and-true options to keep your layers where they belong:
Curved Safety Pins – A classic choice for a reason. The curve helps them glide through all three layers without distorting the fabric, and they’re easy to remove as you quilt.
Basting Spray – Great for small projects or when you want to skip the pins. Just make sure to test it on a scrap first—some fabrics are more sensitive than others.
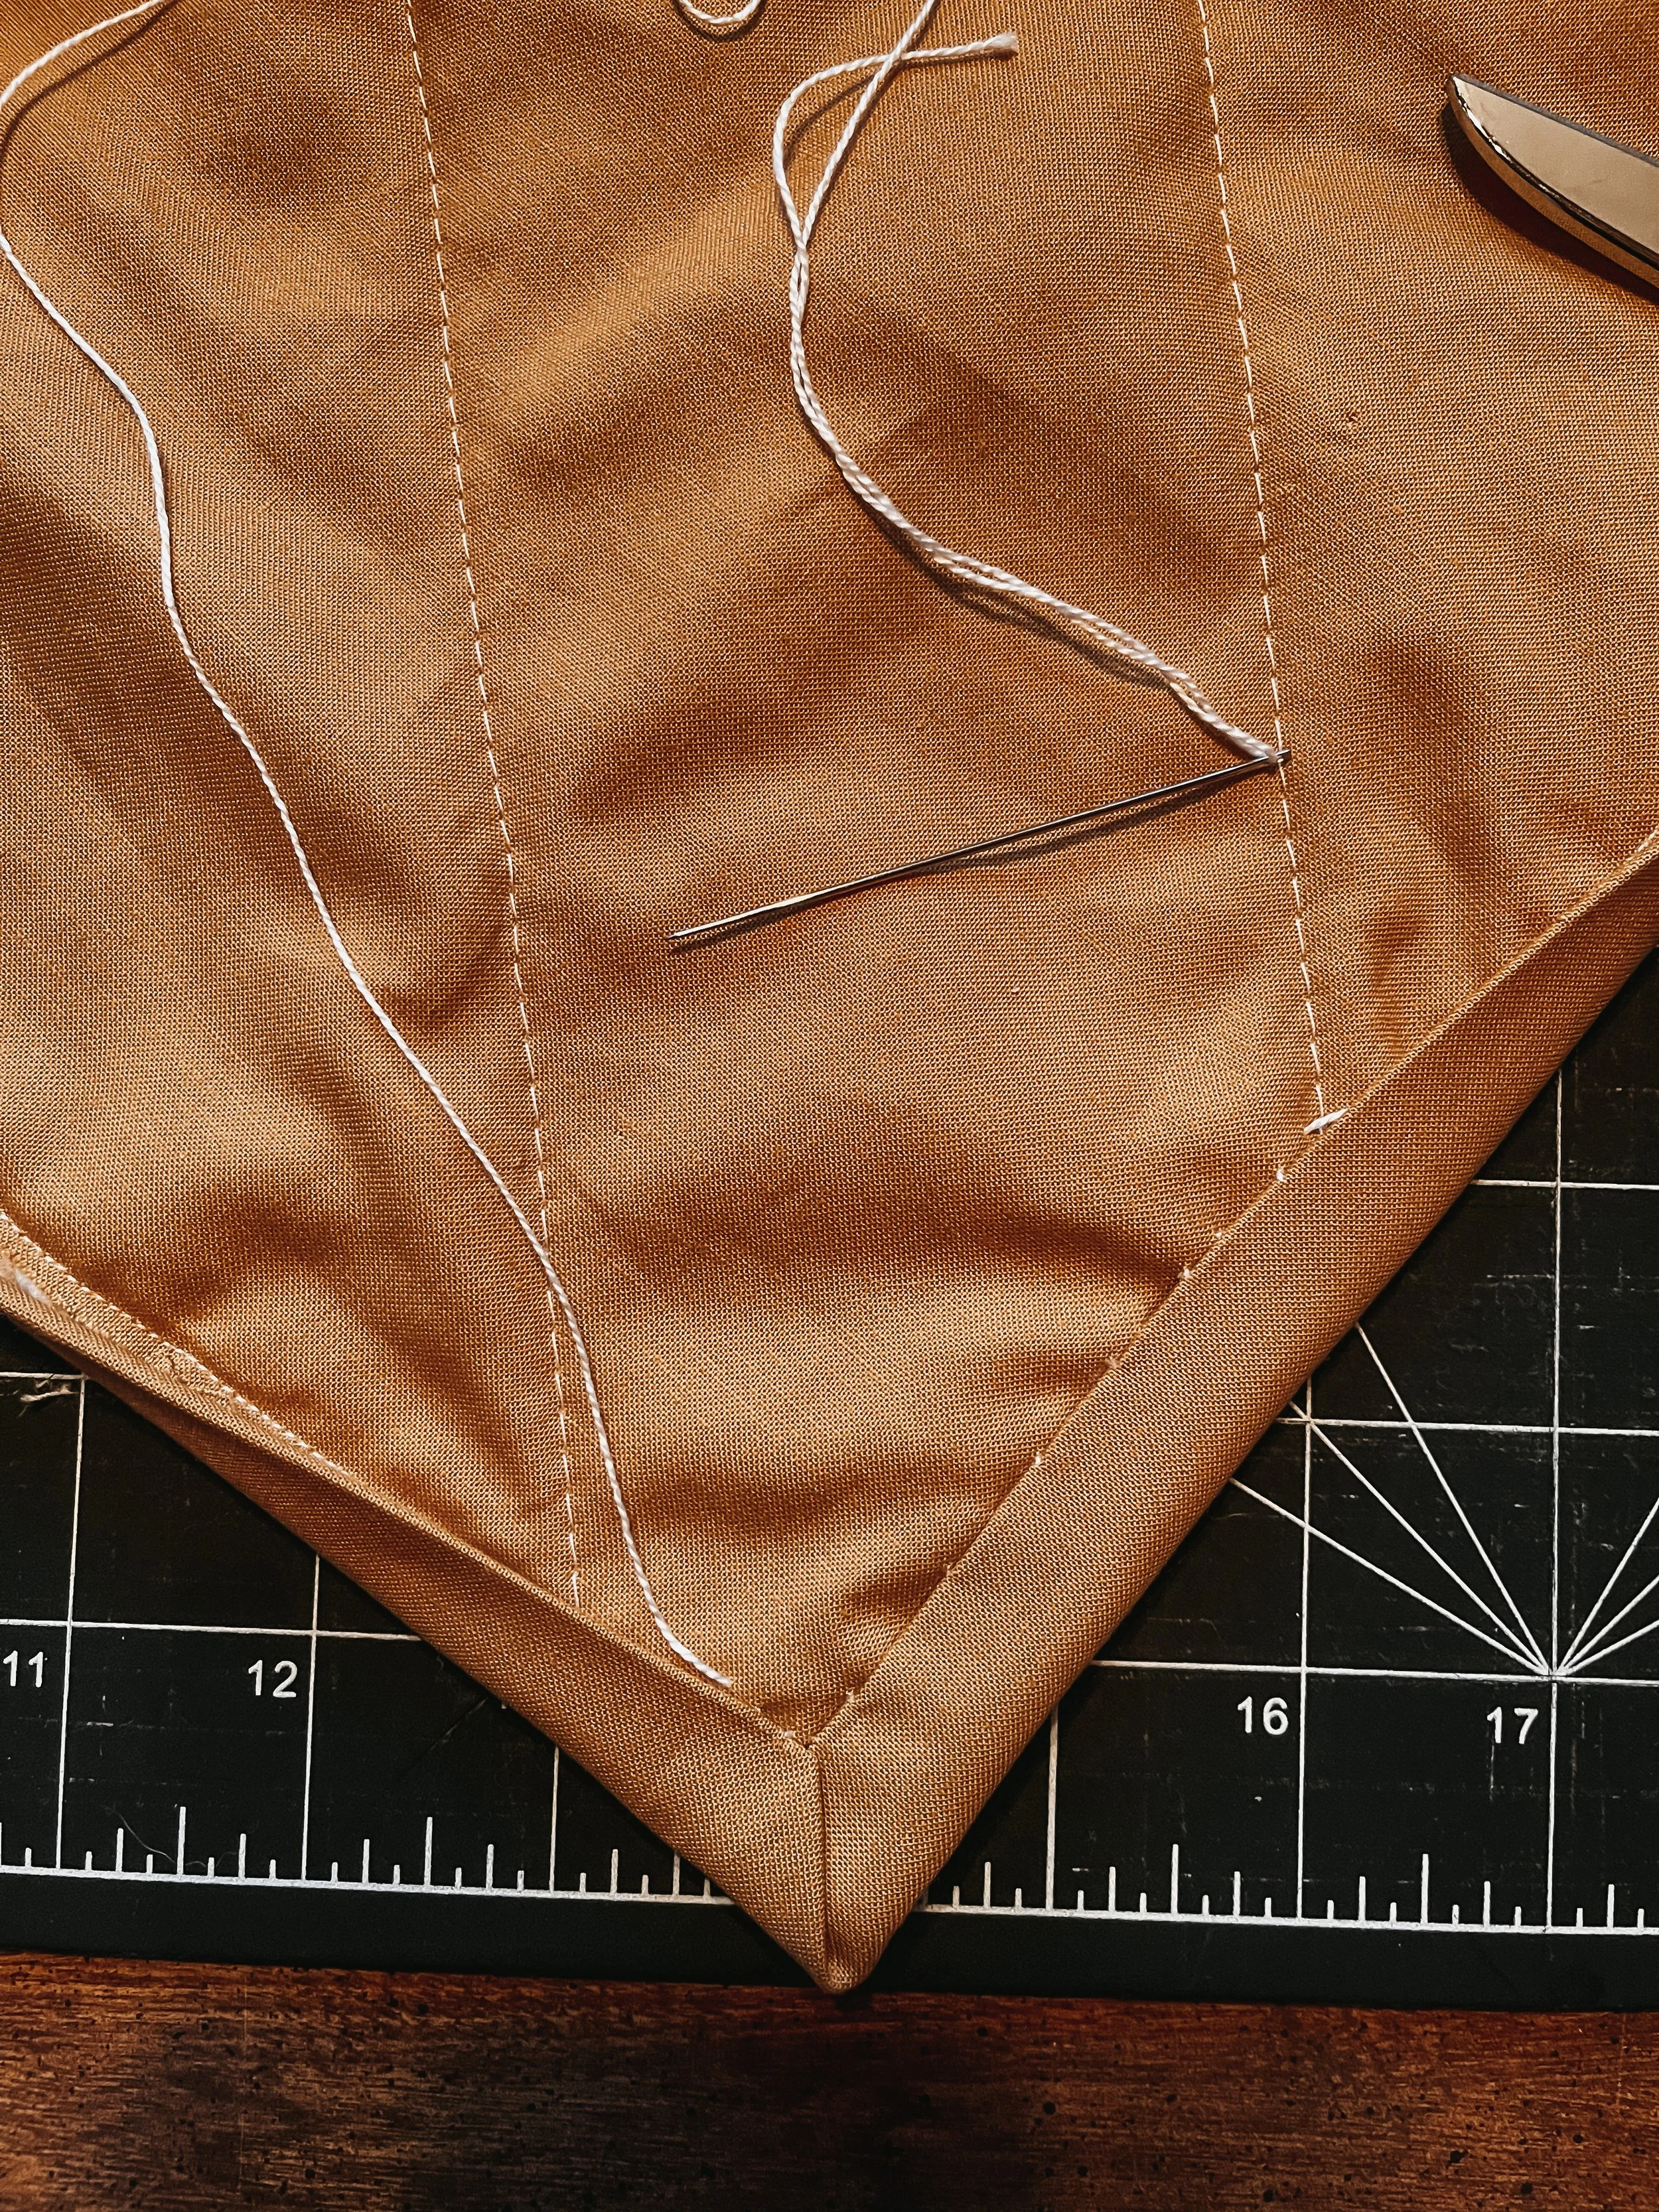
Thread Basting – Slow, steady, and wonderfully quiet. This old-school method uses big, temporary stitches to hold layers in place—and it turns basting into a bit of a meditative ritual.
🧵 Final Thoughts: Your Quilt, Your Way
Hand quilting isn’t just about thread and fabric—it’s about settling in, slowing down, and stitching something that lasts. There’s a rhythm to it. A quiet kind of magic. And the tools you use? They don’t have to be fancy. Just the ones that feel right in your hands. The ones you reach for without thinking, because they’ve become part of the ritual.
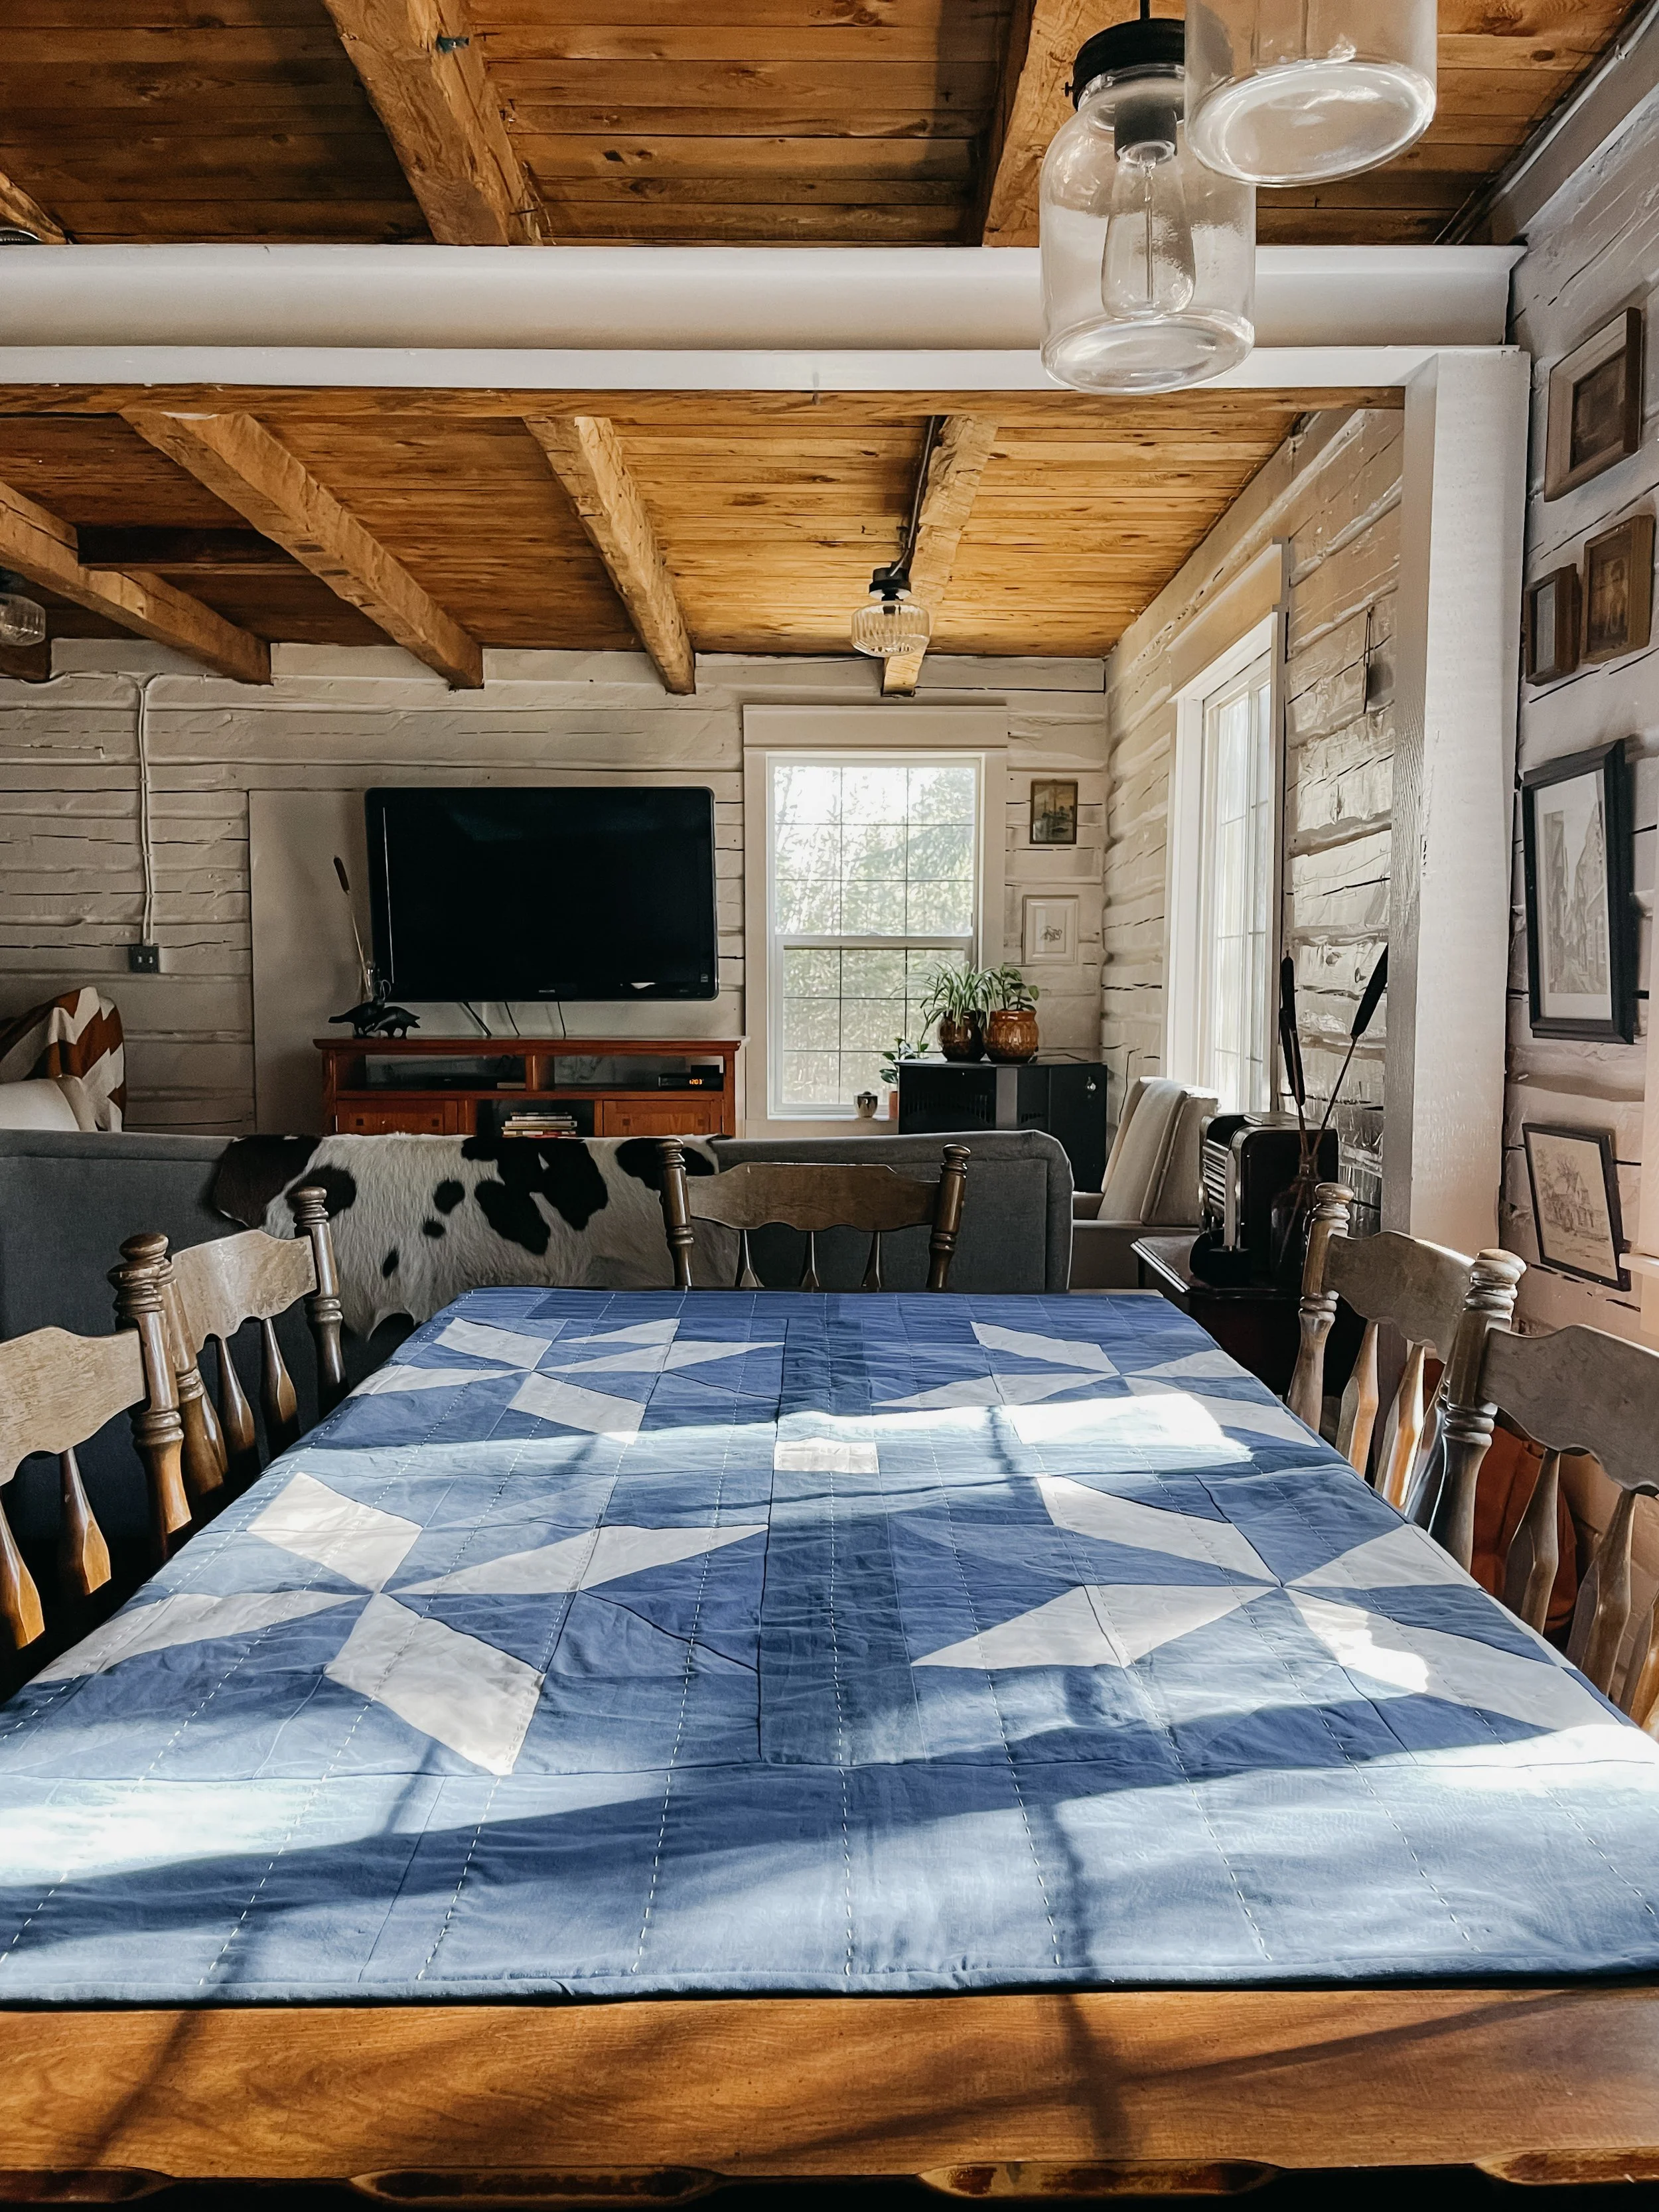
Maybe you’re stitching at the kitchen table with a cup of tea nearby, or curled up in a well-worn chair by the wood stove (my personal favorite). Wherever you are, however you quilt, I hope this guide helps you feel a little more at home in the process—and a little more sure of yourself as you go.
You don’t need to rush. You don’t need to be perfect. You just need to begin.
Happy stitching,
Kim


Welcome to the blog—I'm so glad you're here.
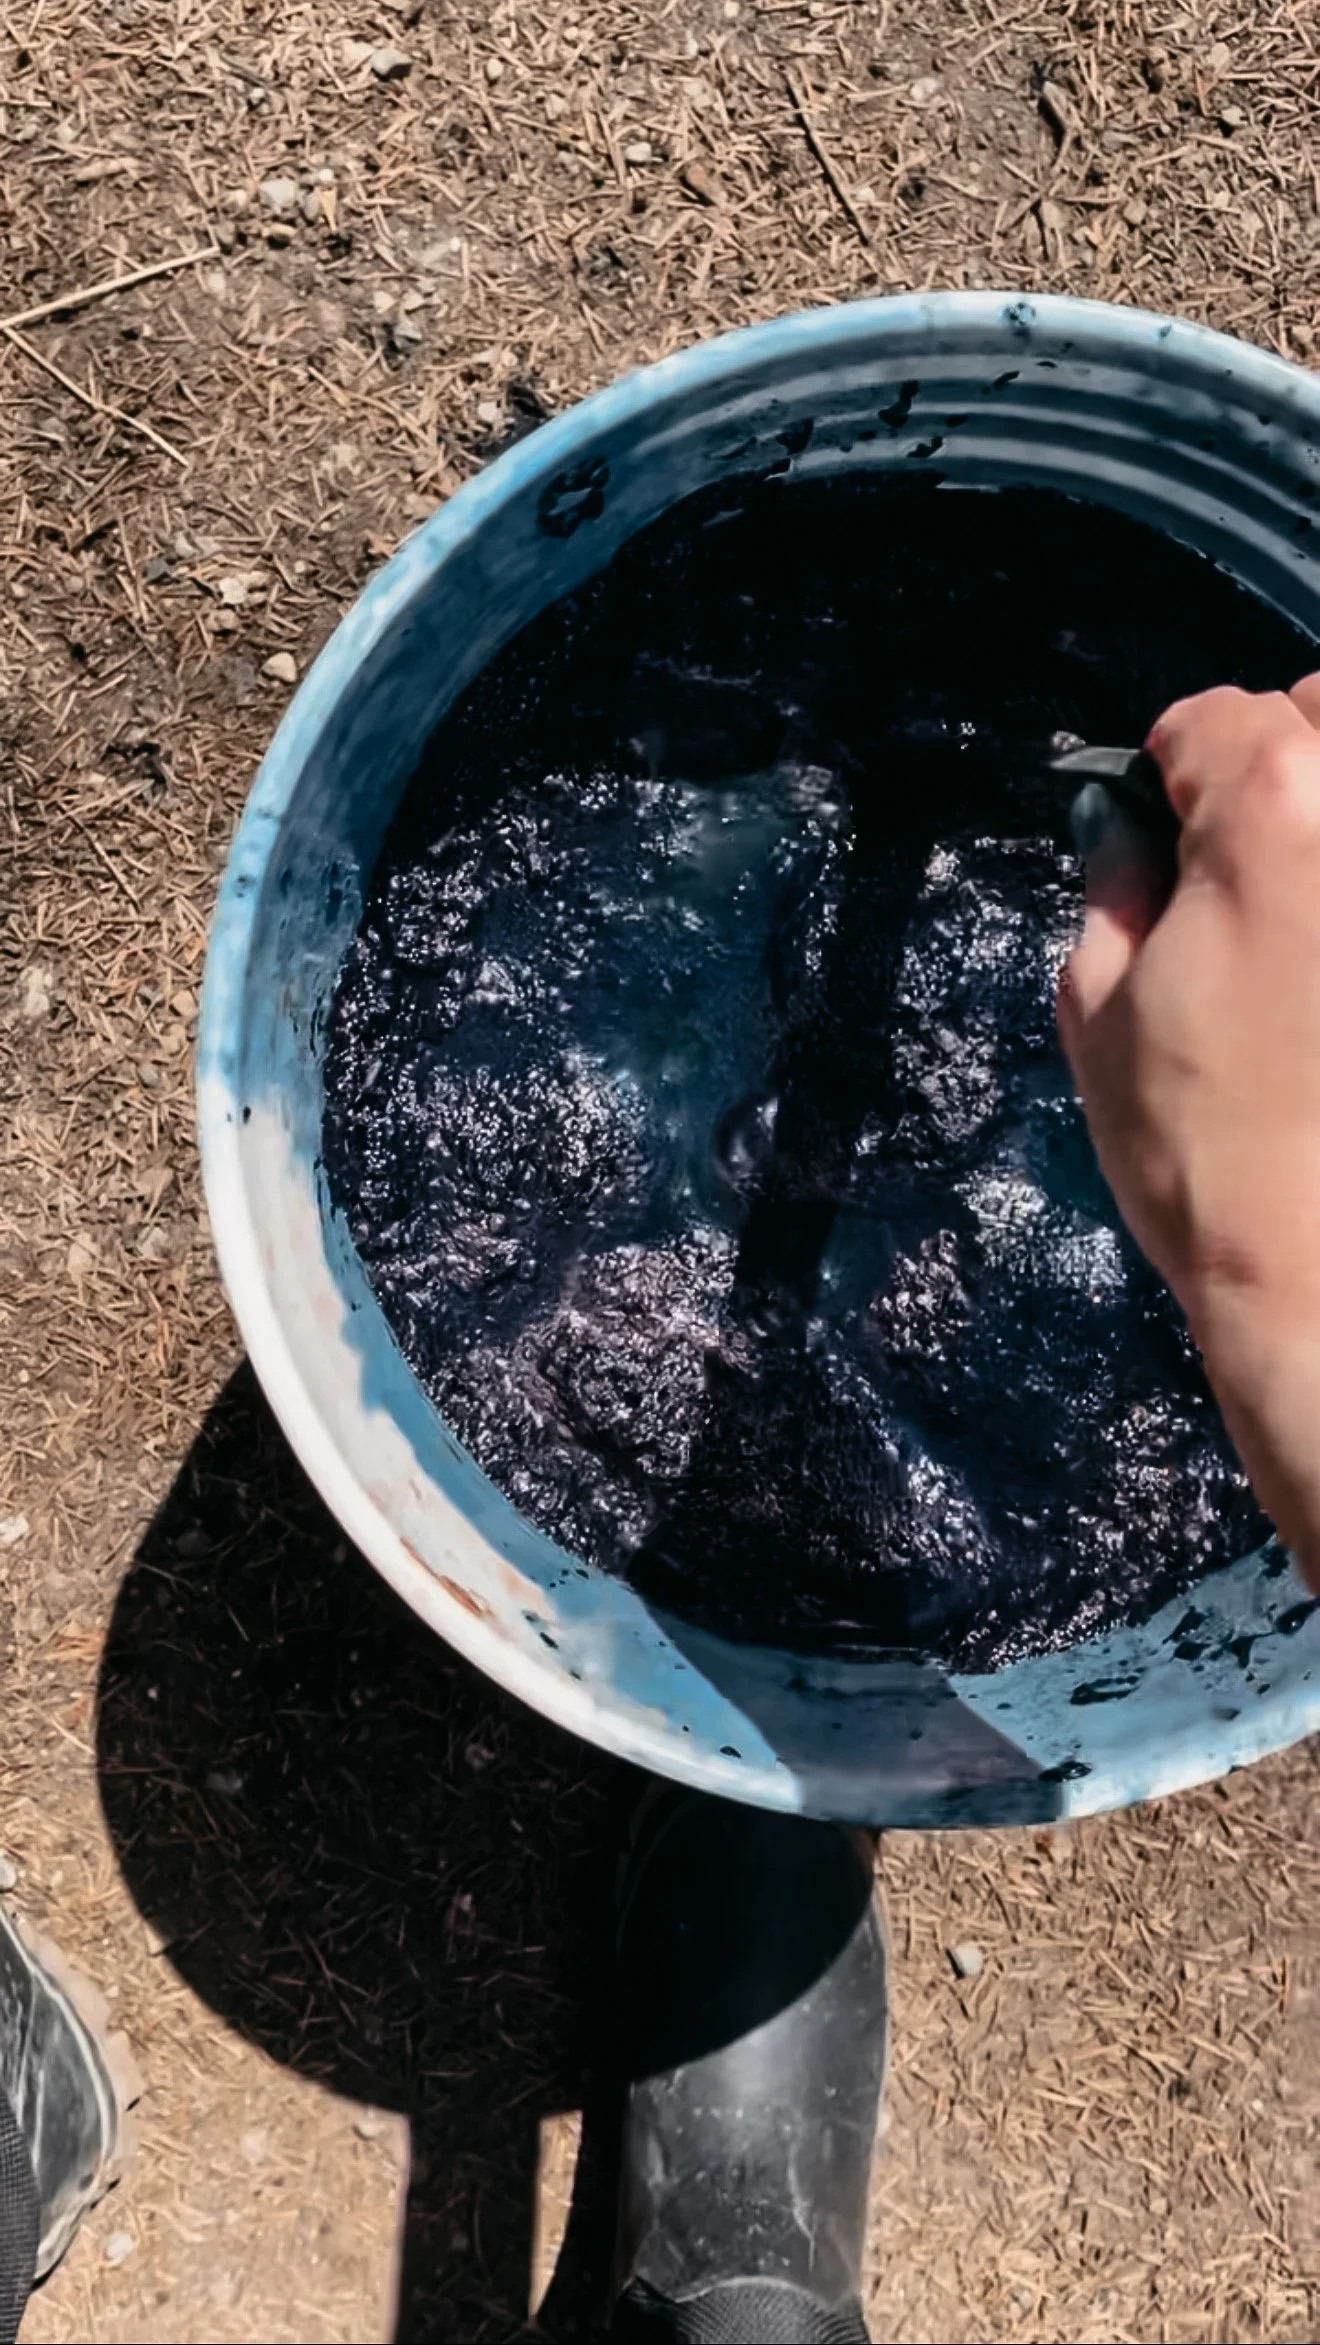
I'm Kim, quilting and dyeing from an old cabin in the woods. This is where I share beginner-friendly tutorials, slow craft tips, and stories from a life stitched by hand. I hope you find something here that feels like home.
Categories