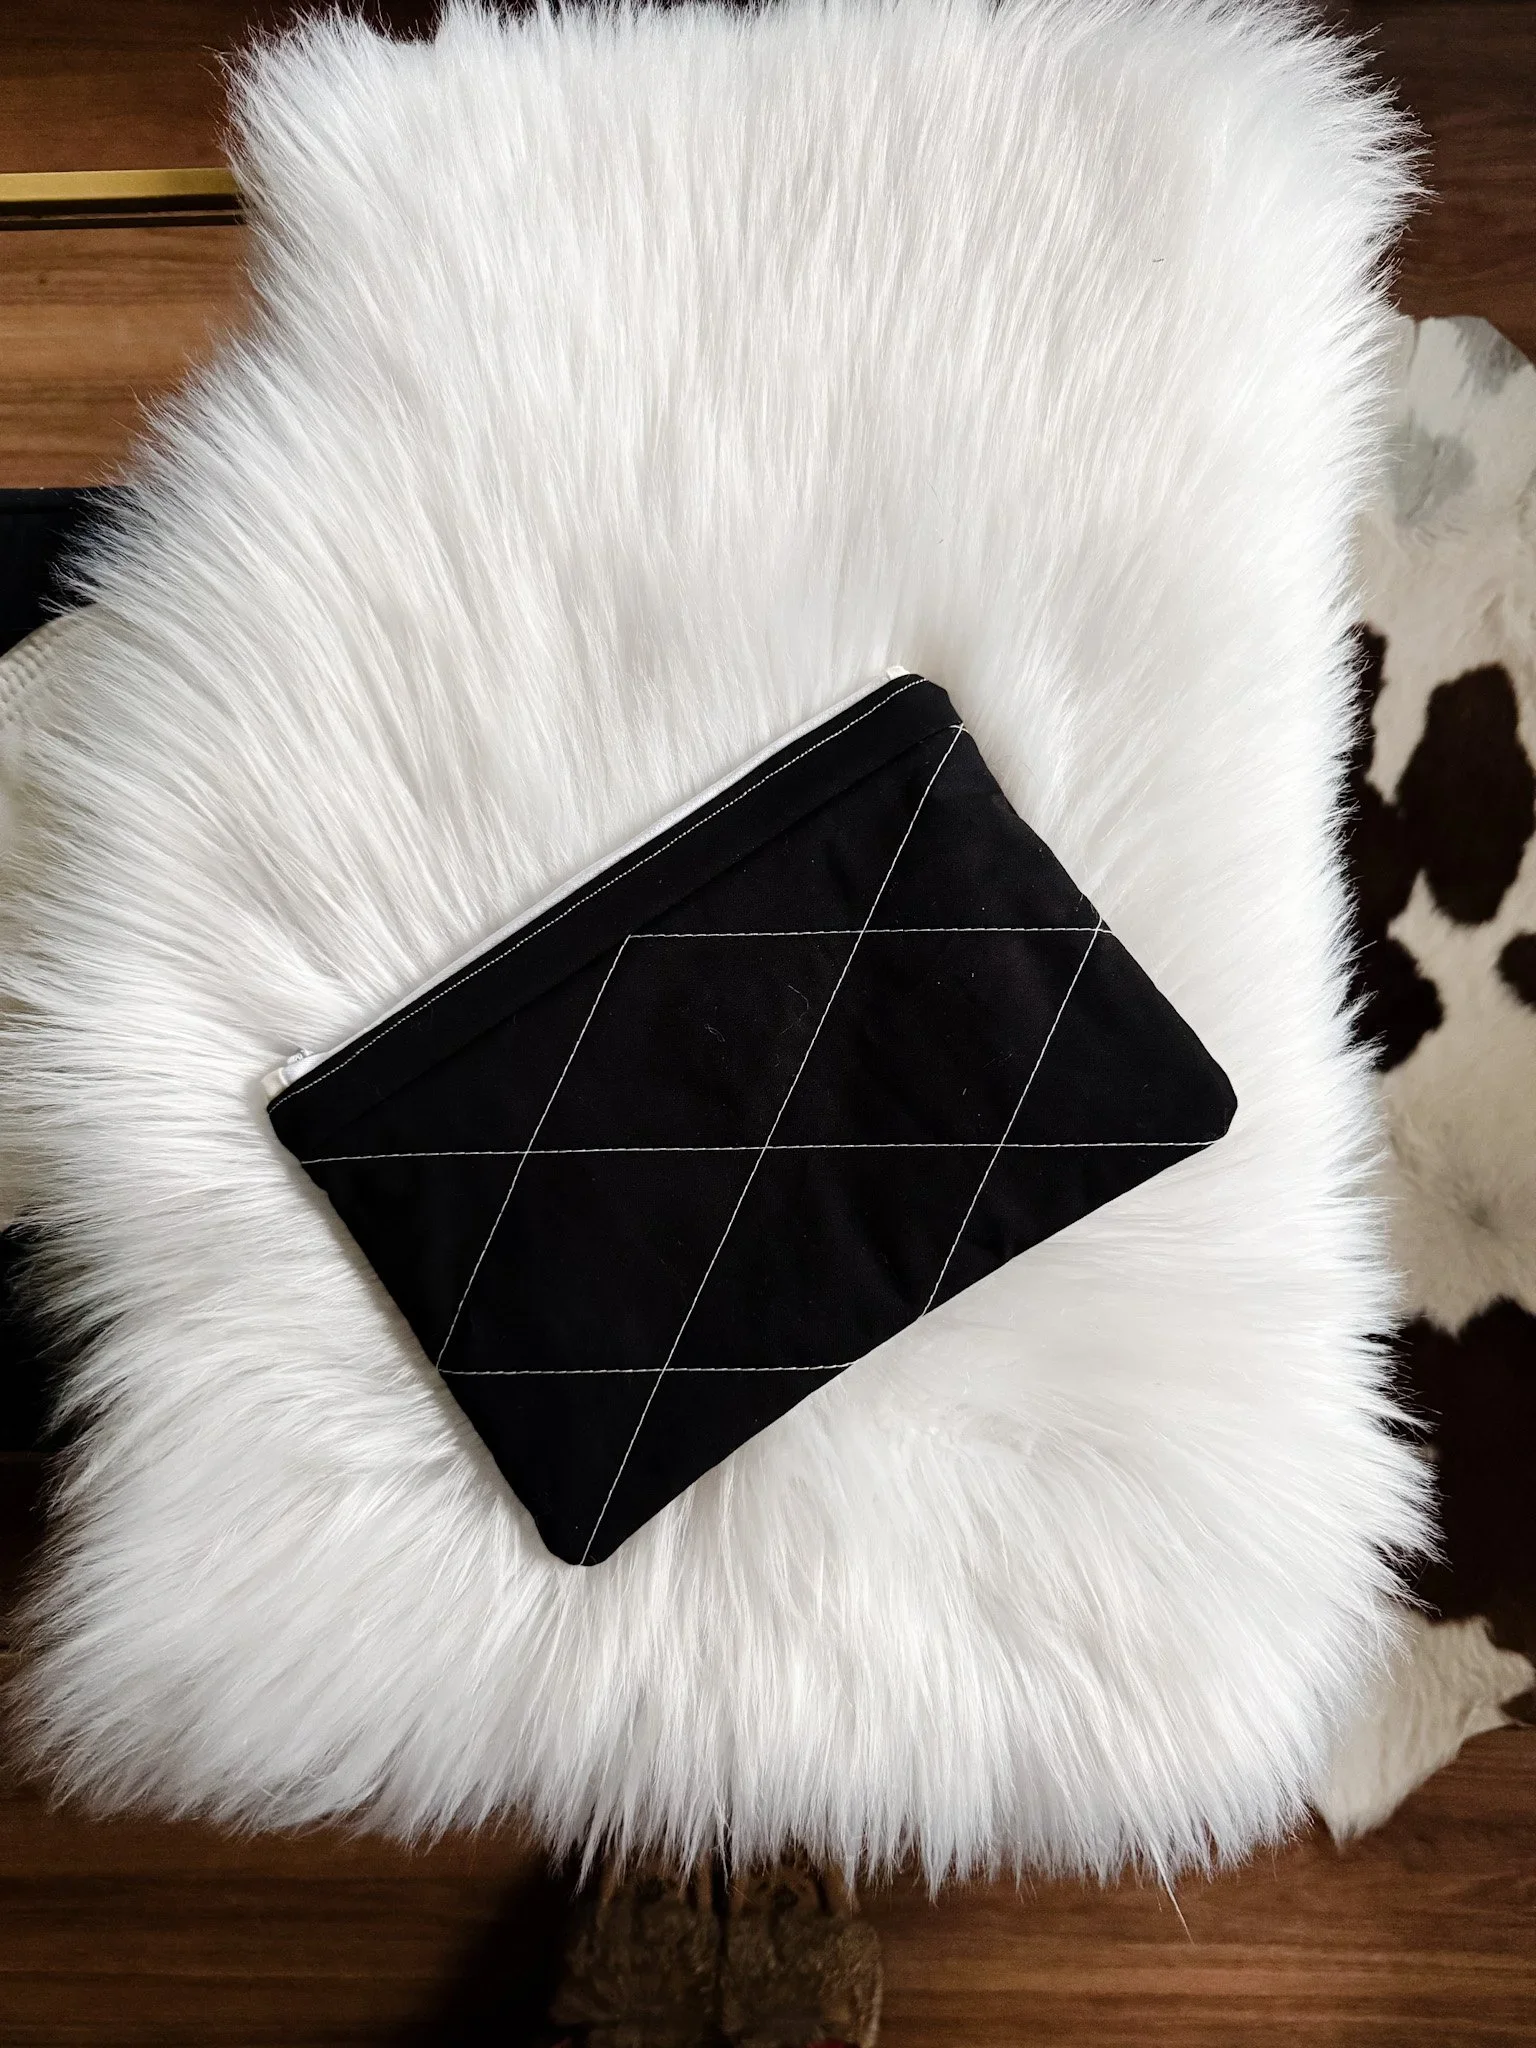
How to Baste a Quilt: The Best Basting Techniques and Tools for a Perfect Finish (2025)

Want a smooth, pucker-free quilt? Learn how to baste a quilt using classic and modern tools—like pins, glue, and fusible batting—plus how to square up and sandwich your quilt with confidence.
If there’s a moment in quilting that feels like a deep breath before the final stretch—it’s basting. It’s where all the patchwork magic meets the finish line. But how do you baste your quilt top without bubbles, shifting layers, or frustration? That’s exactly what we’re diving into today.
Whether you’re a hand-quilter, a walking foot lover, or just aiming for a clean machine-stitched finish, basting sets the stage for success. In this post, I’ll walk you through a few tried-and-true methods—some old-school, some delightfully modern—including my favorite glue basting trick using good ol’ Elmer’s.
But first, let’s square things up and prep your layers the right way. Because a well-basted quilt? That’s the stuff heirlooms are made of.

Preparing Your Quilt Sandwich: Layer, Smooth, and Square Up
Before the basting begins, there’s a quiet, grounding moment that happens—when your quilt top is finished, your backing is ready, and all that’s left is to bring everything together. This step is sometimes rushed, but it deserves your full attention. A smooth, well-aligned quilt sandwich is the secret to a frustration-free quilting experience—and a finish that looks as lovely as the time you put into it.
How to square up your quilt top and backing for accurate layering
Think of this like trimming the crust off a sandwich so everything lines up just right. If your quilt top has grown a bit wobbly at the edges (as they often do), take the time to square it up. Lay it flat and check all four corners. Use a long ruler to trim any unevenness so your sides are straight and corners sit at true right angles.
For the backing, square it up as well—but cut it at least 4"–6" wider and taller than your quilt top. This gives you breathing room during basting and quilting. It’s far easier to trim extra than to come up short later.
Why pressing your quilt top and backing matters (and when to do it)
Wrinkles might seem harmless now, but they have a sneaky way of becoming permanent puckers once quilting begins. Before you layer anything, press both your quilt top and backing thoroughly—paying special attention to seams. A good press helps fabric relax and lie flat, and it’s one of the simplest ways to set yourself up for success.
Press right before layering, especially if your top has been folded or stored for a while. If you’re using natural fibers or have prewashed your fabrics, a spritz of water or light starch can help smooth out stubborn creases.
Choosing the right batting for your project
Batting is the heart of your quilt sandwich. It adds softness, warmth, and structure. There’s no one-size-fits-all choice here—it depends on your goals.
Cotton batting is breathable, soft, and shrinks slightly when washed for that cozy crinkle.
Wool batting adds loft and warmth and drapes beautifully.
Polyester batting is lightweight, won’t shrink, and is ideal for allergy-sensitive recipients.
Cotton/poly blends combine softness with durability and are great for everyday quilts.
Consider how much loft you want, how you’ll quilt it (by hand or machine), and how the quilt will be used. A baby quilt? Choose something washable and snuggly. A wall hanging? A thinner, flatter batting might be better.
Tips for smoothing each layer before basting begins
Lay down your backing fabric first—wrong side up—and anchor it smoothly using painter’s tape or clips if needed. Avoid stretching it tight like a drum; you just want it flat and secure.
Next, place your batting in the center. Smooth from the center outward with your hands, working gently to remove air bubbles.
Finally, center your quilt top right side up, smoothing it just as carefully. Check for even spacing between layers and adjust if needed. It’s worth taking your time here—every little adjustment pays off later.
Laying out your quilt sandwich on a floor, table, or wall
No fancy studio setup? No problem. Quilters have been improvising for generations.
On the floor: Use a clean, hard surface and painter’s tape to secure your backing. Stretch your legs and take breaks as needed!
On a table: Ideal for small to medium quilts. Work in sections, gently folding or rolling parts of the quilt as you go.
On a wall or design board: Some quilters use flannel-backed vinyl or command hooks with clips to build their sandwich vertically—great for visual learners and creaky knees.
The best layout is the one that feels doable in your space. A clean surface and good lighting go a long way.
How to align layers to avoid shifting during quilting
Once your sandwich is laid out, double-check that your quilt top is centered on the batting and backing, with equal overhang on all sides.
Use your hands to smooth out all three layers, starting from the center and moving outward in all directions. Then do it again. (Yes, again!)
If your quilt has strong visual lines—like stripes or blocks—use those as guides to make sure the top isn’t skewed or twisted. Alignment here helps prevent tucks and ripples when you start quilting.
amazon link to fave productsGlue Basting with Elmer’s: A Modern Quilter’s Secret Weapon
Of all the basting methods out there, this one’s my personal favorite—and not just because it reminds me of art class. Glue basting is tidy, secure, and surprisingly satisfying. If you’ve ever struggled with pins catching on your machine or threads getting tangled, Elmer’s Washable School Glue might just be your new best friend.
This method is hands-on, low-tech, and wonderfully intuitive. And the best part? The glue washes out completely—no stiffness, no residue. Just smooth quilting ahead.
Why Elmer’s Washable School Glue Works (and Why I Use It)
Let’s clear something up: not all glue is safe for fabric. But Elmer’s Washable School Glue, both the liquid and the stick, is water-soluble, non-toxic, and gentle on quilting cotton. It won’t gum up your needle, and it rinses out in a regular wash.
I use the liquid glue for larger quilts and full sandwiches, and the glue stick for smaller projects like mini quilts, appliqué, and patchwork pieces that need a little extra hold.
It’s mess-free, affordable, and easy to find at just about any store that sells school supplies.
How to Glue Baste a Quilt (Using Liquid Elmer’s Glue)
Here’s how I baste full-size quilts using the liquid version—no pins, no fuss.
Prep your layers just like we talked about earlier: squared up, pressed, and laid out smooth as can be.
Start with your backing layer wrong side up, then add batting, and finally your quilt top.
Working in sections (I usually start in the center), gently fold back the quilt top.
Apply a thin line of glue to the batting—not too close to the edges—and smooth the quilt top back down.
Press with a warm, dry iron for just a few seconds to heat-set the glue. This keeps everything in place beautifully.
Repeat, section by section, smoothing as you go until the whole top is secured.
Flip the quilt over and repeat the same glue-and-press process to attach the batting to the backing.
Tip: If you need to reposition a section, don’t worry—just peel it up gently and try again. It’s very forgiving.
How to Use a Glue Stick for Small Projects
For smaller pieces or detail work, I reach for the Elmer’s Washable Glue Stick. It’s great for appliqué, mini quilts, or even piecing where you want fabric to stay put without shifting under the presser foot.
Apply glue to the edge of your fabric pieces or directly to the batting in small swipes.
Press down gently with your hands to smooth.
A warm iron helps set the glue quickly, but you can also let it air dry if you’re not in a rush.
Quilt as usual—and enjoy the fact that nothing’s poking you or popping loose!
Drying Tips and Heat Setting
Always use a dry, medium-heat iron—no steam needed.
Press for 5–10 seconds at a time in each area.
Let the quilt cool before rolling or moving it to avoid slipping.
Troubleshooting: Fixing Wrinkles or Repositioning Layers
Mistakes happen (we’re human). If you notice a wrinkle or a bubble after setting the glue:
Gently lift the fabric—don’t tug hard; the glue will release.
Re-smooth the layer and re-press with the iron.
If the glue dries too fast in one spot, a light mist of water will loosen it up.
Glue basting is one of those little joys in quilting that feels both old-school and innovative all at once. It’s hands-on and tactile—perfect for those who like to feel their way through a project with intention.
Next time your quilt top’s ready to meet its match, grab that orange-capped bottle from your drawer and give glue basting a go. It’s quilting magic in a squeeze bottle.
amazon link to fave productsPin Basting: Classic and Reliable
There’s something timeless about pin basting. It’s been a go-to method for generations, and for good reason—it’s accessible, effective, and doesn’t require any special equipment beyond a pack of curved safety pins and a bit of patience. If you love a hands-on, deliberate approach, this method might just be your kindred spirit.
Pin basting gives your quilt layers a firm, physical hold, making it easier to stitch without shifting or puckering. It’s especially helpful for machine quilting and for quilters who like to take their time planning out the quilting path.
Best Types of Safety Pins for Basting
Curved safety pins are the unsung heroes here. The curve helps the pin glide through all three layers without distorting the fabric, which makes a big difference when you’re working with a large quilt or stiff batting.
Size matters: Size 1 (1 1/16") and size 2 (1 1/2") are the most popular for quilting.
Nickel-plated or rust-resistant pins are a must—especially if you plan to leave your quilt basted for a while before quilting.
Tip: Keep your pins in a magnetic dish or open container so they’re easy to grab as you go.

How to Space Pins for Different Quilting Styles
The rule of thumb? No more than 4 inches apart, though I often go closer—especially around the edges and areas with more intricate piecing.
For machine quilting, aim for a grid-like spacing across the quilt.
For hand quilting, you can pin a little farther apart, as long as the layers stay stable.
Always pin more around the edges and corners—these tend to shift the most.
If you’re unsure, just ask yourself: “Could this spot shift if I don’t pin it?” If the answer is yes, pop in a pin.
Tips for Pinning on a Table or Floor Without Hurting Your Back
Quilting is supposed to be joyful—not something that leaves you hobbling around for days afterward. To save your body:
Use a large table if you can, working in sections. A dining table, folding tables, or even a countertop can work.
For larger quilts, use painter’s tape to secure your backing to the surface so it stays smooth.
Work from the center out, gently smoothing each layer as you go before inserting each pin.
If you’re working on the floor, consider wearing knee pads or using a folded towel to kneel on. (Your future self will thank you.)
How to Roll or Fold Your Quilt to Manage Large Sizes
If your quilt is bigger than your workspace (and let’s be honest—most are), try this:
Fold or roll the quilt top and batting back in sections, working from the center outward.
Pin one section, then unfold the next part and continue.
Keep everything smooth and flat as you go—think of it like unrolling a scroll, one calm breath at a time.
You can also accordion fold the quilt in advance so you’re not wrestling with a mountain of fabric.
When Pin Basting Works Best (and When It Doesn’t)
Pin basting is ideal for:
Machine quilting with a walking foot or free motion
Larger quilts that need strong, consistent hold
Quilters who want to avoid glue or fusibles
It may not be the best fit if:
You’re working on a very small space with limited reach
You need a super-fast setup
You’re prone to wrist or hand strain from opening and closing pins
But overall? Pin basting is a dependable classic for a reason. It holds your layers together without surprises—and when you’re halfway through quilting a big piece, that kind of steadiness is priceless.


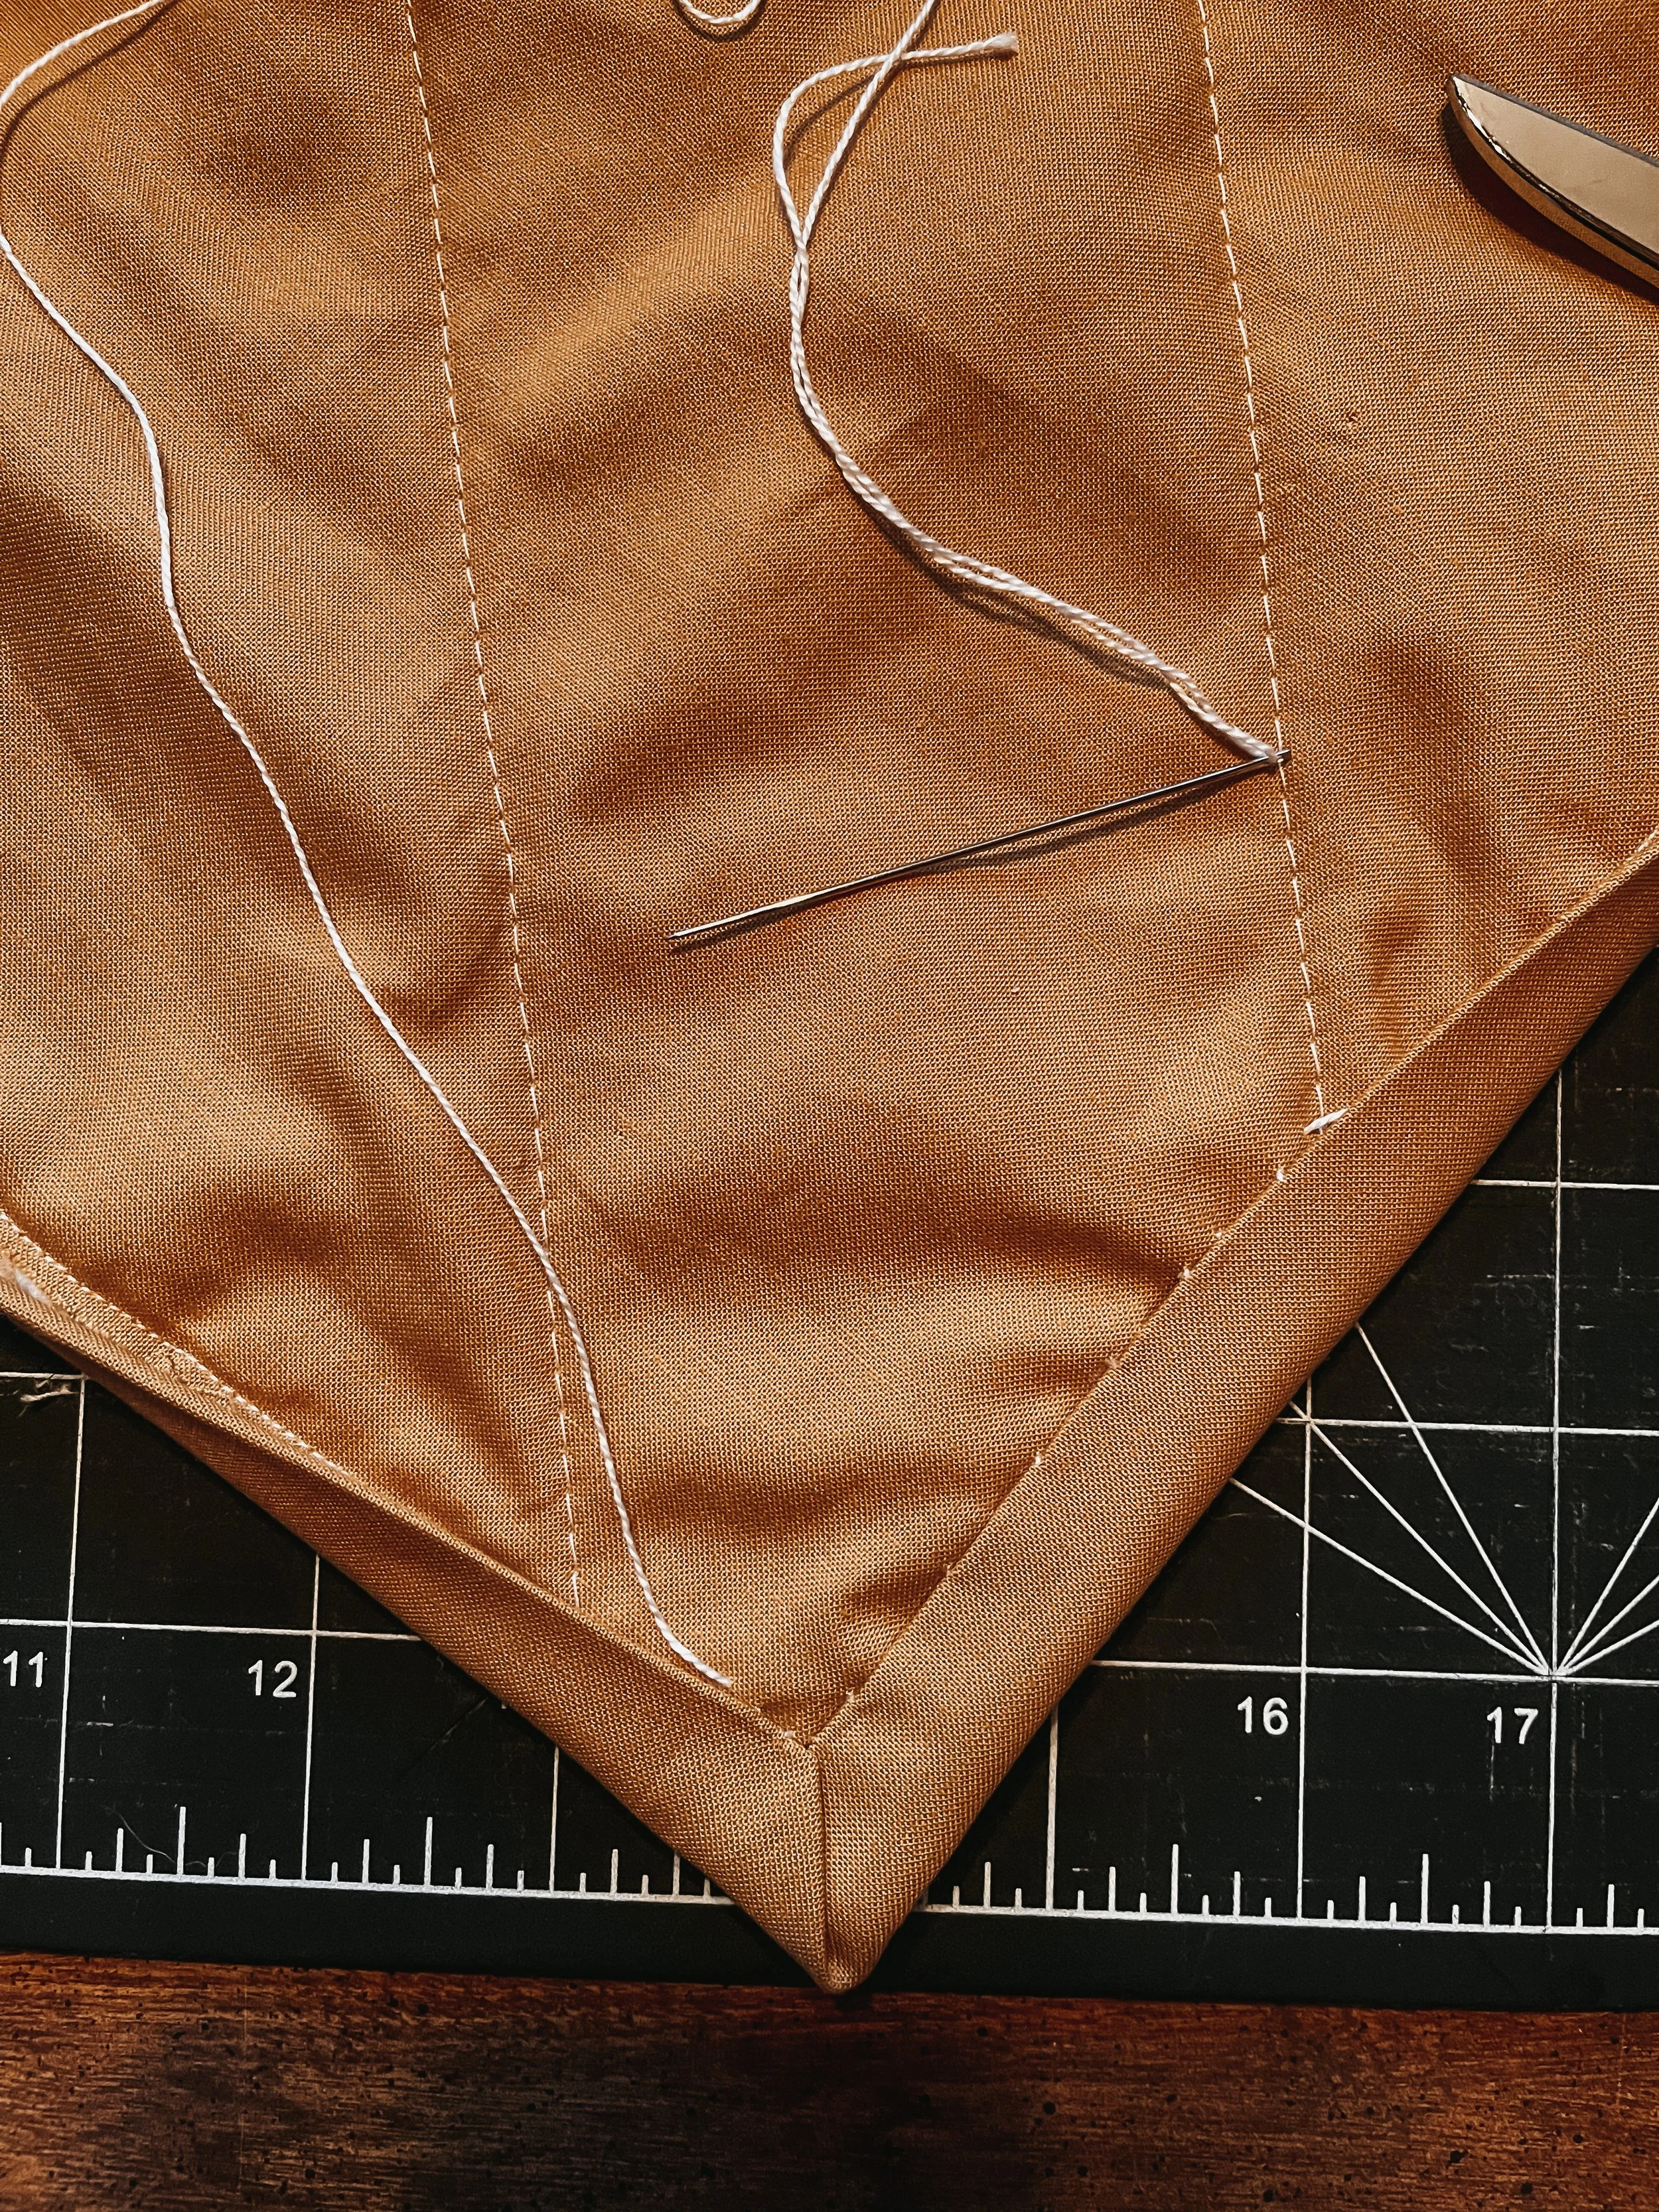
Thread Basting: Slow, Steady, and Meditative
Thread basting might be the most old-fashioned of the basting methods—but don’t let that fool you. There’s something beautifully intentional about this quiet, deliberate process. If you enjoy slow stitching, hand quilting, or just like to take your time with each step, thread basting is worth the extra effort.
This method uses long, loose stitches to hold your quilt layers together—simple as that. It’s low-tech, inexpensive, and fully customizable to whatever size or shape you’re working on. No pokey pins. No glue. Just you, a needle, and your favorite thread.
Overview of Thread Basting for Hand Quilters or Vintage-Style Finishes
Before pins and fusibles came along, this was the way quilts were basted—and it’s still beloved by many hand quilters today. Why?
It doesn’t add bulk under your hoop or hands
It’s gentle on delicate fabrics
It’s quiet, relaxing, and fully portable
Thread basting gives you full control over tension and placement, which is especially helpful for complex quilting designs or heirloom projects you’re pouring your heart into.
Best Needles and Threads for This Method
Needles: Use long, sharp needles (often called basting needles). They glide easily through all three layers.
Thread: Go for a contrasting color so it’s easy to spot and remove later. Any smooth cotton or polyester thread works, but avoid anything too thick or fuzzy—no need to wrestle with tangles.
Bonus tip: Wind a few needles in advance so you can keep your rhythm going once you settle into the stitching zone.
Stitch Length and Spacing for Effective Hold
Your stitches don’t need to be perfect—just long enough to anchor the layers without pulling.
Aim for stitches about ½–1" long, spaced every few inches across the quilt.
Work in a loose grid, moving from the center out, just like with other basting methods.
You can stitch in straight lines, gentle curves, or even follow the quilt’s patchwork lines if that helps keep things tidy.
Remember, you’ll be removing these threads later—so don’t worry about being too precise. Keep it functional and flexible.
How to Secure Your Threads for Stability
Start each basting line with a small backstitch or knot to hold it in place. When you reach the end of a thread, either knot it again or leave a long tail so it doesn’t work loose.
For added security, you can cross-stitch the intersections of your grid or tack down tricky areas like corners and edges.
Don’t pull too tightly—just enough to keep the layers snug without distorting the fabric.
Bonus: Why Thread Basting Is a Lovely Practice for Mindful Making
There’s a rhythm to thread basting that slows everything down in the best way. It gives your hands something to do while your mind wanders, your tea steeps, or the evening light shifts through the window.
For some quilters, this method becomes more than just prep—it’s a chance to connect with the quilt, to breathe between busy steps, and to soak up the quiet joy of handwork.
If you’re craving a more meditative, grounding quilting practice, thread basting might be your new favorite ritual.
amazon link to fave productsFusible Batting and Tape: Heat and Press Options
Sometimes, you just want to keep things simple—and that’s where fusible batting and basting tape come in. If you love a tidy workspace and a tool that feels a little bit like magic, this might be your favorite method.
Fusible batting is exactly what it sounds like: batting with a light adhesive on both sides that bonds to your quilt top and backing with the heat of an iron. No pins. No thread. No glue. Just a little steam and some gentle pressure.
This method is ideal for small-to-medium quilts, wall hangings, or projects where you want a smooth, flat surface without a lot of fuss.
What Is Fusible Batting and How It Works for Basting
Fusible batting has a thin adhesive coating—often visible as a slightly shiny or textured finish on both sides. When heated, this adhesive melts just enough to grip the fabric, holding everything in place without shifting or bunching.
You’ll need:
Fusible batting (brands like Warm Company or Pellon make great options)
An iron (with or without steam, depending on the brand’s instructions)
A pressing cloth or light fabric to protect your iron and fabric layers
The result is a crisp, secure quilt sandwich that stays put while you quilt.
Ironing Tips for Bonding Layers Evenly
Layer your quilt sandwich carefully: Backing (wrong side up), fusible batting, and quilt top (right side up), all smoothed flat and centered.
Work in small sections, starting at the center and moving outward.
Use a dry iron or light steam depending on your batting’s instructions. Always check the label!
Press straight down—don’t glide. Holding the iron in place for 10–15 seconds allows the adhesive to melt and bond.
Use a pressing cloth if you’re worried about residue or delicate fabric.
Take your time. It’s not about rushing—it’s about letting the heat do the work while you guide the process with calm hands.
When Fusible Batting Is a Great Shortcut
Wall hangings and art quilts: Smooth, crisp layers with no shifting.
Baby quilts: Quick bonding means less prep time before the quilting fun begins.
Machine quilting: No pins to catch or glue to clean up.
Workshops or group sewing days: Easy to transport and press on-site.
If you’re in a season where your time or energy is limited, fusible batting is a quiet little gift—one less thing to wrangle.
Using Fusible Basting Tape for Edges or Small Sections
Fusible basting tape is another gem in the quilt toolbox. It’s great for:
Securing edges while pinning or glue basting the center
Holding down borders, binding prep, or appliqué
Fixing small areas where pins or glue won’t reach
Just press it in place and keep going. It’s not a full substitute for full-quilt basting, but it’s a helpful supporting player—especially when working on fiddly details or layered seams.
Pros and Cons Compared to Other Methods
Pros:
Clean, no mess
Quick bonding process
Great for machine quilting
Smooth, flat results
Cons:
Not ideal for hand quilting (can feel stiff under the needle)
Less forgiving if you need to reposition layers
May require specific heat settings or ironing precautions
Whether you’re tackling a baby quilt in an afternoon or prepping a wall hanging with crisp precision, fusible options offer a modern twist on a classic step. And while it might not have the slow stitching charm of thread basting or the tactile satisfaction of glue, it’s reliable, efficient, and still keeps the handmade spirit alive.
At the end of the day, the “best” basting method is the one that works for your hands, your project, and your season of life. They’re all valid. They’re all useful. And they all lead to that magical moment when you finally start quilting.
A Quilt That’s Basted with Care Is a Quilt That Lasts
Basting might not be the most glamorous part of quilting—but it just might be the most underrated. It’s the quiet bridge between the joy of piecing and the satisfaction of quilting, where all your hard work gets its moment to settle, smooth out, and breathe.
I used to be a die-hard "pin it and go" kind of quilter. It felt familiar, and there's something wonderfully tactile about filling a quilt top with shiny little safety pins. But over time, especially as my quilts grew bigger and my days busier, I started reaching for that little bottle of Elmer’s Washable School Glue more and more. And now? It’s my go-to. It’s easy, neat, and holds beautifully. Plus, there’s a little magic in smoothing out a section, setting it with a warm iron, and knowing it’s going to stay right where it belongs.
That said, every method we’ve explored here—whether it’s thread basting by lamplight, pinning during a Sunday movie, or pressing fusible batting on a well-loved ironing board—has its own rhythm, its own charm, and its own rightful place in the quilting journey.
If you’re just getting started, I hope this guide gives you the confidence to choose a method that fits your hands and your heart. And if you’ve been quilting for decades, maybe today’s the day you try something new—like Elmer’s.
Because at the end of the day, it’s not just about sticking fabric together. It’s about honoring the work you've already done, and laying the groundwork for all the stitching still to come.
So here’s to quilts that stay flat, don’t bunch, and carry the quiet pride of being basted with care. You’ve got this—and you’re not alone in the process.
Would you like me to turn this full outline and draft into a formatted blog post PDF or Canva document for easy posting and content repurposing? I can also create Pinterest pin titles or captions next if you'd like to promote the post!


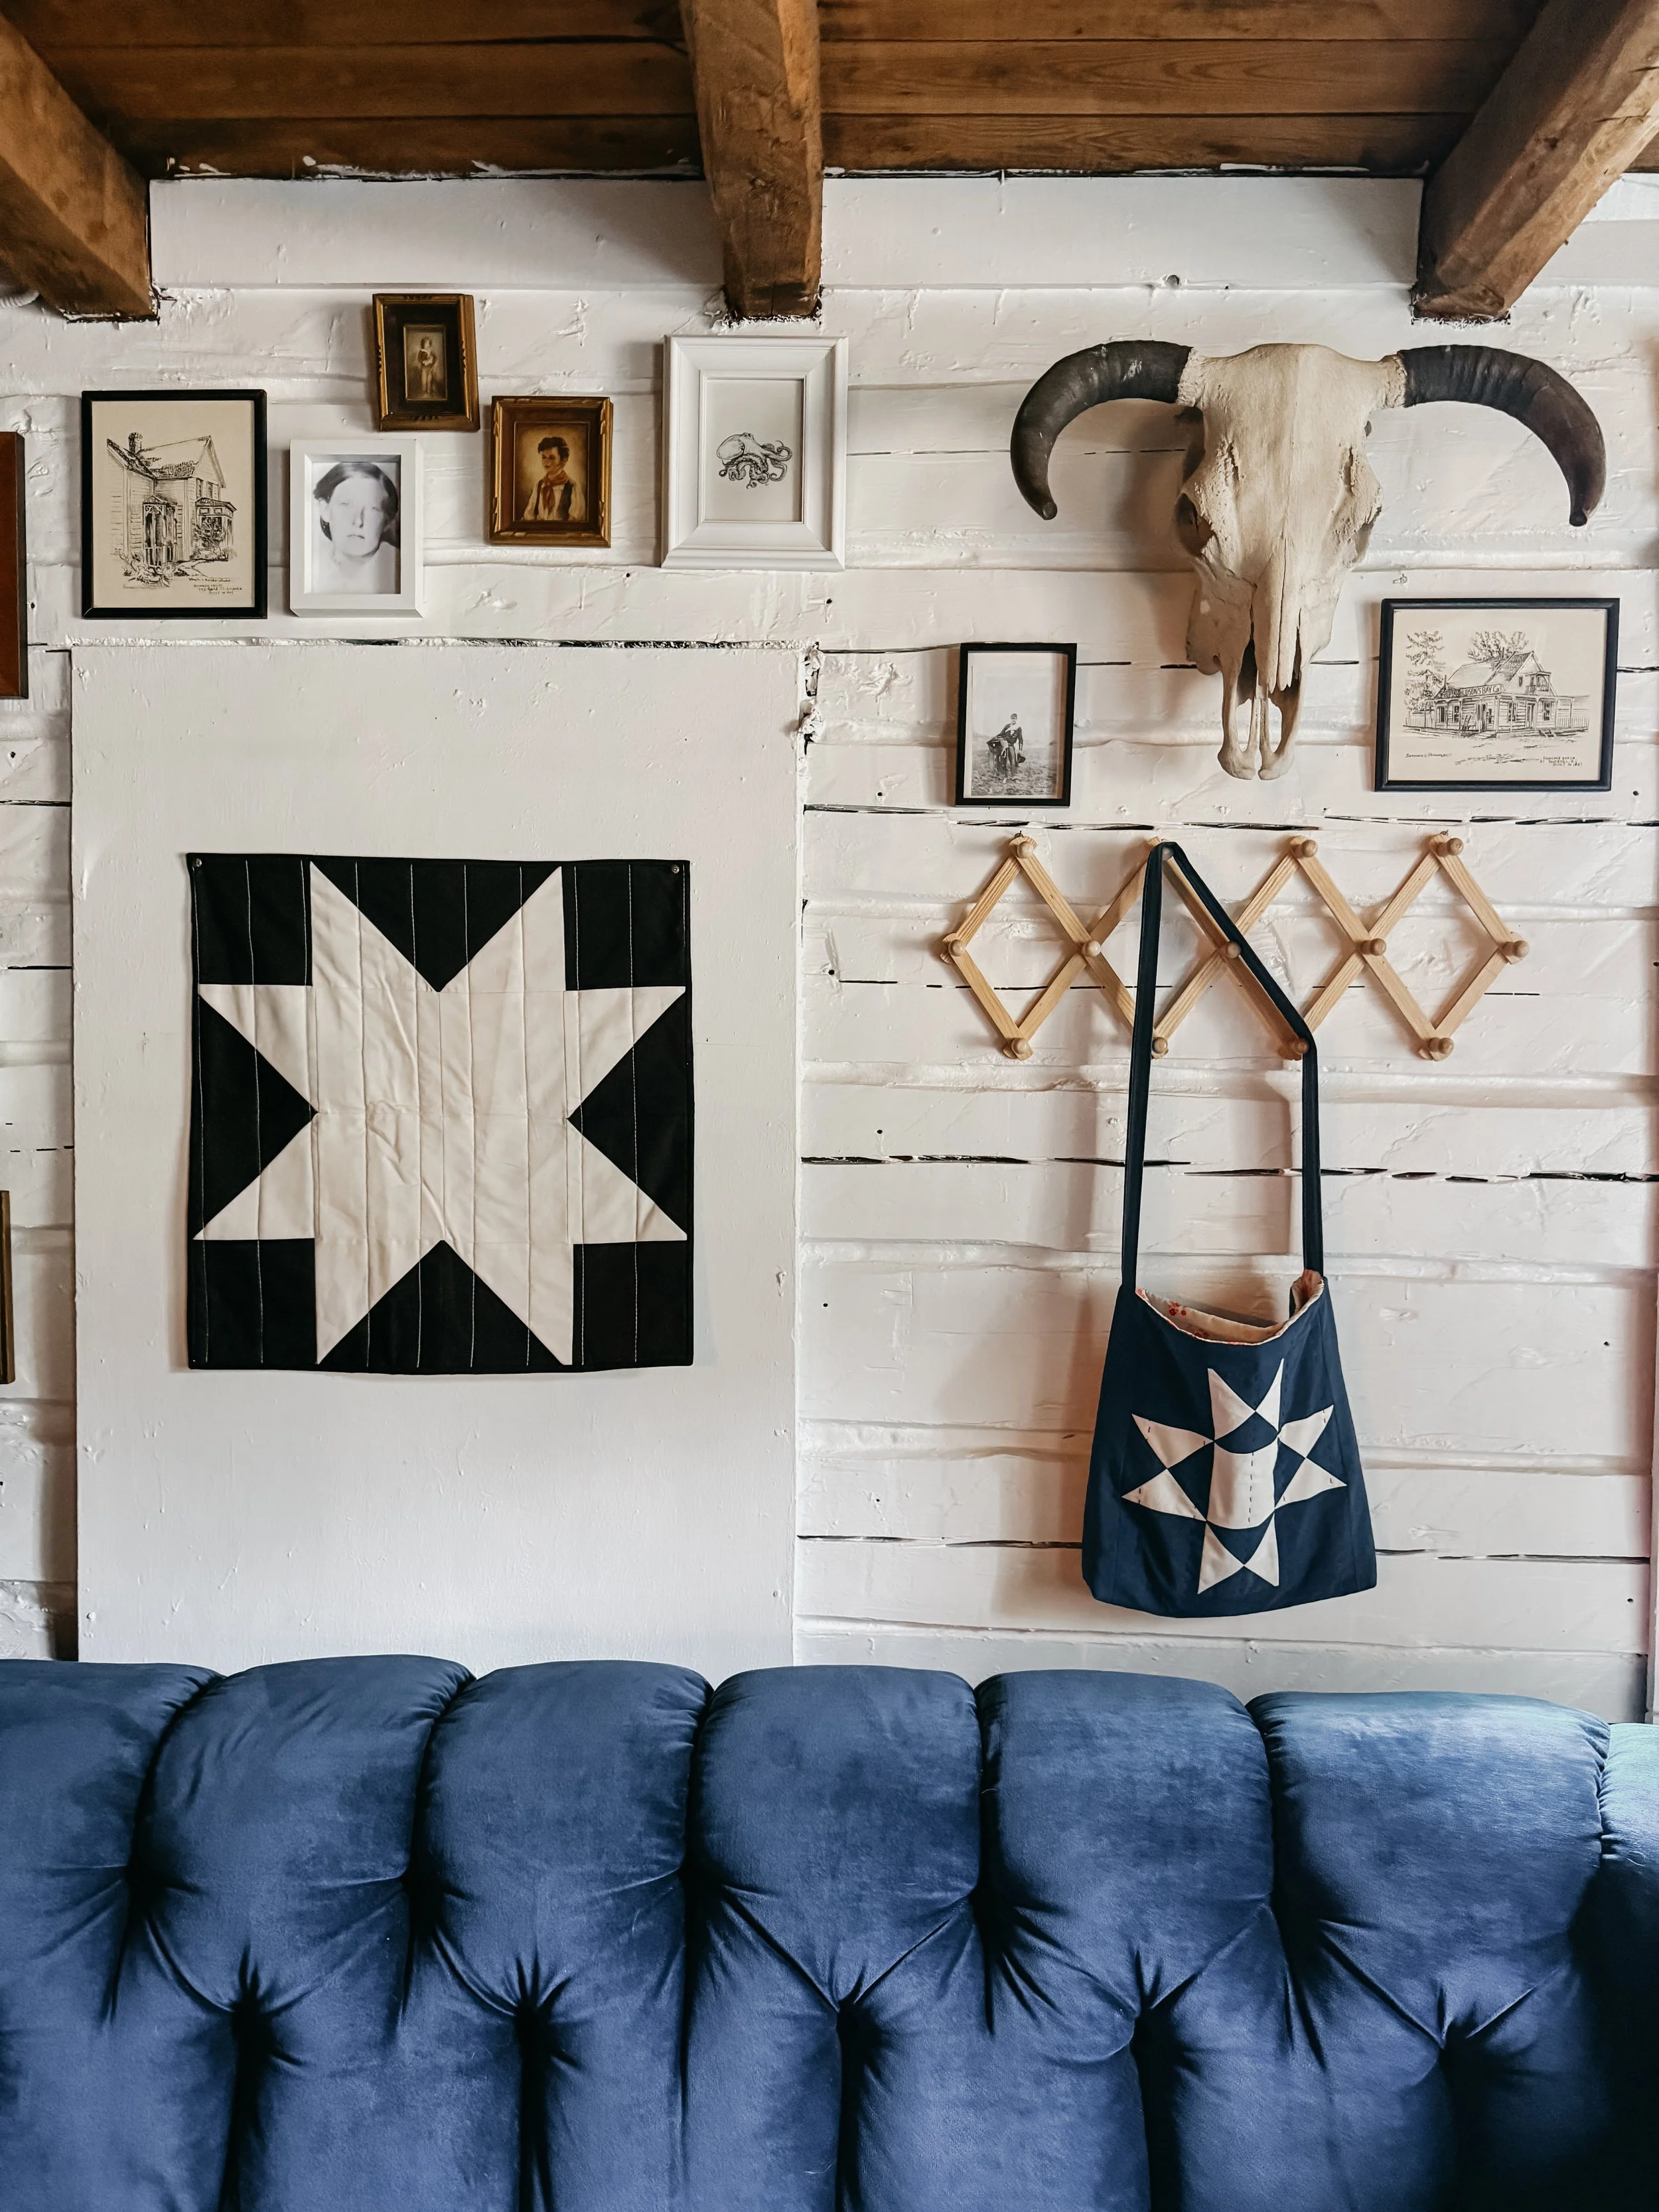
Welcome to the blog—I'm so glad you're here.
I'm Kim, quilting and dyeing from an old cabin in the woods. This is where I share beginner-friendly tutorials, slow craft tips, and stories from a life stitched by hand. I hope you find something here that feels like home.