How to Bind a Quilt: A Step-by-Step Beginner’s Guide

Learn how to bind a quilt with this easy step-by-step guide for beginners. From prepping your quilt to perfect mitered corners, you’ll get all the tips you need to finish your quilt beautifully.
Binding your quilt is like writing the last line of a love letter—it seals the story you've been stitching together, one block at a time. Whether you've just finished your first lap quilt or a full-sized heirloom, learning how to bind it neatly is the final, satisfying step.
In this tutorial, I’ll walk you through the entire binding process—from trimming the edges to sewing the final invisible stitches. It’s not as intimidating as it sounds, and once you get the hang of it, you might even start to love this part of the process. Ready to finish your quilt with confidence? Let’s dive in!

What Is Quilt Binding?
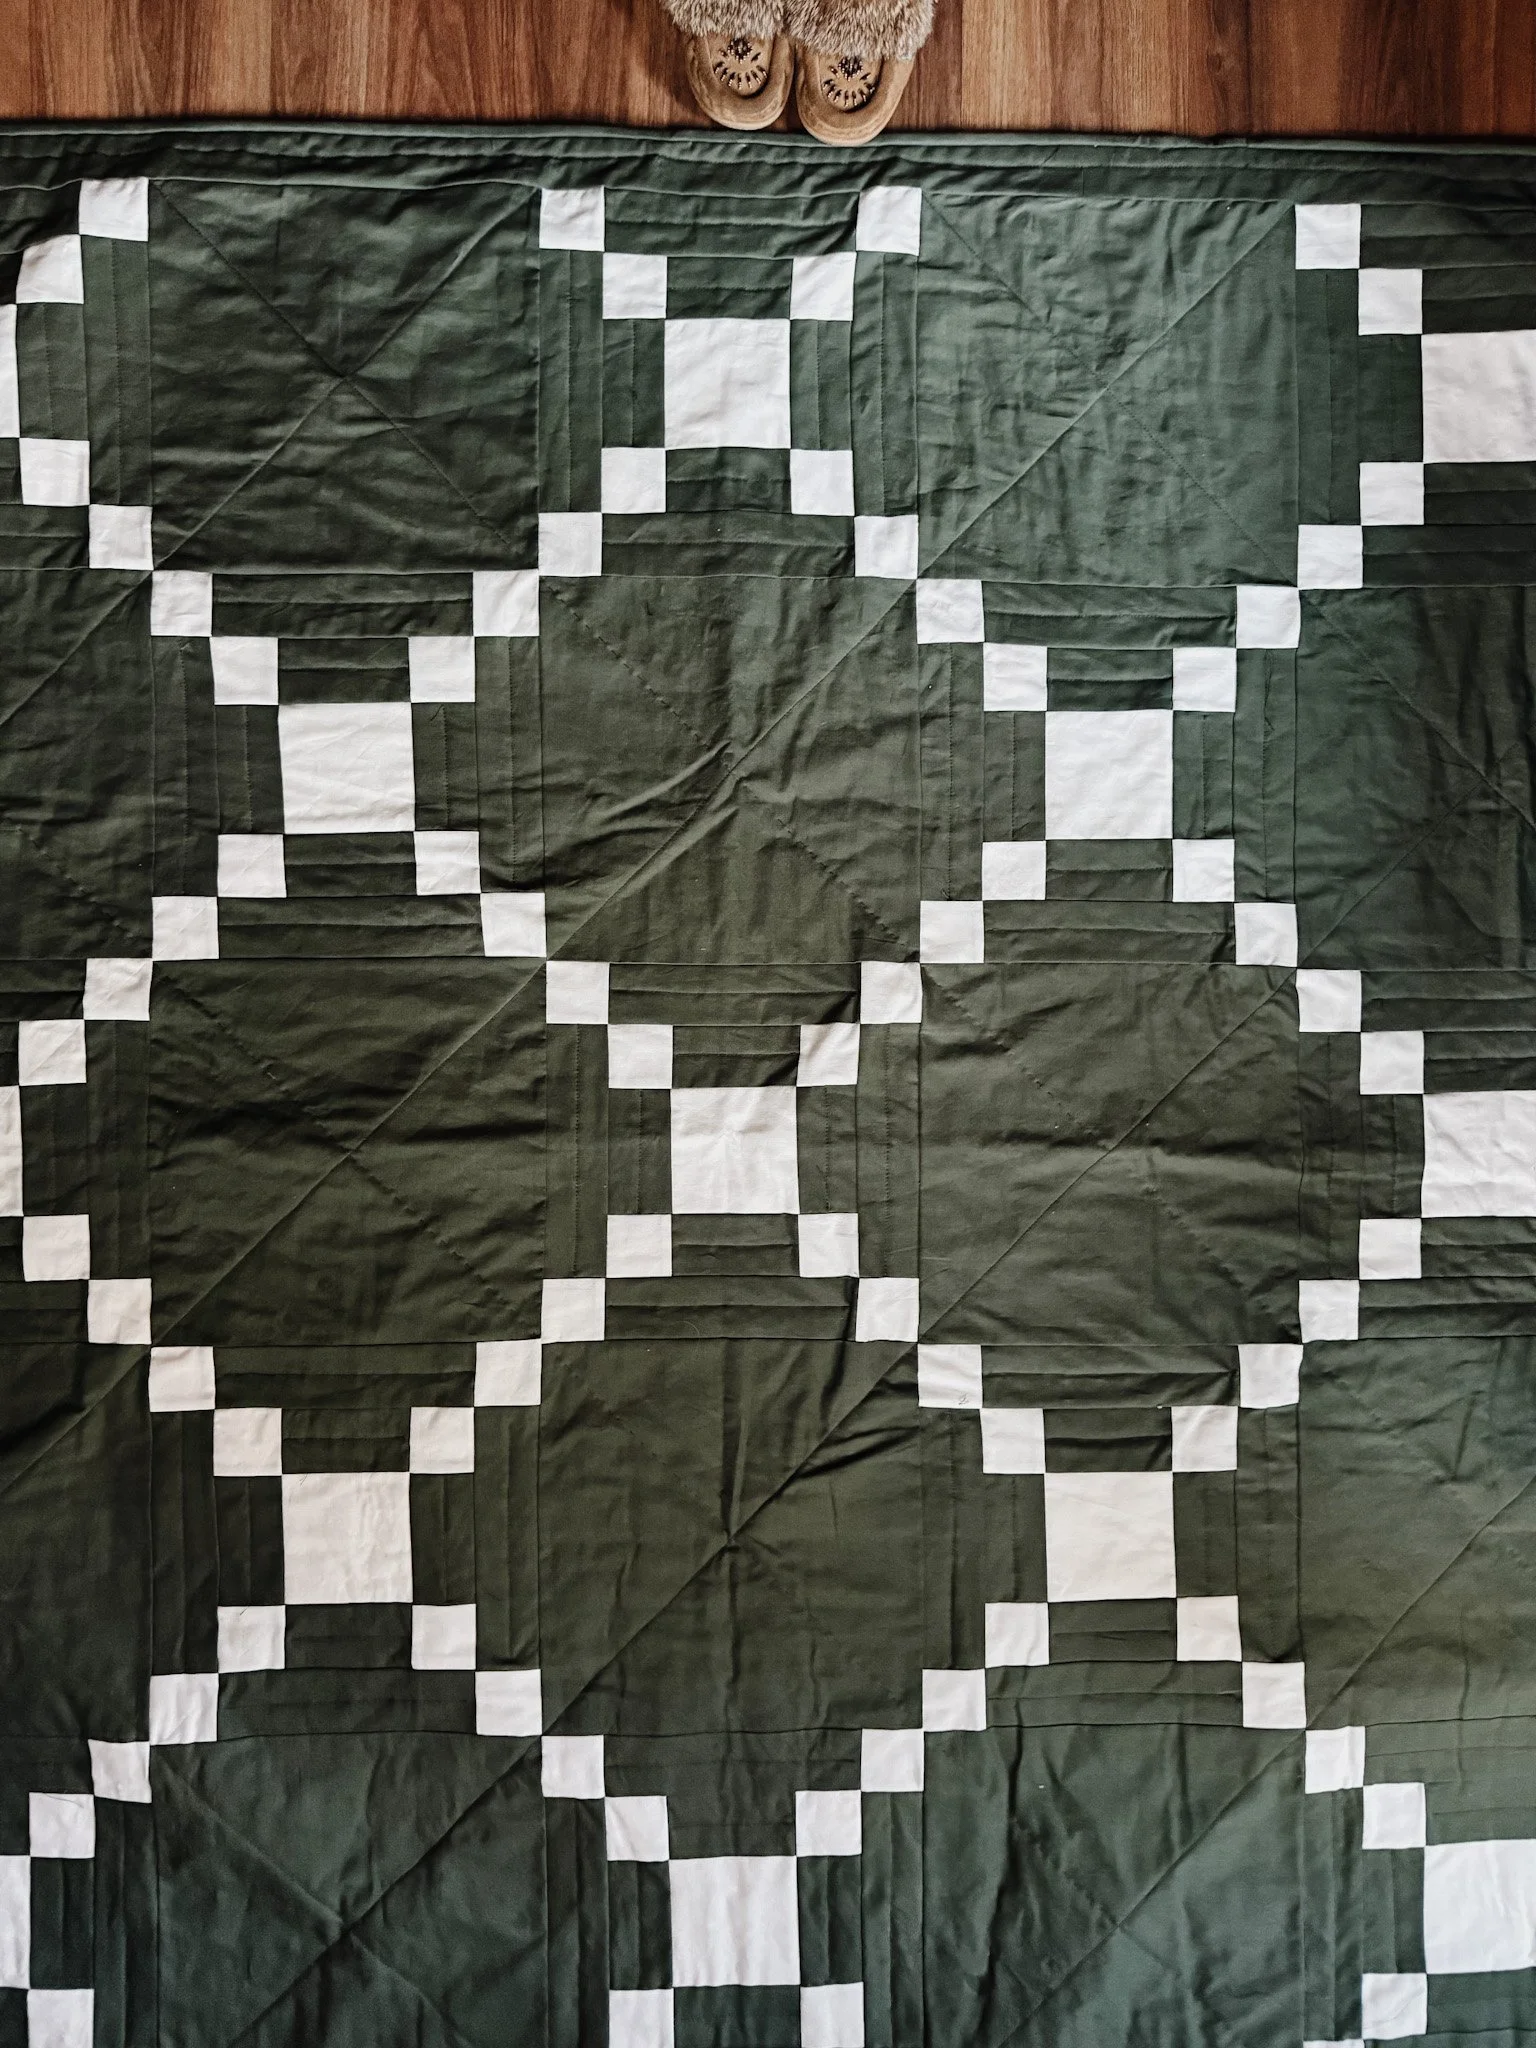
Binding is the final frame around your quilted artwork—both a practical finish and a beautiful edge. It’s the strip of fabric that wraps around the raw edges of your quilt sandwich, holding everything together and giving it a polished, professional look. Without binding, your quilt would fray, shift, and eventually come apart at the seams. So yes, it’s functional—but it can also be a design moment, whether you choose a bold contrast or something that blends in quietly.
There are a few types of binding you’ll hear quilters talk about, and knowing which one to use can make a big difference in how your quilt turns out.
Straight Grain vs. Bias Binding
Straight grain binding is cut along the grain of the fabric—either the crosswise or lengthwise direction. It’s great for quilts with straight edges and right angles, which covers most traditional quilting projects.
Bias binding is cut at a 45° angle to the fabric grain. Because of this, it has a bit more stretch and flexibility, making it ideal for quilts with curved edges or rounded corners (like scalloped baby blankets or art quilts). It also tends to drape a little more softly.
Unless your quilt has curves, straight grain binding is perfectly fine—and it wastes less fabric, which is always a plus!
Single Fold vs. Double Fold Binding
Single fold binding is one layer of fabric folded over once. It’s thinner and lies flatter, which can be lovely for mini quilts, wall hangings, or quilts that won’t get much wear. Personally, I would never do this on a full size quilt. That edge is high wear.
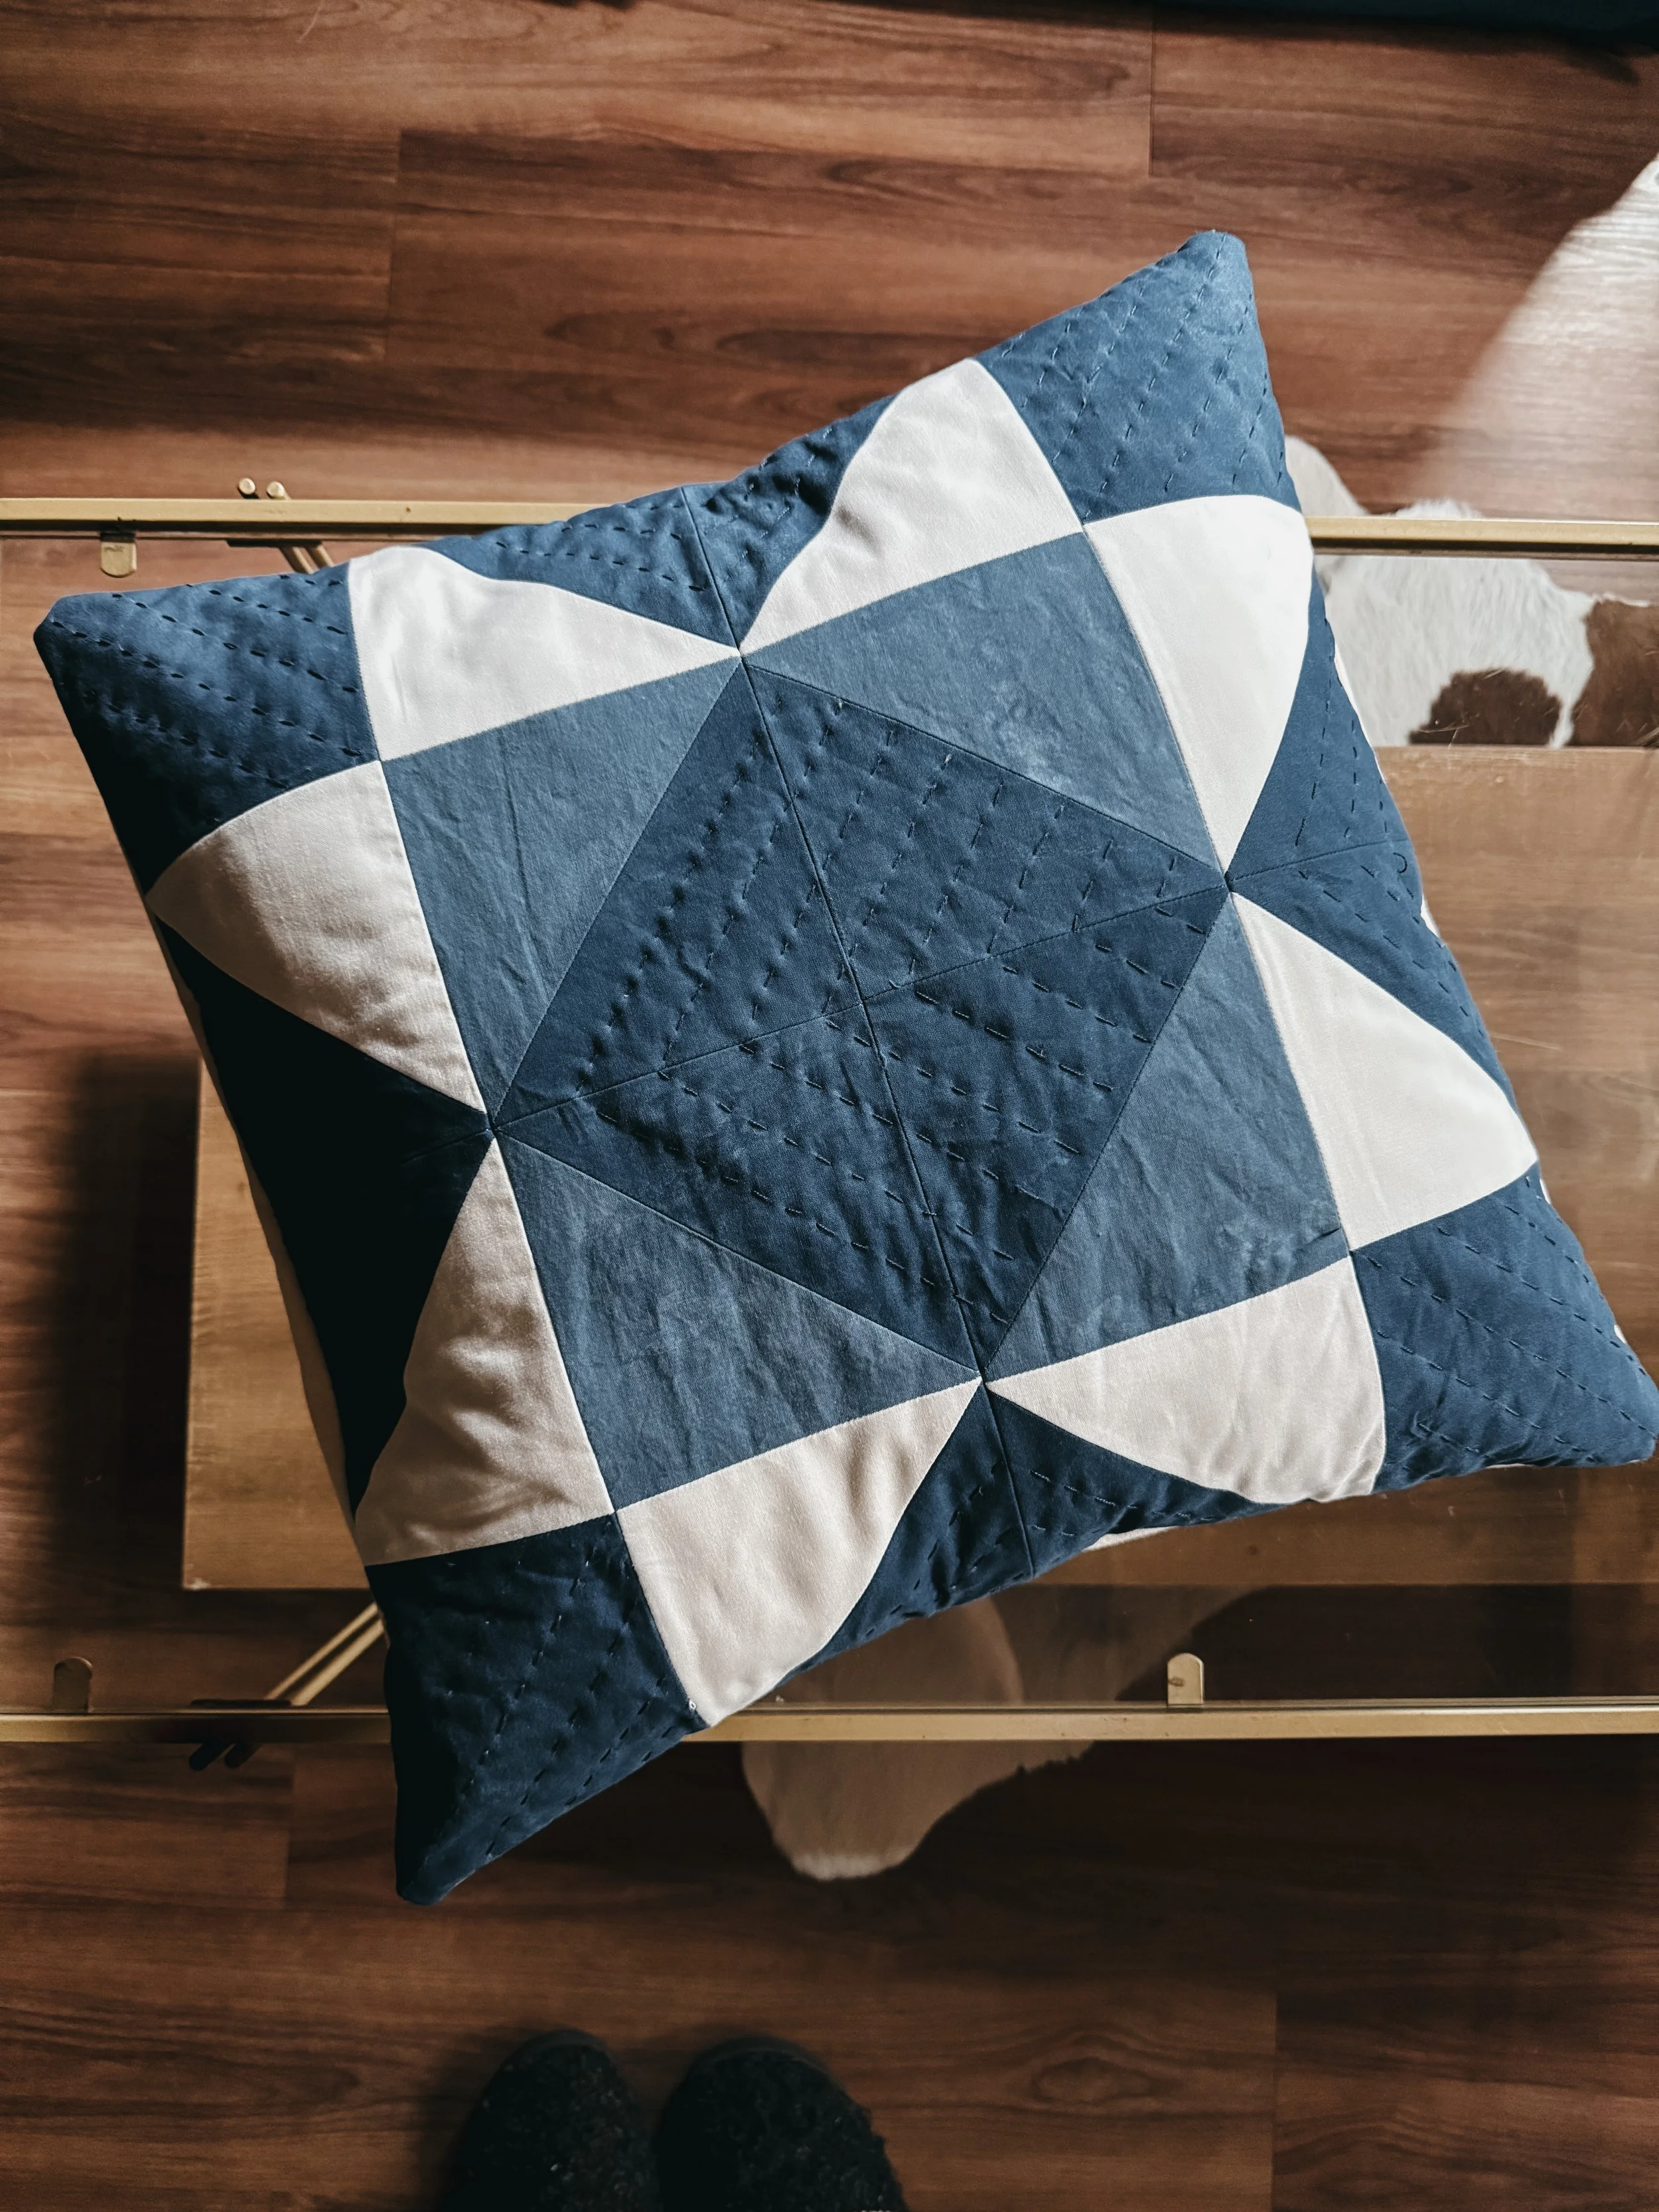
Double fold binding (also called French fold) is a strip folded in half lengthwise, creating a double thickness on the quilt’s edge. It’s sturdier and more durable, which is why it’s the go-to choice for most quilts—especially those that will be washed, cuddled, or handed down for generations.
In short: if you’re making a bed quilt, baby quilt, or anything that will see daily life, go with double fold. It’s strong, neat, and gives your quilt that wrapped-up, heirloom feel.Tools & Materials You’ll Need
Before you dive into binding, take a moment to gather your supplies. Having everything close at hand makes the process smoother—and honestly, more enjoyable too. This part of quilting doesn’t require anything fancy, but a few thoughtful tools go a long way in getting clean corners and a polished finish.
Fabric Strips for Binding
You’ll need to cut long strips of fabric that wrap around the edge of your quilt. This is your binding. Most quilters use 2½" wide strips for double-fold binding, which is both durable and beginner-friendly.
Here’s a quick way to calculate how much you need:
Measure the perimeter of your quilt: (Width + Length) × 2.
Add 10–12 extra inches for joining and turning corners.
Divide that number by 40" (standard usable width of quilting cotton) to figure out how many strips to cut.
Example: For a quilt that’s 60" × 80":
(60 + 80) × 2 = 280"
280" + 10" = 290"
290 ÷ 40 = 7.25 → cut 8 strips to be safe
Rotary Cutter, Ruler & Cutting Mat
A rotary cutter and quilting ruler will give you crisp, straight strips with minimal effort. Use a cutting mat to protect your table (and your rotary blade!). Accuracy matters here—straight strips make for smooth, even binding.
Iron, Pins or Clips, Hand-Sewing Needle, Thread & Sewing Machine
Once you’ve sewn your binding strips together, you’ll press them in half lengthwise with a hot iron. Don’t skip this—pressed binding is easier to handle and gives a sharper, cleaner look.
You’ll also need:
Pins or binding clips to hold things in place as you sew.
A hand-sewing needle if you plan to finish the back of your binding by hand (a favorite method for a clean, invisible finish).
Thread that matches or blends with your binding fabric.
A sewing machine for attaching the binding to the front of the quilt.
Optional Helpers
These aren’t must-haves, but they make things a bit easier:
A walking foot helps your machine feed all three quilt layers evenly—especially helpful when sewing through thick seams.
Binding clips (like Wonder Clips) are gentler than pins and won’t distort your fabric.
A stiletto or point turner is helpful for turning out crisp corners and guiding fabric under your needle.
amazon link to fave productsStep-by-Step Instructions to Bind a Quilt
Binding a quilt might seem like a big task, but once you break it down, it becomes a calming, almost meditative finish to all your hard work. Whether you’re hand quilting by the fire or finishing a baby quilt in time for gifting, these steps will walk you through the binding process from start to finish.
Step 1: Square and Trim Your Quilt
Before you even touch your binding, take a few minutes to square up your quilt. Lay it flat and smooth it out gently. Using a rotary cutter and a large ruler, trim the edges so they’re even and the corners are clean 90° angles. Don’t forget to trim any extra batting and backing that extends beyond the quilt top. This step sets the stage for a smooth, even binding all the way around.
Step 2: Prepare Your Binding Strips
Now it’s time to cut your binding fabric. Most quilters use 2½" wide strips for double fold binding, but 2¼" works too if you prefer a tighter wrap. Join your strips end-to-end using a diagonal (45°) seam—this helps reduce bulk and keeps things looking neat. Once all your strips are joined, press the seams open and then press the entire strip in half lengthwise, wrong sides together. You now have your double fold binding ready to go.
Step 3: Attach Binding to the Front
With your quilt top facing up, start sewing your binding in place on one side—ideally somewhere along the bottom or a less-visible edge. Leave a 6–10" tail unsewn at the beginning (you’ll need this for joining later). Align the raw edge of your binding with the edge of your quilt and sew it down using a ¼" seam allowance.
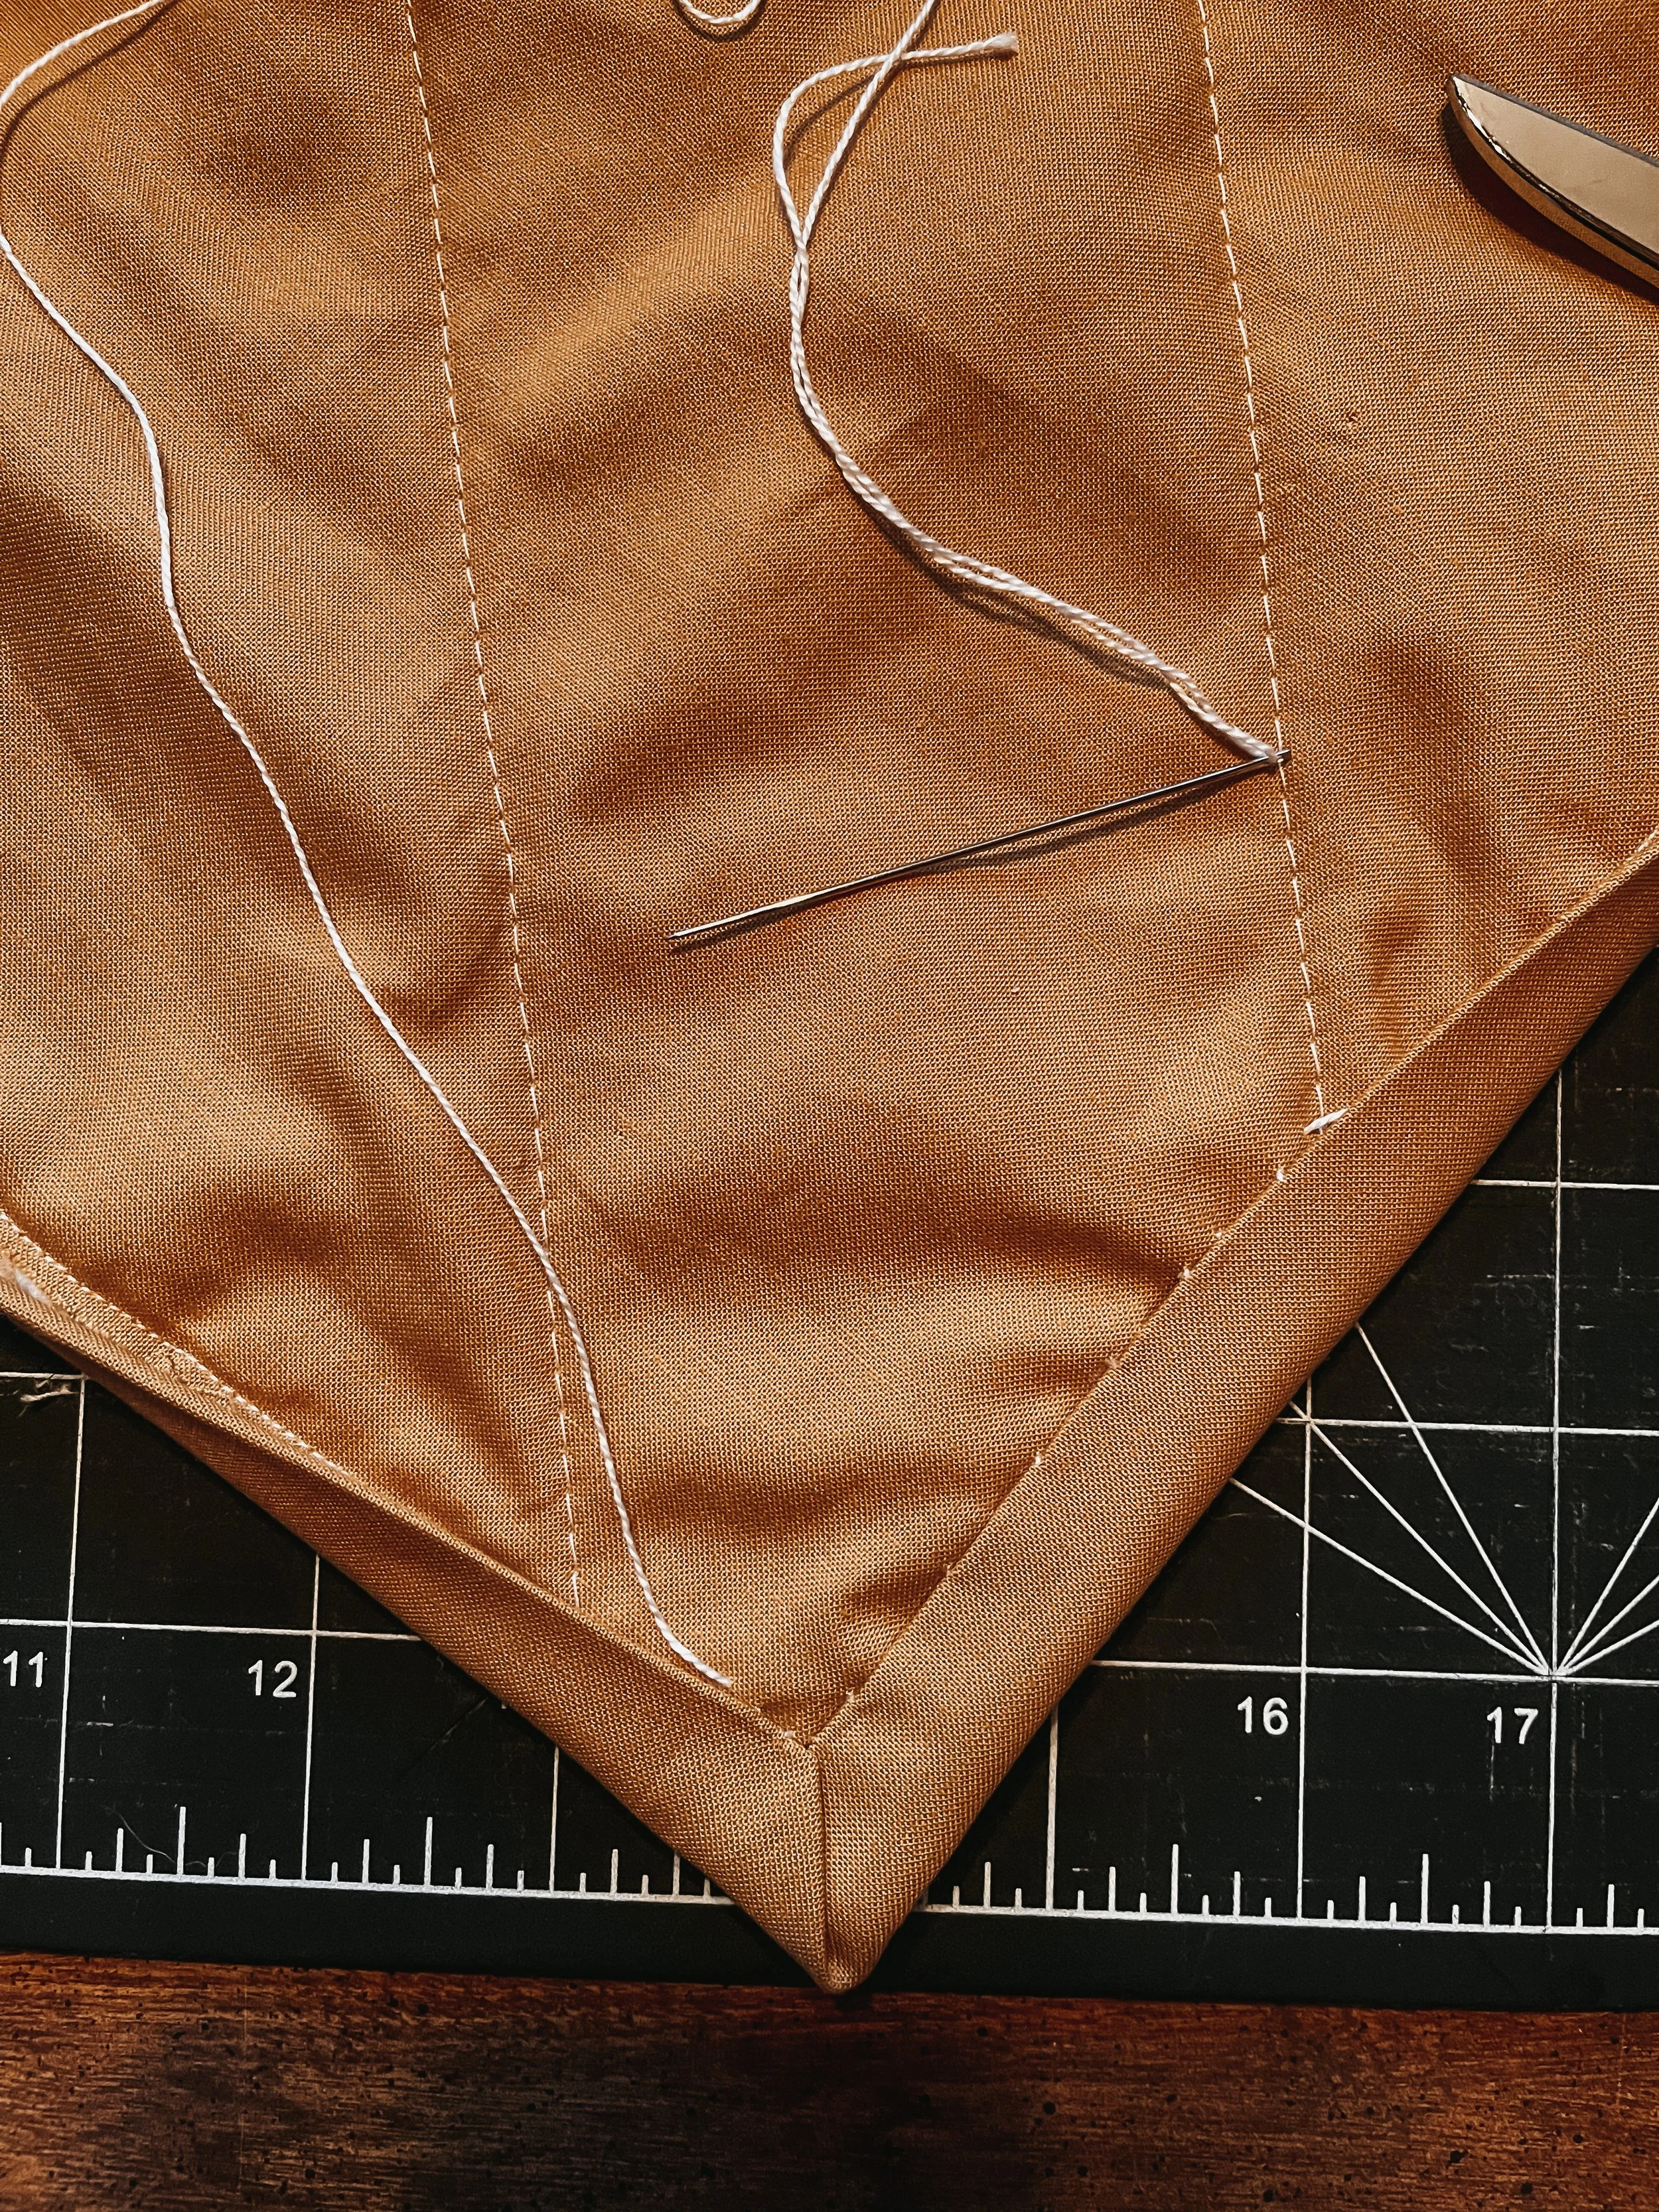
When you get to a corner, stop ¼" before the edge, backstitch, and remove the quilt from the machine. Fold the binding up at a 45° angle, then fold it back down so the new fold aligns with the next side. This creates a crisp mitered corner—go ahead and continue sewing down that next side.
Stop sewing about 8–10" before you reach your starting point.
Step 4: Join the Binding Ends
This is the part that usually trips people up, but it’s easier than it looks! Lay the two loose binding tails so they overlap, and trim them so they overlap by the width of your binding strip (usually 2½"). Open the strips, place them right sides together at a 90° angle, and sew diagonally across to join them. Press the seam open, refold the binding, and sew it down to close the loop.
Step 5: Fold and Press the Binding to the Back
Now flip your quilt over. Fold the binding around the edge to the back side and secure it in place with clips or pins. Be sure it just covers your stitching line from the front for the cleanest look. Take your time—pressing as you go can help keep everything crisp and even.
Step 6: Hand Stitch or Machine Stitch the Binding
Here’s where you have options. If you love slow stitching, use a ladder stitch (also called an invisible stitch) to hand sew the binding down on the back. It’s soothing work and gives your quilt a polished, heirloom finish.
Prefer a faster finish? You can also stitch the binding down by machine. Either stitch “in the ditch” from the front (right next to the binding seam) or use a decorative topstitch to secure everything in place. Don’t forget to check that your back binding is catching in the stitch line.
No matter which method you choose, take your time on the corners. Neat mitered corners are the cherry on top of a beautifully bound quilt.

Troubleshooting Common Binding Issues
Even the most experienced quilters run into hiccups at the binding stage. Luckily, most issues are easy to fix with a little know-how (and maybe a deep breath or two). Let’s walk through some of the most common binding mishaps and how to solve them.
Binding Too Short—What to Do
Uh oh—you're just inches away from the finish line and the binding is too short. It happens! Here's how to recover:
Don’t panic. You can add a small length of extra binding without it being noticeable.
Cut a new piece of binding the same width as your original strip, about 6–8" long.
Join it to the binding tail using a 45° seam (just like when you joined your original strips).
Press the seam open to reduce bulk, fold the strip, and continue attaching it to the quilt as normal.
Tip for next time: Always add an extra 10–15" of binding to your measurements to allow for joins and corner turns.
Bulky or Wonky Corners—How to Fix Them
Mitered corners are meant to look crisp and professional—but sometimes they puff, twist, or look a little awkward. Here's how to clean them up:
Too much fabric in the corner? Use a stiletto or point turner to gently push the corner out and flatten the layers before stitching down.
Corners not folding neatly? Before wrapping the binding to the back, fold the corner at a 45° angle and press it into shape—it sets the fold for better accuracy.
Check your seam allowance. Sewing too far in or too close to the edge can throw off the geometry of your corners.
Practice on a scrap! Once you’ve nailed the angle and fold, it’ll feel like second nature.
Wavy Edges or Uneven Binding Width—What Causes Them and How to Prevent It
If your quilt edges are rippling or your binding looks thicker in some areas, these tips will help you get a smoother finish:
Wavy edges often happen if the quilt wasn’t fully squared or if the binding was pulled too tightly while sewing. Make sure to trim your quilt evenly before attaching binding and avoid stretching the binding as you sew.
Inconsistent seam allowance can cause uneven binding width. Use a seam guide or mark your stitching line to stay consistent at ¼”.
Too much or too little pressing can cause trouble. Press the binding as you go (not too hot and not too often), and avoid over-manipulating the fabric.
Think of binding like the frame on a beautiful painting—it’s the final detail that brings everything together. Troubleshooting is part of the process, and each quilt you finish builds your confidence and skill.


Tips for a Beautiful Finish
Pre-wash vs. Unwashed Binding Fabric
There’s a bit of a debate in quilting circles about whether or not to pre-wash your binding fabric. Here’s the simple truth: it depends on your quilt.
If you’ve pre-washed your quilt top and backing fabrics, go ahead and pre-wash your binding, too. This helps prevent uneven shrinkage after your quilt’s first wash. But if you’re working with unwashed fabrics—especially when aiming for that slightly crinkled, cozy look—then skip the pre-wash for consistency.
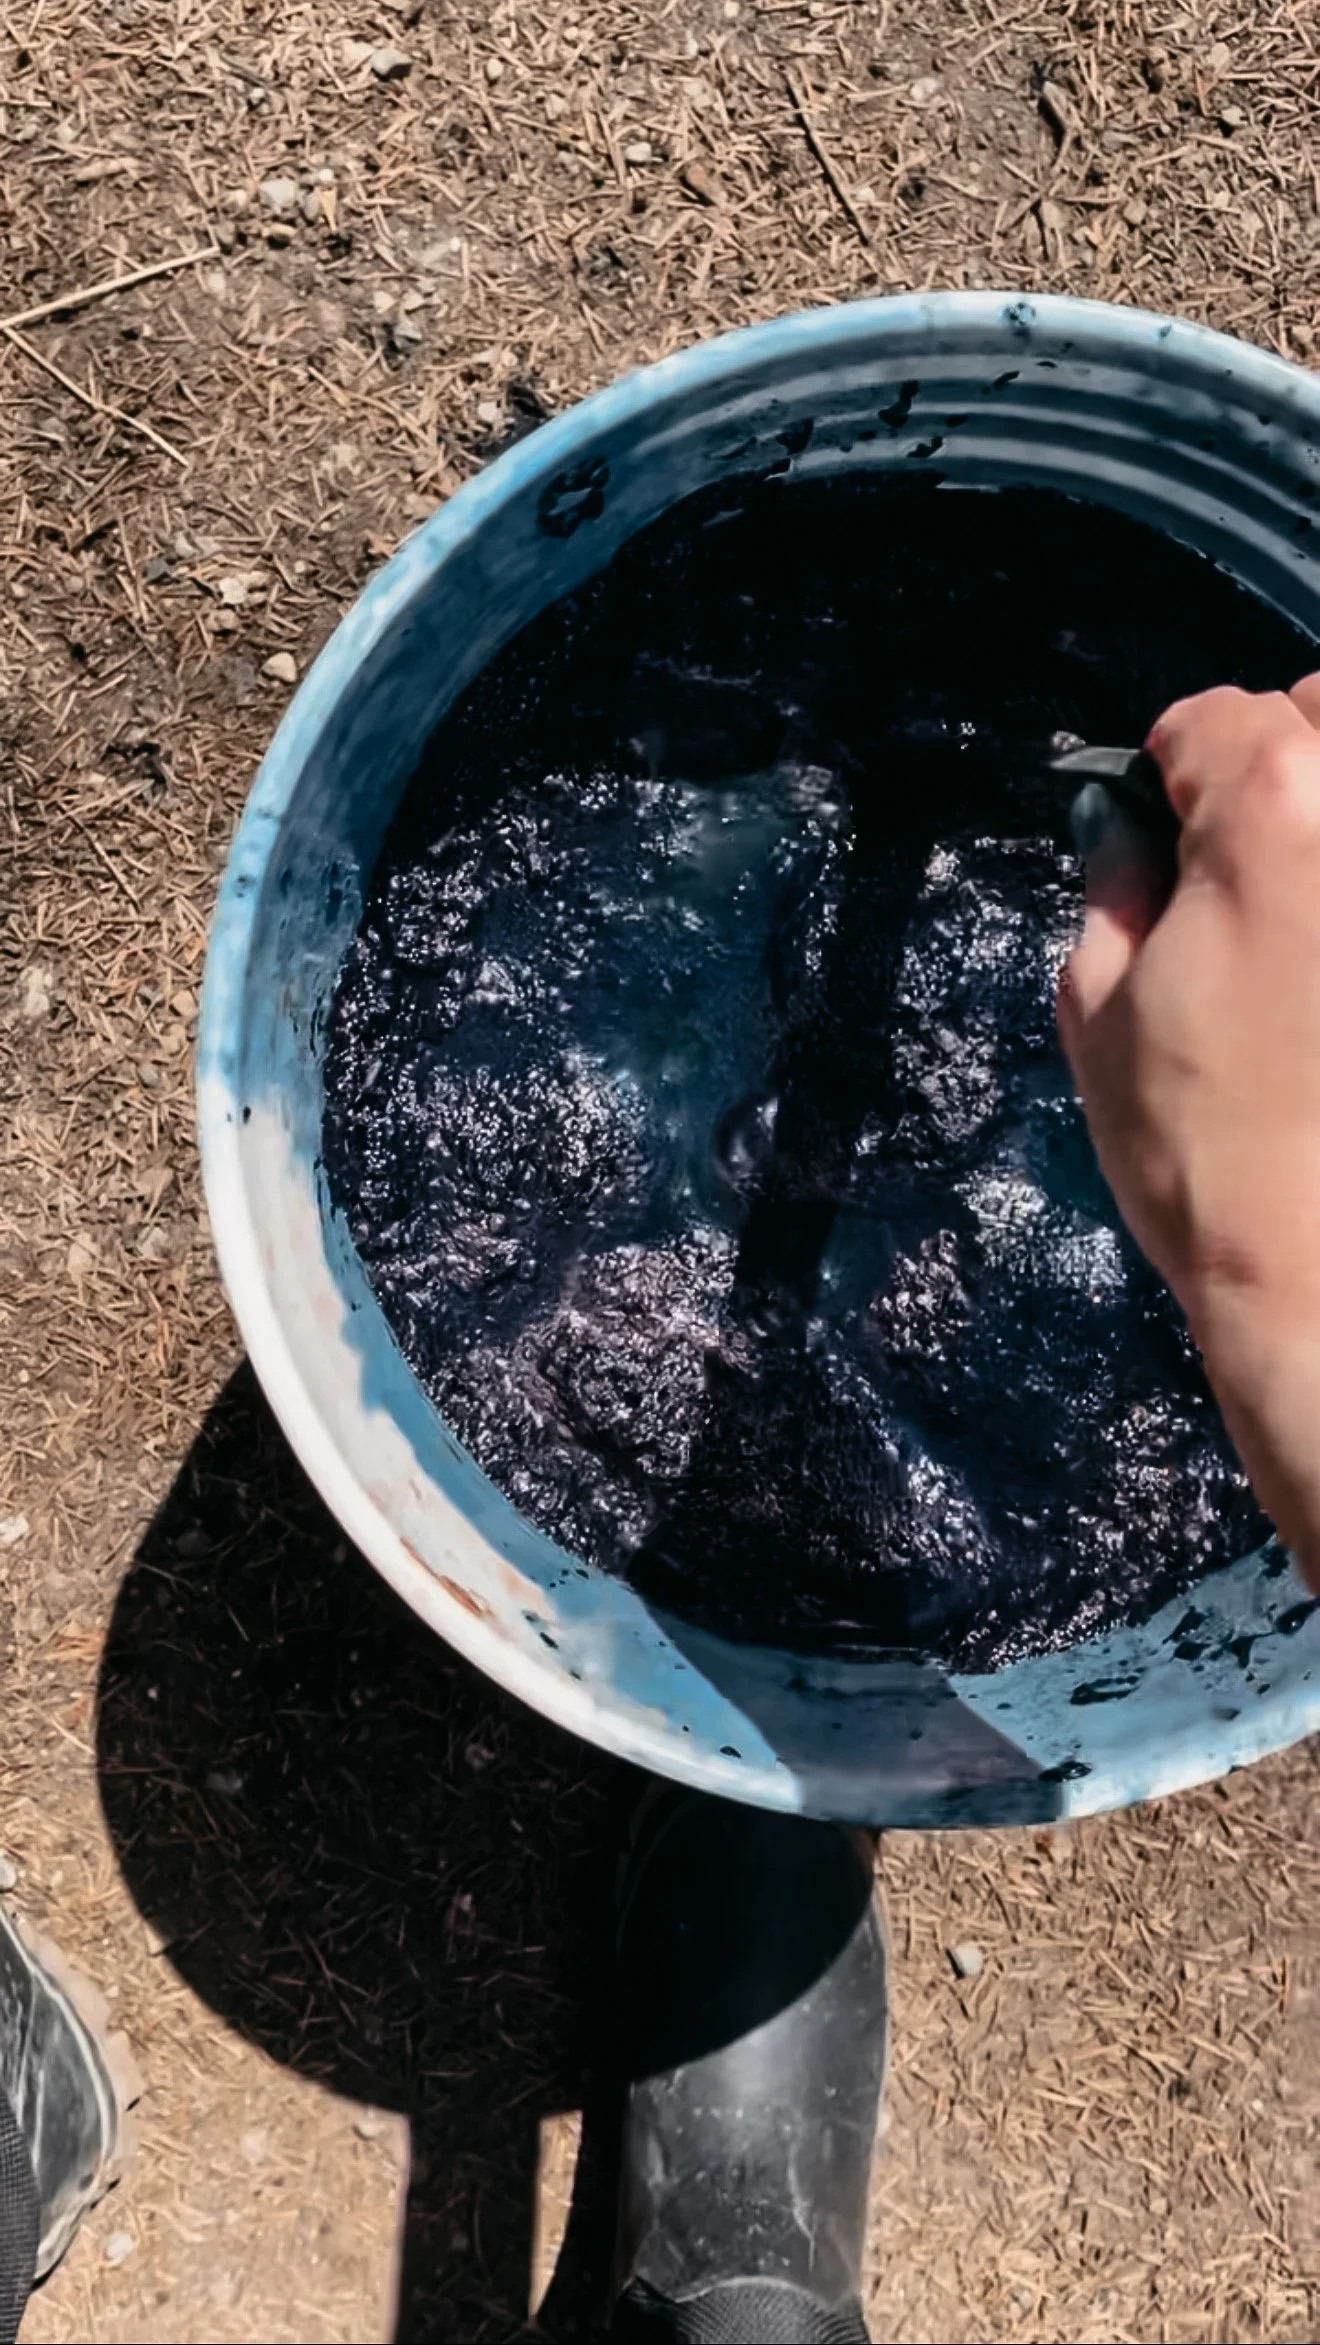
Just remember: if your binding fabric is red, deep blue, or hand-dyed (hello, indigo!), it’s a good idea to pre-wash separately to avoid any bleeding later on.
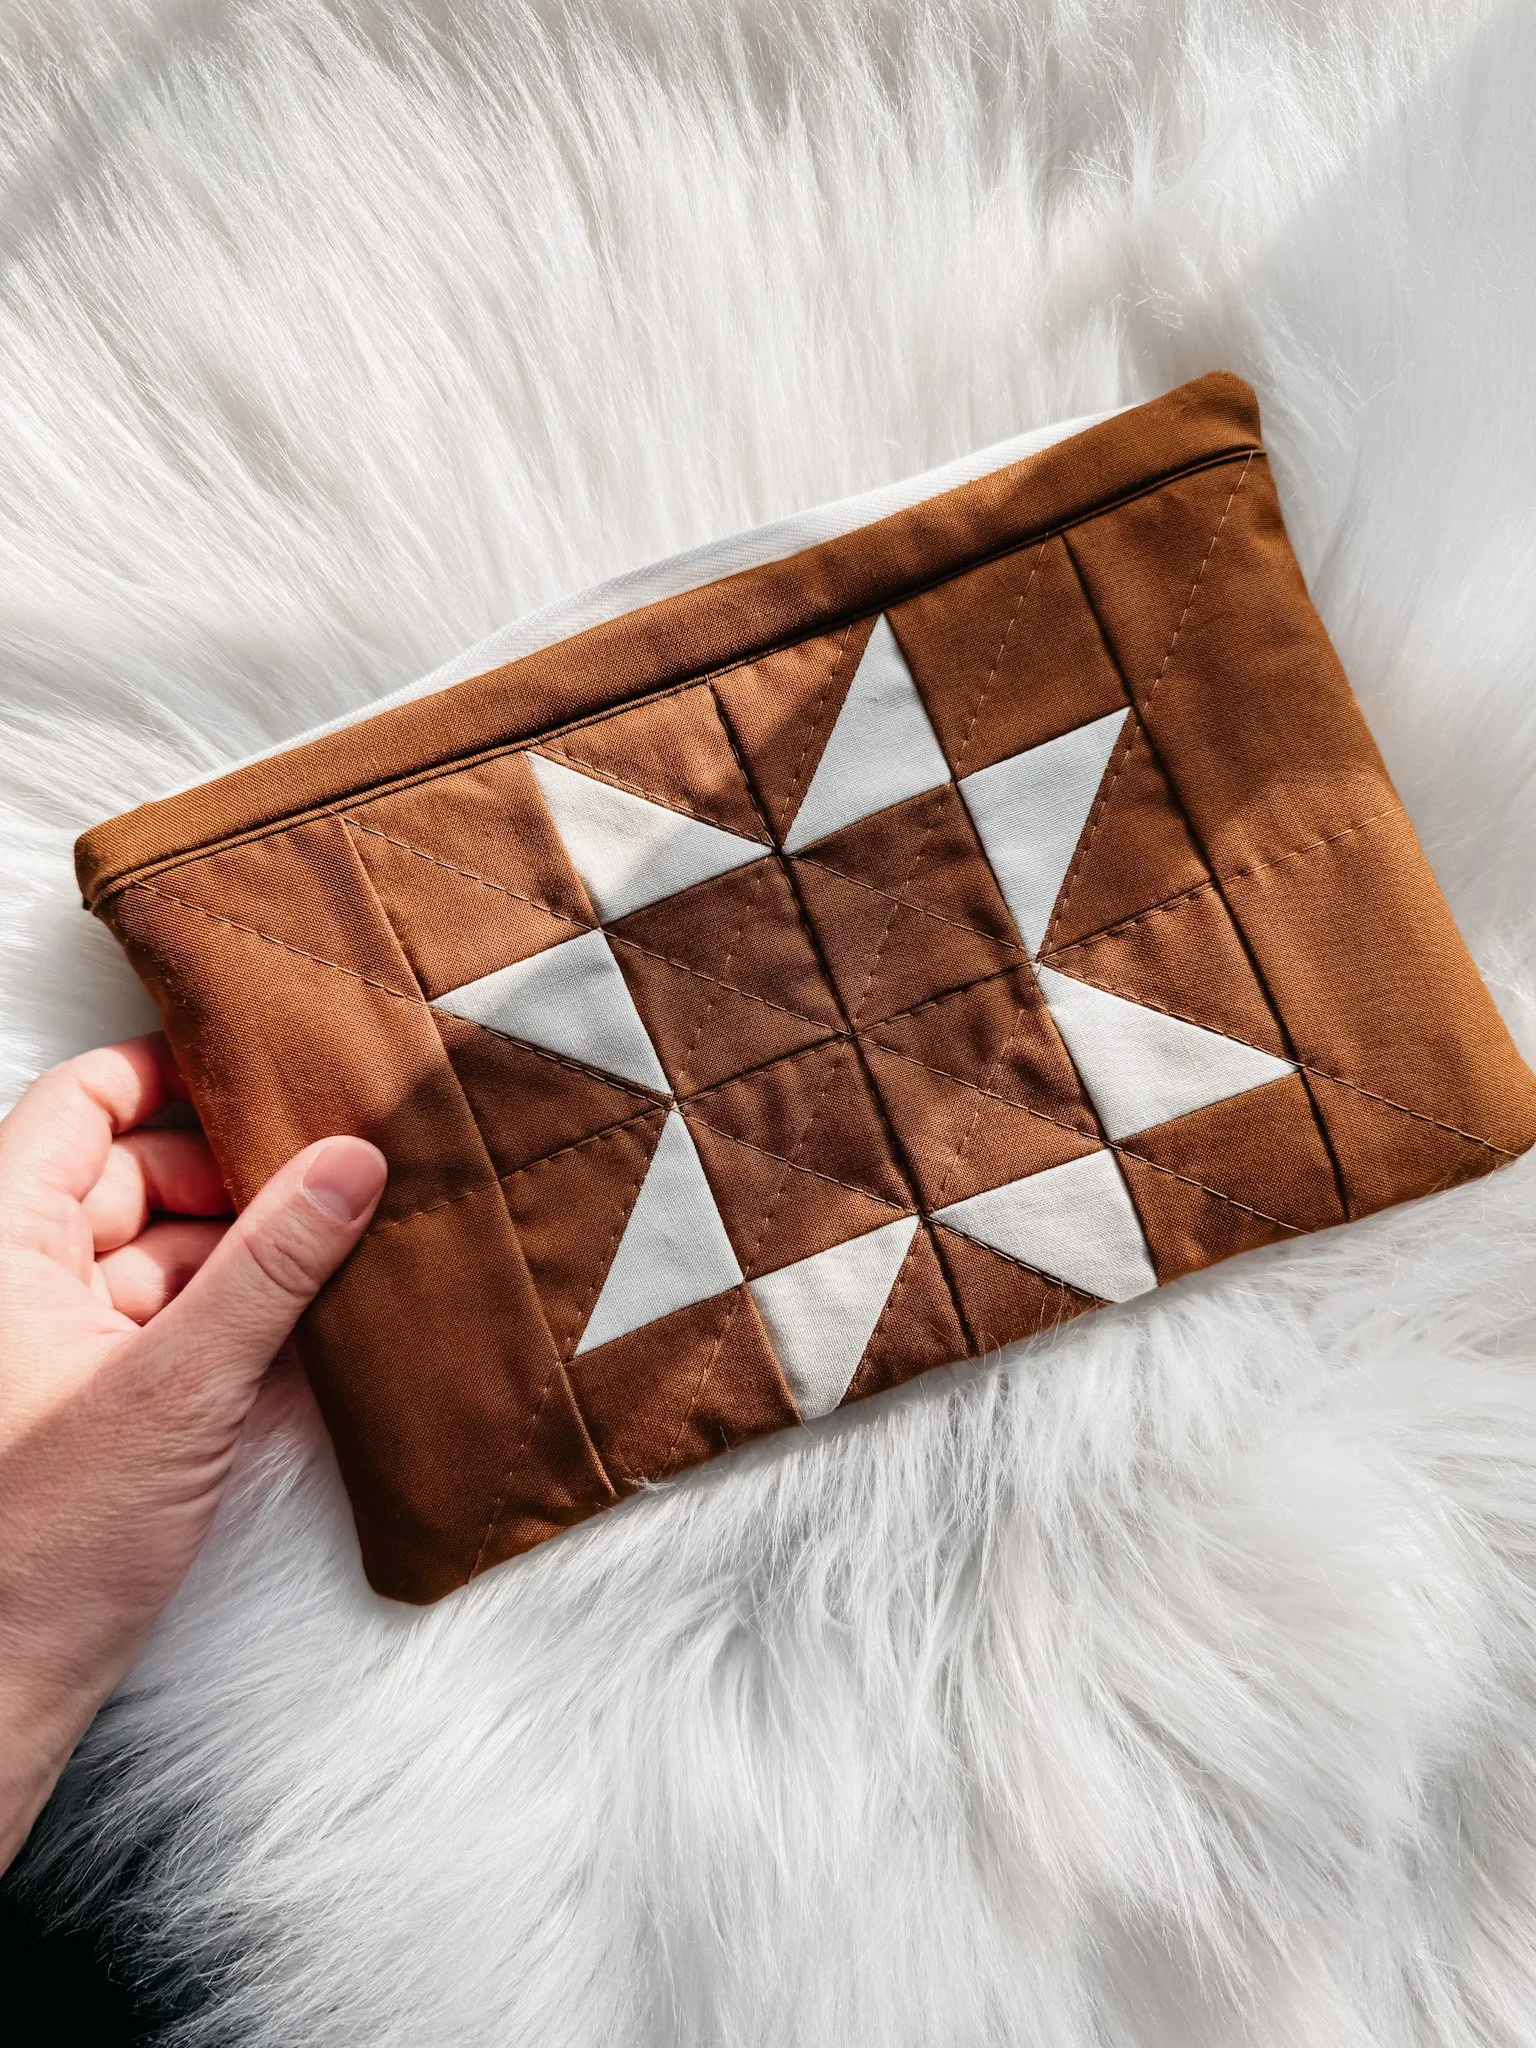
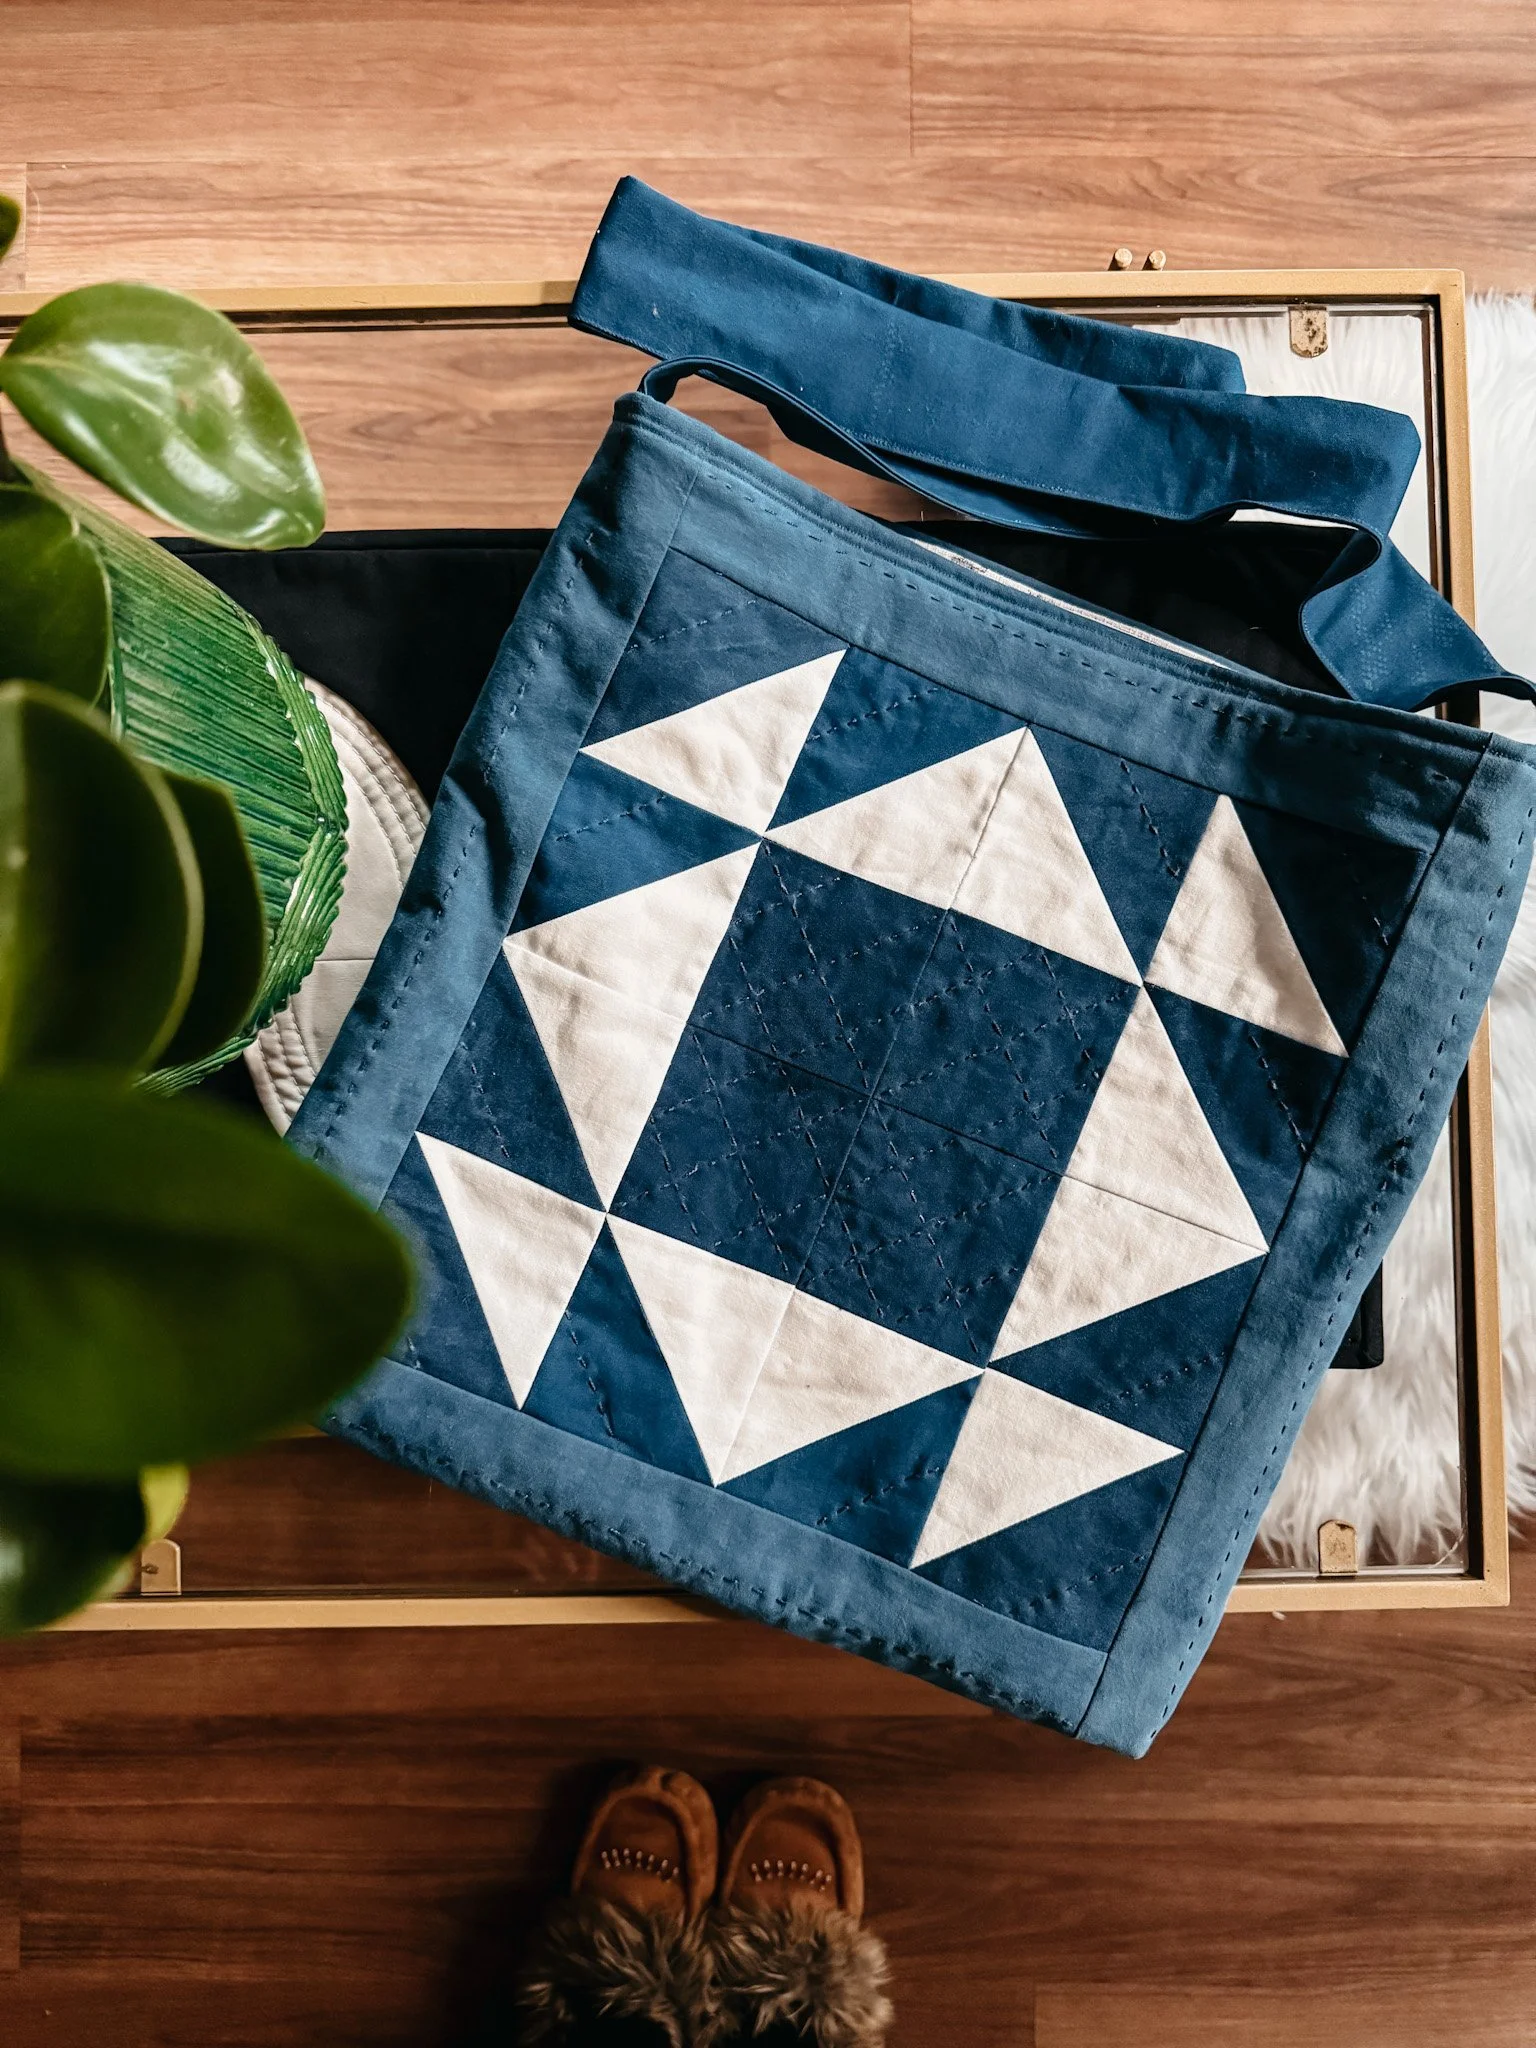
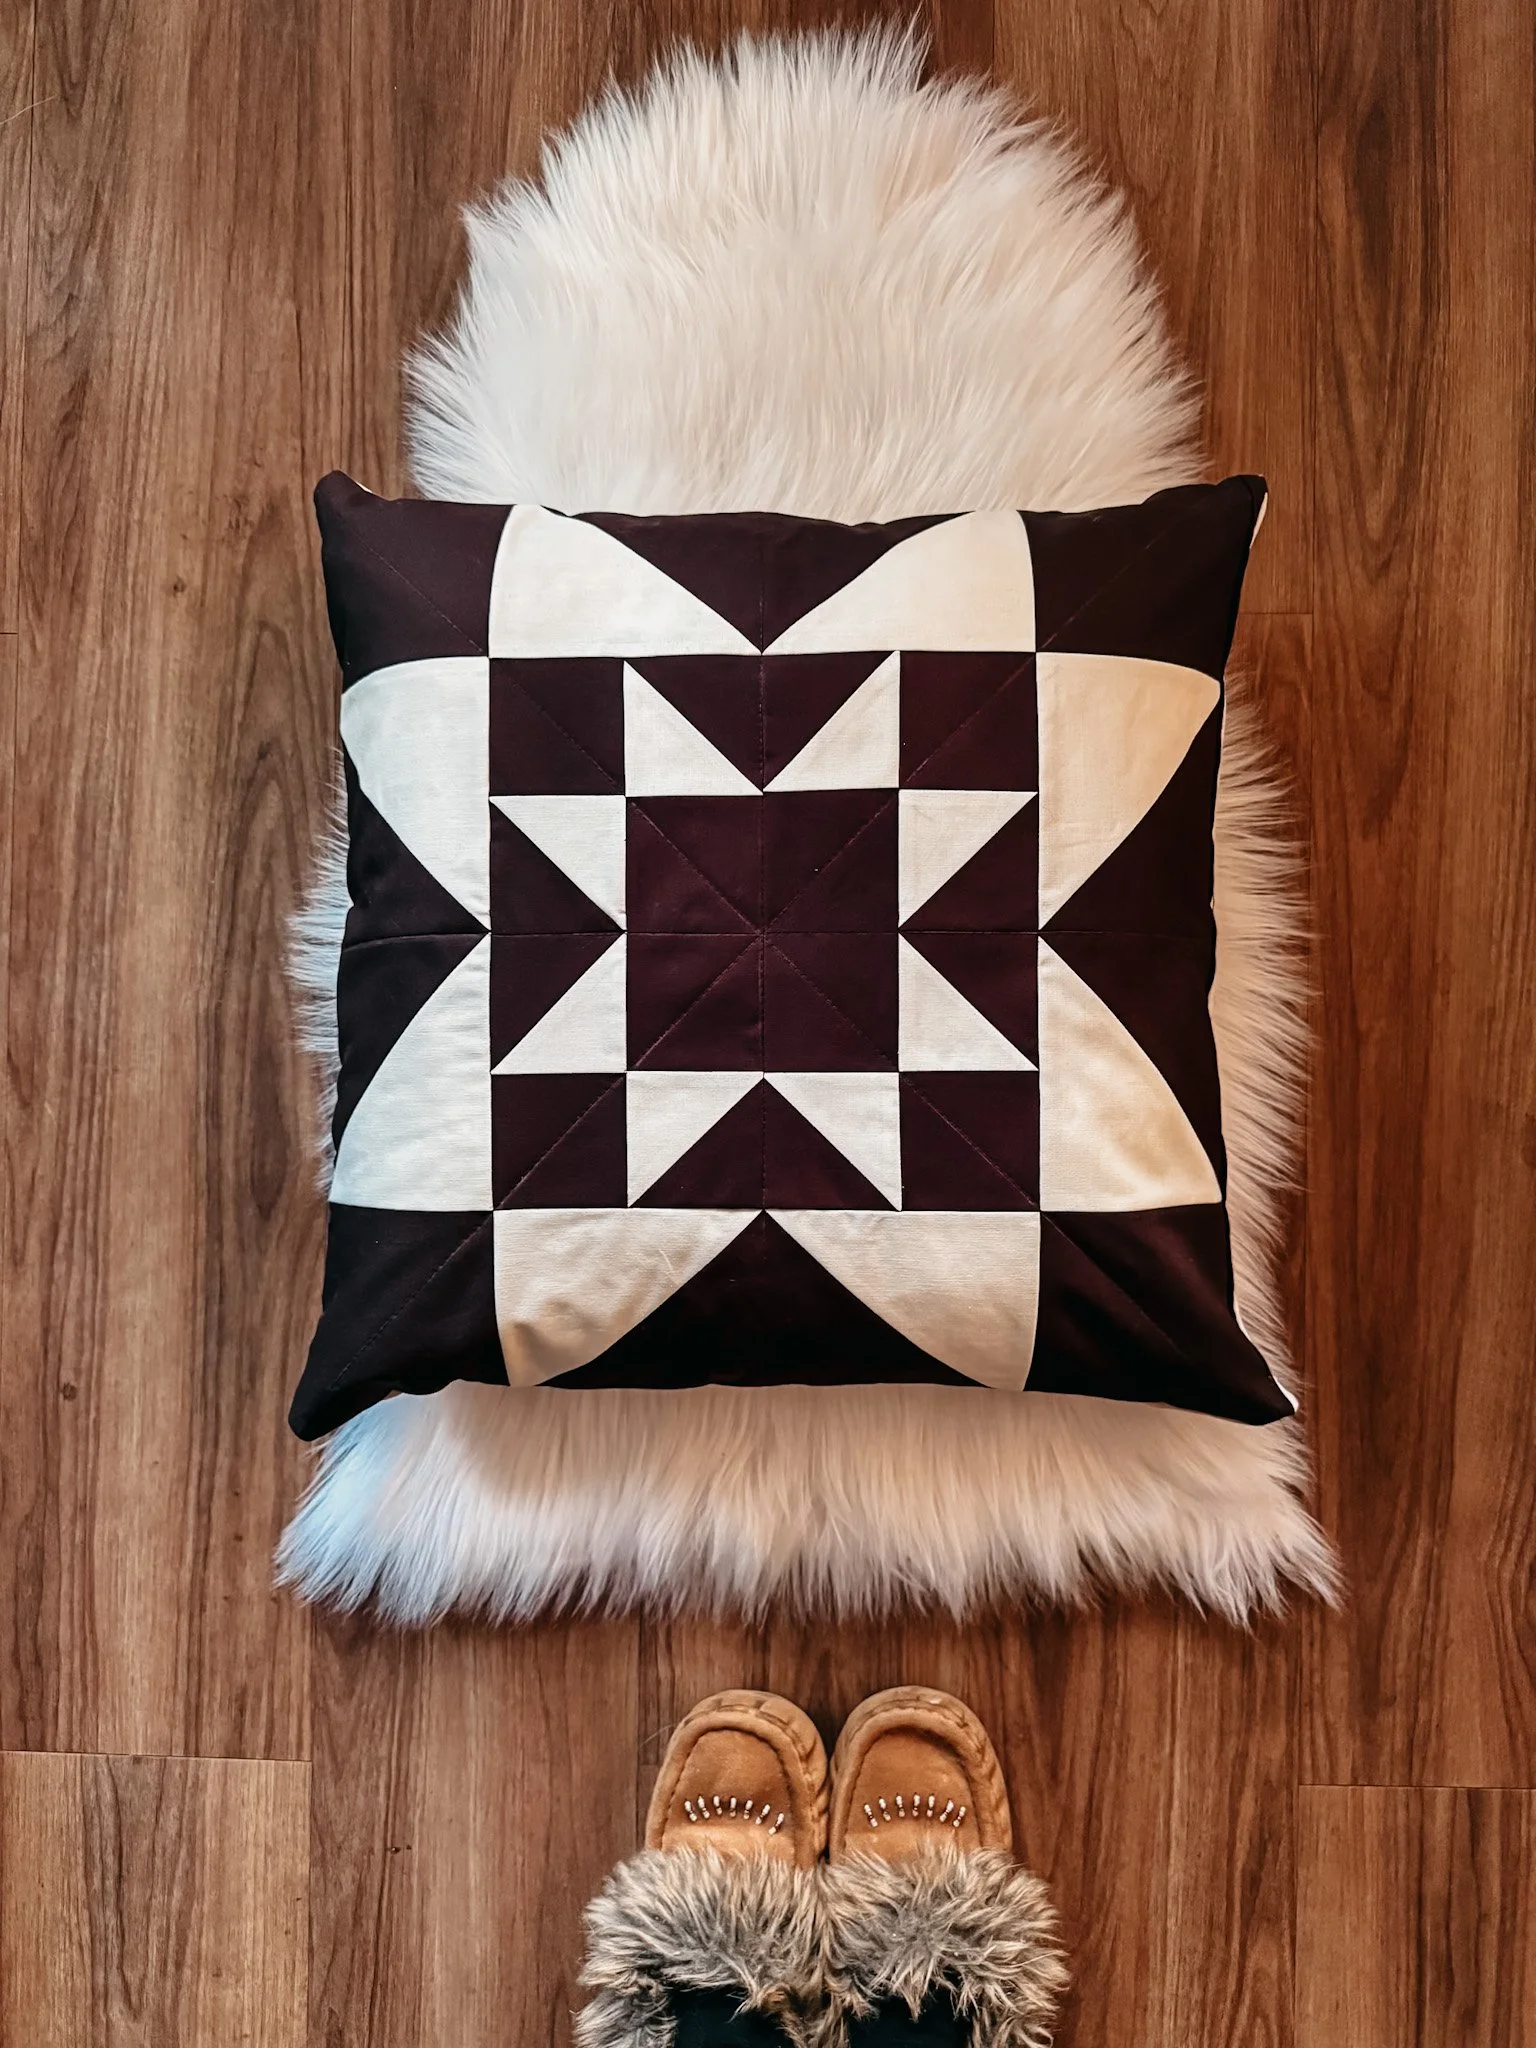
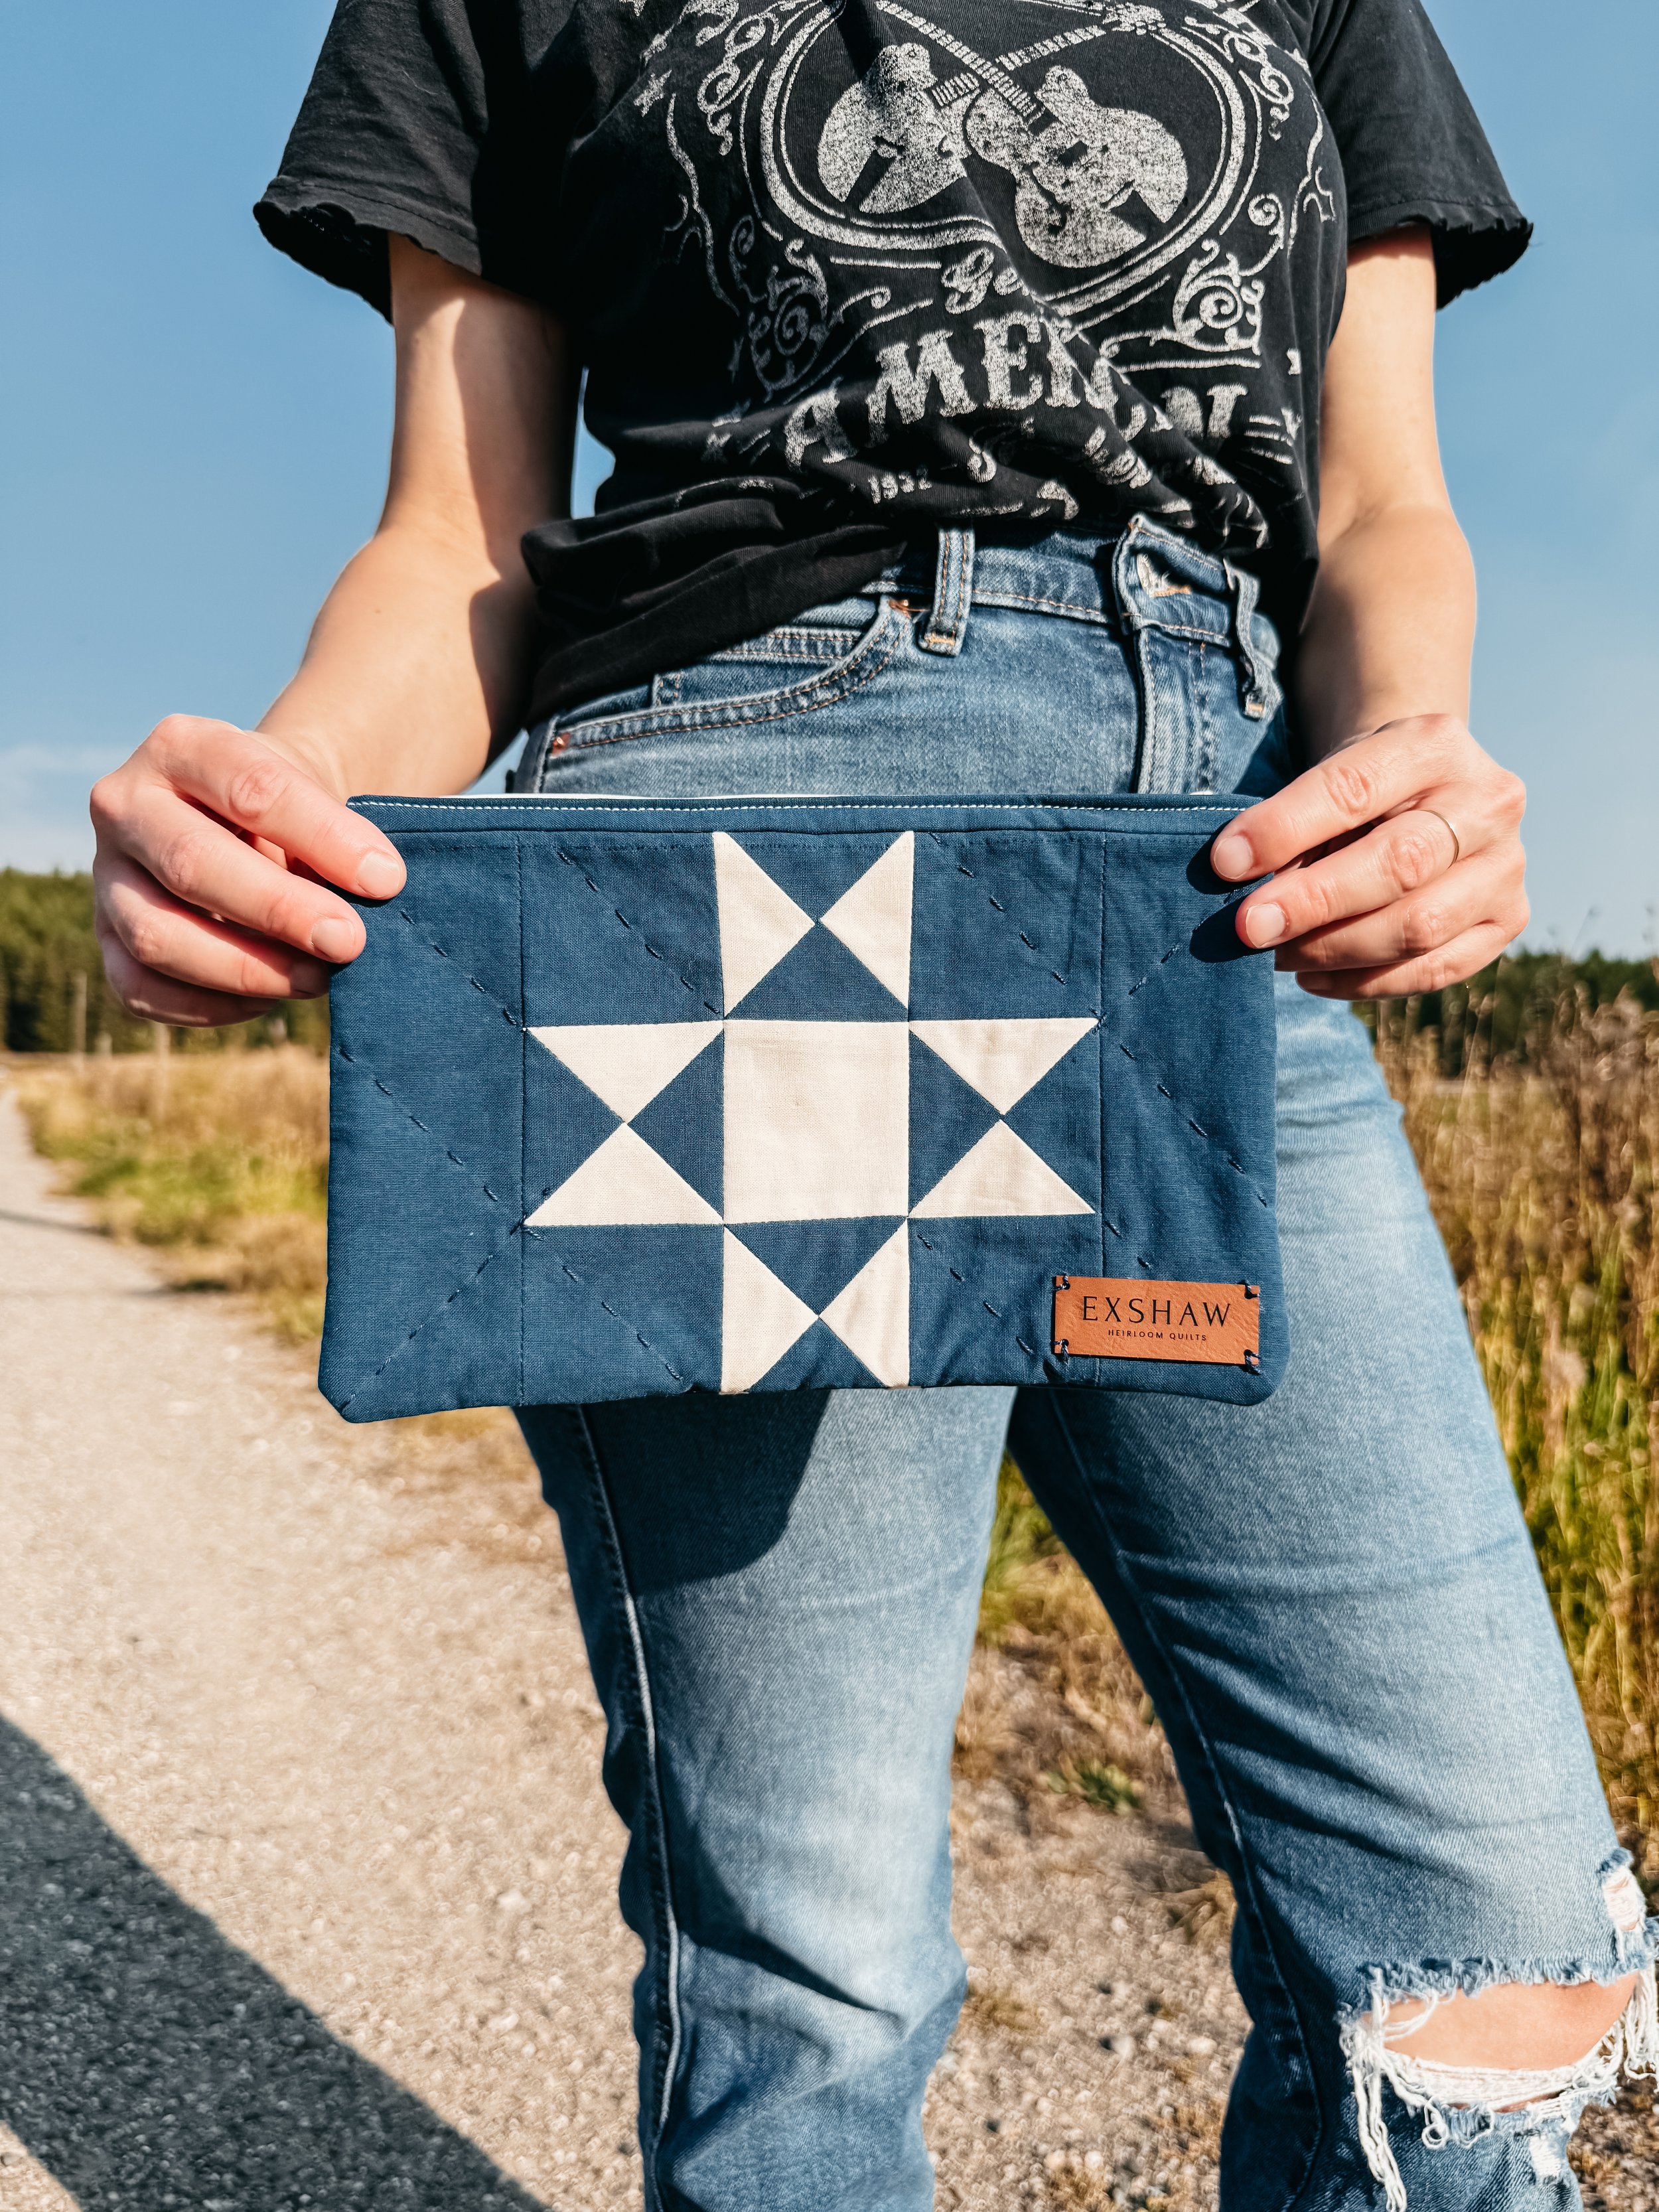
Coordinating vs. Contrasting Binding Fabric
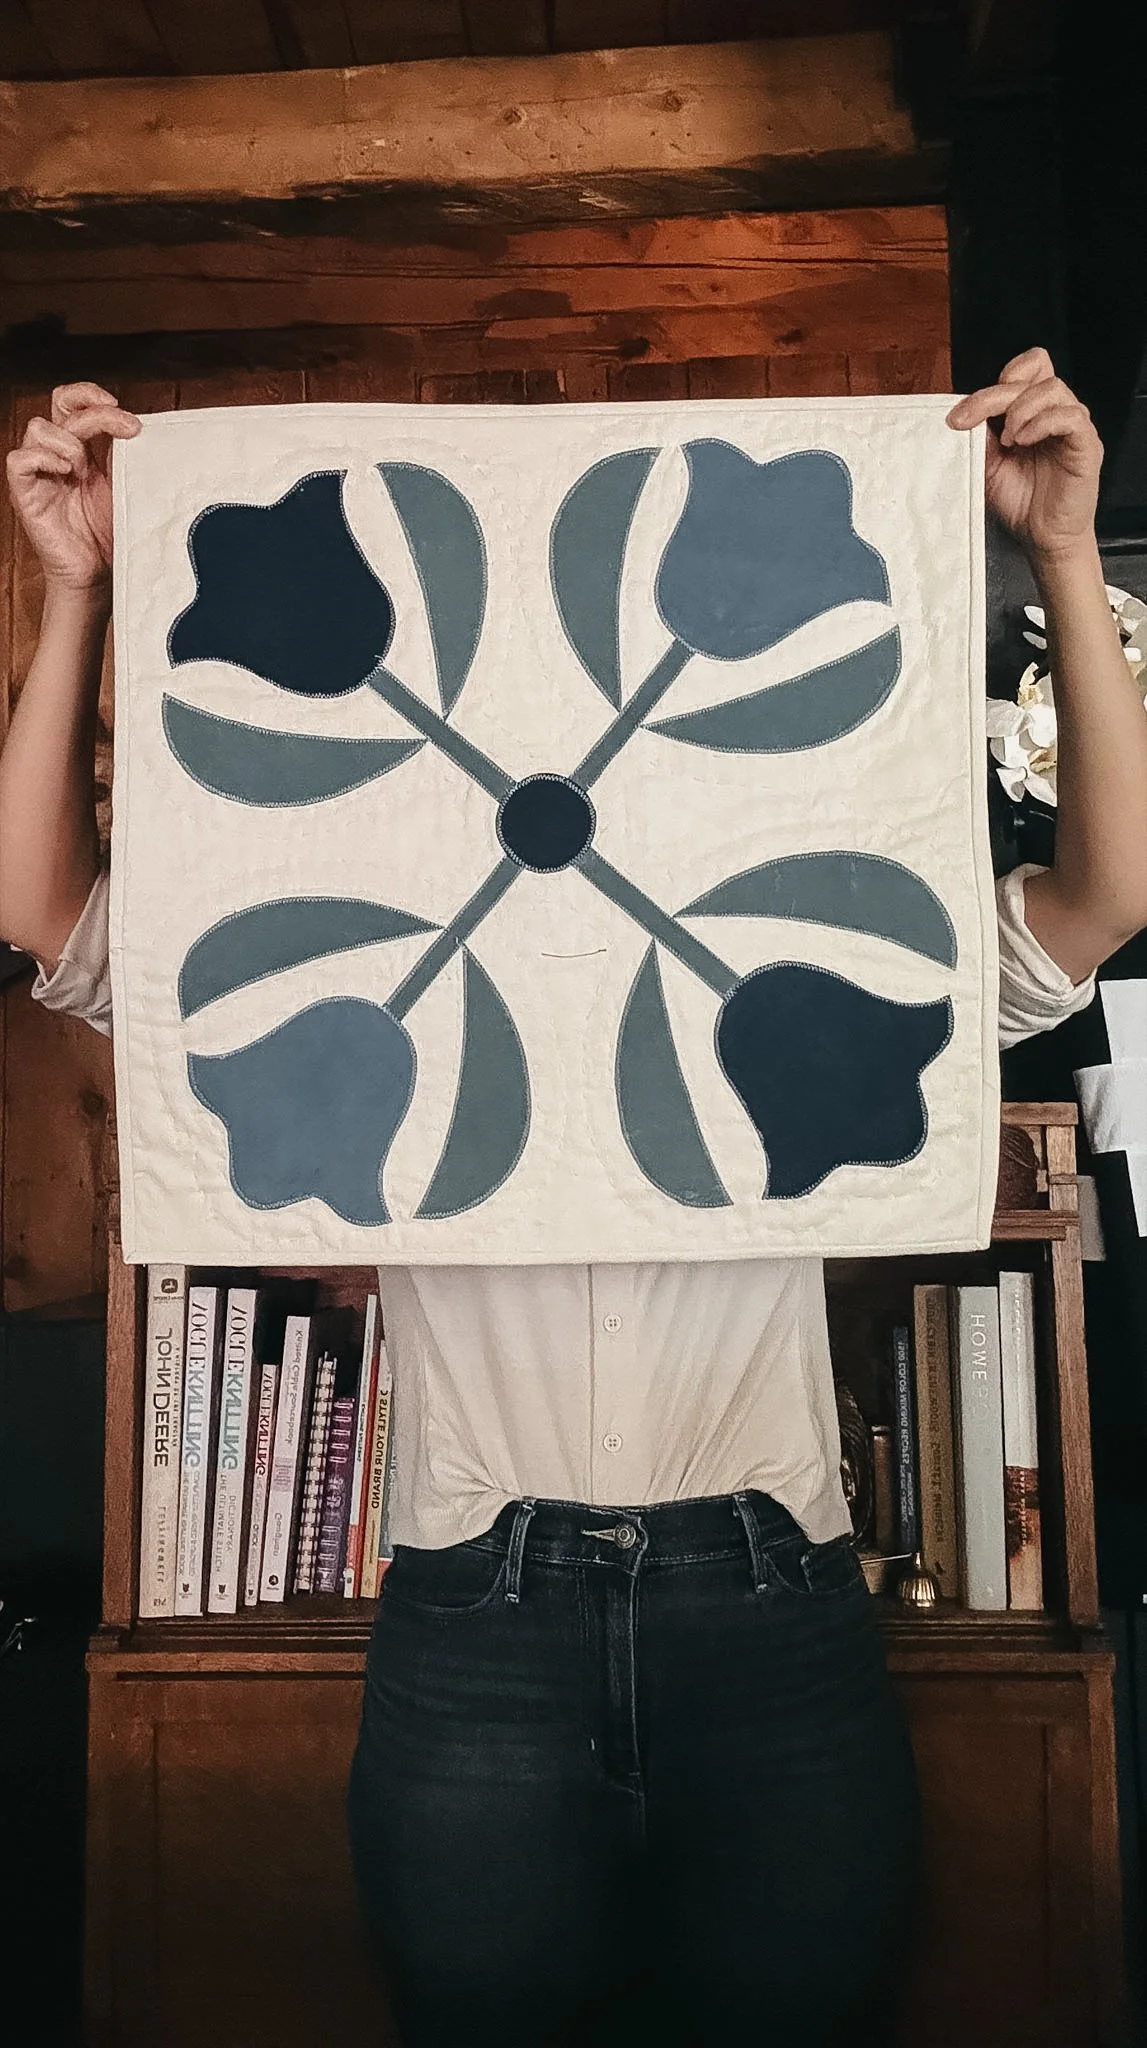
Choosing your binding is like picking the right frame for a painting—it can blend in quietly or make a bold, intentional statement.
Coordinating binding: This option matches or echoes a color already used in the quilt top. It keeps the focus on the blocks themselves and creates a seamless look—especially lovely for soft, timeless quilts or those made with subtle, natural dyes.
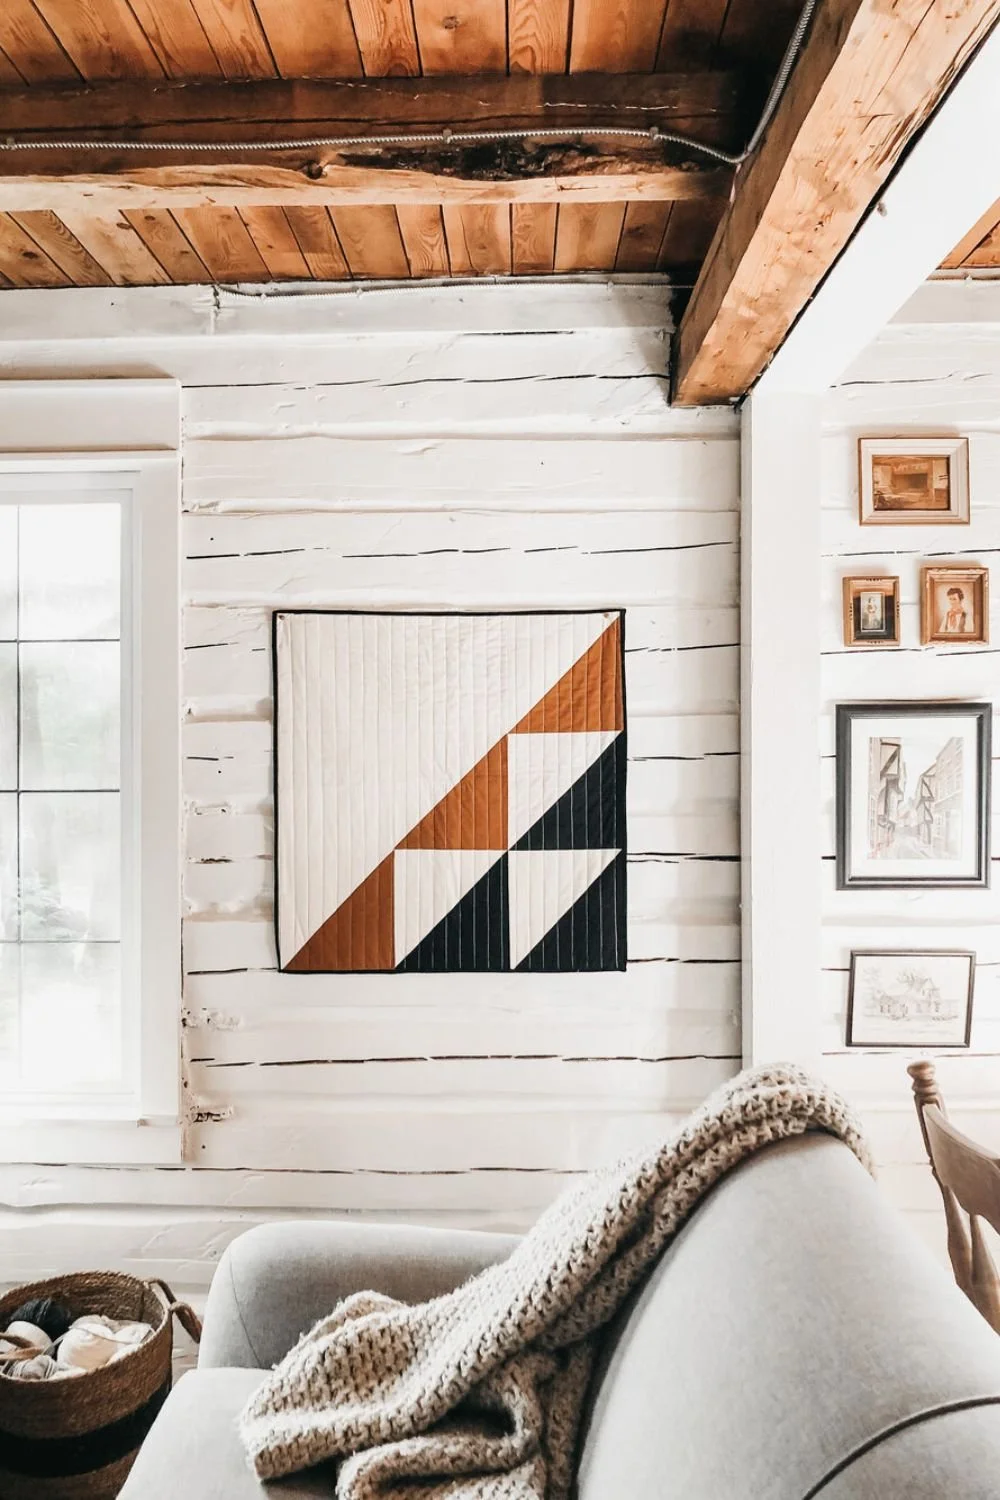
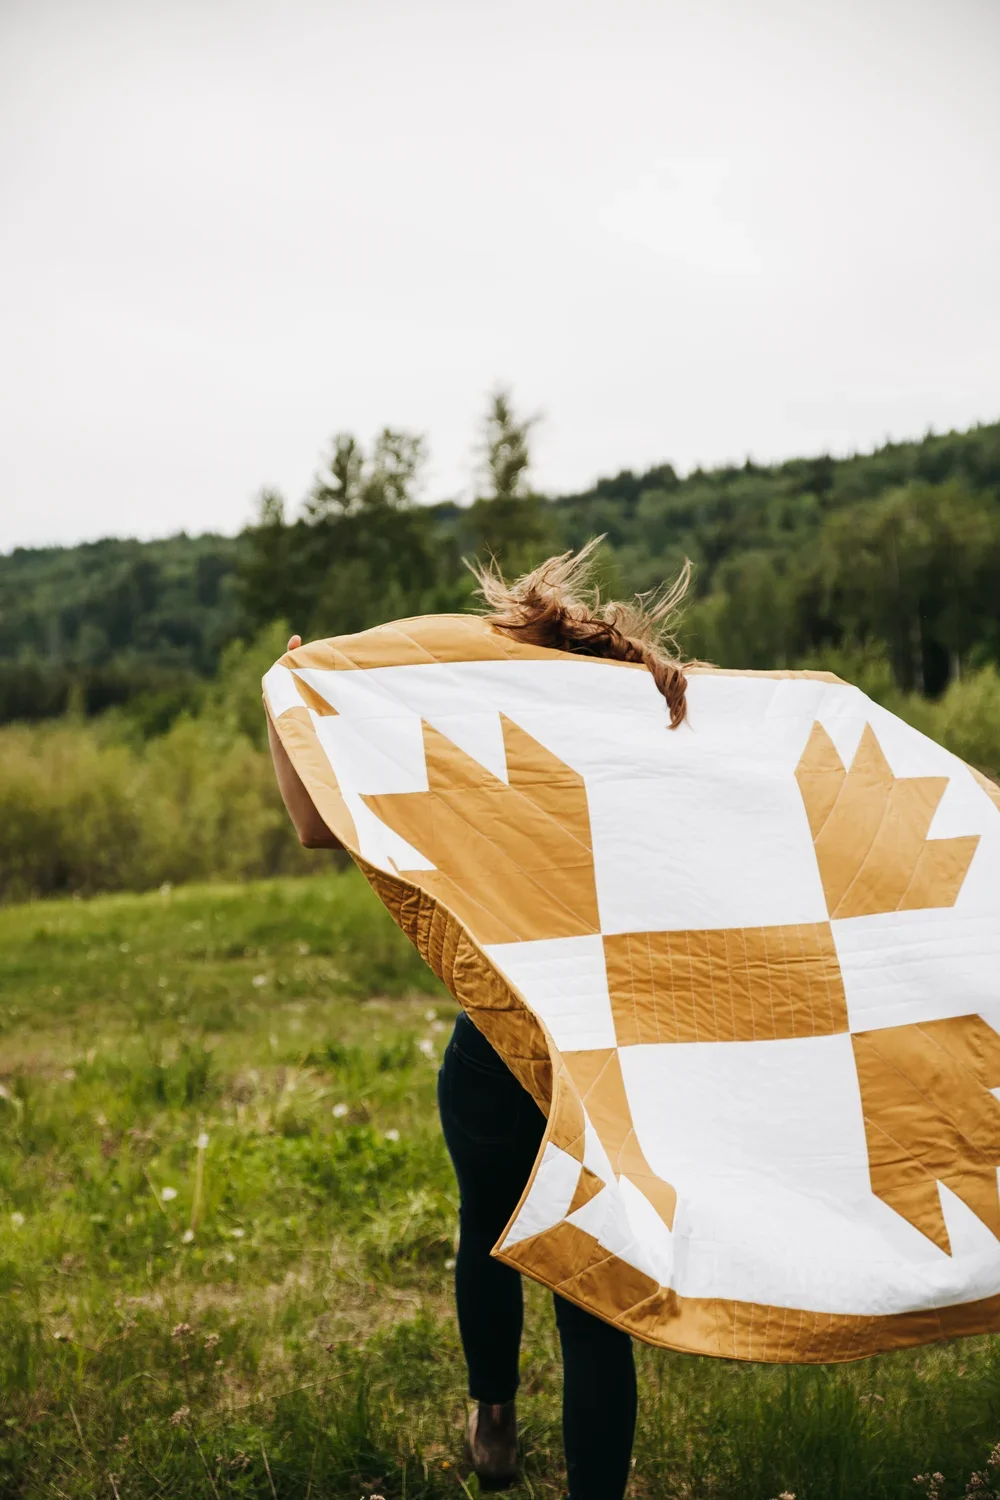
Contrasting binding: If you want your edges to pop or add a hint of playfulness, a contrasting fabric can bring personality and polish. Think of a navy border on a white quilt, or mustard edging on muted florals—it’s like adding punctuation to a sentence.
Neither is better—just ask yourself: Do I want the binding to whisper or sing?
Pressing Tips for Sharp Corners and Crisp Folds
A good press can elevate your binding from “handmade” to “heirloom.”
After you sew your binding to the front of the quilt, take time to press it away from the quilt top before folding it to the back. This small step helps prevent puckering and keeps the edge looking smooth.
Use steam if your fabric allows, and press those mitered corners flat before hand stitching them down. You’ll thank yourself later.
If you’re hand-finishing the back, press the folded edge so it gently hugs the quilt—this will make your stitches easier to place and more invisible.
Think of the iron as your secret weapon for a professional finish.
Conclusion
Binding your quilt might feel like a technical step, but it’s also a moment to reflect on everything you’ve created—one stitch, one block, one story at a time. With a few tools and a little patience, you can turn a quilt top into a finished piece that’s both functional and beautiful, ready to be snuggled under, gifted with love, or passed down with pride.
If you’re feeling inspired, subscribe to the Exshaw Quilts newsletter for more tutorials—from beginner-friendly quilt blocks to natural dyeing techniques and cozy project ideas that bring timeless craftsmanship into your everyday life.


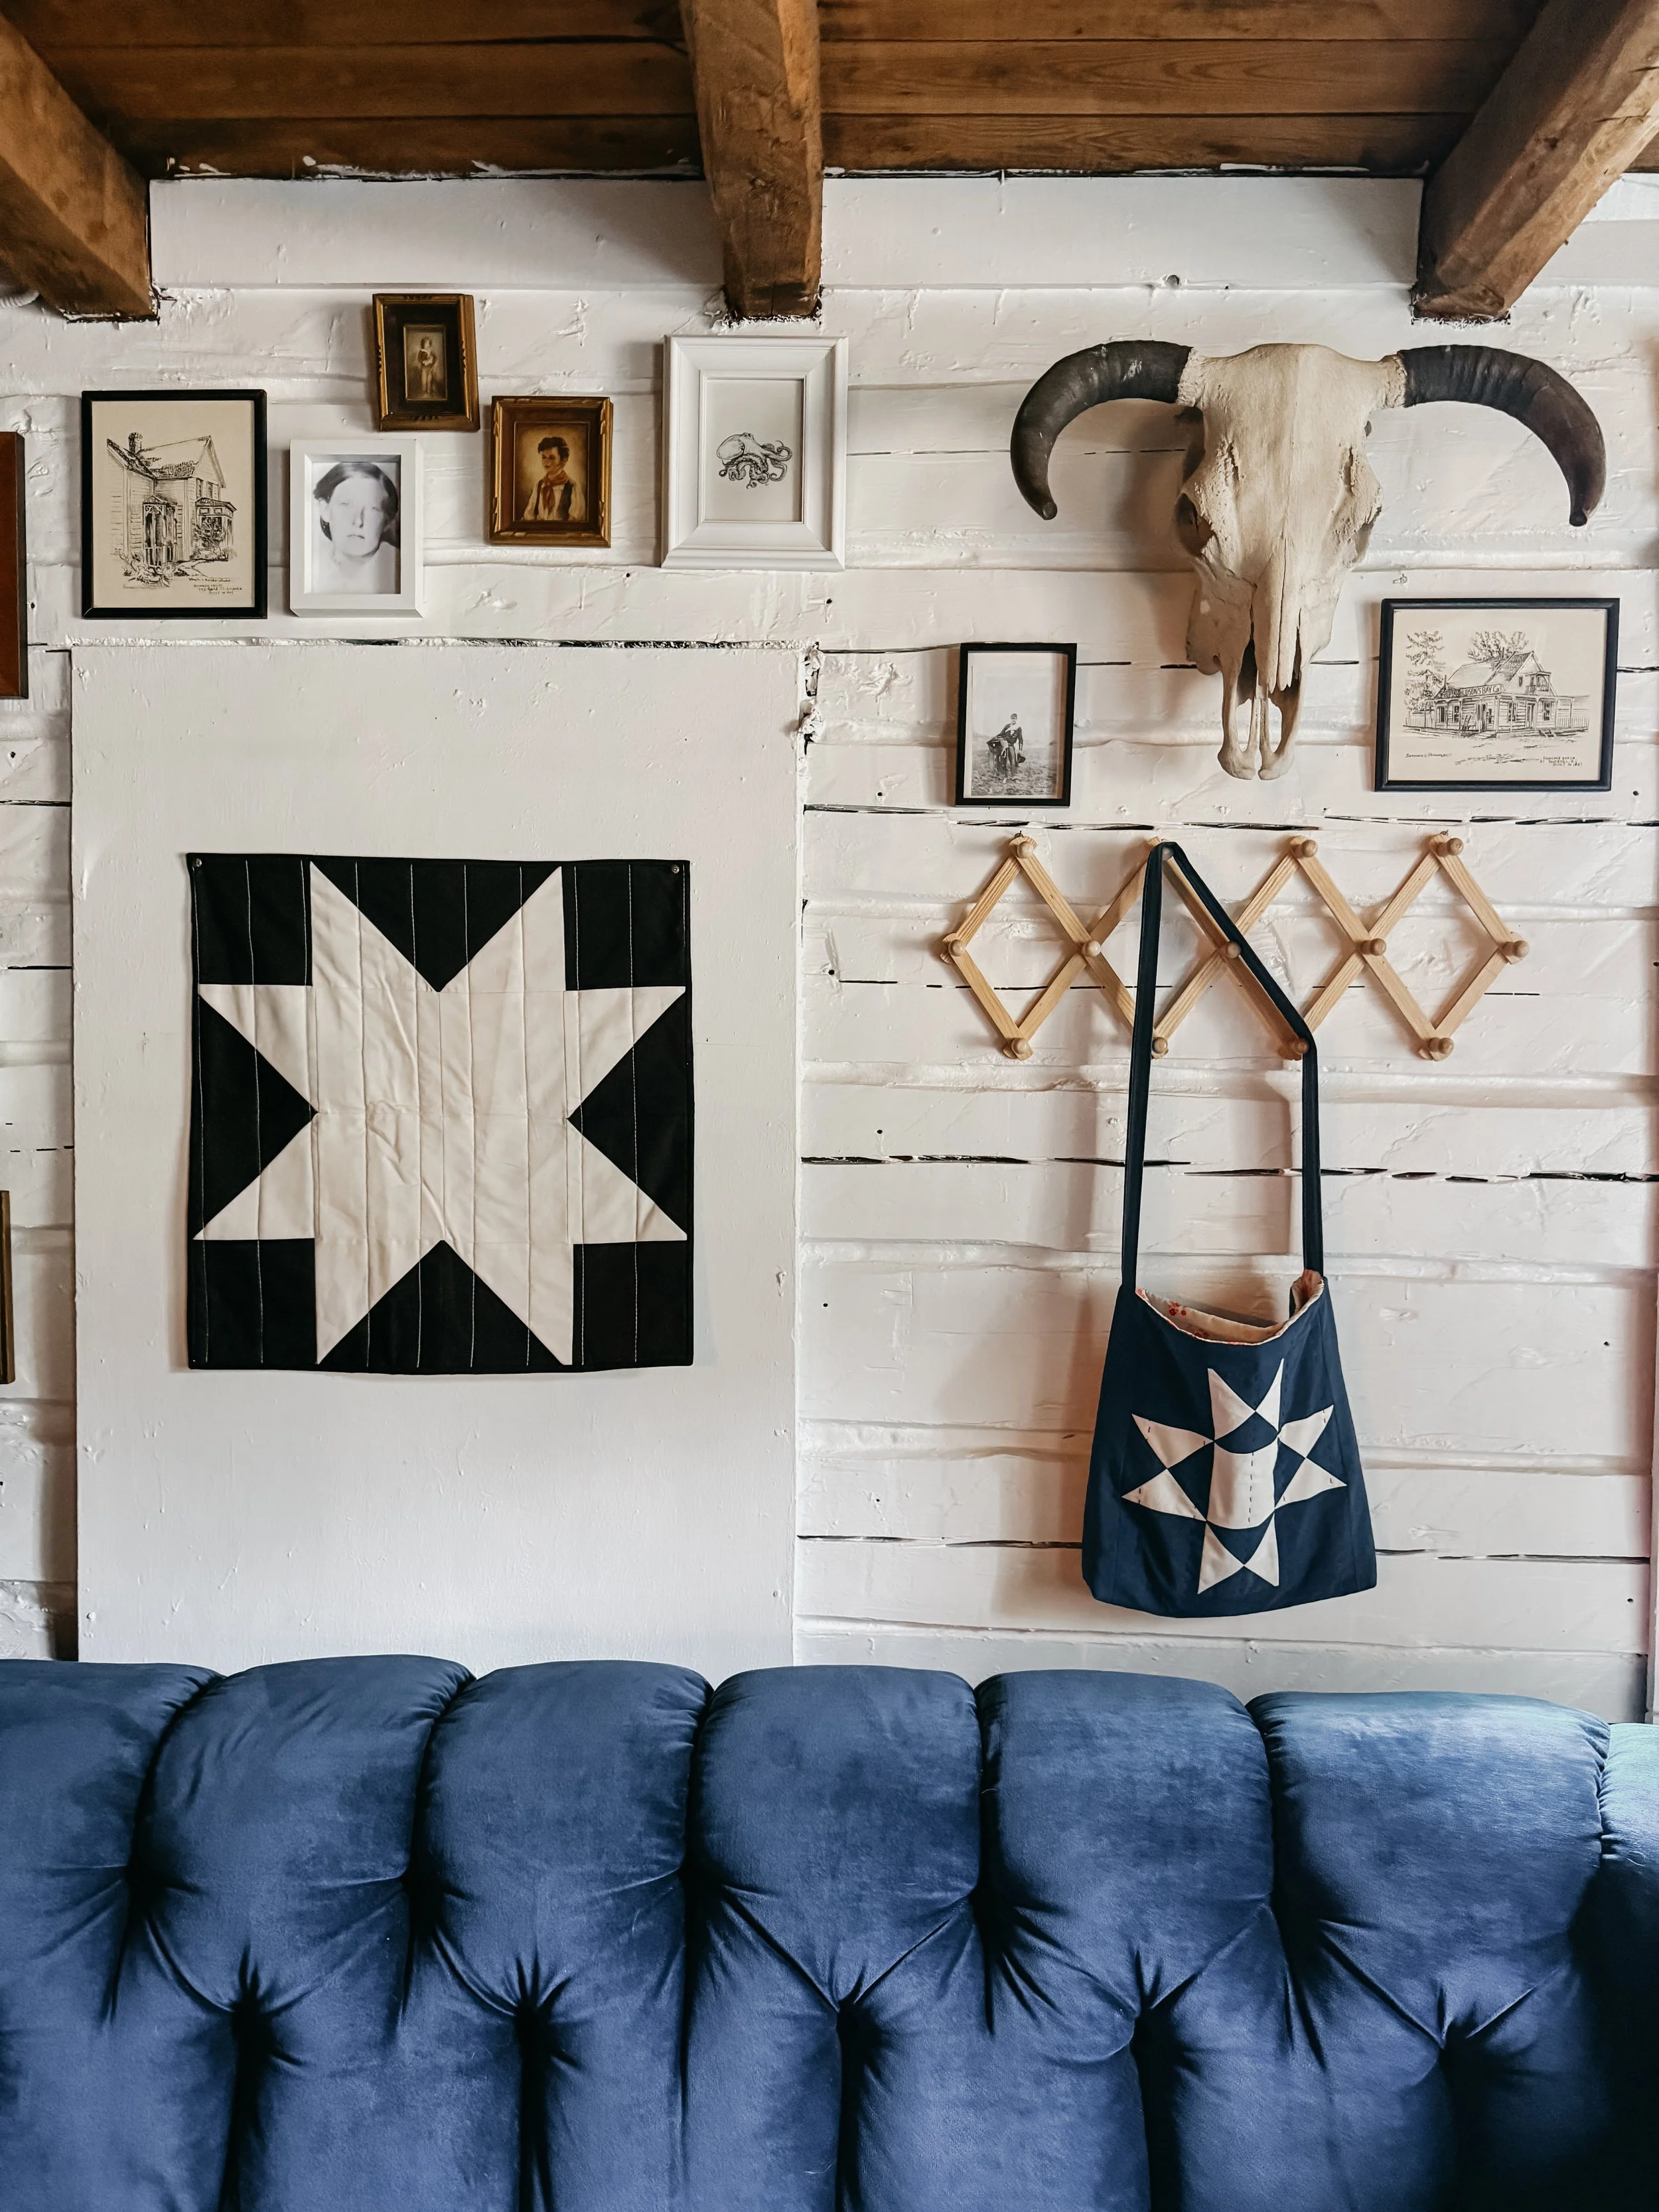
Welcome to the blog—I'm so glad you're here.
I'm Kim, quilting and dyeing from an old cabin in the woods. This is where I share beginner-friendly tutorials, slow craft tips, and stories from a life stitched by hand. I hope you find something here that feels like home.