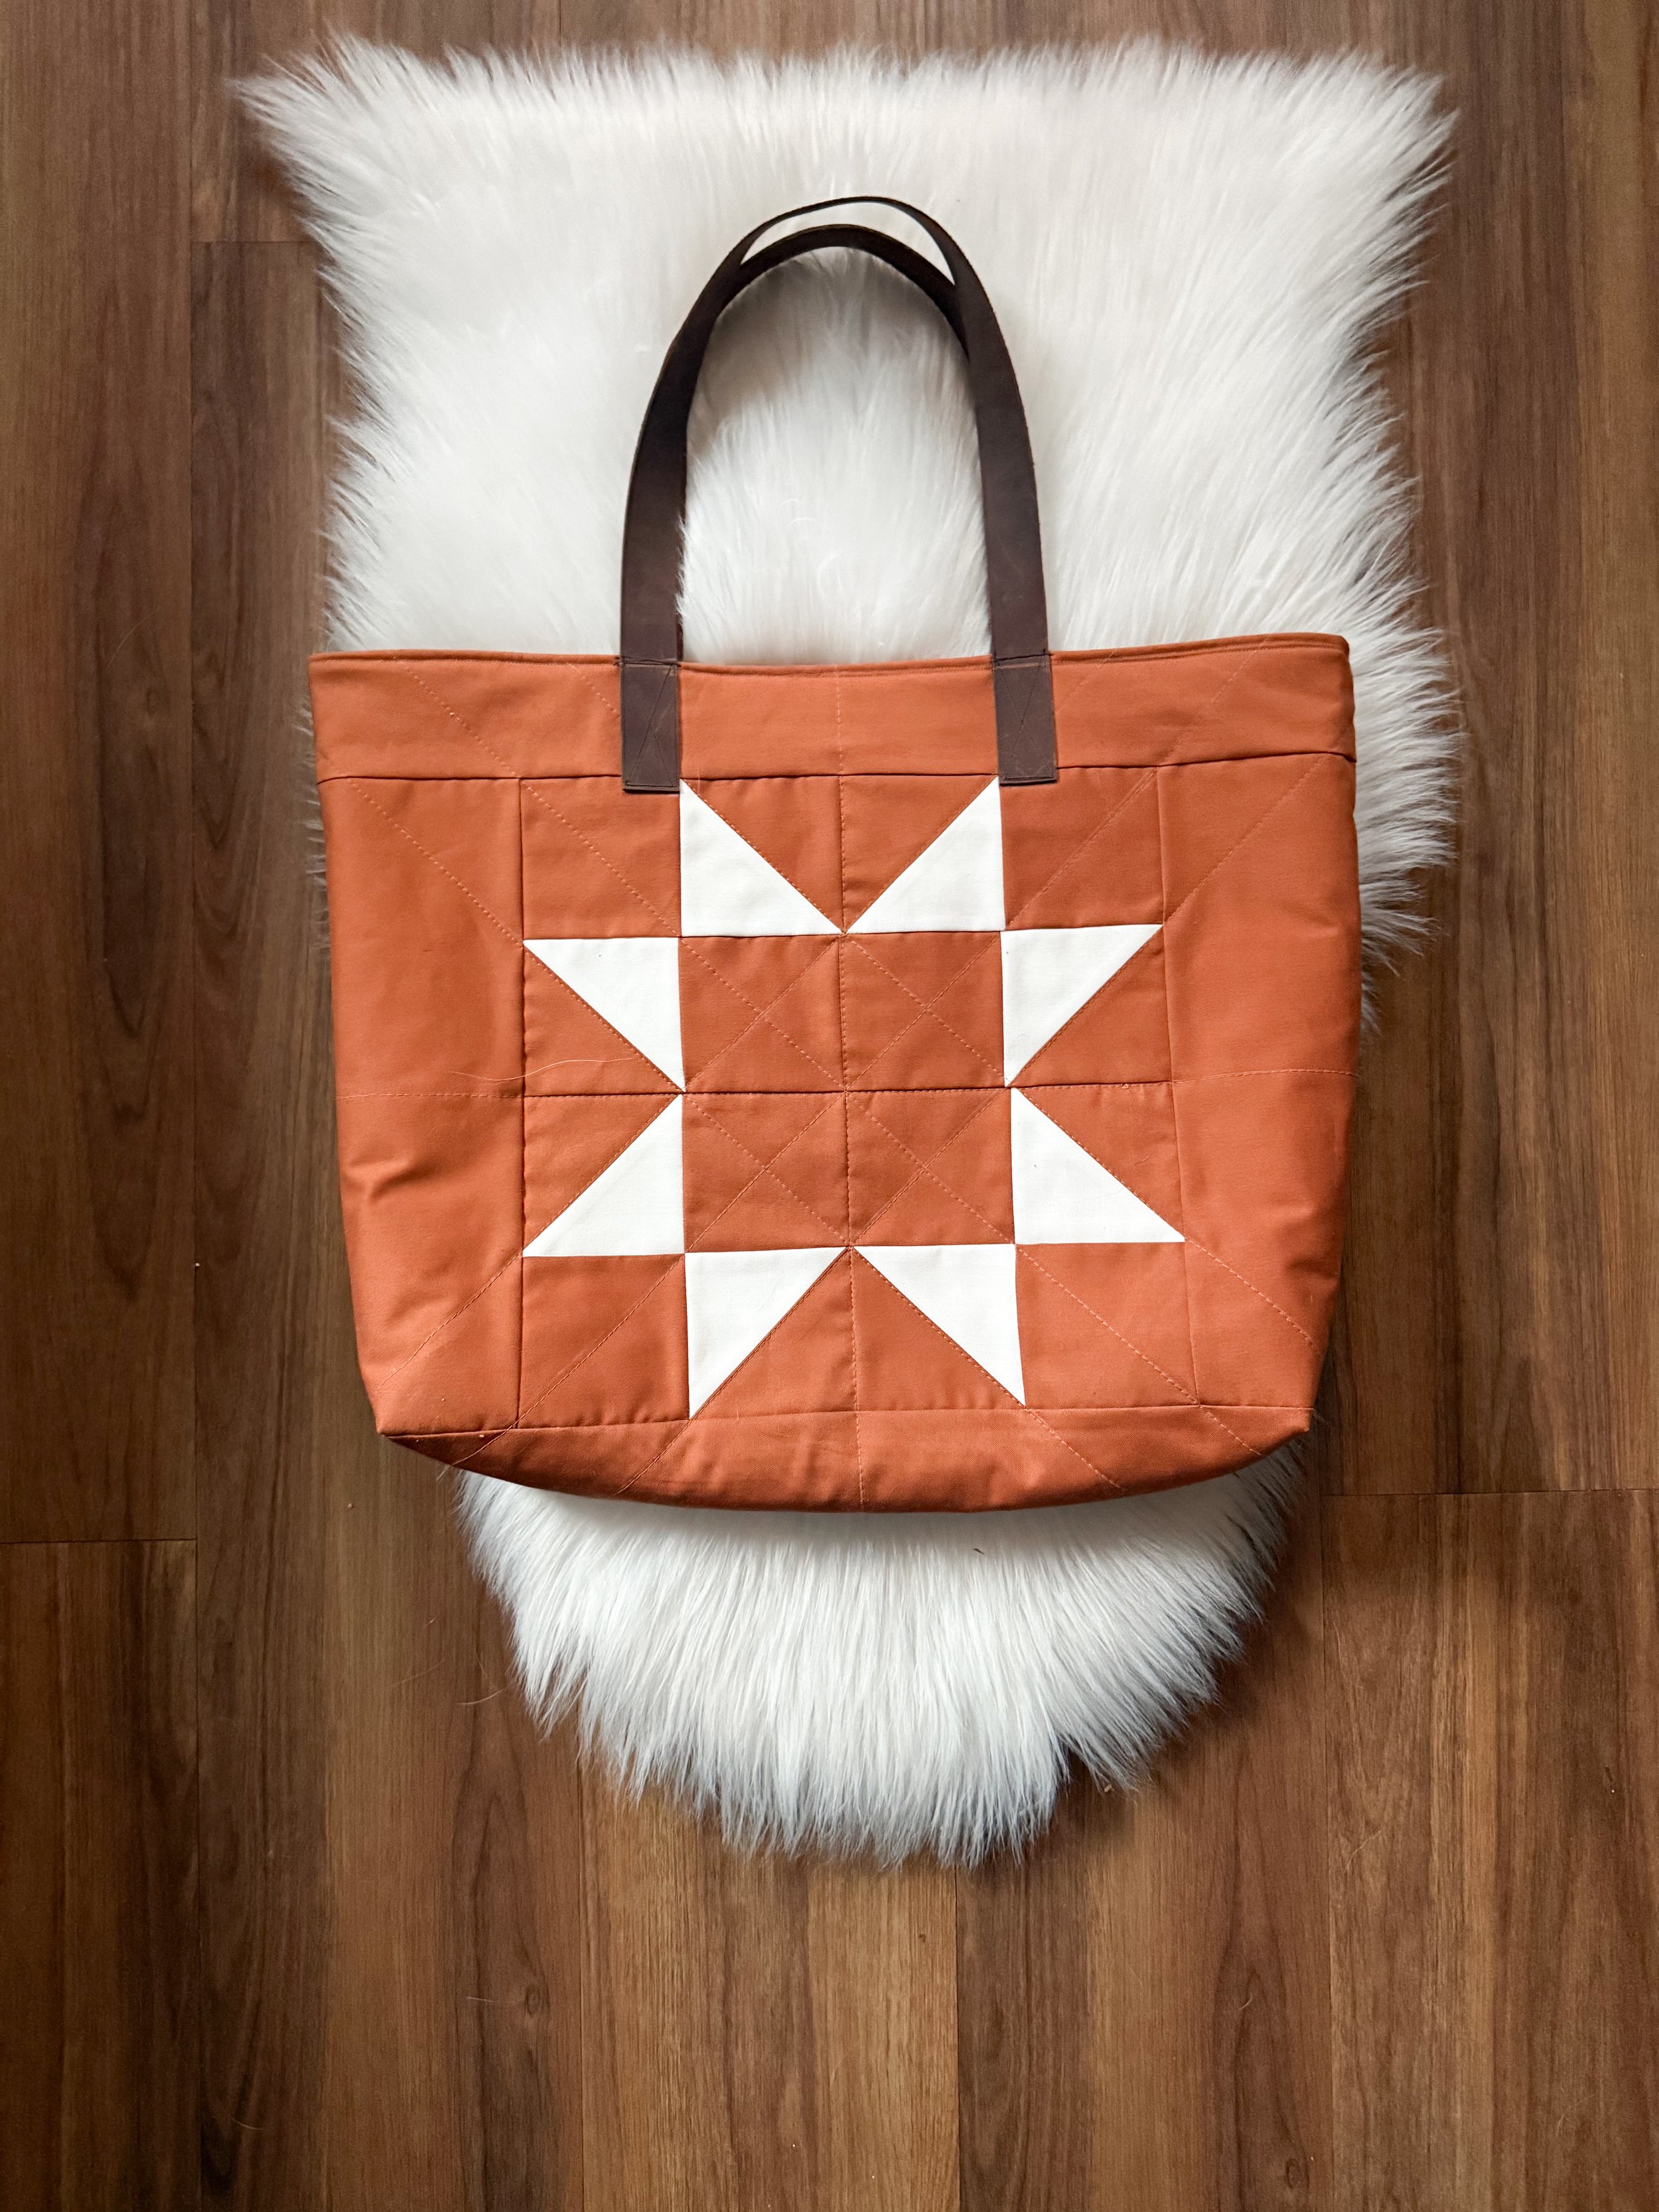
Step-by-Step: Create a Gorgeous Quilted Tote Bag with Stunning Leather Details

Today I’m sharing a brand-new tutorial on how to assemble the big quilted tote bag. If you’ve ever wondered how to turn your quilted panels into a sturdy everyday tote, this video walks you through the whole process from start to finish.
In the tutorial, I show you how to:
• Cut and sew boxed corners so the tote sits flat
• Assemble the drop-in lining (and why it doesn’t need quilting)
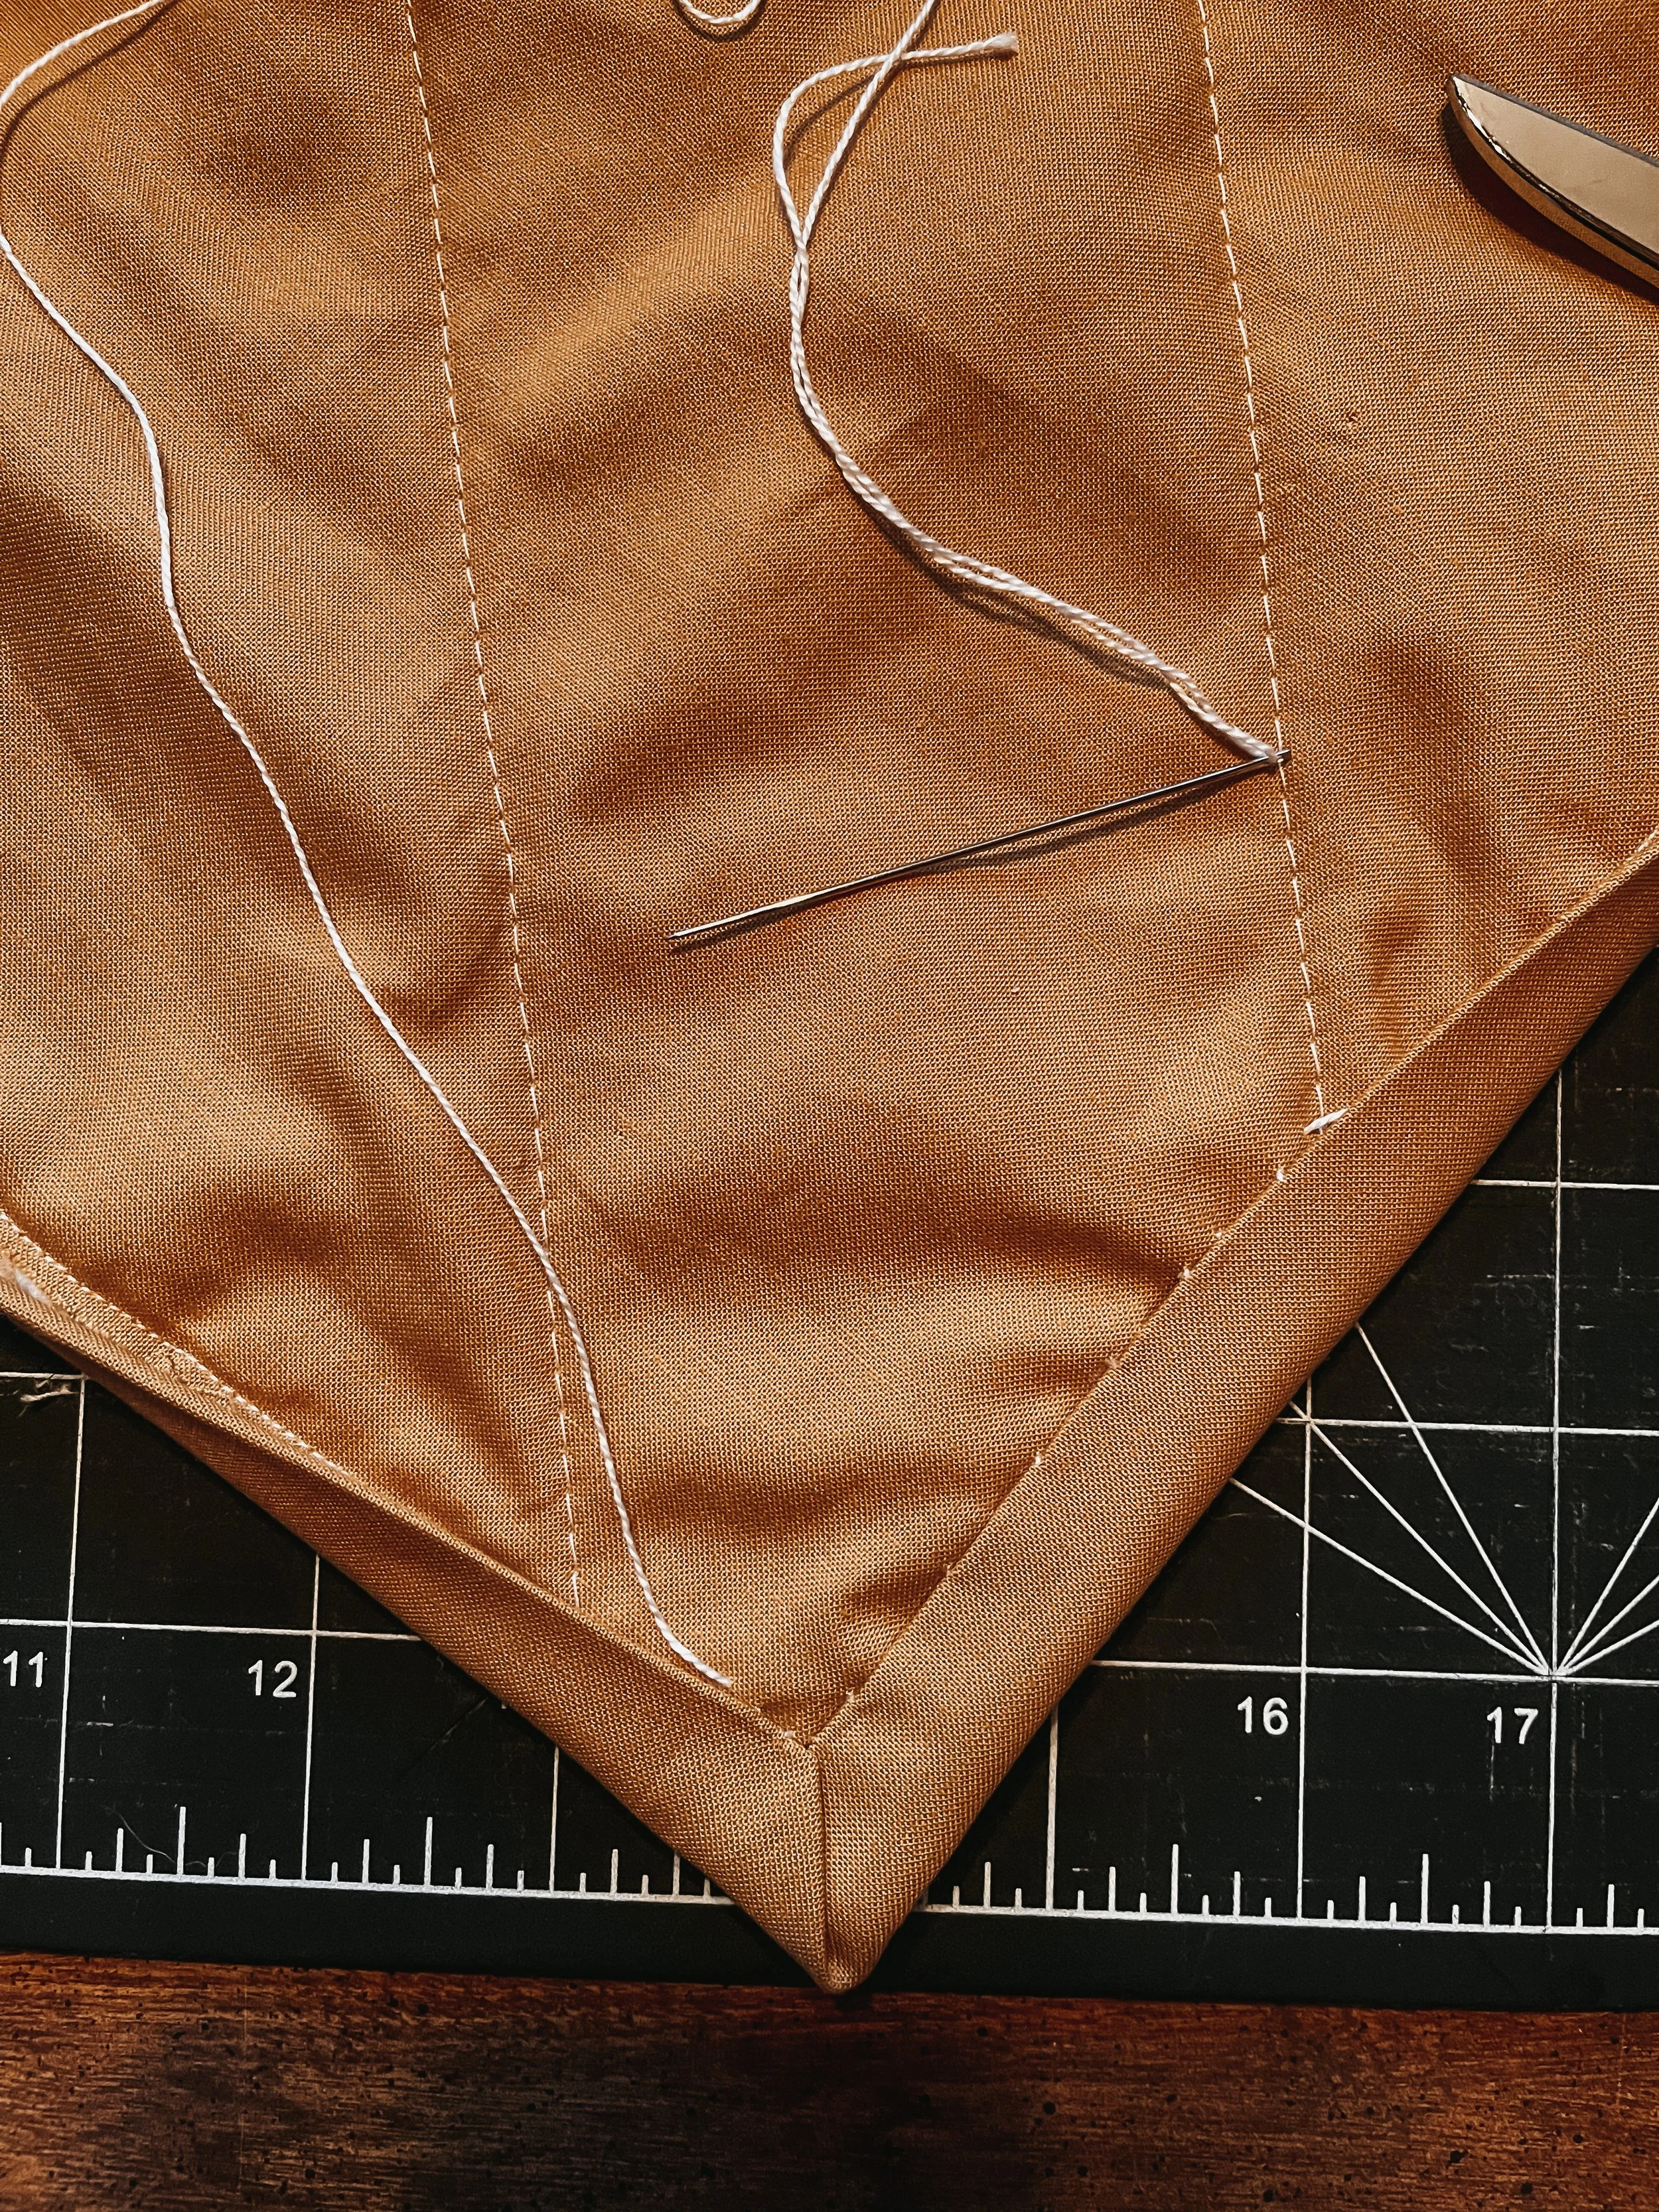
• Prep and finish the top edges of both the outer bag and lining
• Attach leather straps using double-sided tape and a leather needle
• Sew the outer bag together and line it up cleanly with the inside
• Topstitch the lining into place for a polished, professional finish
If you’ve never made a quilted bag before, this is a great place to start. It’s slow, clear, beginner-friendly, and filled with the little tips I use in all my Exshaw Quilts tote patterns.
You can find the pattern at axquilts.com, and I hope you enjoy sewing along with me in the video.
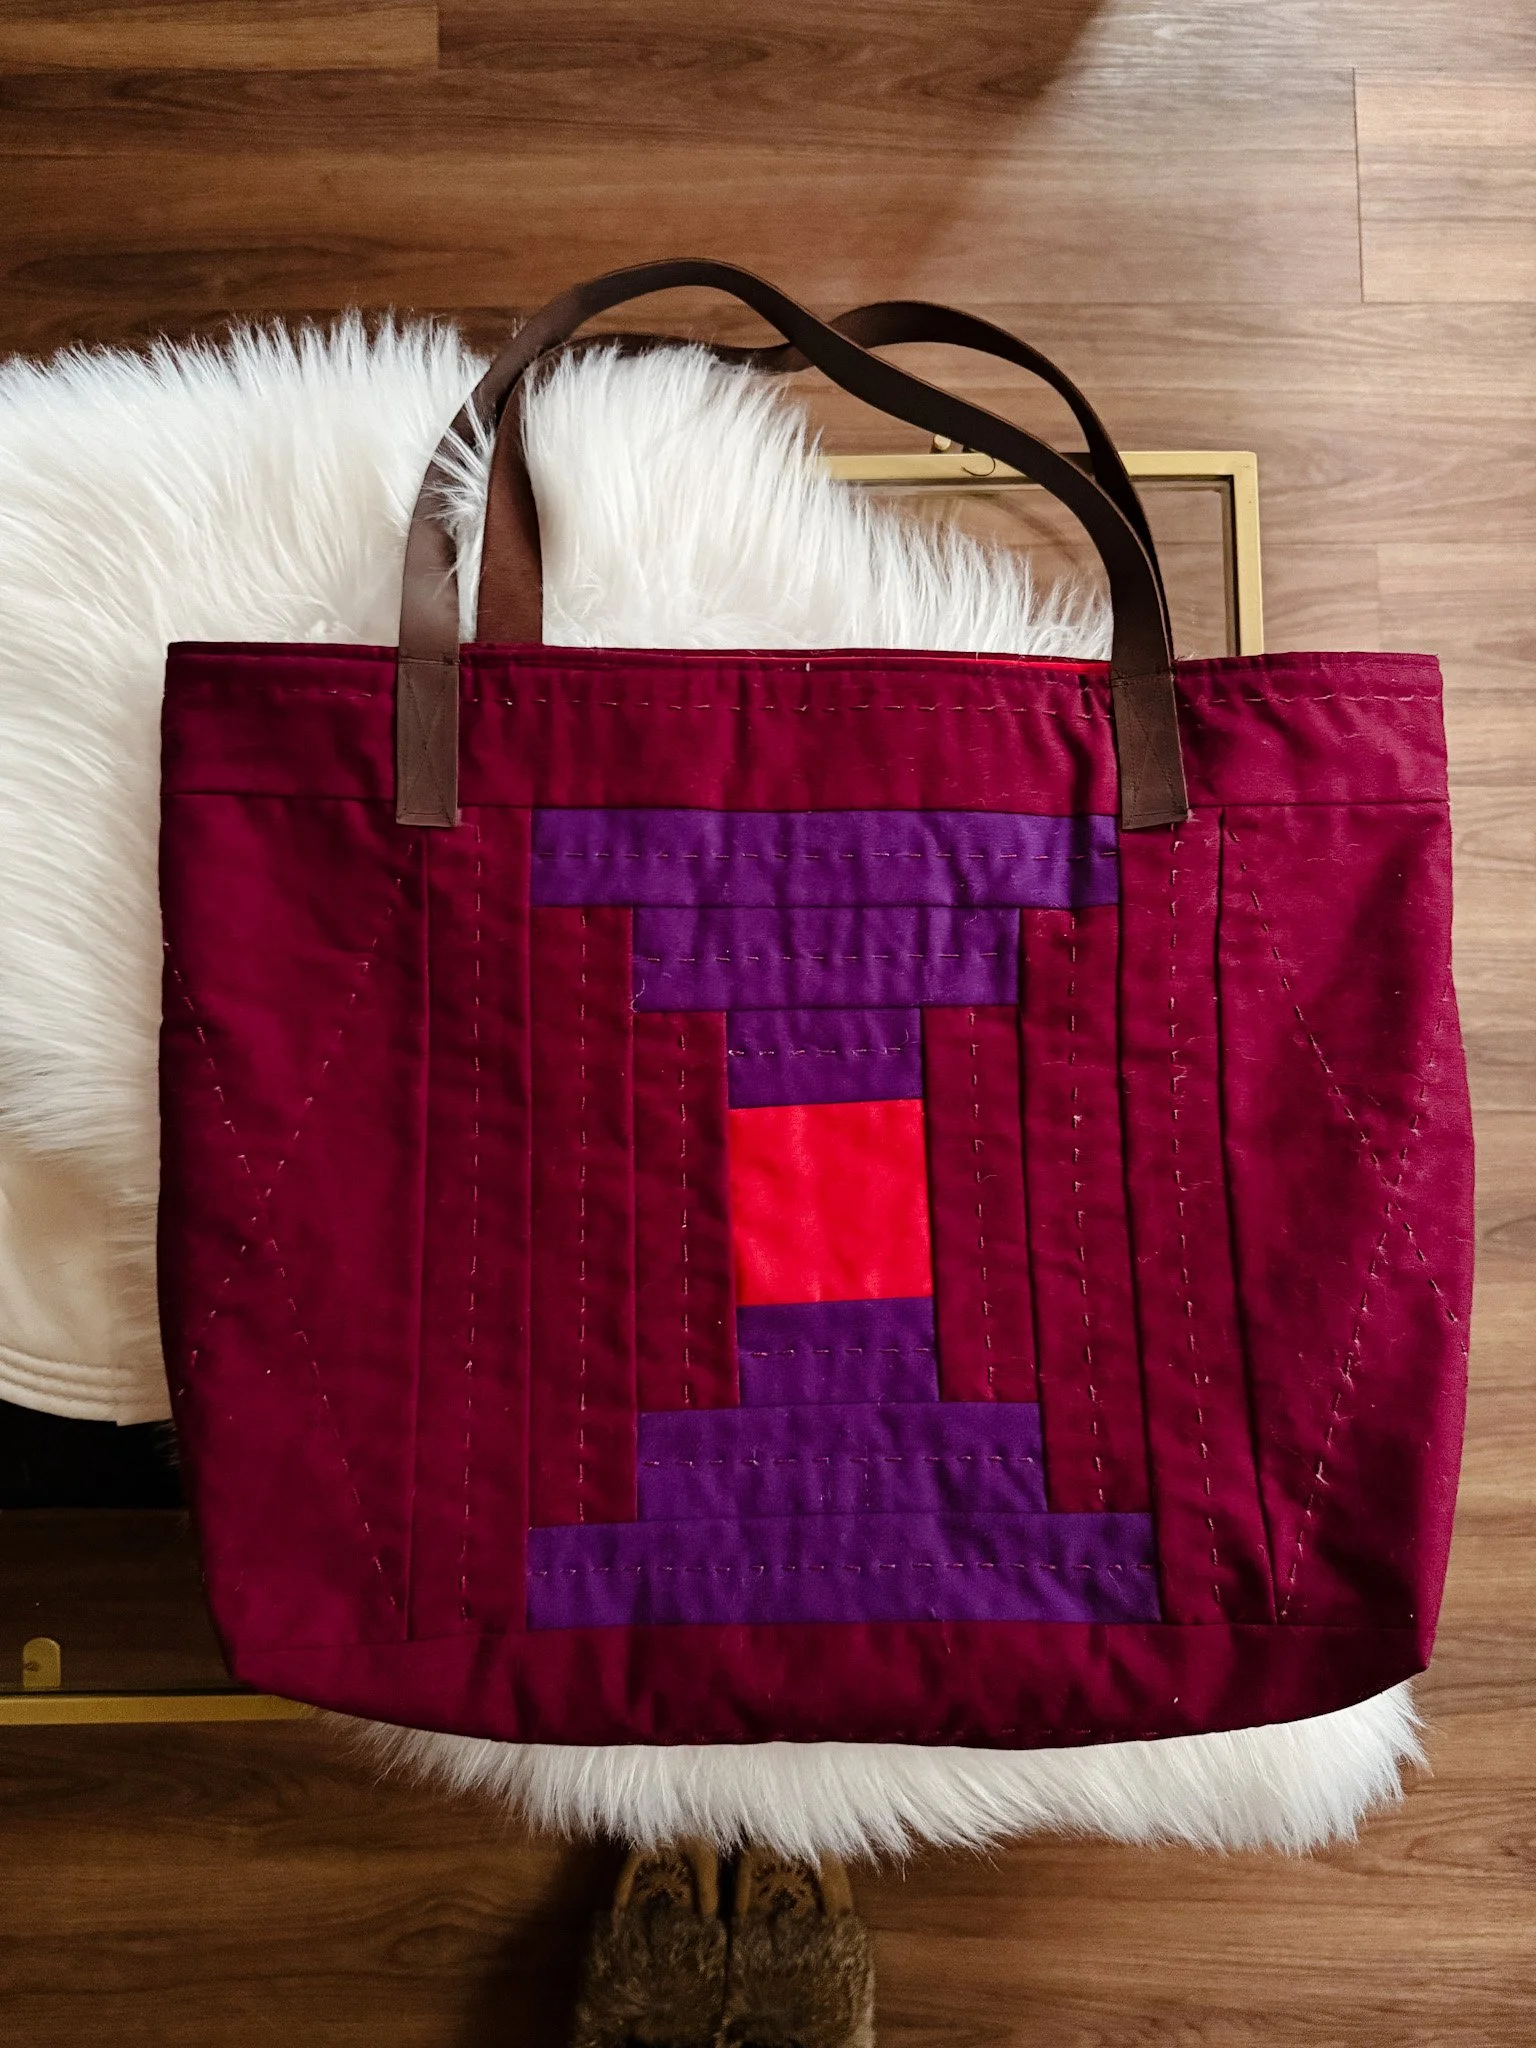
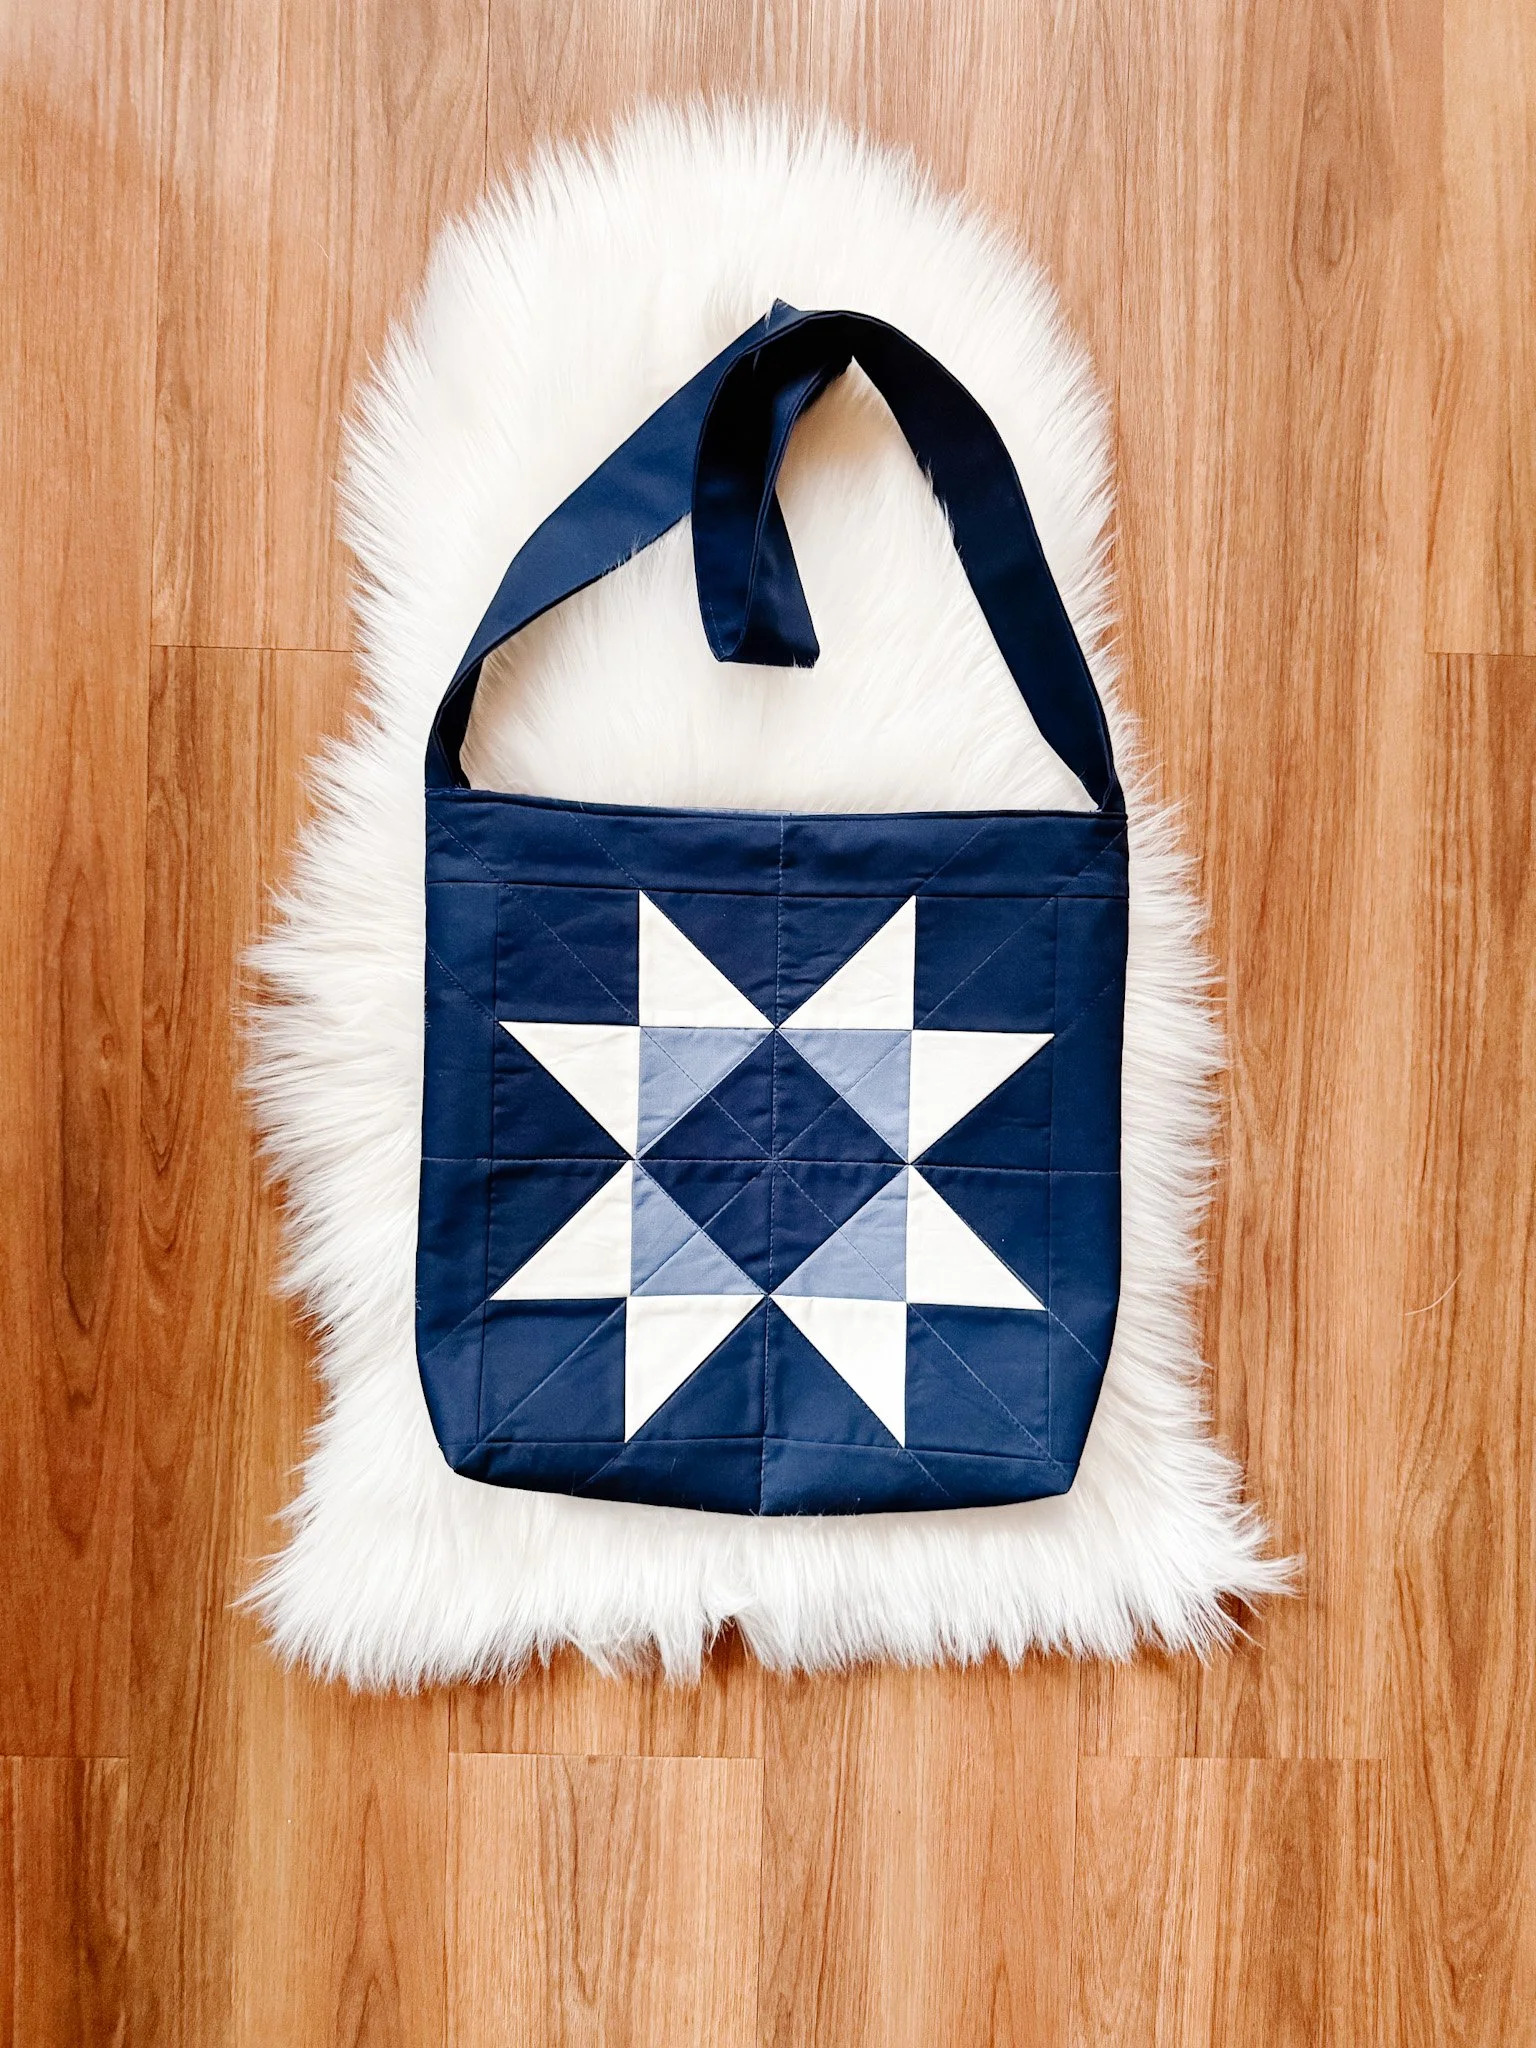
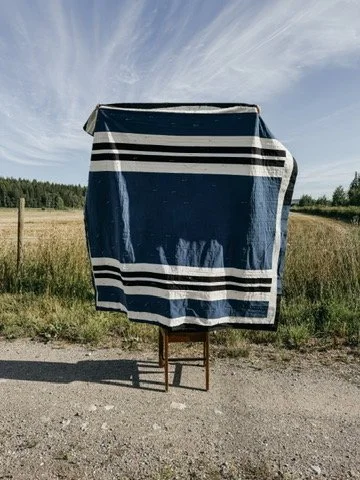
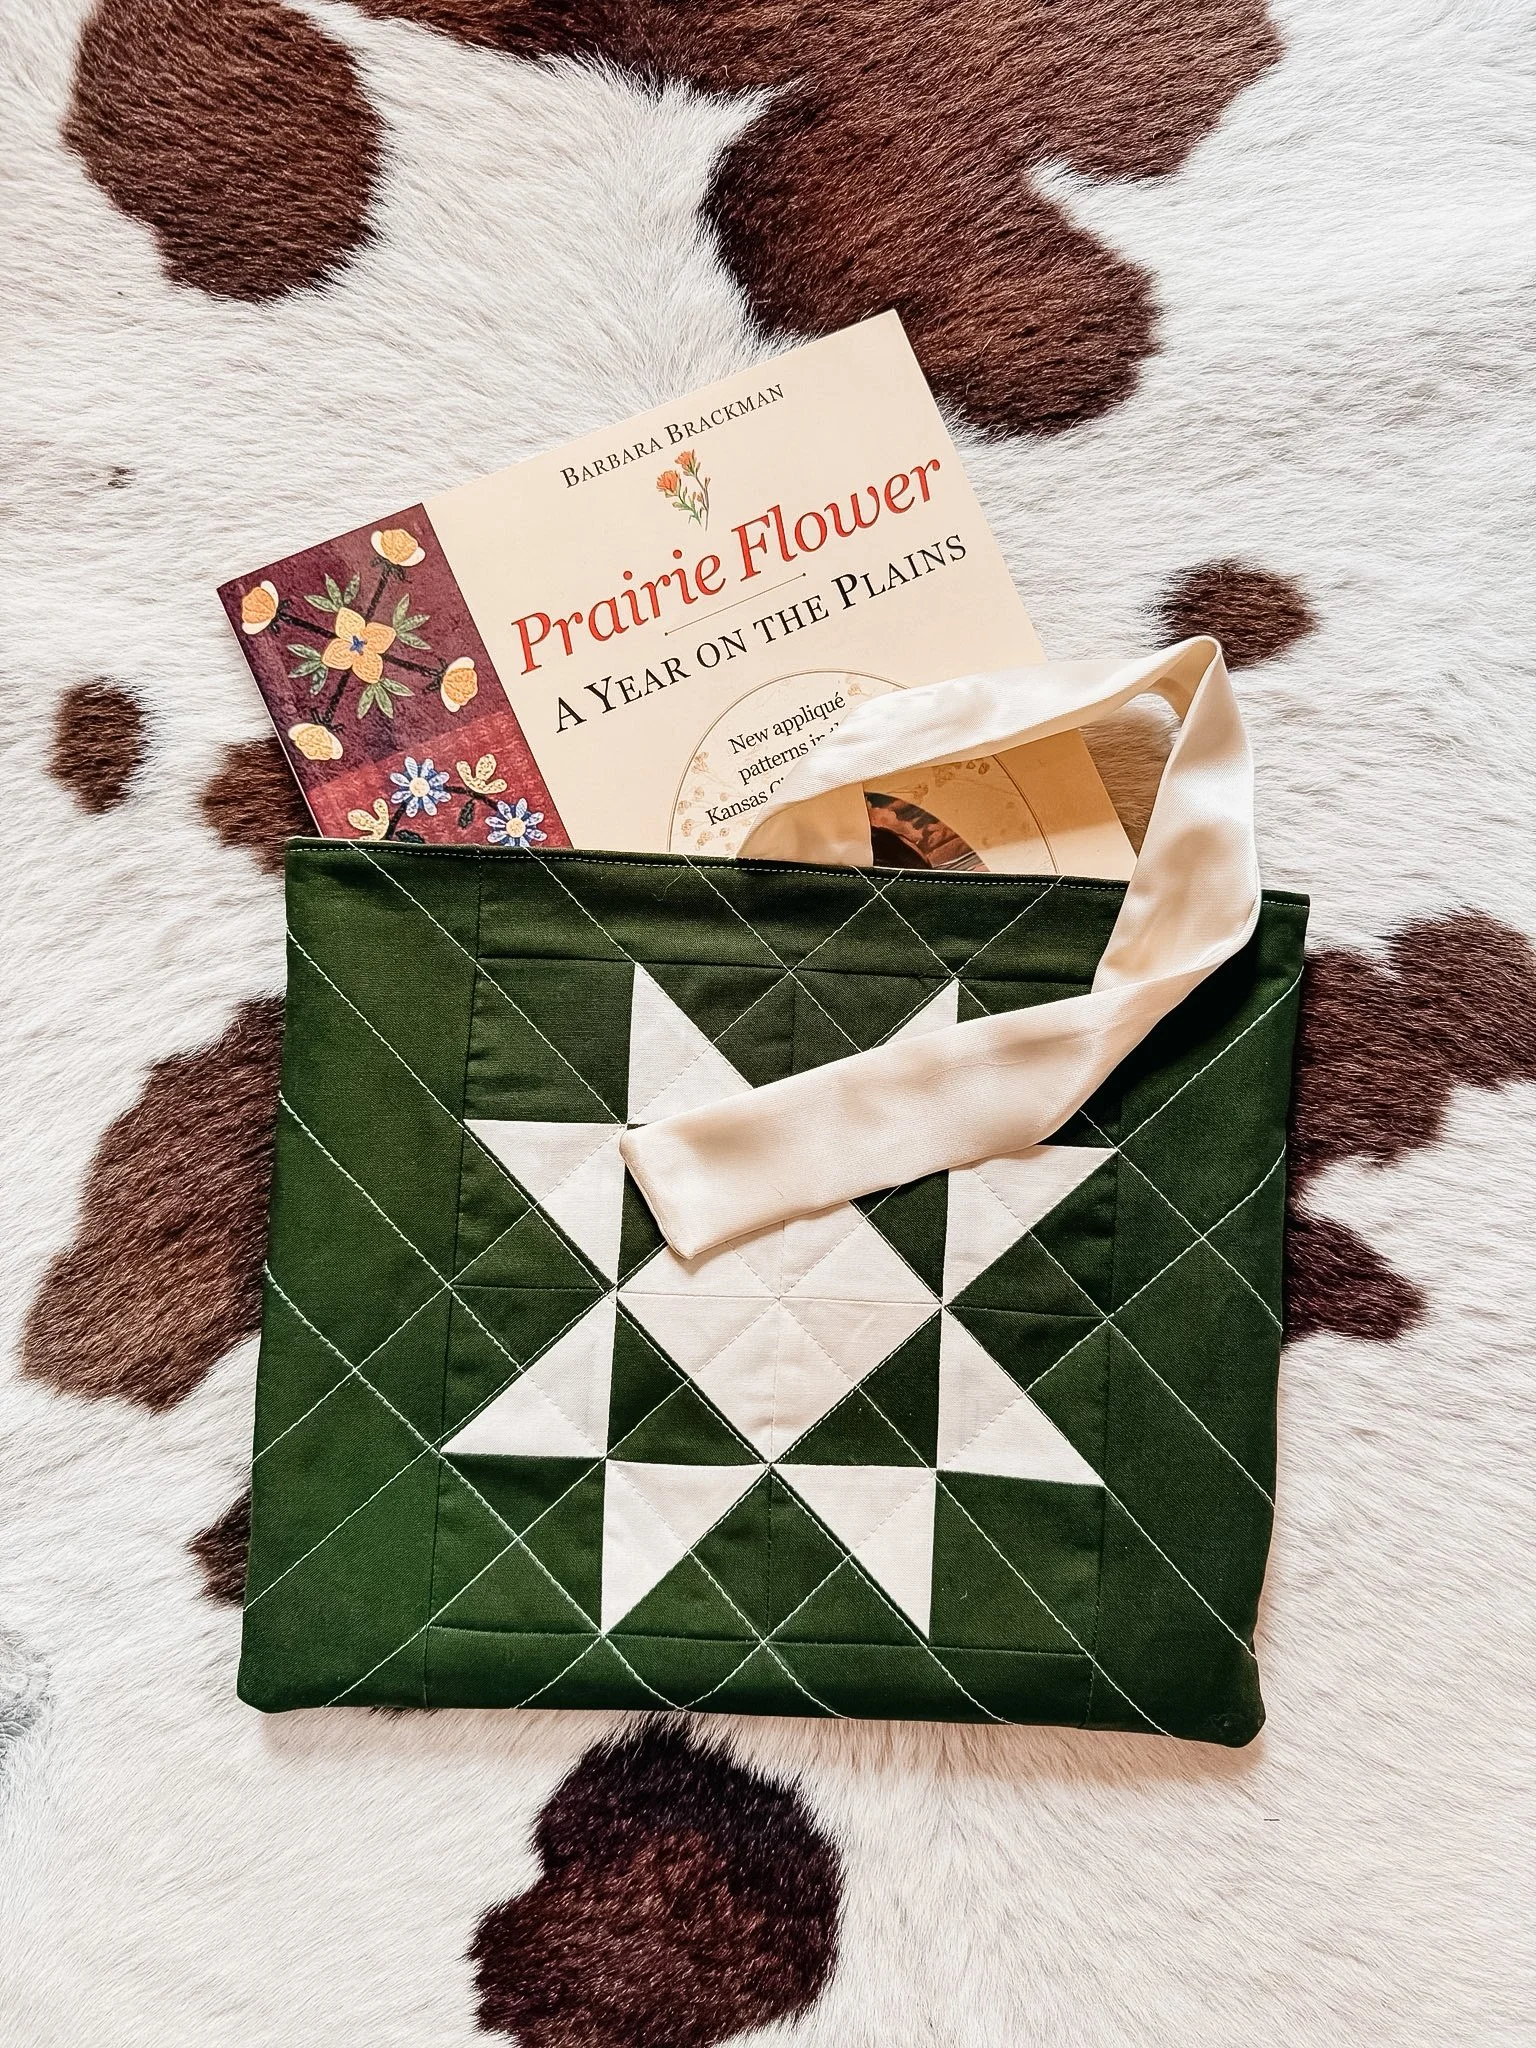
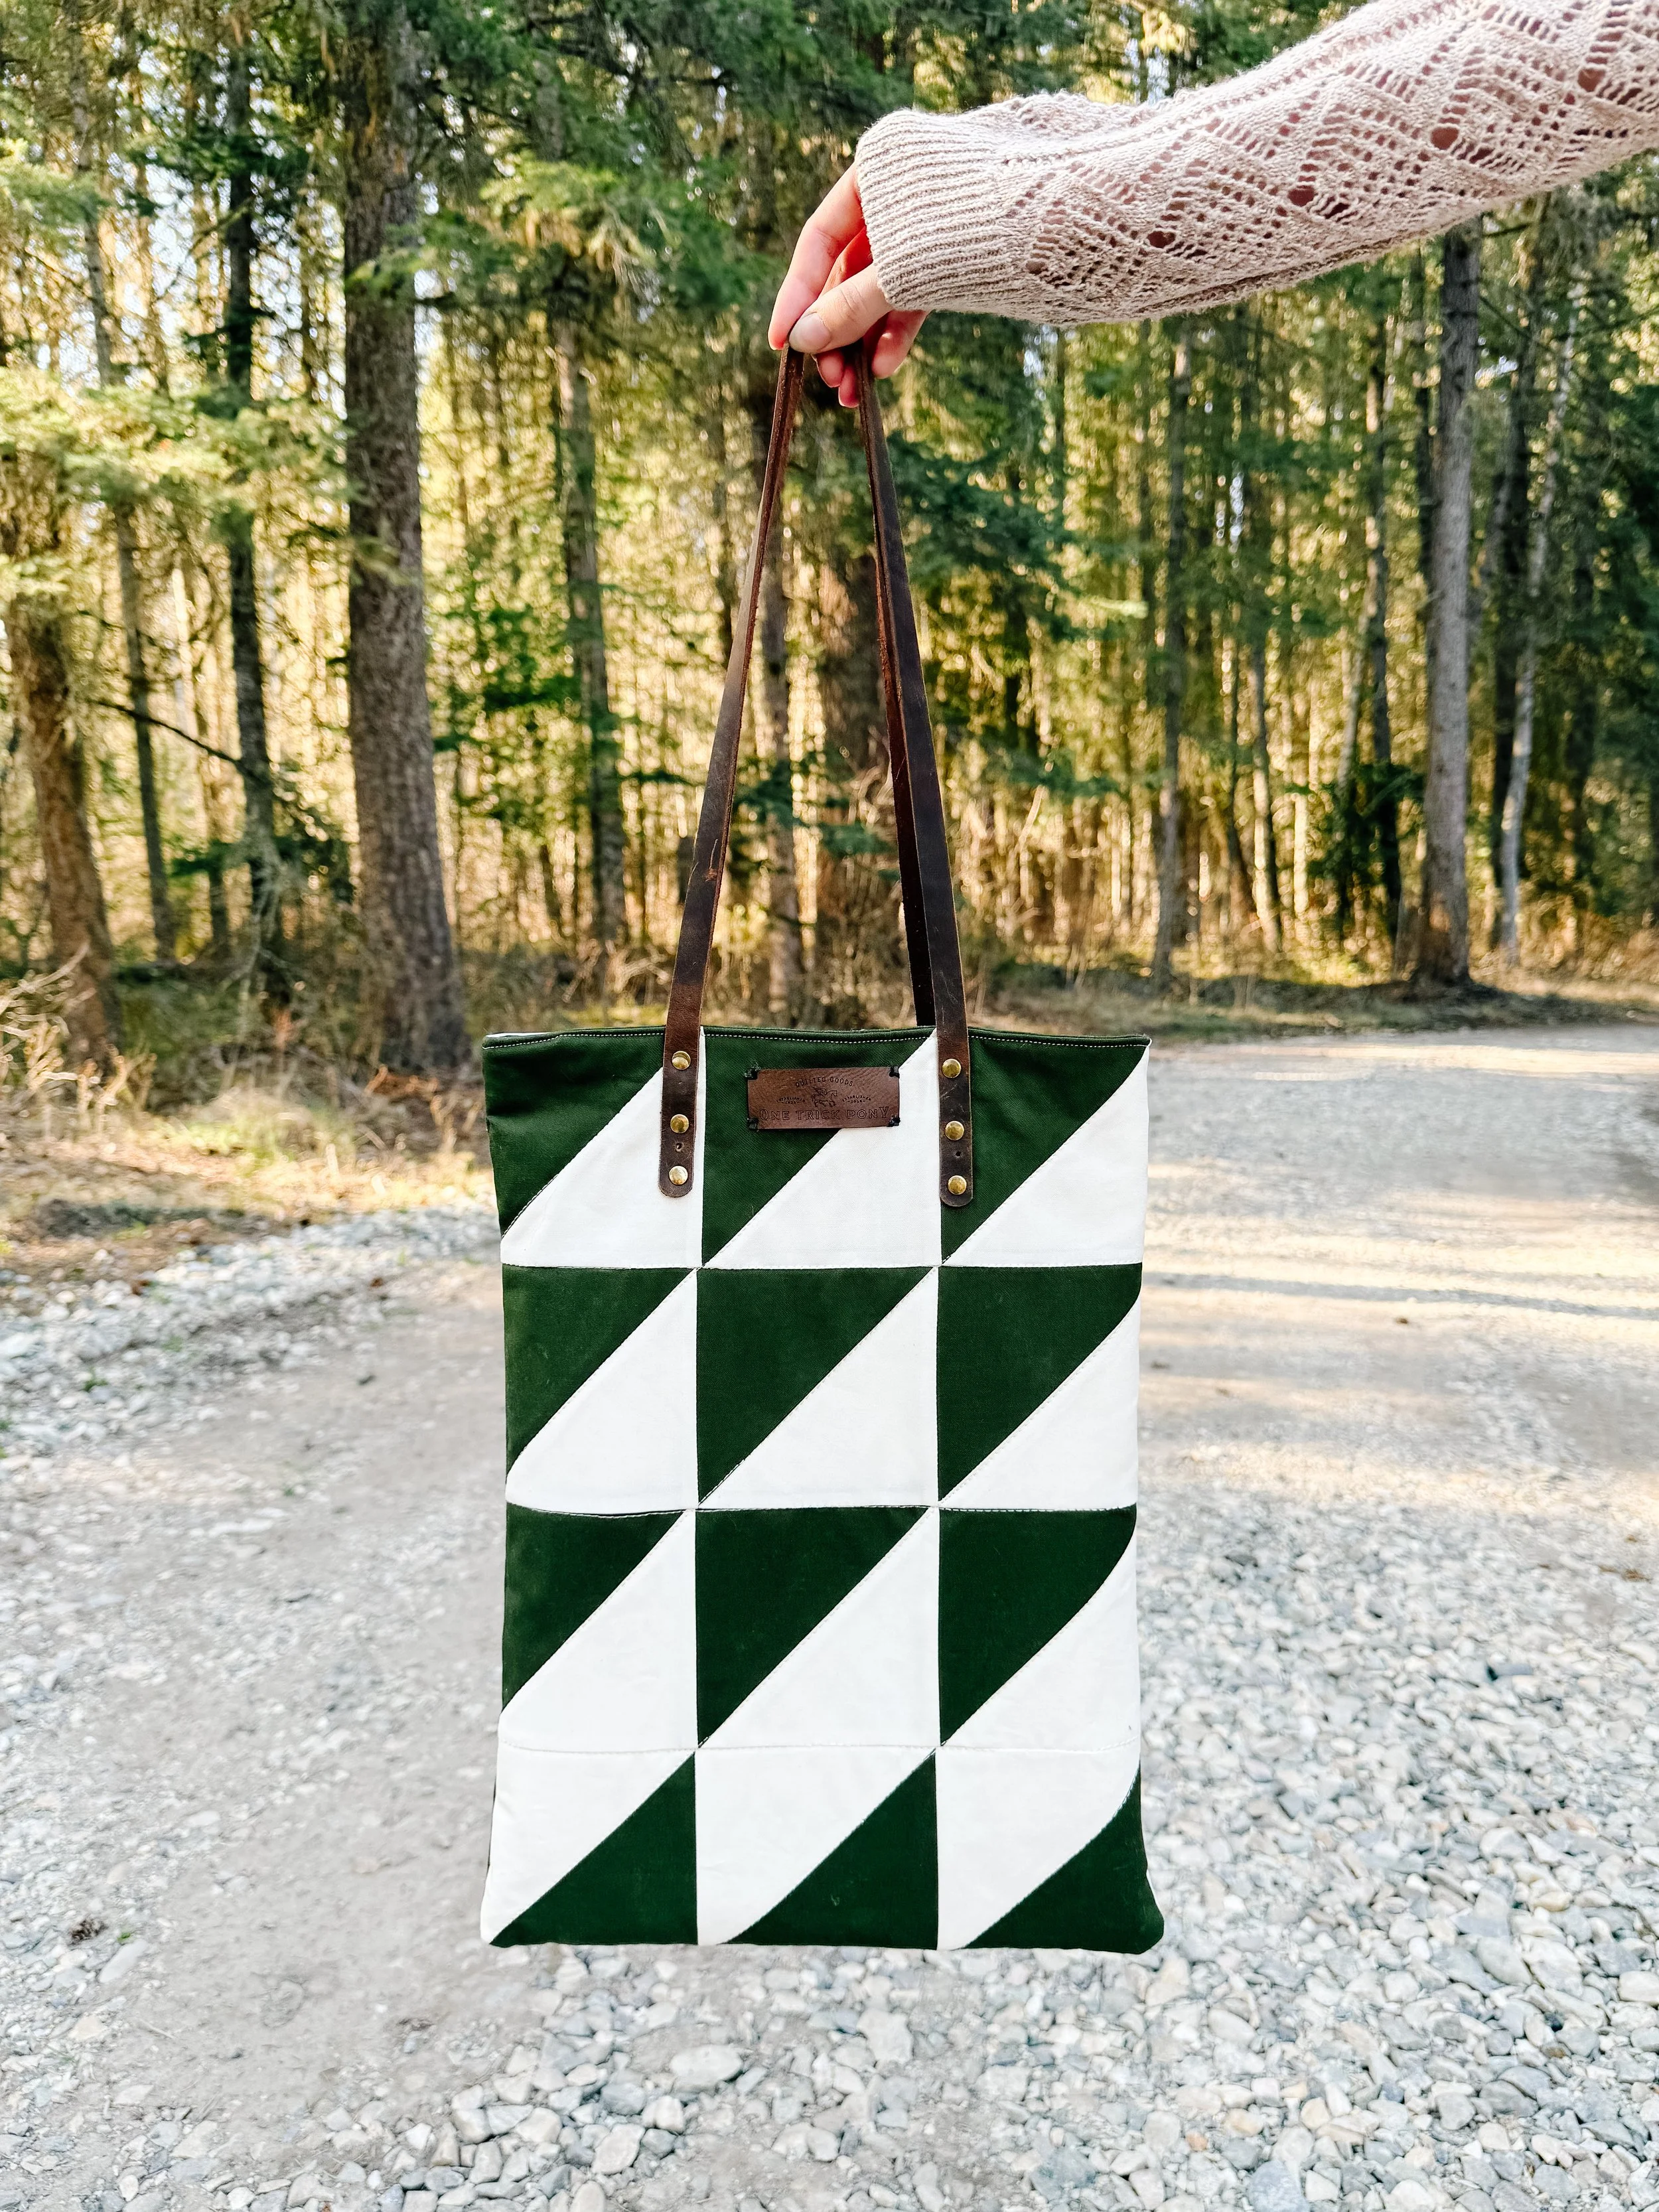
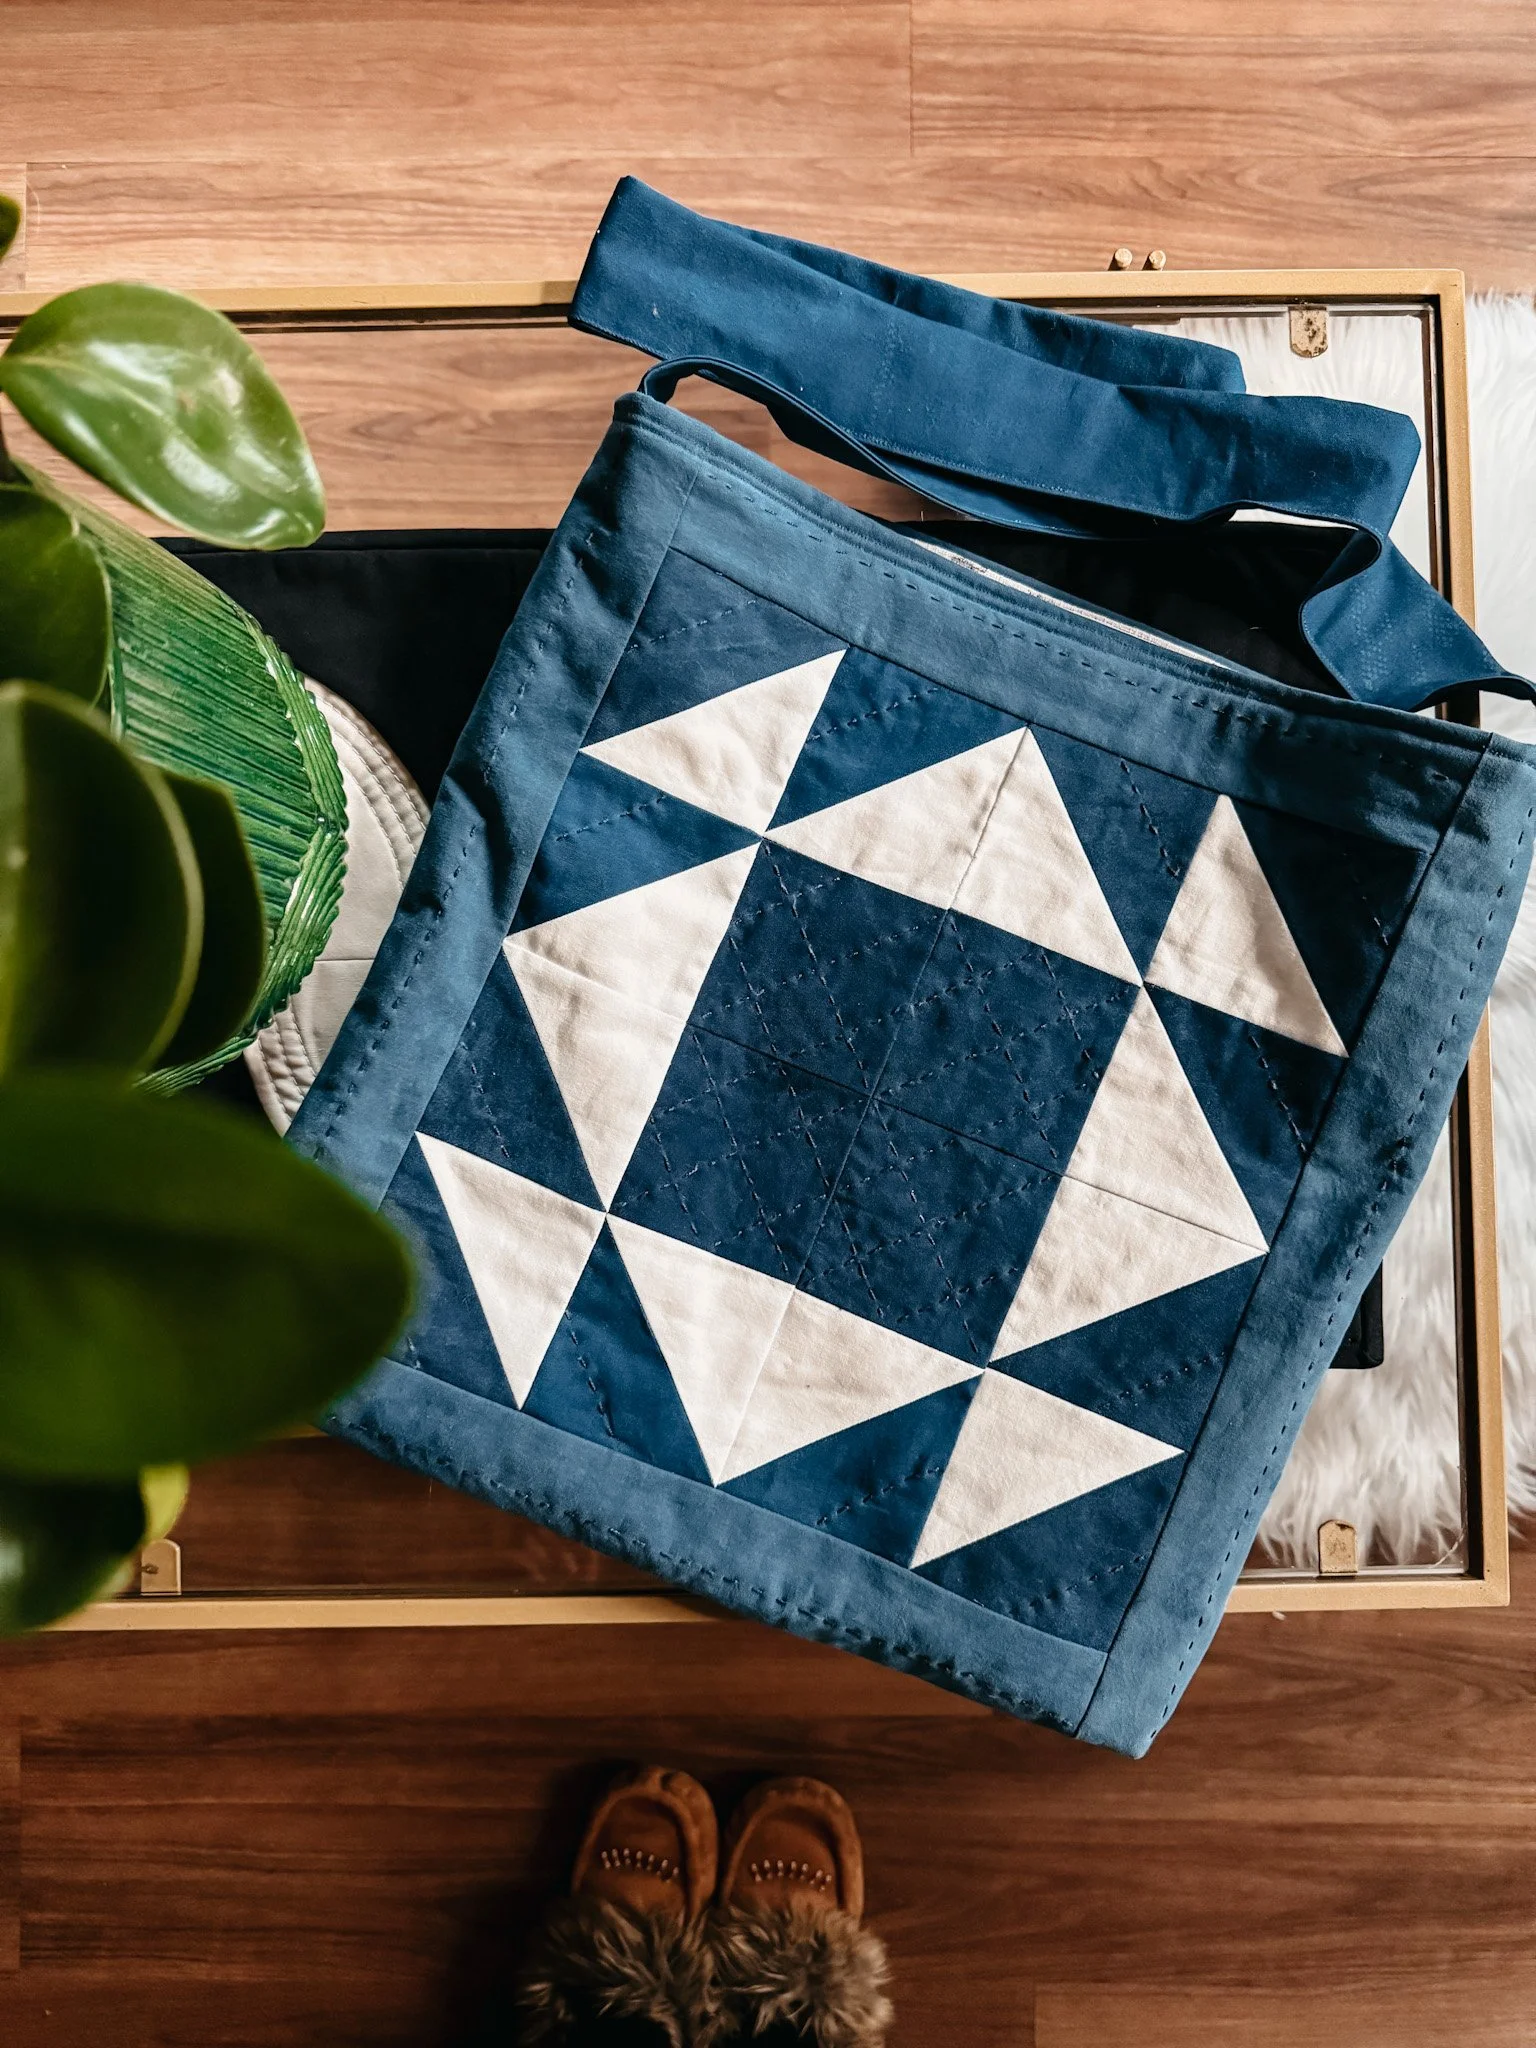
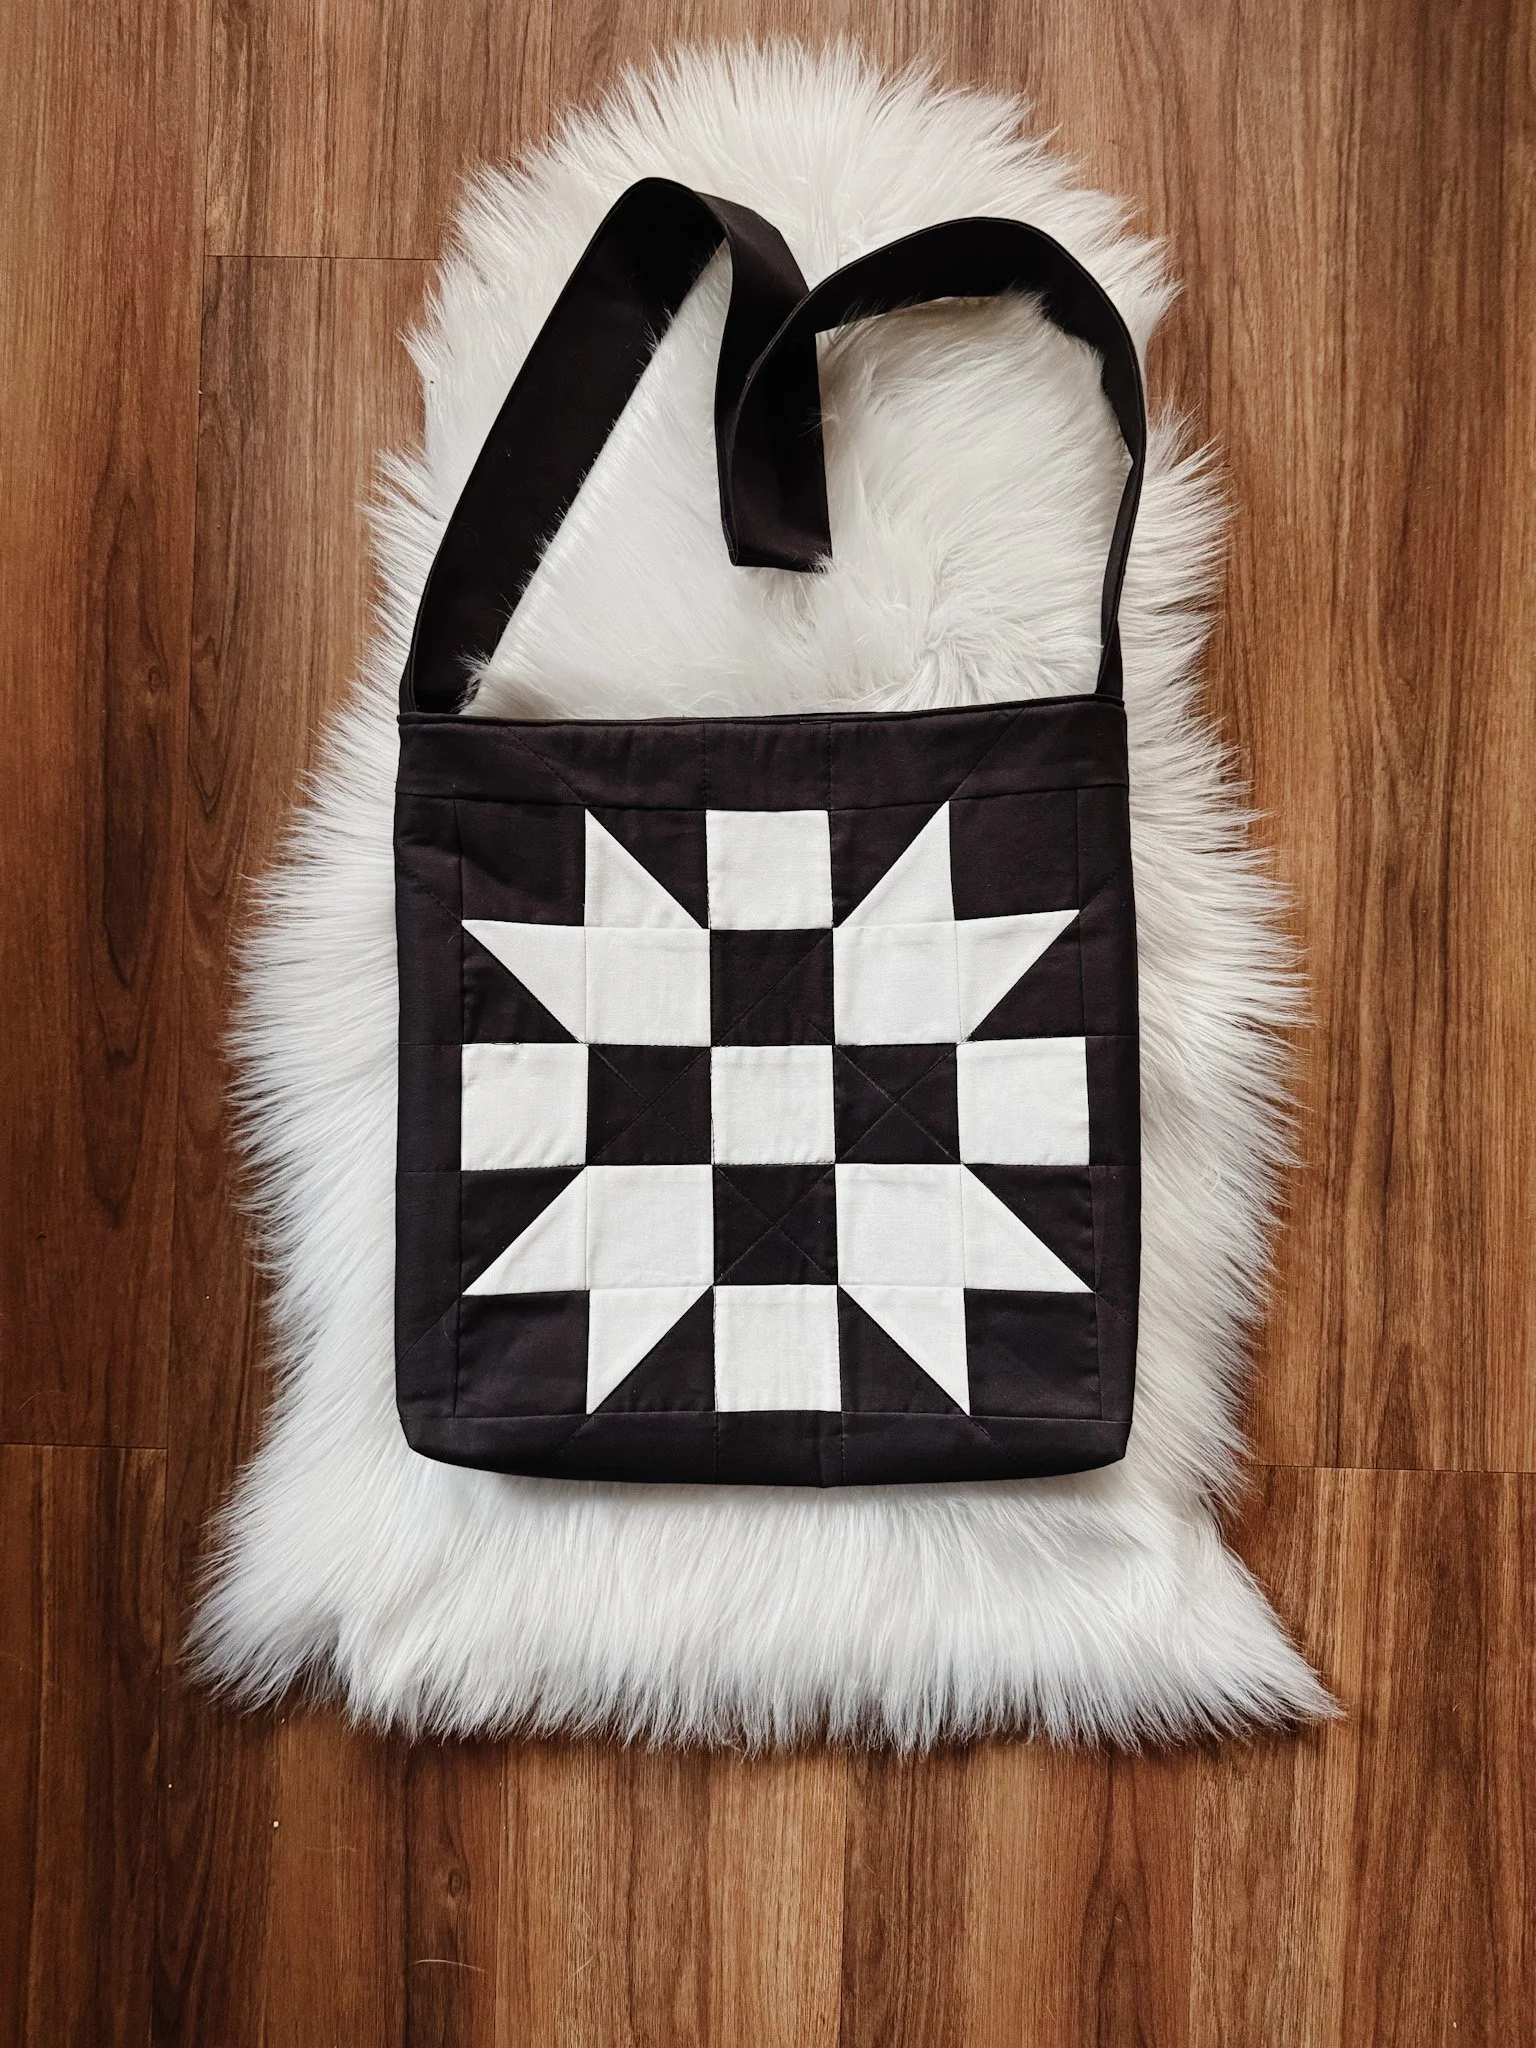
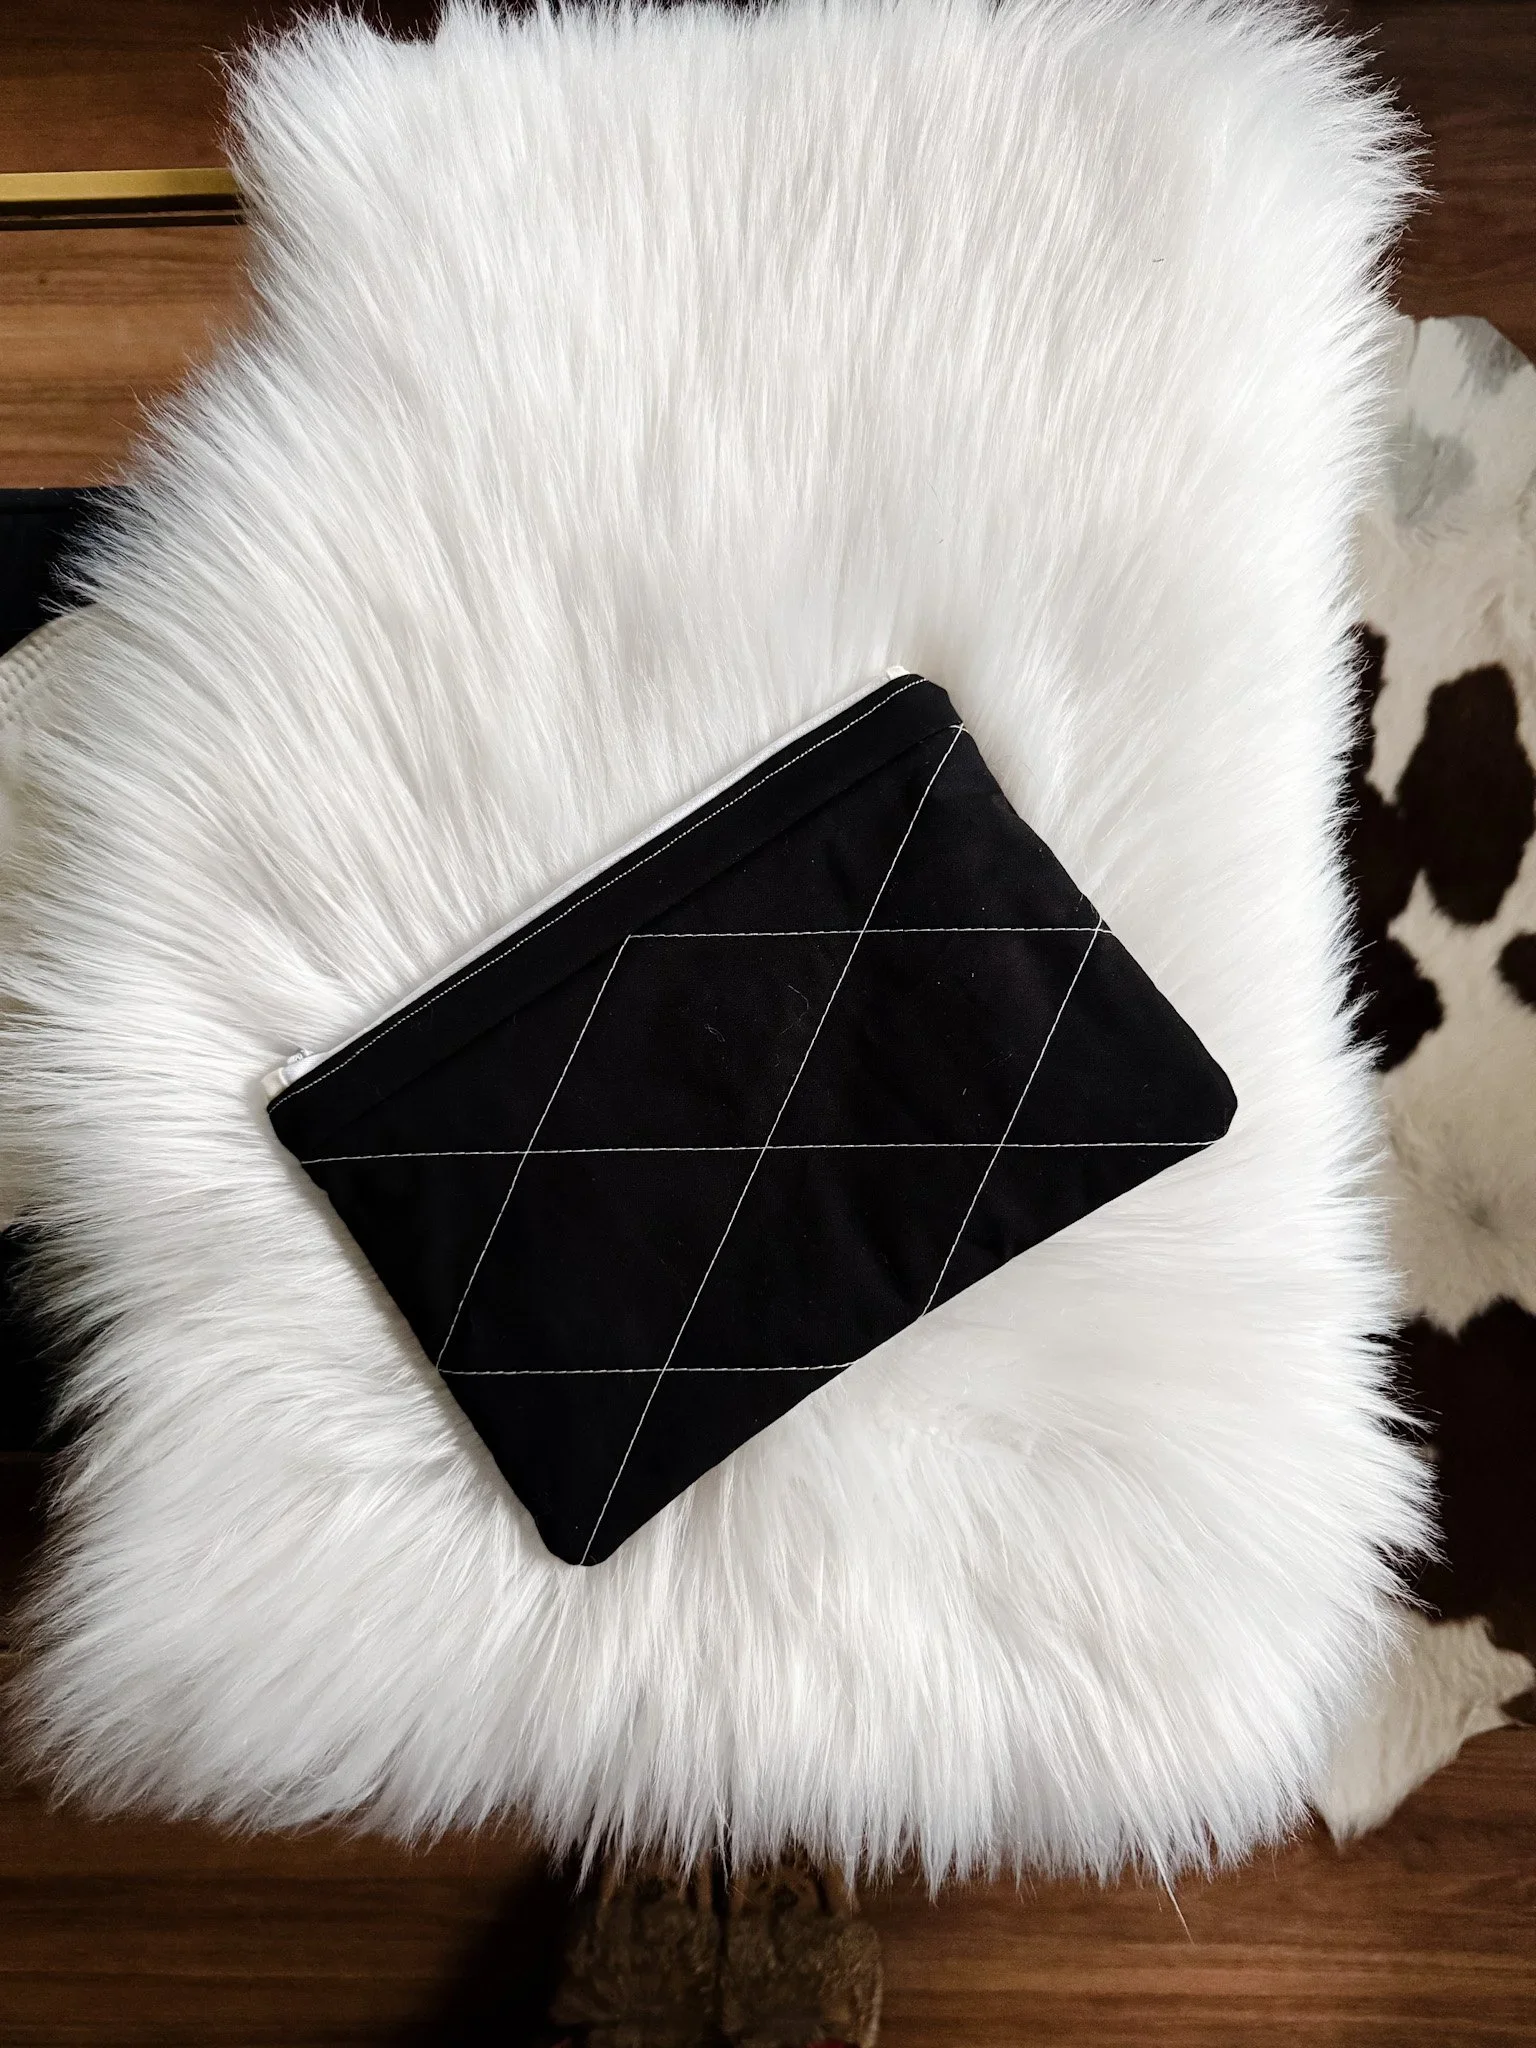
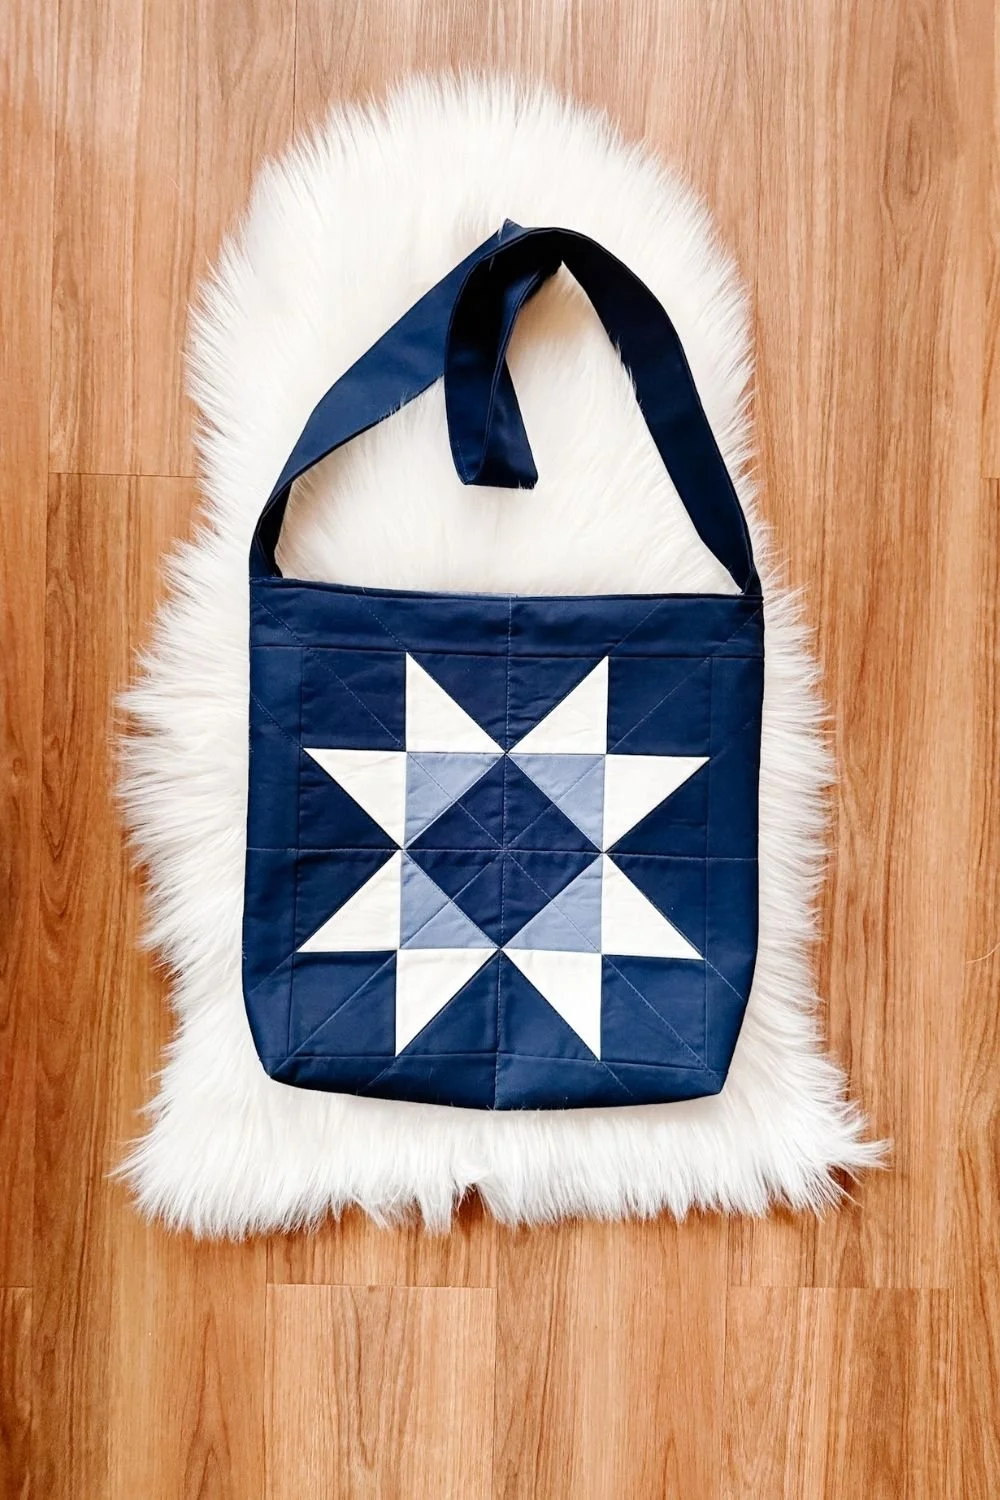
A downloadable PDF quilted tote pattern by Exshaw Quilts, designed for confident beginners who love traditional quilt blocks with a clean, modern feel.
This pattern walks you step-by-step through making a large hand-carry quilted tote bag (20″ W × 14″ H), with clear diagrams, cutting charts, and thoughtful construction tips.
ABOUT THE PATTERN
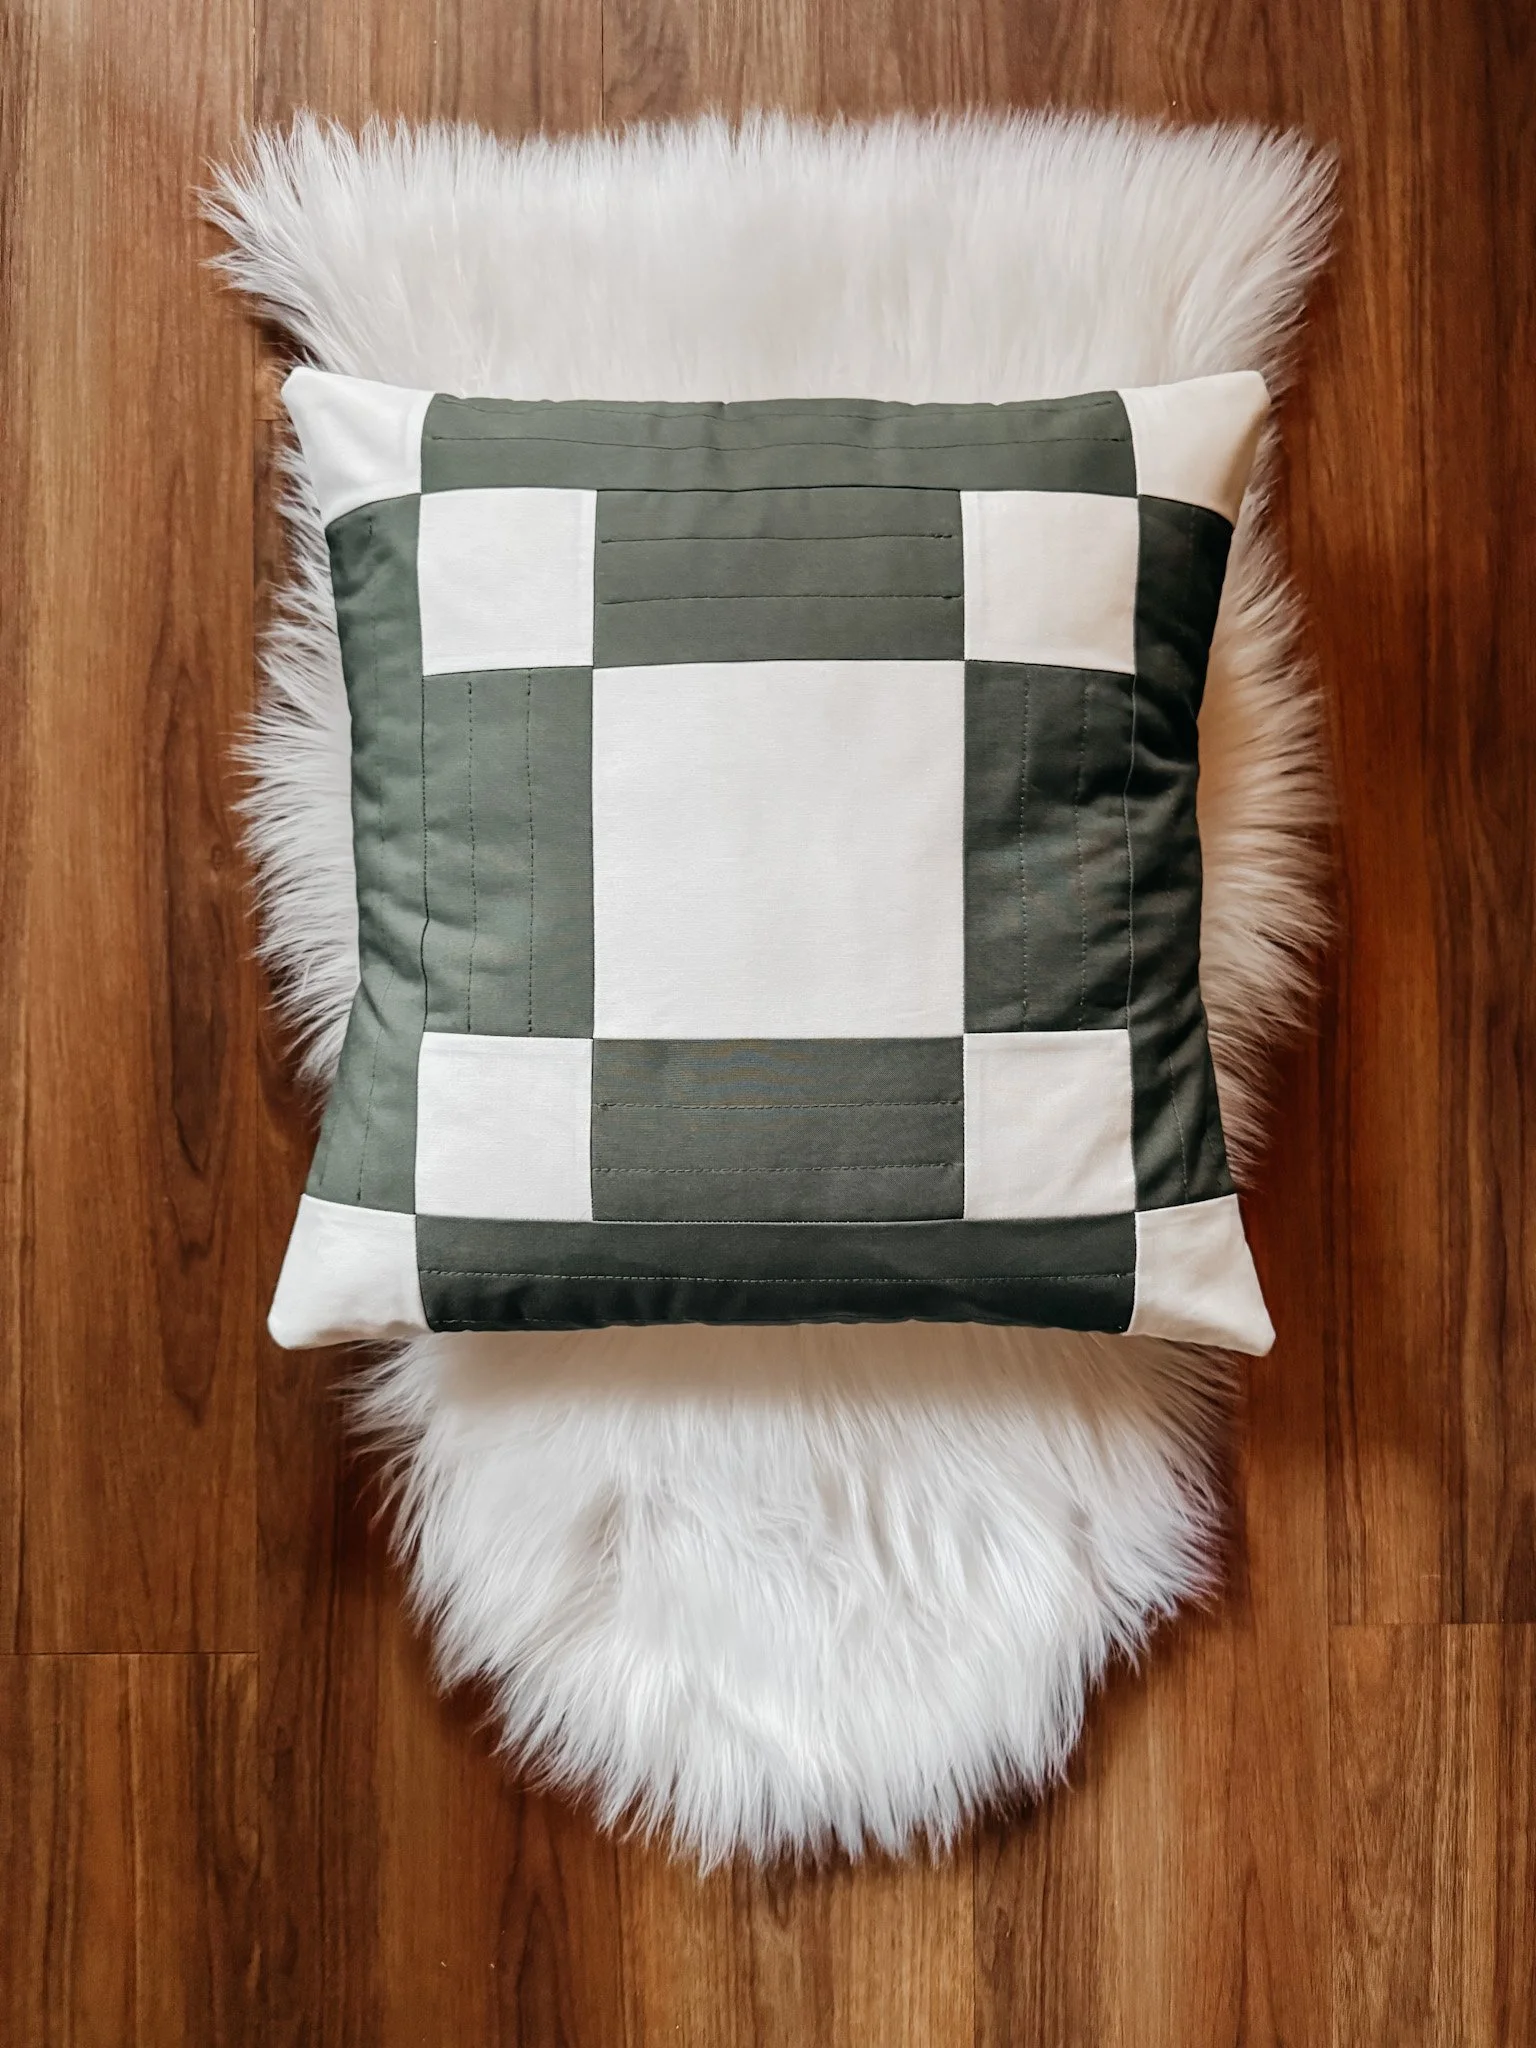
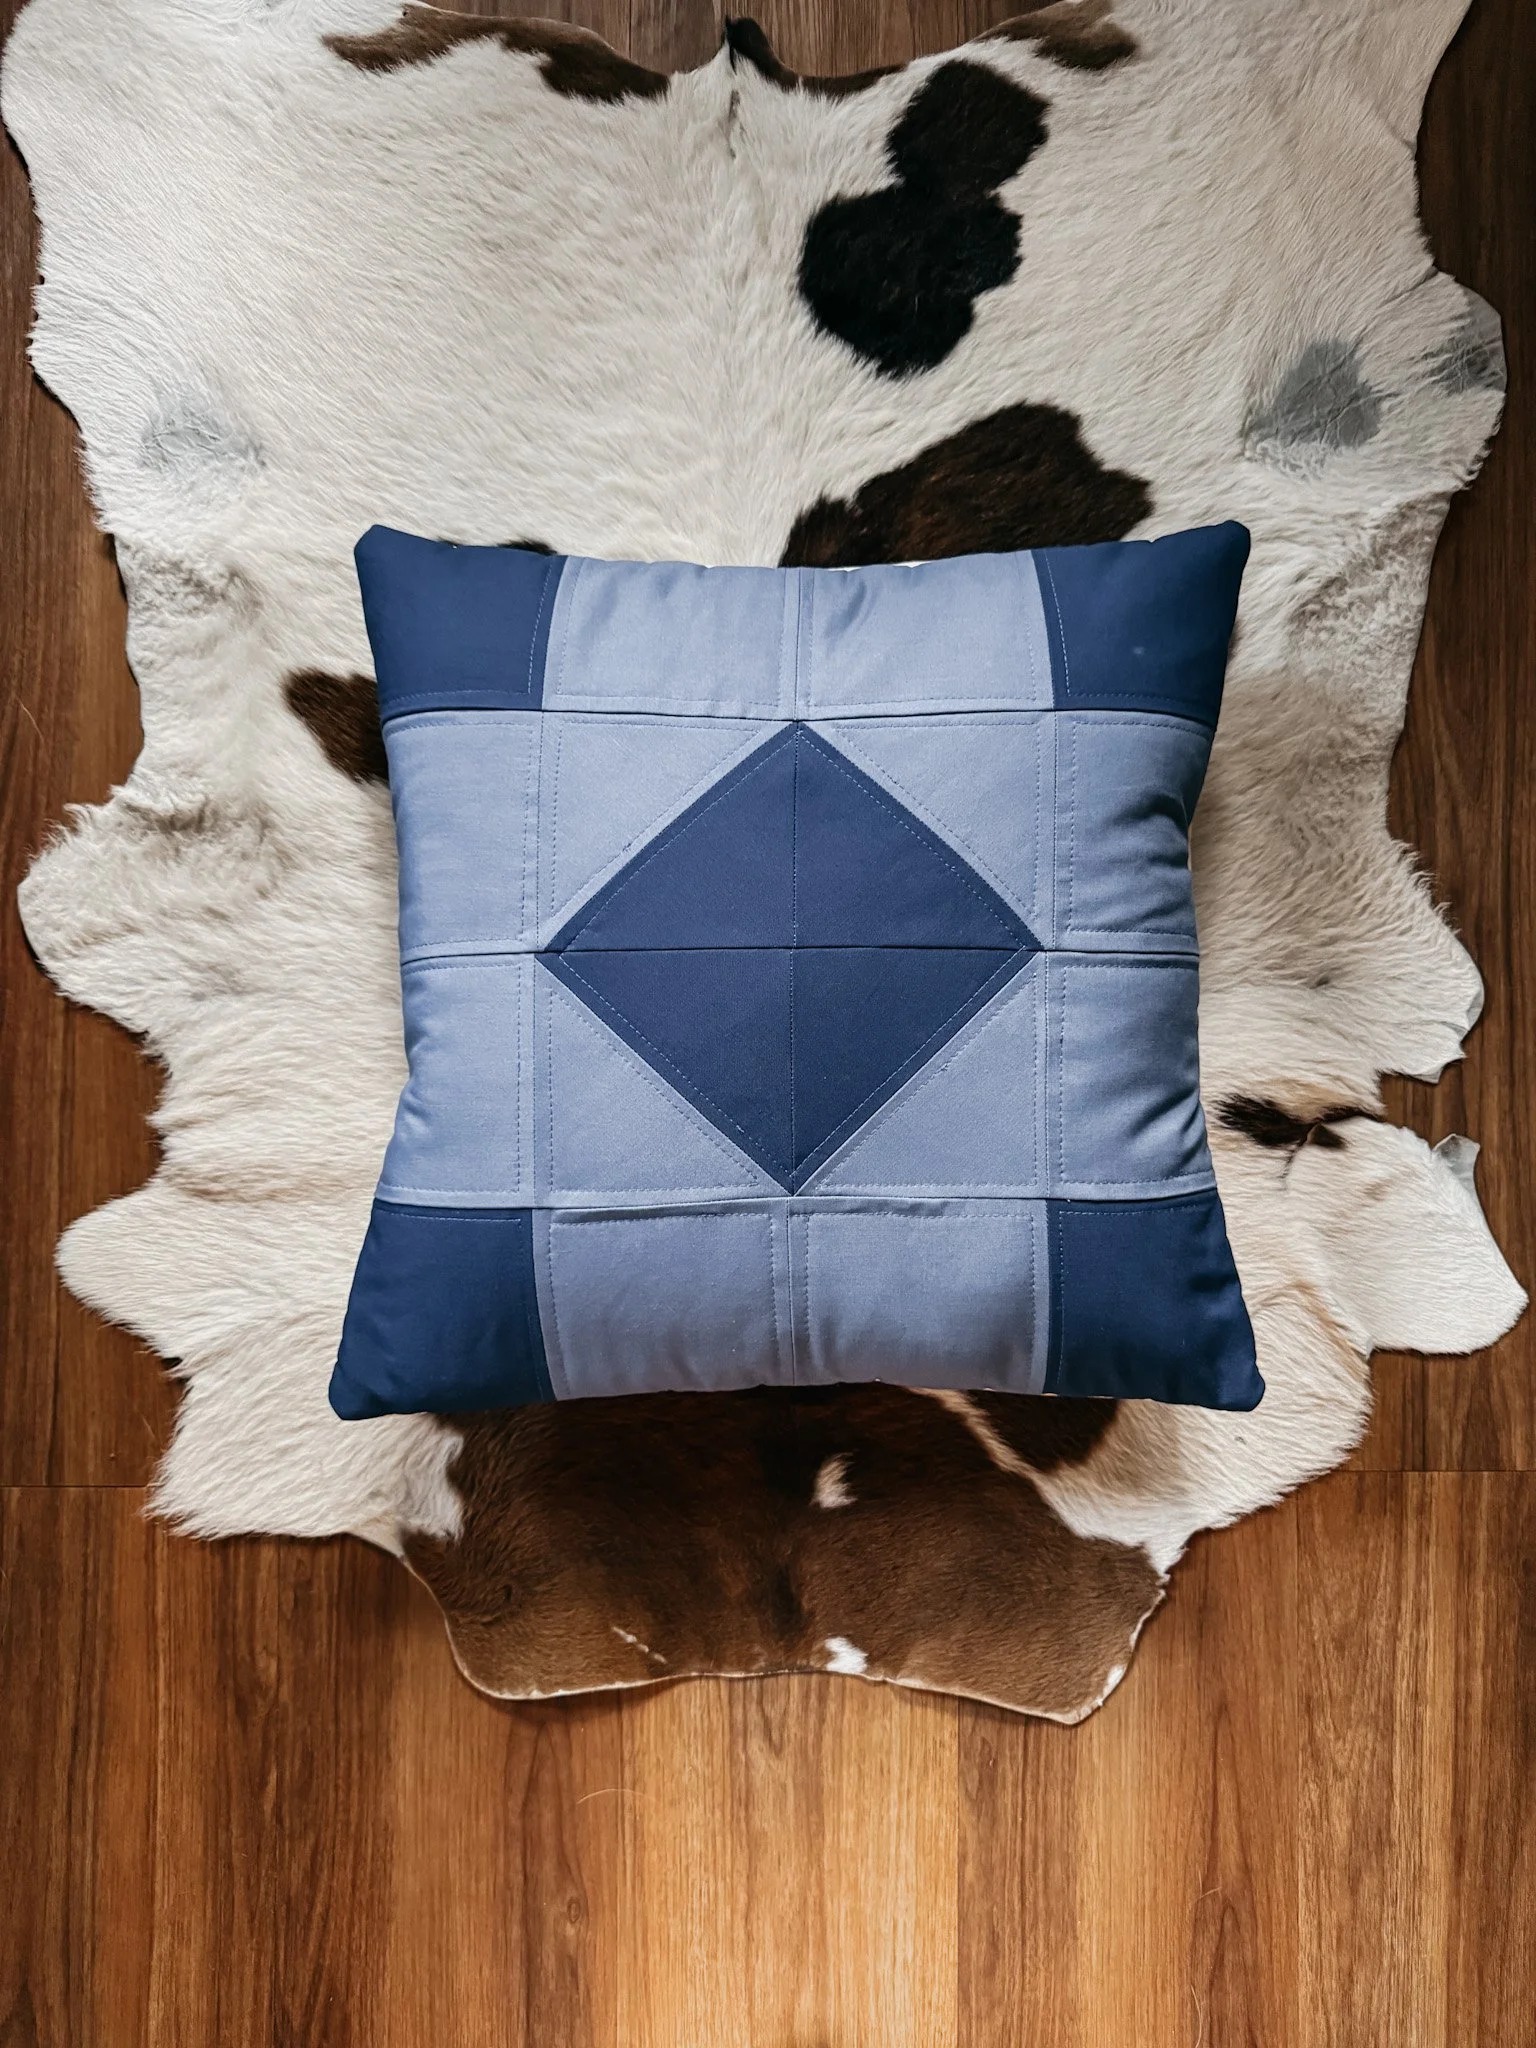
The Arizona Quilted Large Tote is a quilted tote bag pattern that blends classic piecing with a straightforward, beginner-friendly approach. The instructions are clear, repeatable, and designed to help you enjoy the process—not stress through it.
Perfect for everyday use, weekend sewing, or a practical handmade gift.
SKILL LEVEL
Confident Beginner
(Straight seams, traditional piecing, basic tote construction. No paper piecing or advanced techniques required.) Watch this tutorial on bag assembly: https://youtu.be/l_XoNz7hu5U . This pattern assumes you have basic quilting knowledge. For a tutorial on how to quilt, watch this tutorial here: https://youtu.be/qrqtRgq5ODY
FINISHED SIZE
• 20″ W × 14″ H
WHAT’S INCLUDED (AND WHY YOU’LL LOVE IT)
✔ Step-by-step written instructions
✔ Clear cutting charts and piecing diagrams
✔ Traditional block construction methods (strip piecing)
✔ Assembly, quilting, and finishing instructions
✔ Helpful tips for fabric choices and stability
✔ Printer-friendly PDF layout
✔ 100% original Exshaw Quilts pattern
✔ Instant digital download
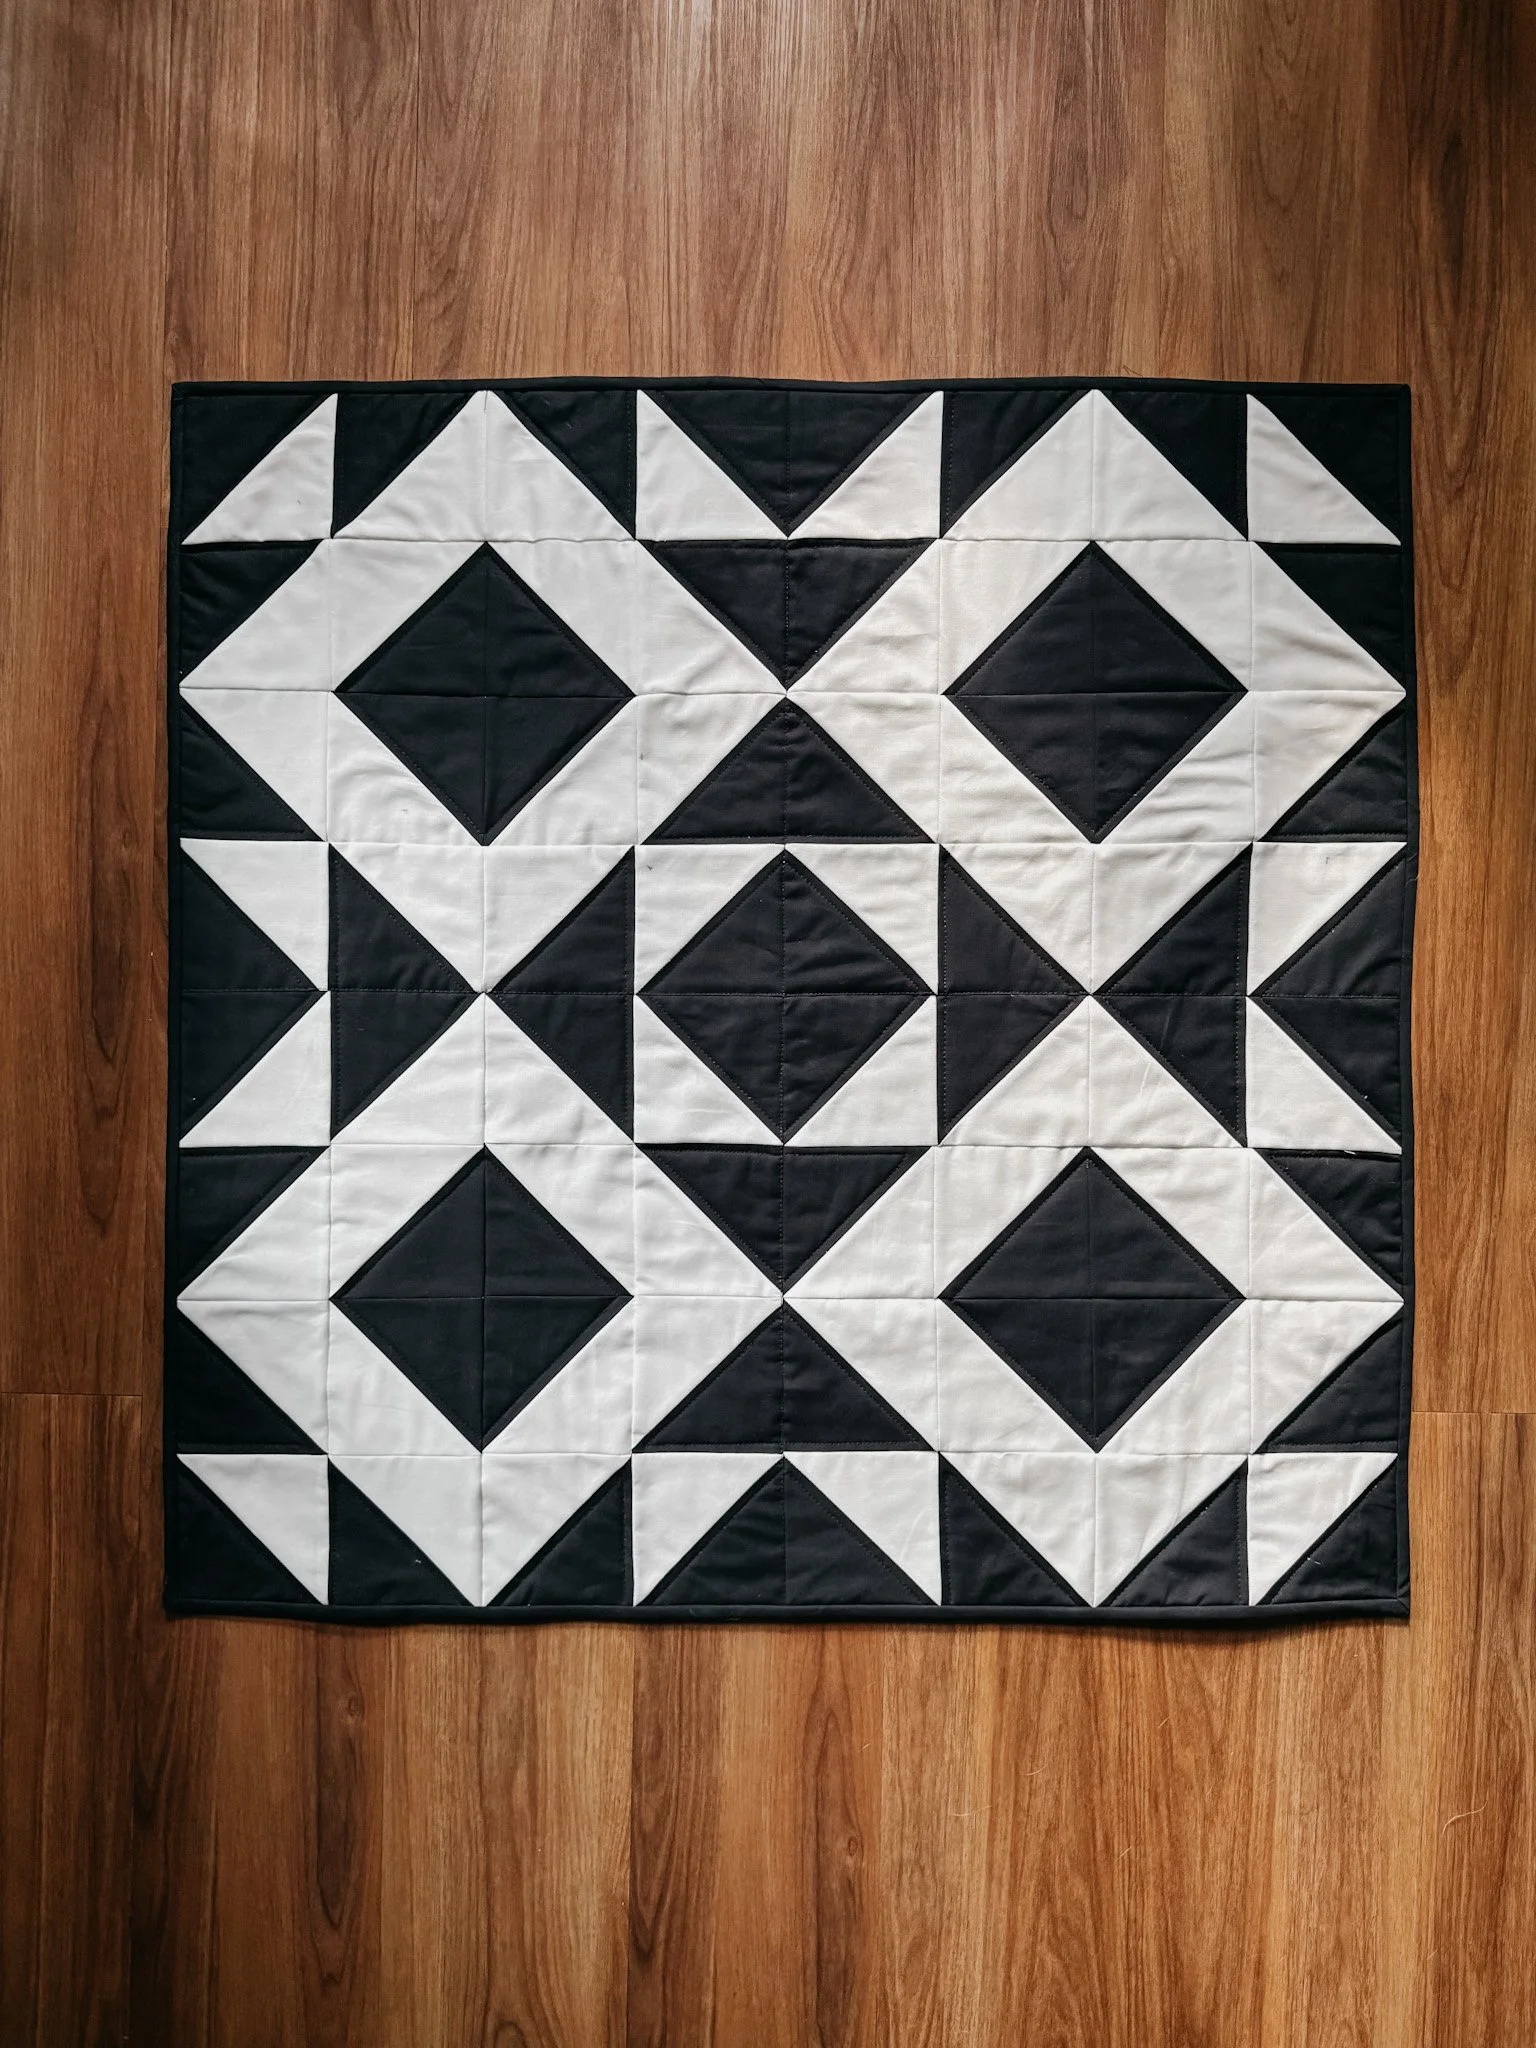
DESIGN FEATURES
• Bold, graphic quilt block design
• Clean, modern tote silhouette
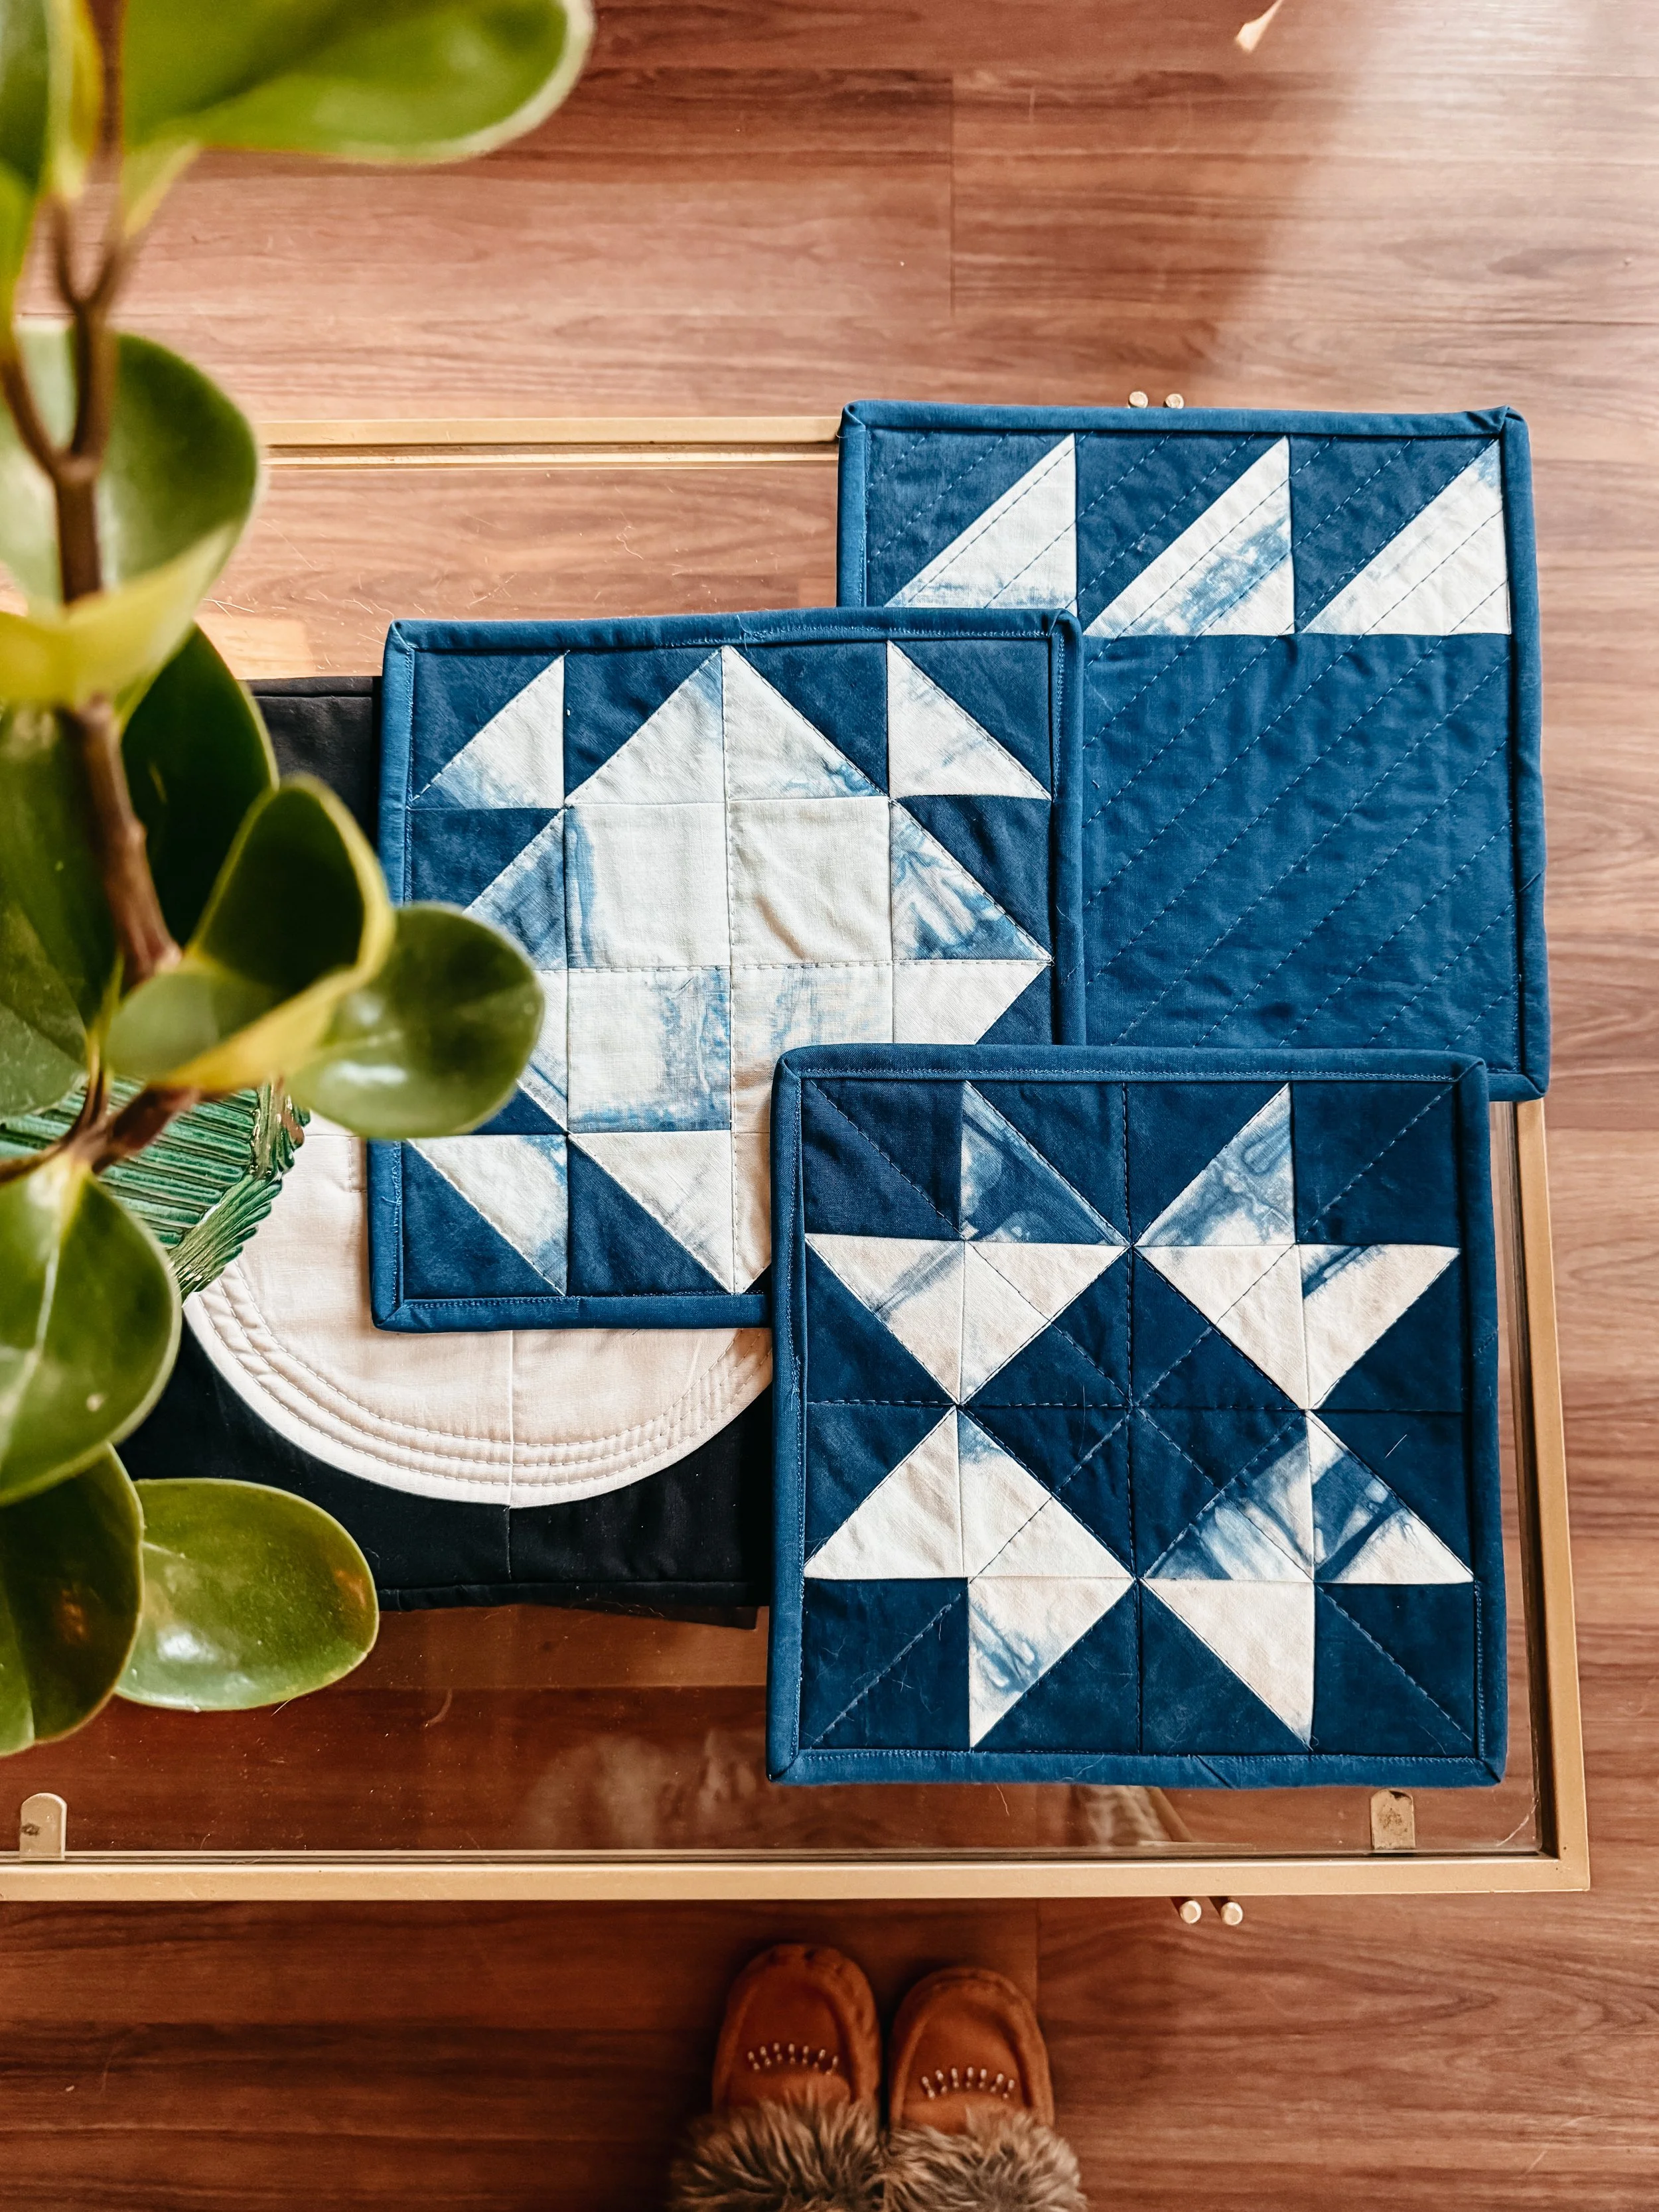
• Works beautifully with solids, hand-dyed fabric, or scraps
• Forgiving construction with repeatable steps
• Designed for everyday use—not just display
CONSTRUCTION & TECHNIQUES
• Traditional piecing
• Straight seams throughout
• Quilted outer panels
• Boxed corners
• Drop-in lining construction
• Assumes ¼″ seam allowance
• Assumes 42″ usable width of fabric (WOF)
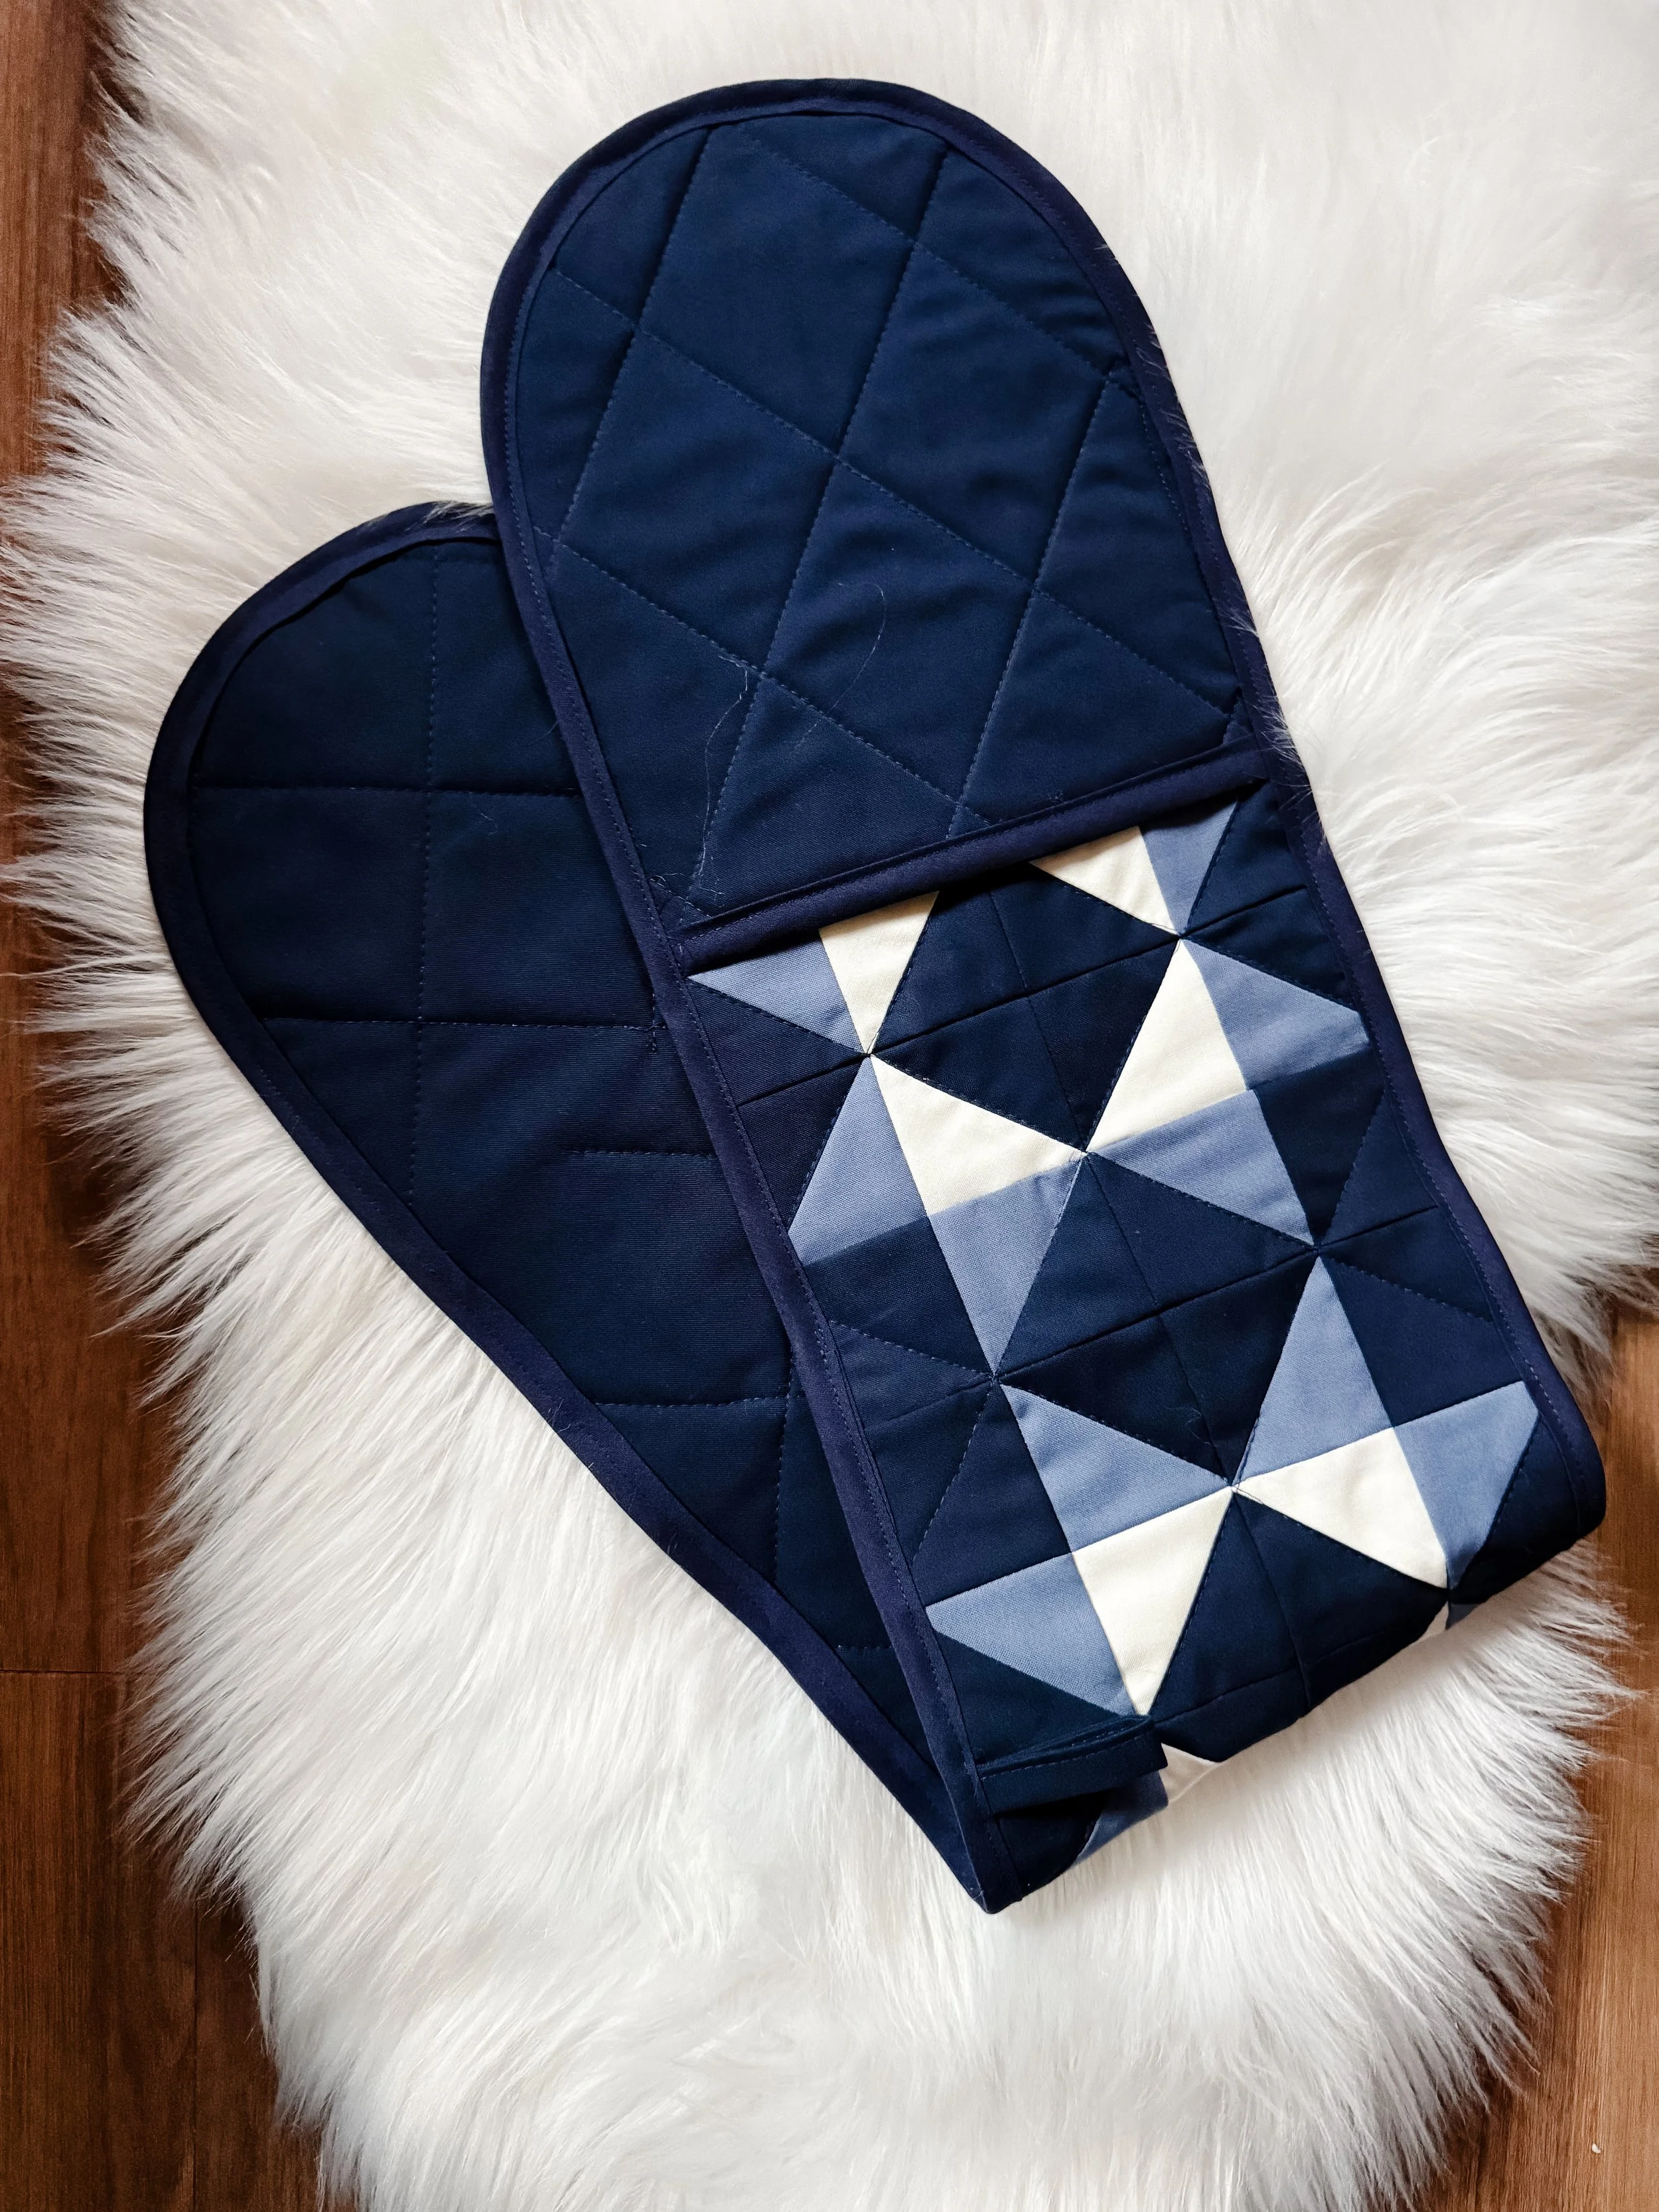
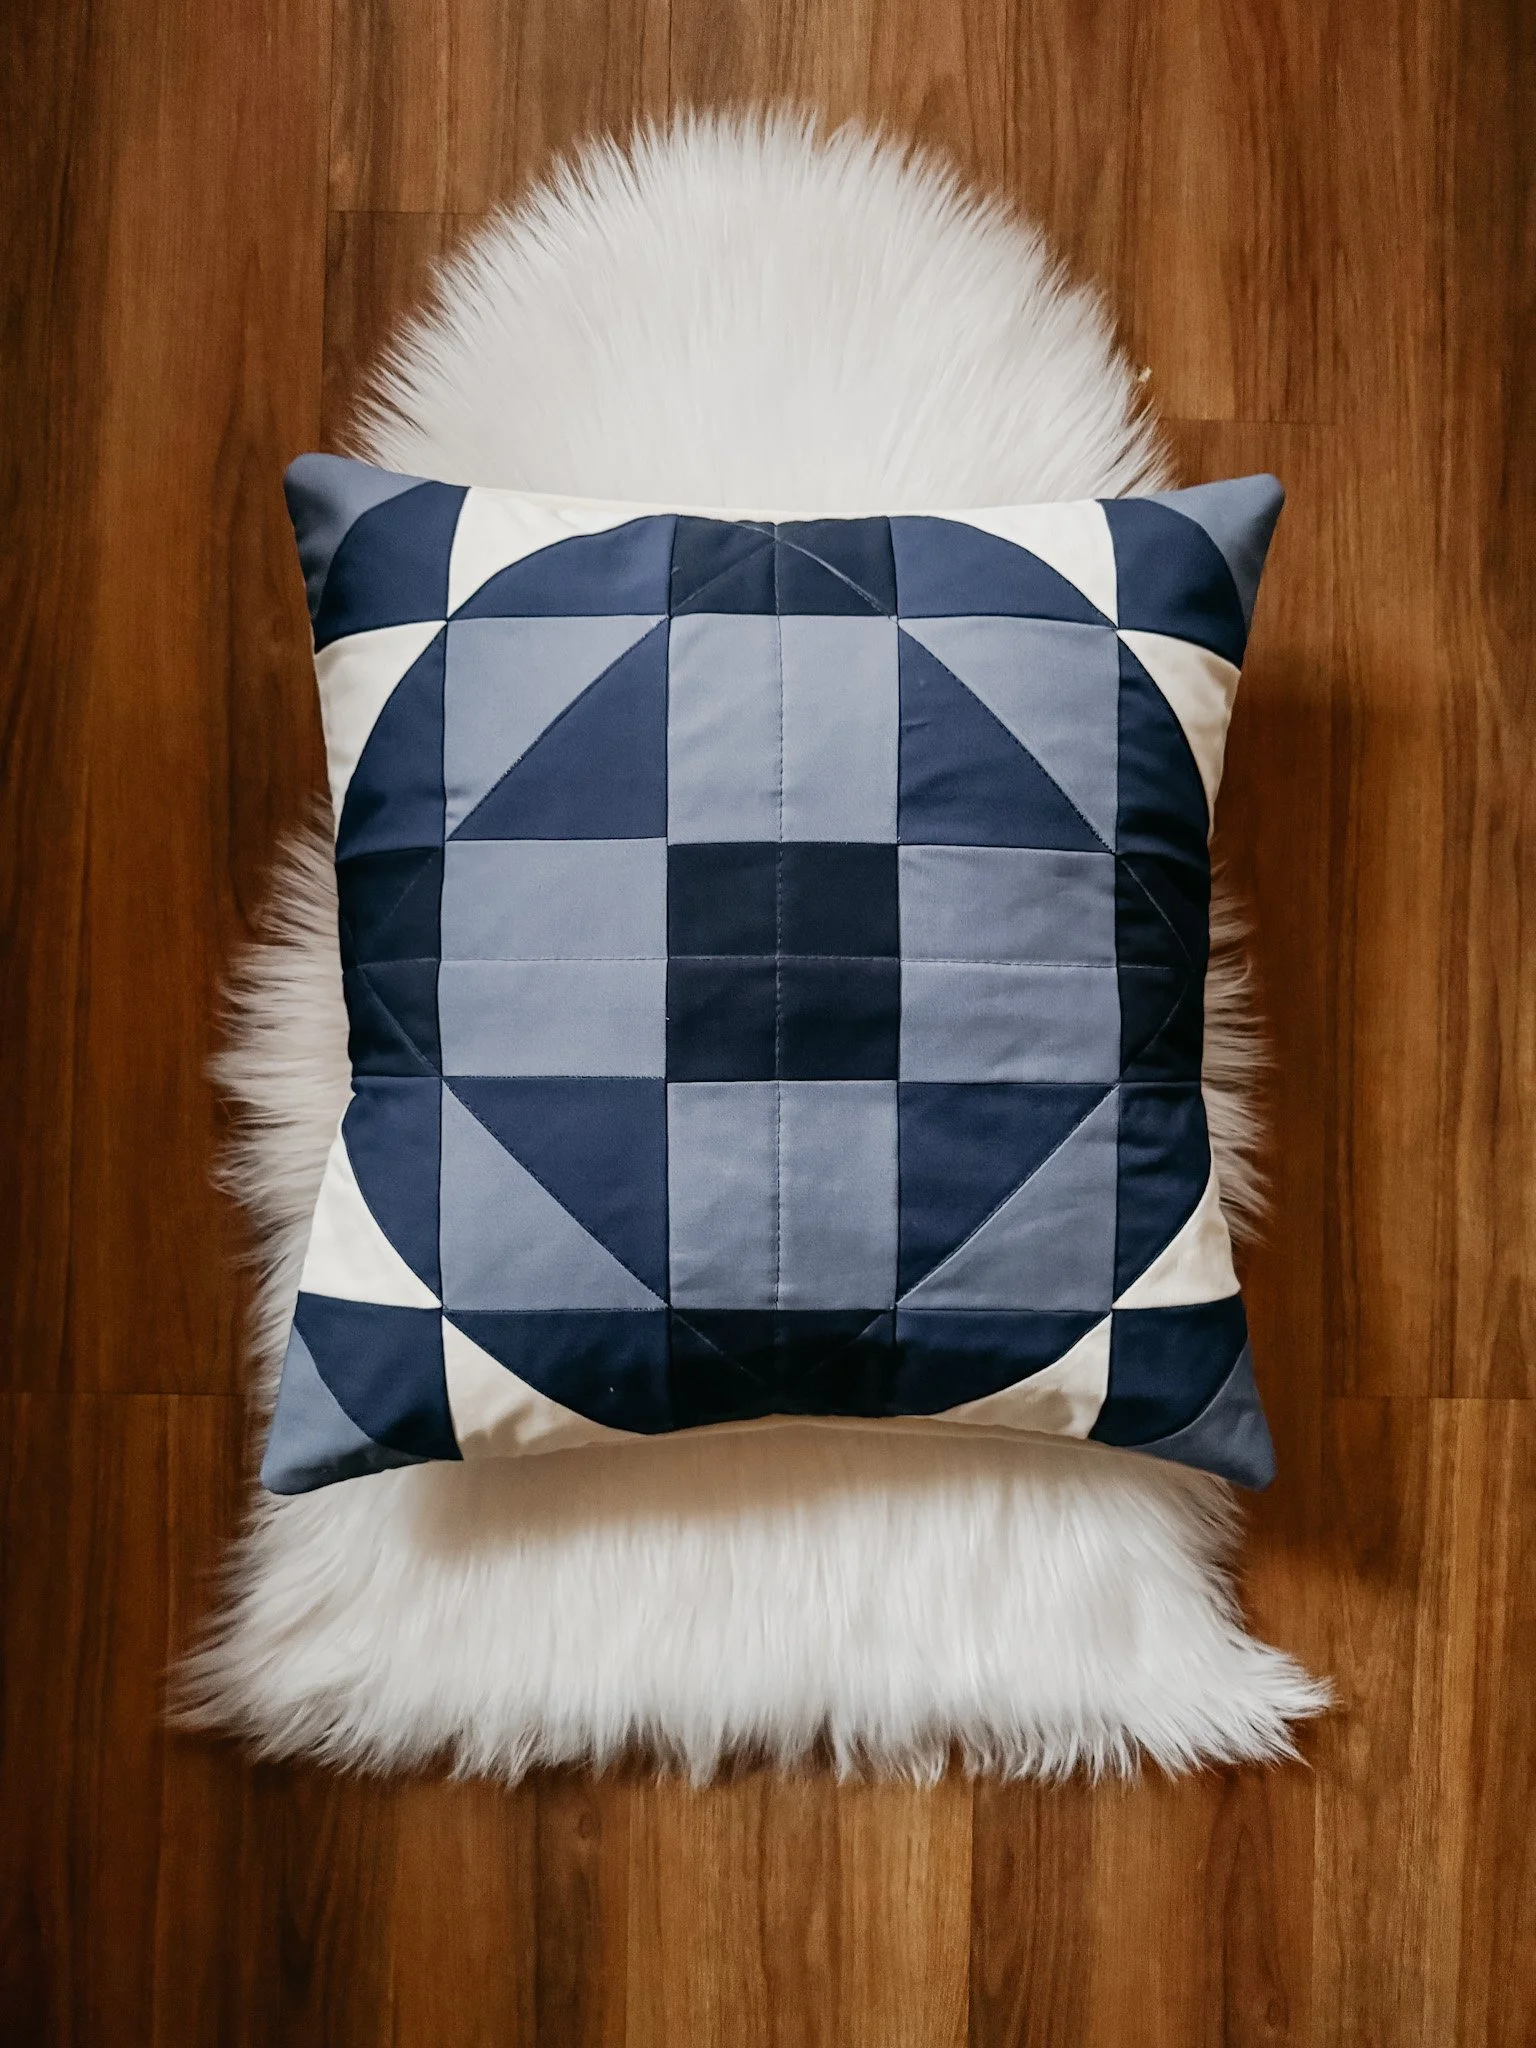
MATERIALS & SPECS
• Quilting cotton
• Batting (or fusible fleece for added structure)
• Lining fabric
• Leather or fabric straps
• Thread
• Basic quilting tools (rotary cutter, ruler, sewing machine)
(Full fabric requirements and cutting instructions are included inside the pattern.)
DELIVERY
📥 This is a DIGITAL DOWNLOAD (PDF)
No physical item will be mailed.
You’ll receive instant access after purchase.
USAGE & LICENSING
This pattern is for personal, non-commercial use only.
You may not sell items made from this pattern or share the pattern itself.
SUPPORT
If you have questions while sewing, I’m happy to help—just send a message.
I also share tutorials, tips, and behind-the-scenes quilting on my website and YouTube.
Email: hello@exshawquilts.com
Website: exshawquilts.com
YouTube: youtube.com/@exshawquilts
SHARE YOUR MAKE
I love seeing your finished projects!
Tag @exshaw on Instagram and use #EXSHAWQUILTS


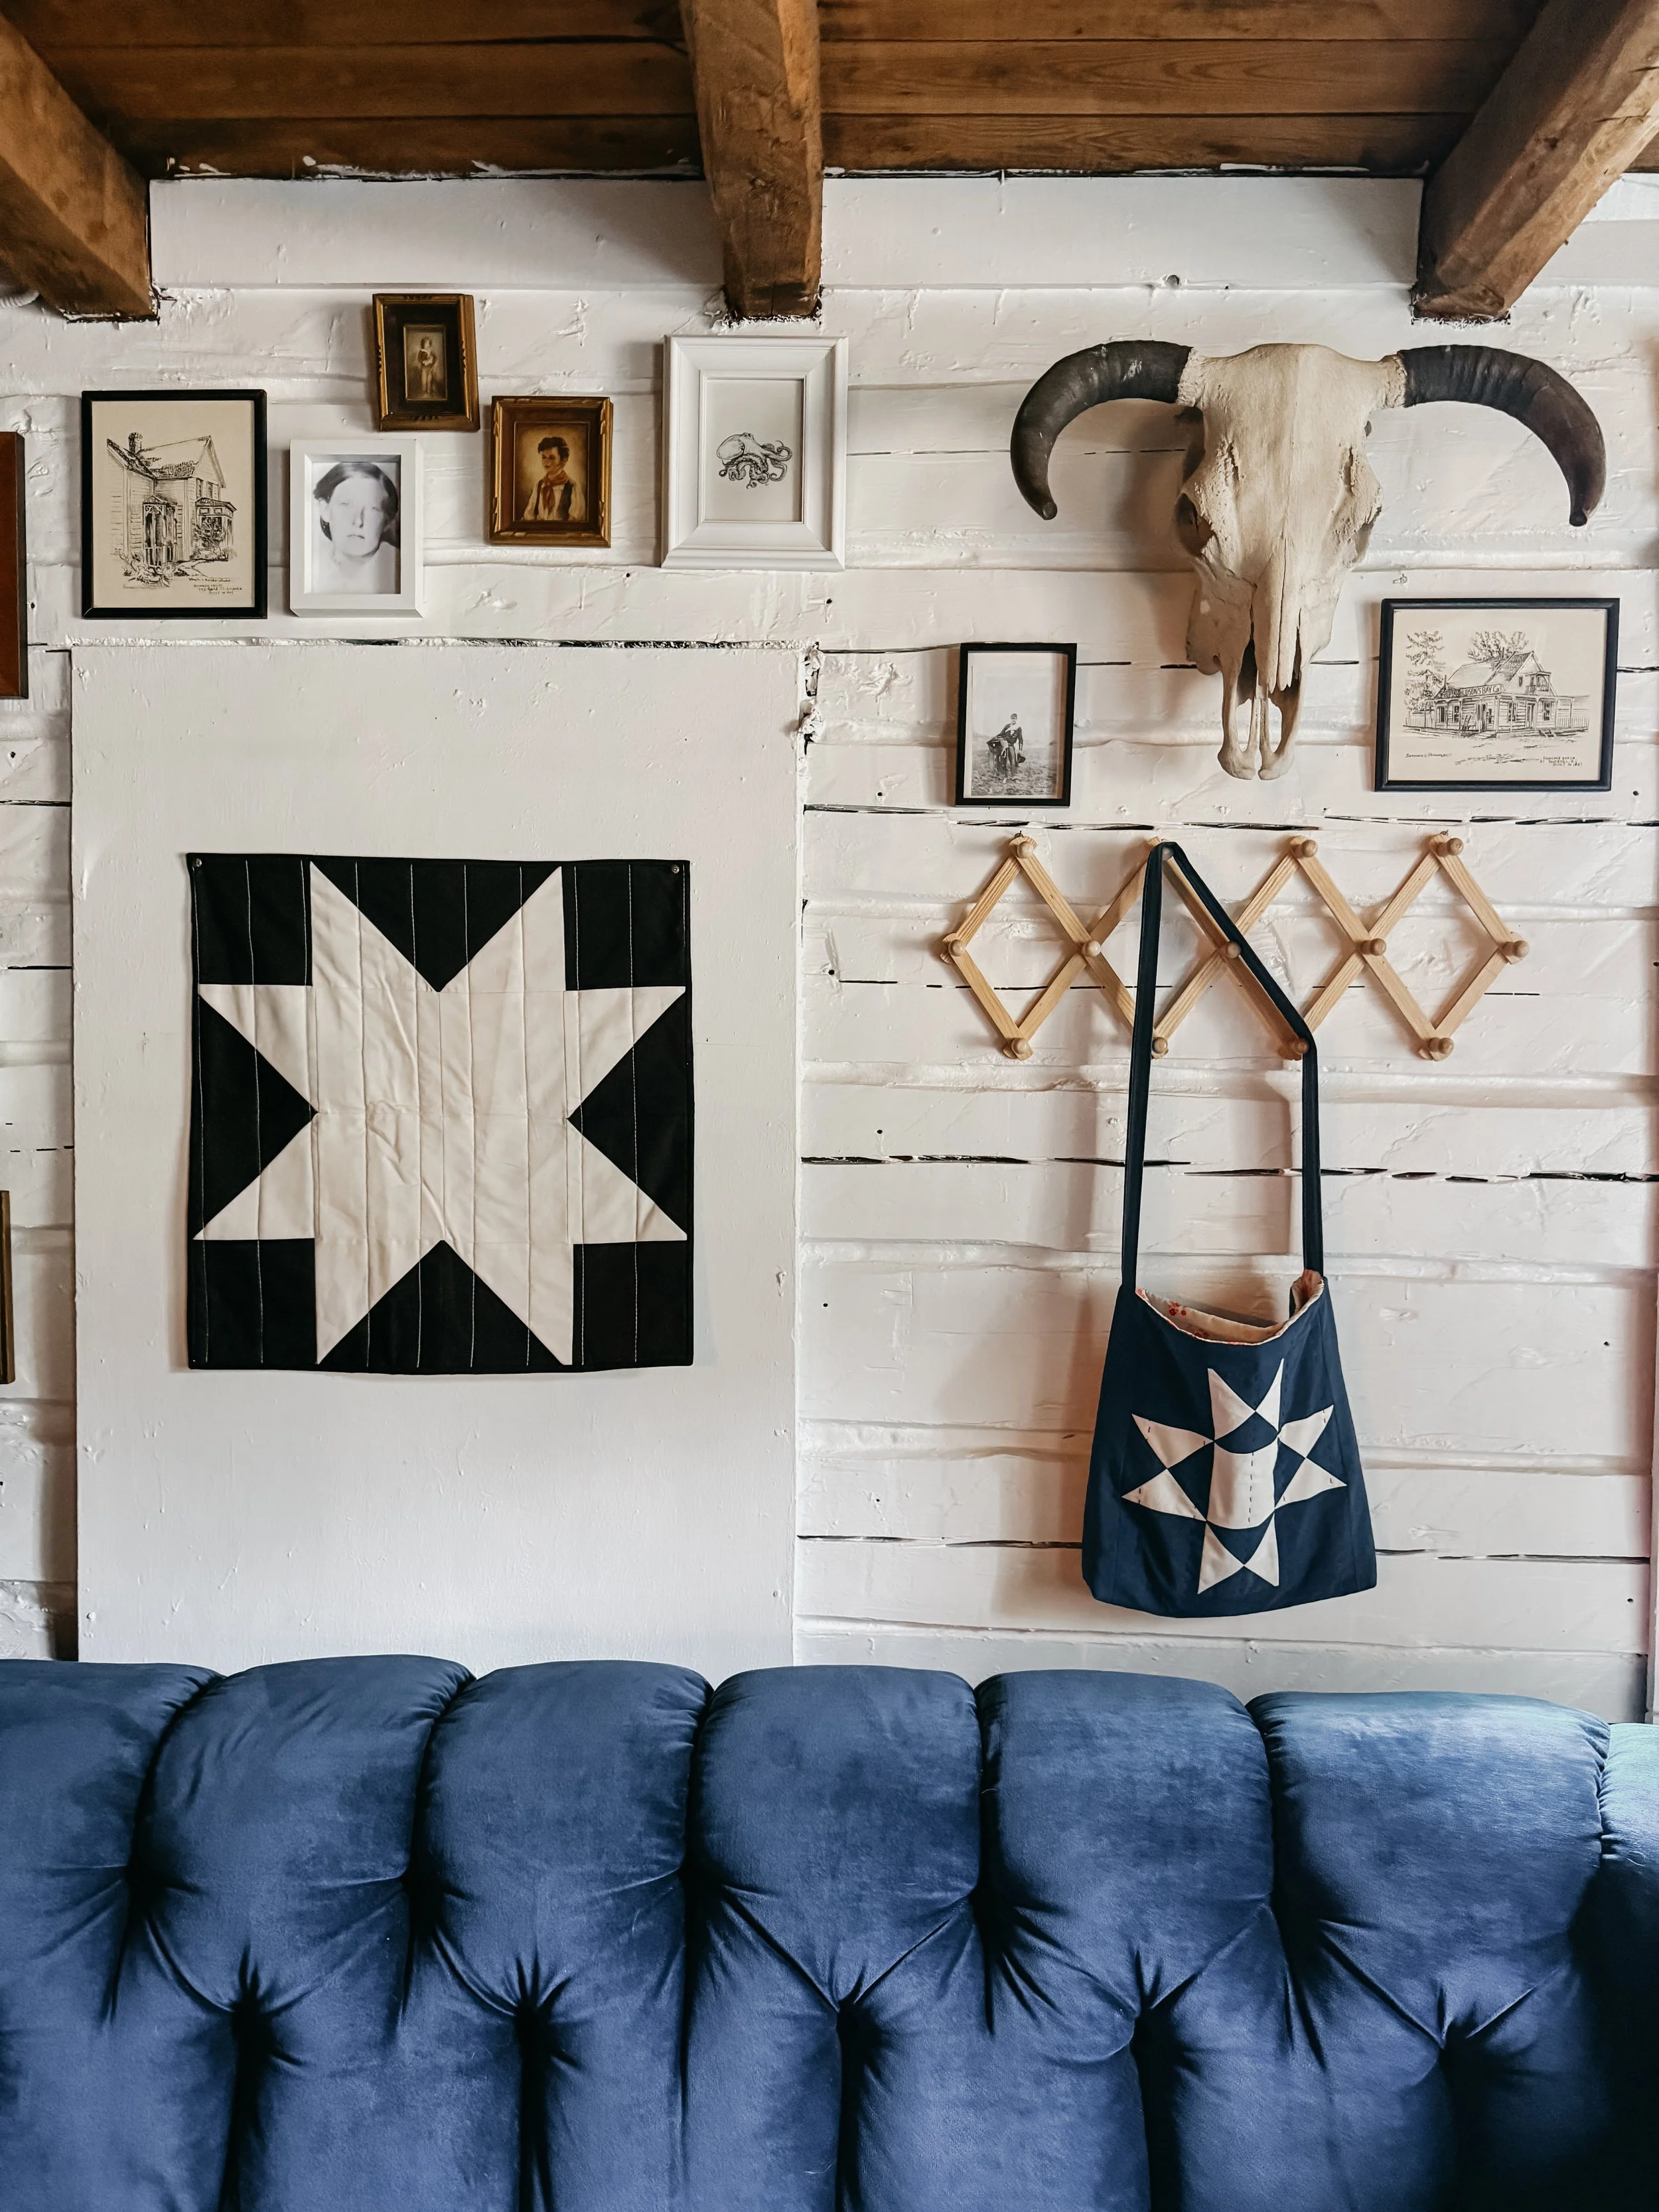


Welcome to the blog—I'm so glad you're here.
I'm Kim, quilting and dyeing from an old cabin in the woods. This is where I share beginner-friendly tutorials, slow craft tips, and stories from a life stitched by hand. I hope you find something here that feels like home.