How To Cut Paper Templates & Sew Perfect Curved Blocks for Quilts (Beginner-Friendly)
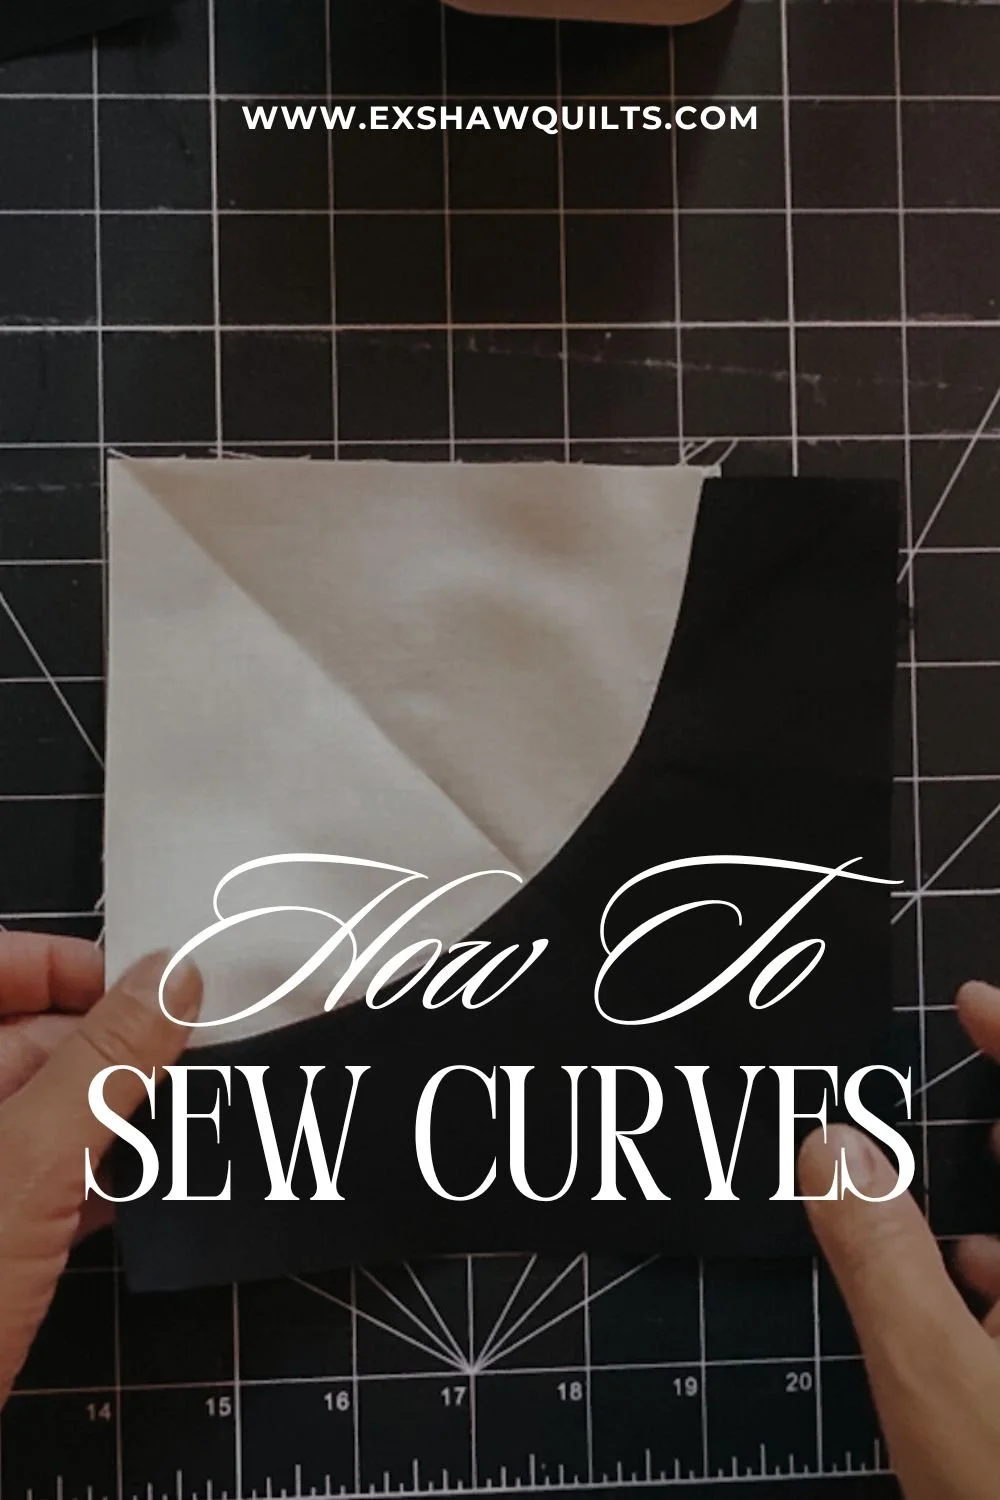
Learn how to cut paper templates and sew smooth, accurate curved quilt blocks with this beginner-friendly Blog Post and video tutorial. Master curved piecing with tips, tools, and step-by-step instructions!
Curved quilt blocks look dreamy—but if you're new to quilting, they can feel seriously intimidating. Don’t worry, I’ve got you! In this tutorial, I’ll walk you through every step of cutting and sewing curves using printable paper templates—no fancy tools or experience required.
✨ “You don’t have to be perfect—you just have to be willing to try.” That’s my quilting motto, and by the end of this post, you’ll be confidently pinning, sewing, and pressing curves that look polished and professional. Whether you’re prepping for your first modern quilt or adding texture to a classic block, this guide will help you get there—one curve at a time.
And yes—there’s a full step-by-step video tutorial linked below for visual learners!
What Are Curved Quilt Blocks?
If you’ve spent most of your quilting life stitching straight seams, curves can feel like stepping into a whole new world—and honestly? That’s part of the magic.
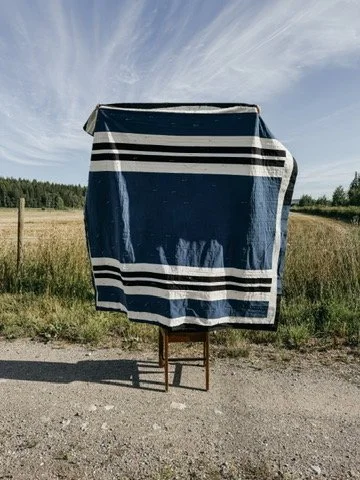
Curved quilt blocks break away from the tidy geometry of squares and triangles. Instead of crisp lines and sharp angles, you get gentle arcs and flowing forms that soften the look of a quilt, almost like ripples on a lake or the edge of a well-worn stone. They bend the rules (literally), bringing in a kind of quiet movement that’s hard to get with traditional piecing.
Some of the most beloved curved blocks have been around for generations—like the Drunkard’s Path, with its simple quarter-circle nestled into a square. Others, like the Orange Peel or Clamshell, feel almost sculptural, like appliqué with a modern twist. And then there are more recent designs—Modern Arcs, overlapping circles, or improv curves—that lean minimalist and playful, like sketching with fabric.
What I love most is how curves shift the whole mood of a quilt. They can feel bold and graphic, or soft and nostalgic. Whether you're sewing a full quilt or just tucking a single curved block into a sampler, they invite the eye to wander—and the maker to slow down. And that’s what we’re all about around here: quilting that feels as good to make as it looks to live with.
Supply list
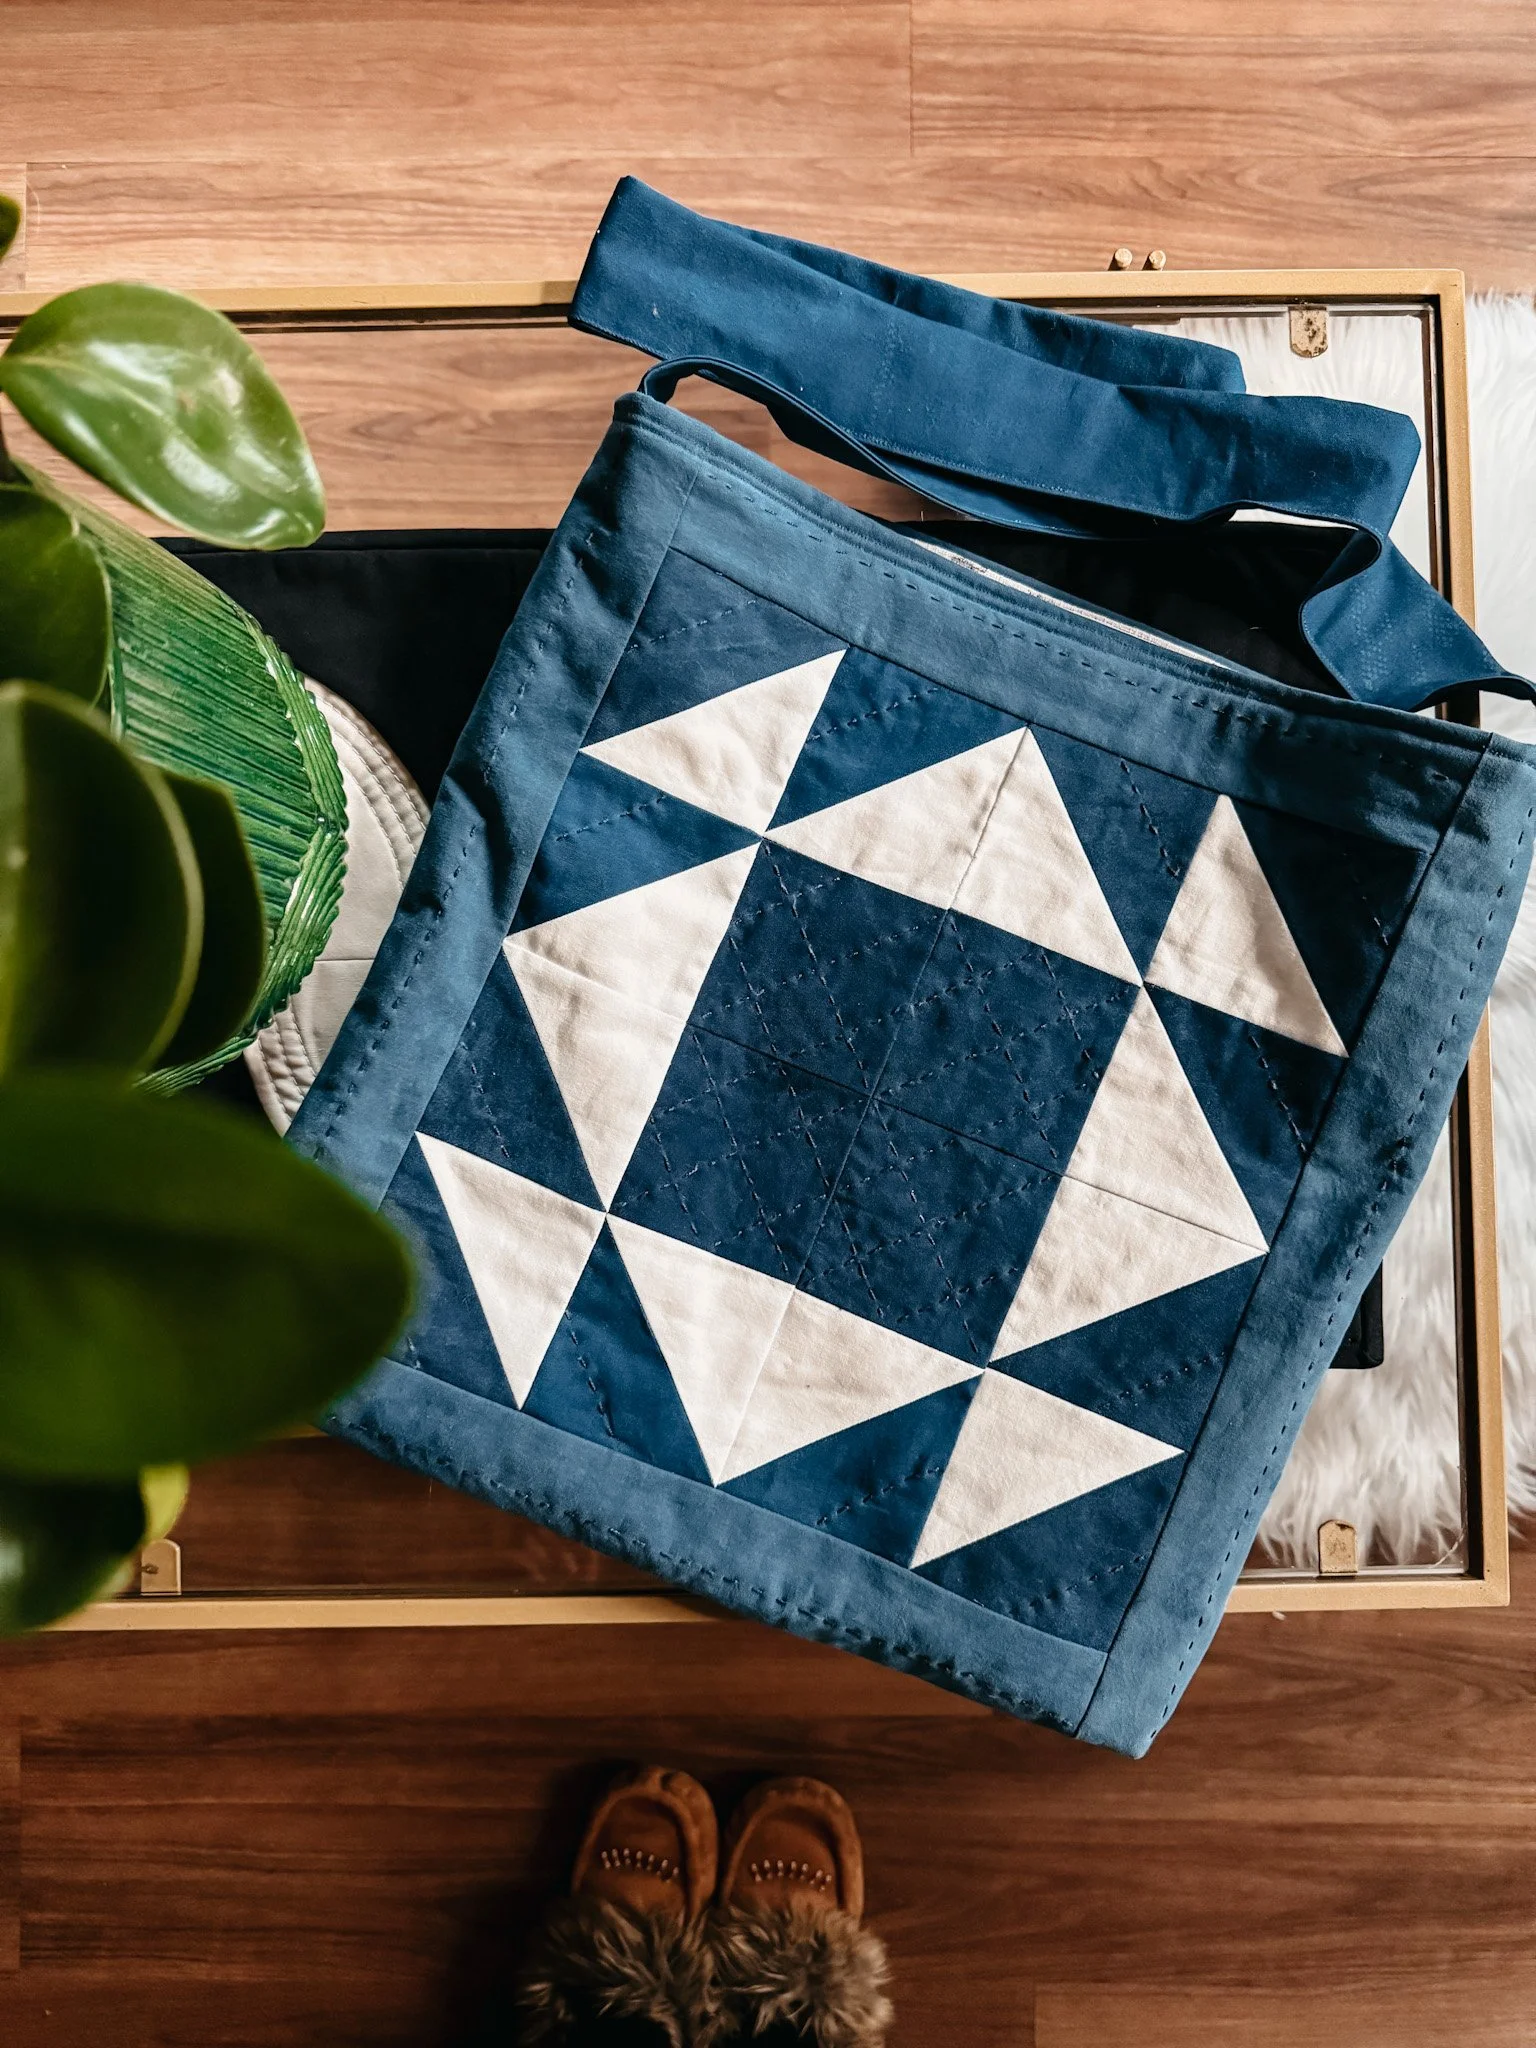
Before we get to the stitching, let’s gather what you’ll need. I keep most of these tools within arm’s reach at the cabin, tucked into a well-loved wooden box that smells faintly of cedar and thread. You don’t need anything fancy—just a few trusty basics to help those curves glide together like a dream. Find a link below to my Amazon faves!
Printable paper templates (PDF format or pattern sheets)
This is where it all begins. Whether you’ve downloaded a digital file or printed off pattern sheets, make sure to set your printer to 100% scale (no sneaky resizing!). A quick check with the test square will save you from heartbreak later. Find my pattern for this Modern Curves Table Runner here!Washable fabric marking tools (chalk pencil, graphite pencil)
For dark fabrics, a chalk pencil shows up best. For lighter shades, I reach for a soft graphite pencil. The goal is to trace the template cleanly—just dark enough to guide your scissors, but light enough to disappear after a good press.Sharp fabric scissors or rotary cutter
You’ll want precision here, especially around the curves. A rotary cutter is speedy, but don’t underestimate a good pair of sharp fabric scissors—they give you full control, especially when working with small arcs or textured fabric.Pins or clips for securing curves
I’m a pinner myself (it feels like slowing down time, in the best way), but clips work beautifully too. Whichever you use, the key is anchoring those pieces from the middle out—so the fabric eases in gently, no tugging required.Sewing machine (optional—hand piecing and hand applique works too!)
If you’ve got a machine you love, it’ll make quick work of these seams and sewing the applique pieces on. But if you’re feeling slow and soulful, hand piecing is a lovely way to settle into the rhythm of the curve. Both methods work just fine.Iron and pressing surface
Don’t skip this part—pressing makes the magic happen. A quick press after each seam helps everything lie flat and line up properly, especially when you’re working with gentle curves. I like to press toward the darker fabric, but you do you.
Gather these up, pour yourself a mug of something cozy, and let’s get started.
amazon link to fave products
How to Cut and Use Paper Templates for Quilts
This is where the magic begins—just you, a warm cup of something nearby, and the quiet satisfaction of prepping your pieces. Using paper templates might feel a little old-school, but there’s a rhythm to it that I love. It slows things down, lets you work by feel, and turns even the prep stage into something meditative.
Start by printing your template at 100% scale—that part’s important. There’s usually a little test square on the page (often 1" × 1") that you can measure with a quilting ruler just to be sure it printed true to size. A small error here can snowball down the line, so give it a quick check before you cut.
Once printed, take your time cutting out each paper shape neatly- include the seam allowance in your cut. I like using my sharp paper scissors for this—nothing fancy, just something that gives you good control around the curves.
Next up: fabric. For darker colors, I reach for tailor’s chalk; for lighter shades, a soft graphite pencil or washable fabric pen works best. Lay your fabric flat, trace around the paper shape, and repeat as needed—your pattern will tell you how many of each piece to cut. This is a good time to settle into a podcast or playlist. Let your hands do the work while your mind wanders a little.
Tips for smooth curves:
If you're using scissors, try long, slow cuts—avoid choppy snips that create jagged edges. With a rotary cutter, it helps to use a small (28mm) blade if you have one, especially for tighter arcs. Either way, press your fabric before tracing—wrinkles and folds can throw things off. A warm iron and a firm pressing surface are your best friends here.
Once everything’s cut and stacked, you’re ready to sew. The pieces may look a little wonky at first (that’s normal!), but trust the process. You’ll be surprised how it all comes together—smooth, snug, and deeply satisfying.


Aligning & Pinning Curves with Confidence
There’s something a little magical about sewing curves—it’s not just the shape, it’s the rhythm. But before you get to the hum of the machine or the quiet pull of a hand stitch, you’ll want to line things up so they behave.
Find the center—start there
First things first: fold both your convex (outer) and concave (inner) fabric pieces in half and finger press to create a little crease. That’s your center mark, and it’s the secret to keeping everything balanced. Trust me—this tiny habit makes curved piecing go so much smoother.
Match the middles, then pin out
Place your pieces right sides together, with the curved edges lined up. Pin at the center crease first. Then pin the two outer edges. After that, work your way outward from the center, gently easing the fabric as you go. Think of it like setting a tablecloth just right—smooth and even, no tugs or bunches.
Tight curves vs. shallow ones
The tighter the curve, the more pins you’ll want. For dramatic curves, place pins every ½" to ¾". For soft, shallow arcs, every inch or so will do. Don’t rush this part—your patience here will pay off when you’re stitching.
Easing around the curve (and dodging puckers)
The trick with curves is to let the fabric ease into place rather than forcing it. You’re not stretching or pulling—just guiding it gently, like coaxing a ribbon into a loop. If you spot a ripple forming, lift the top layer slightly and let it relax before re-pinning. It’s okay to take a few extra moments here. In fact, it’s part of the charm.
Sewing curves doesn’t have to be scary—it’s just a dance between fabric, fingers, and a little bit of trust. And you’ve got this.
Sewing the Curve: Machine & Hand Piecing Options
If you’re machine sewing:
Set your stitch length a little shorter than usual—around 1.8 to 2.0 on most machines. That tiny stitch helps hold the curve smooth and strong, even through gentle stretch and press. Sew slowly, starting at the center pin and easing your way out to each edge. Let the feed dogs do their thing—don’t tug or stretch, just guide. You’re not in a race here. Just follow the arc.
Prefer hand piecing?
This is where slow stitchers shine. I like to finger-press my center marks and line them up first, then stitch from the middle out in one direction before flipping and doing the other half. Try to keep your stitches even and no more than 1/8” between stitches. Small backstitches every few seams give the curve extra security without sacrificing flow. There’s something deeply satisfying about watching the curve bloom stitch by stitch—especially with a warm mug and a quiet hour.
A quick note on snipping:
Once your seam is sewn, it’s time to give that curve a little breathing room. Using sharp scissors, make a few tiny snips into the seam allowance— almost to the stitch line, but not through it. This helps the fabric relax and press flatter, especially on tighter curves. Then press the seam toward the darker fabric, smoothing it into place like a good cup of tea on a chilly afternoon.
However you stitch it—by hand, by machine, with background music or in peaceful silence—sewing curves is one of those skills that feels clumsy at first and then suddenly…clicks. Keep at it. Each curve is its own little triumph.
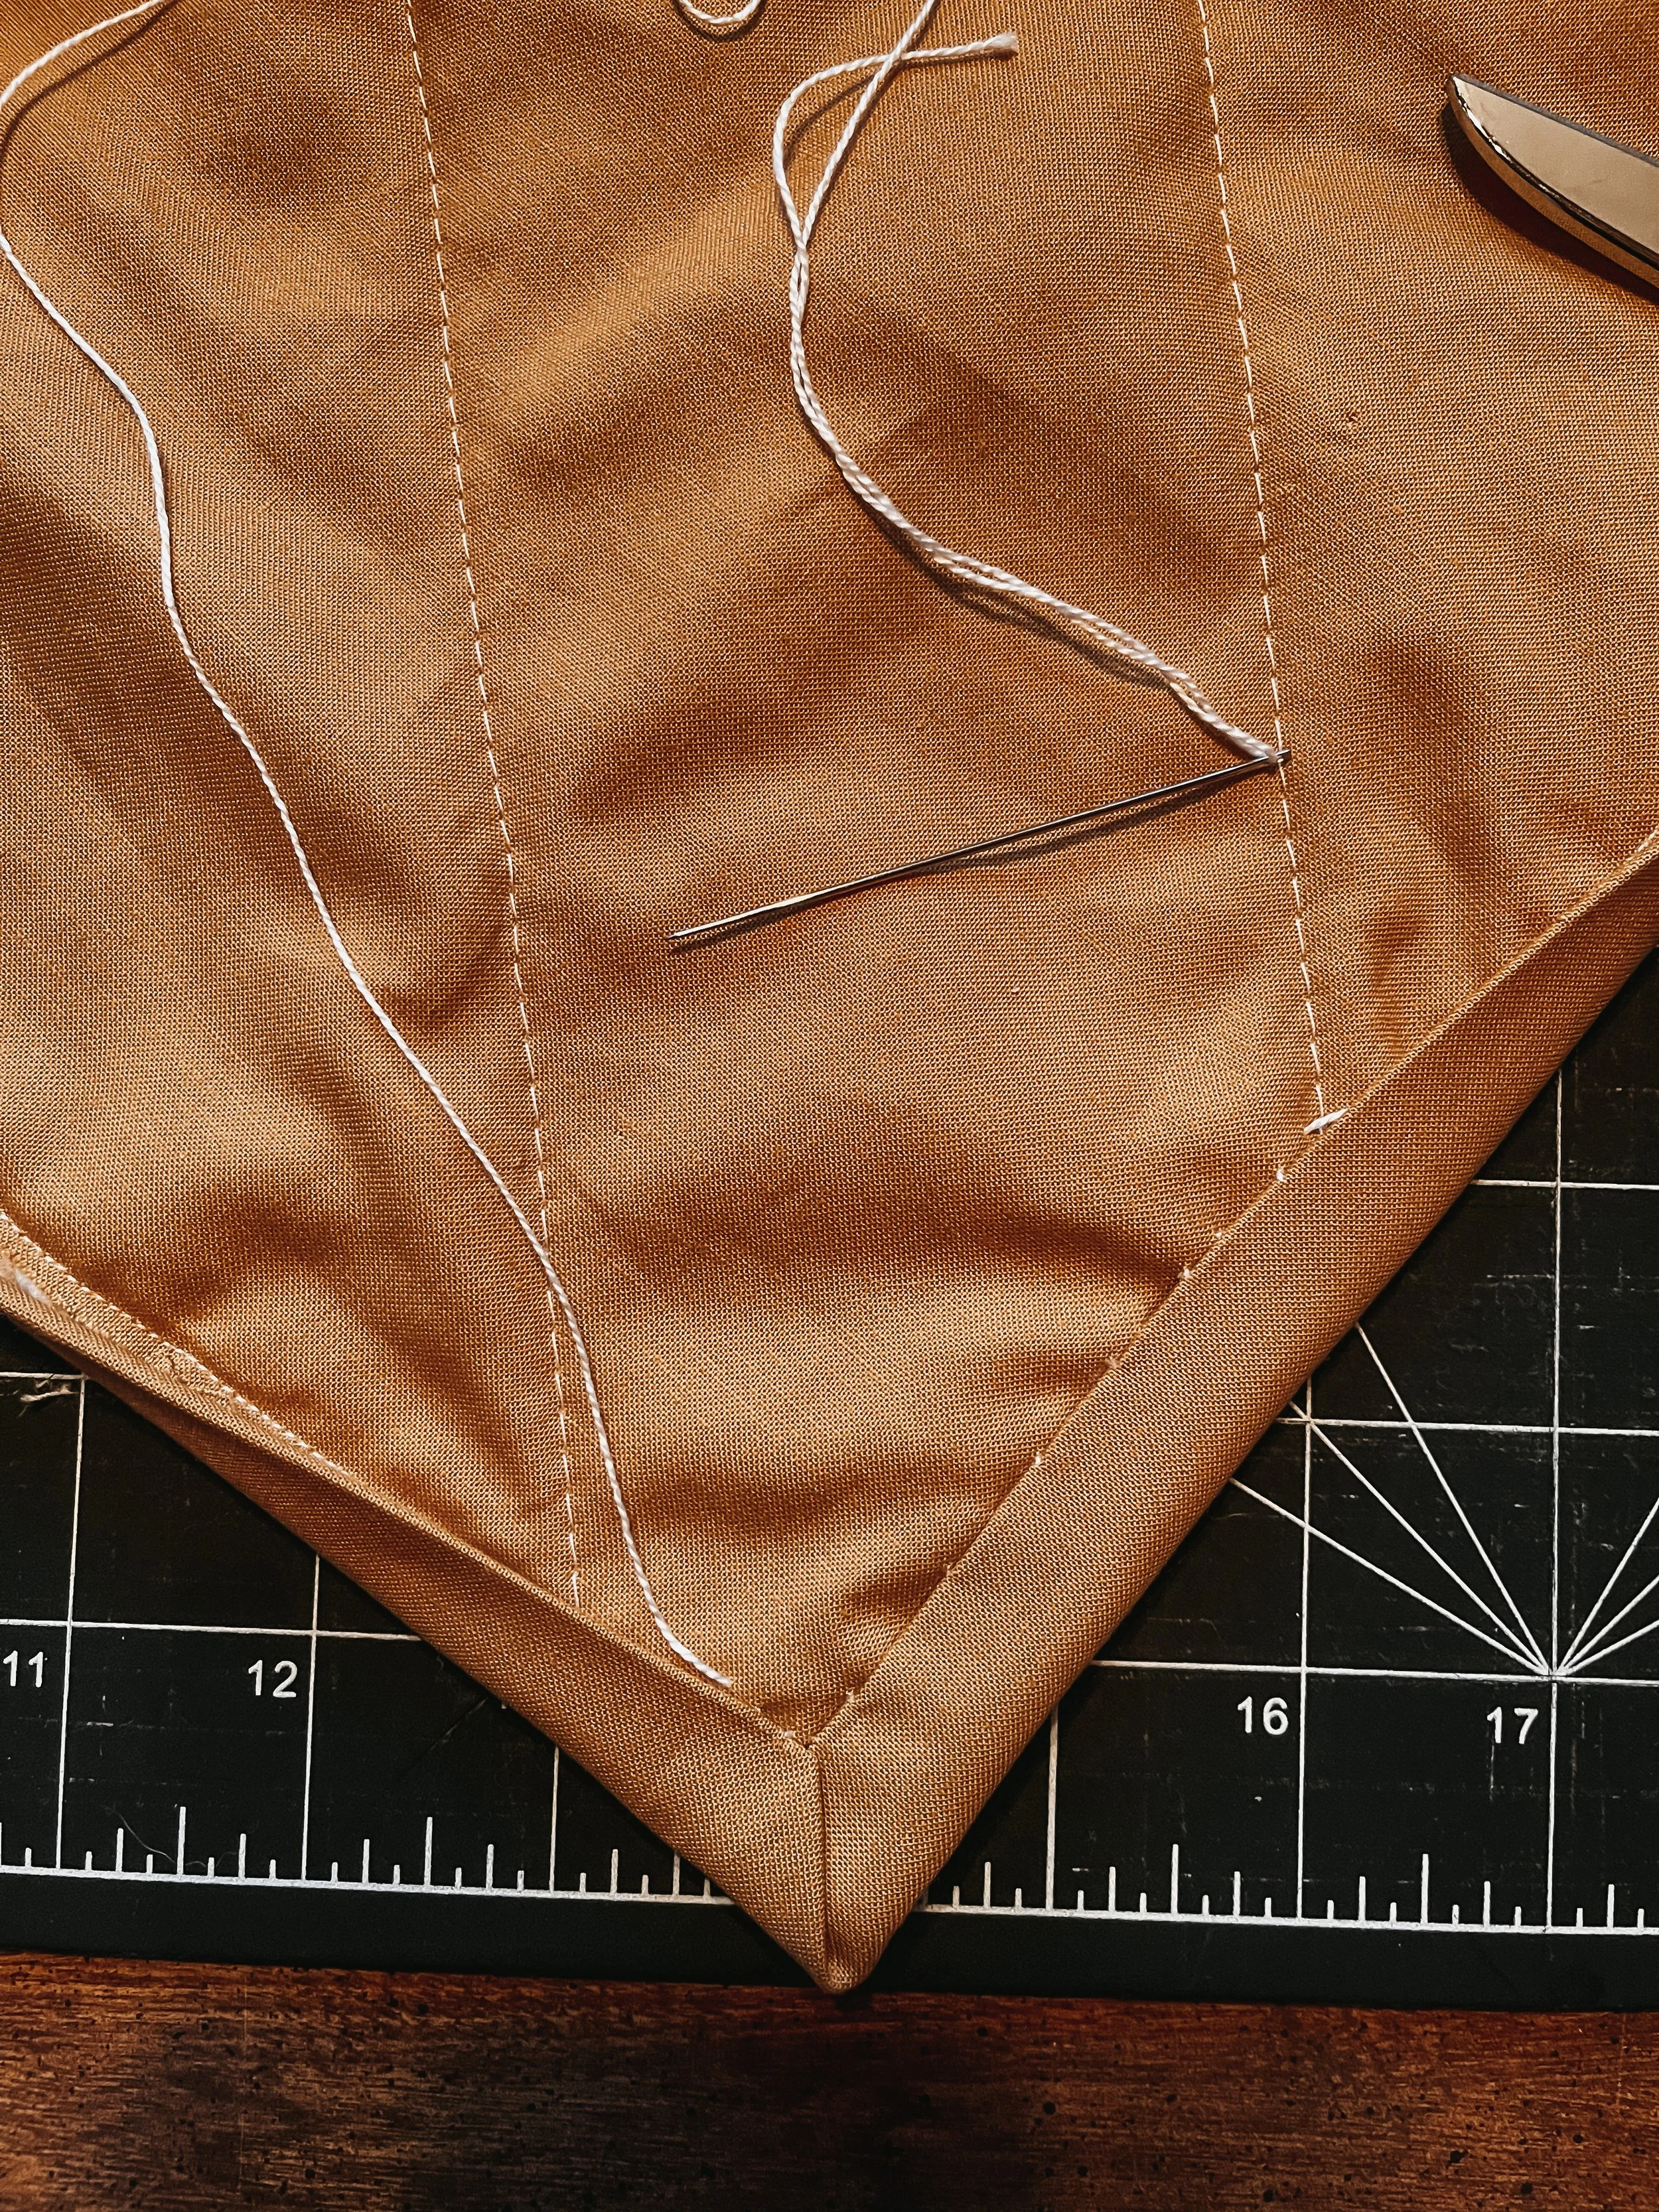
Pressing & Trimming Your Block to Size
This is the part where your block starts to feel real. The curves are stitched, the seams are smoothed, and now we give it a little love with a hot iron and a careful trim.
Start by gently pressing the seam toward the darker fabric—this helps the shape nestle in nicely and keeps the lighter fabric from shadowing through. If your curve is especially tight, take your time here. Press, don’t iron. Let the heat and weight do the work. A tailor’s clapper can help set the seam if you have one, but a good ol’ firm press and cool-down works just fine too.
Curved seams have a sneaky way of stretching when you least expect it. To avoid distortion, try pressing on a flat, hard surface instead of a padded one, and avoid tugging or pulling as you go. I sometimes even finger press the curve first, just to see how it wants to lay—like smoothing the edge of a pie crust before the bake.
Once pressed, it’s time to trim. Most of my curved blocks are designed to be trimmed down to 6½" x 6½", but don’t rush it. Make sure the curve is centered and the block isn’t pulling to one side. If things are a little wonky, you can nudge the ruler slightly—but don’t force it into shape. Trust your eye and honor the handmade charm.
If your block is a little oversized (or you’re working on a quilt where seams will need to nest later), it’s okay to wait and trim once the row or top is assembled. That extra wiggle room can come in handy when things shift mid-piecing—which they always do, just a little.
This step may seem small, but it’s one of the most satisfying parts: taking that soft, floppy block and turning it into something crisp, balanced, and quilt-top ready. Like lining up jars on a pantry shelf—simple, quiet, and deeply rewarding.
Watch the Full Video Tutorial (Visual Step-by-Step!)
If you’re more of a visual learner (or just love seeing things stitched in real time), I’ve got you covered. I filmed the whole process of cutting and sewing these curved blocks right here at the cabin—with the windows open, birdsong in the background, and a warm cup of tea off to the side.
🎥 Click here to watch the full video tutorial on YouTube →
In the video, I’ll walk you through:
How to print and cut your paper templates
Tracing and cutting your fabric shapes (with tips for smooth curves)
Finding the center and pinning like a pro
Sewing those gentle arcs (by hand or machine!)
Snipping, pressing, and trimming your finished block
You can pause, rewind, or follow along as you sew at your own pace.
You Can Sew Curves (And Now You Know How)
Curves might look fancy, but I promise—once you’ve sewn a few, they start to feel like second nature. There’s something oddly soothing about pinning those gentle arcs and watching two very different shapes come together just right. It’s not about perfection—it’s about rhythm, patience, and trusting your hands to figure it out as you go.
With your templates printed, fabric traced and cut, and that tutorial video queued up beside your sewing machine (or nestled into your lap if you’re hand-stitching), you’re ready to go. Baby quilt, table runner, wall hanging—whatever you're making, curved blocks add movement, softness, and that little wink of “wait... you made that?!”
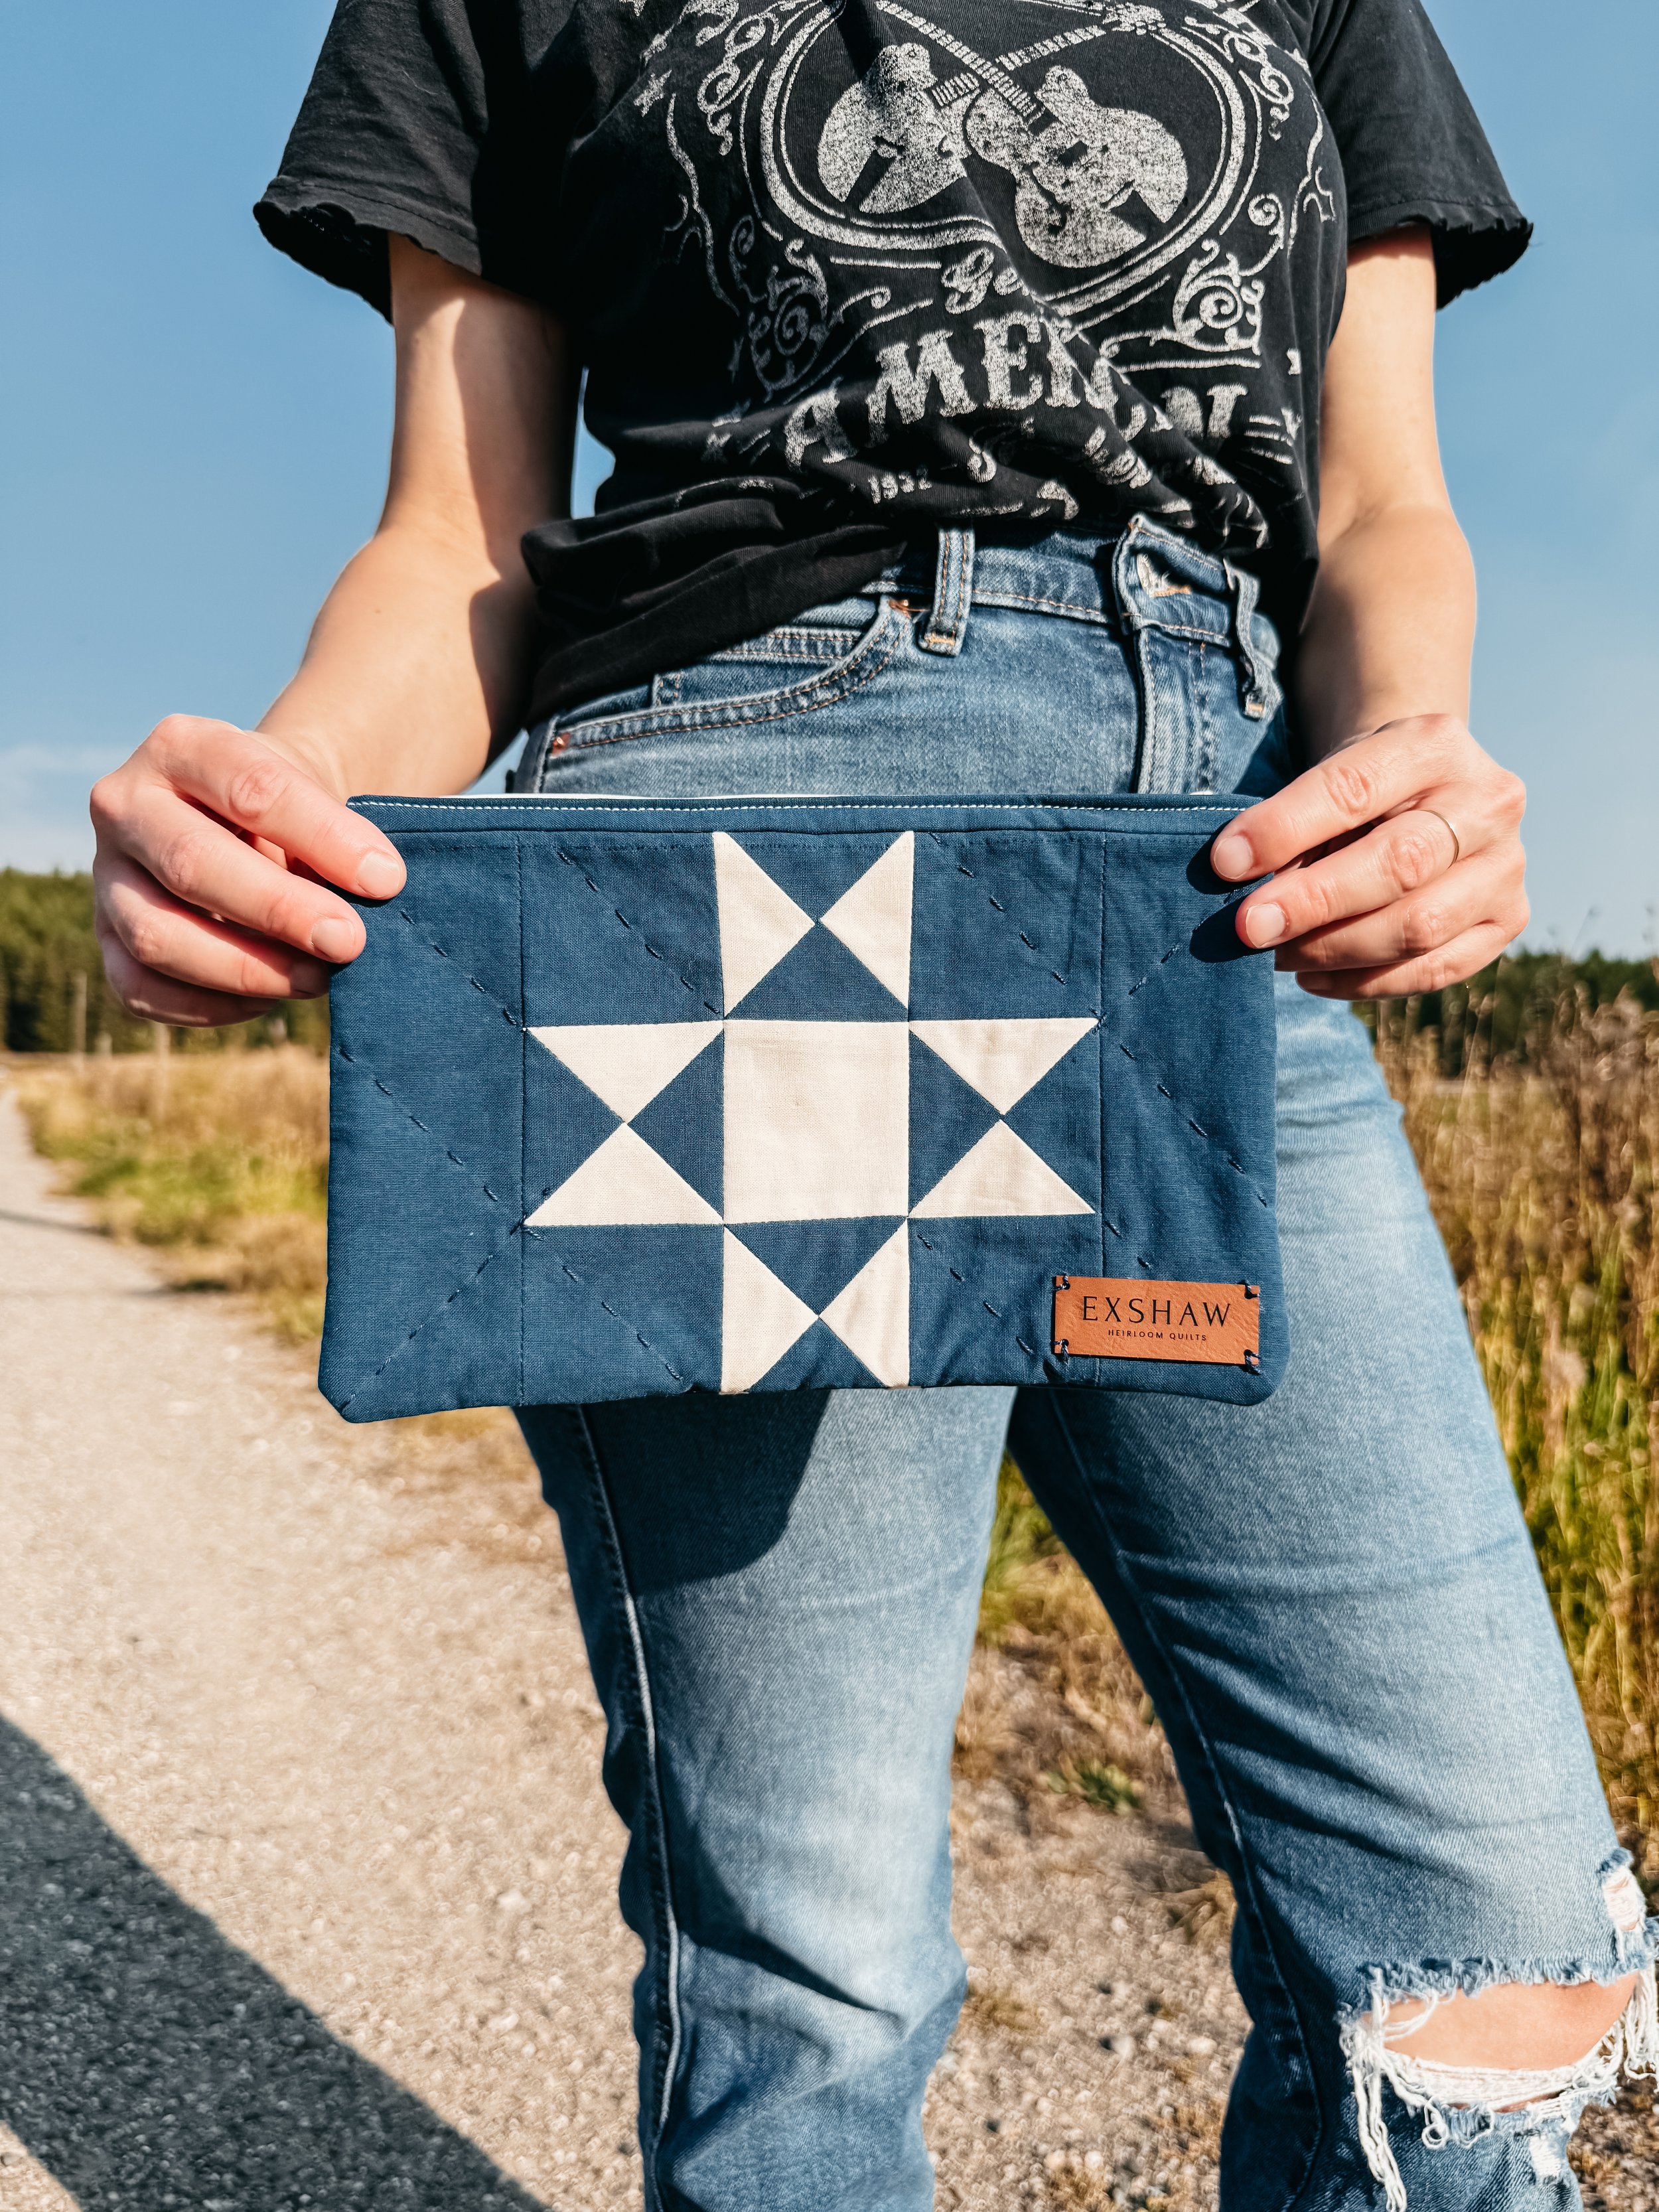
🧵 Now it’s your turn. Give that first curve a try—you’ve got everything you need. And when you do, I’d love to see it. Tag me @ExshawQuilts with your curved block in progress or finished piece so I can cheer you on from my cabin sewing table (probably with a hot cup of coffee and a cat nearby).
You’re doing great, and the quilt magic is just getting started.


Welcome to the blog—I'm so glad you're here.
I'm Kim, quilting and dyeing from an old cabin in the woods. This is where I share beginner-friendly tutorials, slow craft tips, and stories from a life stitched by hand. I hope you find something here that feels like home.