How I Naturally Dyed My First Quilt with Pre-Reduced Indigo (And Why I’m Obsessed!)

Curious about natural dyeing? Here’s how I naturally dyed my first quilt using pre-reduced indigo—including the exact supplies, step-by-step instructions, and why I fell in love with the process.
There’s something downright magical about watching fabric turn blue right before your eyes. I still remember the moment I pulled my quilt fabric out of the dye bath—it was green… then suddenly, the air hit it and bam! the most beautiful indigo blue appeared like magic and I was instantly in love.
I’d always admired naturally dyed fabrics, but indigo has my heart and soul. The best part: pre-reduced indigo made the process so much easier and more enjoyable. It’s quick, beginner-friendly, and wildly satisfying.
In this post, I’ll walk you through my first natural dye project (a quilt I hand-dyed at home!), share the full supply list, and give you step-by-step instructions to get started. If you've been curious about indigo dyeing or want to add a meaningful layer to your quilting projects, you're in the right place.
amazon quilting list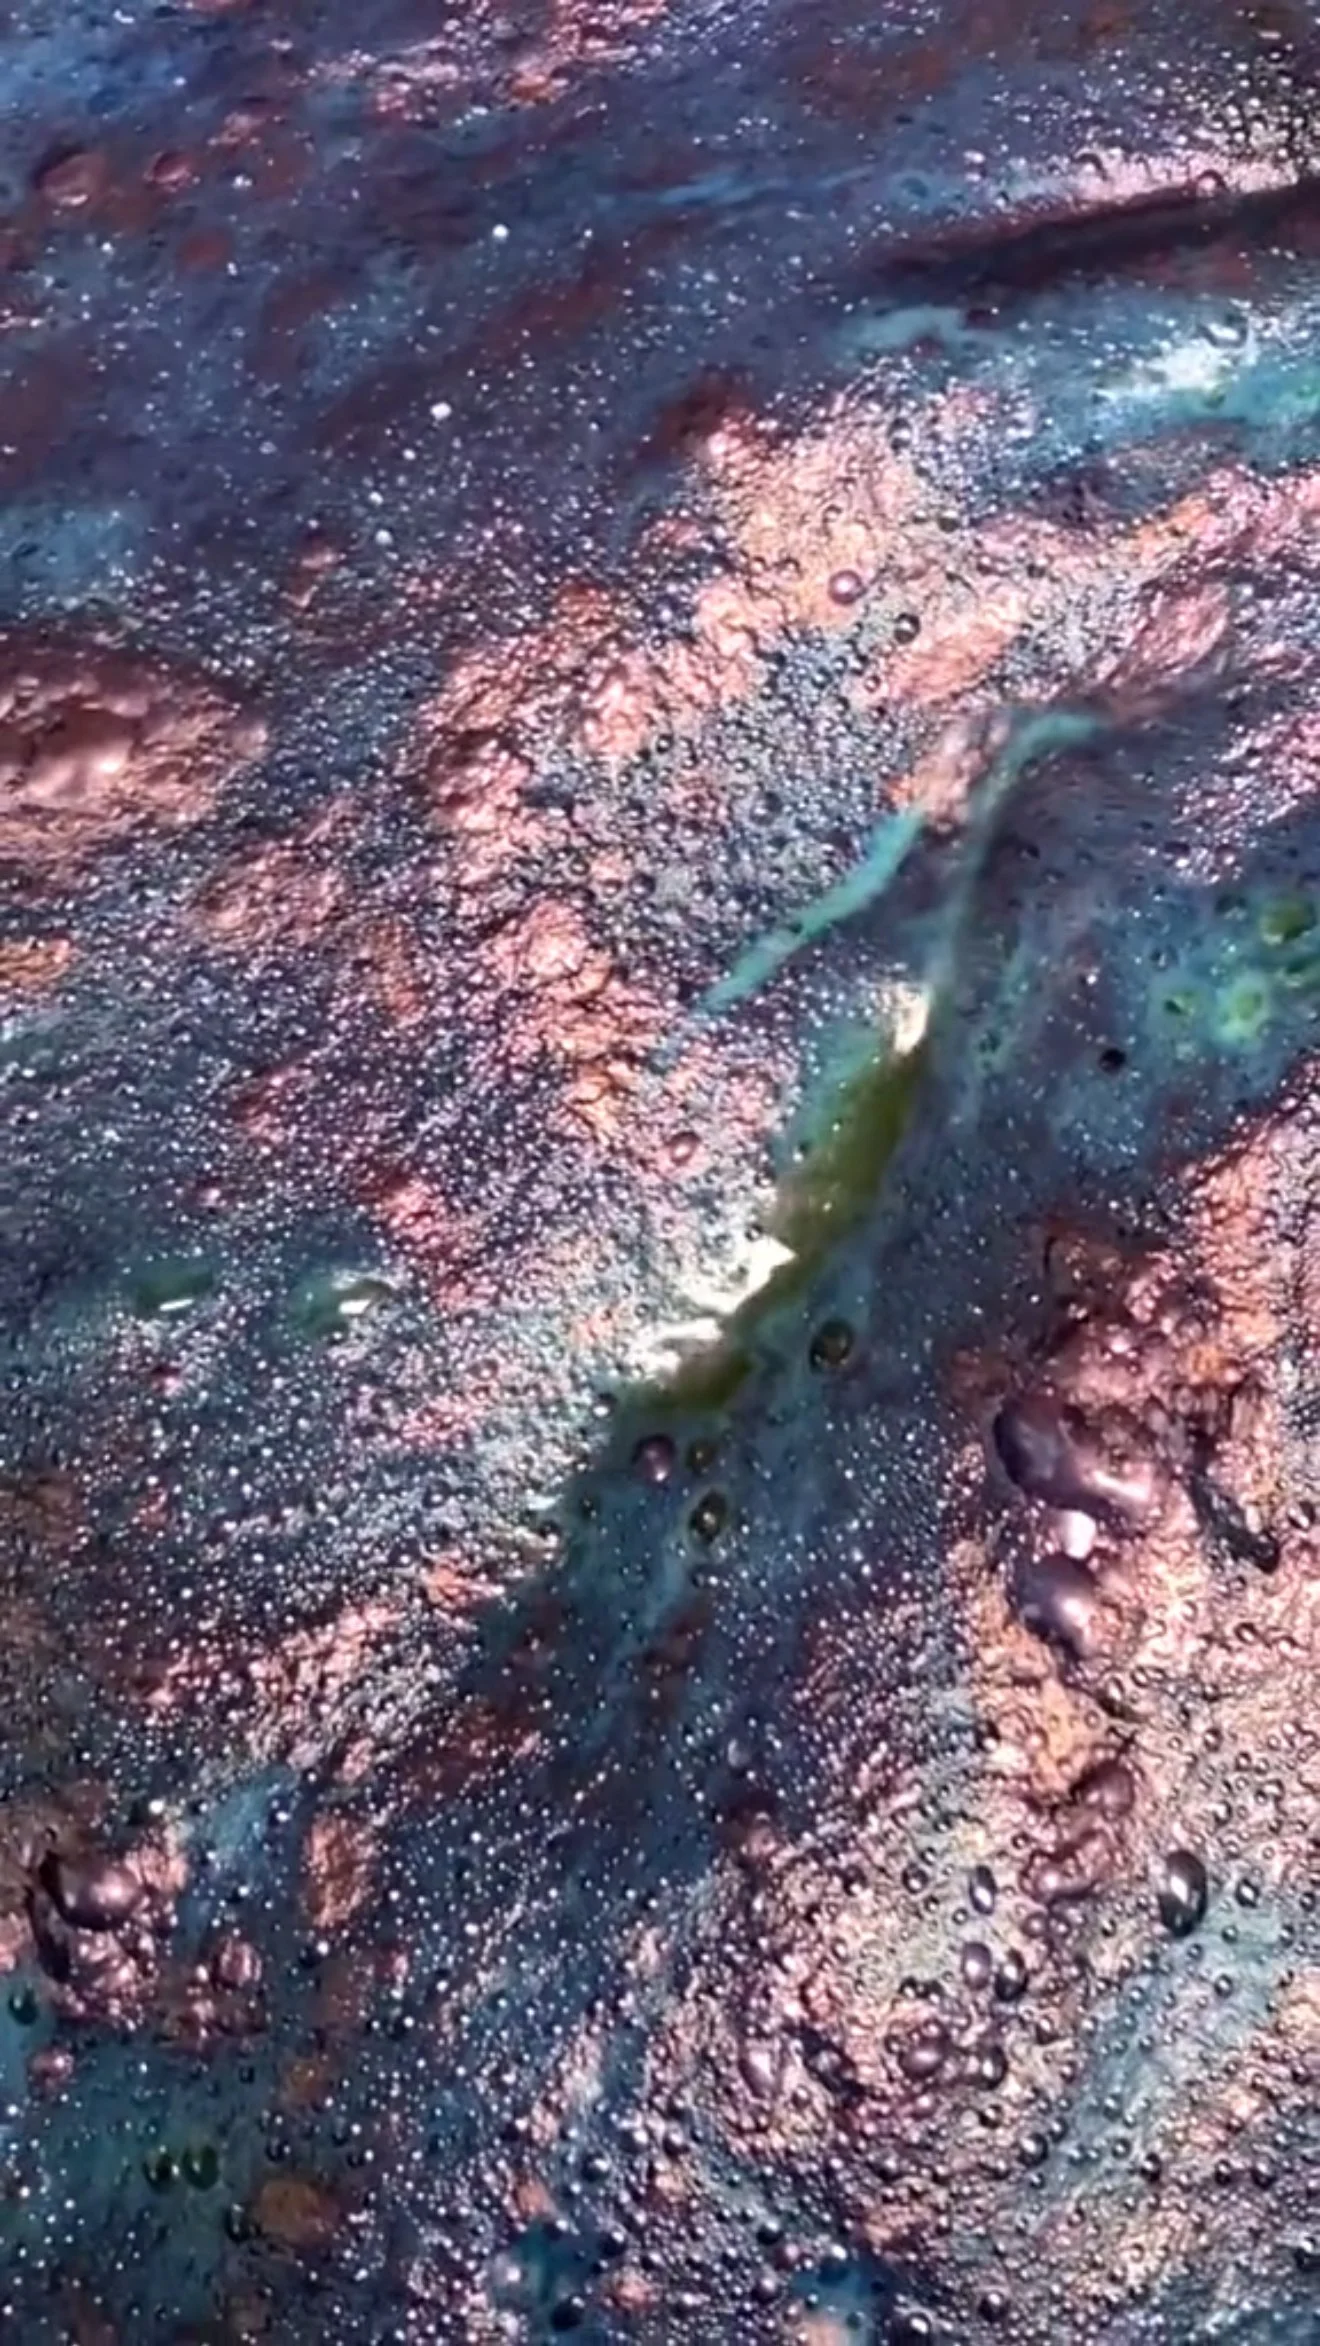
Why Indigo? A Short Love Letter to This Ancient Dye
There’s something undeniably magical about indigo. It’s not just the rich, moody blue it produces—but the way it becomes that blue. You dip your fabric in a yellow-green liquid, pull it out, and watch it turn blue before your eyes as it meets the air. It’s pure alchemy.
A Color with a Past Life
Indigo has a story woven through centuries, cultures, and continents. It’s been used to dye fabric for over 4,000 years—appearing in ancient Egyptian tombs, Japanese textiles, and the traditional robes of the Tuareg people of North Africa (sometimes called the "Blue Men" because their indigo-dyed garments literally rub off on their skin). In many places, it was more than a dye—it was currency, ceremony, and symbolism. This blue was, and still is, a color of depth and meaning.
What Makes Natural Indigo So Special?
Unlike synthetic dyes that coat fabric with color, natural indigo bonds differently. It doesn't dissolve in water, so it must go through a reduction process to become soluble. Once dipped and exposed to oxygen, the fabric changes color as the dye oxidizes—leaving behind a soft, layered blue that almost glows.
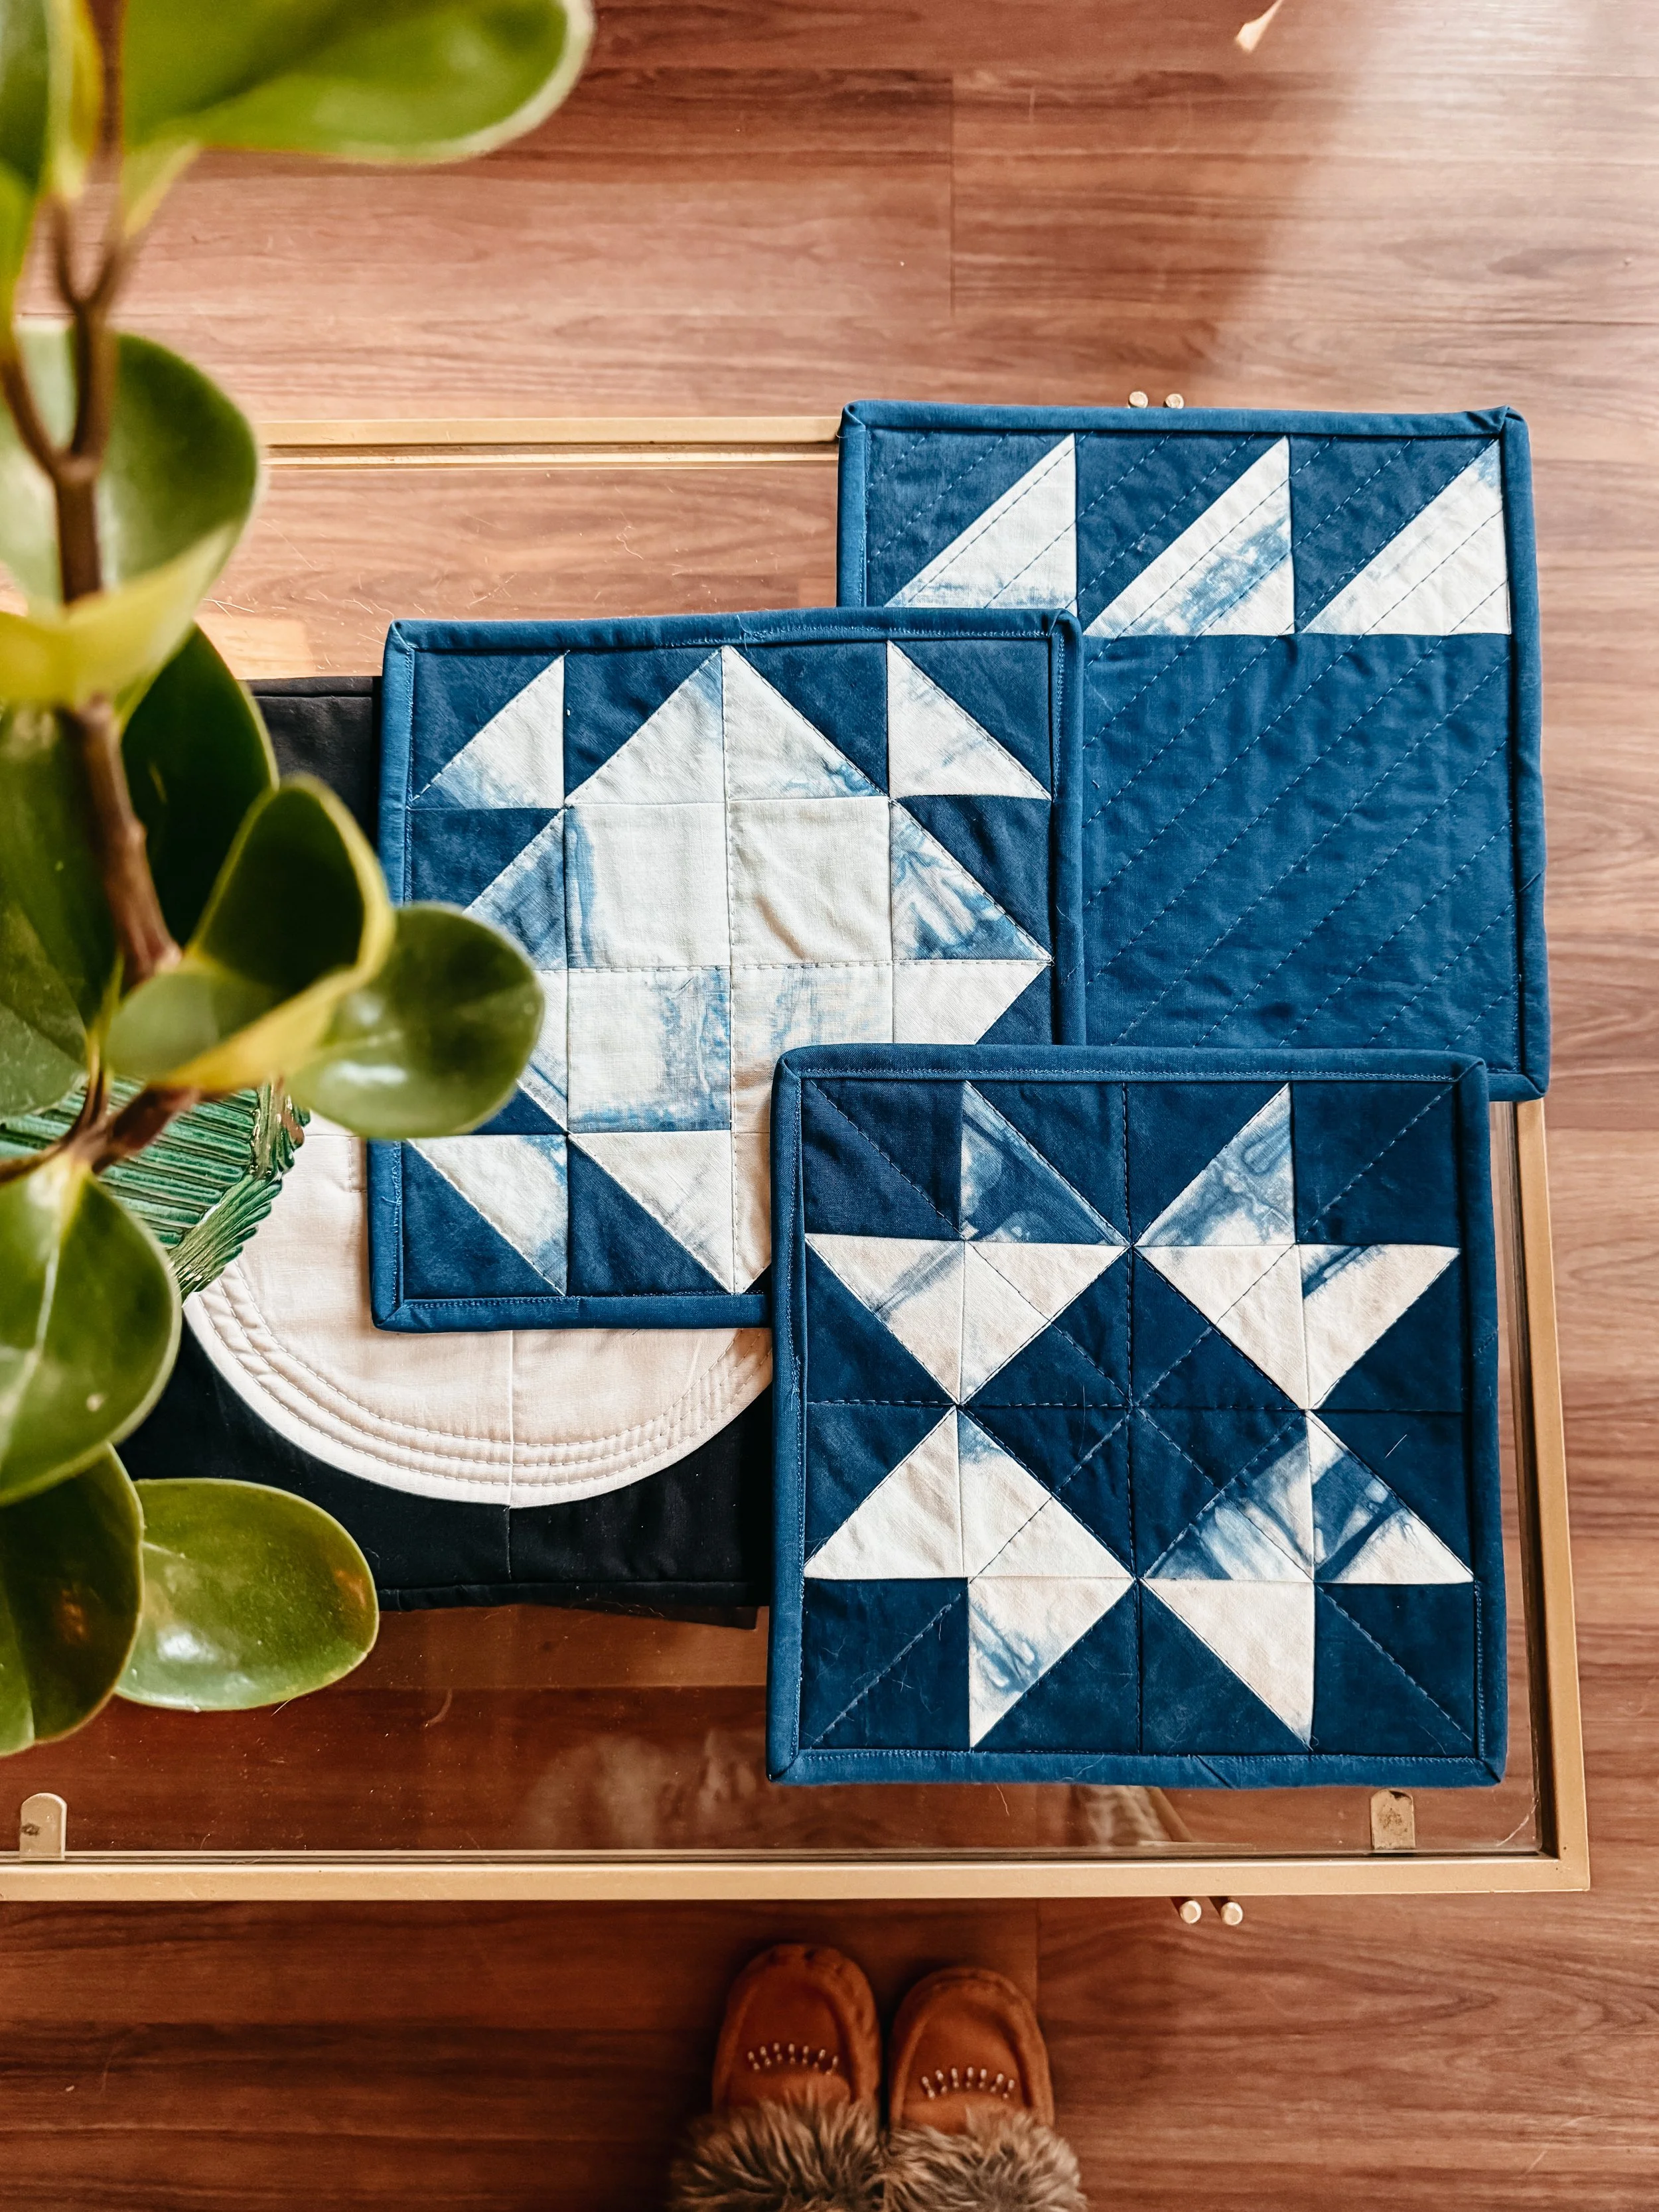
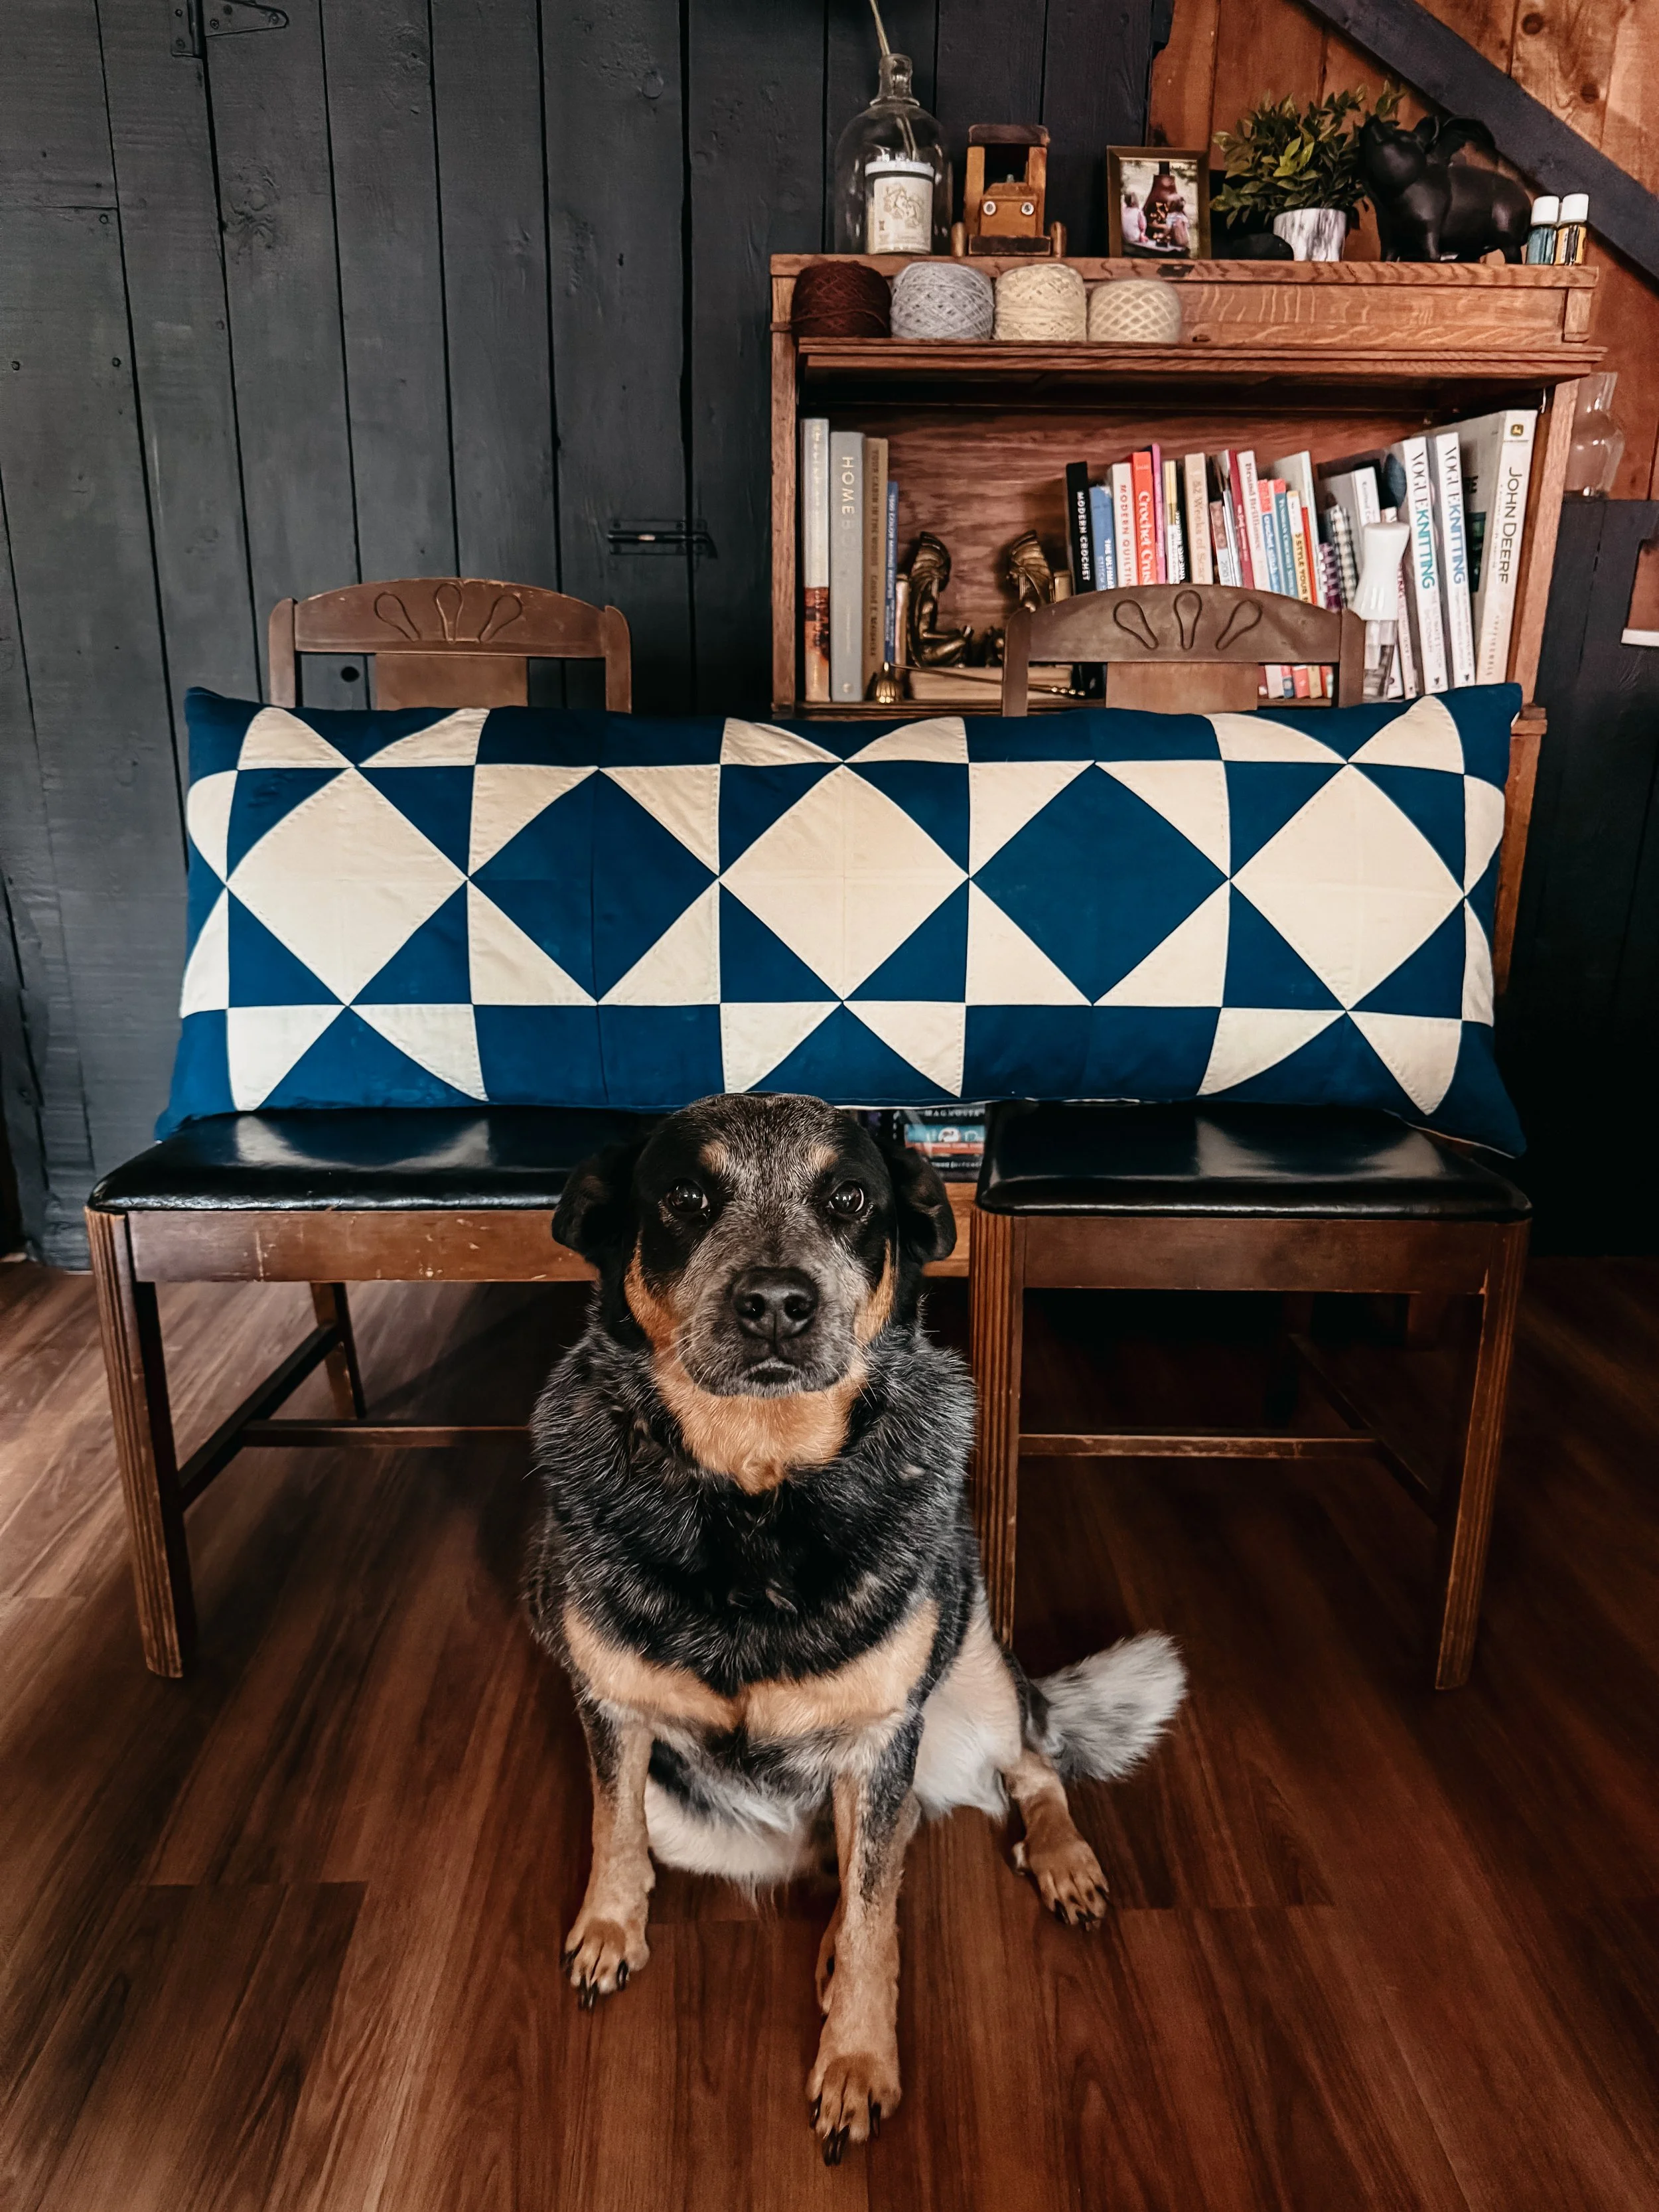
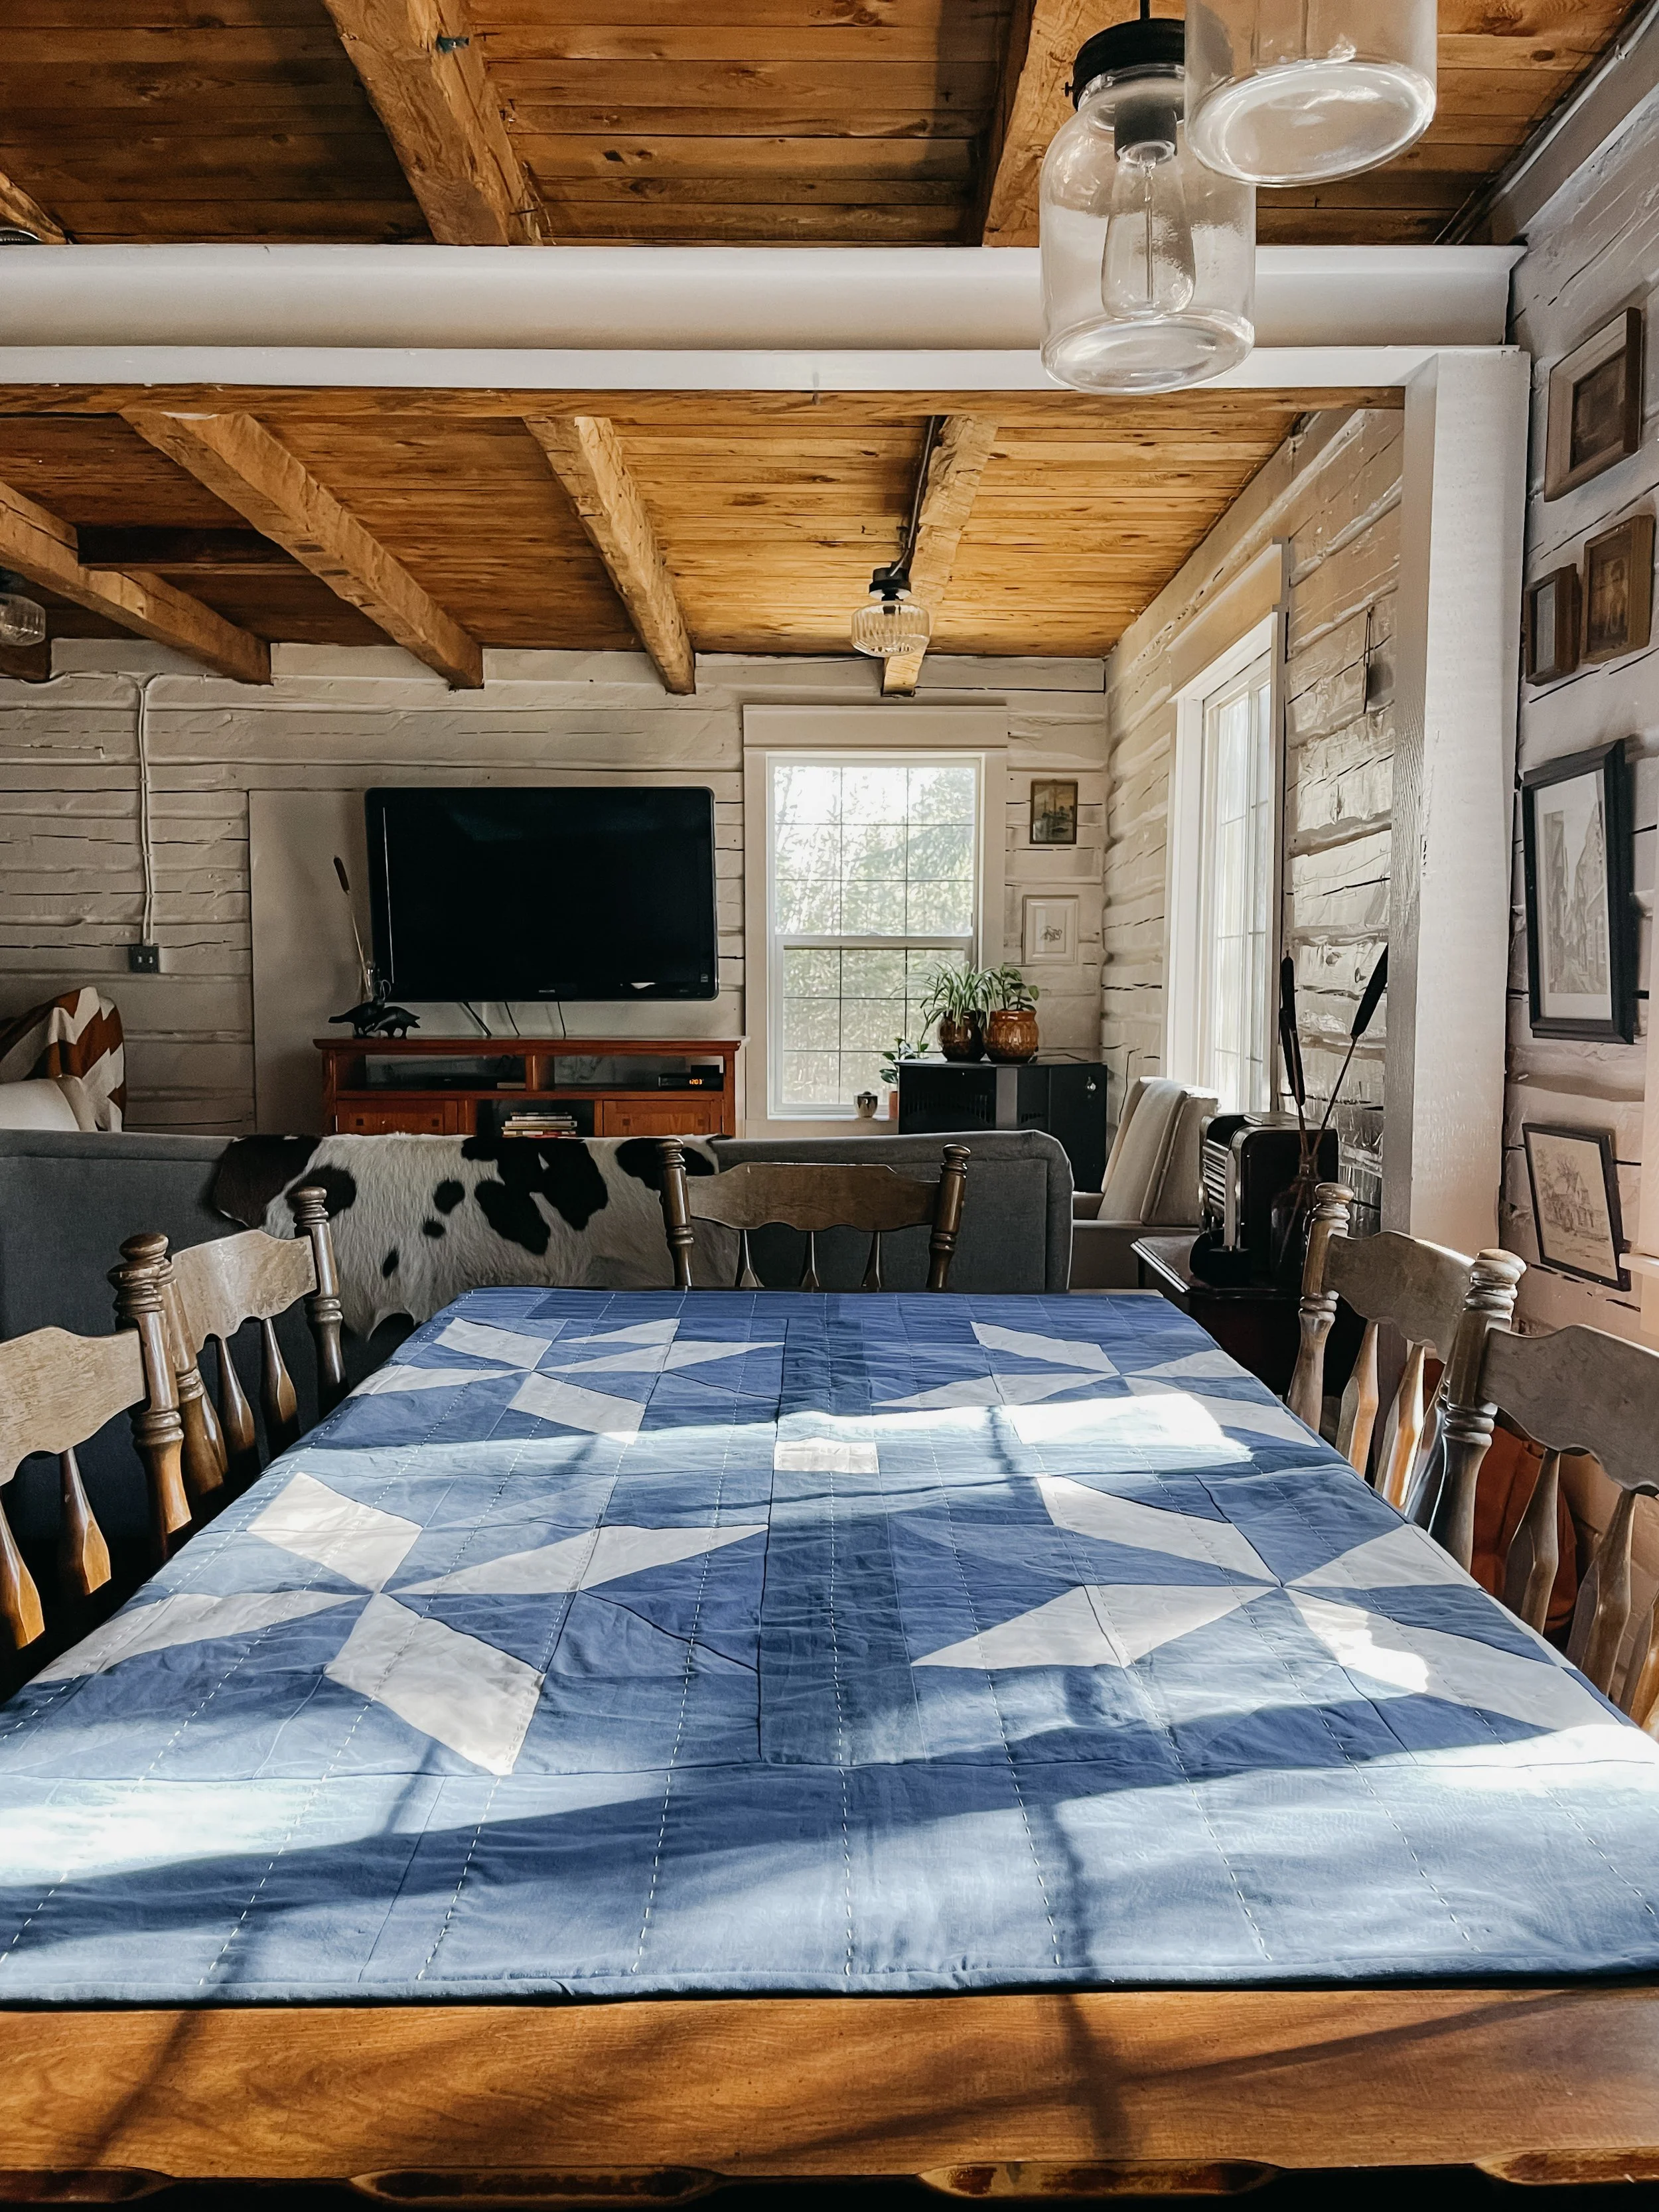
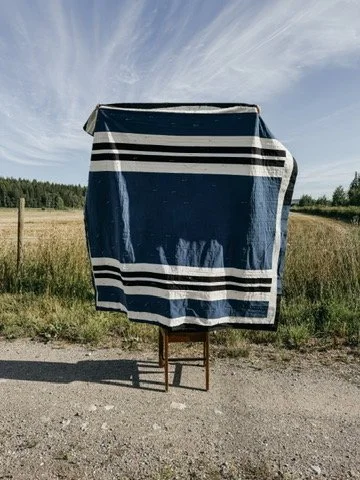
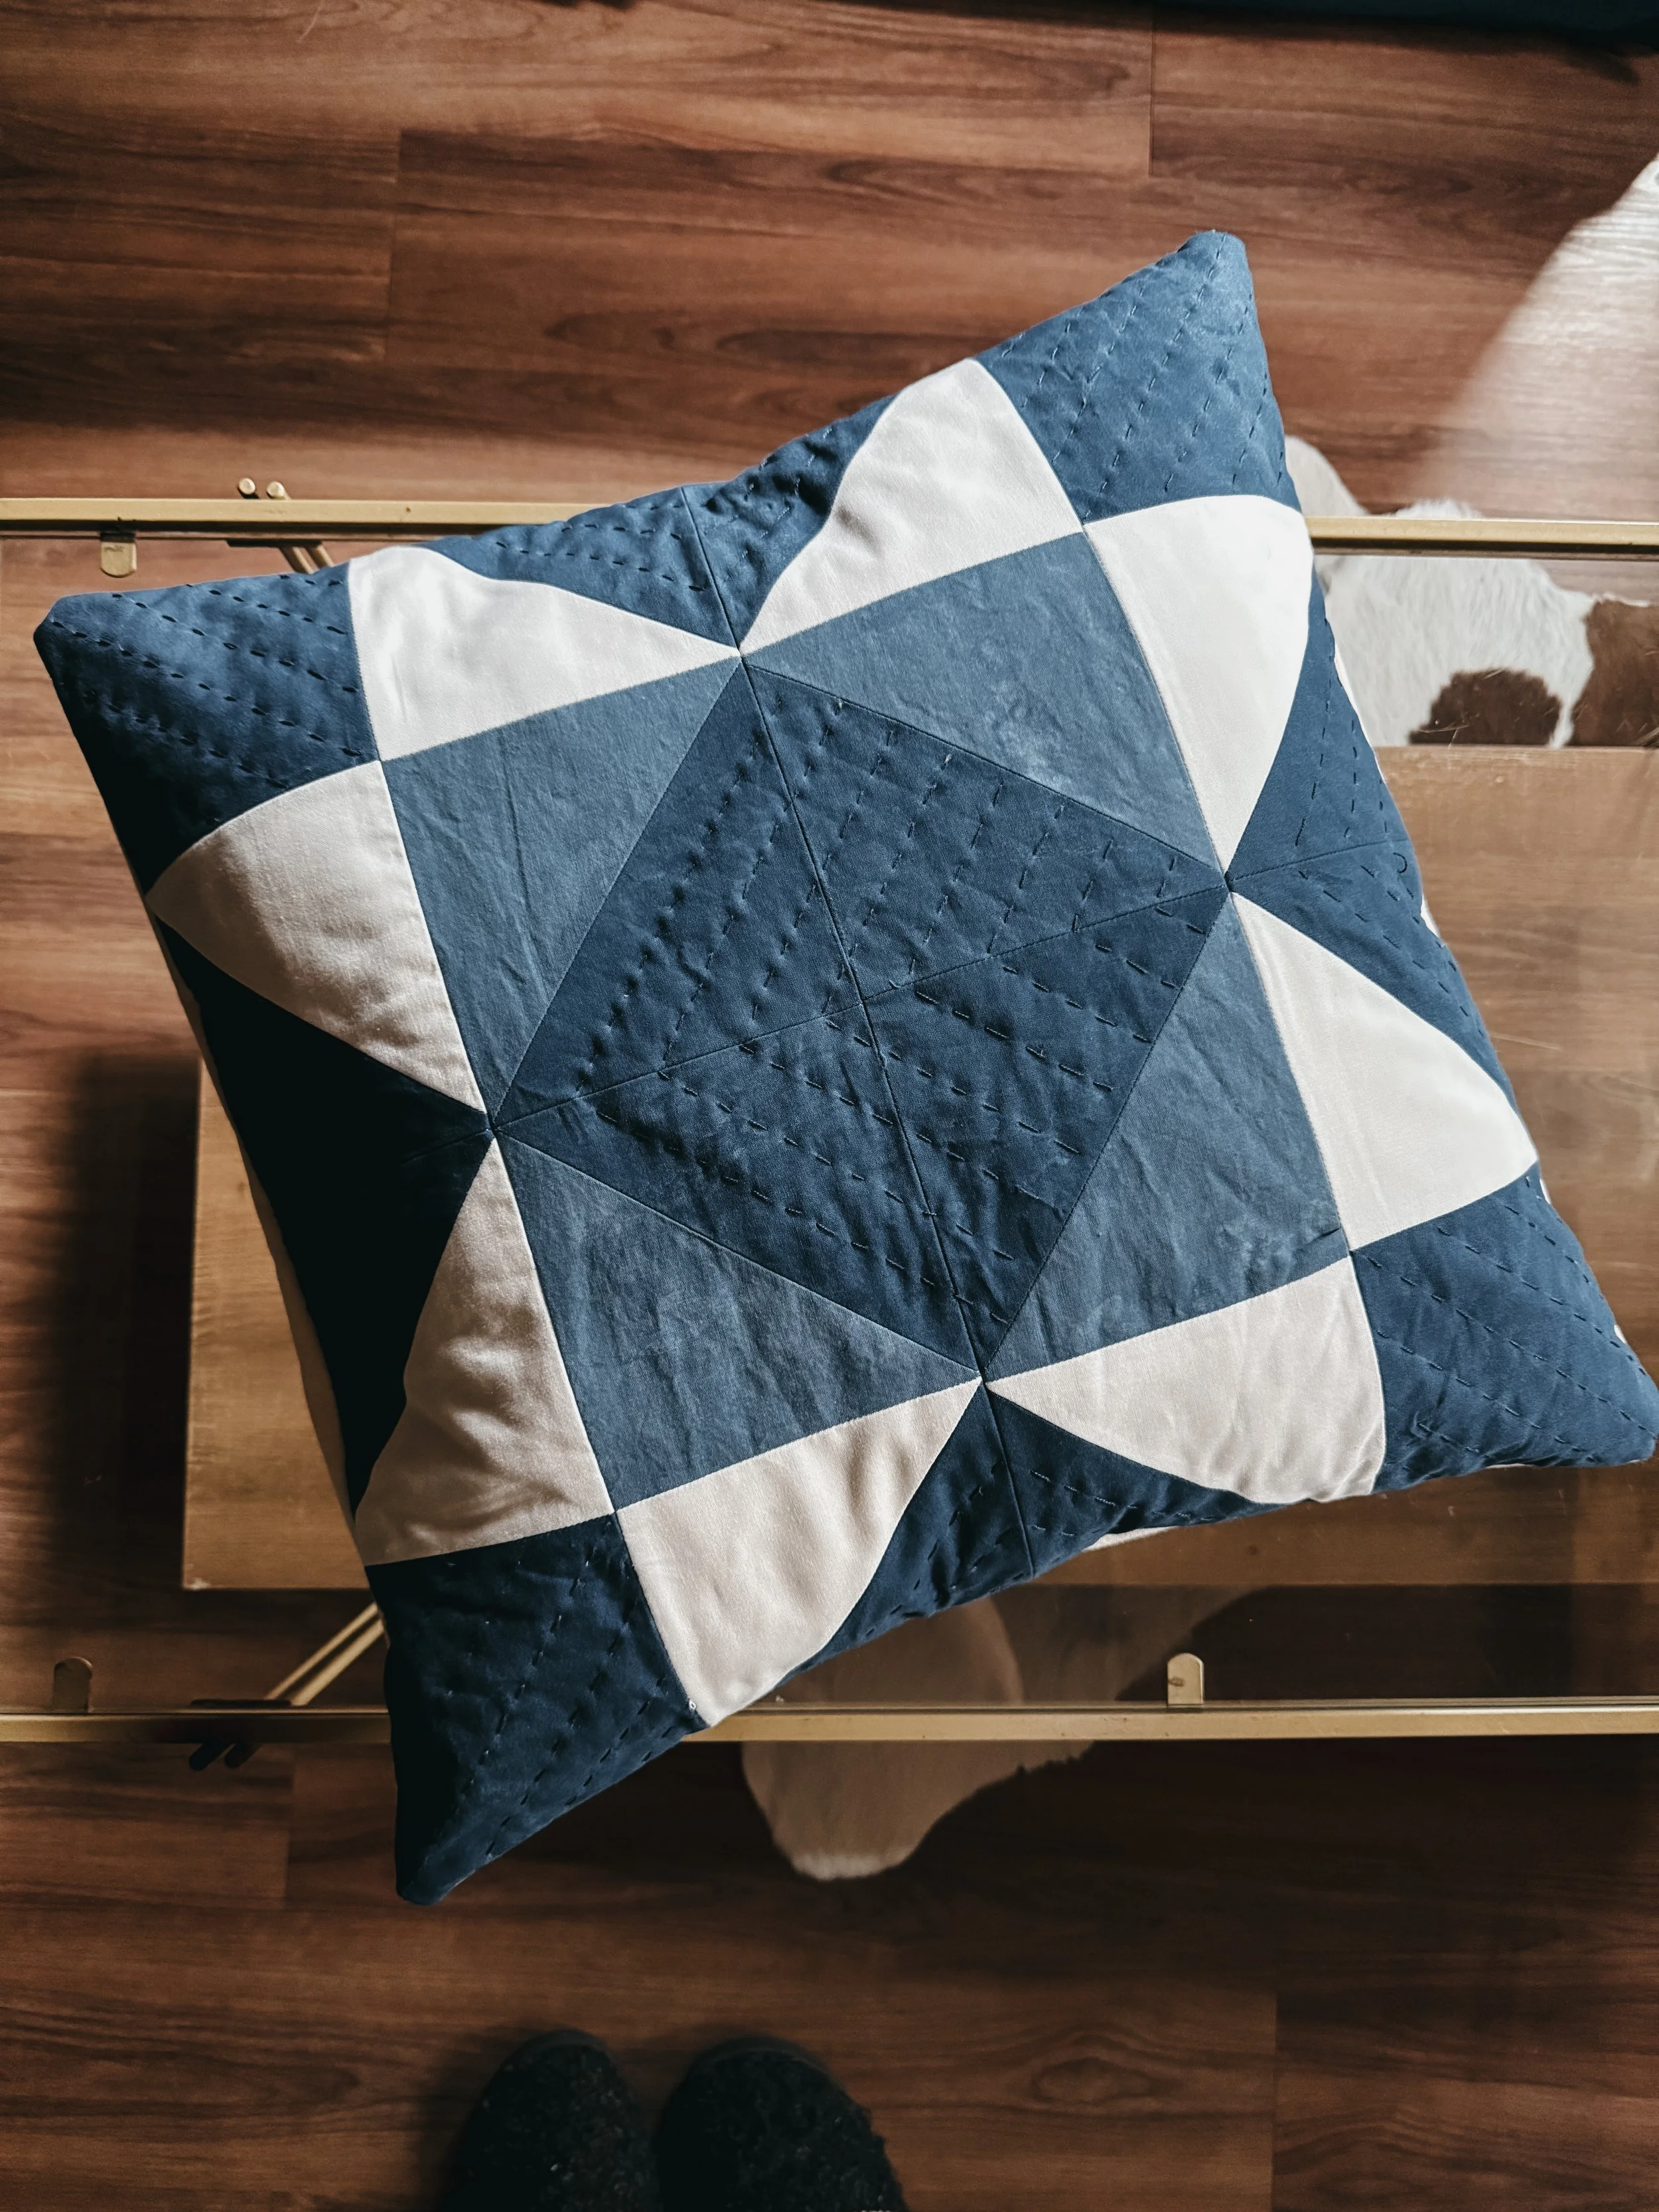
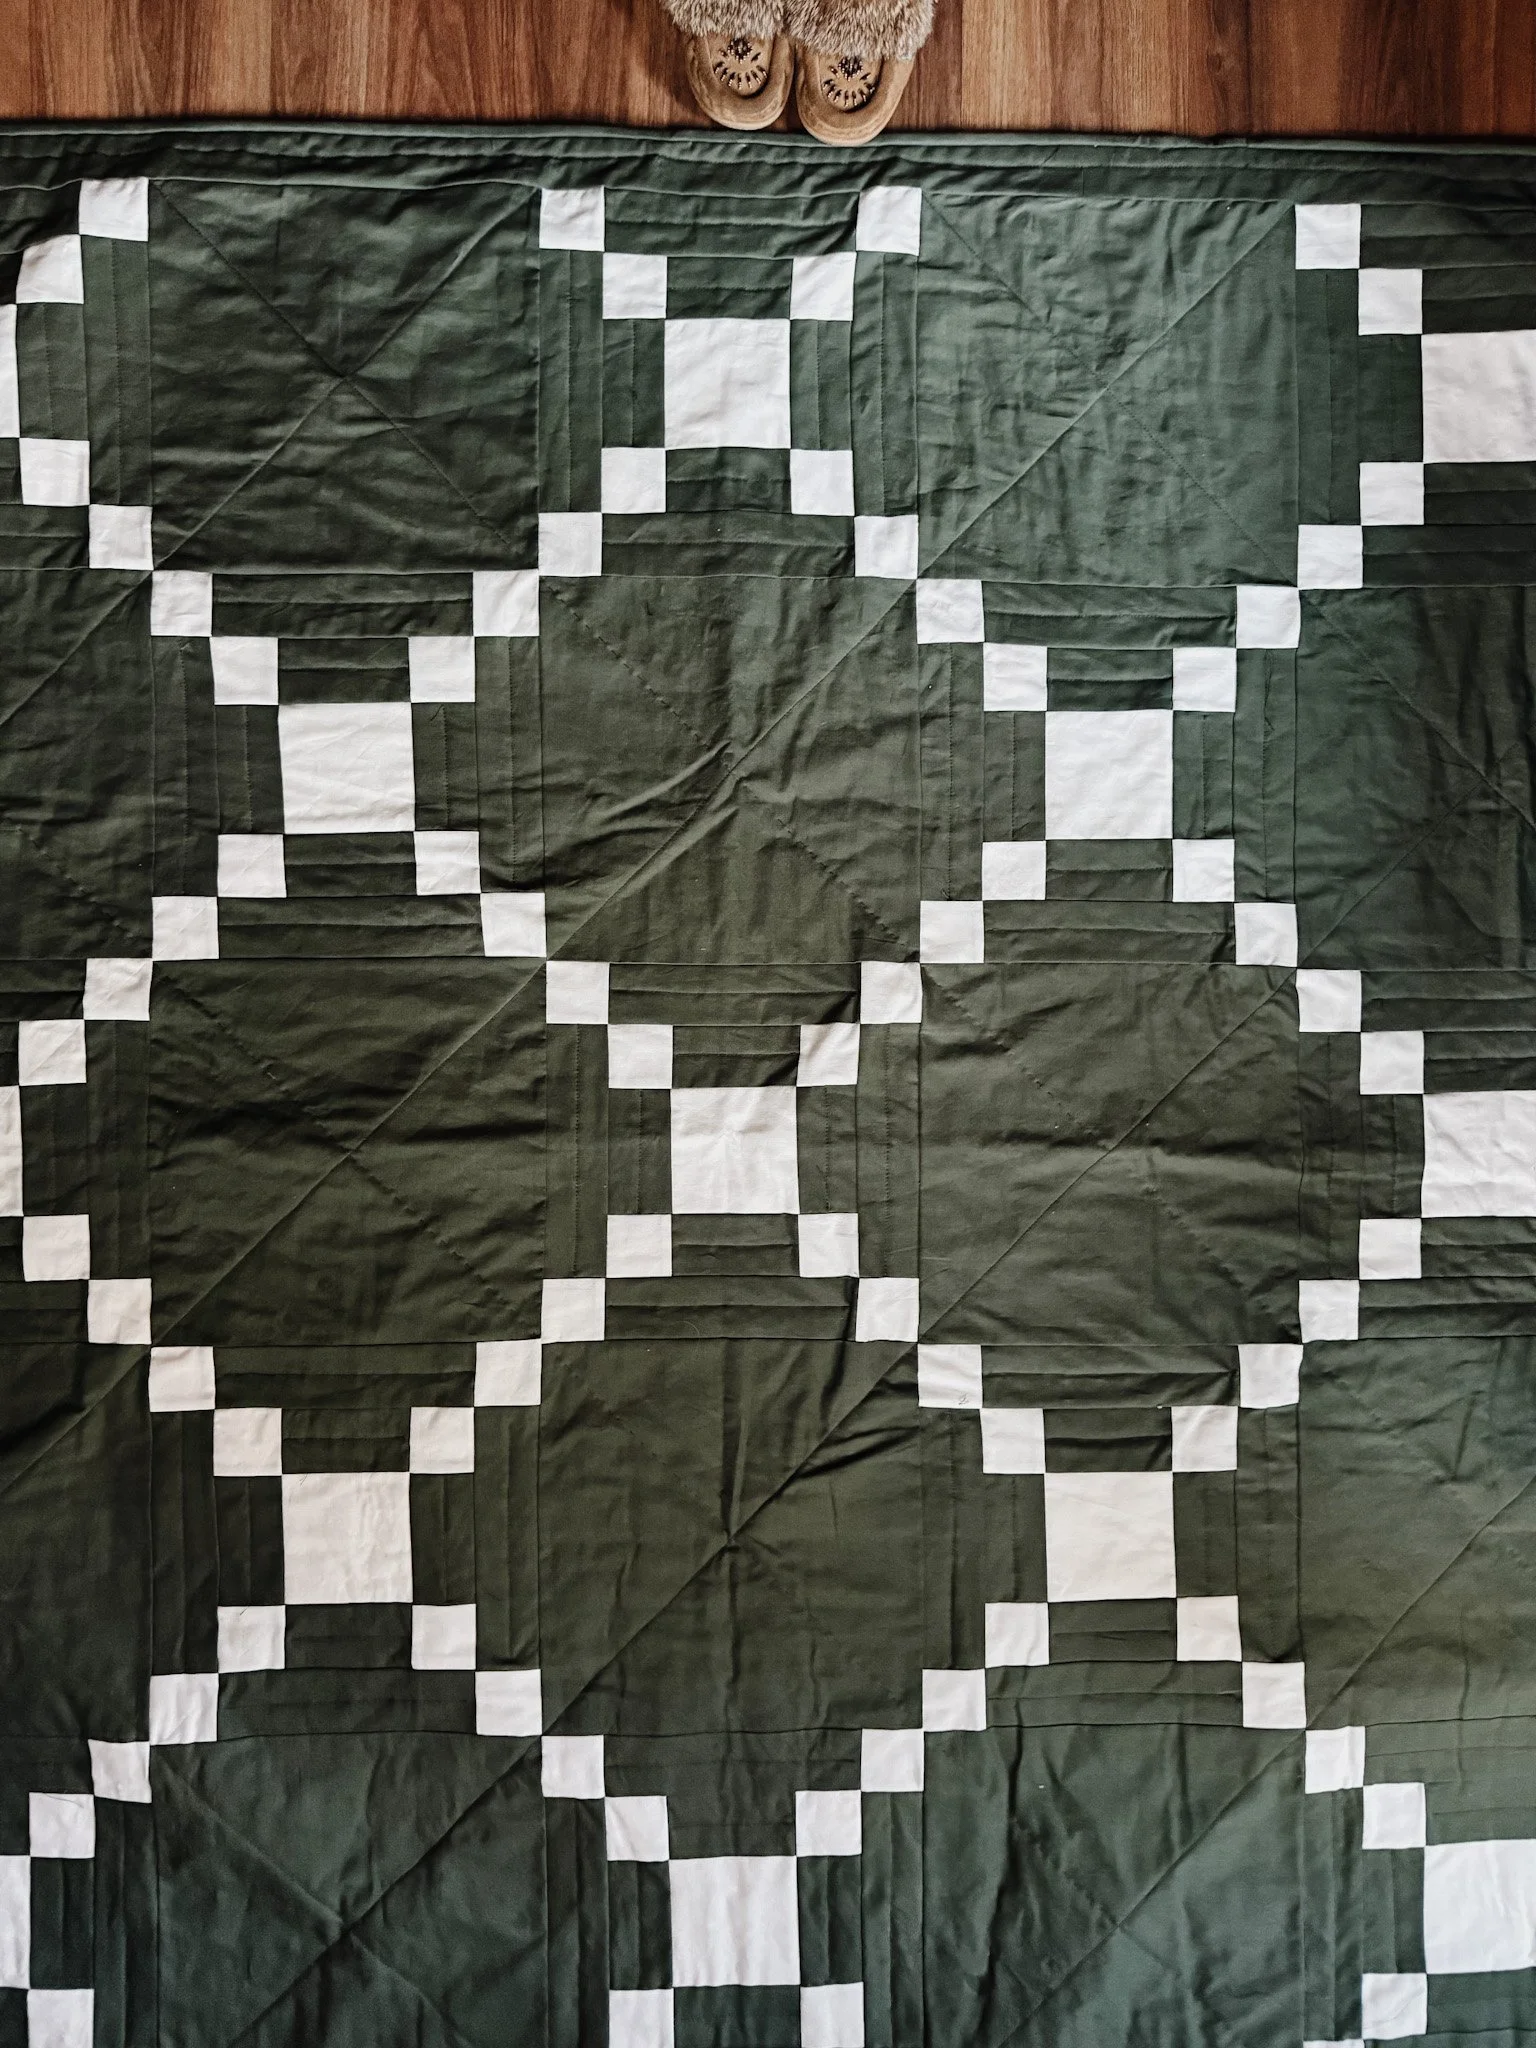
Natural indigo also has depth. It’s never flat or harsh. Depending on the number of dips, the fabric, and how it's bound or folded, it can yield a spectrum of shades from barely-there denim to inky midnight. It’s nuanced, unpredictable, and alive—qualities that many makers (myself included!) fall head over heels for. I have to admit, inky midnight is my fave shade.
Why Pre-Reduced Indigo is a Game-Changer for Beginners
Traditionally, creating an indigo vat involves several steps and strong chemicals like lye and sodium hydrosulfite—not exactly beginner-friendly. That’s where pre-reduced indigo comes in. It’s a modern, more accessible version of this ancient dye that skips the tricky chemistry.
Pre-reduced indigo is already in a soluble form, which means you can create a vat in minutes using just a few gentle additives like thiourea dioxide and sodium carbonate. It’s safe, simple, and perfect for small home studios. No intimidating chemistry degree required!
Whether you're dyeing your first quilt or just curious about natural color, indigo is a beautiful place to begin. It’s forgiving, transformative, and carries a little bit of history in every dip.
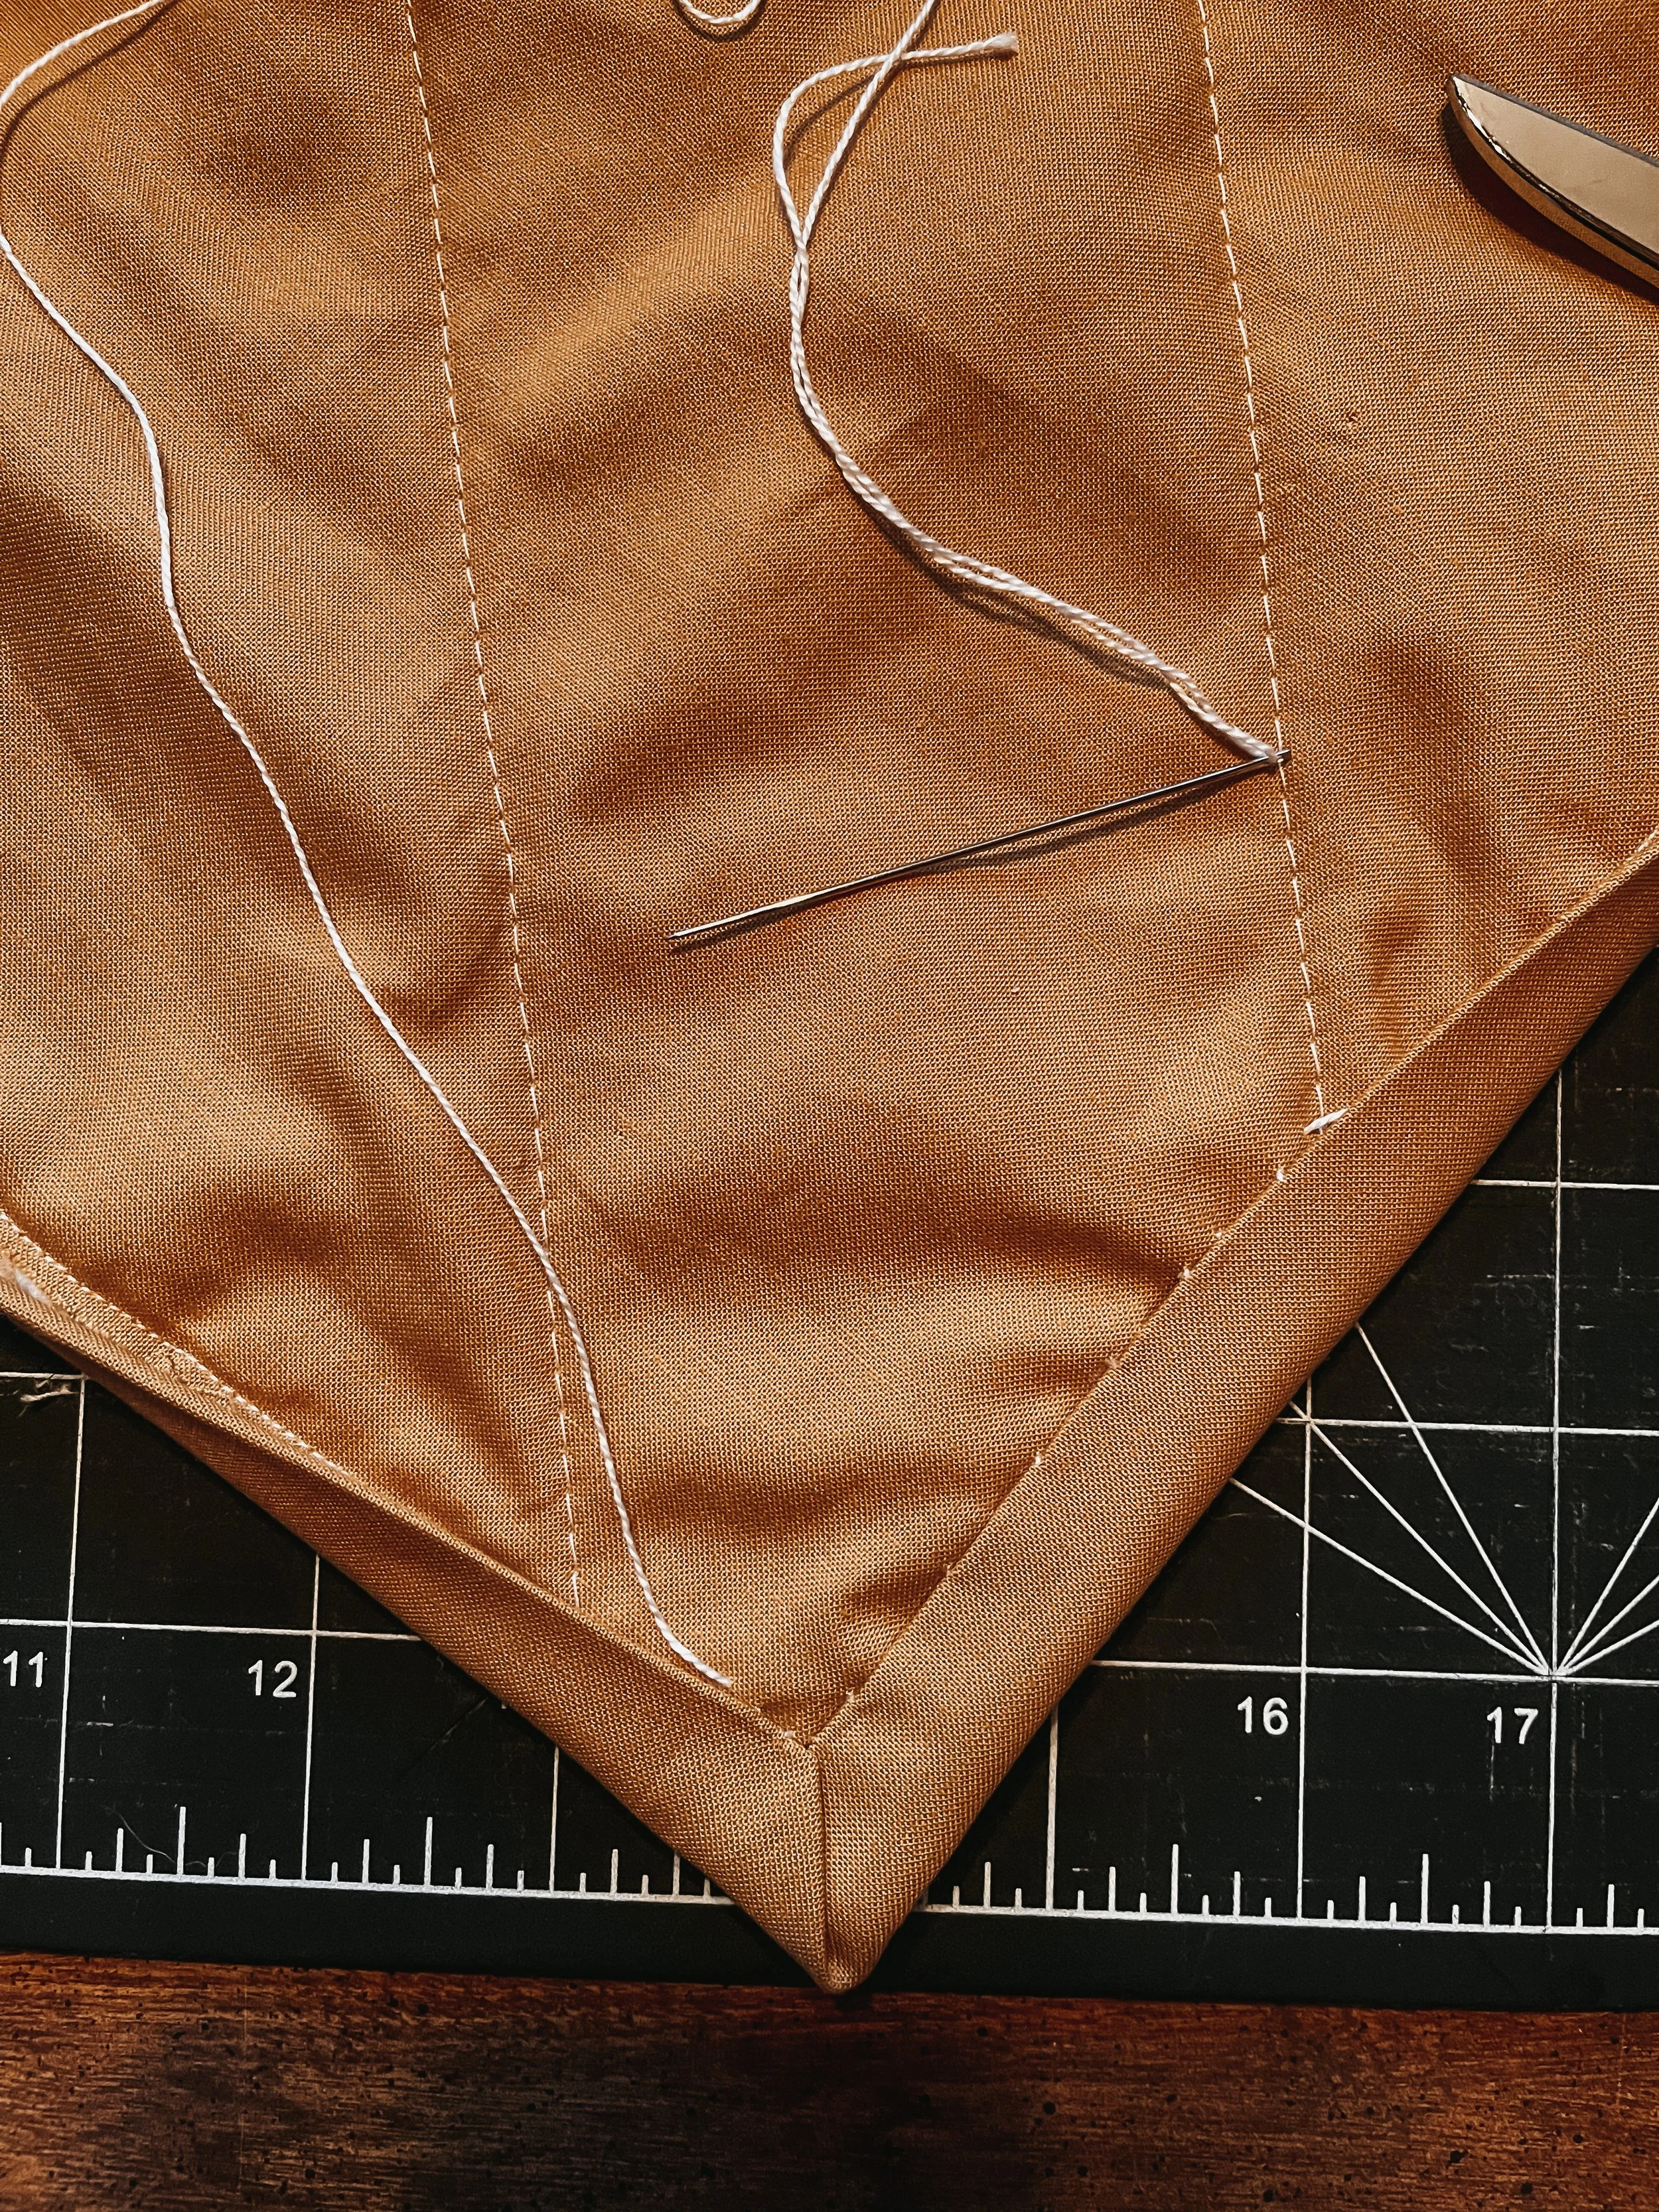
Fabric Prep: How to Scour Your Quilt Fabric First
Before you dip even a corner of your fabric into that beautiful indigo vat, there’s one non-negotiable step: scouring. I know—it doesn’t sound glamorous. But it’s absolutely essential if you want rich, even, long-lasting color. Skipping this step can result in blotchy dye jobs, dull color payoff, or fabrics that just… don’t hold the dye.
So, what is scouring?
In simple terms, scouring is the process of deep-cleaning your fabric to strip away anything that could interfere with the dye. Even brand-new fabric comes loaded with invisible culprits like oils, waxes, factory sizing, or natural pectins—all of which act like tiny barriers between your fiber and the dye.
Scouring Supply List
To scour your fabric properly, you’ll need a few essentials. (Bonus: most of them are easy to find or already in your studio.)
Washing Soda – Also known as soda ash or sodium carbonate, this helps break down natural waxes and oils.
Synthrapol – A mild, pH-neutral detergent made specifically for scouring and washing dyed fabrics. You can also use any unscented, dye-free natural liquid laundry detergent as a substitute.
Large Pot – This will be your dedicated dye/scour pot. Do not use kitchen cookware—dyeing should always be done with separate tools for safety.
Long Wooden Spoon – Or any long stirring stick you don’t mind staining permanently.
Cellulose Fabric – Natural fibers like cotton or linen are ideal for indigo and other plant-based dyes.
Scouring Process: Step-by-Step
This is the part where the magic begins—clean fabric is happy fabric! Here’s how I do it:
Fill your pot with water and heat it up on the stove. If you’re working with roughly 1 lb of fabric (about 2 yards of quilting cotton), you’ll want to follow this ratio:
2 tsp detergent
8 tsp washing soda
(No scale? No problem—this amount is forgiving.)
Once the water is warm, stir in the detergent and washing soda until dissolved.
Add your fabric to the pot and slowly bring the water to a gentle simmer—not a rolling boil. Let it simmer for about an hour, stirring occasionally with your wooden spoon.
You’ll notice the water turning brown or murky. That’s a good thing! It means all the hidden residues are being released.
Once finished, let the pot cool down slightly until it’s safe to handle. Then dump the water and refill with clean water to rinse the fabric thoroughly.
Rinse with cold water until the fabric feels clean and you don’t see suds. Then hang it to dry (or move right to dyeing while damp, depending on your workflow).
Important Safety Note:
🧼 Always keep your dye and scouring tools separate from your kitchen. That means no using your soup pot or salad tongs, no matter how tempting! A simple plastic tub or thrifted stock pot works perfectly—and keeps things safe for both your fabric and your family.
Making the Indigo Dye Bath (Using Pre-Reduced Indigo)
Once your fabric is scoured, it’s time for the fun part: mixing up your indigo vat. And trust me, this part feels like science-meets-magic in the best way. 🧪💙
What is pre-reduced indigo and how it saves time
Traditionally, indigo dyeing was a long and complex process. Indigo itself isn’t water soluble, so it needed to be “reduced” using a combination of strong chemicals like lye and sodium hydrosulfite to make it usable. But thanks to pre-reduced indigo, beginners (like I was!) can skip all the complicated chemistry and get right to dyeing.
Pre-reduced indigo has already gone through the tricky reduction phase, meaning it’s ready to dissolve more easily in water. It still produces that rich, ancient blue—but without the stress.
Safer alternative ingredients: thiourea dioxide + sodium carbonate
Instead of the harsher chemicals used in traditional methods, thiourea dioxide is used as the reducing agent in pre-reduced indigo vats, and sodium carbonate (aka washing soda/soda ash) is used to adjust the pH.
These ingredients are gentler and easier to find through natural dye suppliers. And while they’re still chemicals that require basic care (don’t breathe in the powders, and always wear gloves!), they’re much more beginner-friendly.
For natural dyeing supplies I shop at the Fibre Garden, Maiwa and sometimes Amazon.
Dye bath temperature tips (ideal: 60–70ºF / 20–24ºC)
Indigo dye baths don’t like it too hot. Ideally, keep the water at room temperature—around 60–70ºF (20–24ºC). If the bath gets too warm, the dye can deactivate or behave inconsistently.
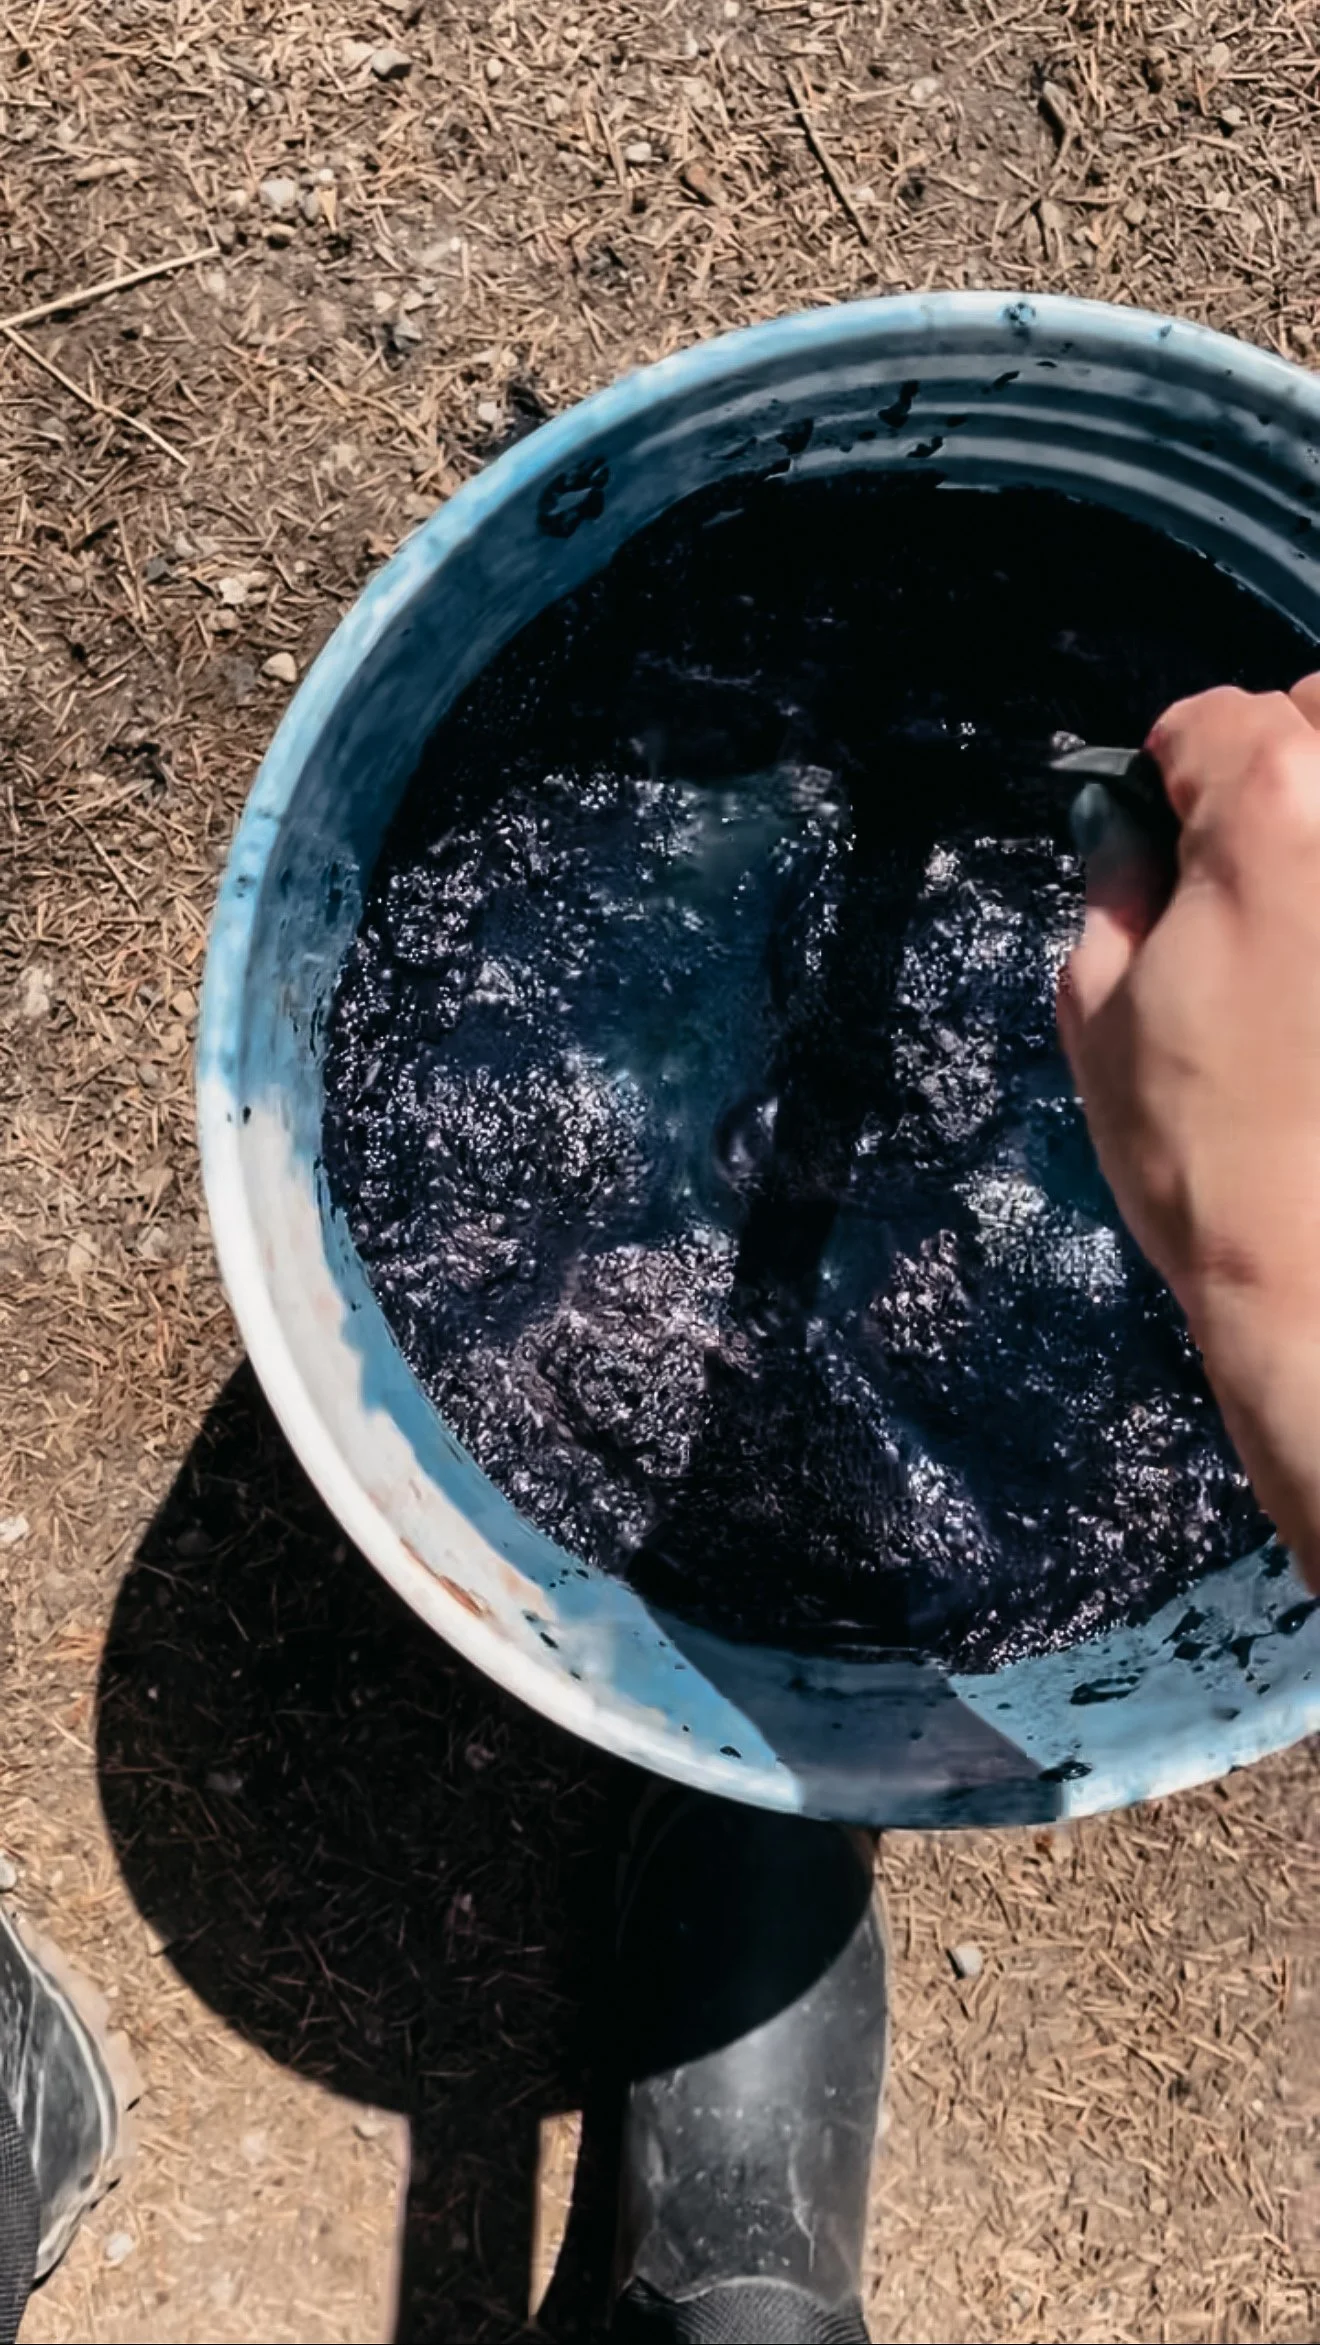
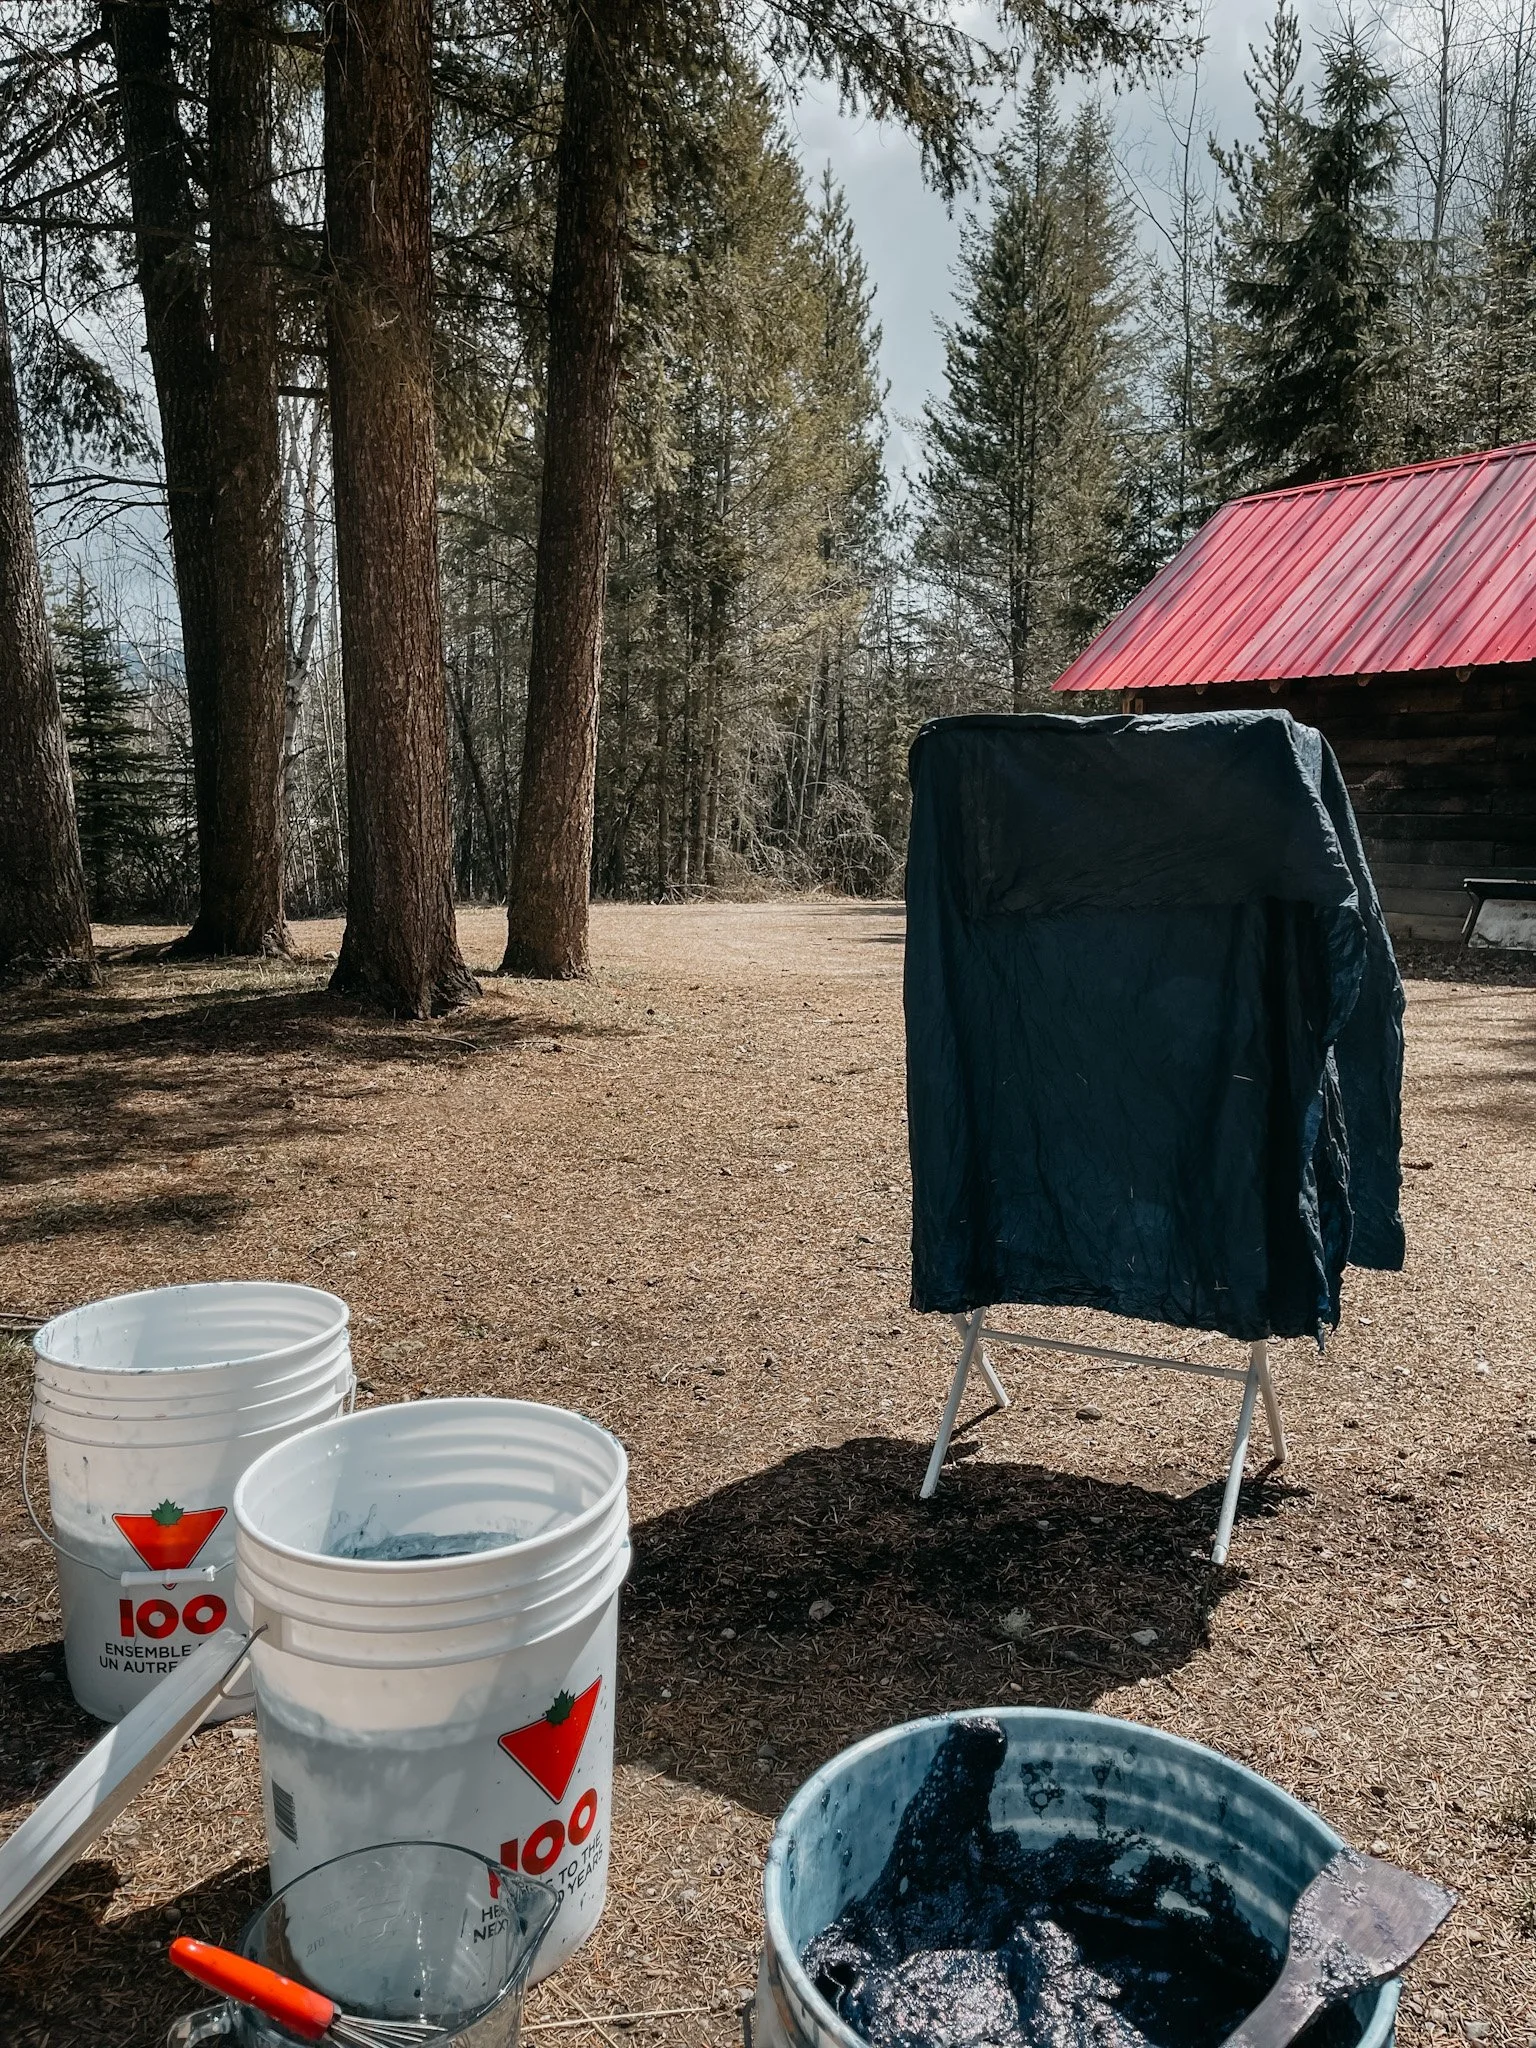
I like to mix my dye in a large bucket outside and let it sit covered for about 30–45 minutes to settle and mellow out.
Full supply list for your indigo vat
Here’s what you’ll need for a basic indigo dye bath using pre-reduced indigo:
20g Pre-reduced indigo powder
100g Thiourea dioxide
100g Sodium carbonate (washing soda)
3–5 liters of room temperature water
A non-reactive container (like a 5-gallon bucket or stainless steel pot—no aluminum)
A long spoon or stick for mixing
Rubber gloves and an apron
Fabric that’s been pre-scoured
Optional: Raycafix for improved wash-fastness
Note: These quantities are enough to dye 0.5- 1 pound of fabric (approx. 1-2 yards) which will yield a darker shade. You can scale up or down depending on your batch size.
Pro tip: how to skim the foam and why it mattersAfter mixing everything together, a yellowish-green foam will form on the surface. This is totally normal—it’s just the oxygen reacting with the dye. Let it settle for 15–20 minutes, then gently skim off the foam with a spoon before you start dipping your fabric.
Why? Because oxygen can "deactivate" the dye in the bath. By skimming the foam, you’re creating a more oxygen-free environment below the surface, which means deeper, more even color on your fabric.
Notes on oxidation: the color shift from green to blue
When you first pull your fabric out of the dye bath, it will be a strange yellow-green color. But don’t panic—that’s exactly what’s supposed to happen!
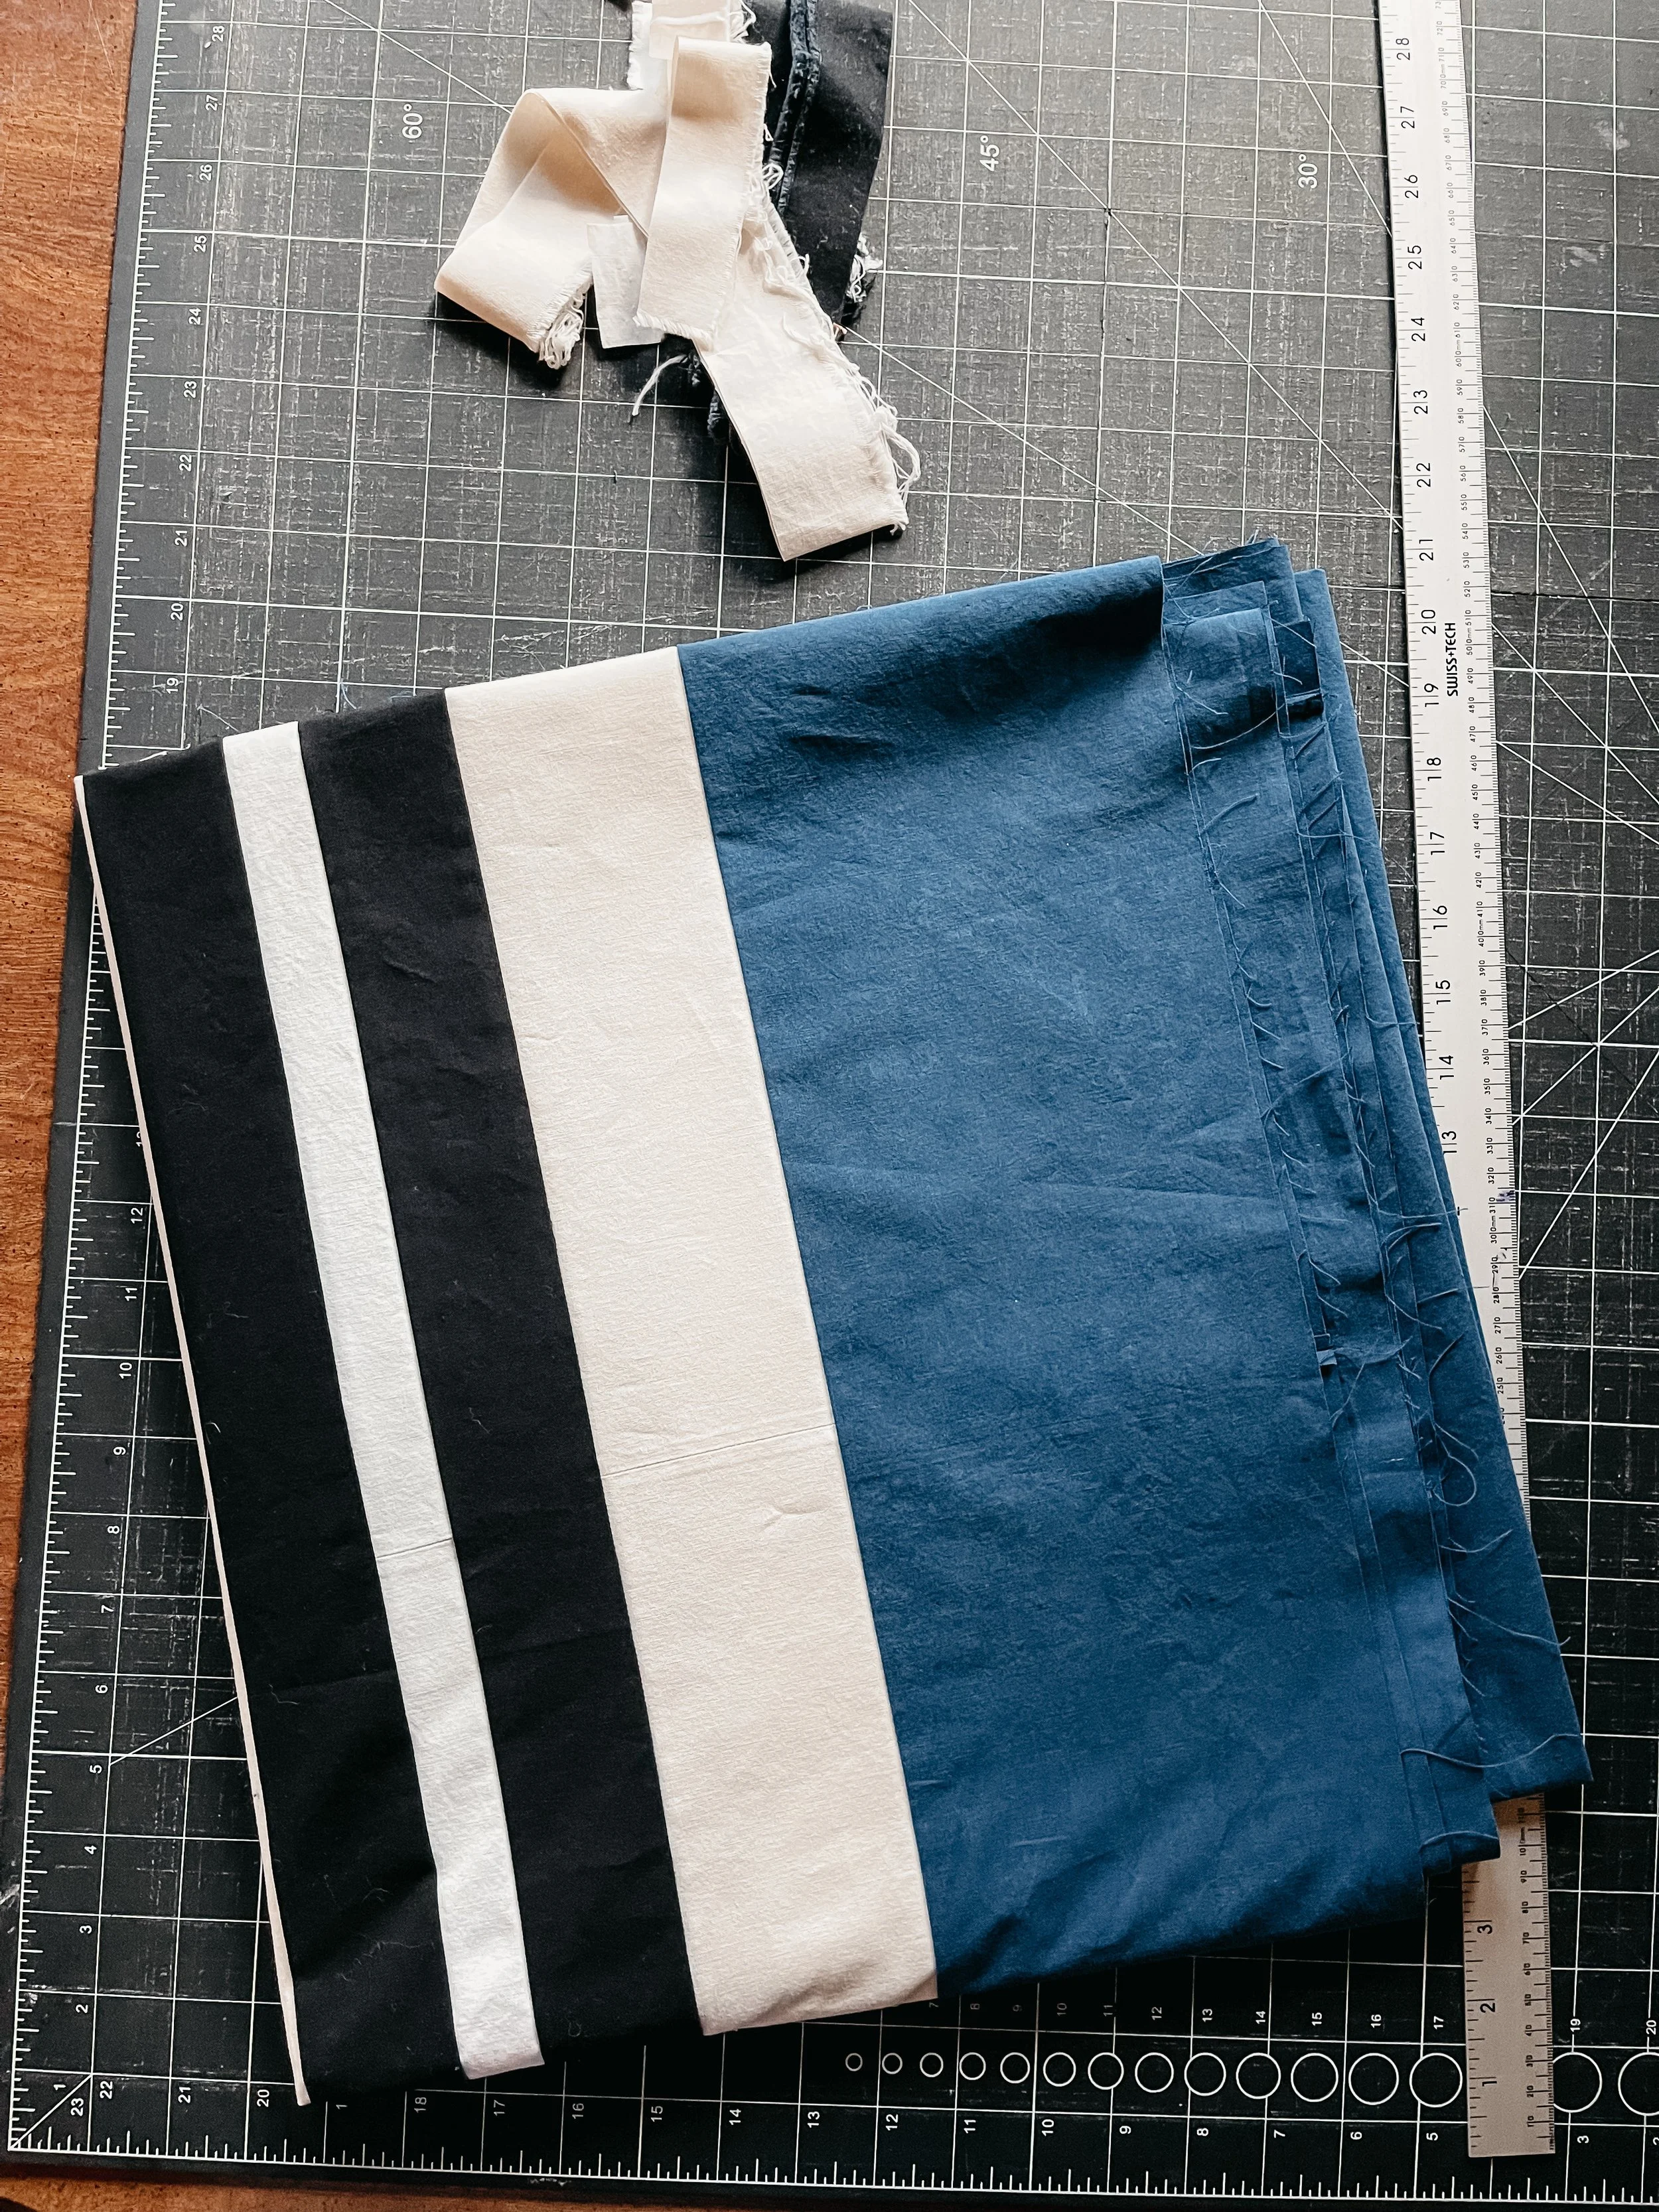
As the fabric reacts with the air, it oxidizes, turning that pale green into a beautiful, rich indigo blue. It’s truly one of the most magical moments in the process. ✨ The more dips you do (usually 2–3), the deeper and more saturated your color becomes.
Optional: using Raycafix for better colorfastness
If you want your indigo-dyed quilt to hold up well to future washes and daily use, consider a post-dye soak in Raycafix. This product helps “fix” the color so it doesn’t fade or rub off as easily. Just follow the package instructions—usually a short soak in hot water with a small amount of Raycafix is all you need.
Totally optional. I’ve actually never used Raycafix (although recommended to me) in my process. Instead I use about 2 tablespoons of 5% strength white vinegar per gallon of warm water and soak the fabric for about 15 minutes. Rinse in cold water. Hang the fabric to dry, then store it flat out of direct sunlight for at least a week before doing the final rinses with warm water and a pH neutral detergent. Continue rinsing the fabric in lukewarm water until the rinse water is clear or nearly clear.
Dipping, and Watching the Magic Happen
This is where the fun really begins. After prepping your fabric and mixing your dye bath, it’s time to dip, and watch that indigo work its magic. It’s honestly a bit addictive—there’s something meditative about the rhythm of dipping and the surprise of the final reveal.
How long to dip, and how many dips deepen the color
For your first dip, start with about 1–2 minutes in the dye bath. Gently move the fabric around so the dye can reach all areas, but avoid agitating too much (you don’t want to introduce oxygen into the vat). Depending on the shade of blue I’m trying to achieve, I typically dip for 3-10 minutes.
When you lift the fabric out, it will look greenish-yellow at first. That’s normal! The blue color develops as the dye oxidizes in the air. Wait a few minutes to let it fully change, then dip again for a richer, deeper blue. I did three dips on my first quilt and loved the depth it gave.
Drying tips: hang gently and let it oxidize
Once you’re happy with the color, hang the fabric in a well-ventilated area to dry. I clipped mine to a clothesline outside; I’ve also used a clothing rack and even a fence on occasion. Try to avoid bunching it up or letting it touch other surfaces while drying—this helps prevent uneven dye marks.
Unexpected joys: watching the color shift in real time
This was pure magic. As soon as the fabric hit the air, it began to change—from murky green to a soft teal, then a deep, velvety indigo. I just stood there grinning, probably longer than I’d like to admit. It felt like watching alchemy in real life.
What I learned from my first dye session
You don’t need fancy tools to make something beautiful—just curiosity and a bit of prep.
The imperfections are what make it special.
Indigo has a mind of its own (and that’s part of the charm).
Slow processes like this make me feel more connected to what I’m making.
I want to do this again. And again. And again.
This part of the process turned me from curious to hooked. If you're standing over your own indigo vat soon, know this: you're in for something pretty magical.


Final Rinse, Fixing the Dye, and Washing Tips
After the magic of indigo oxidation, it’s time to make that gorgeous blue last. Here’s how to safely rinse, set, and care for your indigo-dyed quilt fabric so the color stays bold and beautiful for years to come.
When to Rinse (And Why Cold Water Is Key)
Once you’ve finished your final dip and allowed the fabric to fully oxidize (turn from green to blue), give it time to dry to the touch. After that, it’s safe to rinse. Start with cold water—this helps remove any loose dye particles without shocking the fabric or fading the color.
Gently rinse until the water runs mostly clear.
Avoid wringing or scrubbing at this stage—let the rinse water do the work.
You can do this in a large outdoor sink, a tub, big 5 gallon bucket or even outside with a hose.
(Optional) Using Raycafix: Lock in That Indigo
If you want to improve the wash-fastness of your quilt (how well it holds color over time), you can treat it with Raycafix, a dye fixative specifically formulated for fiber-reactive and natural dyes like indigo.
Here’s how to use it:
Fill a tub or sink with hot water (as hot as your fabric can handle).
Add 1–2 tsp of Raycafix per liter of water.
Submerge your fabric completely and soak for 15–20 minutes, stirring occasionally.
Rinse thoroughly with cold water until the water runs clear.
Alternative: No Raycafix? (I use this method almost all the time)
You can skip this step if you're okay with some natural fading over time (which many people love for that worn-in look). Alternatively, you can use:
A final vinegar rinse (1 part vinegar to 4 parts water) to slightly help with setting.
A few drops of Synthrapol in your first wash to carry away any extra dye molecules.
Washing & Caring for Indigo-Dyed Quilts
Natural indigo is a living color—it softens and shifts gracefully with time. Here’s how to help it age beautifully:
Wash separately the first few times with a color catcher.
Use cold water and a mild, pH-neutral detergent (like Eucalan or Soak).
Avoid bleach, harsh detergents, or optical brighteners.
Line dry or lay flat—skip the dryer when possible to prevent fading.
Expect a little bit of blue rubbing off the first few washes (this is normal).
Tips for Future Batches
Keep a dye journal! Note how long you dipped, how many times, and what fabric you used.
Try layering dips over time for depth and variation in color.
Don’t be afraid to experiment with different folding techniques, fibers, or over-dyeing pre-printed fabrics!
Conclusion
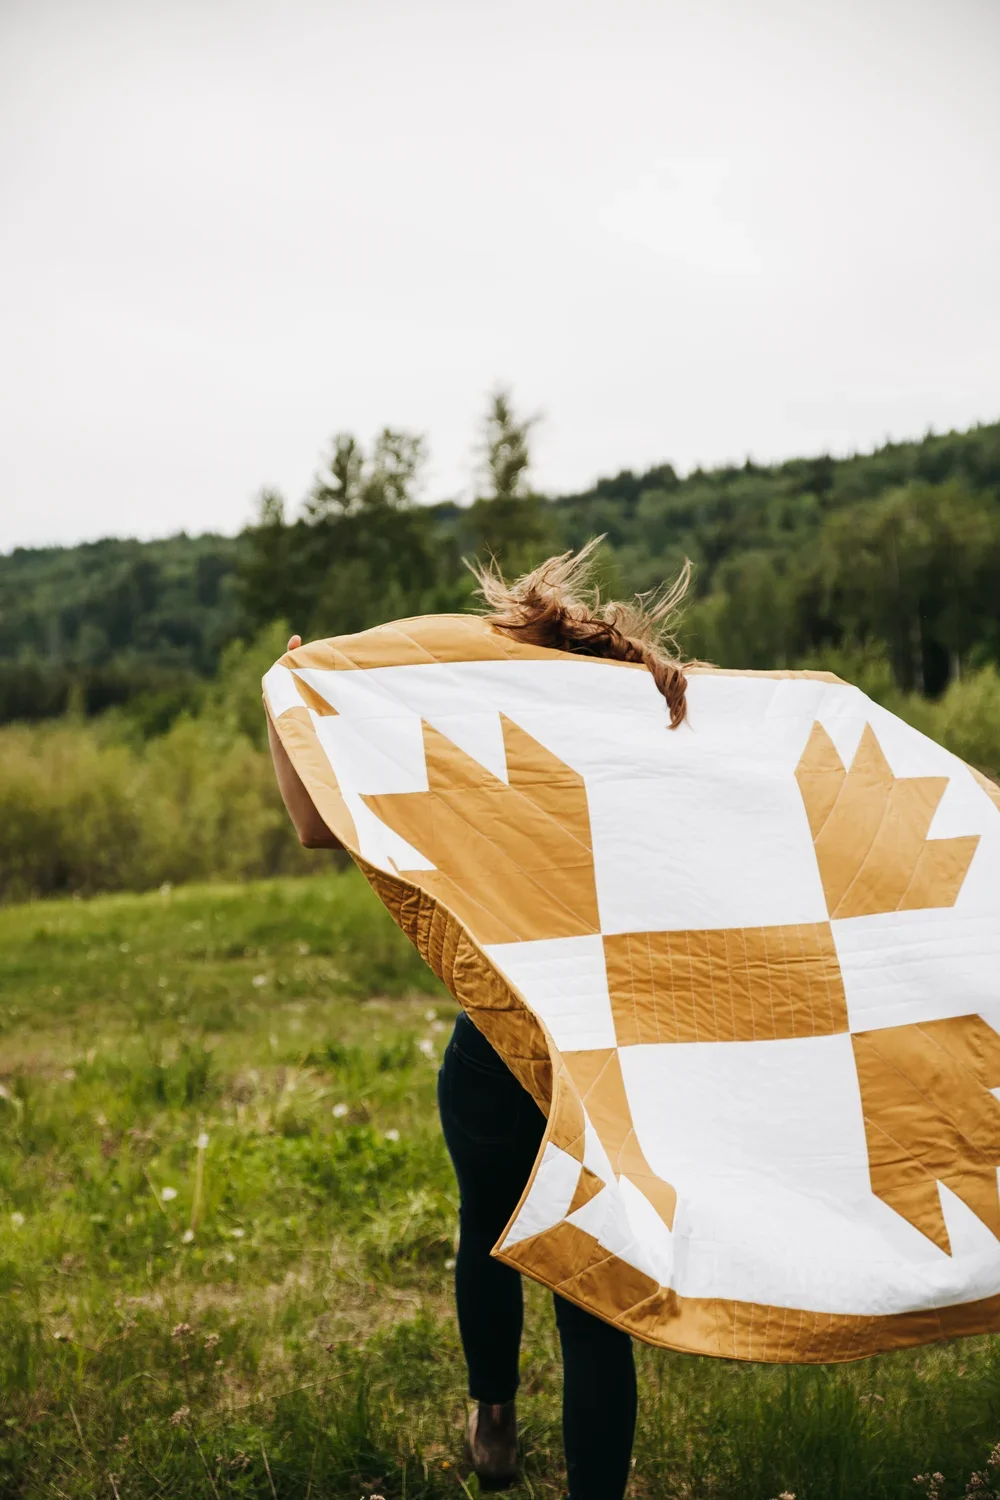
There’s something so meditative and grounding about dyeing fabric with your own hands. It’s not just the act of making—it’s the rhythm, the ritual, the quiet awe as the color deepens and reveals itself. Watching that rich indigo bloom across my very first quilt felt like a kind of magic, the kind that lingers long after the fabric has dried.
Whether you're a quilter chasing that next creative thrill, a slow fashion lover craving a deeper connection to your materials, or just dye-curious and looking for your next crafty rabbit hole—trust me, this process is so worth trying.
So here’s your gentle nudge: gather a few supplies, set aside a little time, scour that fabric, and dip your toes into the world of natural dyeing. You might just fall in love with the blue, too. 💙
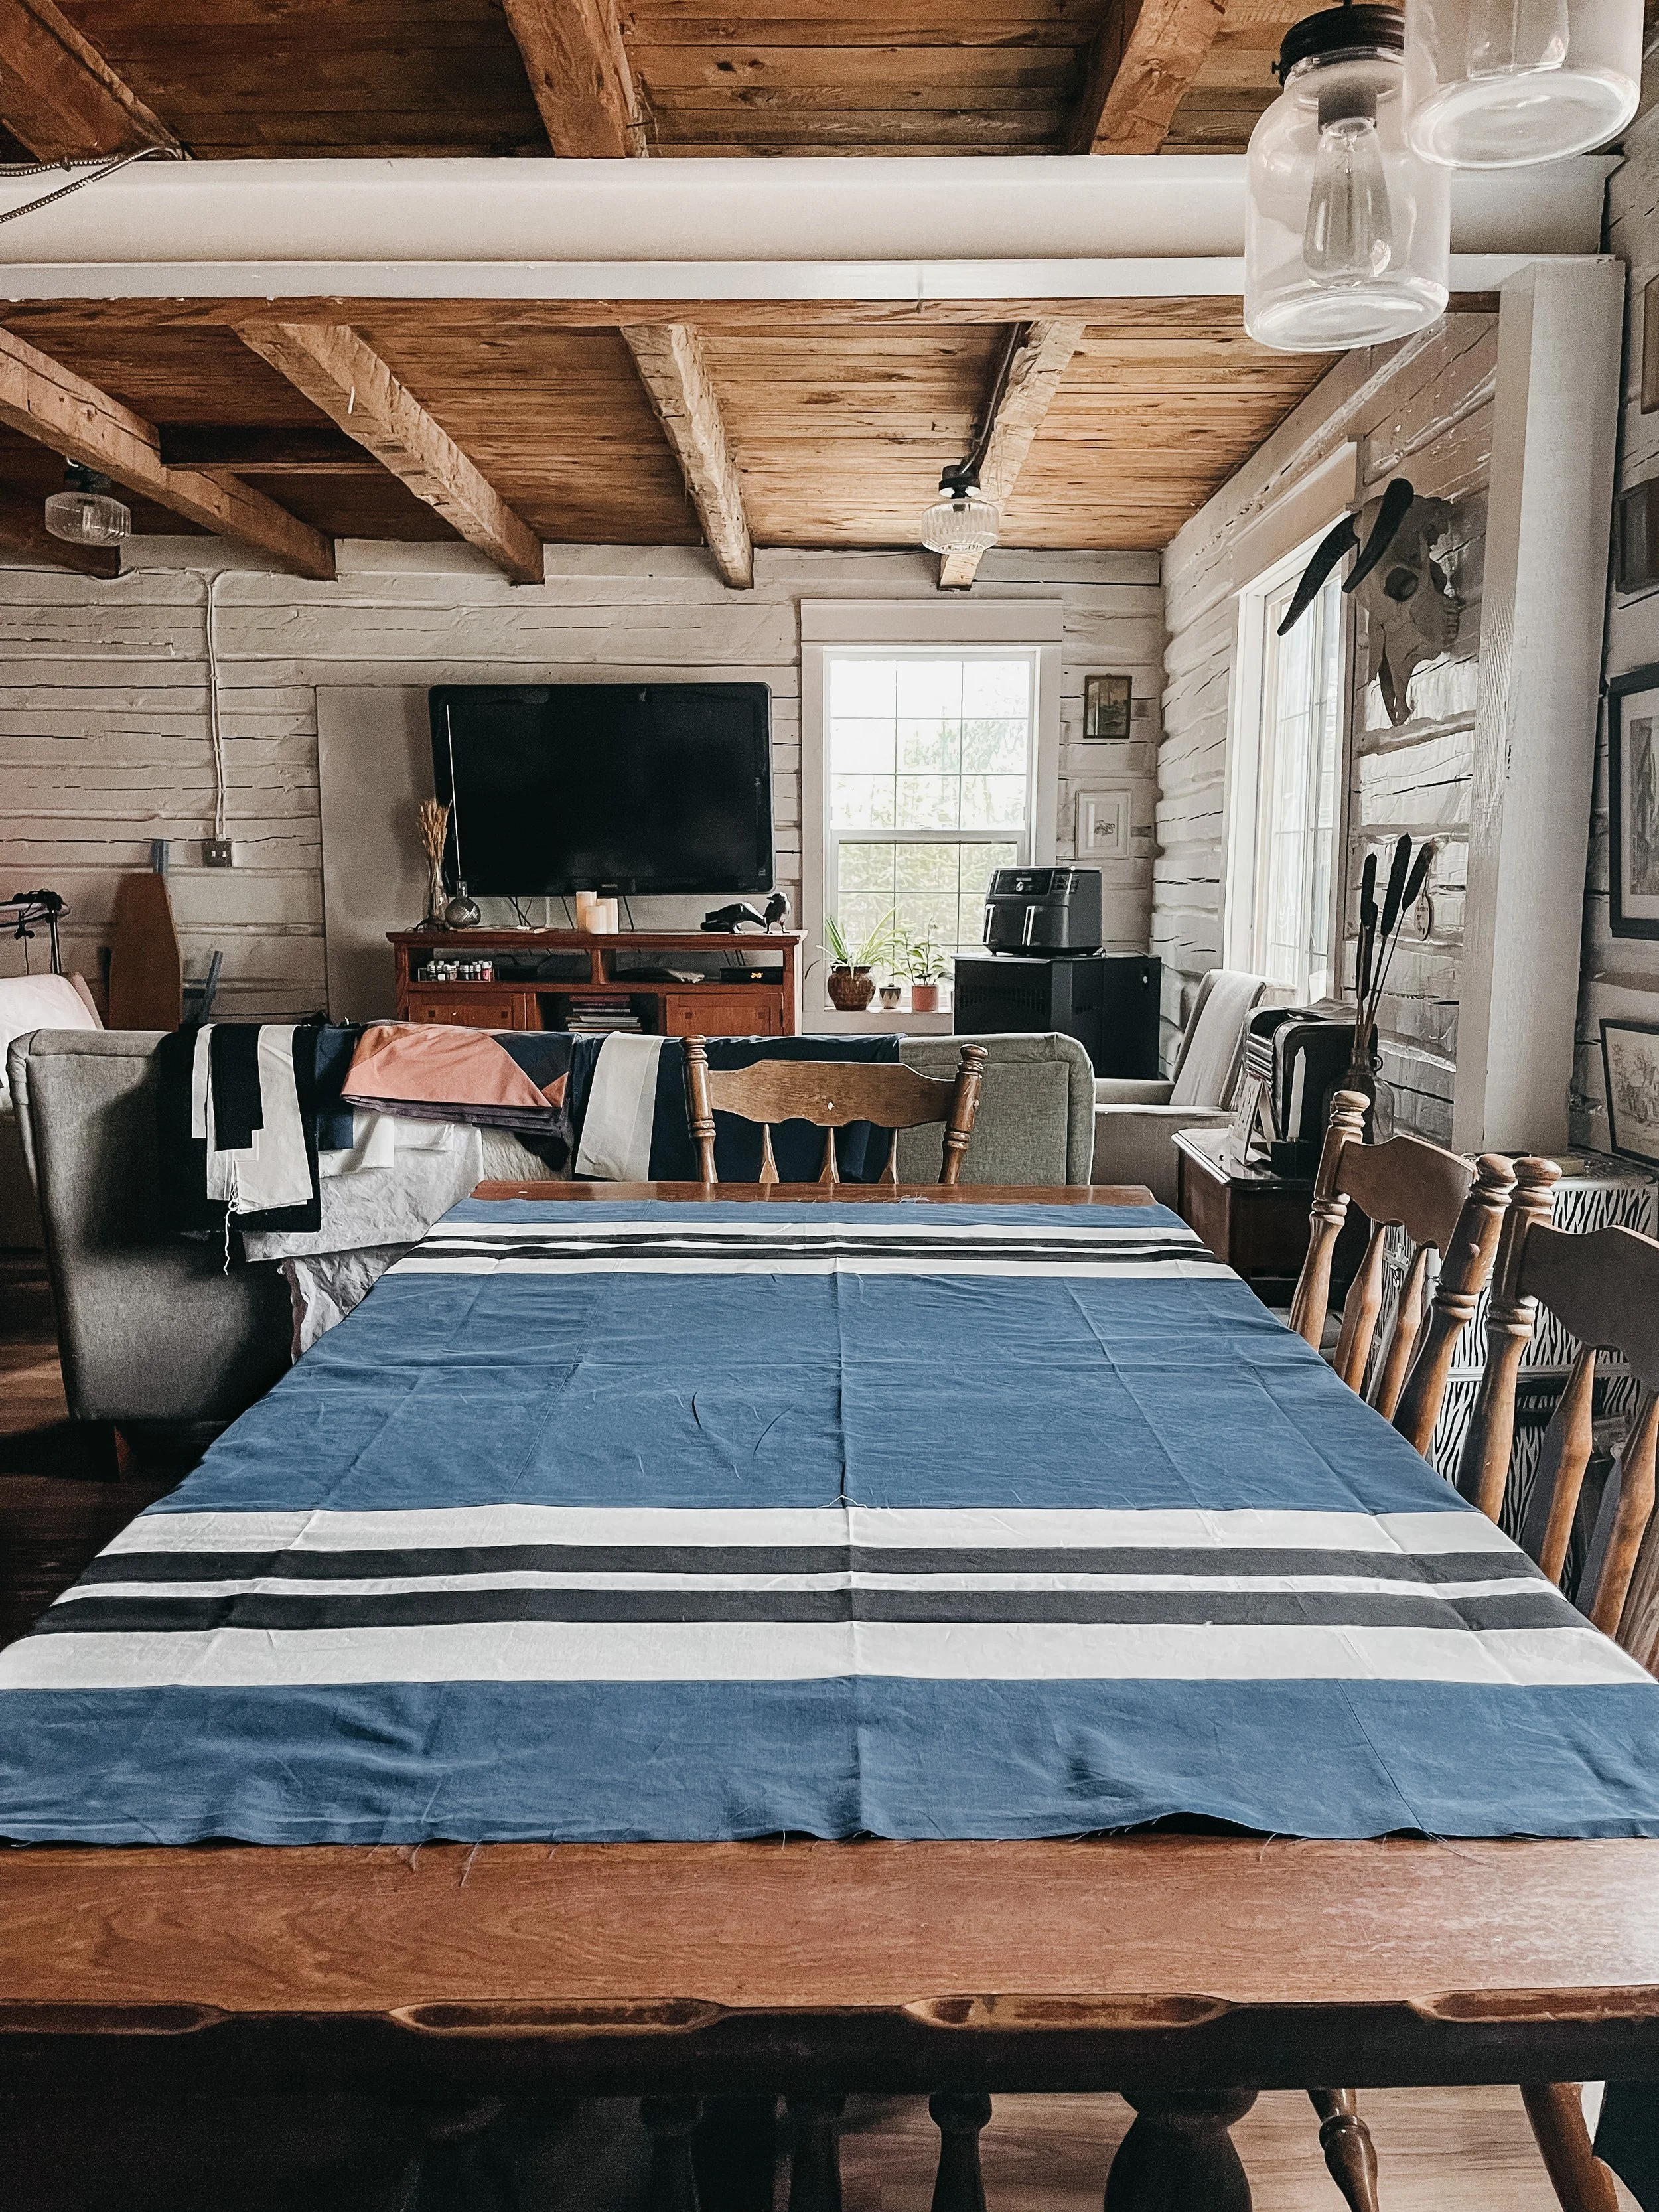
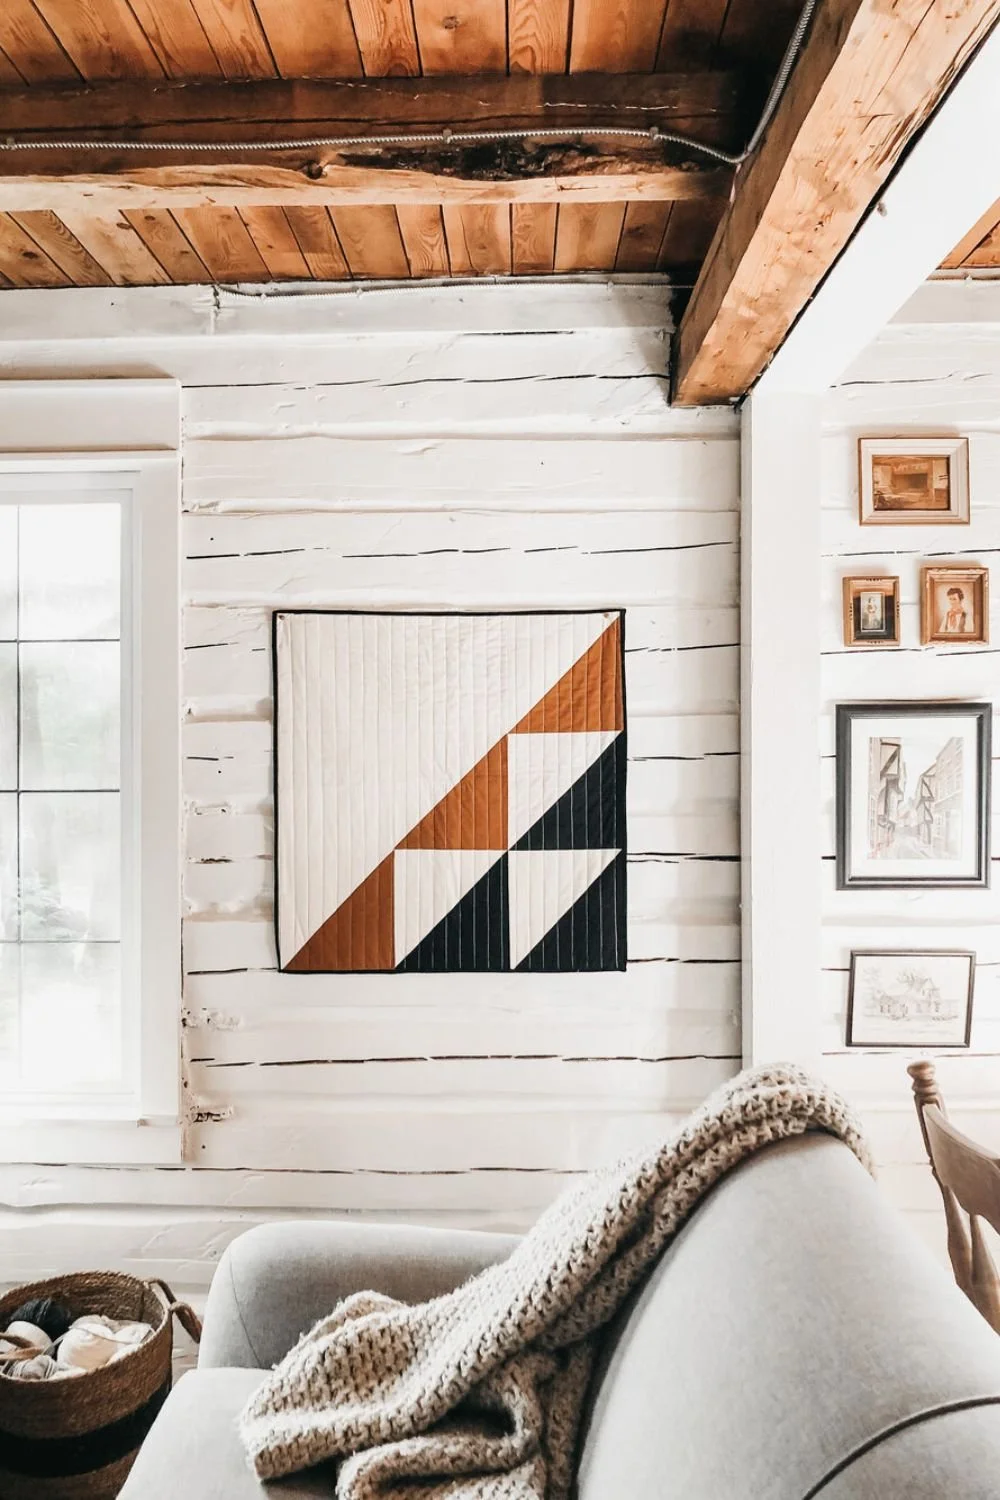


Welcome to the blog—I'm so glad you're here.
I'm Kim, quilting and dyeing from an old cabin in the woods. This is where I share beginner-friendly tutorials, slow craft tips, and stories from a life stitched by hand. I hope you find something here that feels like home.