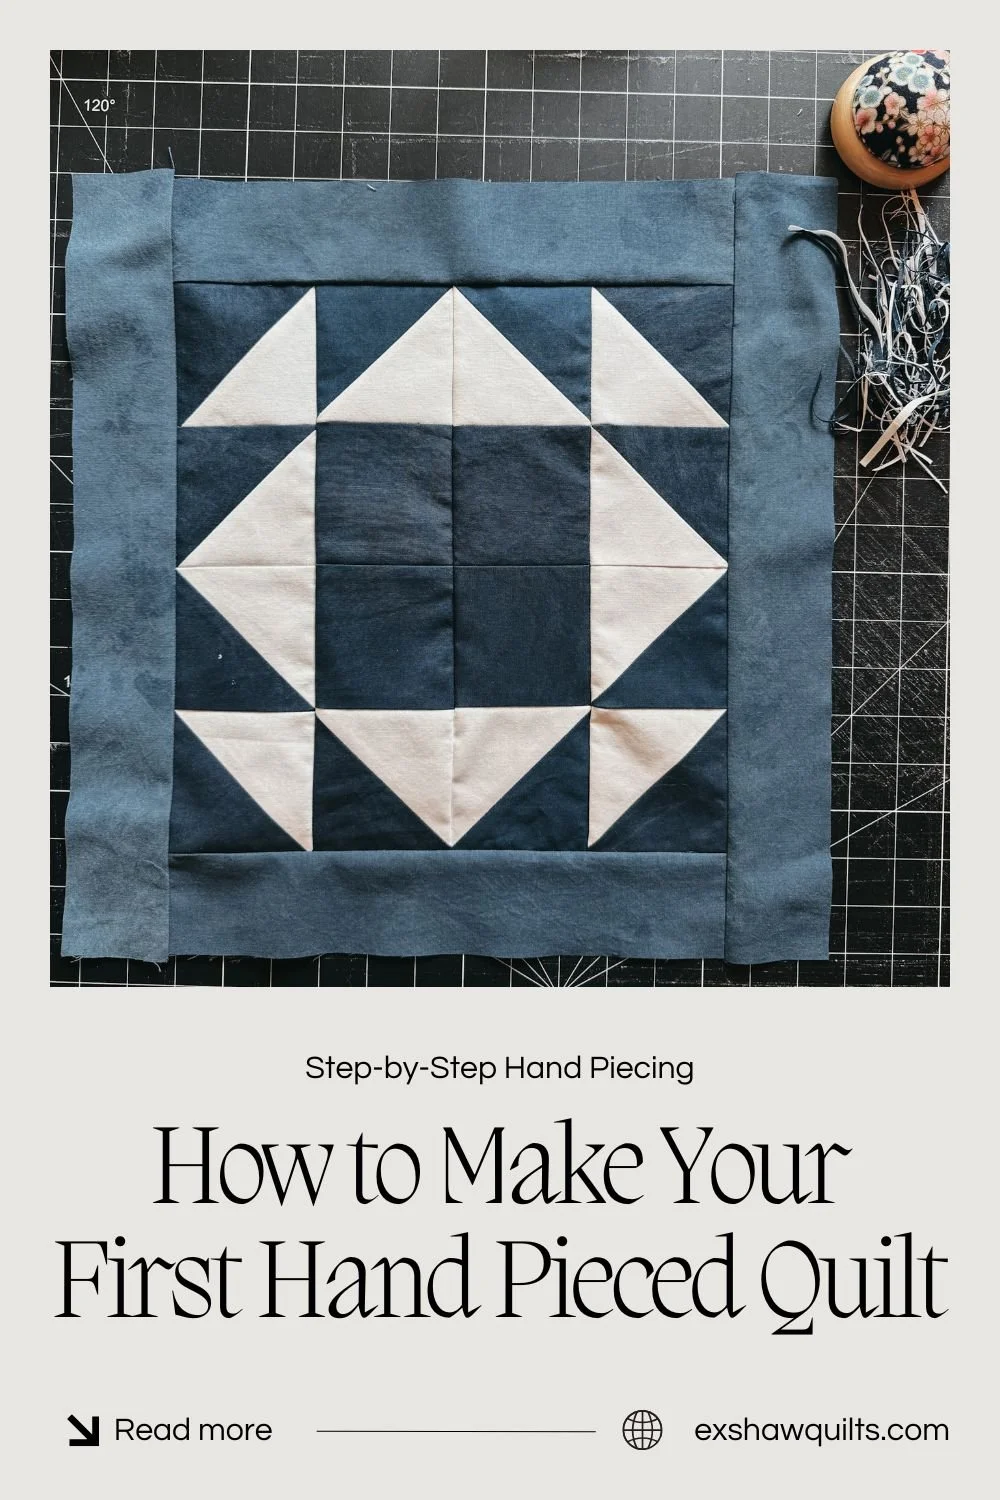
How to Make Your First Hand Pieced Quilt: A Beginner's Guide to Success 2025
Learn how to make your first hand pieced quilt with this beginner-friendly guide! Discover step-by-step instructions, expert tips, and the tools you need for success in 2025.
“Every quilt tells a story, and your first one is where it begins.”
If you’ve ever dreamed of stitching something by hand—something slow, meaningful, and made with love—you’re in the right place. Hand piecing quilts is one of the most soulful ways to begin your quilting journey. It’s portable. It’s peaceful. And best of all? You don’t need a fancy sewing machine to get started!
In this blog post, I’ll walk you through everything you need to know to confidently create your first hand pieced quilt, from selecting fabric to sewing your last stitch. Whether you're cozied up in a log cabin or curled on the couch with a cup of tea, hand piecing offers a beautiful way to slow down and create something lasting. And of course, watch my YouTube tutorial below for a visual.
my fave quilting toolsWhat Is Hand Piecing?
Hand piecing is the art of stitching your quilt blocks together with just a needle, thread, and your own two hands—no machine required. It’s slow, it’s rhythmic, and it connects you to the long tradition of quilters who’ve done it this way for generations.
Unlike machine piecing, where seams come together with a quick zip, hand piecing asks you to linger. You sit with the fabric. You feel the rhythm of your stitches. You notice the small things—the way two points align just right, or how the needle glides through a well-pressed seam. It’s less about speed and more about presence.
Many quilters fall in love with hand piecing not just for the results, but for the process itself. There’s something deeply meditative about the quiet repetition of needle and thread, especially when paired with a hot mug, a soft chair, and an open window letting in birdsong or breeze. It’s a pace that feels like a deep exhale.
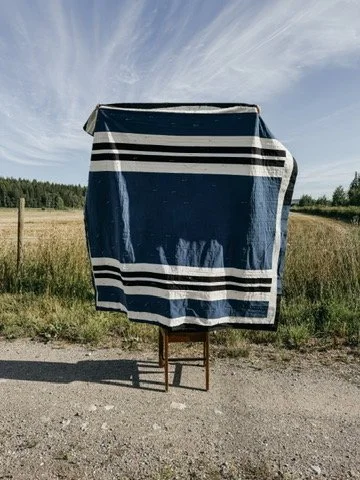
And don’t let the simplicity fool you—there’s so much you can make by hand! From small table runners and pillow covers to full-sized heirloom quilts, anything you can machine piece, you can stitch slowly and beautifully by hand. It’s quilting stripped back to its soul.
take my quilt workshop hereSupplies You’ll Need to Get Started
Starting your first hand-pieced quilt is a bit like prepping for a cozy road trip—you don’t need much, but having the right tools makes the whole journey smoother and more enjoyable. Below is a simple list to help you gather your supplies, no overwhelm, just the essentials (and a few nice-to-haves if you’re feeling fancy).
Fabric: Choose What You Love
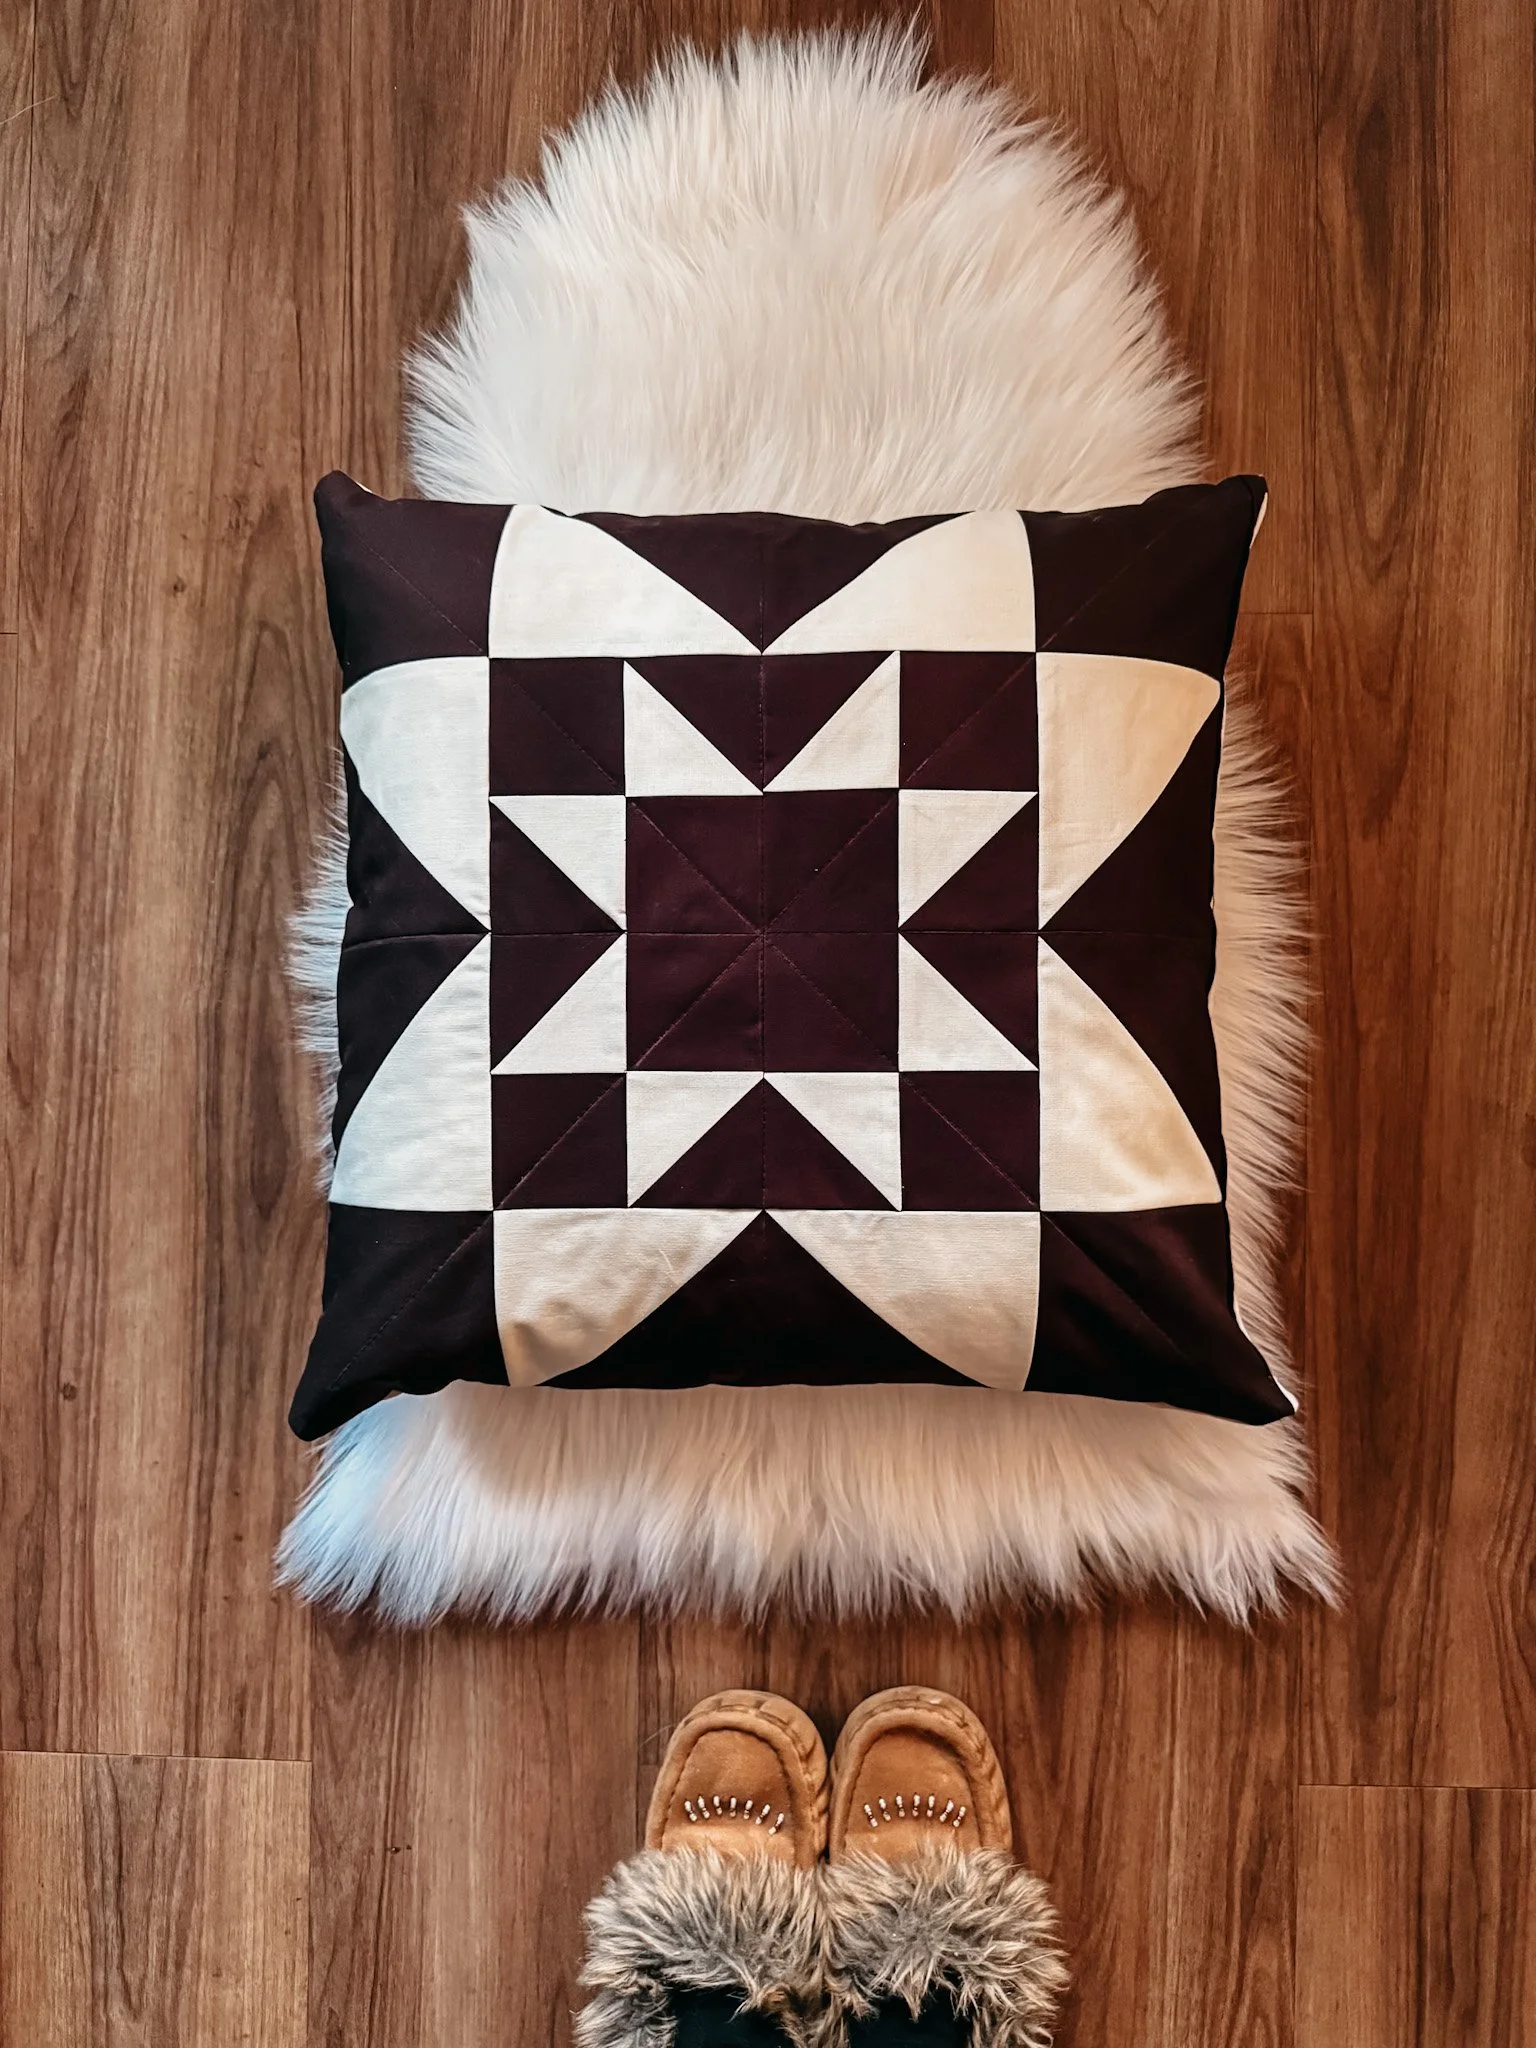
Start with high-quality quilting cotton. It’s crisp, holds a crease well, and behaves beautifully under a needle. I recommend avoiding anything too stretchy, too thin, slinky, or heavy for your first go—save the linen blends and vintage feedsacks for later. If you're like me, you'll fall in love with simple two-color quilts: one main fabric and one contrast always makes a striking combo. My fave brand to use is Kona while Northcott Colorworks and Bella Solids come in second.
Needles: Small but Mighty
Look for hand sewing needles labeled as sharps. I also (because I hand quilt a lot) love quilting, sashiko and embroidery needles as well. Size 9 or 10 is a great place to start—not too short, not too long. I love Clover needles for their smooth glide and quality. You’ll notice the difference in your fingers after a long stitching session.
Thread: Don’t Skimp Here
Use a high-quality 100% cotton thread made for hand/machine sewing and piecing. My go-to is Aurifil 40 wt (I also use a 50 wt sometimes too) in a neutral shade—it’s strong, fine, and doesn't tangle easily. Gutermann also makes a solid cotton thread if that's what's available in your local shop.
Essential Tools
Keep it simple. These basics will carry you through:
Sharp scissors or thread snips (small enough to keep beside you on the couch)
Fabric marking pen or pencil—I like a water-soluble blue pen or a chalk pencil
Thimble (if you haven’t used one before, it takes time—but it saves your fingers)
Small ruler or seam gauge—great for marking 1/4” seam allowances and checking your pieces
A cozy spot with good light—trust me, this is half the battle
Optional (but Lovely) Extras
Not necessary, but if you get the itch to go all in:
Thread conditioner like beeswax or Thread Heaven to reduce tangles
Mini iron or a seam roller for pressing without getting up every few stitches
my fave quilting tools
How to Cut and Prep Your Fabric
Before your first stitches are even sewn, there’s something wonderfully grounding about taking time to prep your fabric. It’s part of the slow rhythm of quilting—a moment to breathe, smooth, and ready your materials with intention.
Prewash? Press? Let’s Talk
If your fabric is 100% cotton (which most quilting fabric is), I do recommend prewashing—especially if you're mixing different brands or colors. A gentle cycle with cool water, mild detergent, a color catcher and a tumble dry will do just fine. It helps remove any sizing, preshrinks your fabric, and avoids surprises later on (no one wants wonky seams after a wash!). I will say though, if I am using precuts, I never prewash (it creates a massive, horrible, tangled mess). I also never prewash if I’m using the same brand of quilting cotton, brand new, freshly cut from the bolt. There’s a lot of debate about this online, I think you should do what makes you happy.
Once it’s dry, give it a good press with steam. Smooth, flat fabric is easier to cut, easier to mark, and so much more enjoyable to sew. It's worth the extra few minutes—promise.
FYI— I do talk about starching your fabric in the tutorial video above.
Cutting by Hand or Rotary?
You can absolutely cut everything with scissors and a ruler if that’s what you’ve got. No shame in old-school methods. But if you’ve got a rotary cutter and self-healing mat, they’ll speed things up and give you cleaner lines. Just make sure your blade is sharp—dull blades are harder on your hands and can tug the fabric.
Use a quilting ruler to line things up and take your time with each cut. Accuracy here will save you so much frustration down the road.
Templates vs Measuring Tools
For basic shapes like squares or rectangles, your quilting ruler and rotary cutter combo will do the job beautifully.
But if you’re hand piecing curves, stars, or unique blocks, consider using templates. You can make your own with plastic sheet or even cardstock in a pinch—just trace your shape and cut it out carefully. Templates give you consistency, which is key for fitting everything together neatly.
Marking Seam Allowances
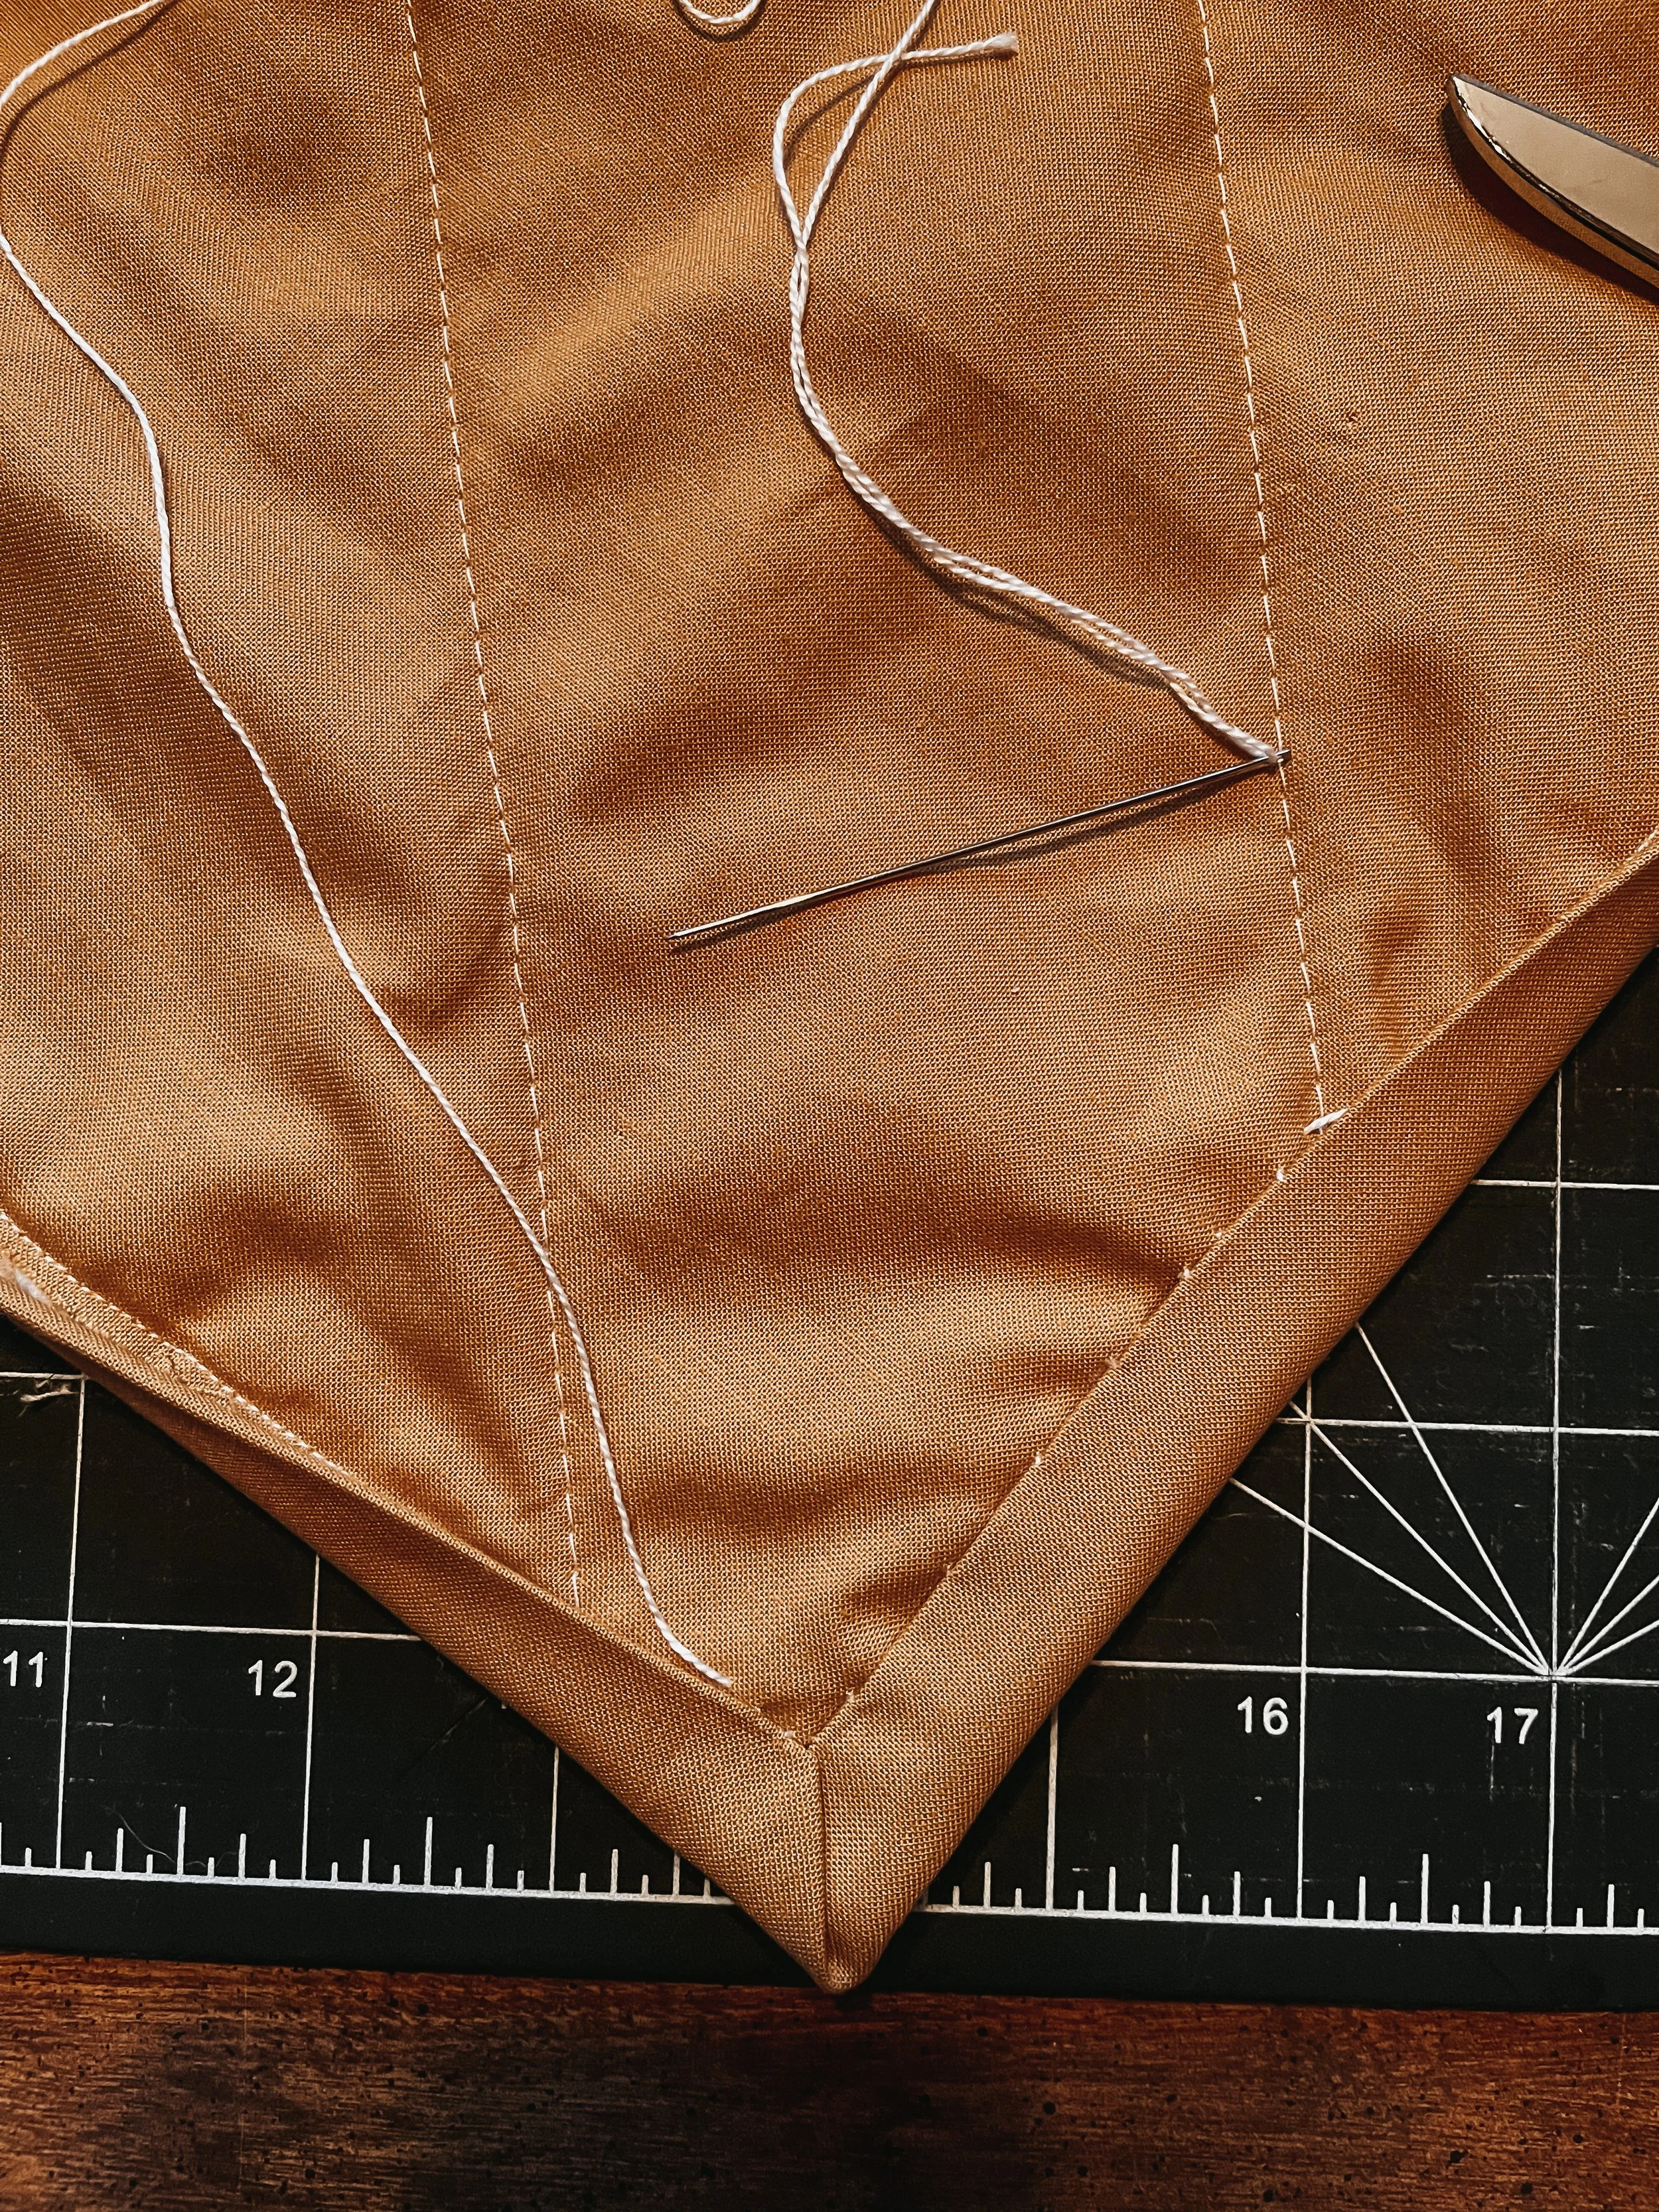
Here’s where hand piecing really slows things down in the best way. Since you’re sewing by hand, it helps to draw in your stitching lines.
Use a fabric-safe marking pen or pencil to trace your seam allowance ( ¼″) on the wrong side of each piece. * Unpopular opinion but who cares because you do you * I love a mechanical pencil because it yields really nice, crisp lines. A clear quilting ruler will help keep your lines straight. I like to do this while the kettle’s boiling or during a quiet afternoon—there’s something meditative about it.
These lines become your road map. They help you stitch with accuracy and confidence, especially as you're getting comfortable with sewing by hand.
take my quilt workshop here


Step-by-Step Instructions for Hand Piecing Quilt Blocks
There’s something quietly joyful about hand piecing—just you, a needle, and the rhythm of stitch by stitch. It’s not about rushing to the finish; it’s about savoring the process, one seam at a time. Below, I’ll walk you through how I hand piece quilt blocks the slow, steady way—perfect for those cozy evenings or quiet cabin mornings with the windows cracked just enough to let in the pine-scented air.
How to Pin Pieces Together
Start by laying your fabric pieces right sides together, carefully aligning the edges and pin into place. If the fabric is slippery or stretchy, pin more often. If it's behaving, a clip or two will do. Match corners and any seams—trust me, this extra care makes all the difference when your points line up just so.
The Running Stitch vs. Backstitch (When to Use Which)
The running stitch is your go-to for hand piecing: light, quick, and flexible. Take small, even stitches (about 1/8”), letting the needle glide through the layers in a gentle wave. But when you hit a seam intersection or a corner that’ll get tugged a lot? That’s where the backstitch shines. Drop one in every few inches for strength—or wherever you think the quilt might need a little more staying power.
Tip: I usually backstitch at the start and end of every seam—think of it like anchoring a boat. If its not entirely necessary, I don’t backstitch when I machine piece but for hand piecing I do. It just feels right. Do what feels right for you.
How to Keep Your Seam Allowance Consistent
Here’s the truth: consistency beats perfection every time. Use a ¼" seam allowance, and if you’re new, mark the line with a pencil or water-soluble pen. A small ruler or acrylic seam guide can help. Once you get the feel for it, your fingers will start to know the way.
Try not to pull your thread too tight—it’ll cause puckering—and instead aim for a flat, relaxed seam. Let the fabric settle into the stitch, not fight it.
How to Press Seams by Hand or with an Iron
After sewing a seam, finger press it open (or to the dark side), running your nail or a seam roller along the fold. For more structure, I’ll give it a light press with a warm iron—especially if I’m joining blocks. Just be gentle. No steam yet.
When I’m on the go, a warm mug or even the back of a spoon can stand in. The tools don’t matter as much as the intention.
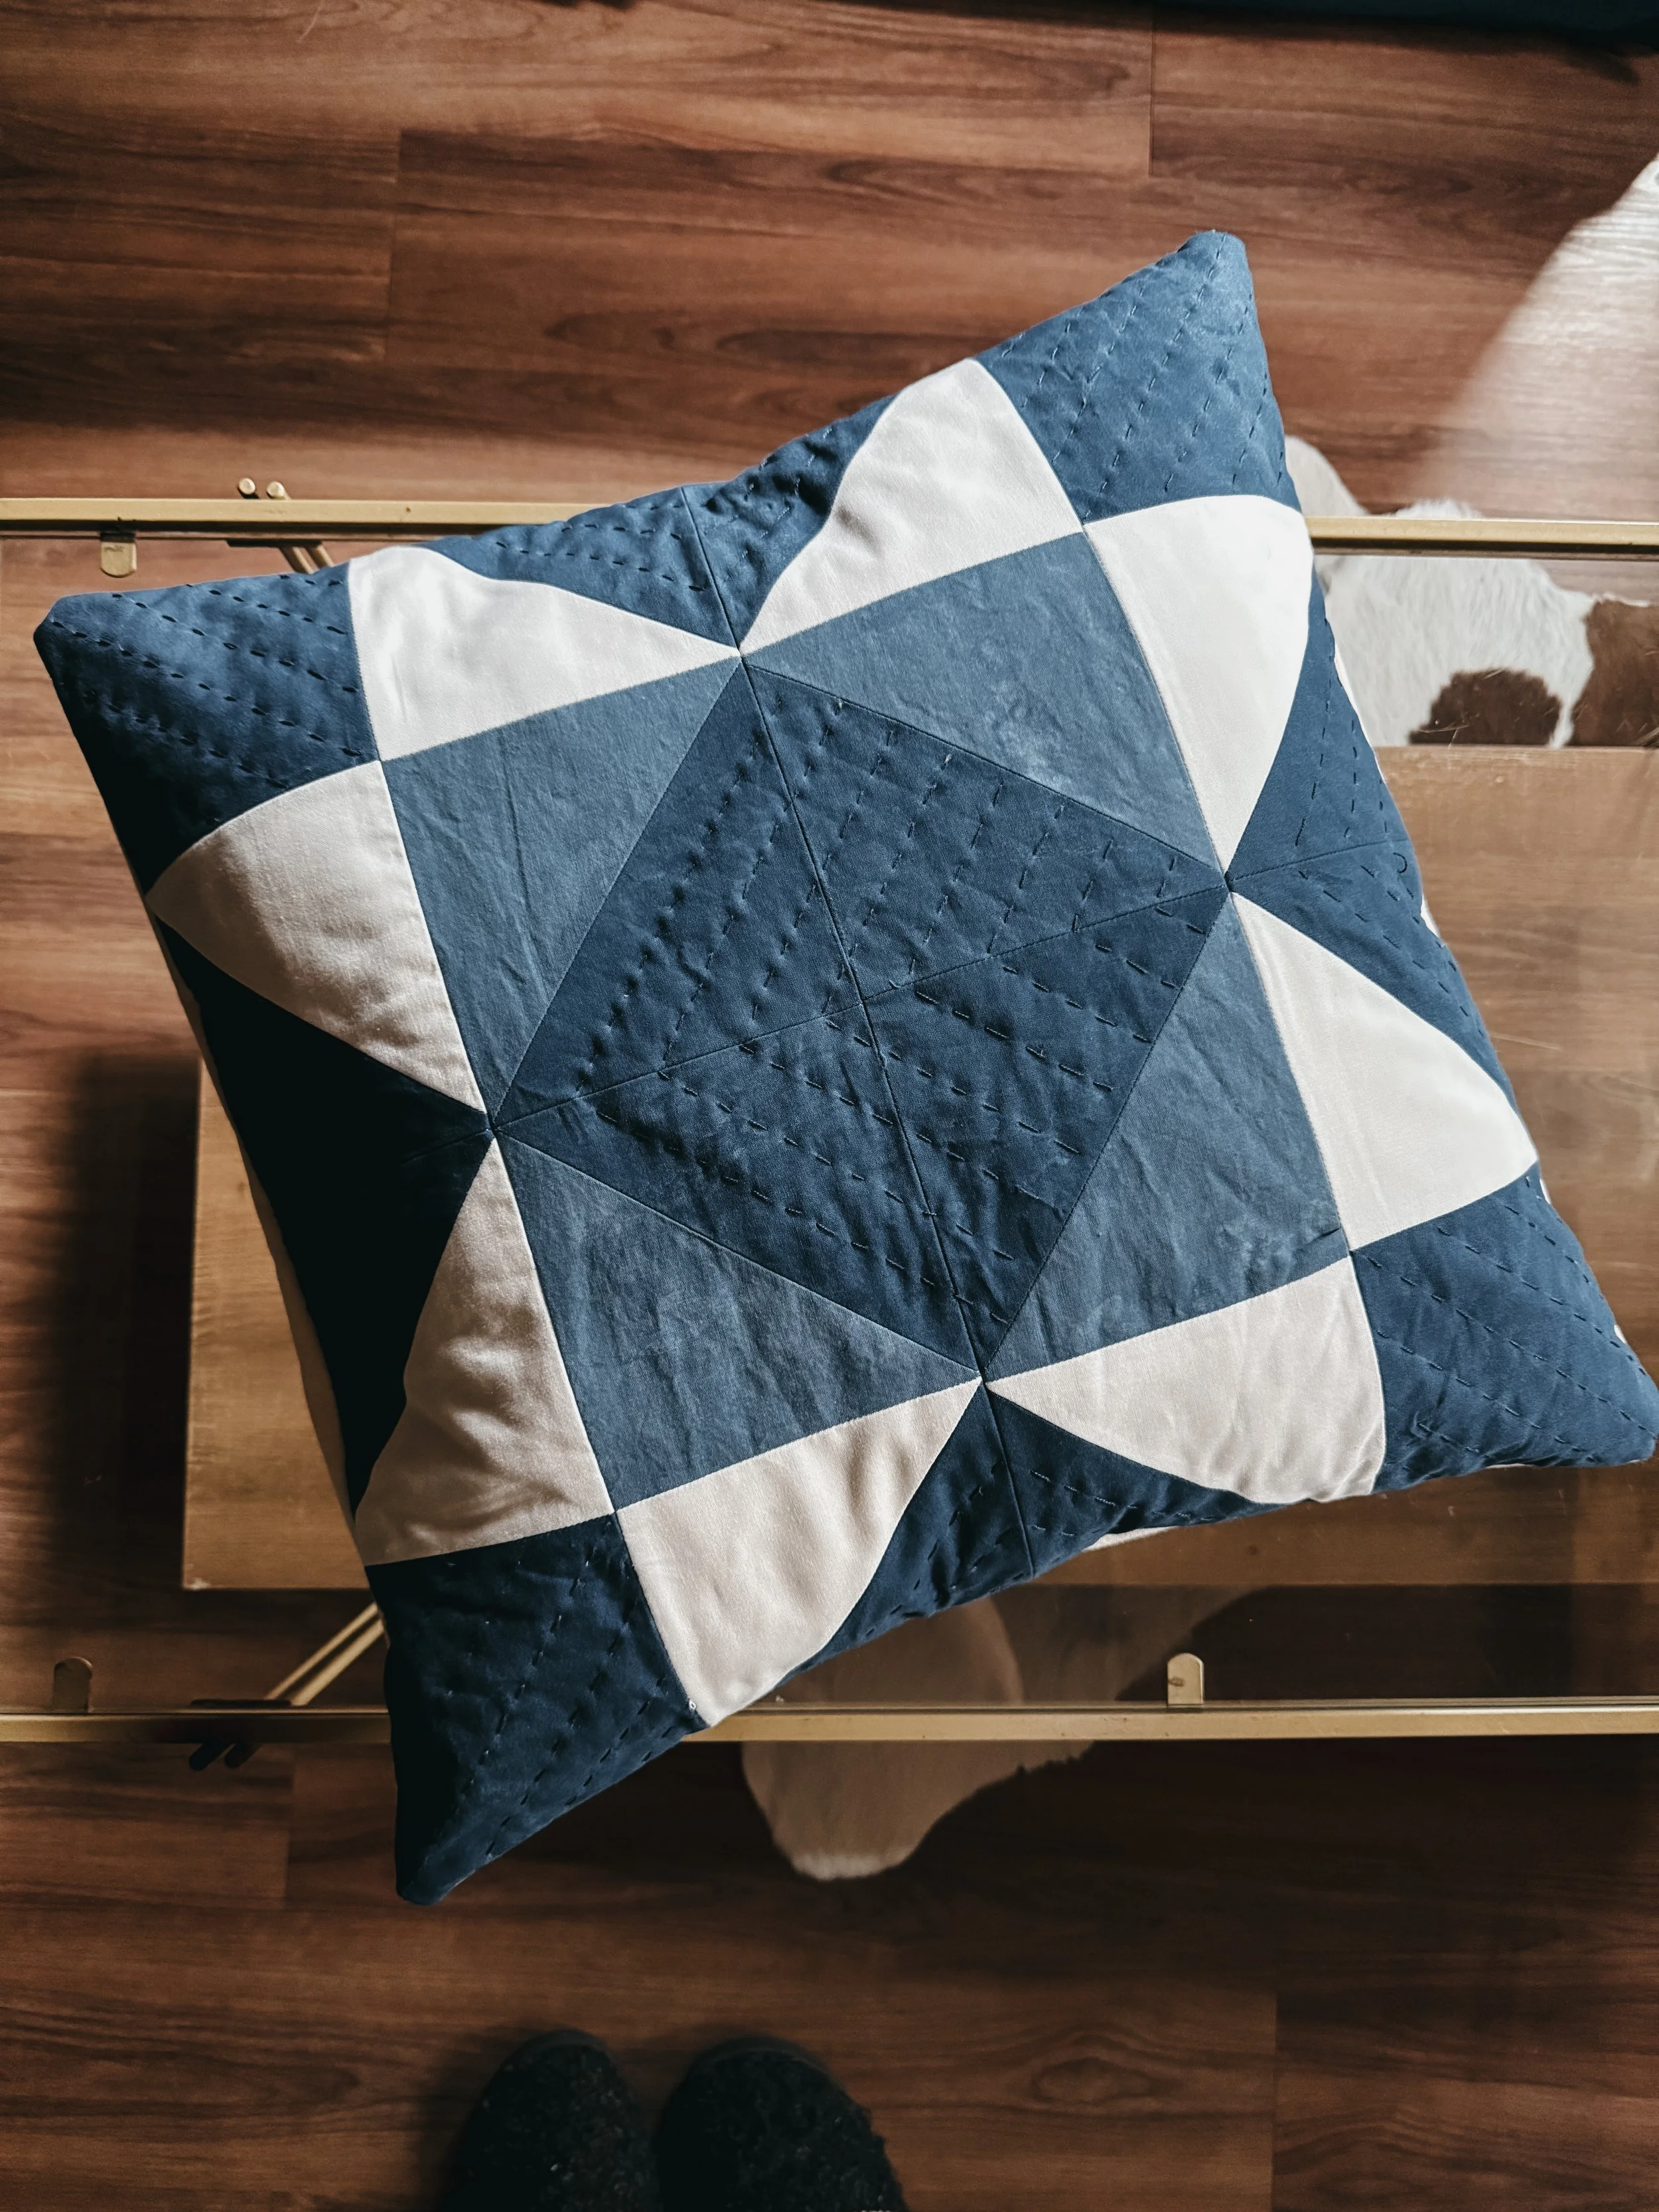
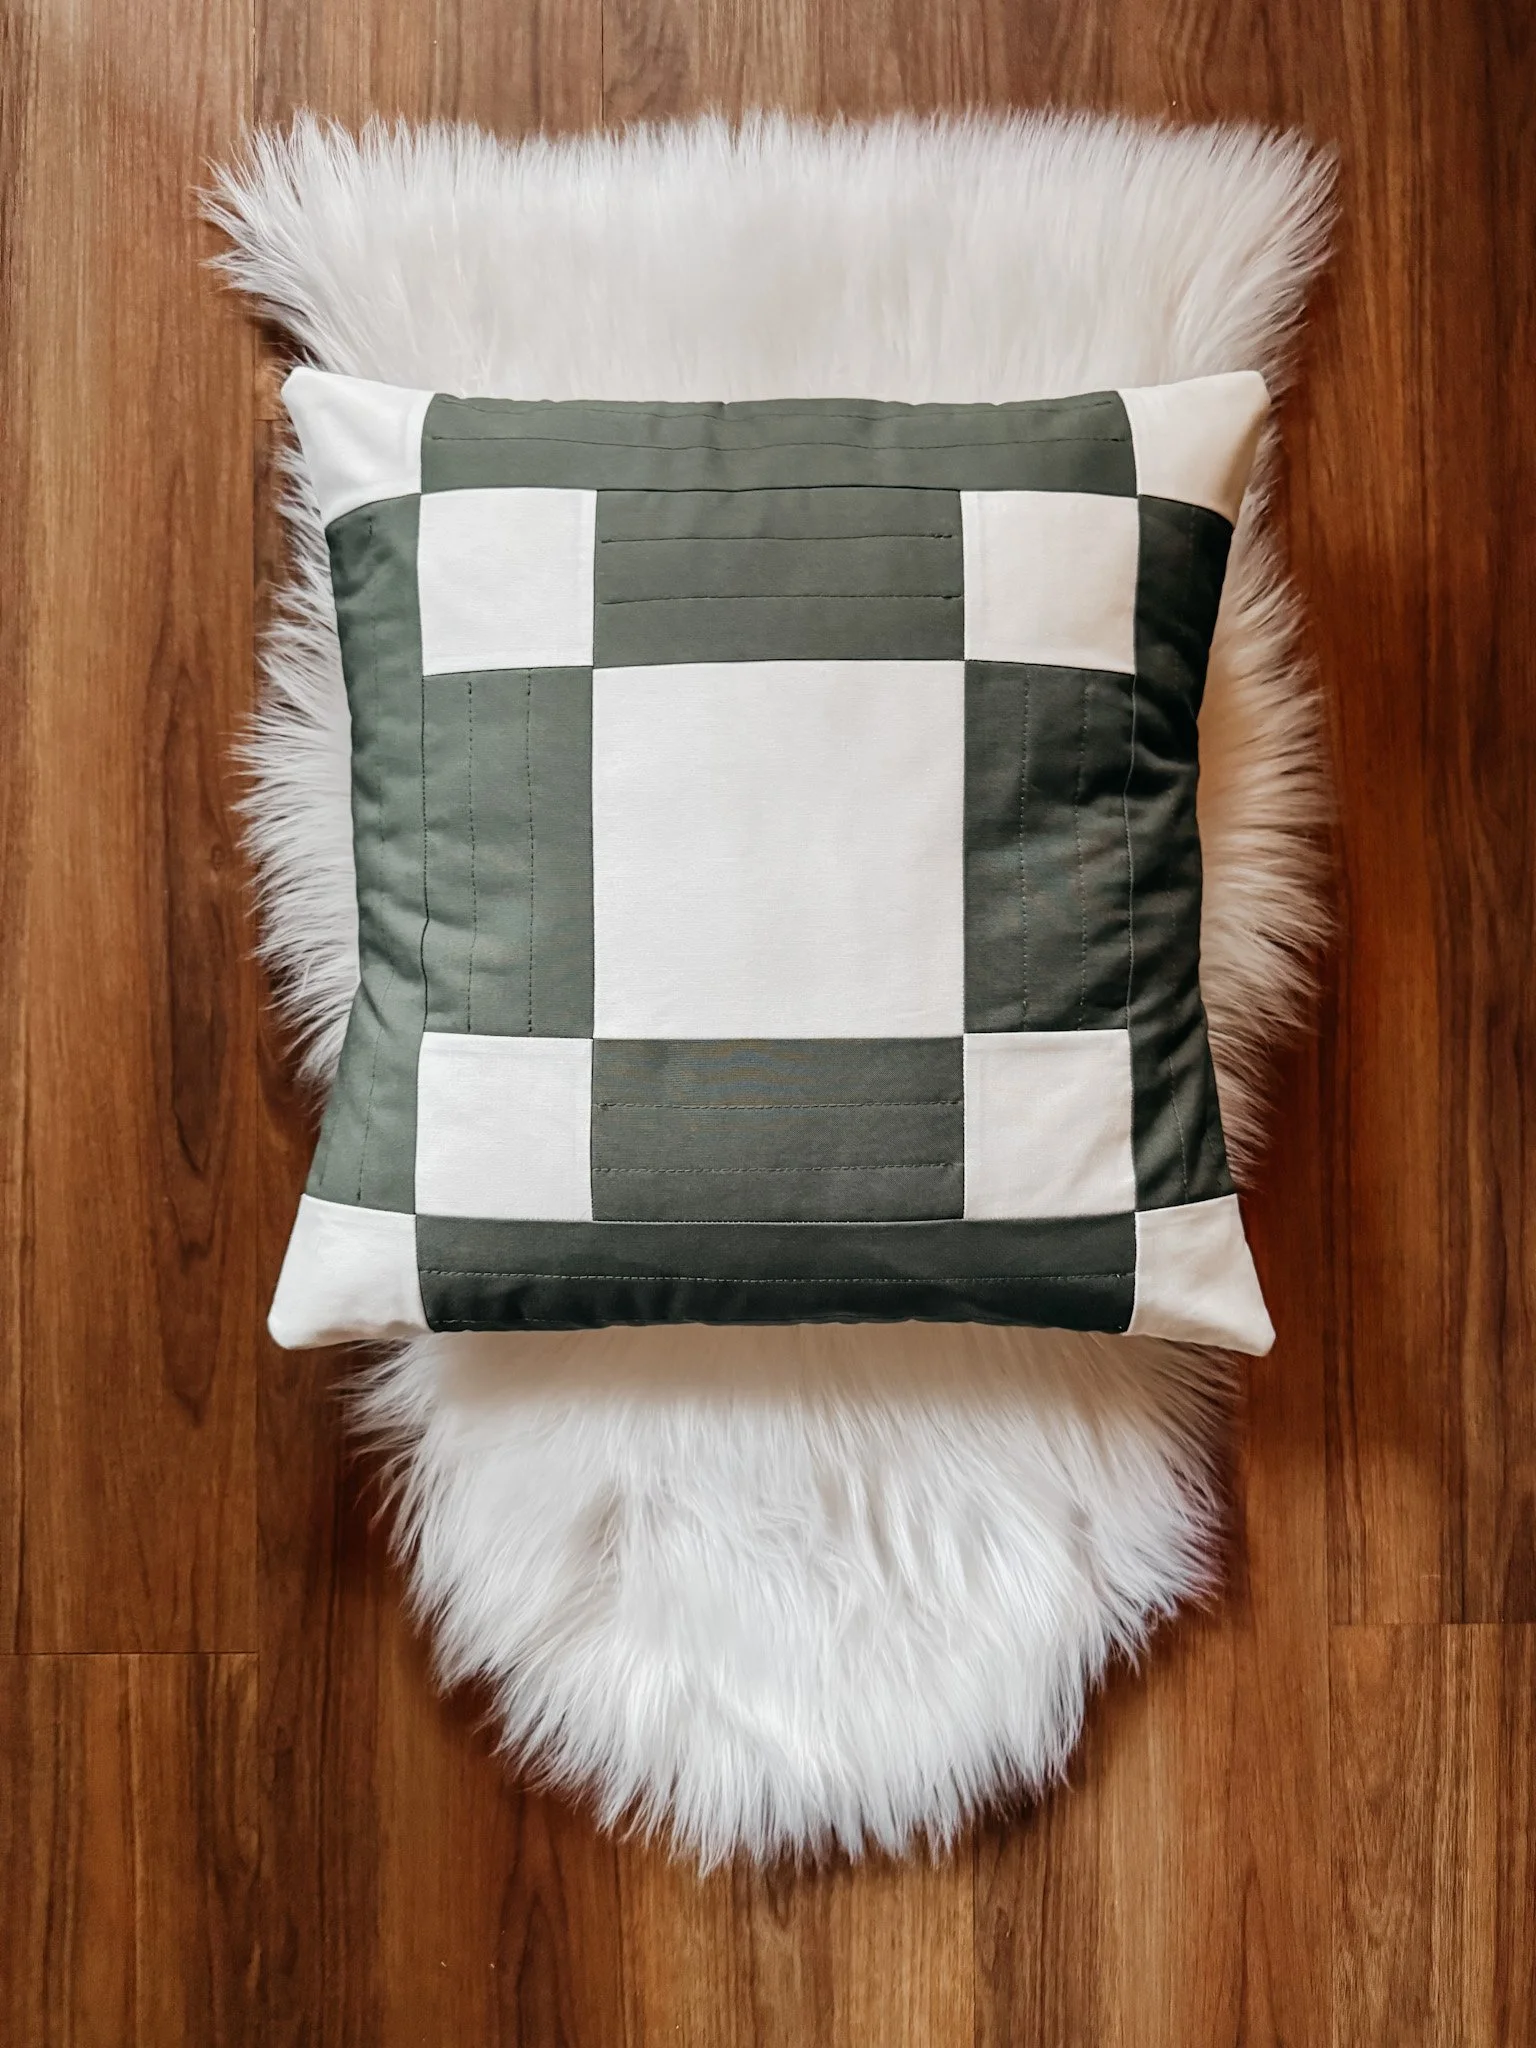
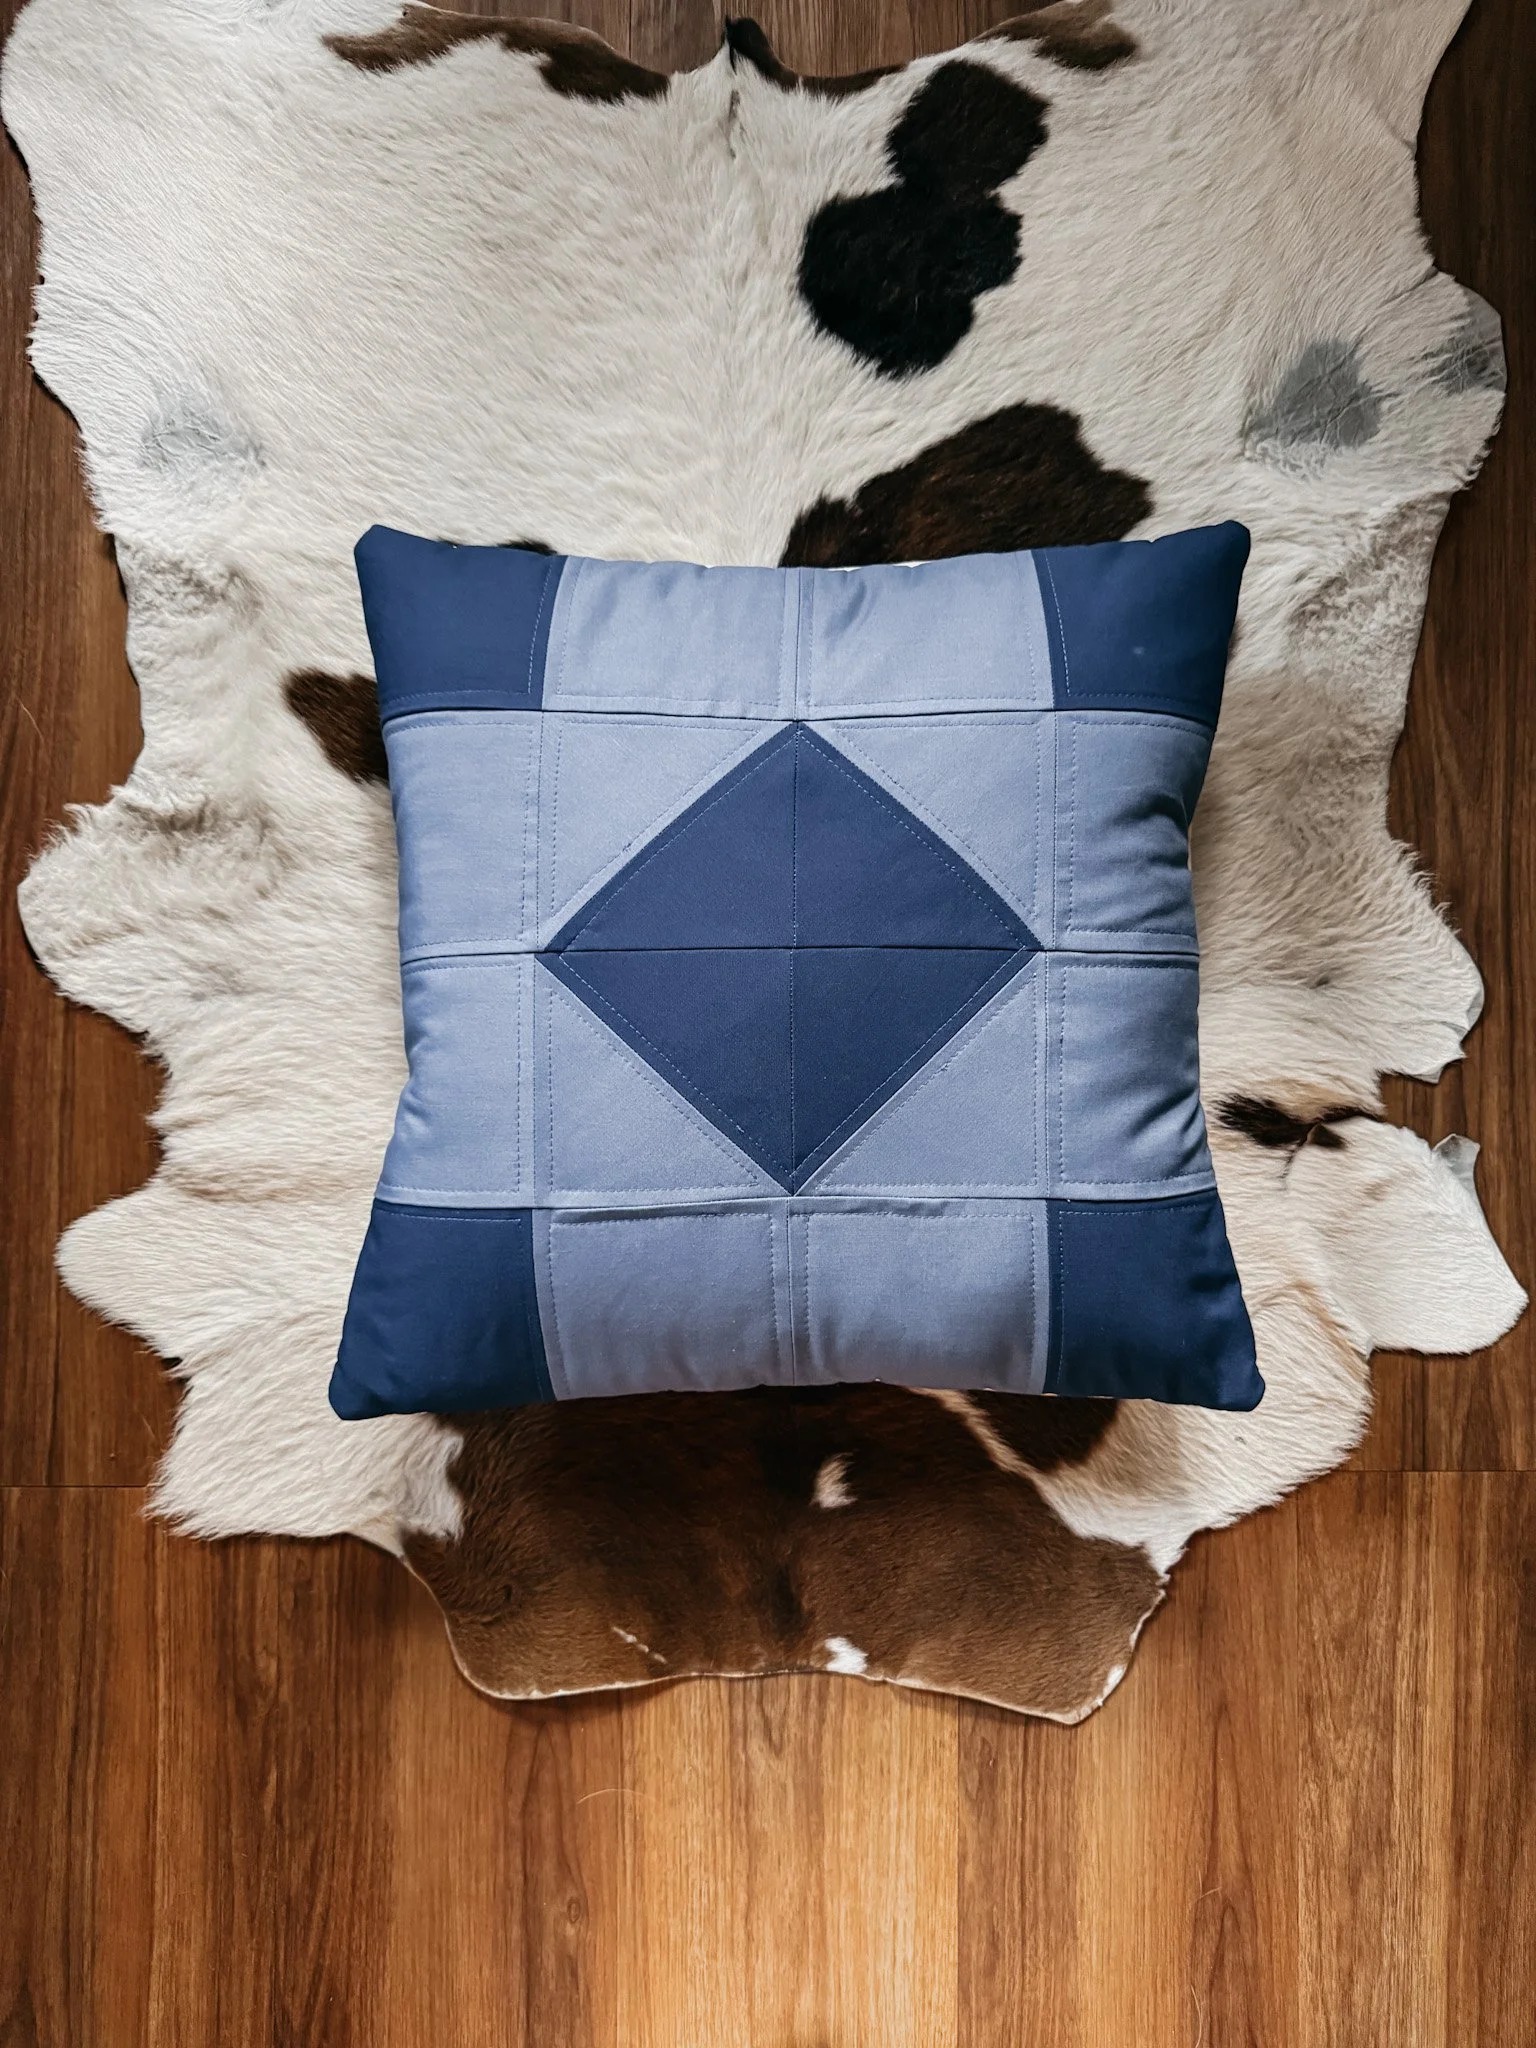
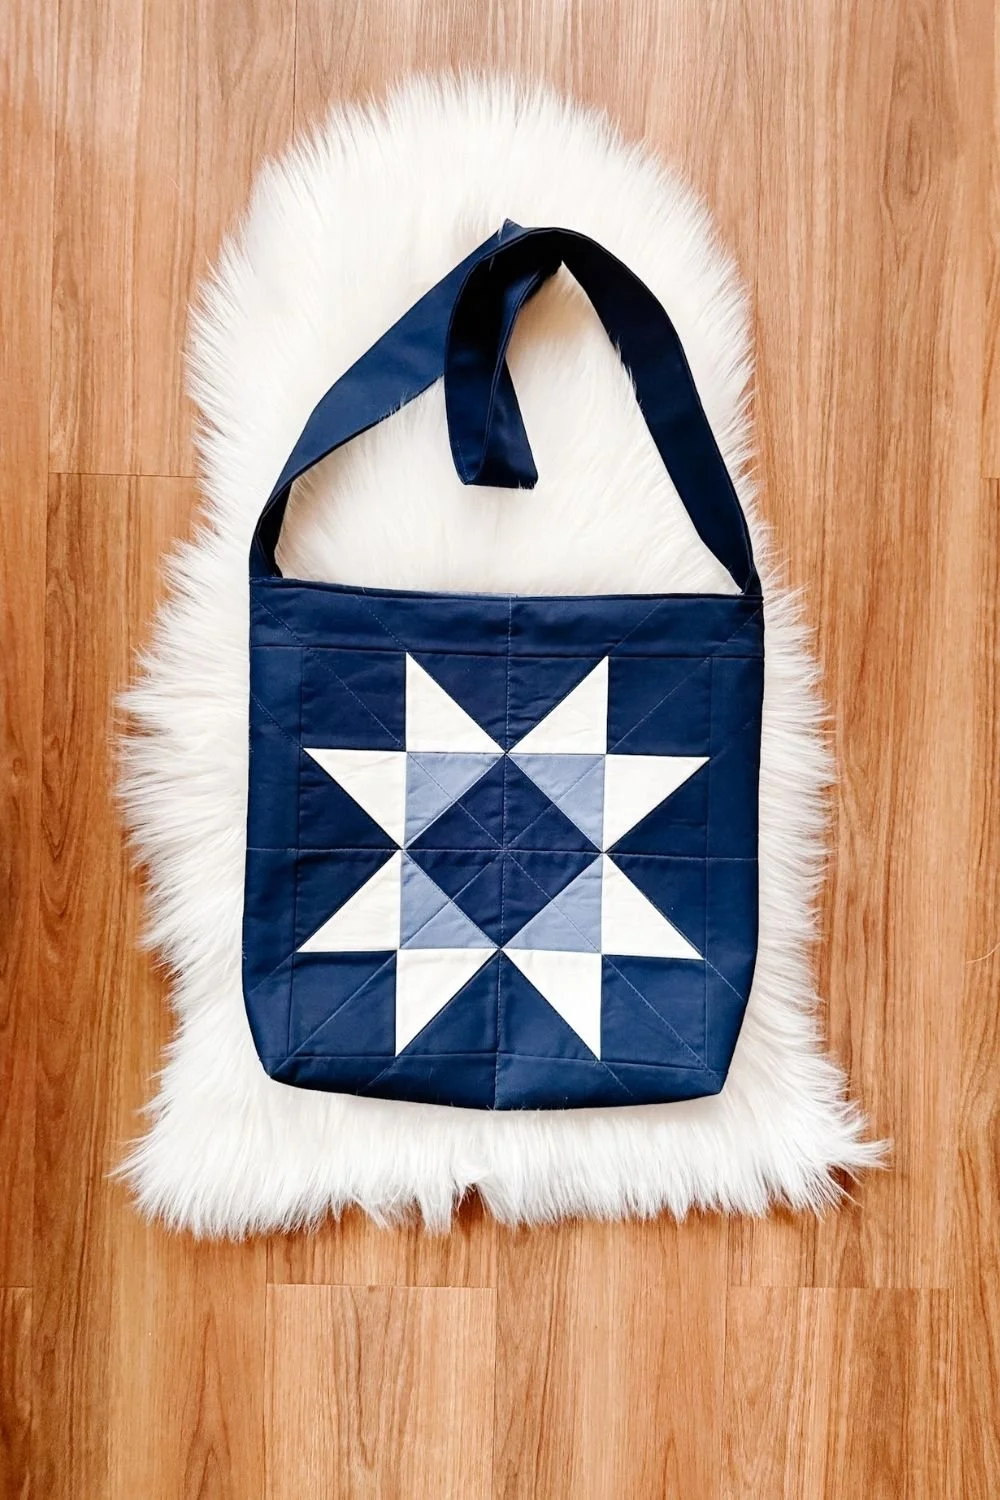
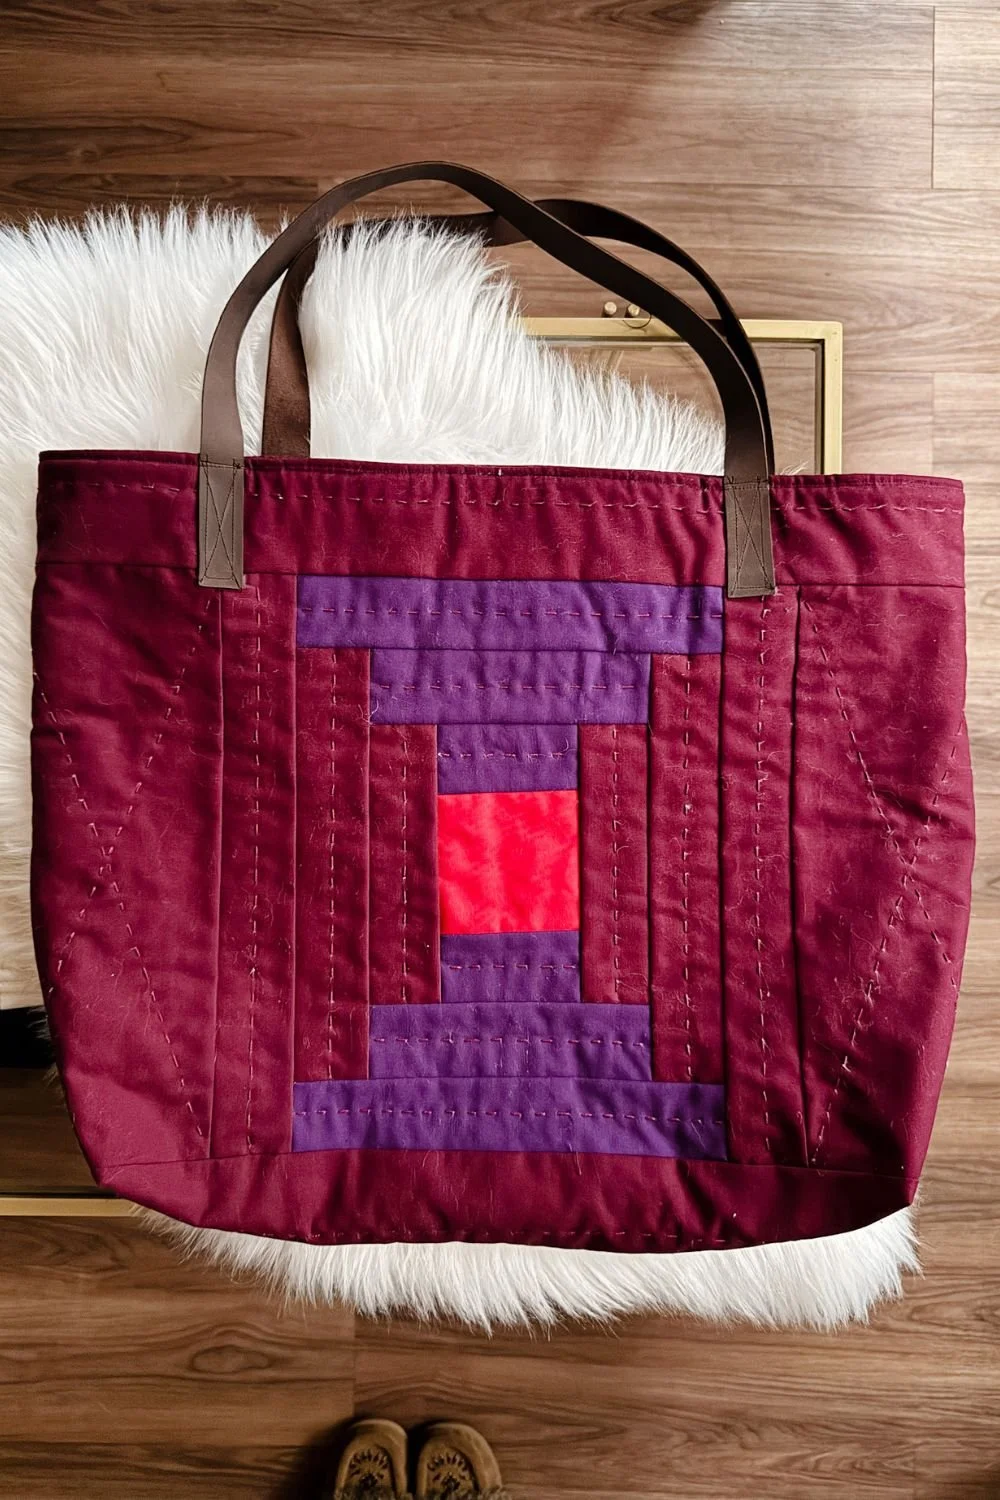
Sample Block: Try Your First Four-Patch or Nine-Patch
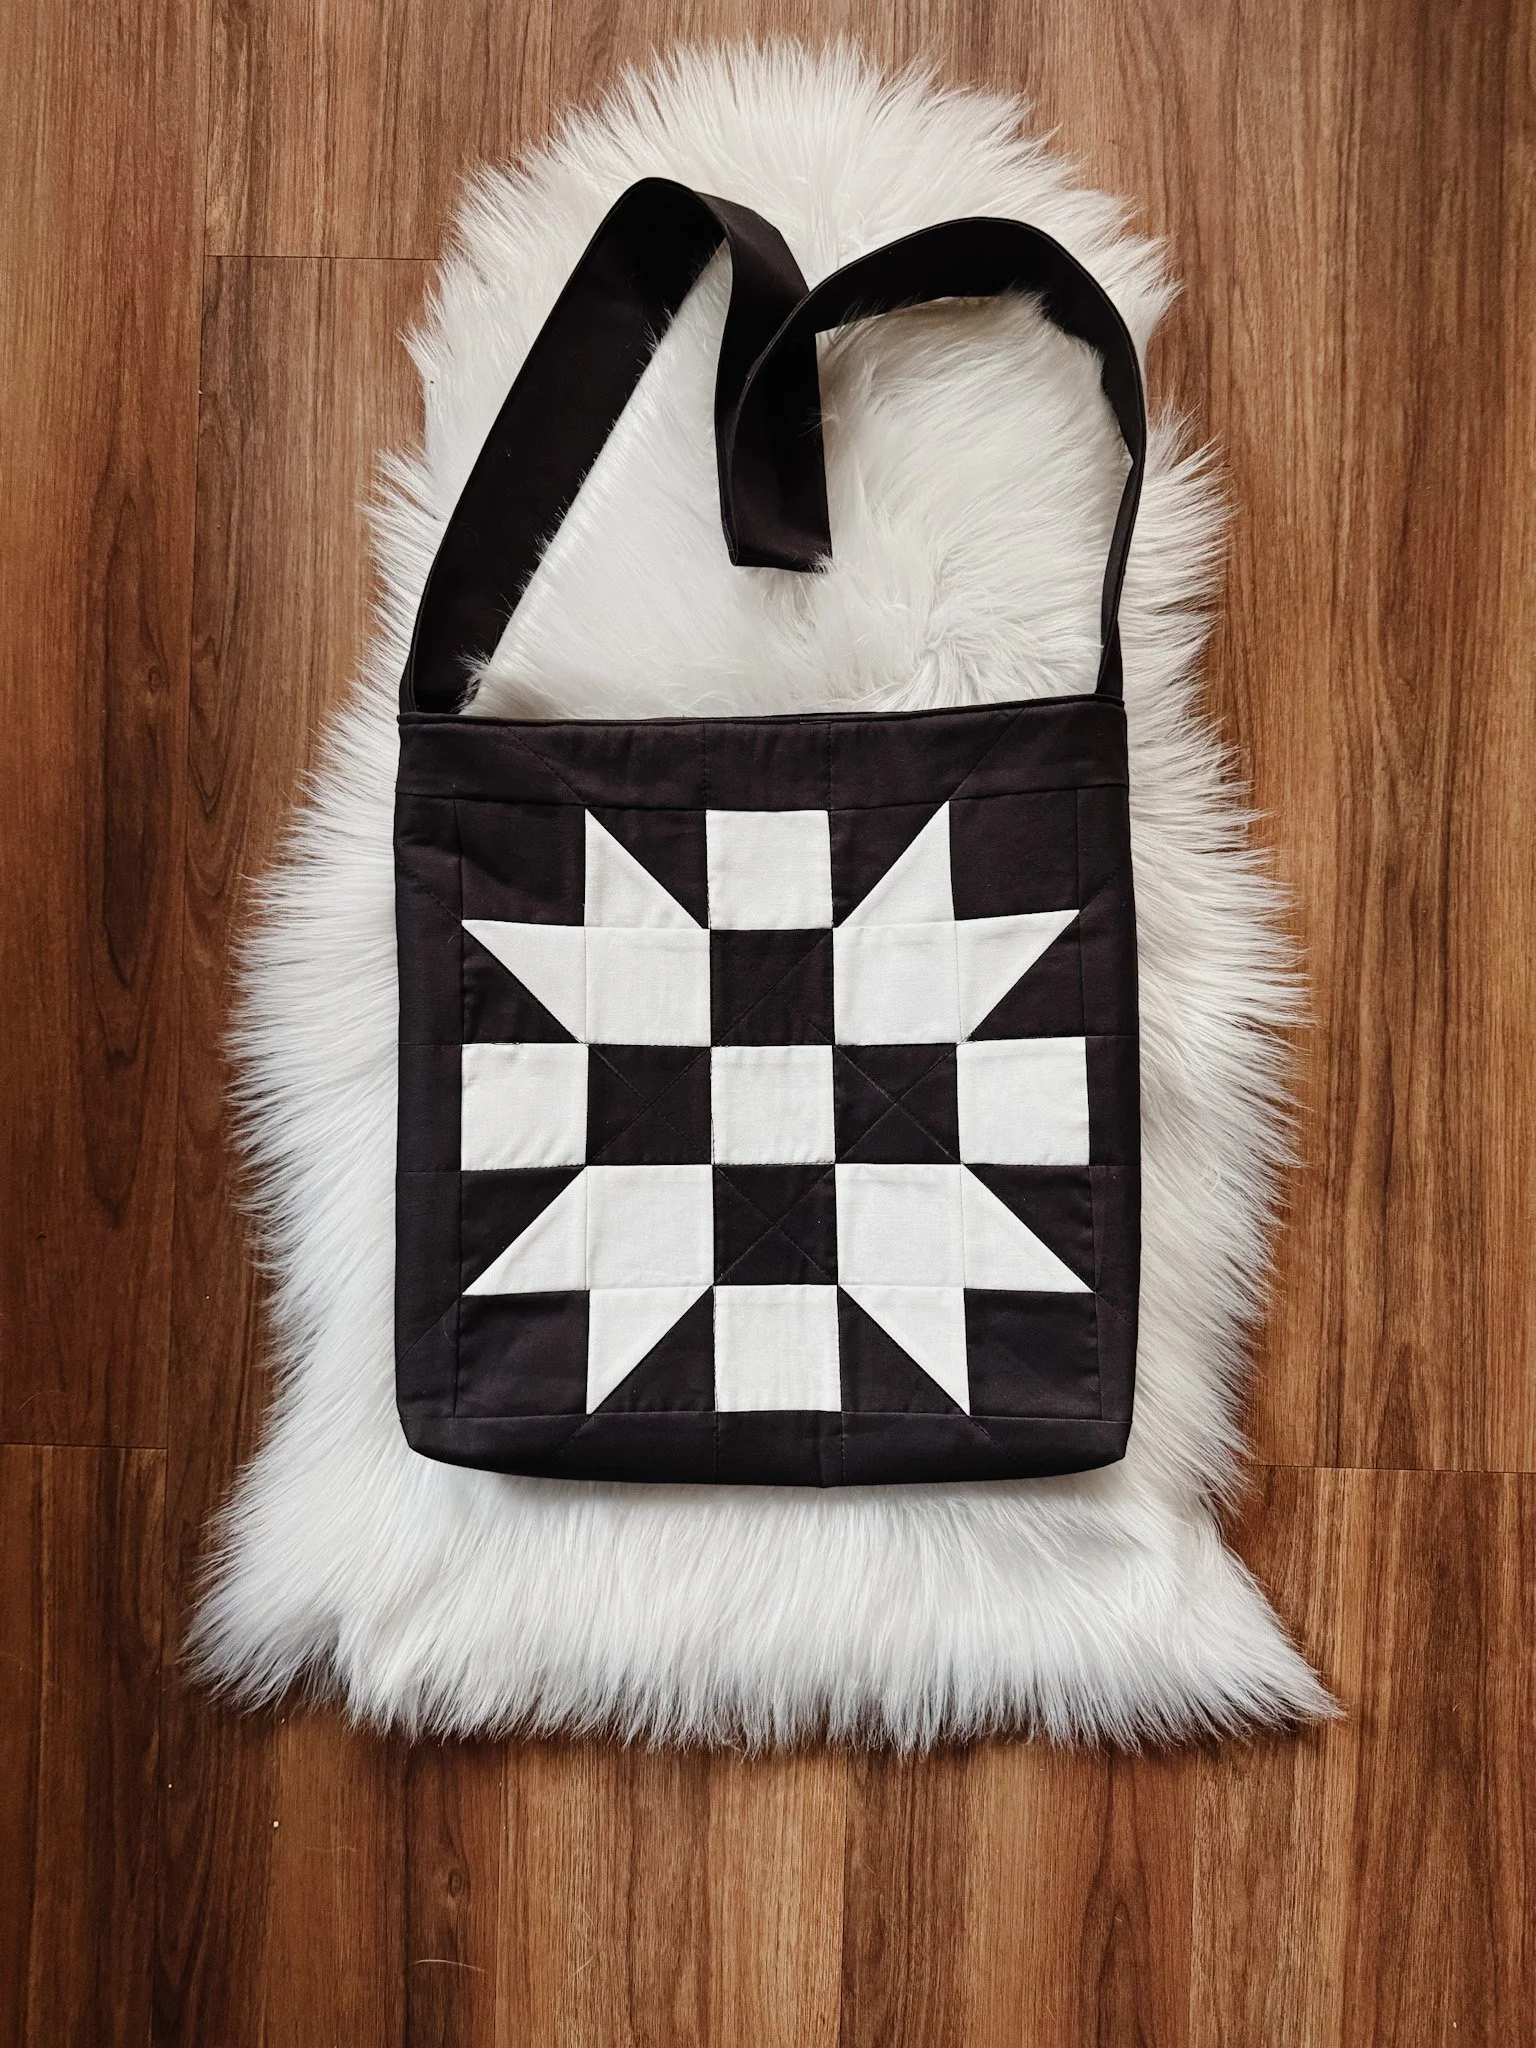
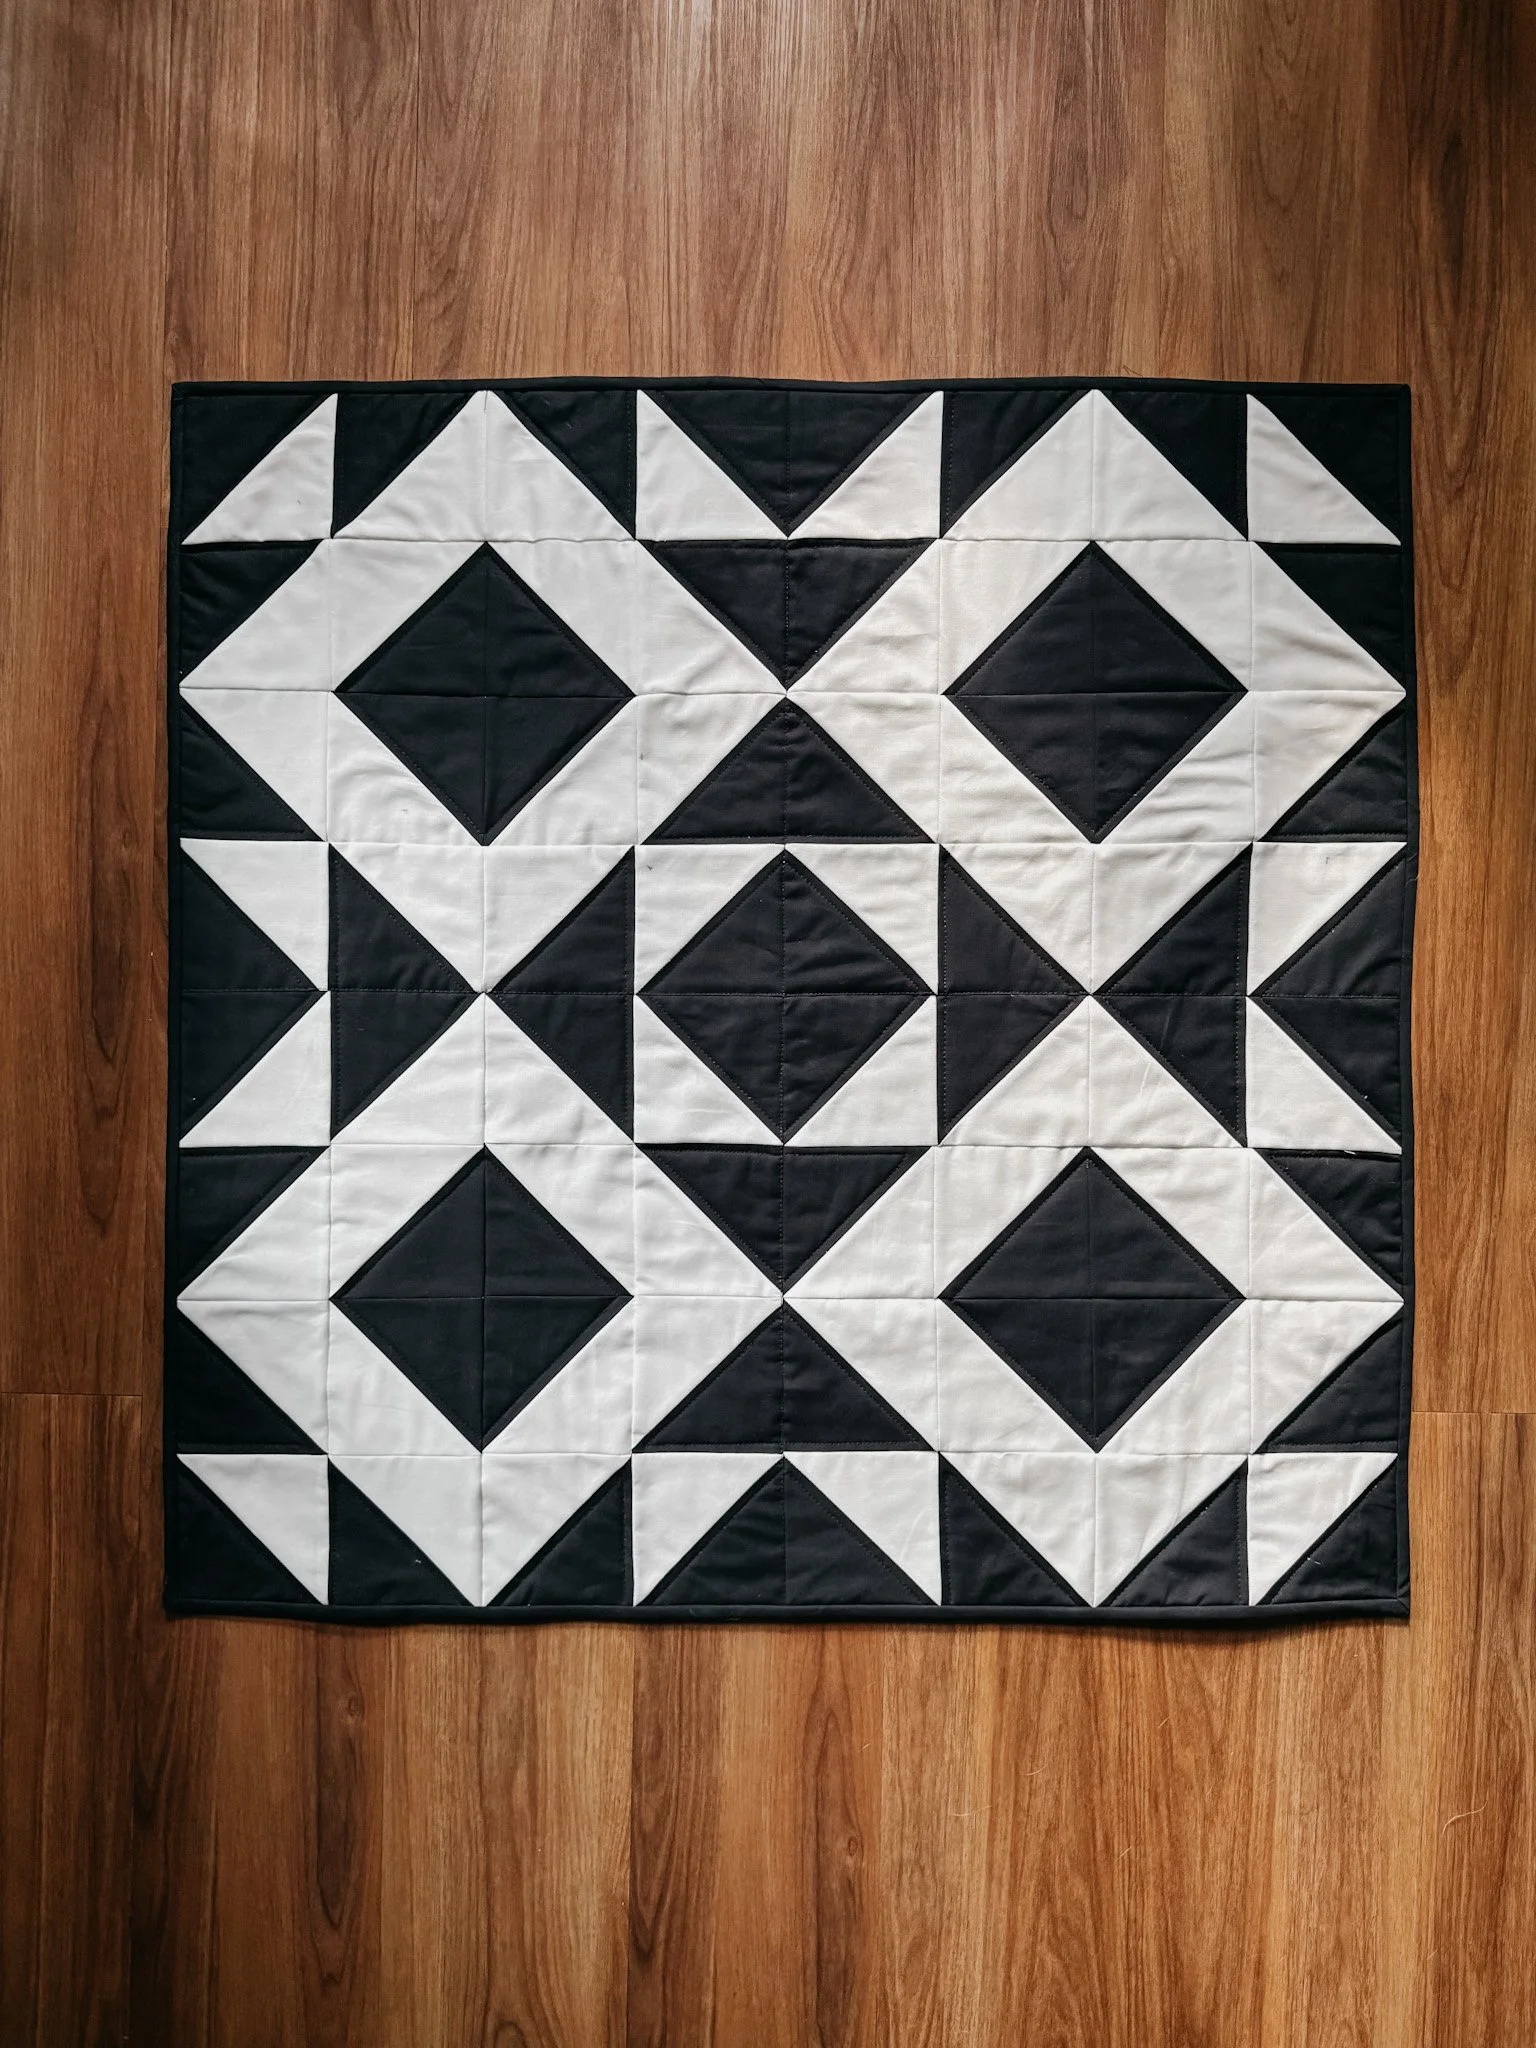
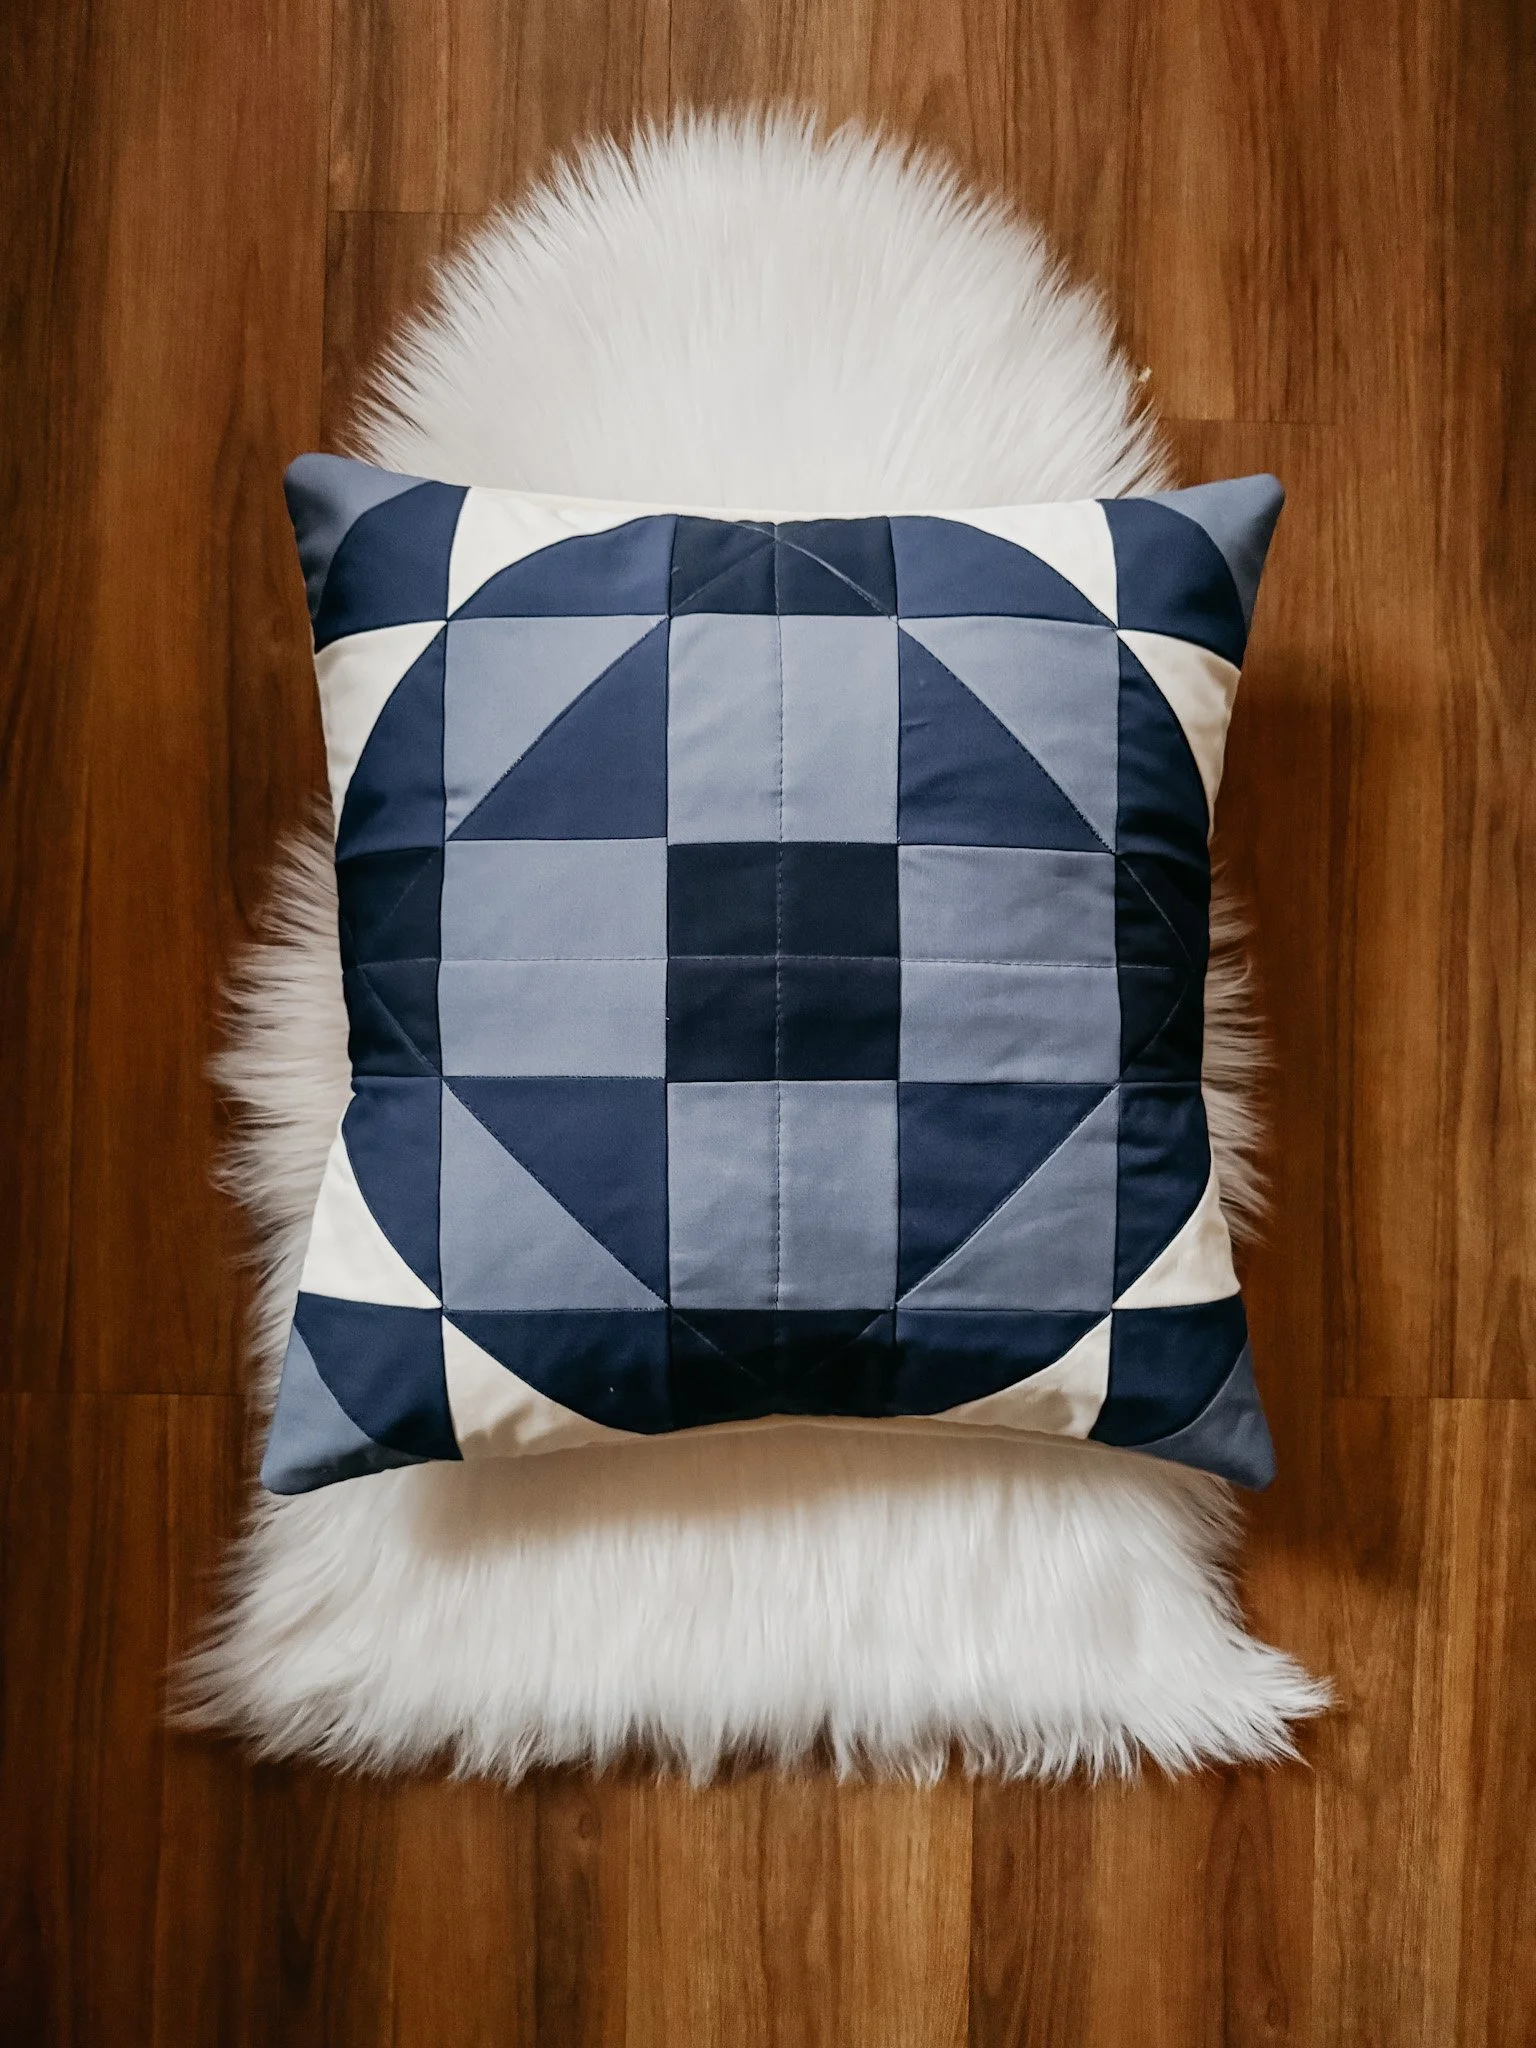
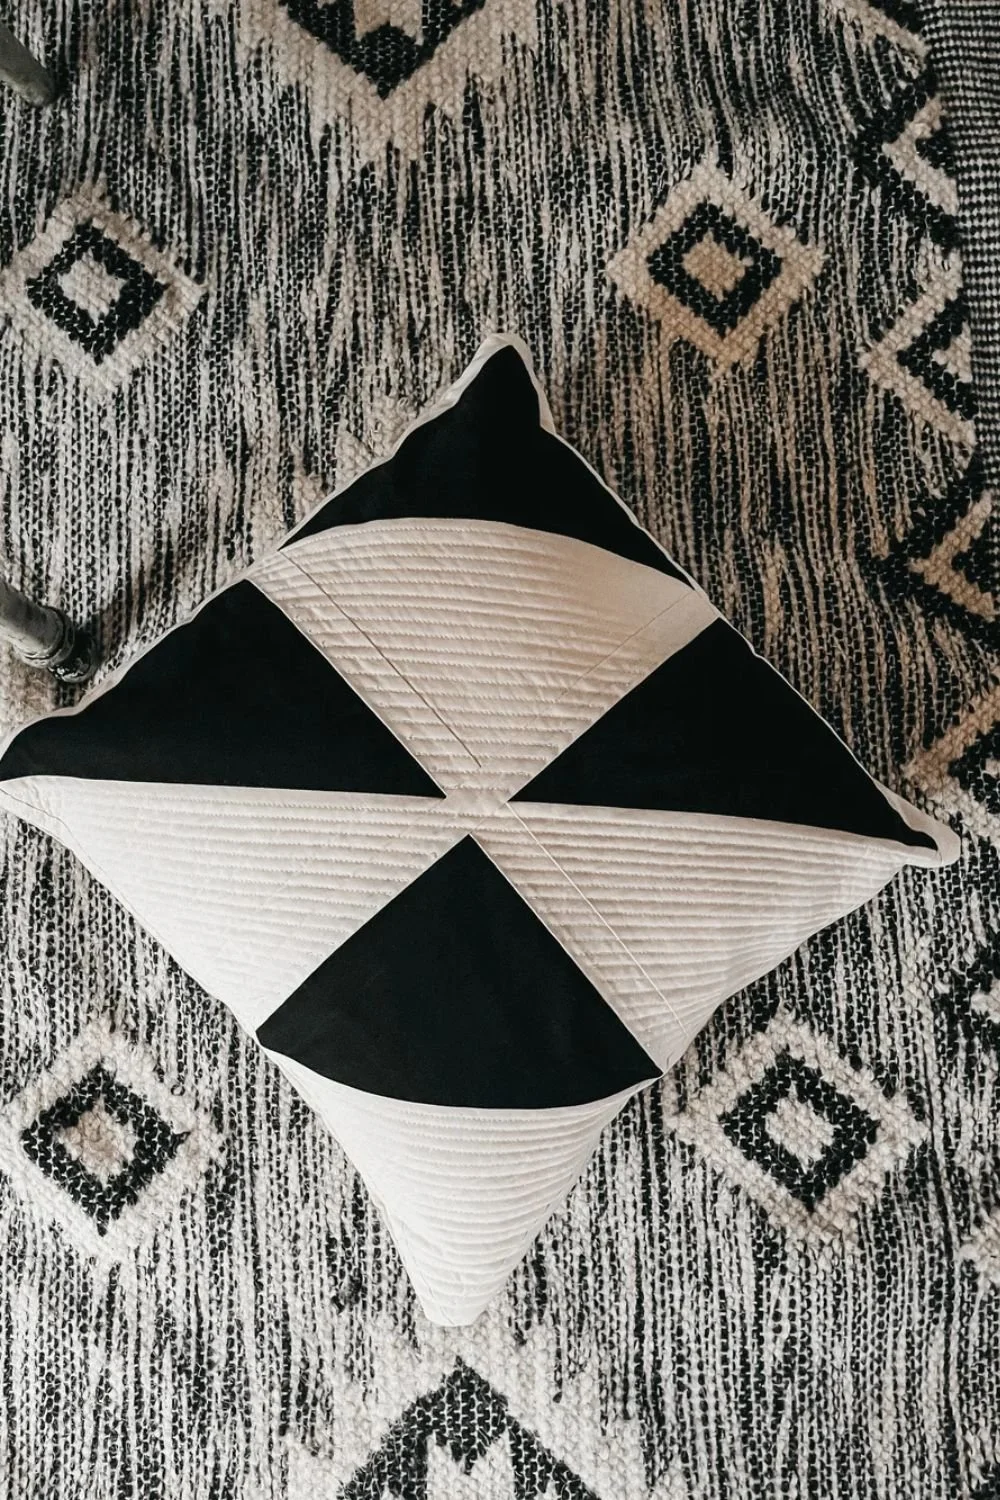
If this is your first rodeo, start with something classic and simple—like a Four-Patch or Nine-Patch like my beginner friendly Cabot Patch Pattern shown below.. These blocks are just squares sewn together, and they’re forgiving in the best way. They let you practice matching seams and keeping your piecing tidy without overthinking it.
Lay out your pieces first (I always do), then sew them into rows. Press the seams, then join the rows. Before you know it, you'll be holding a real quilt block in your hands.
And that first one? Go ahead and frame it if you want. It’s a keepsake.
my fave quilting tools
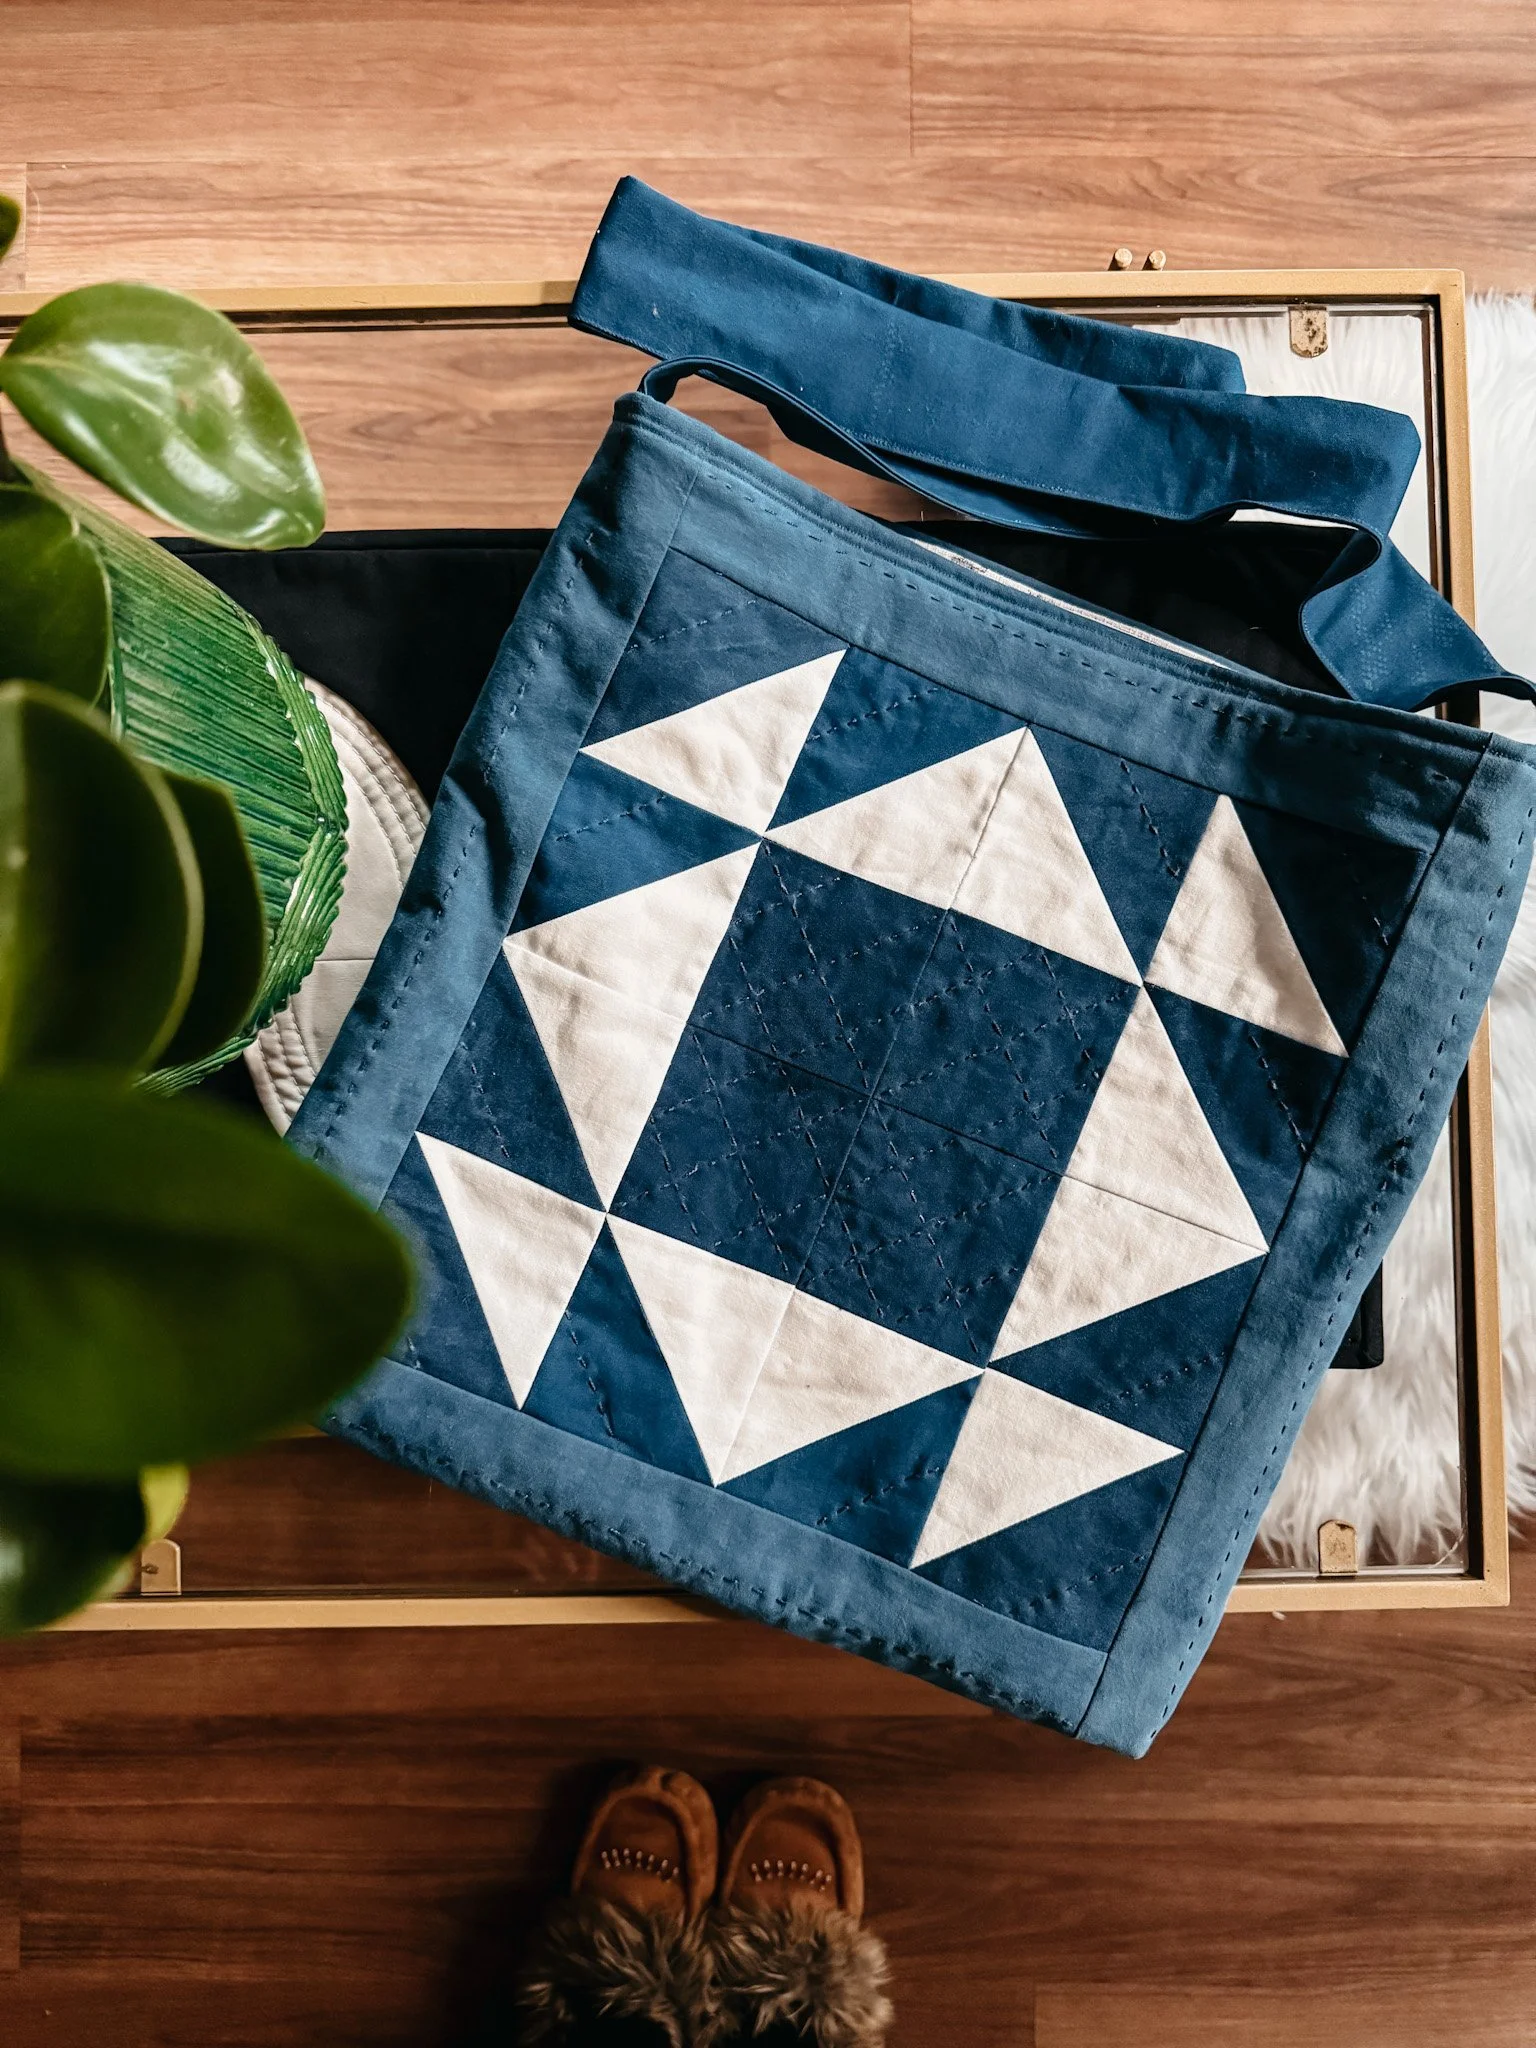
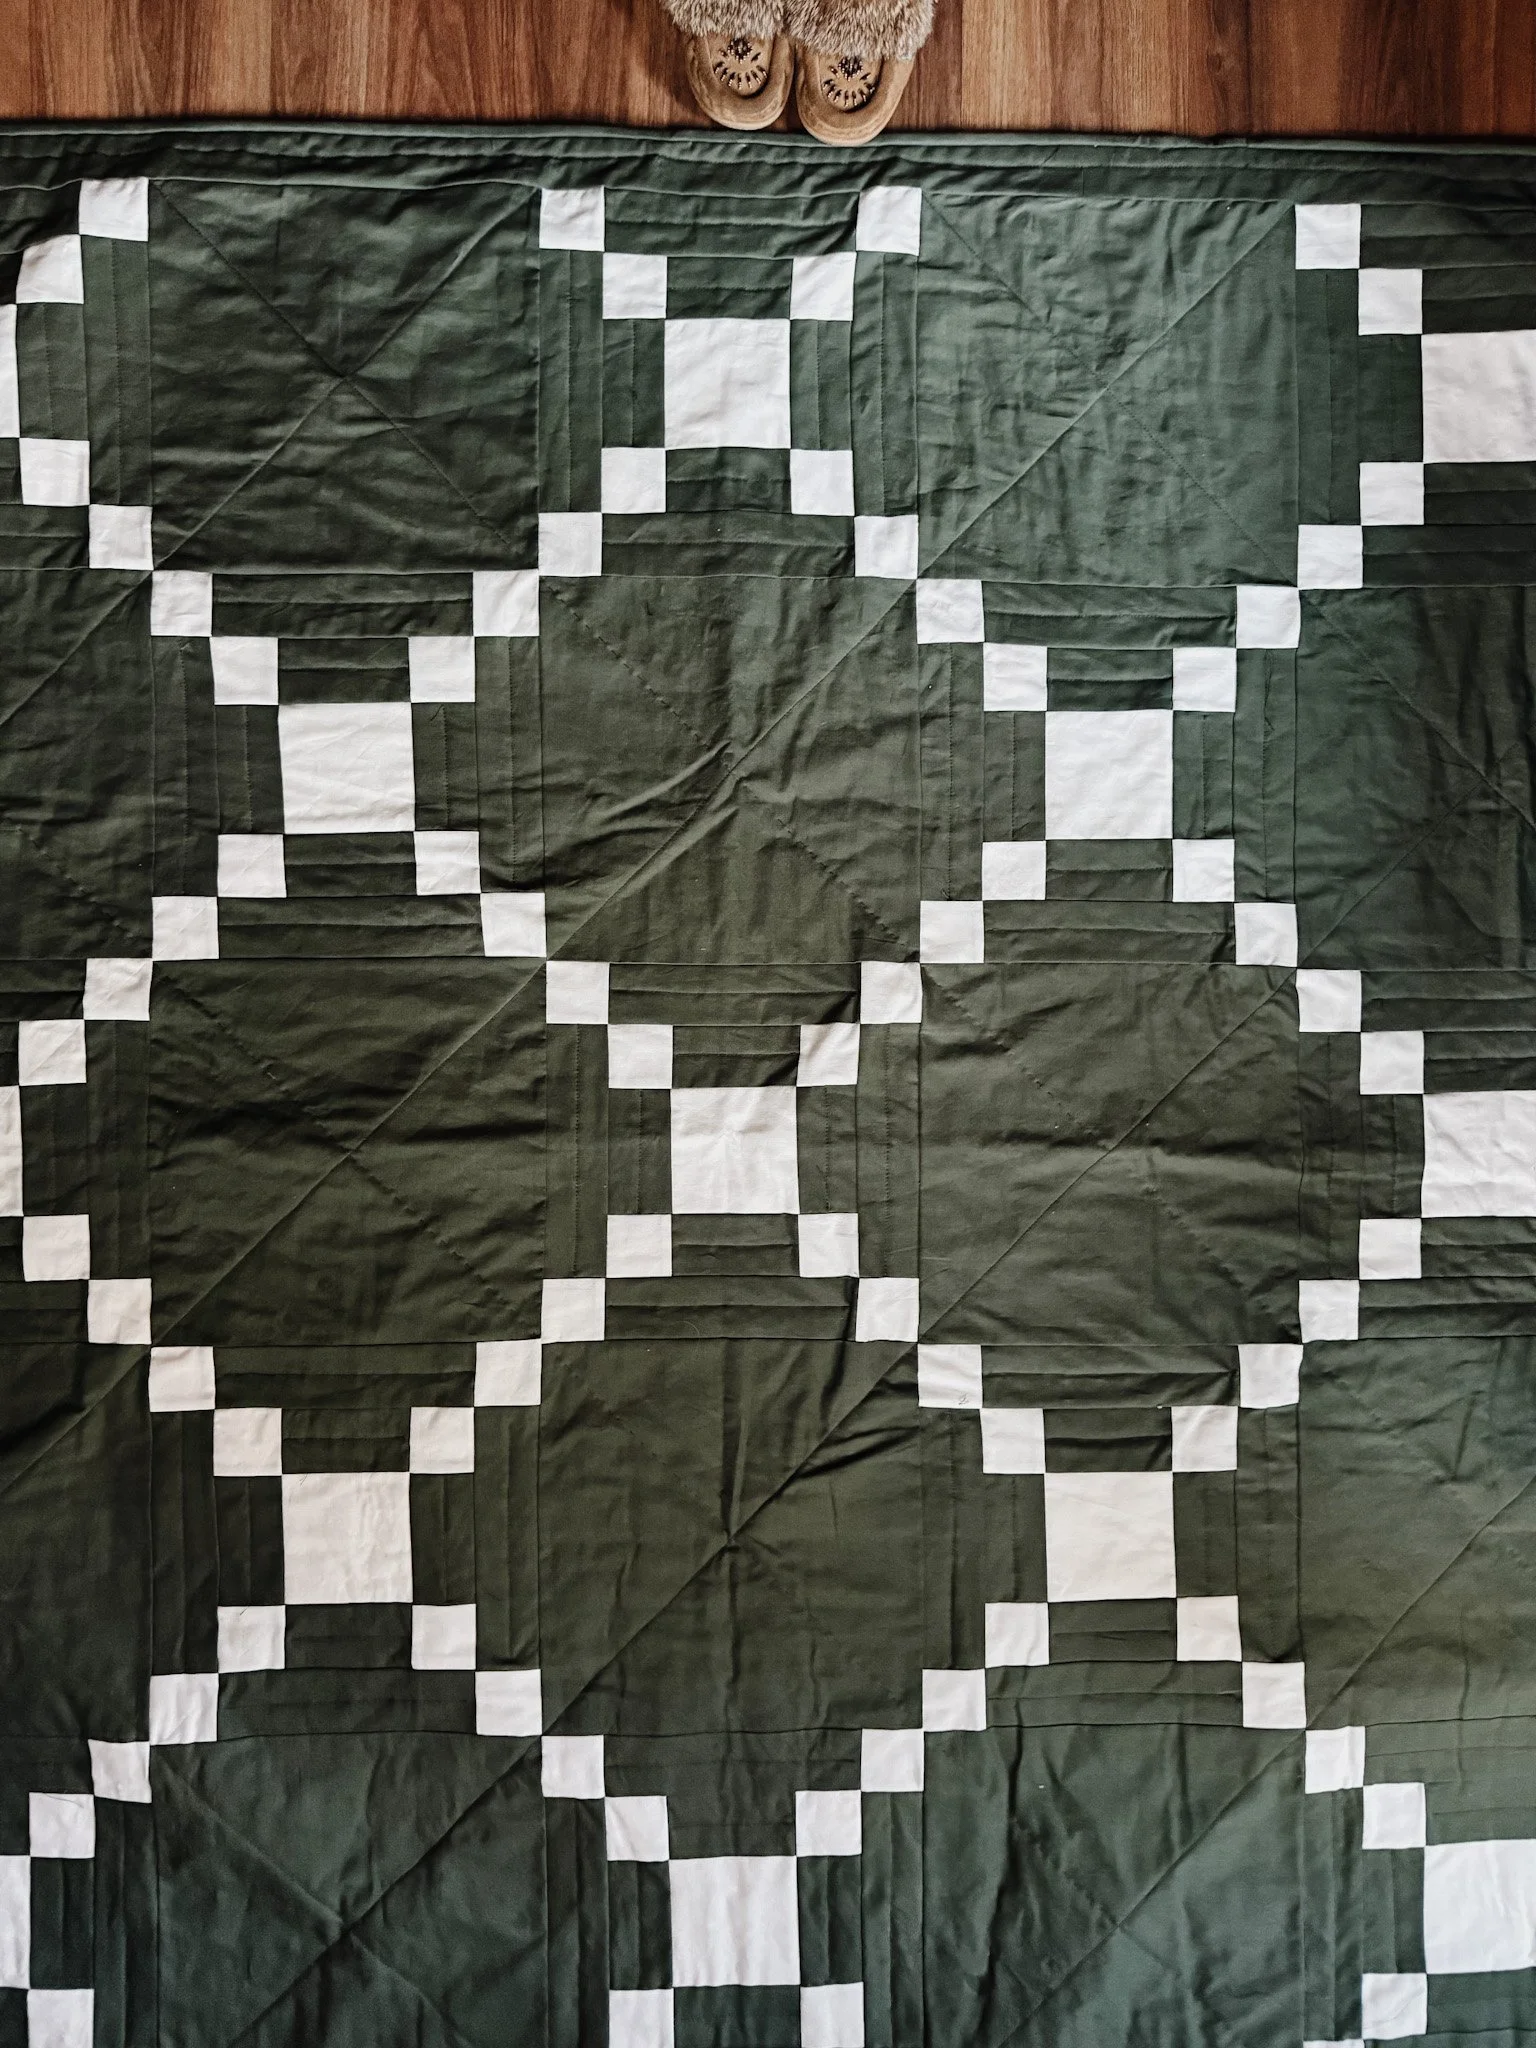
Downloadable PDF pattern to make a patchwork baby quilt using traditional piecing.
Includes step-by-step instructions, diagrams, and cutting guidance for a smooth sewing process.
QUICK DETAILS
Format: Digital PDF download (no physical item shipped)
Skill level: Confident Beginner
Finished size: 41¼" x 41¼"
Techniques: Traditional patchwork piecing, row assembly, quilt finishing
Includes: Instructions, diagrams, cutting chart, layout, finishing steps
Assumptions: ¼" seam allowance, 42" usable WOF
ABOUT THE PATTERN
Cabot Patch is a quilt pattern designed to guide you through creating a clean, structured quilt top using simple patchwork piecing.
The instructions are clear and practical, with a focus on helping you move through the process without confusion.
The finished quilt is a versatile baby-size project that also works beautifully as a wall hanging, play mat, lap quilt, or thoughtful handmade gift.
SKILL LEVEL
Confident Beginner
→ Straightforward construction with clear steps
→ Repeating patchwork blocks
→ No Y-seams
→ No paper piecing
→ Great project for building piecing accuracy
This pattern assumes you have basic quilting knowledge. For a tutorial on how to quilt, watch this tutorial here: https://www.exshawquilts.com/blog/how-to-make-your-first-quilt-easy-steps-for-beginners
FINISHED SIZE
→ 41¼" x 41¼"
WHAT YOU’LL RECEIVE
→ Step-by-step written instructions
→ Cutting charts
→ Diagrams and layout guide
→ Construction and finishing steps
→ Printer-friendly PDF
DESIGN FEATURES
→ Clean, structured layout
→ Bold patchwork blocks with strong visual contrast
→ Works beautifully with solids or coordinated prints
→ Great for baby gifting, nursery decor, or everyday home use
CONSTRUCTION & TECHNIQUES
→ Traditional piecing
→ Patchwork block construction
→ Straight seams throughout
→ Row-by-row assembly
→ Assumes ¼" seam allowance
→ Assumes 42" usable WOF
MATERIALS
→ Quilting cotton
→ Batting
→ Thread
→ Rotary cutter, ruler, mat
→ Sewing machine and basic quilting tools
(Full requirements and cutting details included in pattern)
DELIVERY
📥 DIGITAL DOWNLOAD (PDF)
No physical item will be shipped
Instant access after Etsy checkout
USAGE & LICENSING
For personal, non-commercial use only
Items made from this pattern may not be sold
Pattern may not be shared, copied, or redistributed
SUPPORT
Questions while sewing? I’m happy to help
• Website: exshawquilts.com
• YouTube: youtube.com/@exshawquilts
• Email: hello@exshawquilts.com
SHARE YOUR MAKE
Tag @exshaw and use #EXSHAWQUILTS
Tips to Stay Accurate and Consistent
When it comes to hand piecing, accuracy is everything—but that doesn’t mean it has to be fussy. Think of it more like a gentle rhythm, a habit your hands settle into over time. These tips will help you stay steady and confident as you stitch.
Aim for even stitches—around 1/8" each.
Small, consistent stitches are your best friend here. They’ll help your seams lay flatter and make your quilt more durable over time. Don’t worry if every stitch isn’t perfect—consistency is more important than perfection. I like to count my needle dips as I go, just to keep a steady rhythm.
Mark your seam lines before you sew.
Here’s a simple trick that makes a big difference: use a fine fabric pen or pencil to draw a ¼" seam allowance on both pieces before stitching. Then sew directly on those lines. It may take a little longer, but it’s worth it—your blocks will fit together beautifully, and you won’t be second-guessing as you go.
Joining points? Take your time.
When two seams meet—like in the center of a four-patch—you want them to kiss, not clash. Try this: nest your seams gently, use a pin or clip to hold the alignment, and sew slowly across the intersection. If it’s not perfect the first time, that’s okay. A tiny unpick and a redo is part of the process.
Use light starch or finger pressing to tame your seams.
A little prep goes a long way. I prefer a light starch (nothing heavy or crispy) to give the fabric a bit more structure—especially when I’m working with looser weaves or vintage fabrics. If you’re stitching on the go, finger pressing works just fine, too. Just press each seam open or to one side as you go to keep things neat and tidy.
my fave quilting toolsTroubleshooting Common Beginner Mistakes
Let’s be honest—quilting by hand is part craft, part conversation with your fabric. It’s normal for things to go a little wonky as you learn. That’s how we grow. So if your seams are wandering or your blocks don’t quite line up? You’re not alone—and it’s fixable. Here’s how to smooth things out:
Crooked seams? Here’s how to nudge them back in line.
If your stitches start to drift like a canoe on a windy lake, pause and check your seam guide. A washable fabric marker or chalk line can help you stay on track. You can also mark a ¼″ seam line on the back of each piece—it takes a bit of time, but it builds muscle memory. If a seam veers off, no shame in unpicking a few stitches and trying again.
Fabric fraying or puckering? Let’s tame it.
Fraying usually means your fabric edges are being handled a lot before they’re stitched. Try starching your fabric lightly before cutting to give it more body. For puckering, the culprit is often tension—either your stitches are too tight or your fabric was stretched as you sewed. Relax your hands, take a breath, and let the fabric rest gently in your fingers.
Seam allowance drifting? This trick helps.
Use a seam guide (like washi tape or painter’s tape) on your cutting mat or ruler to remind you where that ¼″ mark is. Some quilters even trace all their seam lines ahead of time on the back of the fabric—especially when starting out. This takes the guesswork out and makes things feel more meditative than stressful.
Blocks not lining up? Here’s what to check.
First, lay your blocks out and measure. If they’re off by a smidge, you can ease them together with a little extra pinning or clipping. If they’re way off, revisit your cutting or trimming steps. Remember: consistency is key—not perfection. And even if they’re a little off? A finished quilt is still warmer than a perfect one sitting unfinished in a drawer.
Your First Quilt Project Idea
Let’s keep this simple and joyful—because your first quilt should feel like an invitation, not an obligation.
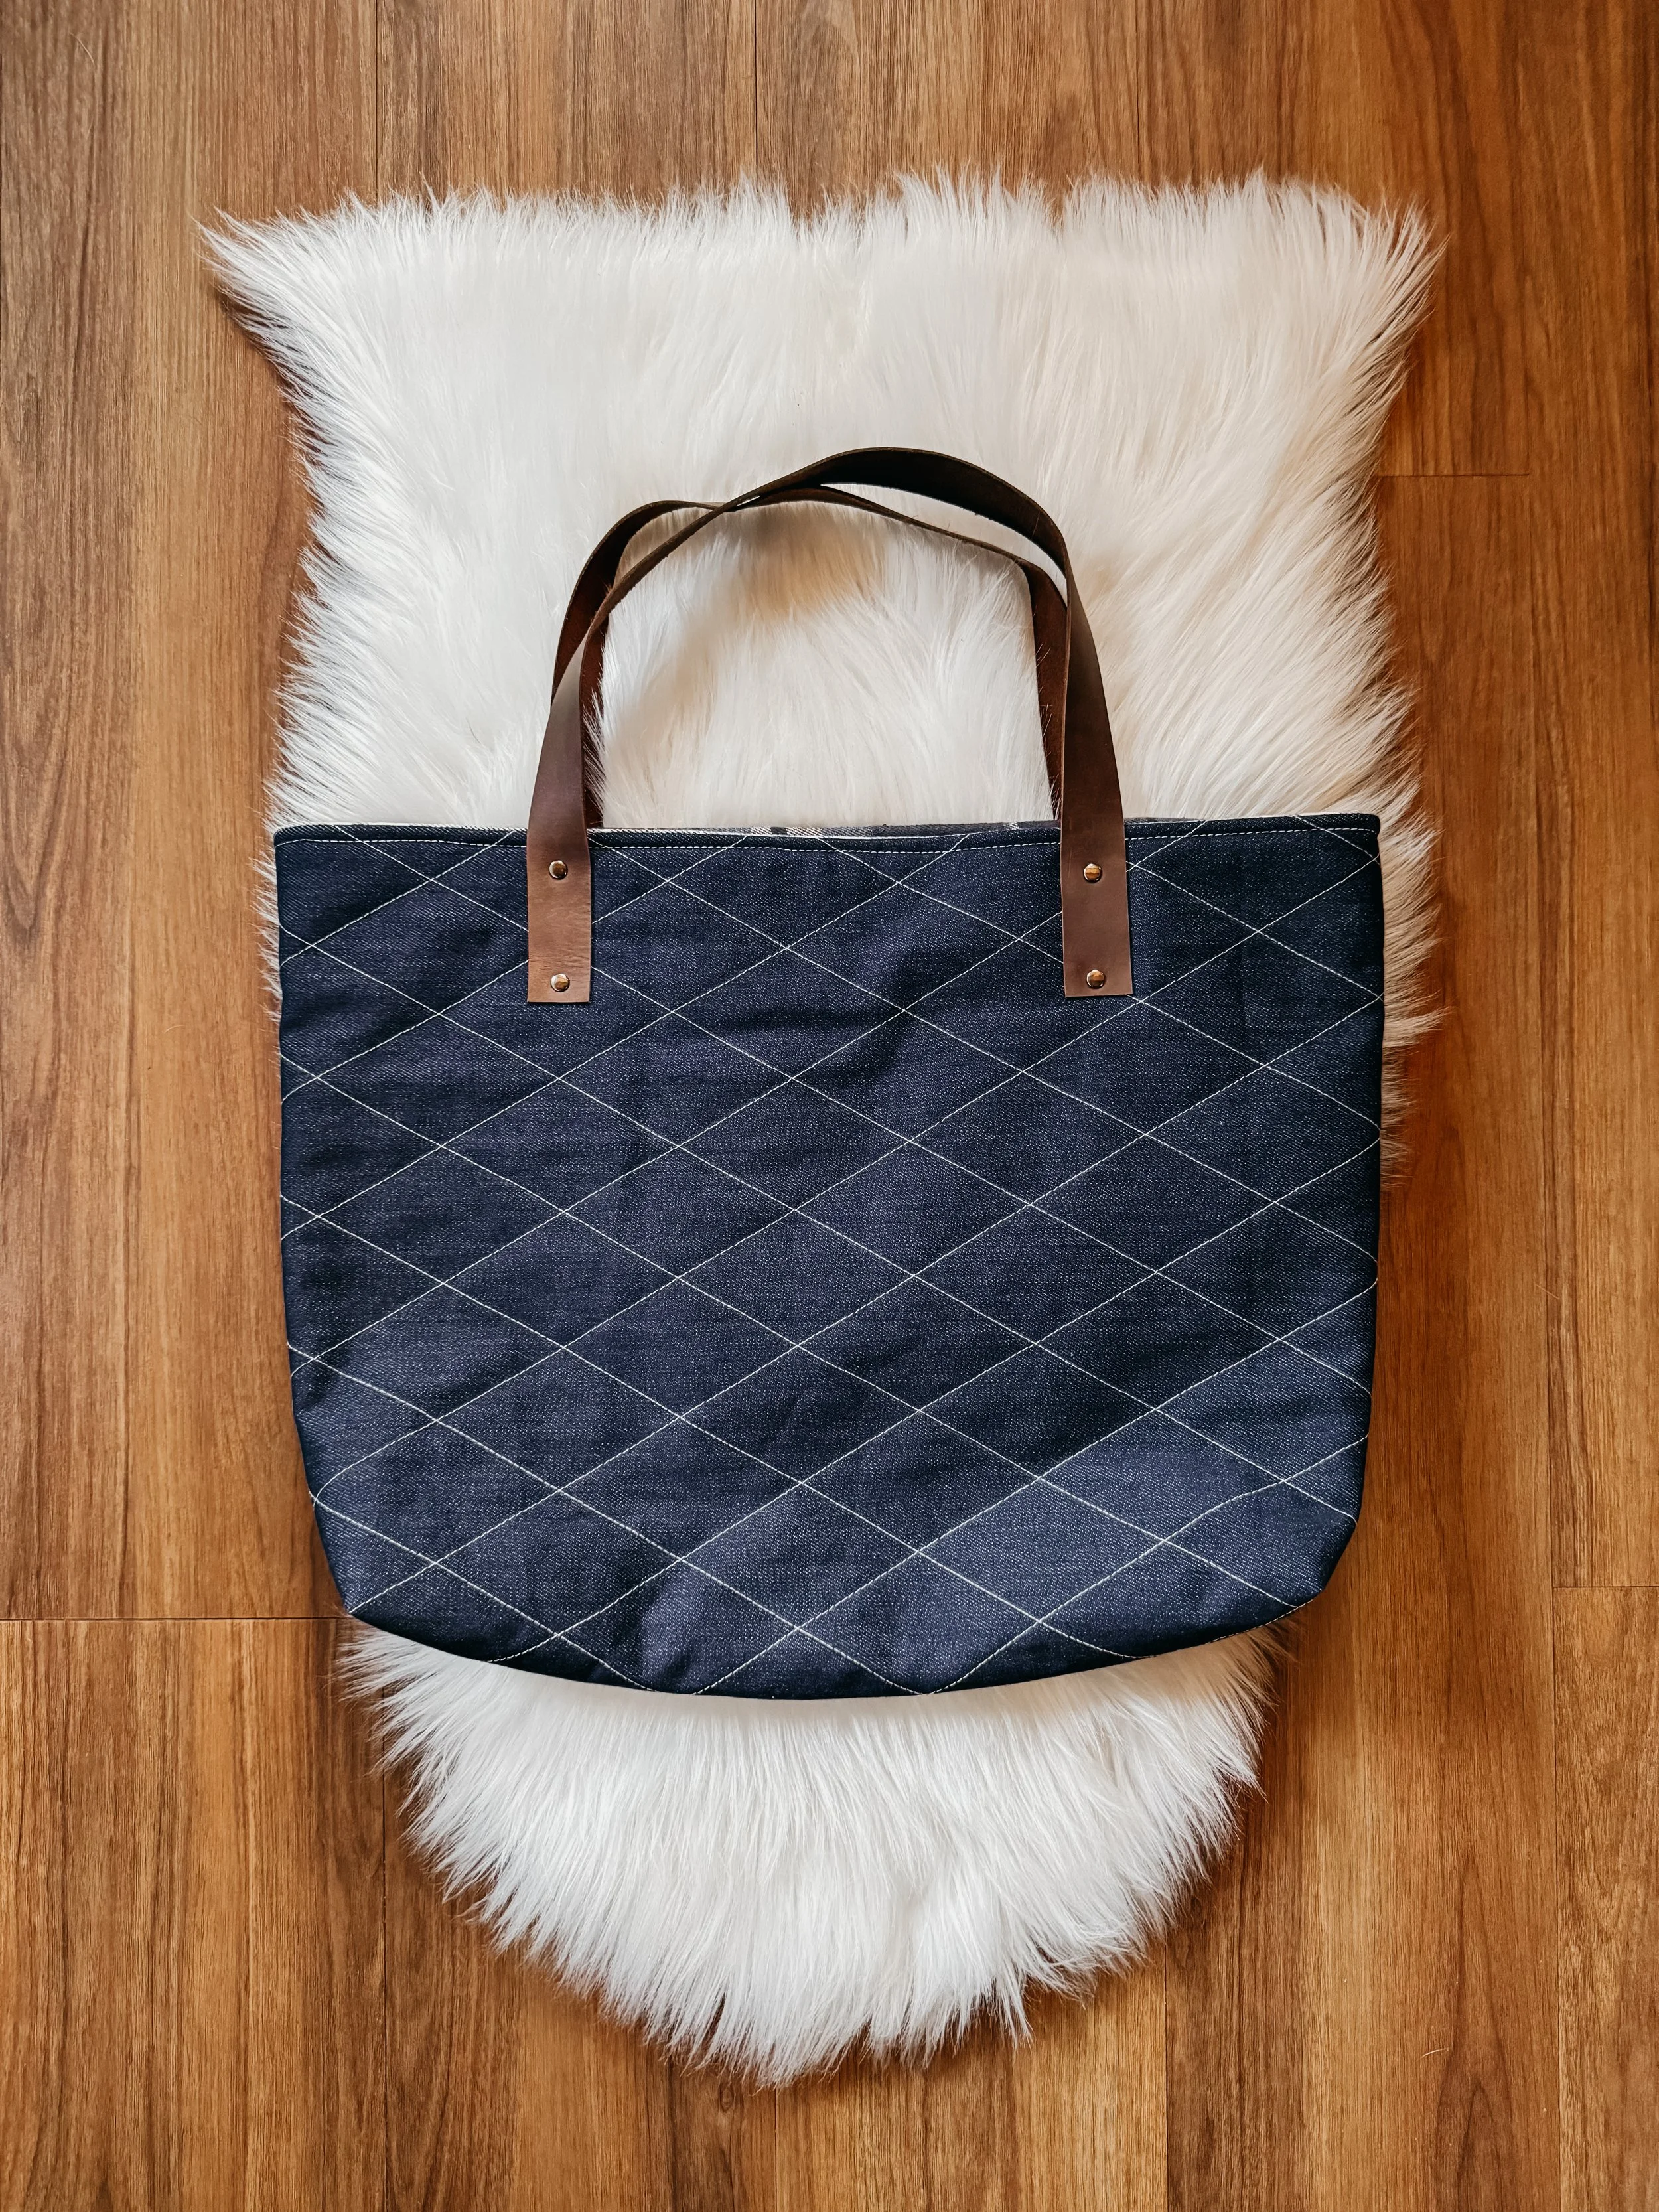
If you’re just getting started with hand piecing, small is beautiful. Think: a baby quilt to gift with love, a table runner to brighten your cabin table, or a mini sampler you can hang on the wall like a memory stitched into cloth.
You don’t need a hundred blocks to make something meaningful. Start with just a handful—maybe nine blocks for a cozy square piece, or twelve if you're feeling ambitious. The goal here isn’t perfection; it’s progress. It’s building confidence and muscle memory, one seam at a time.
Choose a project that makes your heart flutter a little. Pick colors that feel like home. And remember: there’s no rush. Whether you finish in a weekend or over a season, your first quilt is something worth savoring.
Keep it manageable. Keep it fun. And know I’ll be cheering you on every stitch of the way.
take my quilt workshop here


Caring for Your Finished Hand Pieced Quilt
You’ve stitched every seam by hand, watched it take shape block by block—and now your quilt is finished. What a beautiful, soul-filling moment. Let’s talk about how to care for it so it lasts for years (and generations) to come.
Washing Tips for Hand Pieced Quilts
A gentle hand deserves a gentle wash.
If you can, skip the machine—hand washing in cool water with a mild, dye-free detergent is best.
Avoid wringing or twisting; instead, press the water out gently with your hands or roll it in a towel.
Lay flat to dry, supporting the weight so the seams don’t stretch. A drying rack or a clean sheet on the lawn works wonders.
If you do use a machine, opt for the delicate cycle in cold water inside a mesh laundry bag, then lay flat or drape to dry.
If you’re not bothered by wear like I am, (not every quilt you make will become a heirloom but rather an every day quilt), I toss it in the washing machine on gentle and tumble dry.
Storing and Displaying
These quilts aren’t just for hiding away—they’re for wrapping, for story time, for admiring.
To store: fold loosely and wrap in a cotton pillowcase or muslin bag. Avoid plastic bins, which can trap moisture.
Every few months, refold along different lines to prevent permanent creasing.
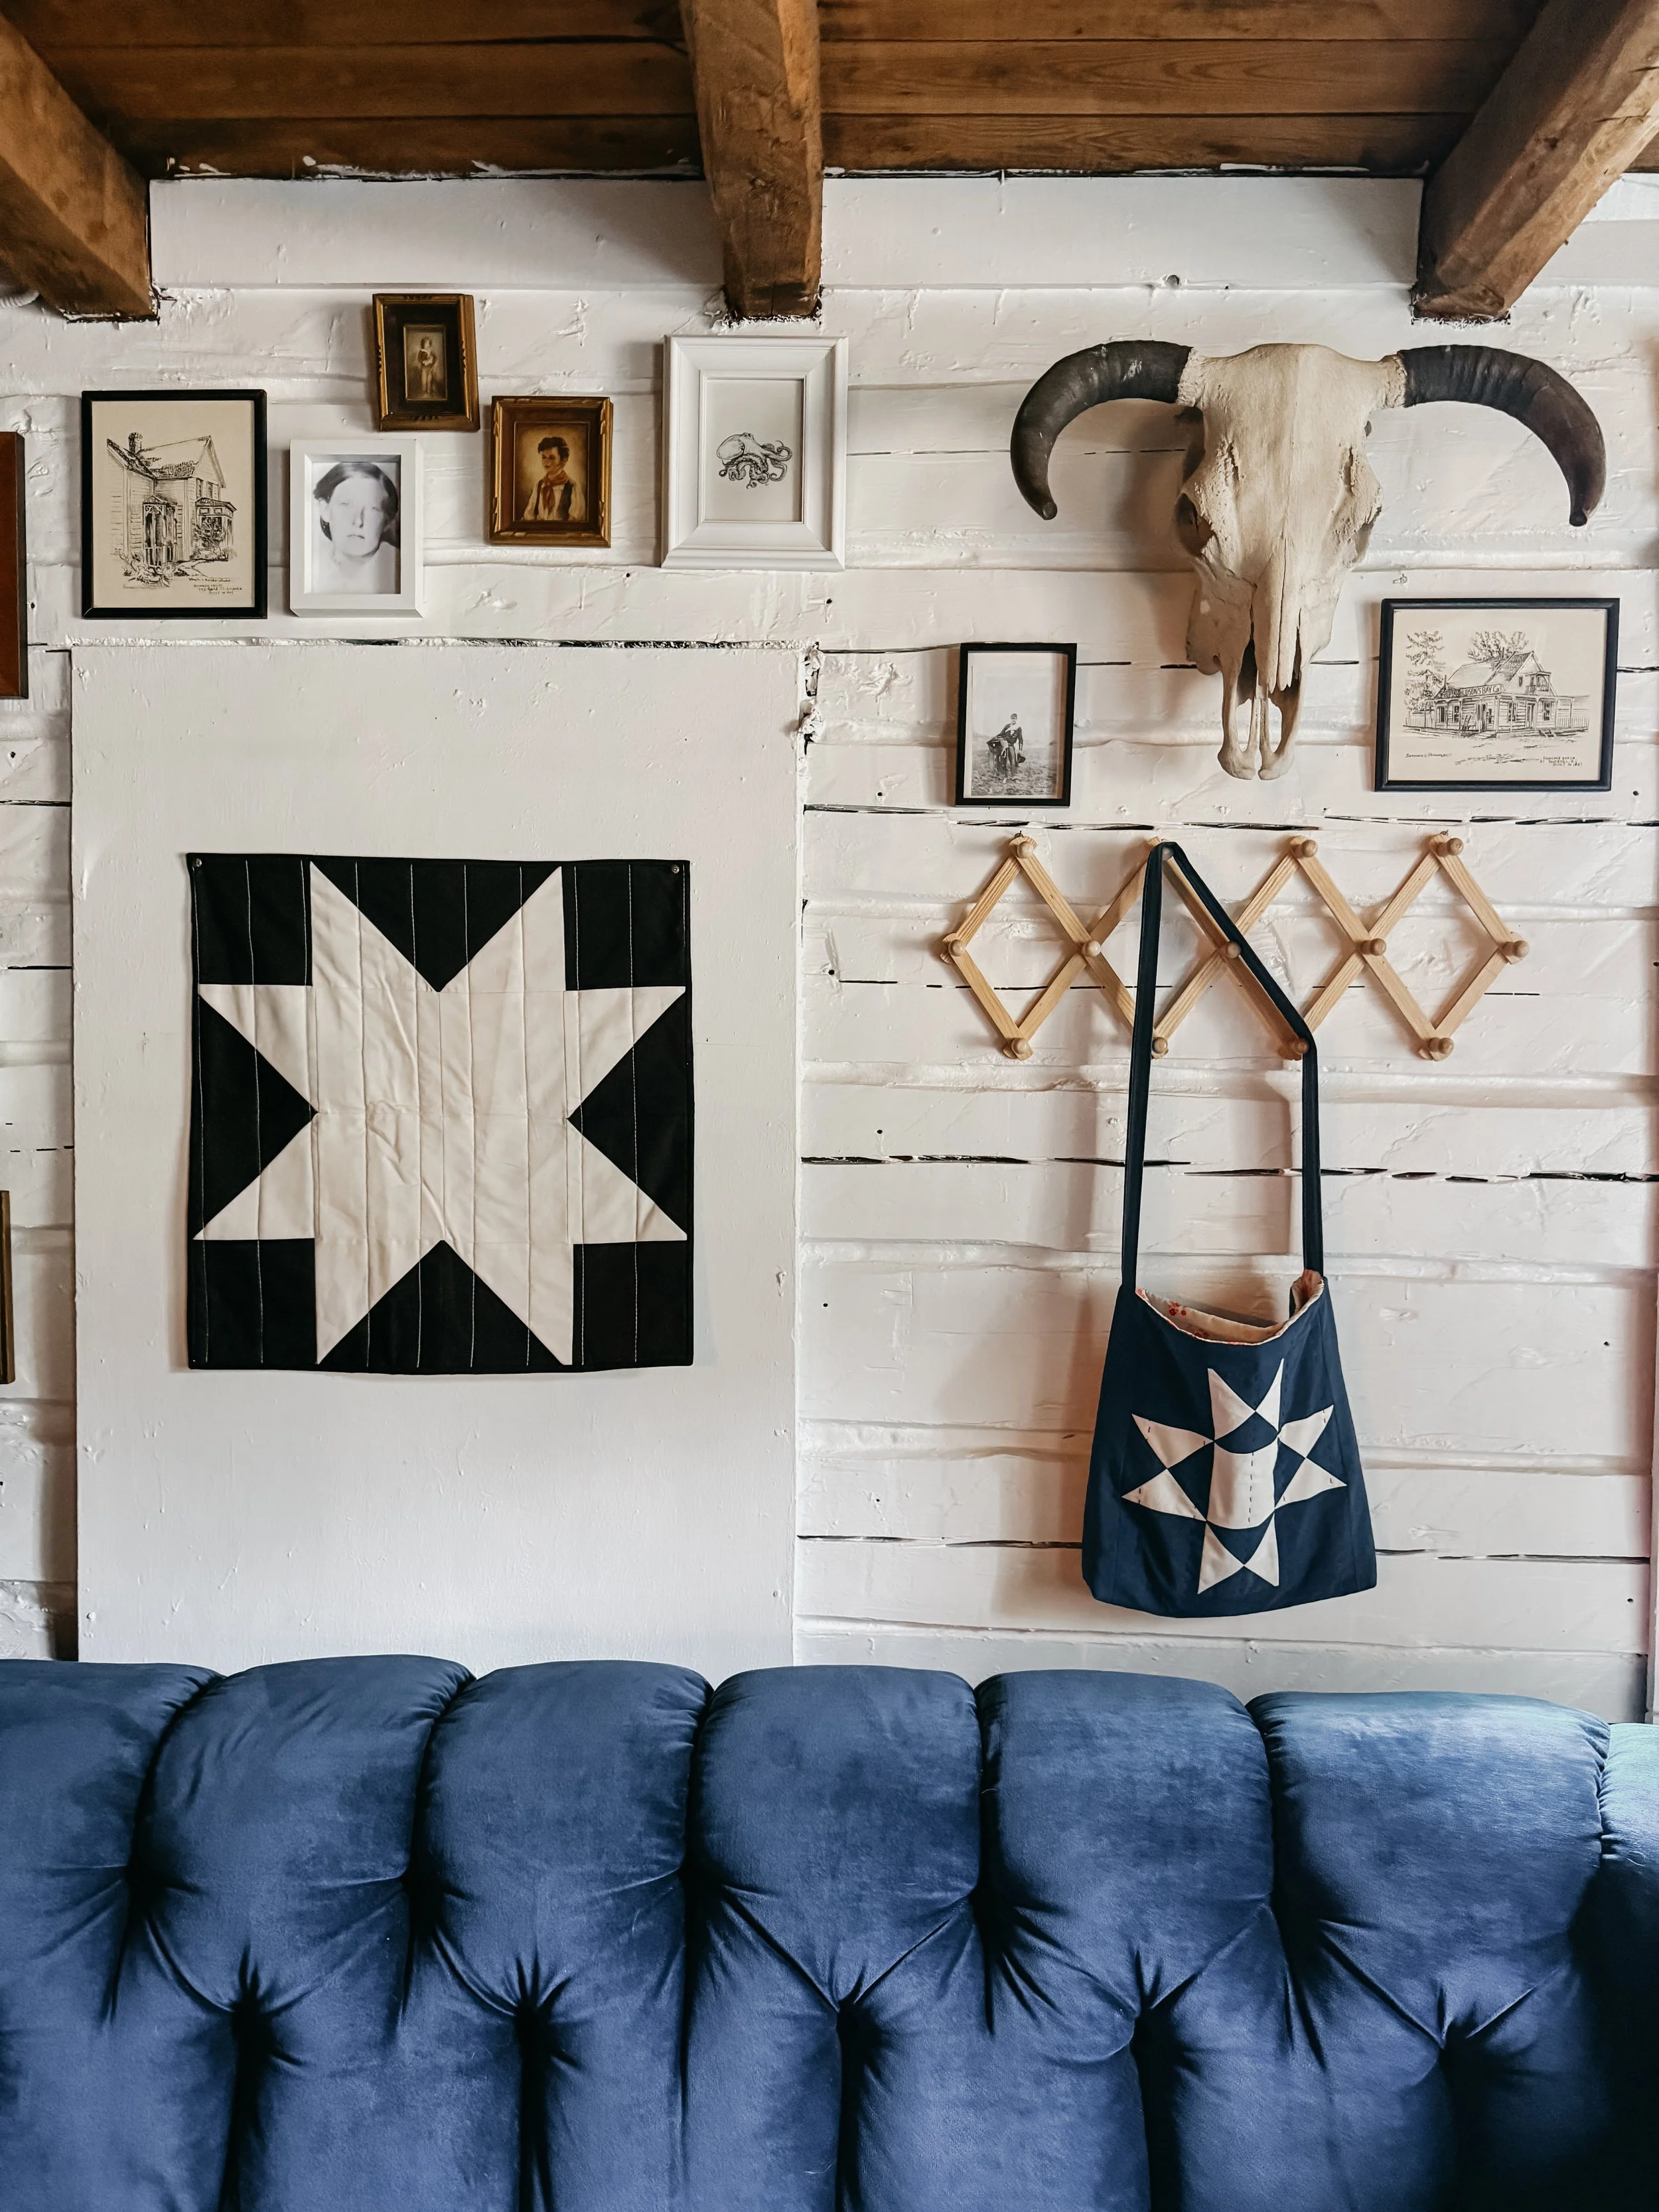
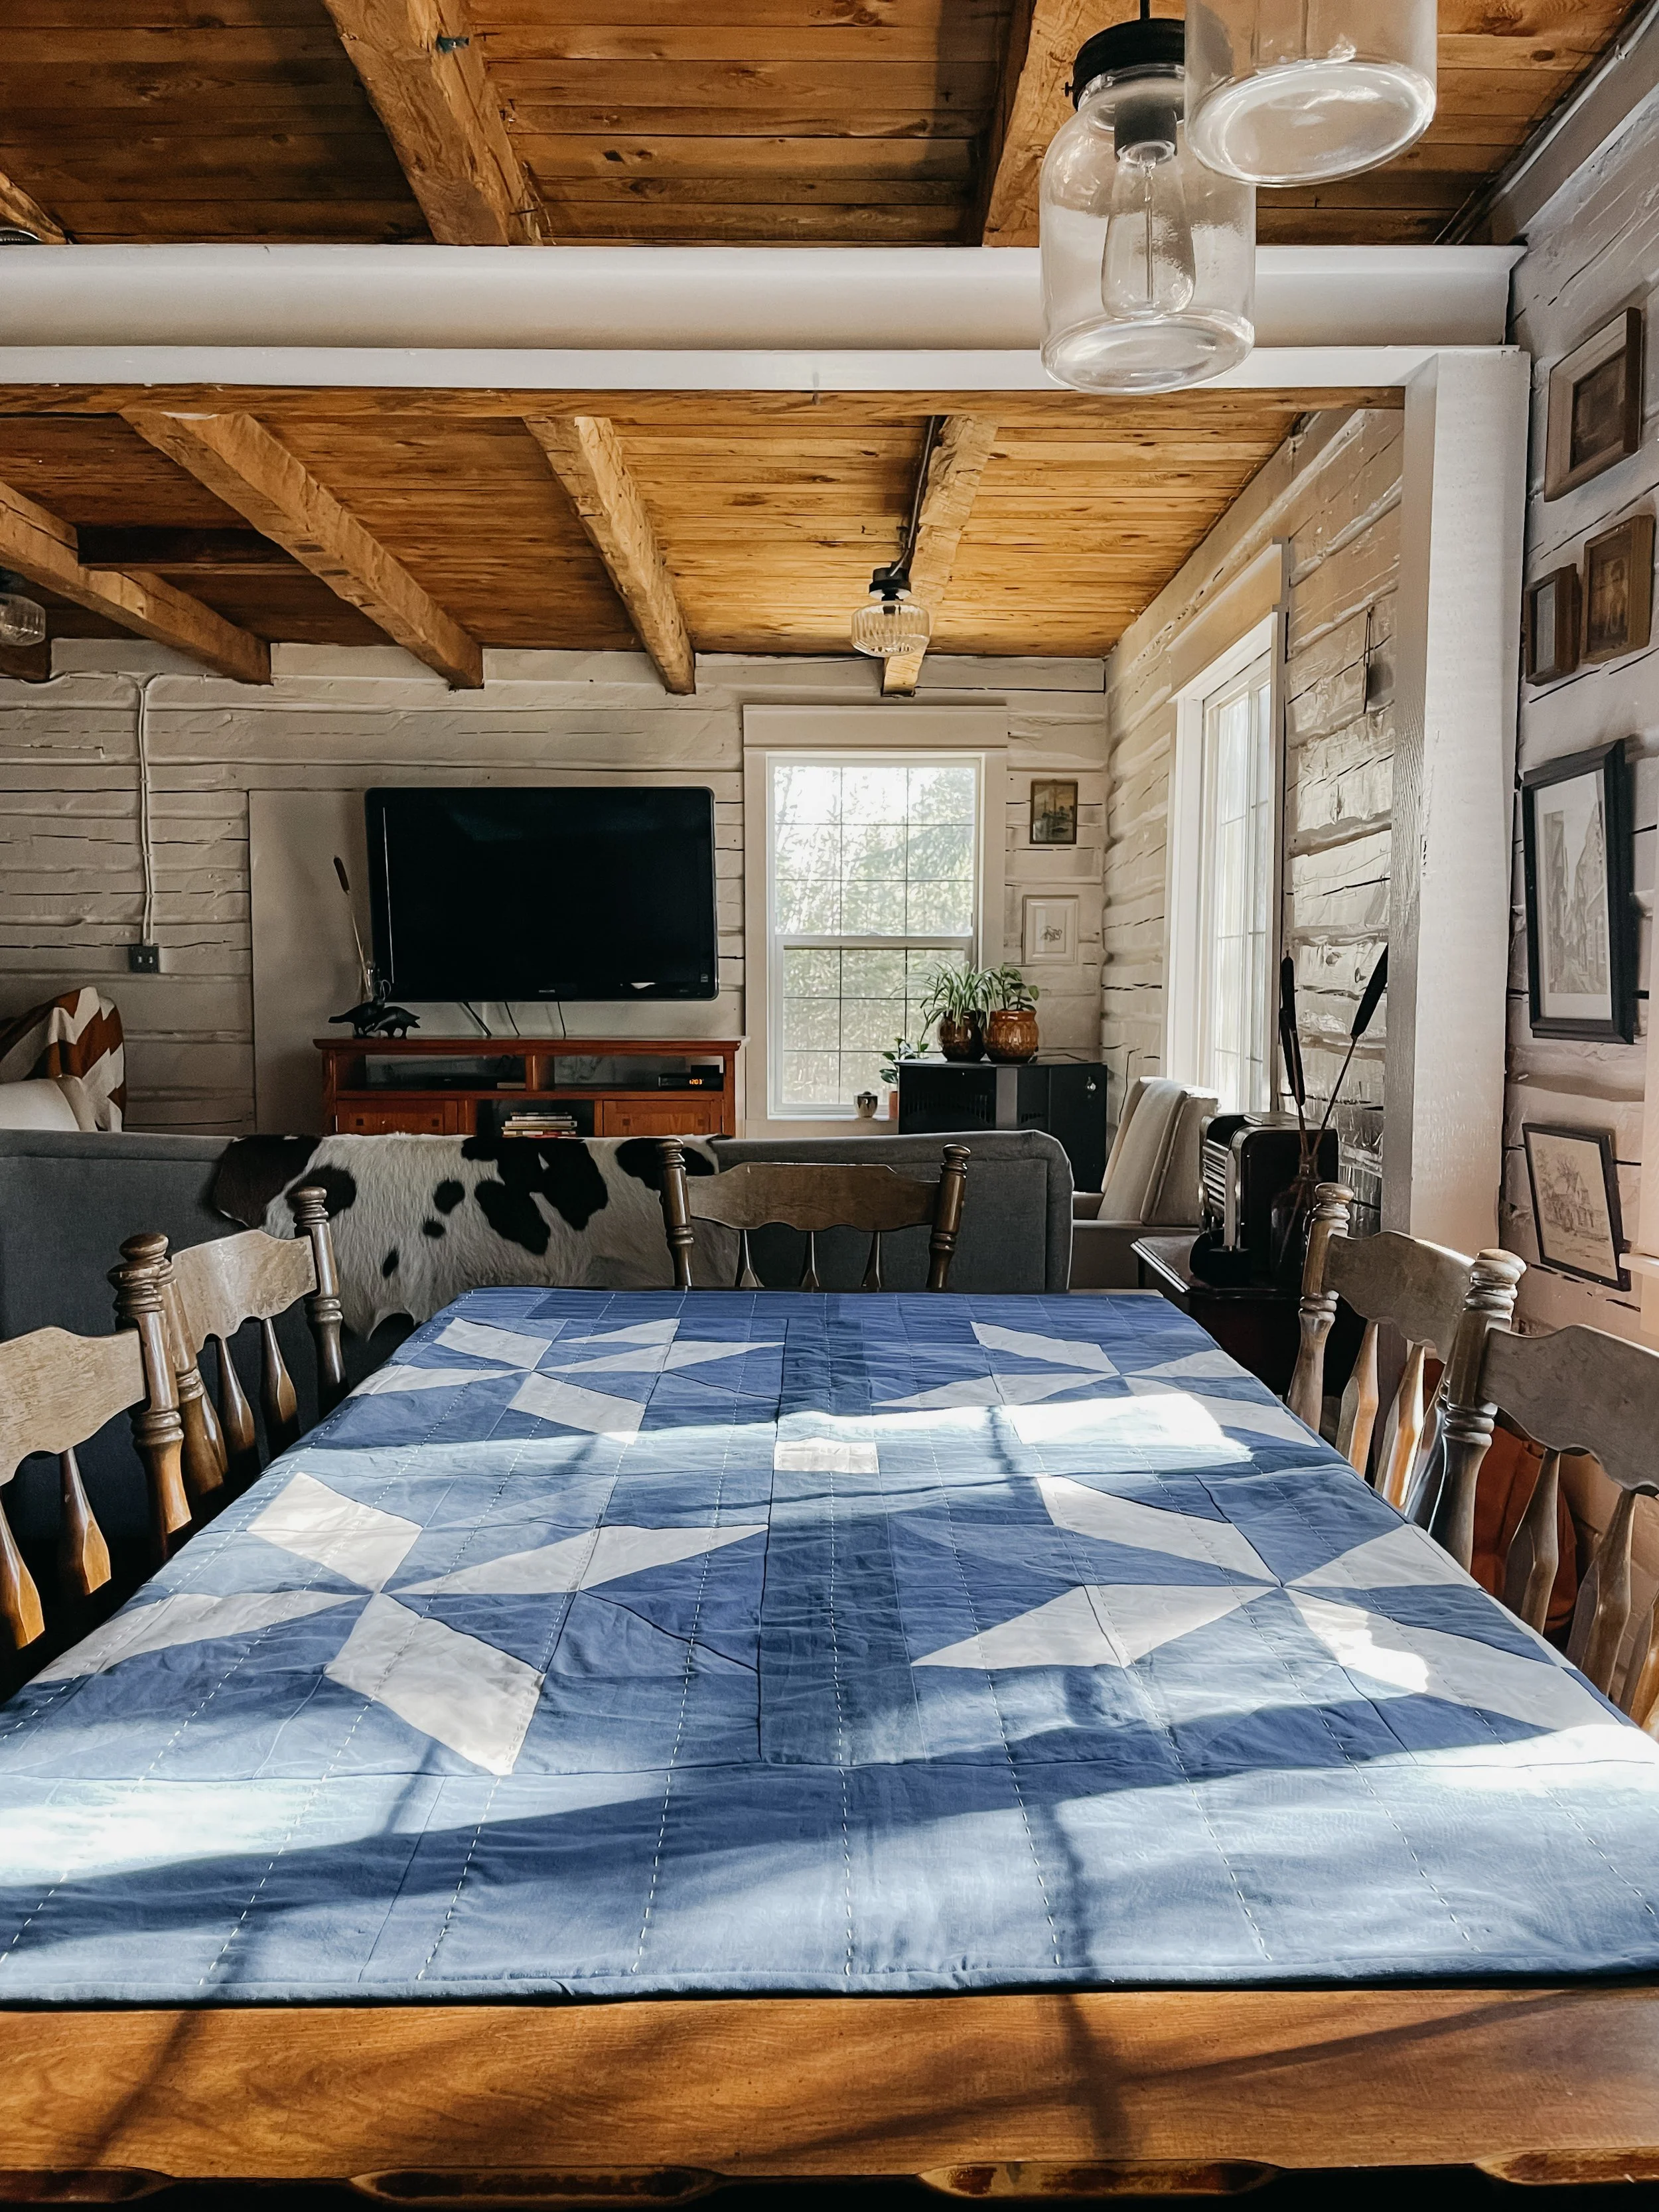
To display: drape over the back of a chair, the edge of a bed, or hang gently using a rod and sleeve. These quiet beauties love the spotlight but not direct sun—faded stitches tell stories, yes, but we like to keep the colors strong as long as we can.
How to Fix Loose Stitches Down the Road
Life happens—and that’s okay.
If a seam starts to open, thread a needle and gently whipstitch or backstitch it closed using a coordinating thread.
For fraying fabric, consider patching with a scrap from the original fabric or adding a little hand-stitched detail (think visible mending, but make it quilty).
And if you're not sure what to do? Reach out. Quilting is community work, after all—we’ve all had to mend a stitch or two.
Conclusion
Your first hand pieced quilt isn’t just a project—it’s a memory stitched into fabric. You’ve learned the tools, the steps, the tips—and most importantly, the why behind every stitch. Whether it’s a gift, an heirloom, or simply something you made just for you, celebrate the fact that you’ve created something beautiful with your own two hands.
So gather your fabric, thread your needle, and start stitching. Your quilting story starts here.
take my quilt workshop here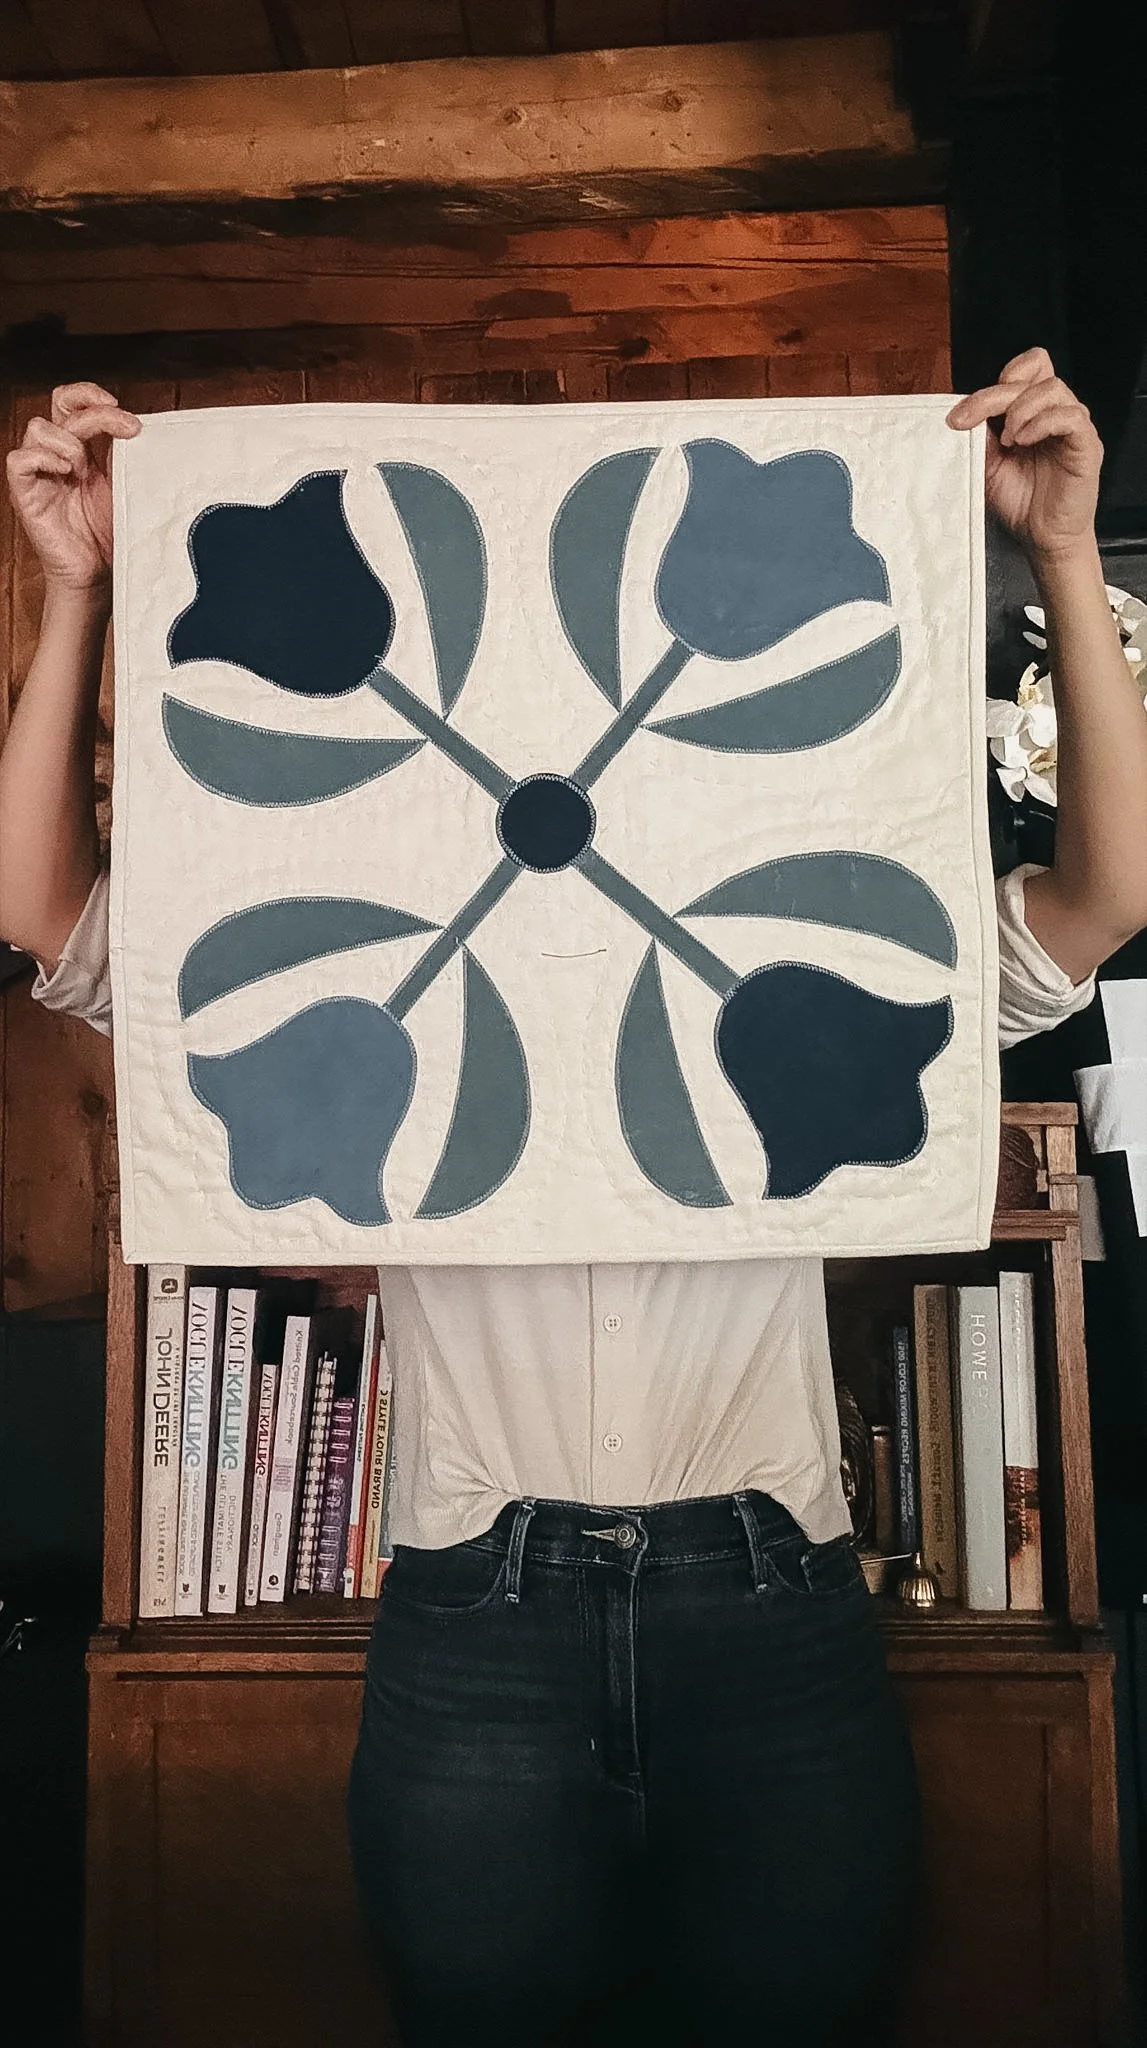


Welcome to the blog—I'm so glad you're here.
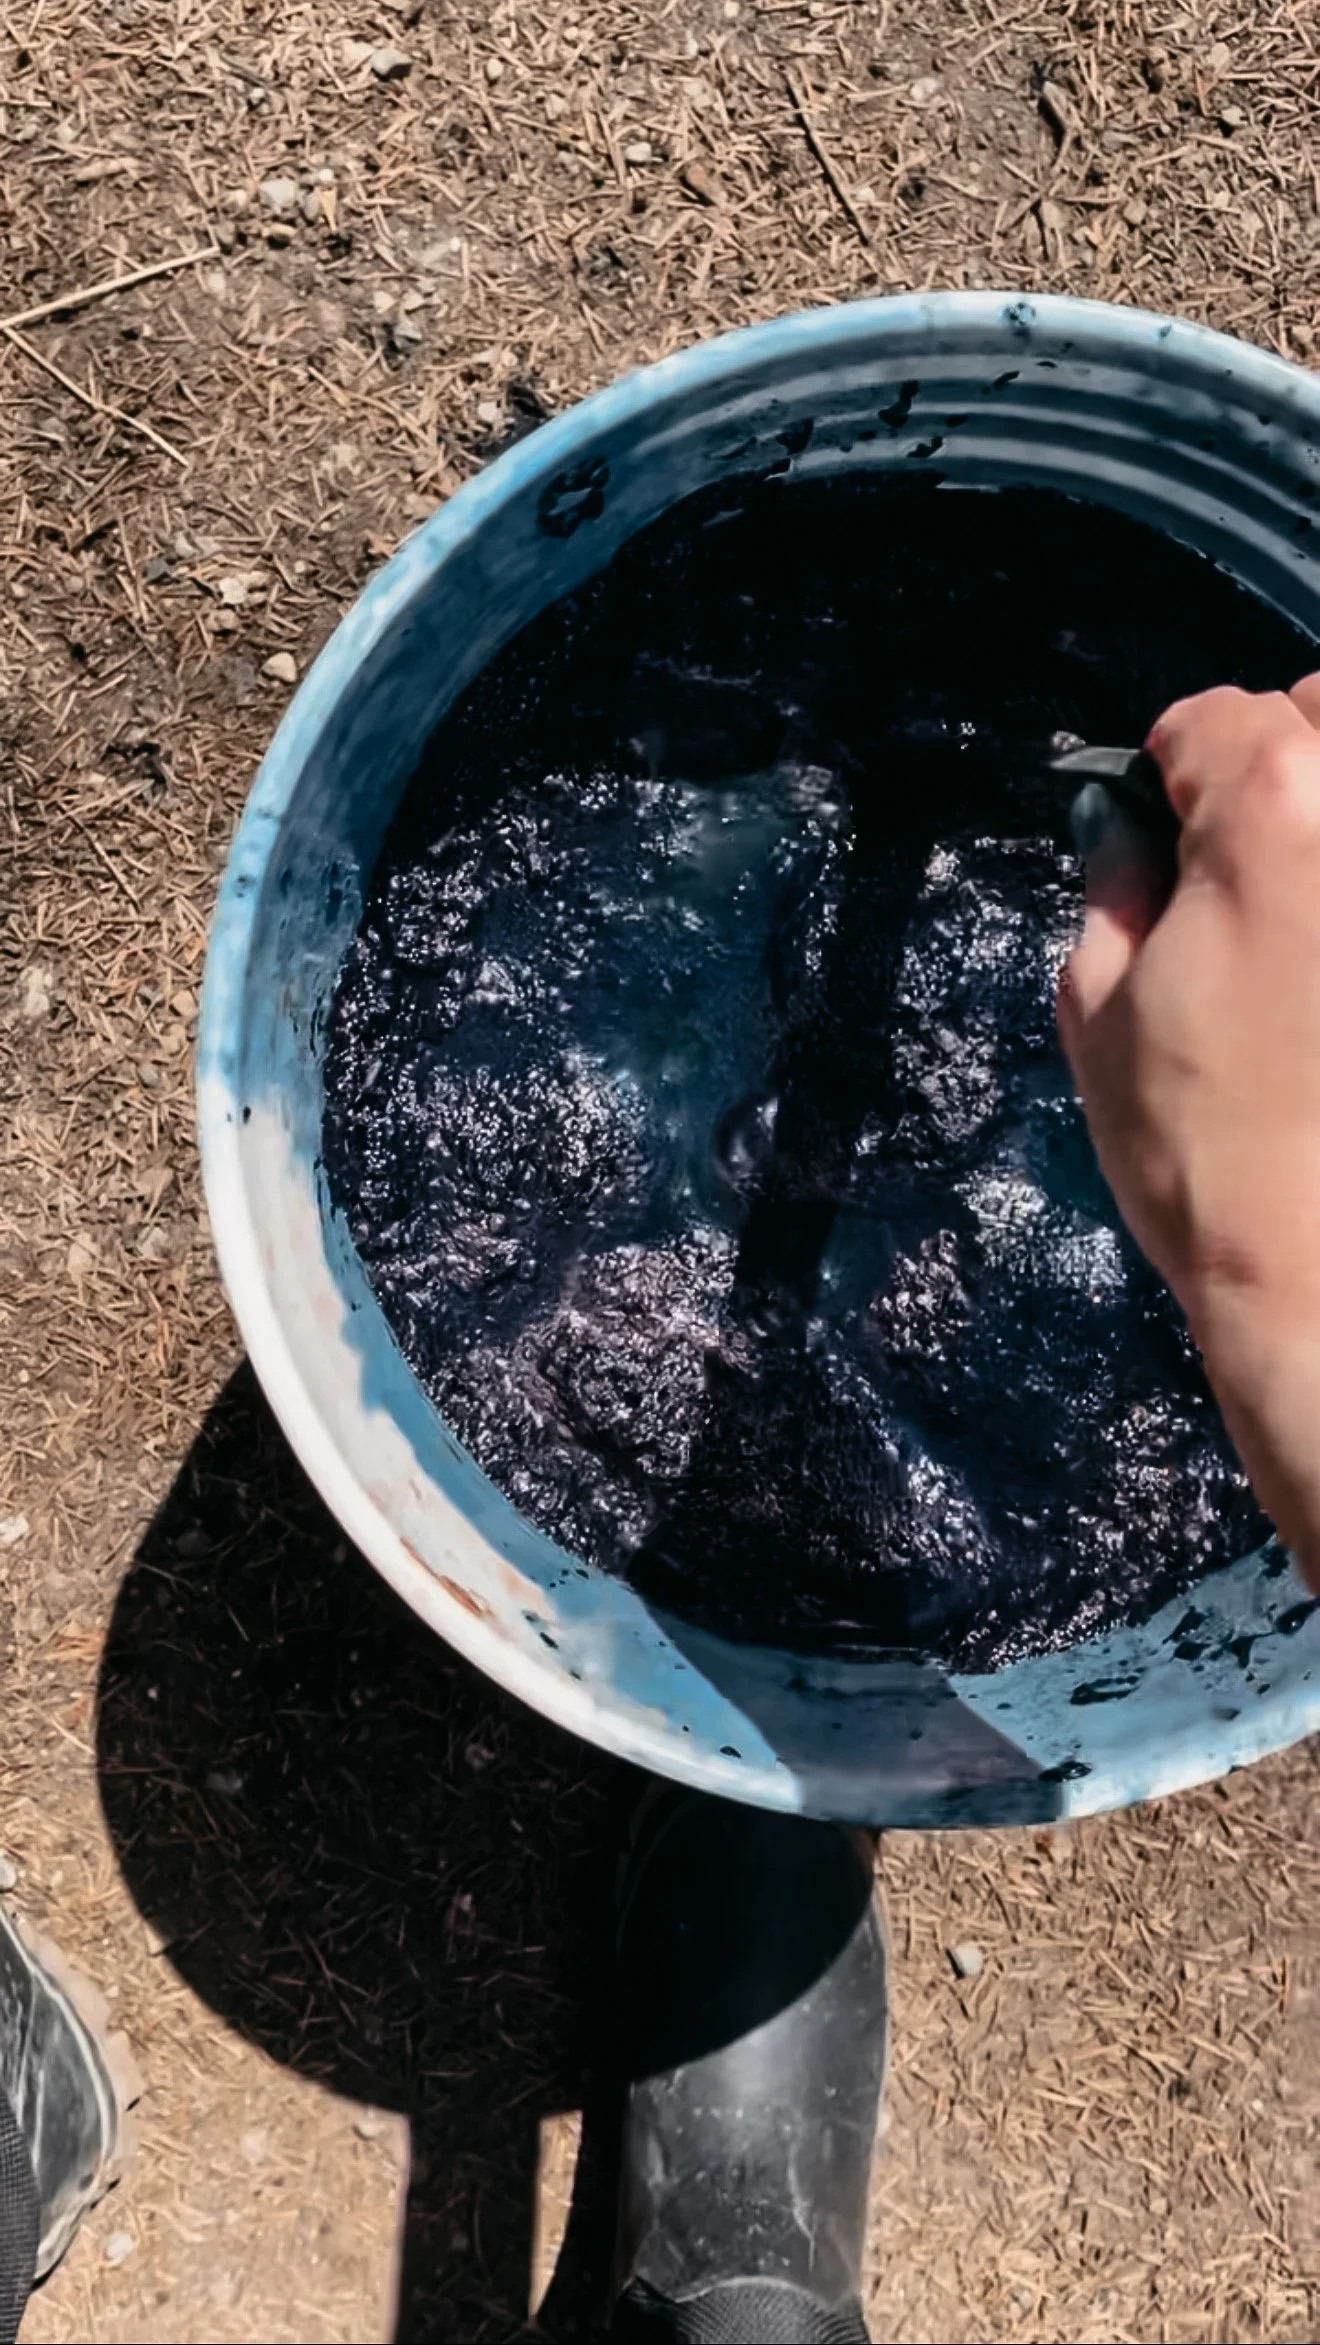
I'm Kim, quilting and dyeing from an old cabin in the woods. This is where I share beginner-friendly tutorials, slow craft tips, and stories from a life stitched by hand. I hope you find something here that feels like home.