How to Make Your First Quilt: Easy Steps for Beginners

Learning to quilt with a single placemat
There’s something really special about that first quilted project you finish and actually use. For this tutorial, I wanted to create exactly that: a small, do-able project that secretly teaches you almost everything you need to know to make a quilt.
Enter the Peppermint Swirl Placemat.
In the YouTube tutorial, I walk you through the entire process from start to finish using this sweet little star block and a simple border. On the surface, it’s “just” a placemat—but what you’re really learning is how to make a quilt, one step at a time.
If you’re brand new to quilting (or coming back after a long break), this one is for you.
take my quilt workshop hereWhy I Love This Project
There’s something magical about small quilts. They feel approachable, they don’t require mountains of fabric, and they give you the chance to practice foundational skills without the pressure of a big quilt.
In this project, you’ll learn:
• how to cut and prep your fabric
• how to make 4-at-a-time and 8-at-a-time half-square triangles
• how to trim your HSTs for perfect points
• how to lay out and sew your block
• how to add borders
• how to layer, baste, and quilt the top
• how to do big-stitch hand quilting (my favourite)
• how to make and attach quilt binding
• how to get clean, crisp mitered corners
• how to hand-stitch your binding invisibly on the back
Basically… this one little placemat teaches you the bones of quilting.
my fave quilting toolsMaterials You’ll Need
All measurements and cutting charts are included inside the Peppermint Swirl Placemat Pattern, which you can grab here:
→ https://www.exshawquilts.com/patterns
You’ll need:
• two coordinating fabrics (for the HSTs and block layout)
• border fabric
• backing fabric
• cotton batting
• a rotary cutter and ruler
• sewing machine with a ¼" foot
• iron + pressing surface
• perle cotton #8, sashiko or long-eye needle (for hand quilting), thimbles
• binding strips (or fabric to cut them)
If you’d like to see all my favourite quilting tools, I’ve linked them in my Amazon list as well.
Step 1 — Cutting the Fabric
We start by cutting all the pieces needed for our block, borders, and binding. Give everything a good press so your pieces are crisp and flat — it makes the next steps much easier.
Inside the video, I walk you through how I prep my pieces, what to cut for each section of the block, and how to get everything organized before sewing.


Step 2 — Four-at-a-Time & Eight-at-a-Time HSTs
If you’ve struggled with HSTs before, I promise this will change things.
You’ll learn two different methods:
Four-at-a-time:
• Sew a square all the way around
• Cut corner to corner twice
• Open and press
Eight-at-a-time:
• Draw an “X” corner to corner
• Sew ¼" on both sides of each line
• Make four cuts
• Open and press
Both methods give you beautifully accurate HST units — and they come together fast.
In the video, I also show you my favourite trimming trick using masking tape. It’s simple, it's accurate, and it means only two cuts per block. You’ll never trim HSTs the old way again.
Step 3 — Laying Out the Block
This is when it starts getting exciting — everything finally comes together and you can see the Peppermint Swirl pattern form.
Lay out your HSTs in a 4×4 grid, then add the solid squares and borders just like I show in the tutorial. Sew in rows, then sew those rows together.
Press your seams open for the flattest finish (and the nicest points!).
Step 4 — Basting & Quilting
Once the block is assembled, it’s time to turn it into a little quilt.
Layer your sandwich:
backing (wrong side up)
batting
quilt top (right side up)
You can pin baste or glue baste — I show you exactly how I use the Elmer’s washable glue stick (my favourite method for small projects and all hand-quilting work).
Then comes the fun part: quilting.
You can machine quilt your placemat, but if you want to try hand quilting, this project is the perfect size. In the video, I show you:
• how to thread a sashiko needle
• how to make the “rocket knot” (your new best friend)
• how to stack your stitches
• how to get even tension
• and how to hide your knots inside the quilt
Big-stitch hand quilting adds so much charm to this pattern — it’s cozy, rustic, and deeply satisfying.

Step 5 — Squaring Up
After quilting, you’ll square up the project so your edges are straight and clean. I show you how to use a square ruler to find the shortest point on each side so you never cut off too much.
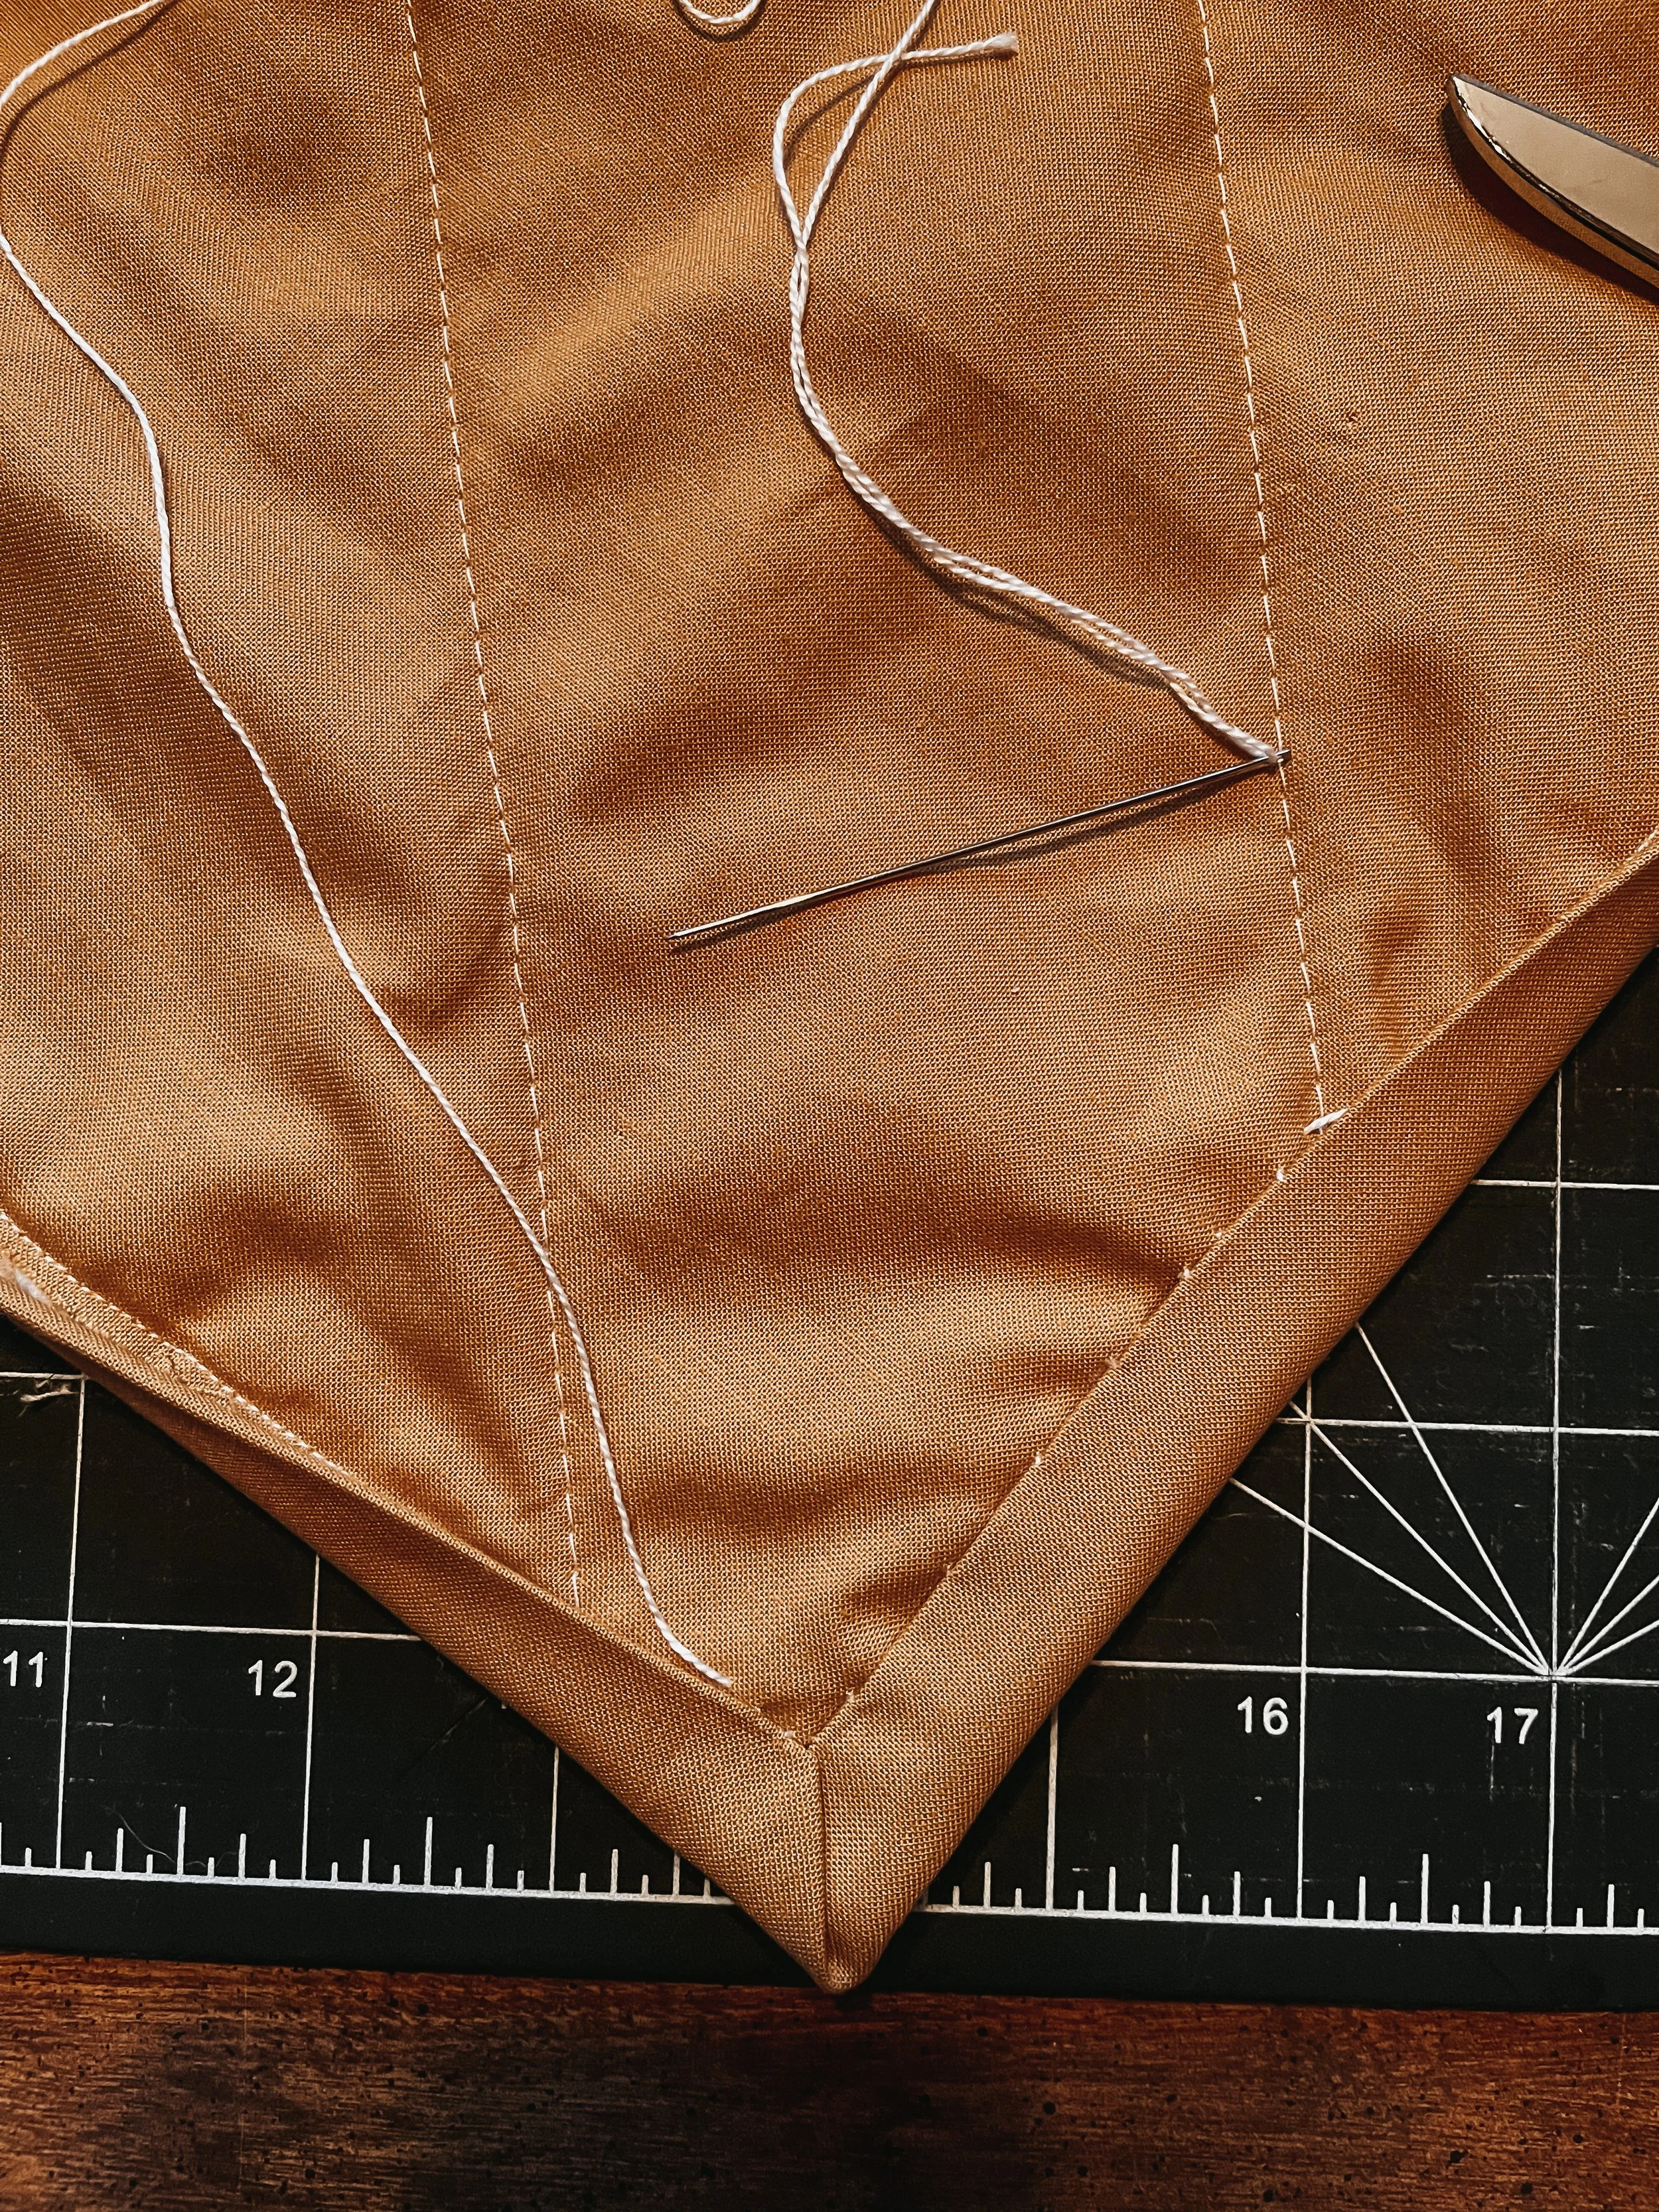
Step 6 — Making & Attaching the Binding
Many quilters dread binding, but once you learn the right technique, it’s actually pretty soothing.
Inside the tutorial, I walk you through:
• how to join binding strips on the diagonal
• how to press your binding for clean edges
• how to sew it to the front
• how to make perfect, tidy mitered corners
• how to join your binding ends so they lie flat
• how to hand-stitch it invisibly to the back
This is the step where your little quilt truly looks finished.
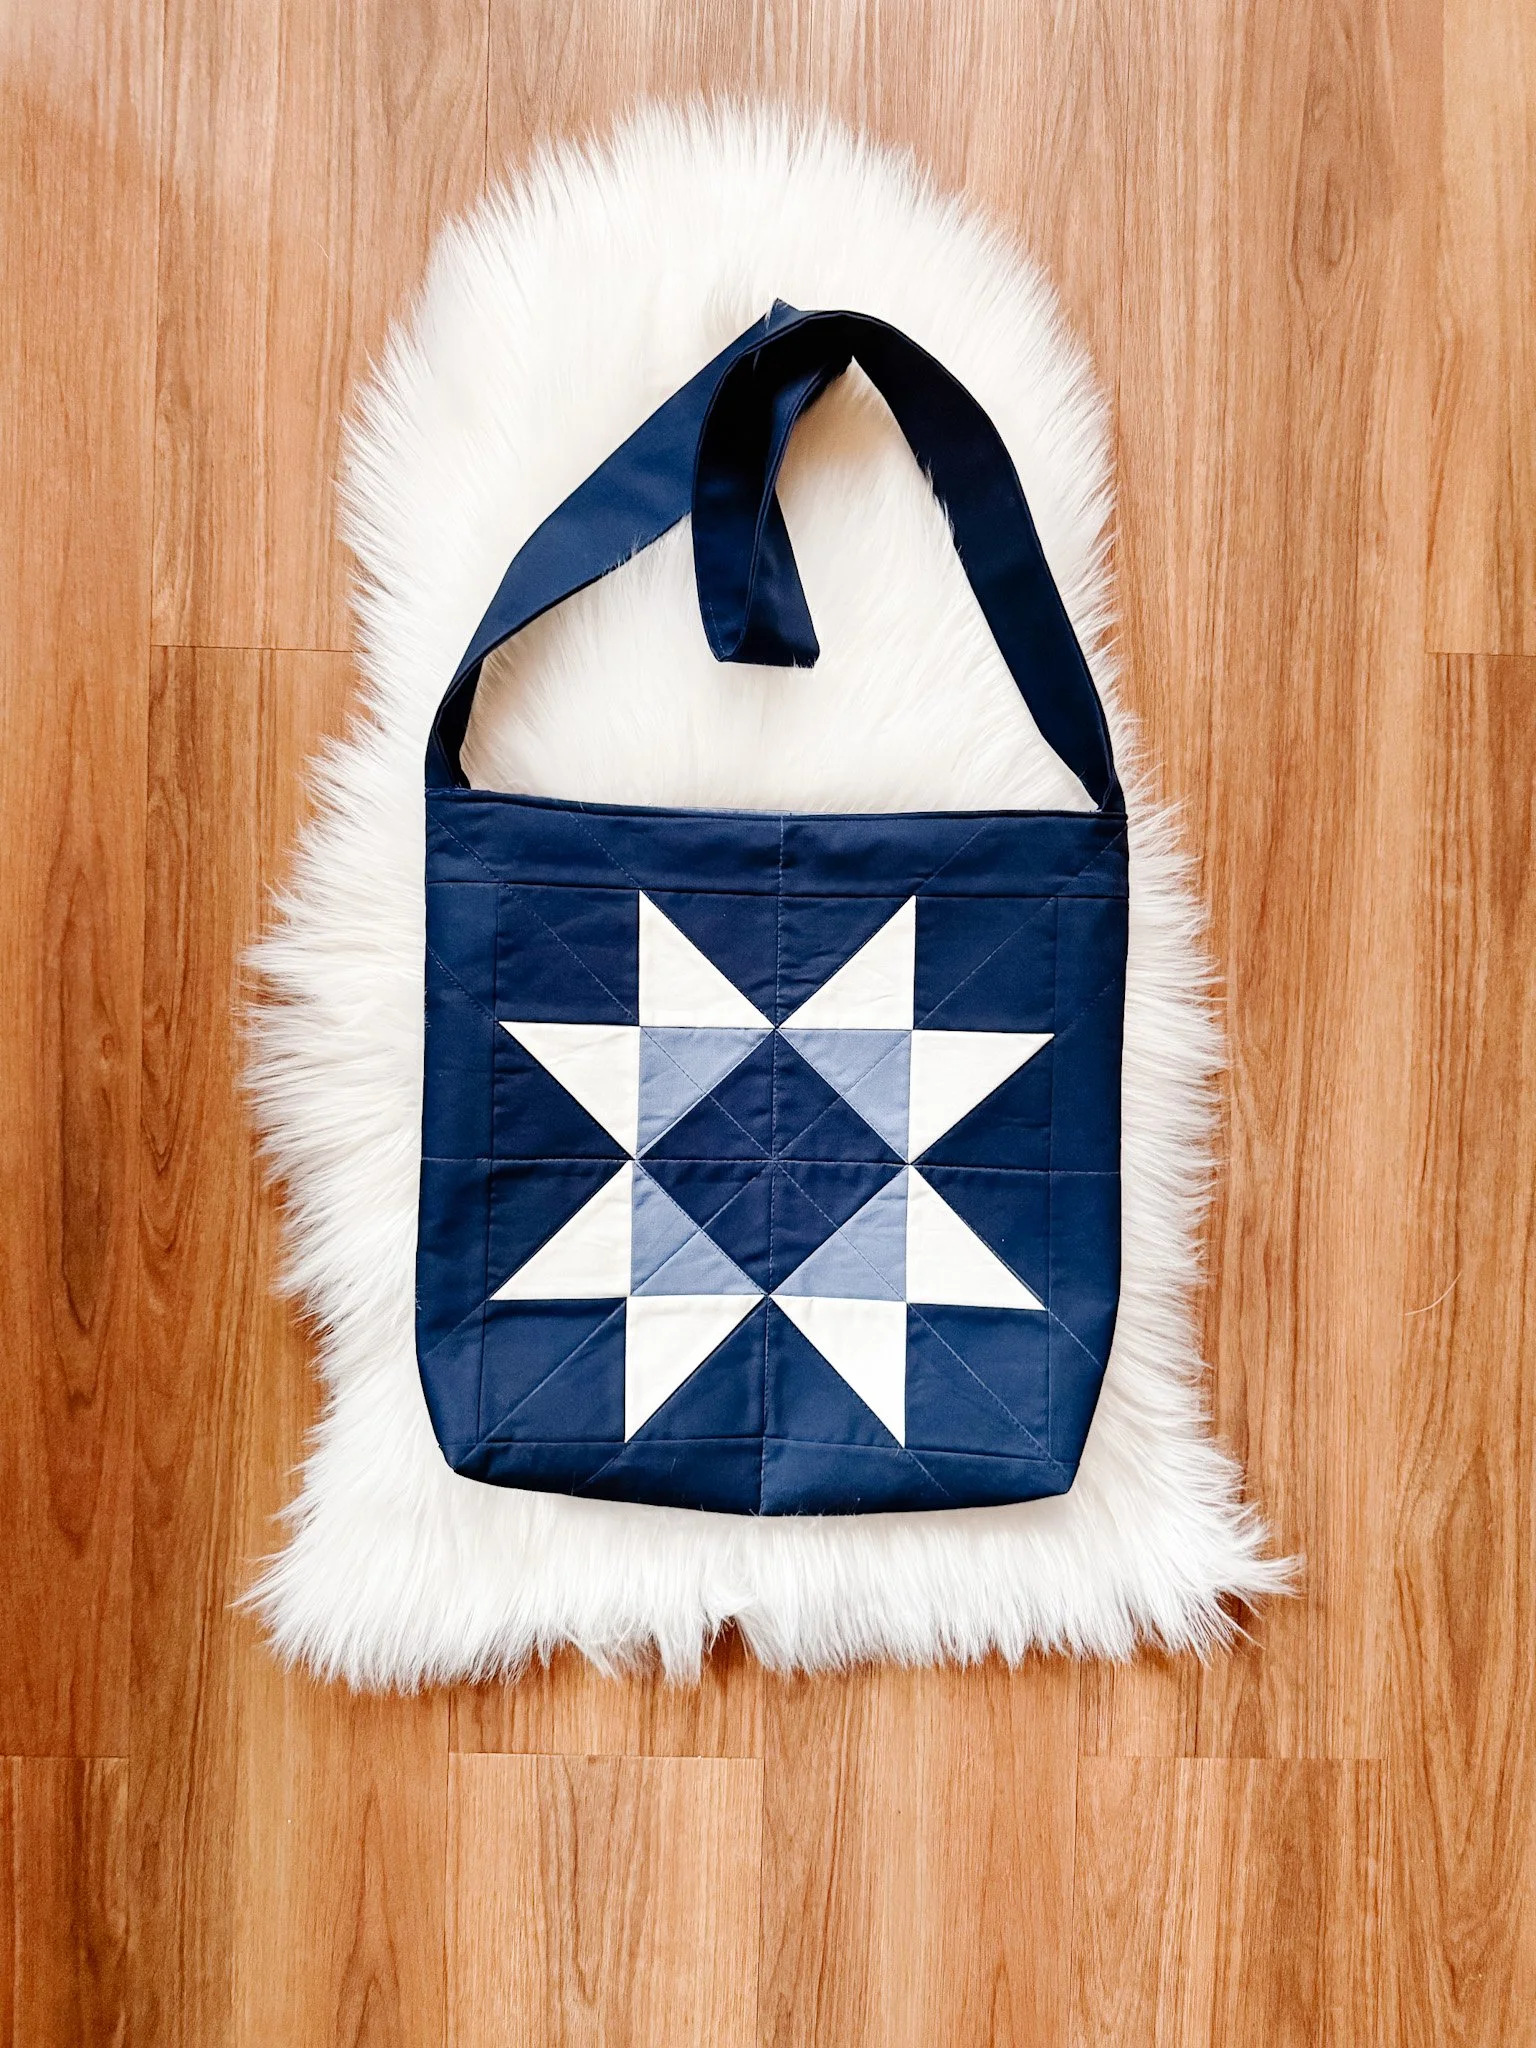
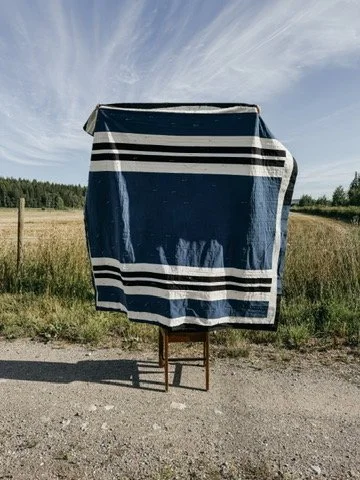
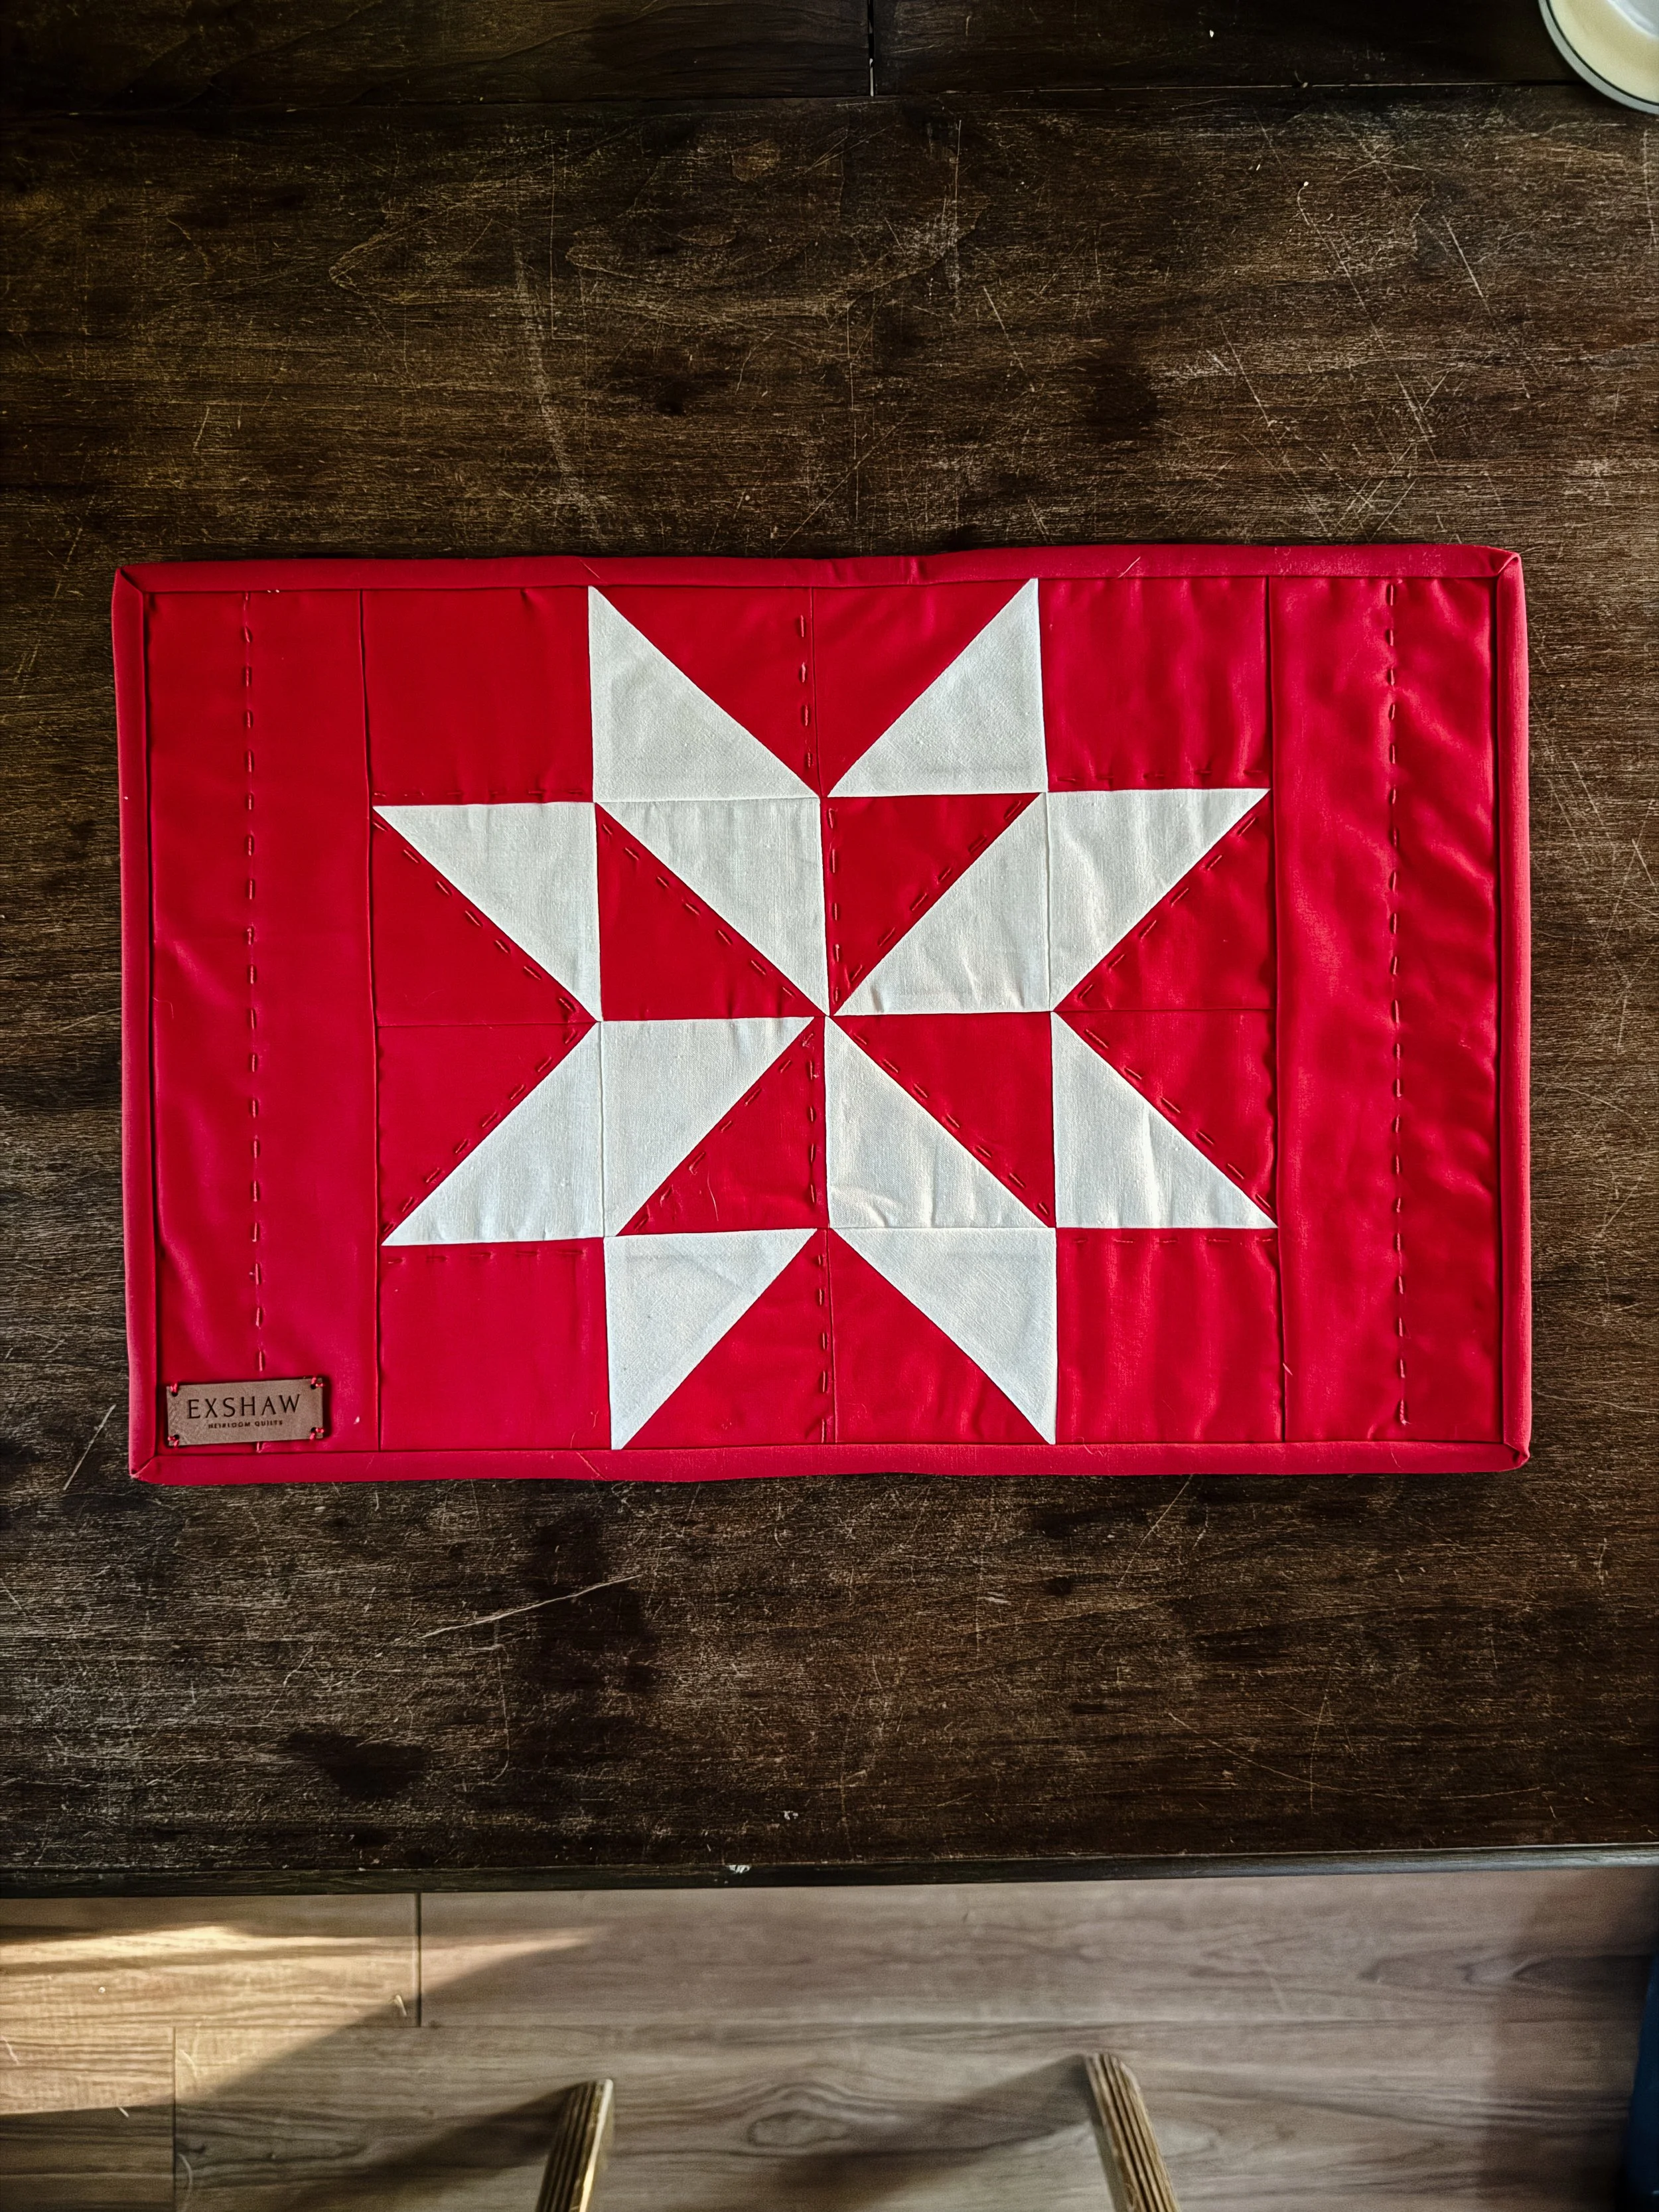
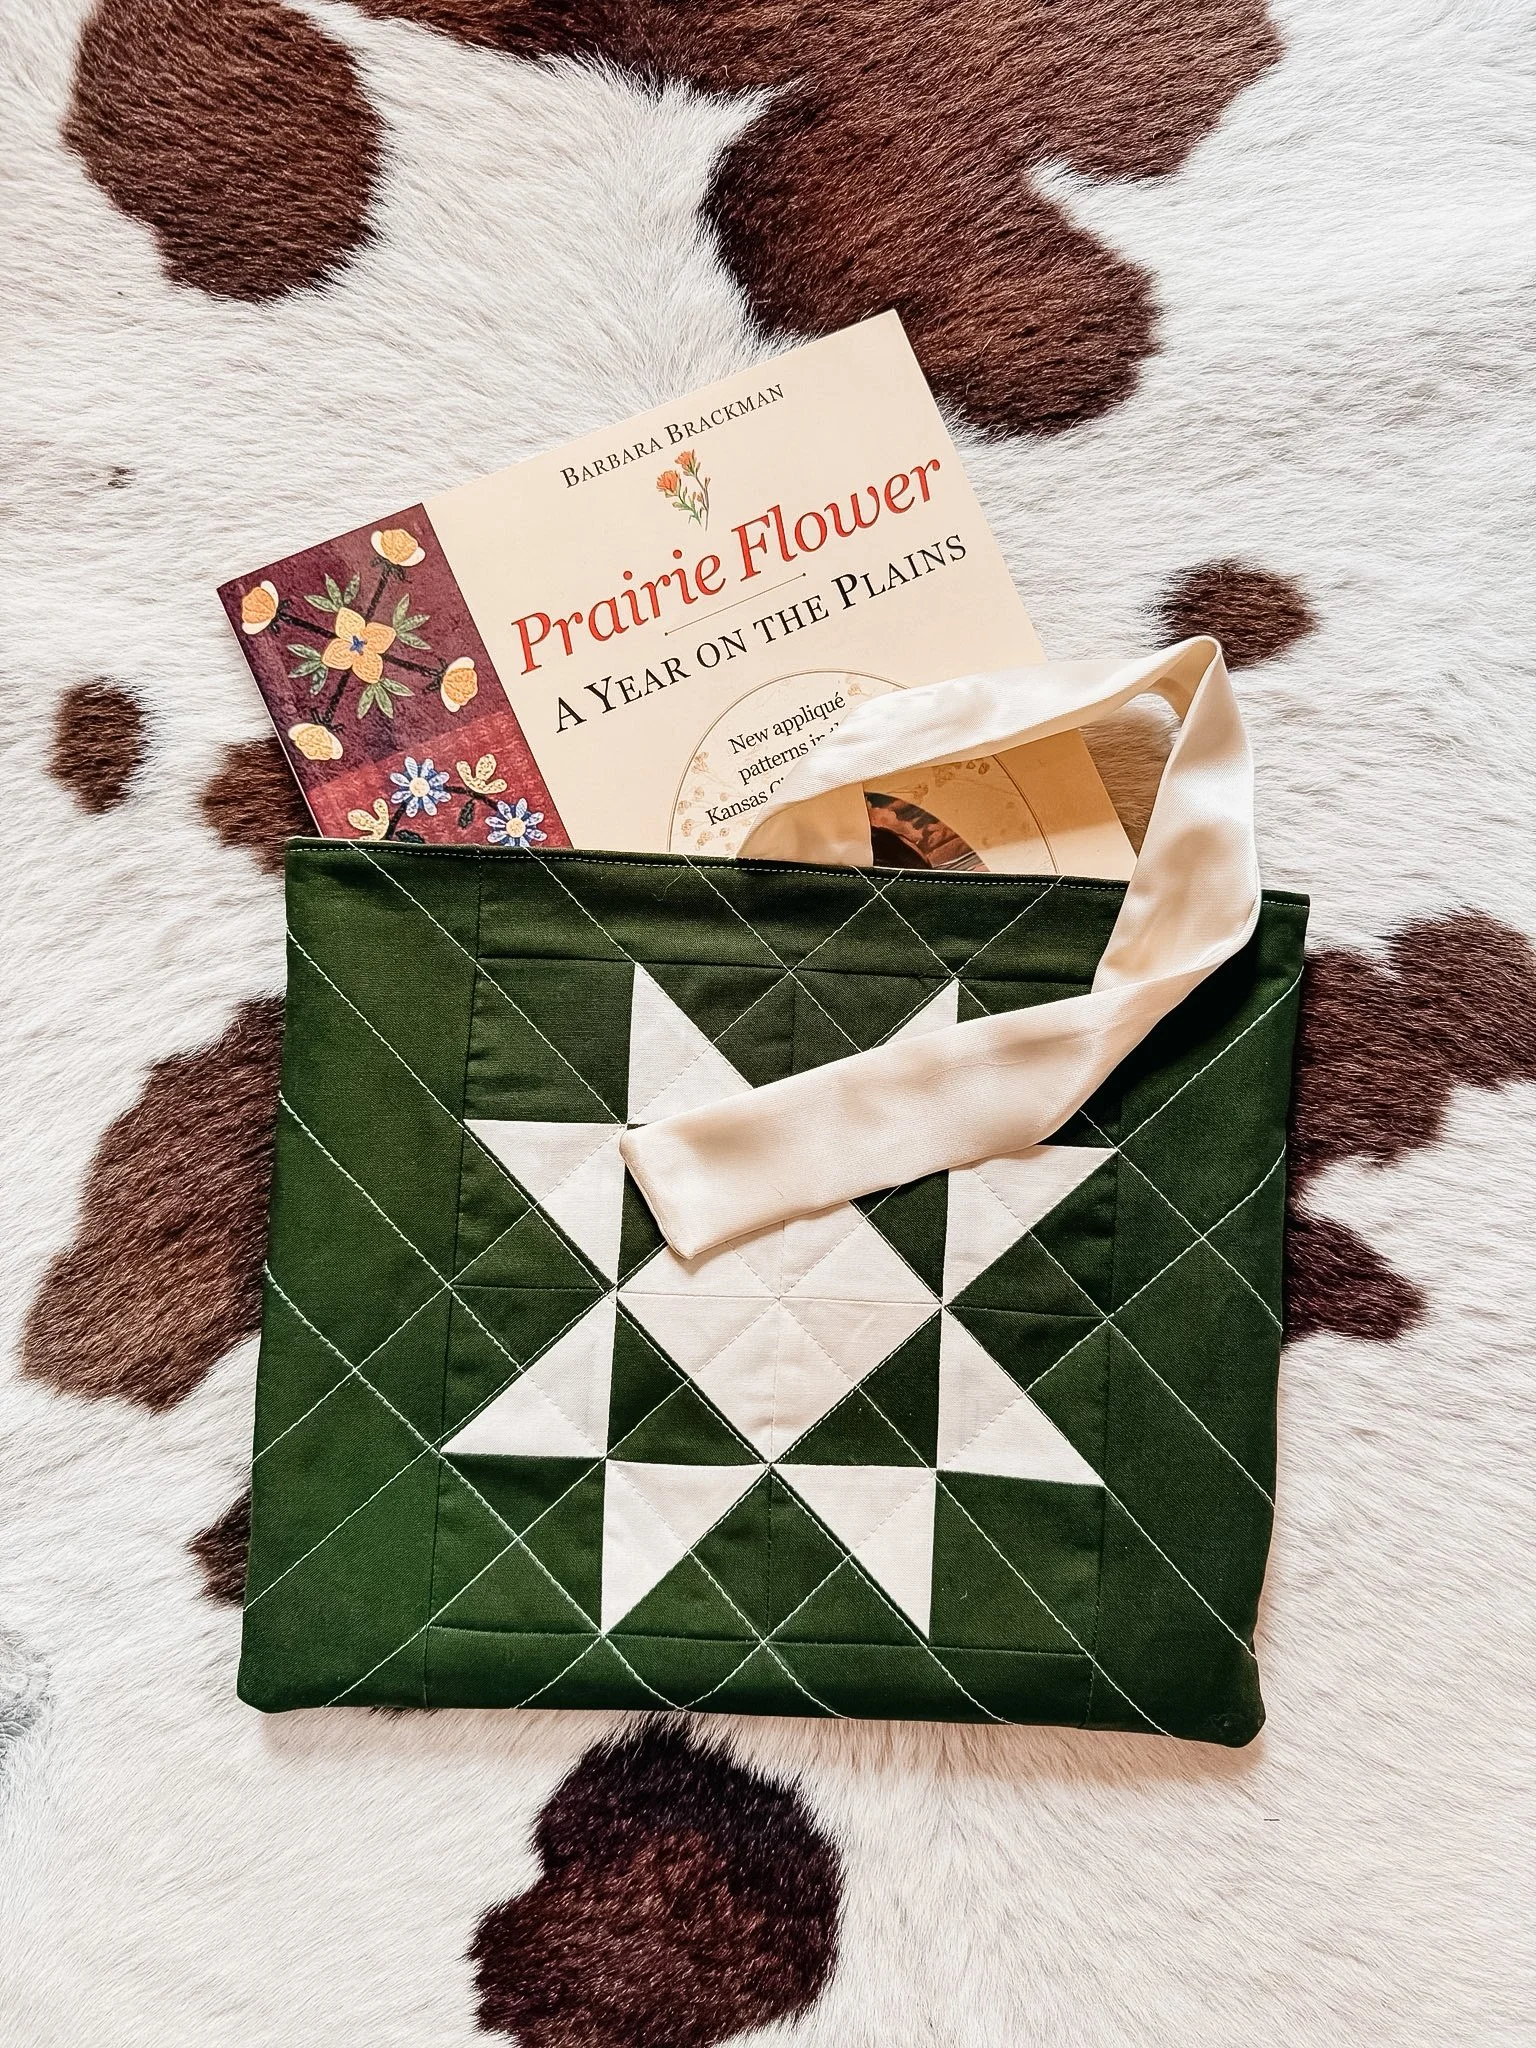
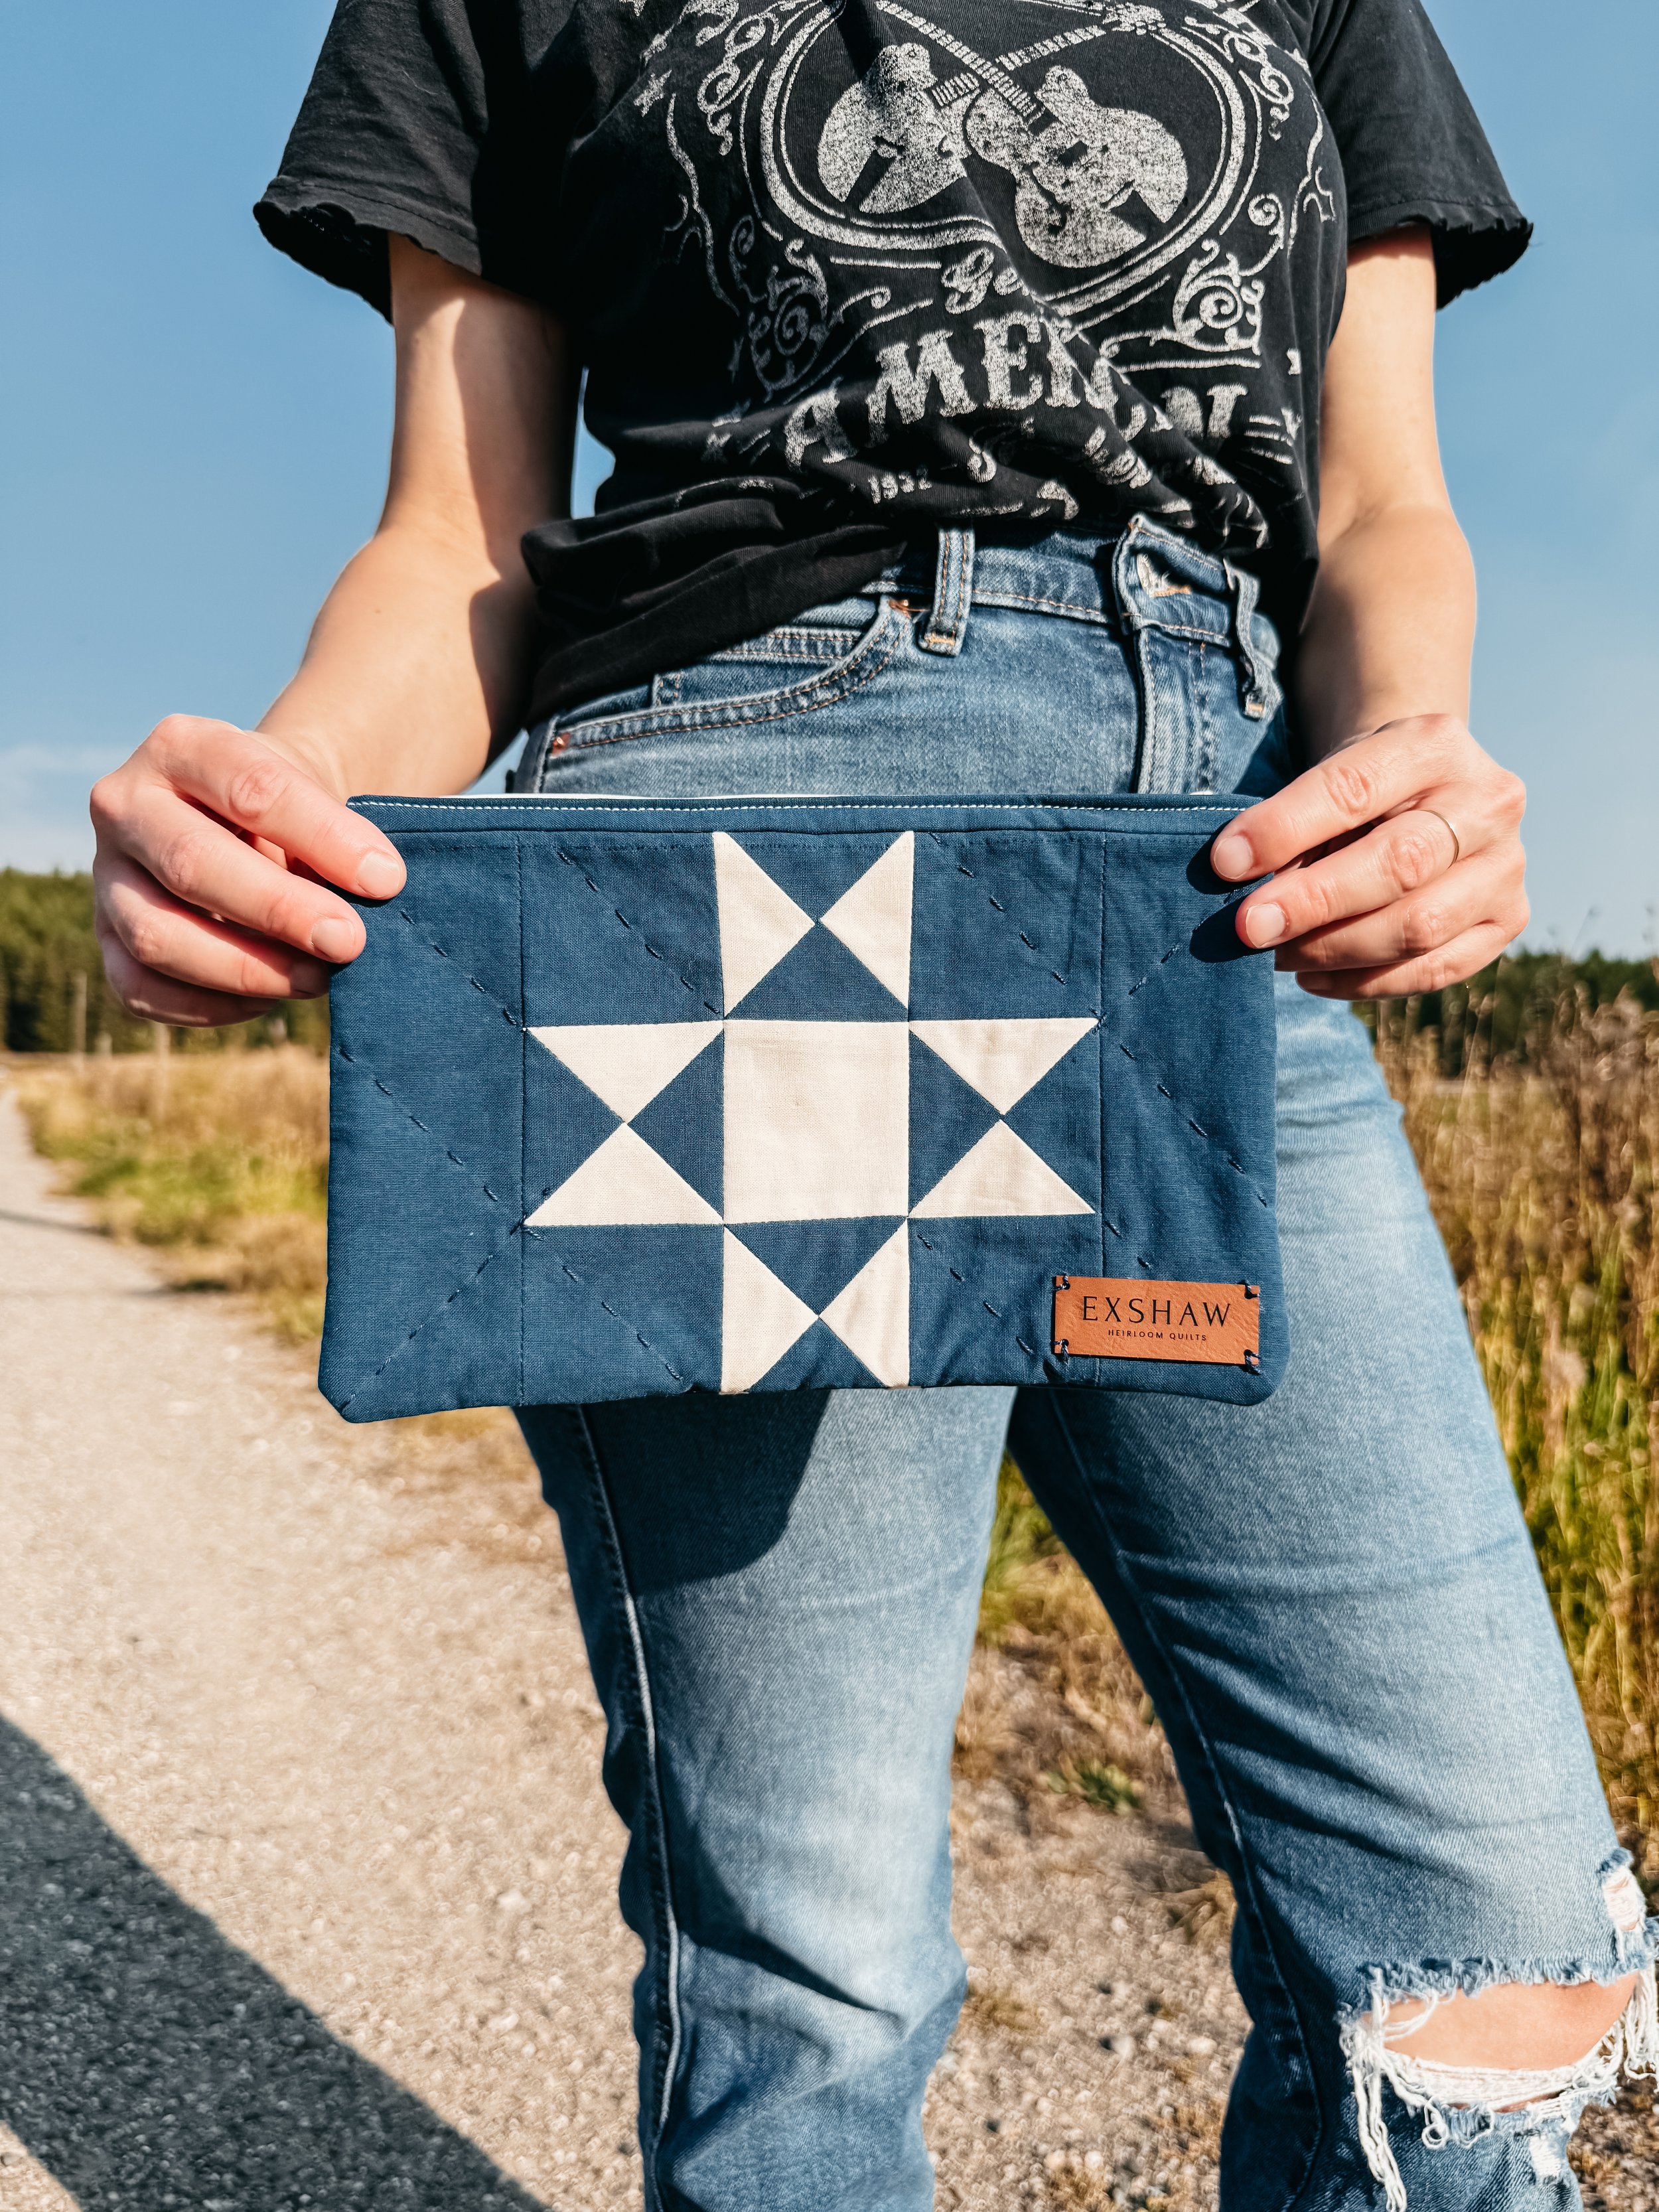
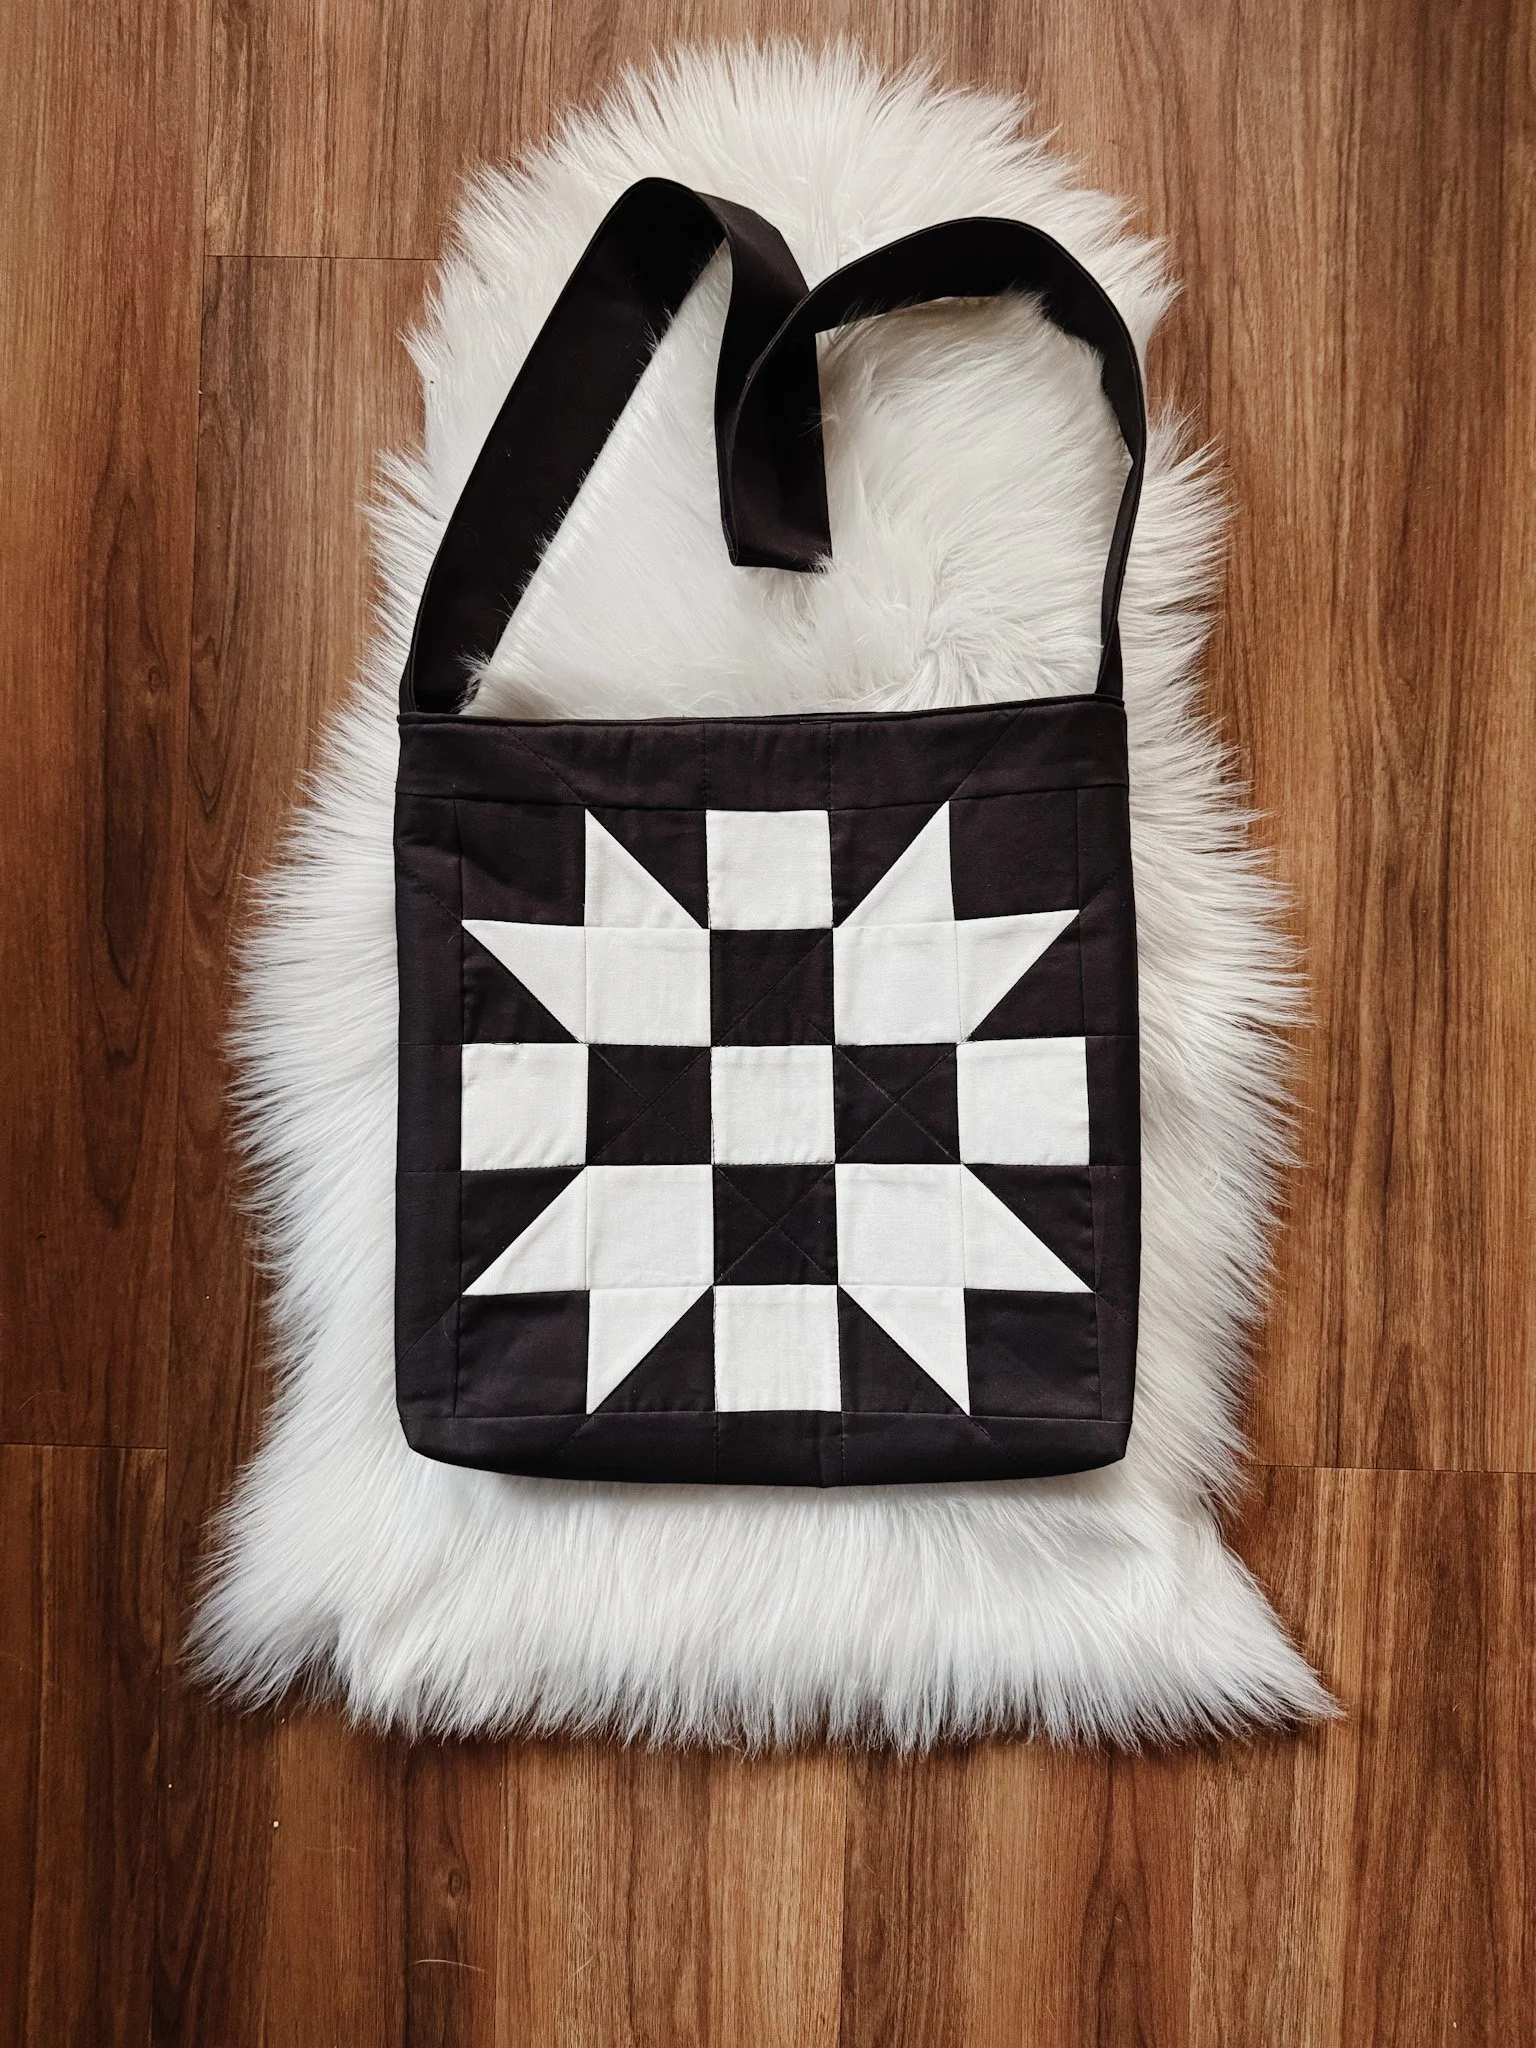
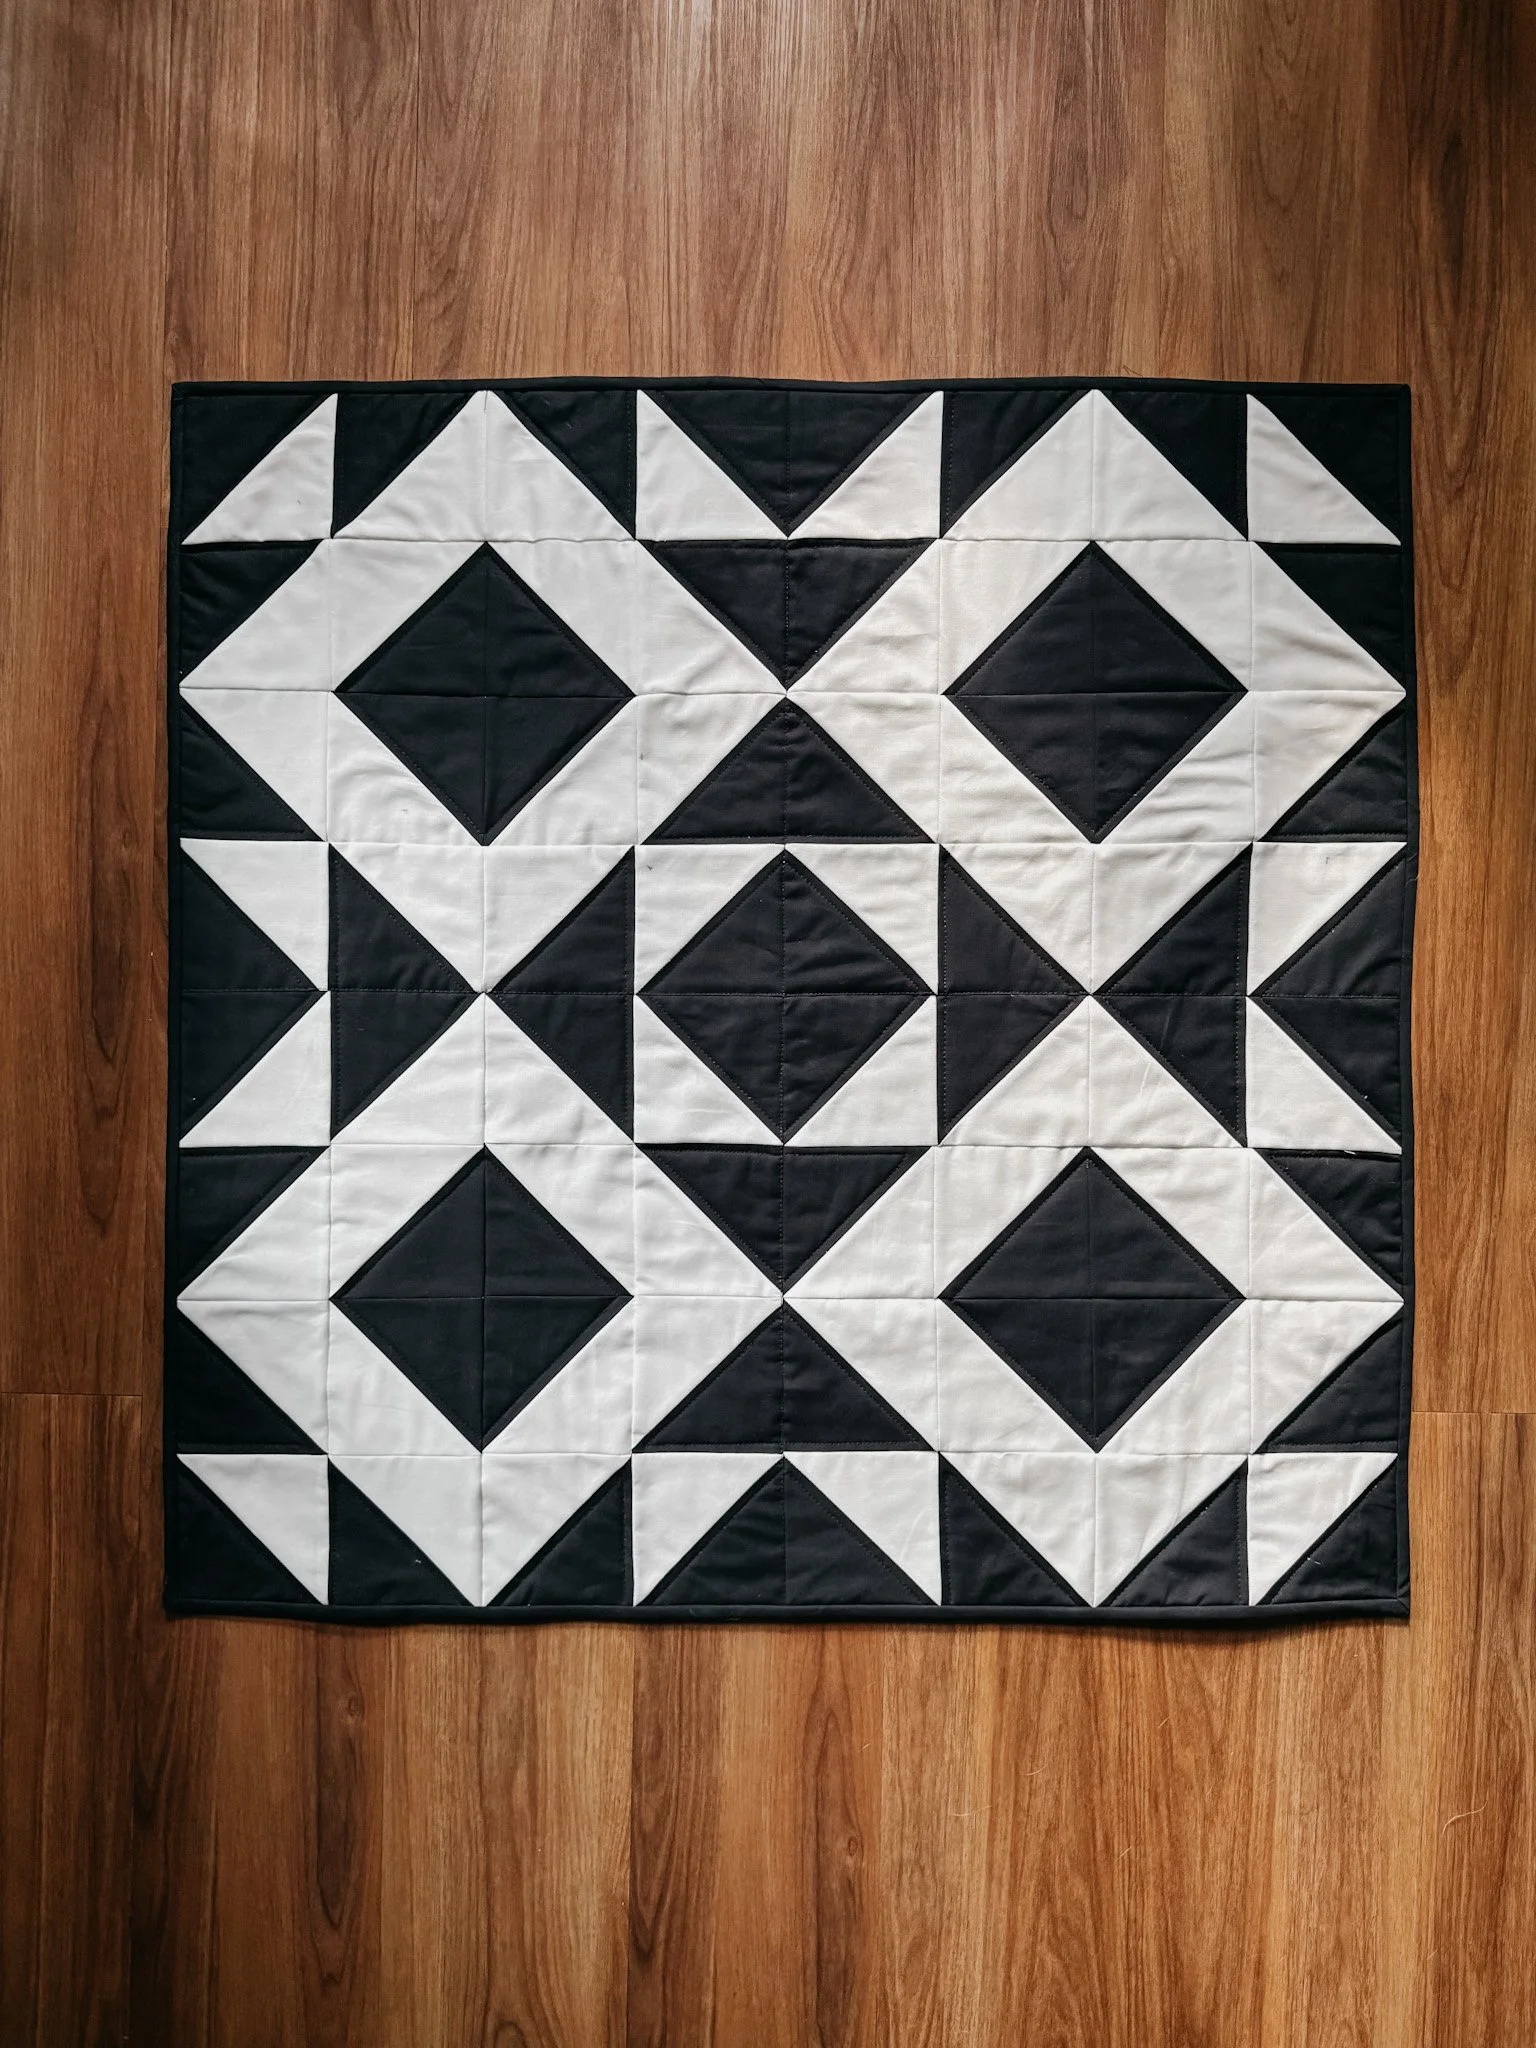
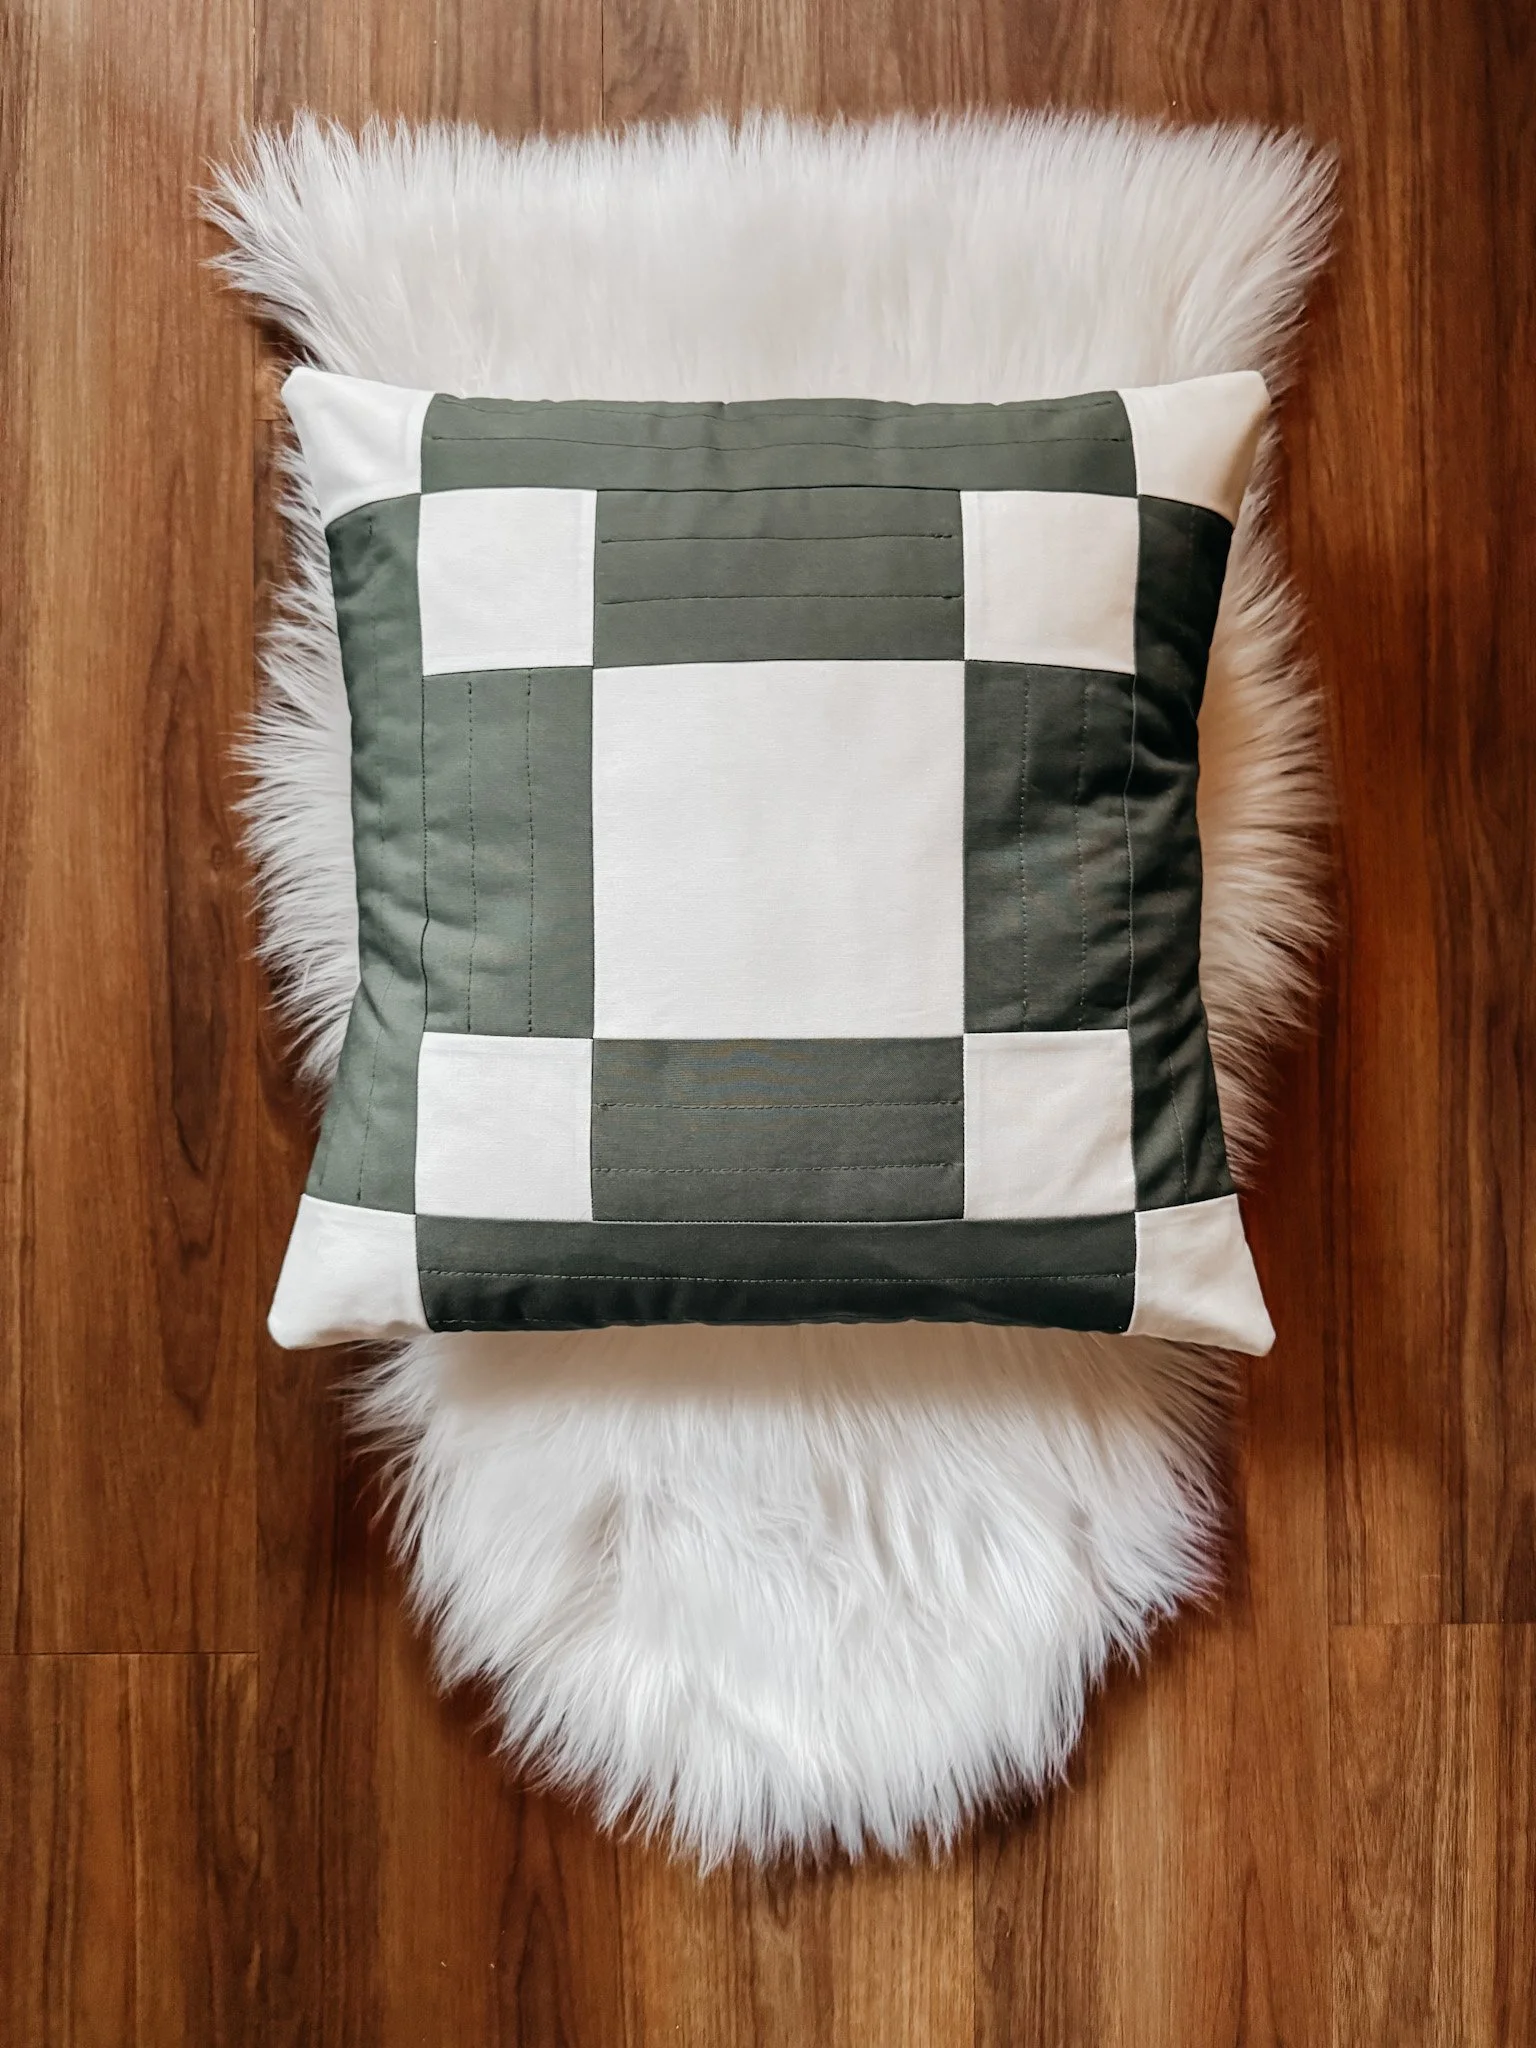
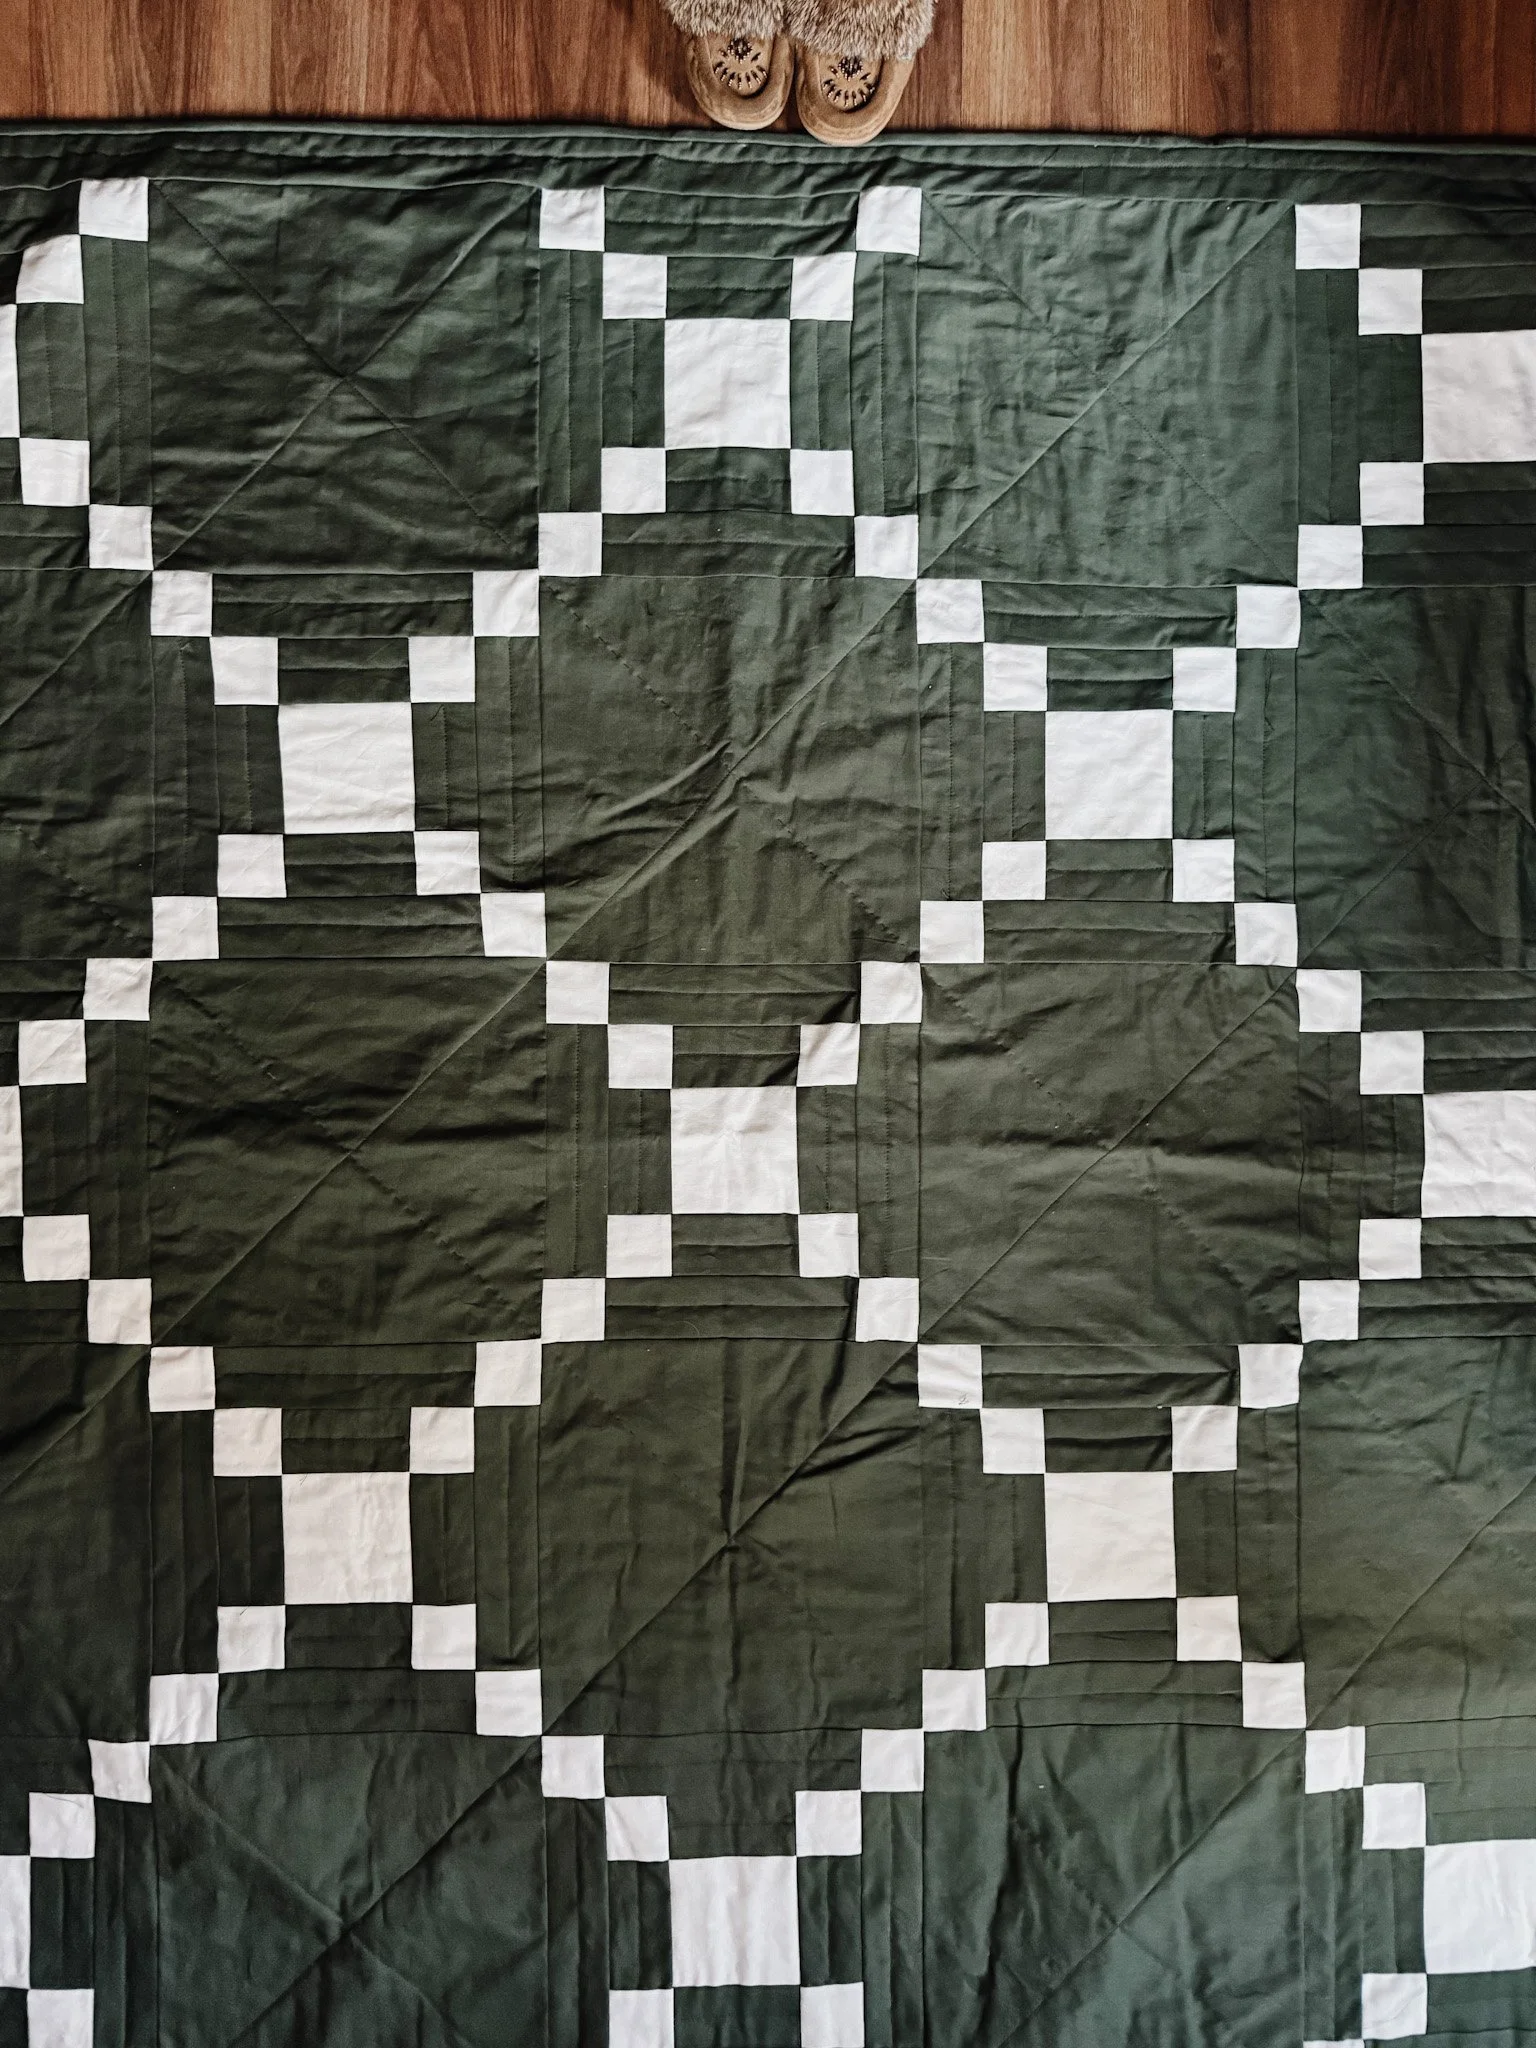
The Finished Placemat
Here she is — the Peppermint Swirl Placemat.
Sweet, classic, and a little nostalgic. Perfect for holiday tables, everyday use, or gifting.
And the best part? You learned so many quilting fundamentals along the way.
If you make one, please share it with me on Instagram! I’d love to see your colours and your stitching: @exshaw
Want to Learn Even More?
If you enjoyed this project and want deeper support, my full quilting workshop is available anytime:
The Quilt Workshop — Learn to Quilt from First Cut to Last Stitch
https://www.exshawquilts.com
It includes hours of step-by-step video lessons, PDF downloads, supply lists, and a full quilt pattern you can make alongside me.
Until next time,
Kim


Welcome to the blog—I'm so glad you're here.
I'm Kim, quilting and dyeing from an old cabin in the woods. This is where I share beginner-friendly tutorials, slow craft tips, and stories from a life stitched by hand. I hope you find something here that feels like home.