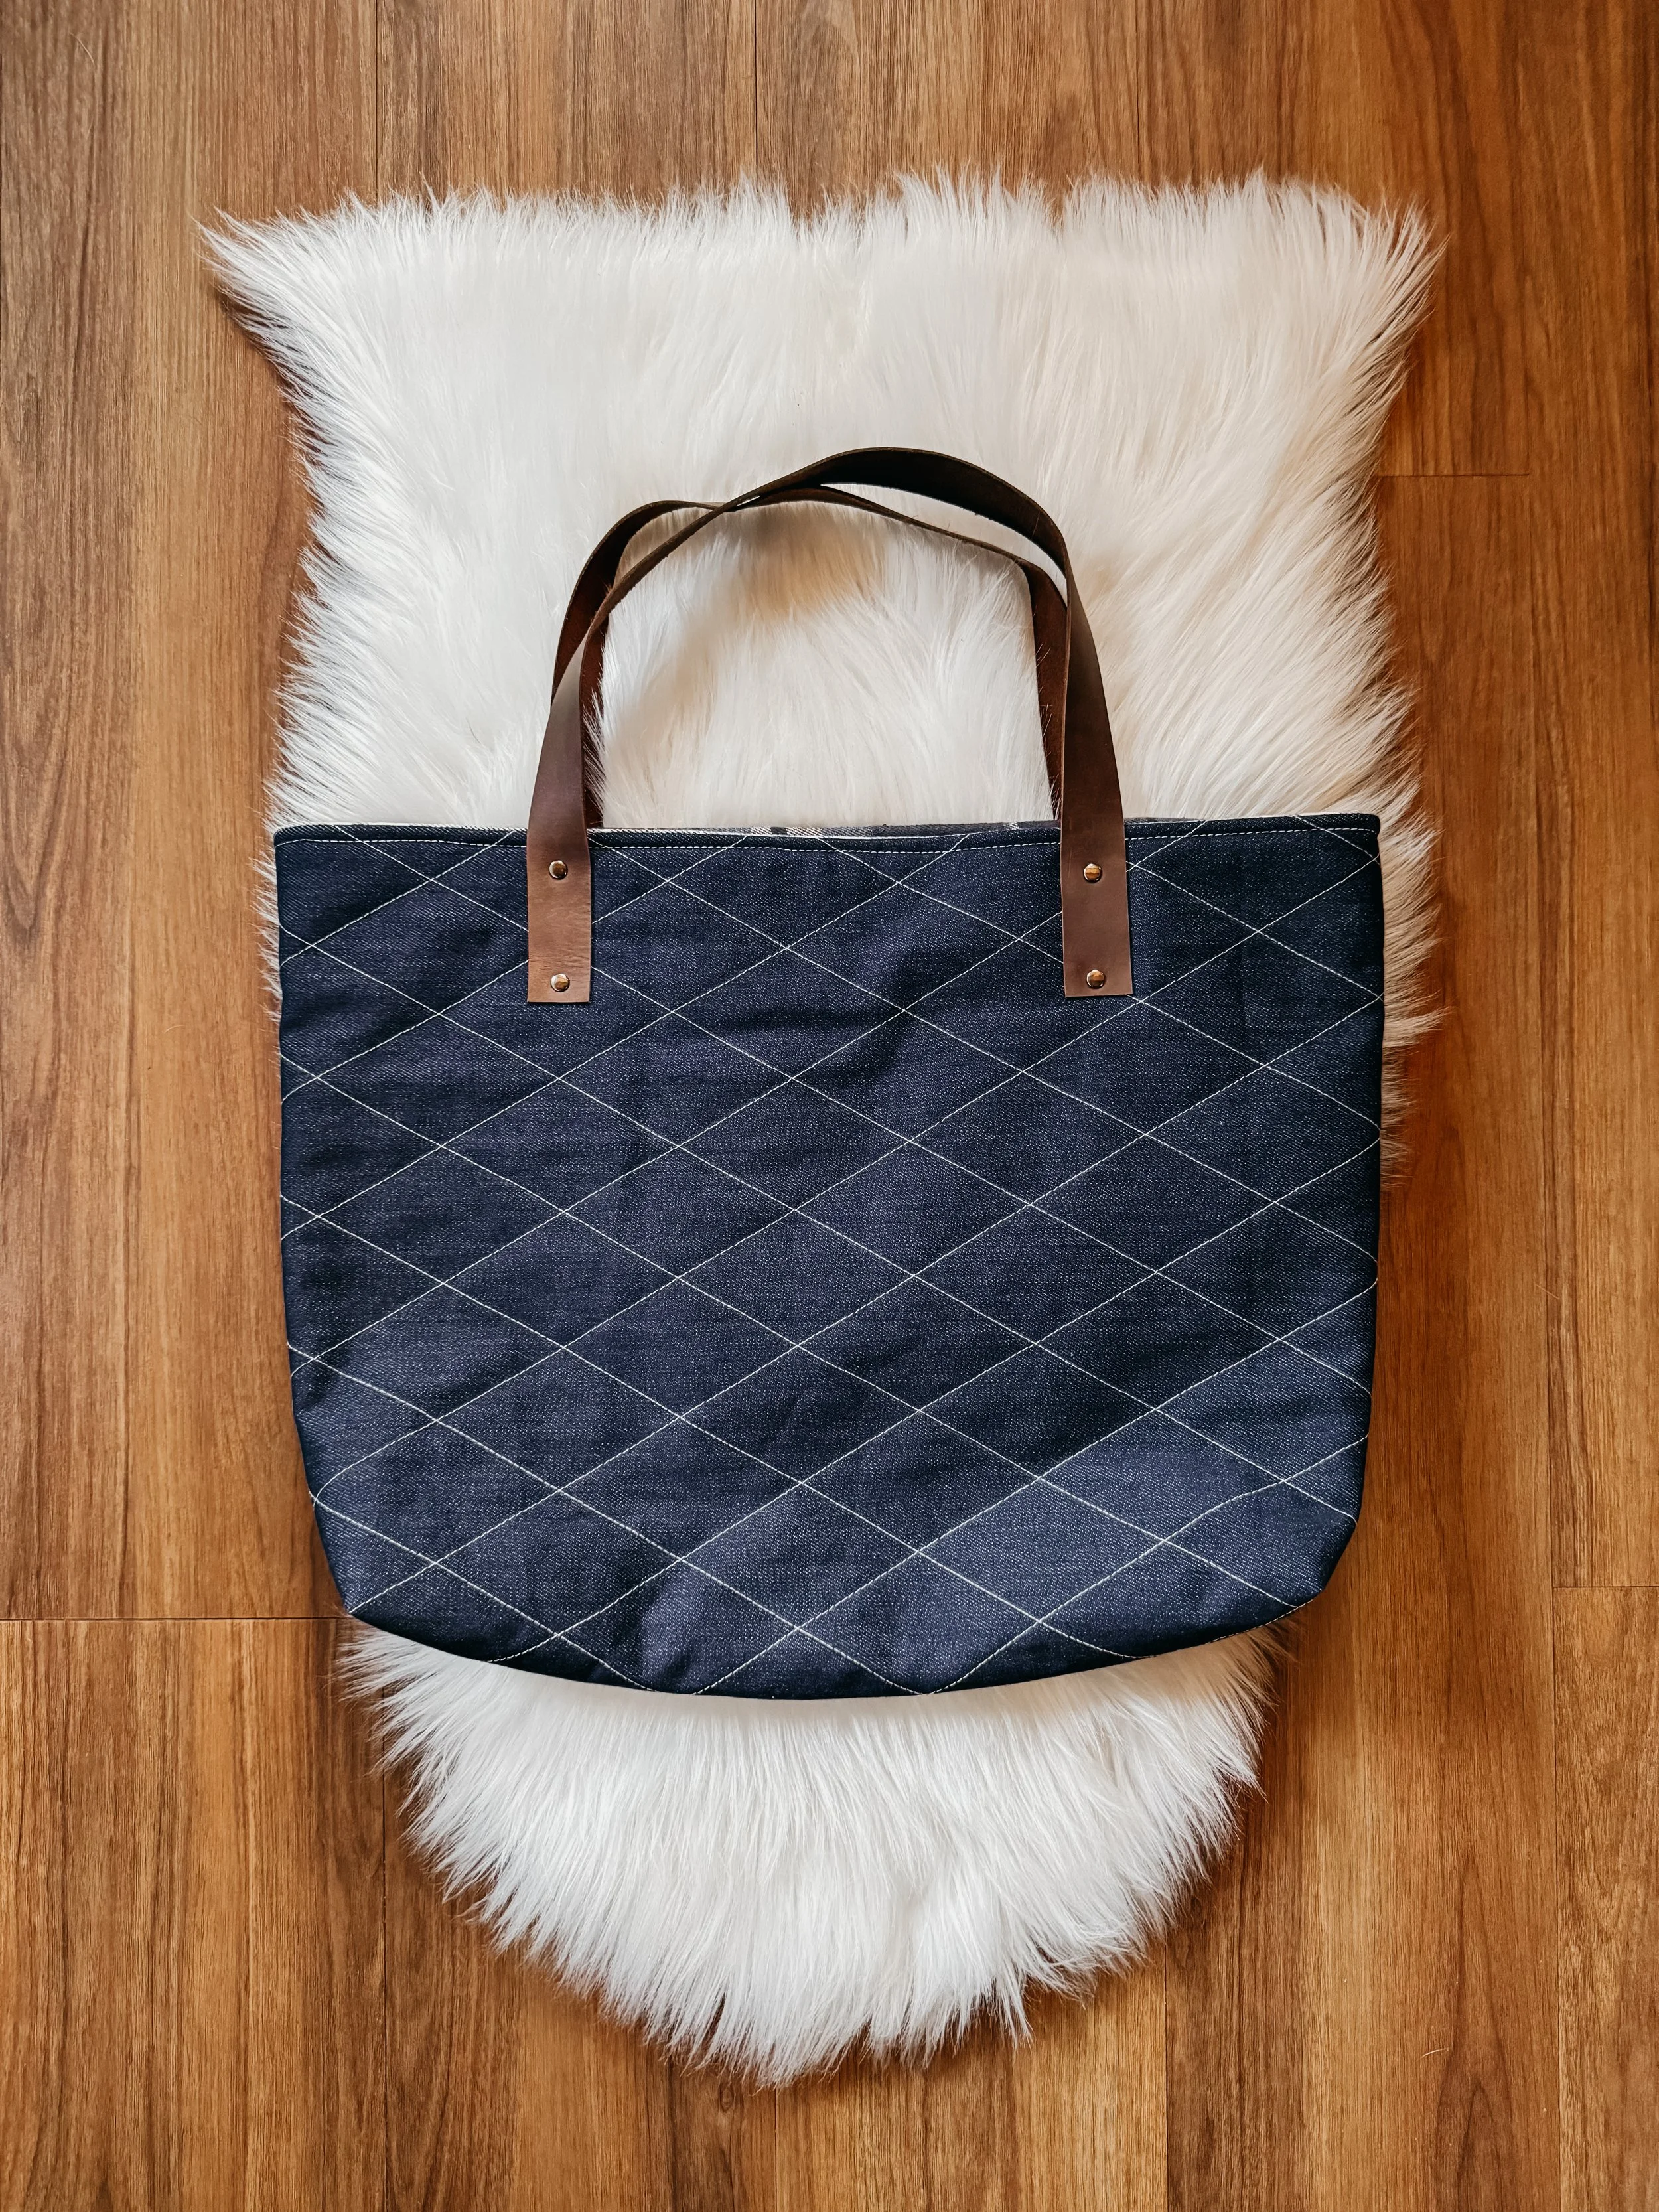
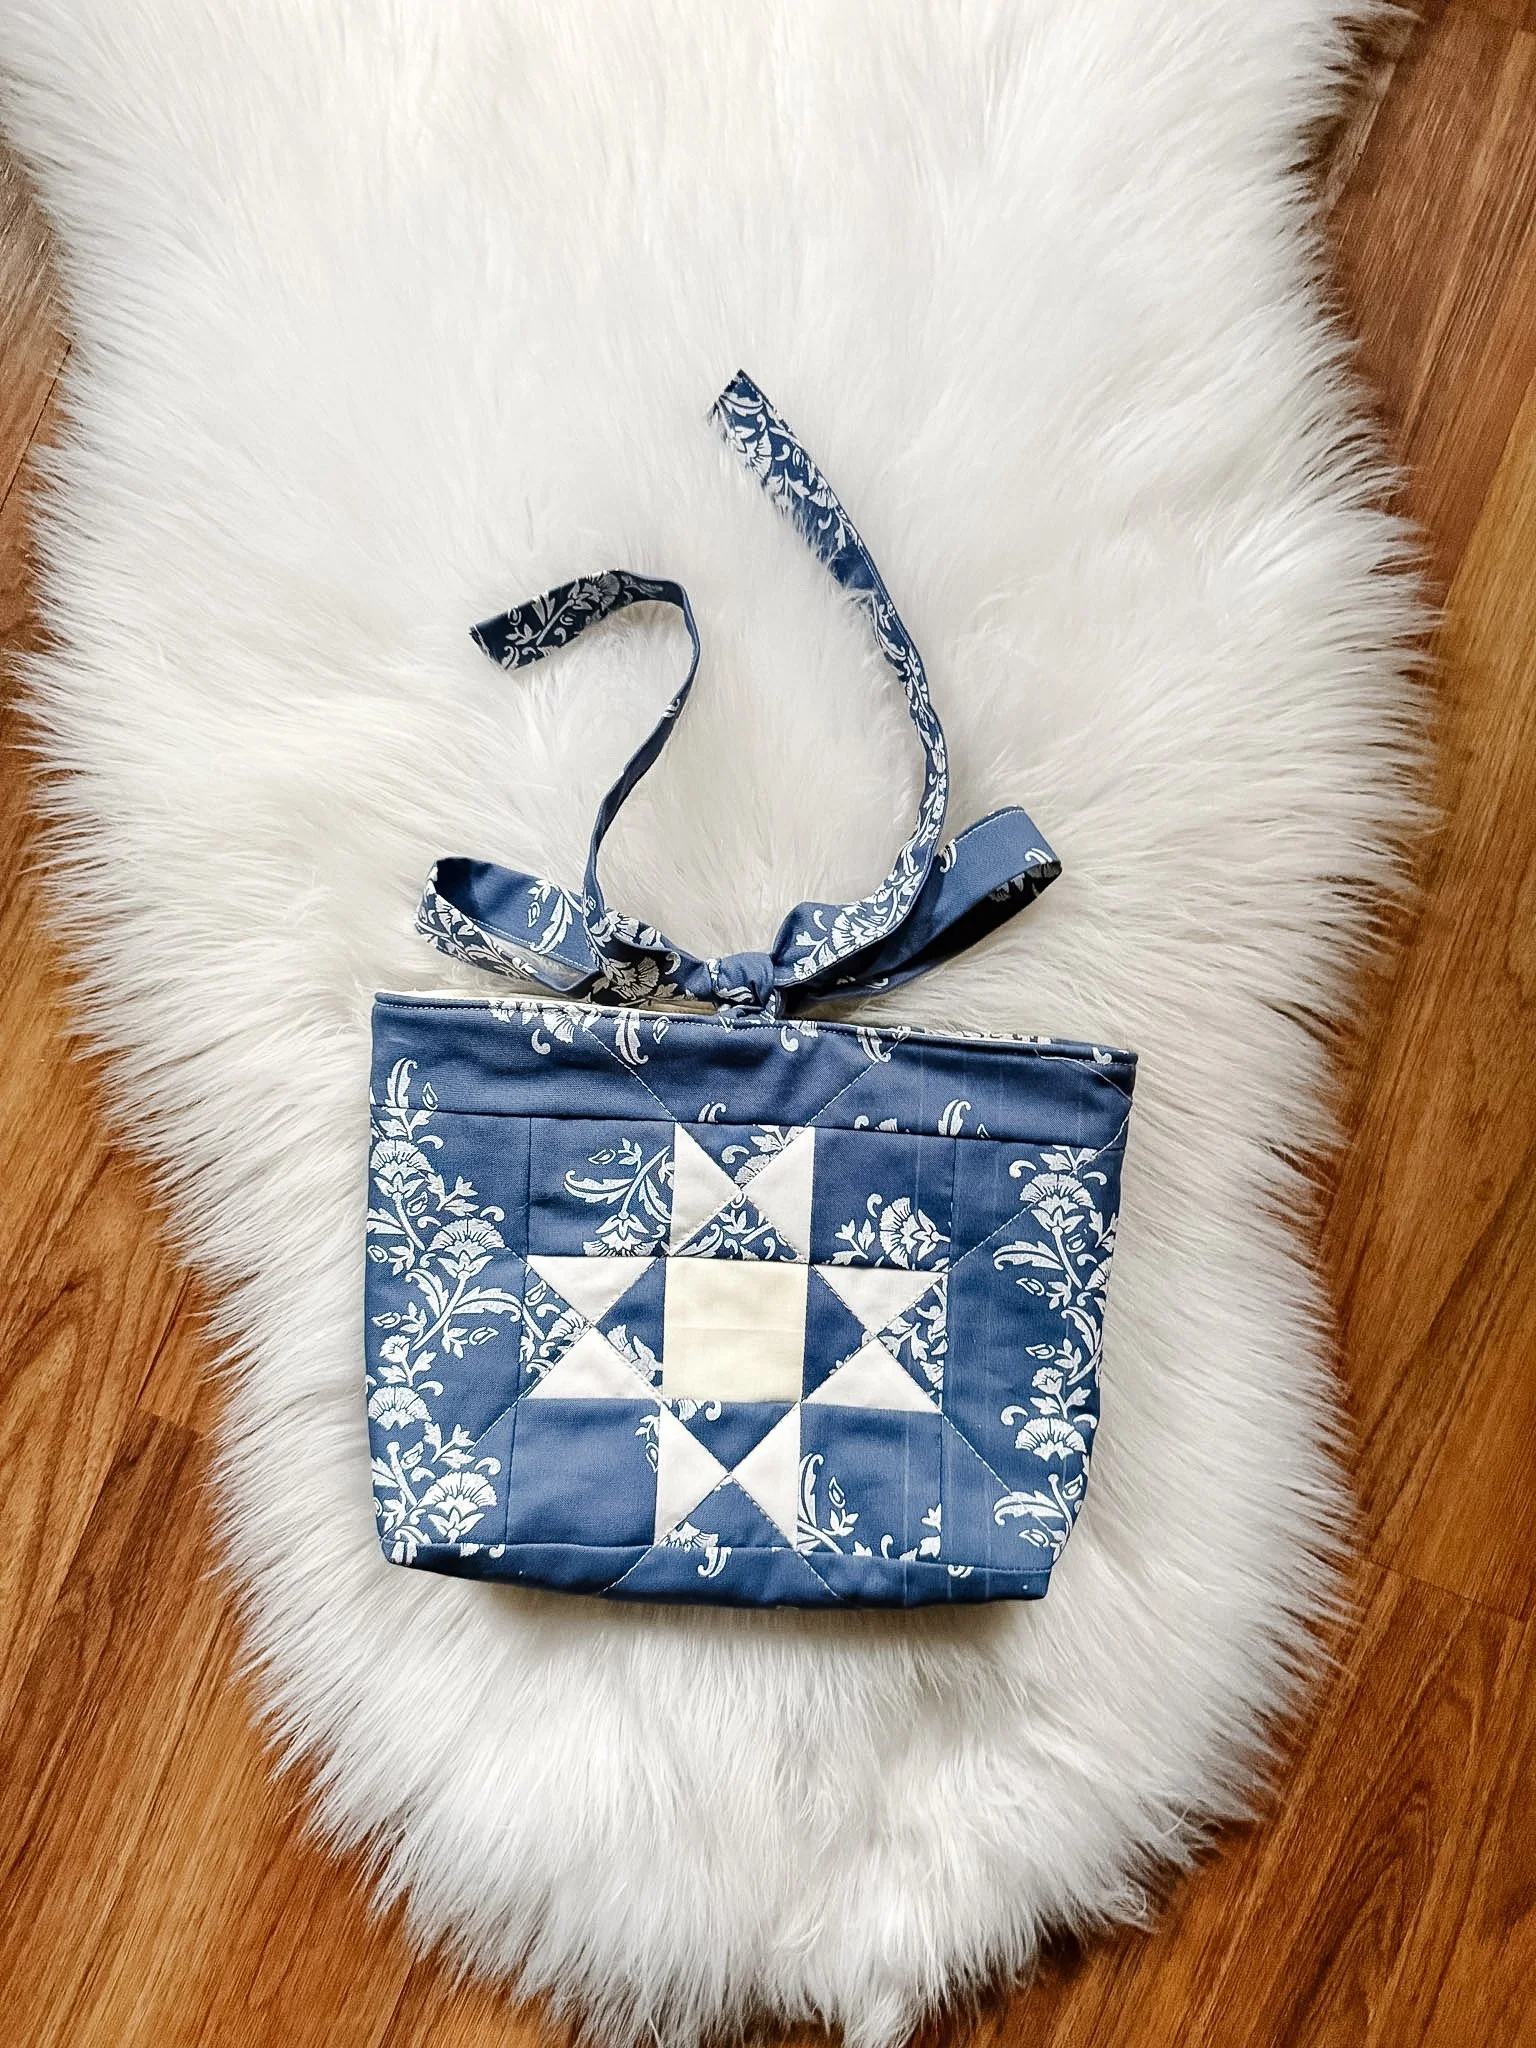
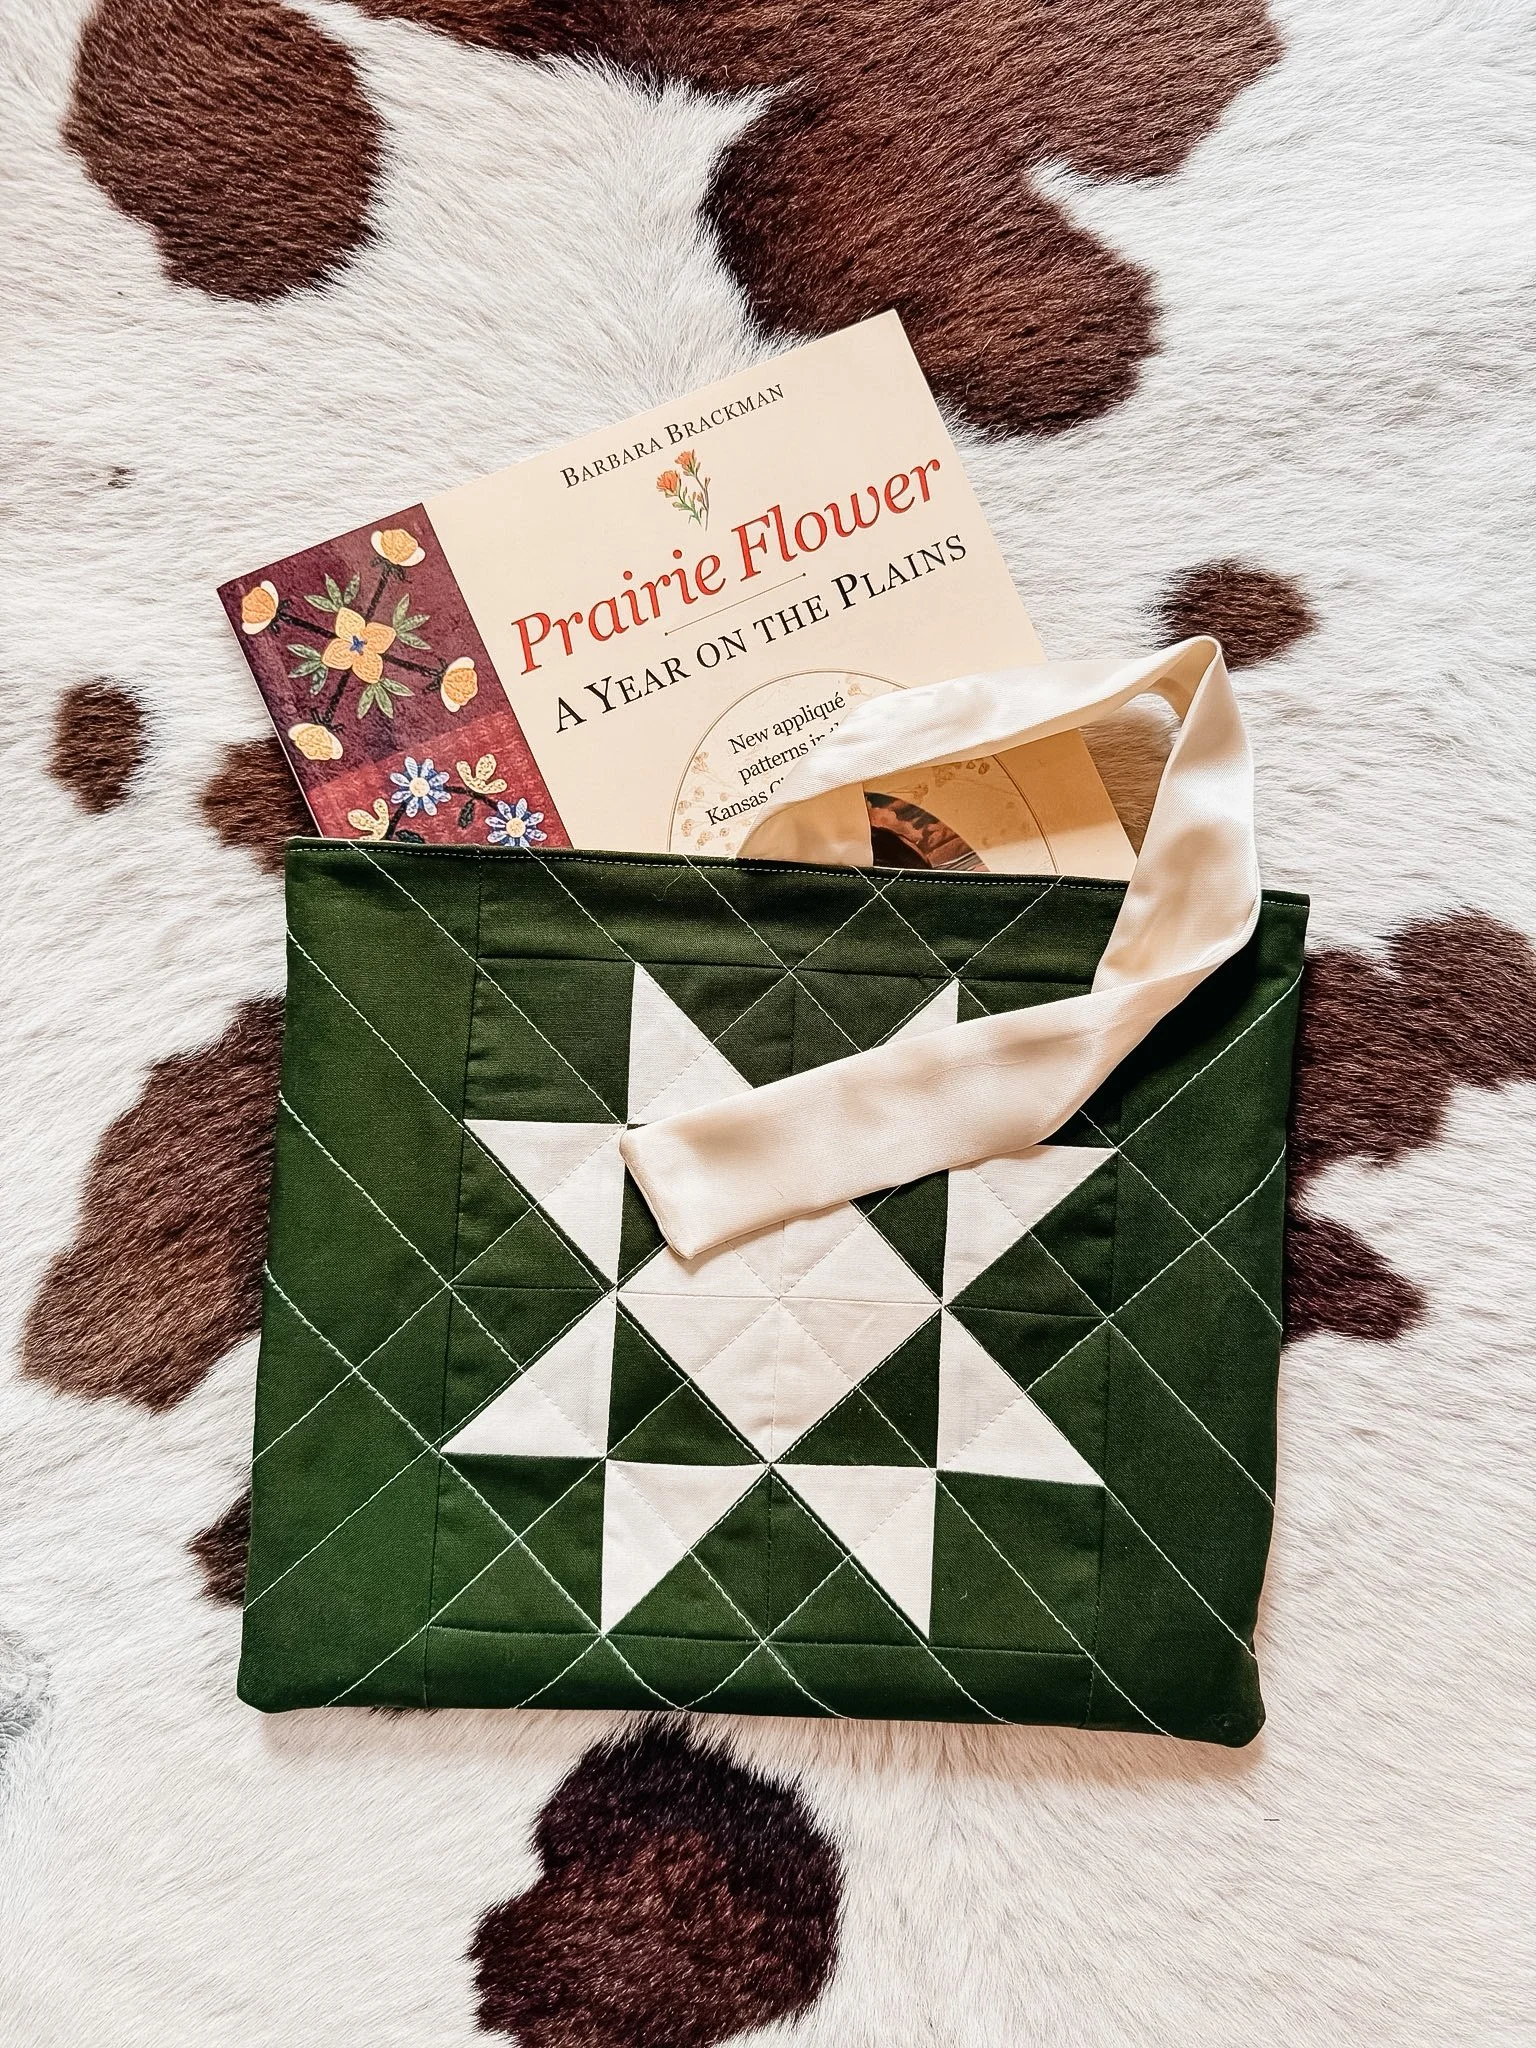
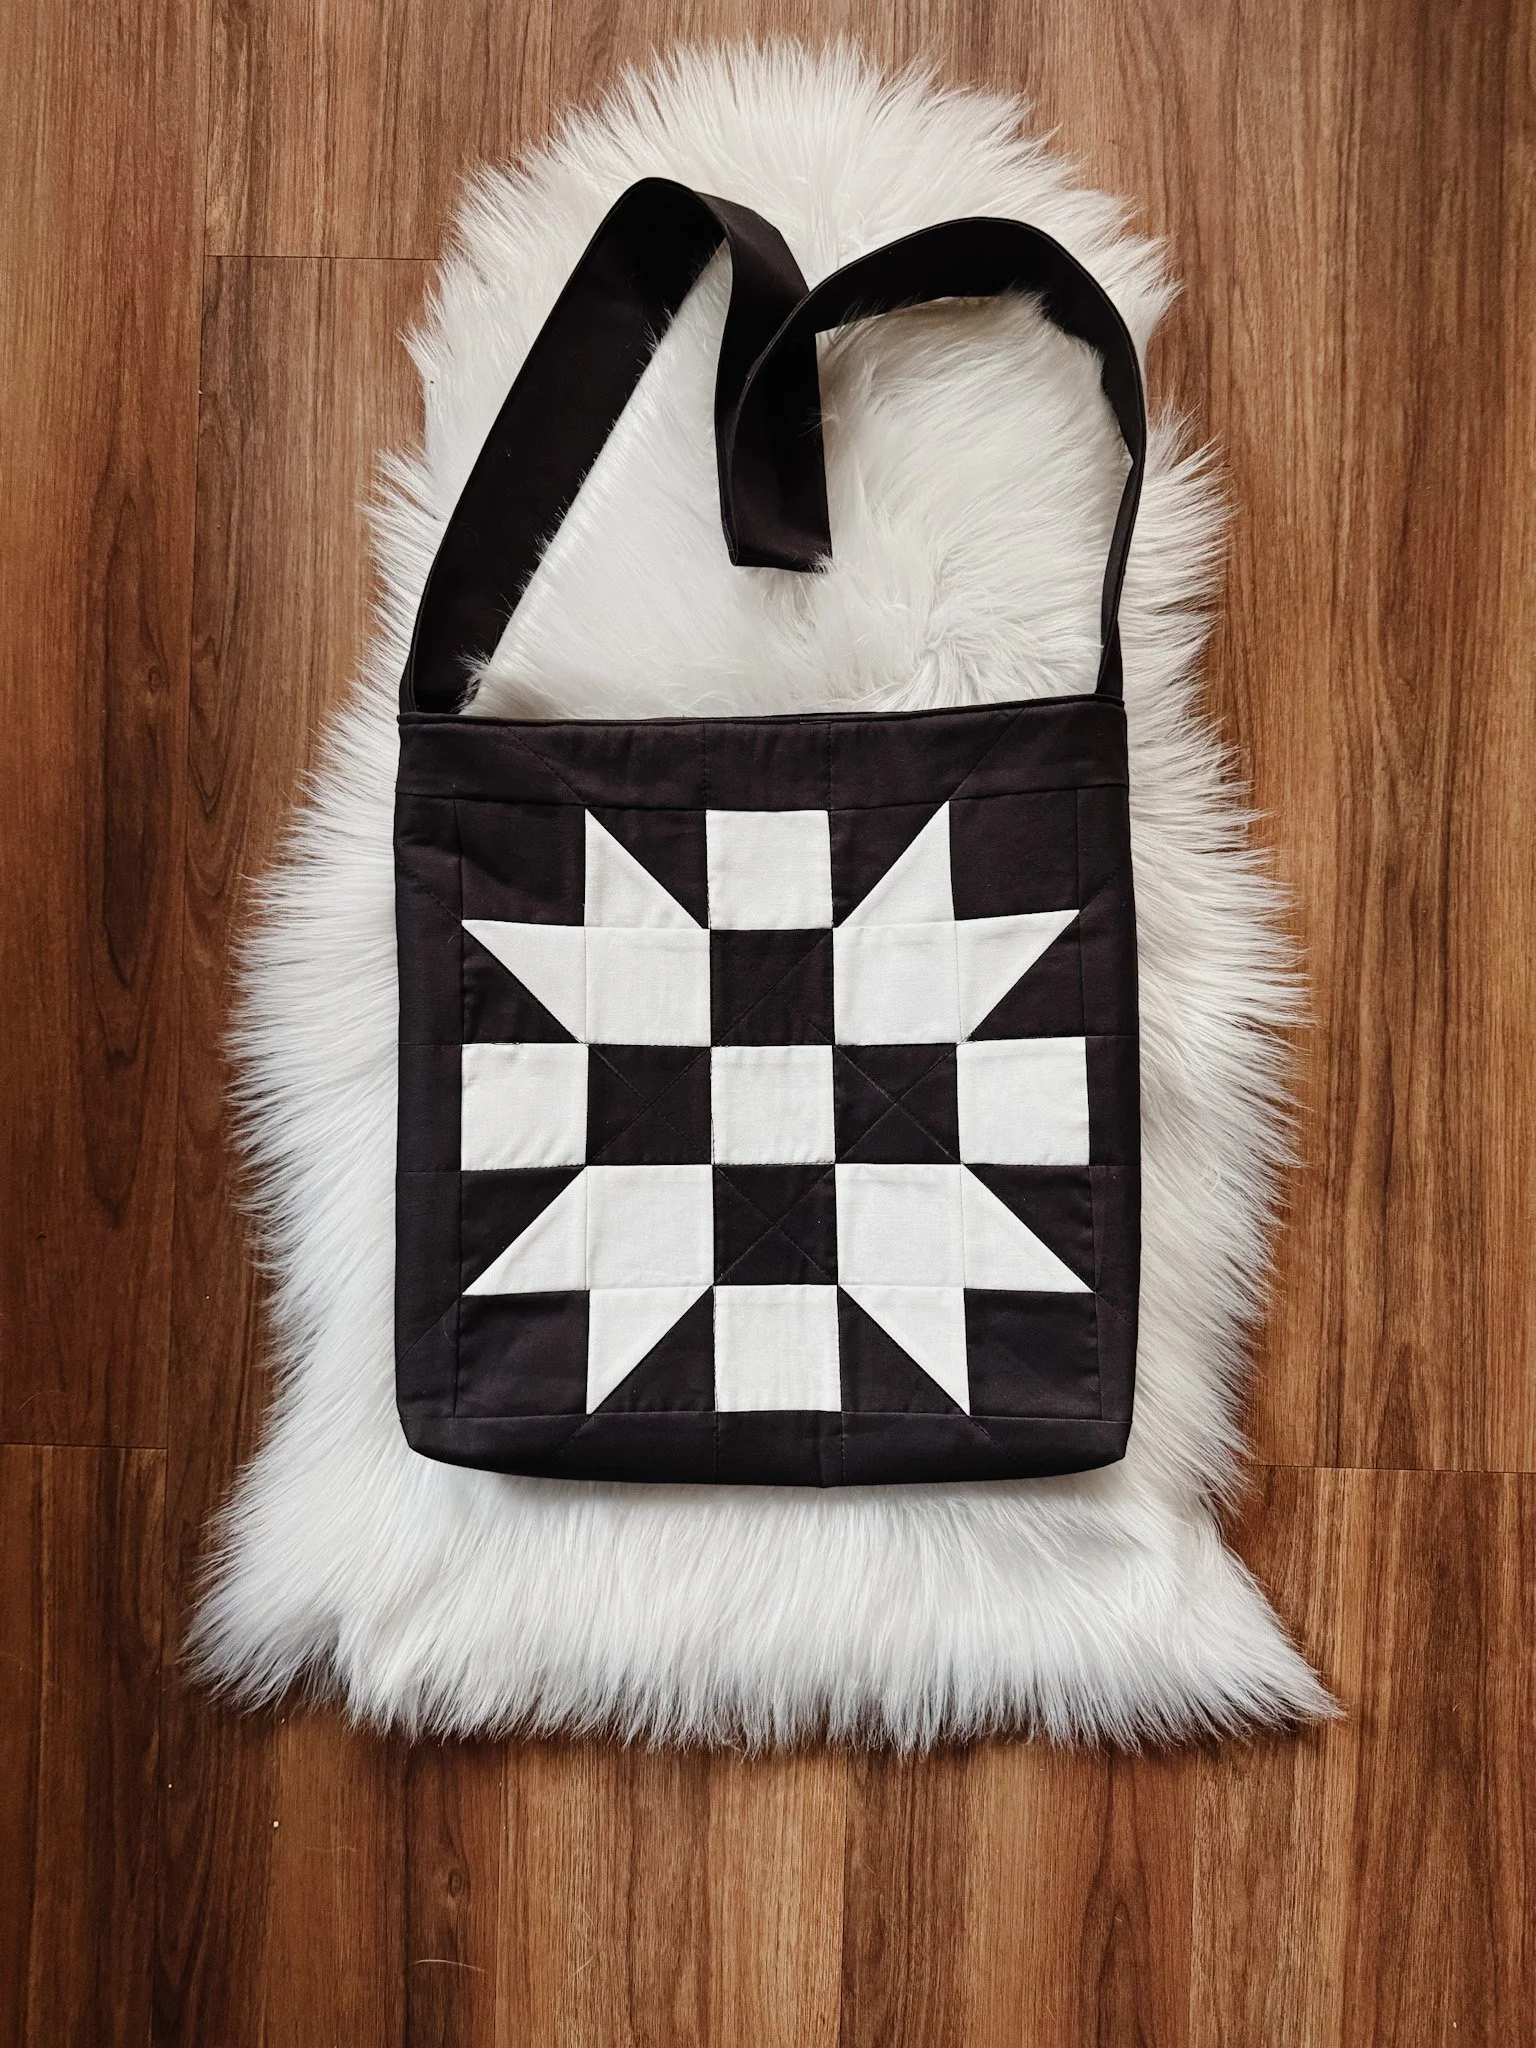
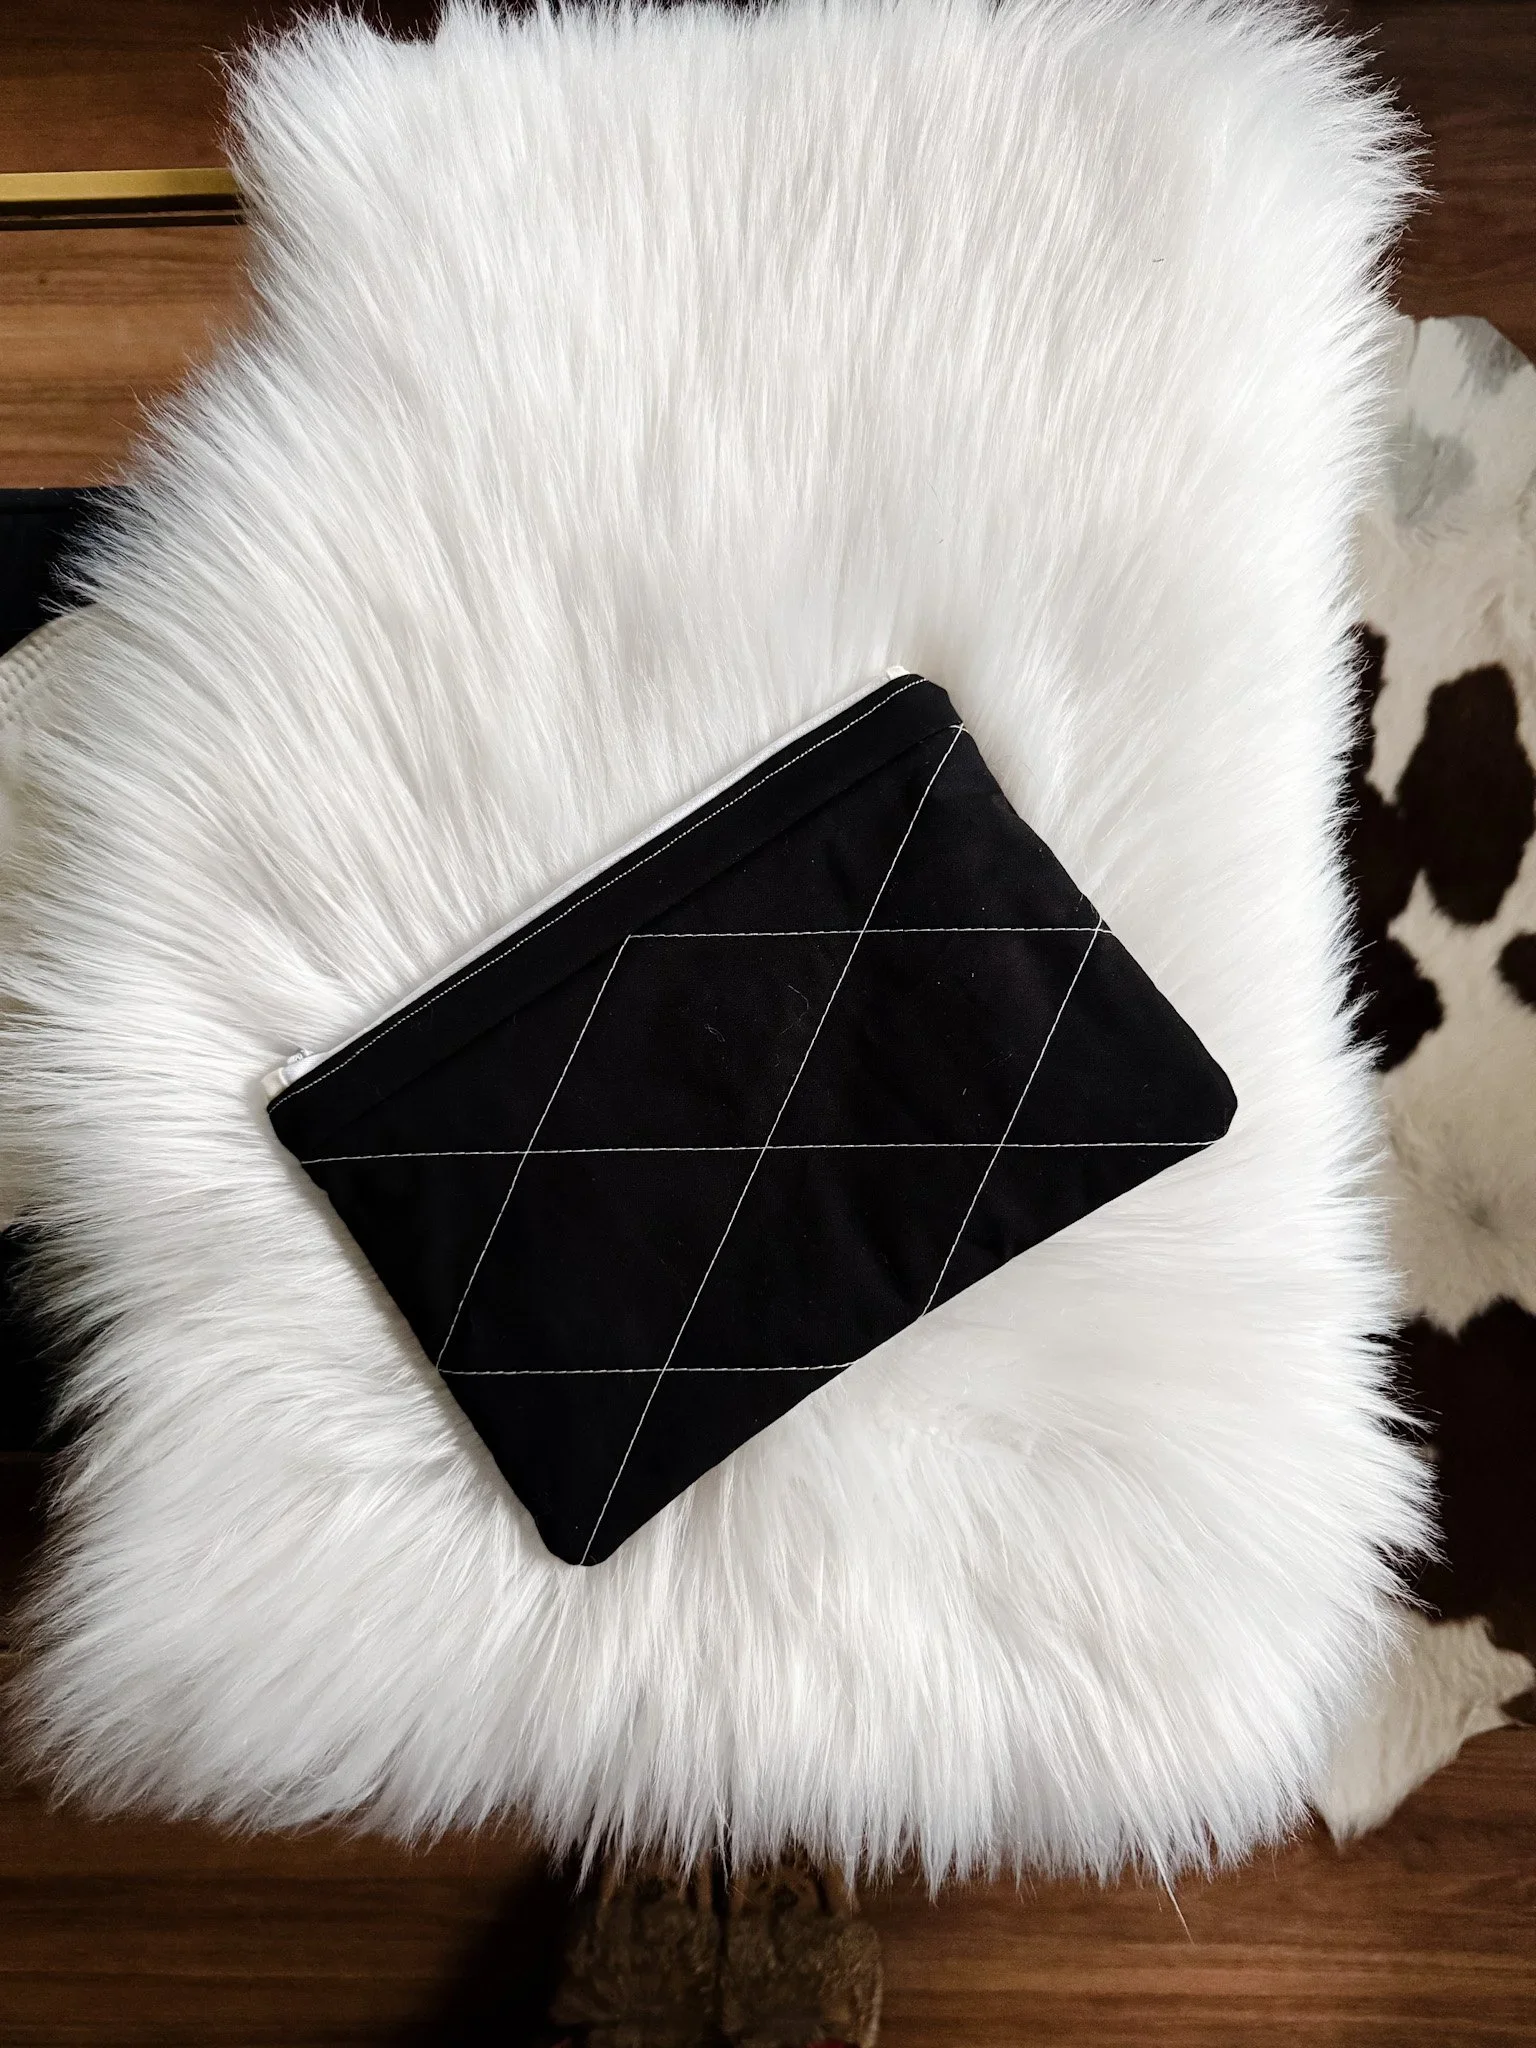
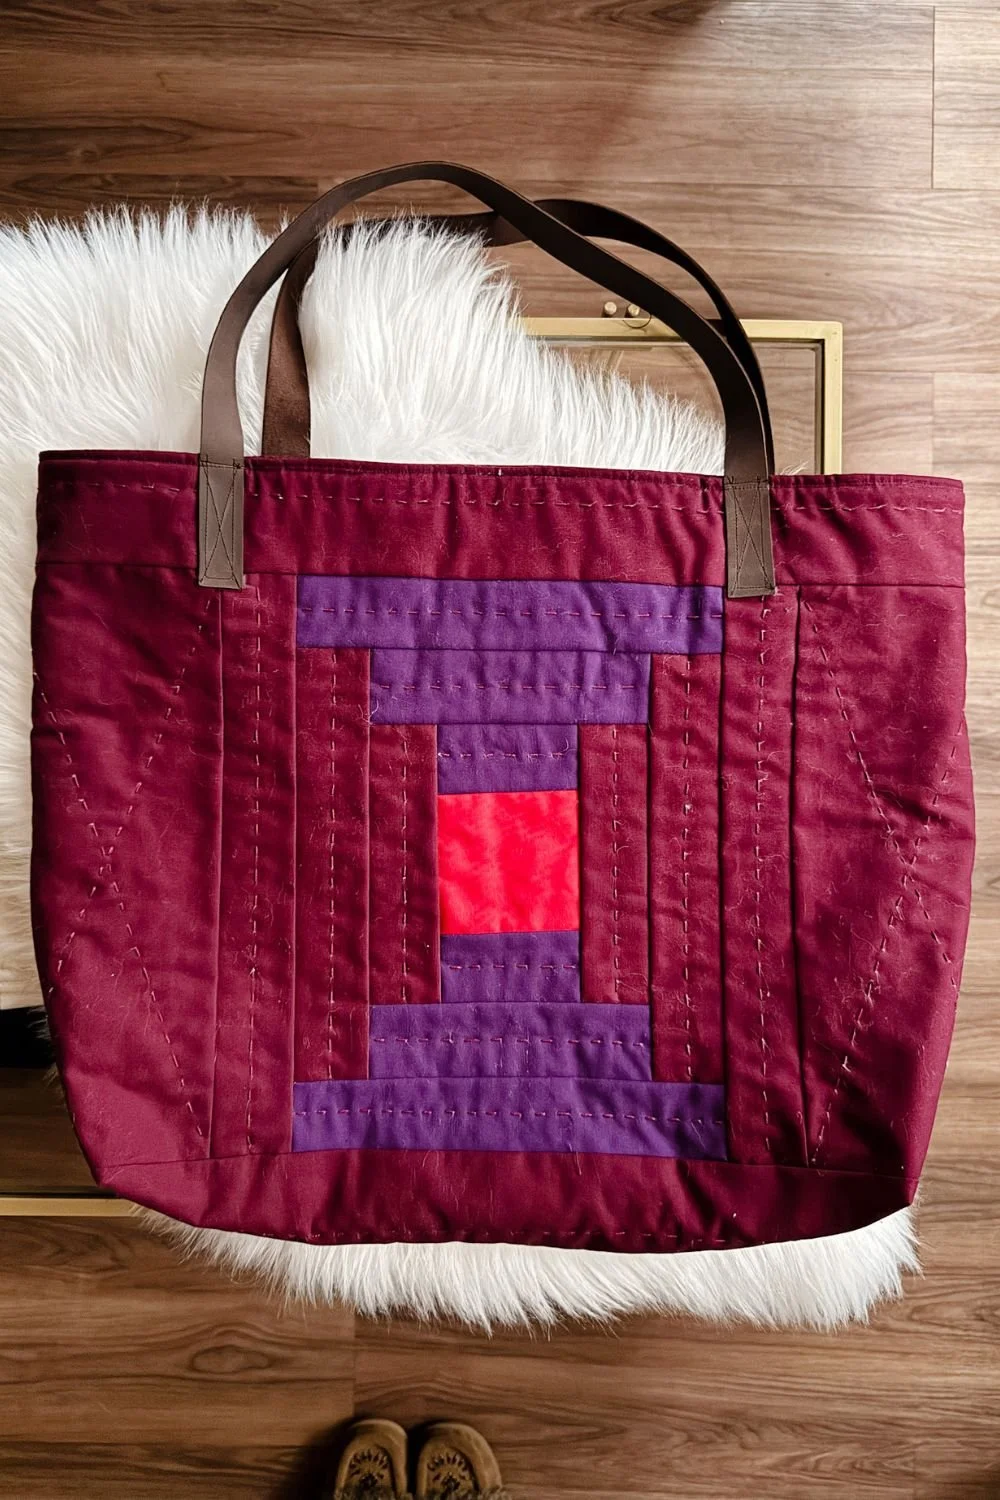
Quick and Easy Way to Assemble Stunning Quilted Tote Bags in Just Minutes

There’s a moment in tote making that trips a lot of us up—not the piecing, not the quilting, but the final assembly. Boxed corners. Linings. Straps. Turning gaps. That slightly panicked feeling of “why does this suddenly look wrong?”
If that sounds familiar, this tutorial is for you.
In this post, I’m walking you through the final steps of assembling a quilted tote bag—the calm, practical way. If you already have your quilted panels finished and you’re ready to turn them into a real, usable bag, you’re in exactly the right place.
👉 Watch the full step-by-step video tutorial here:
What This Tutorial Covers
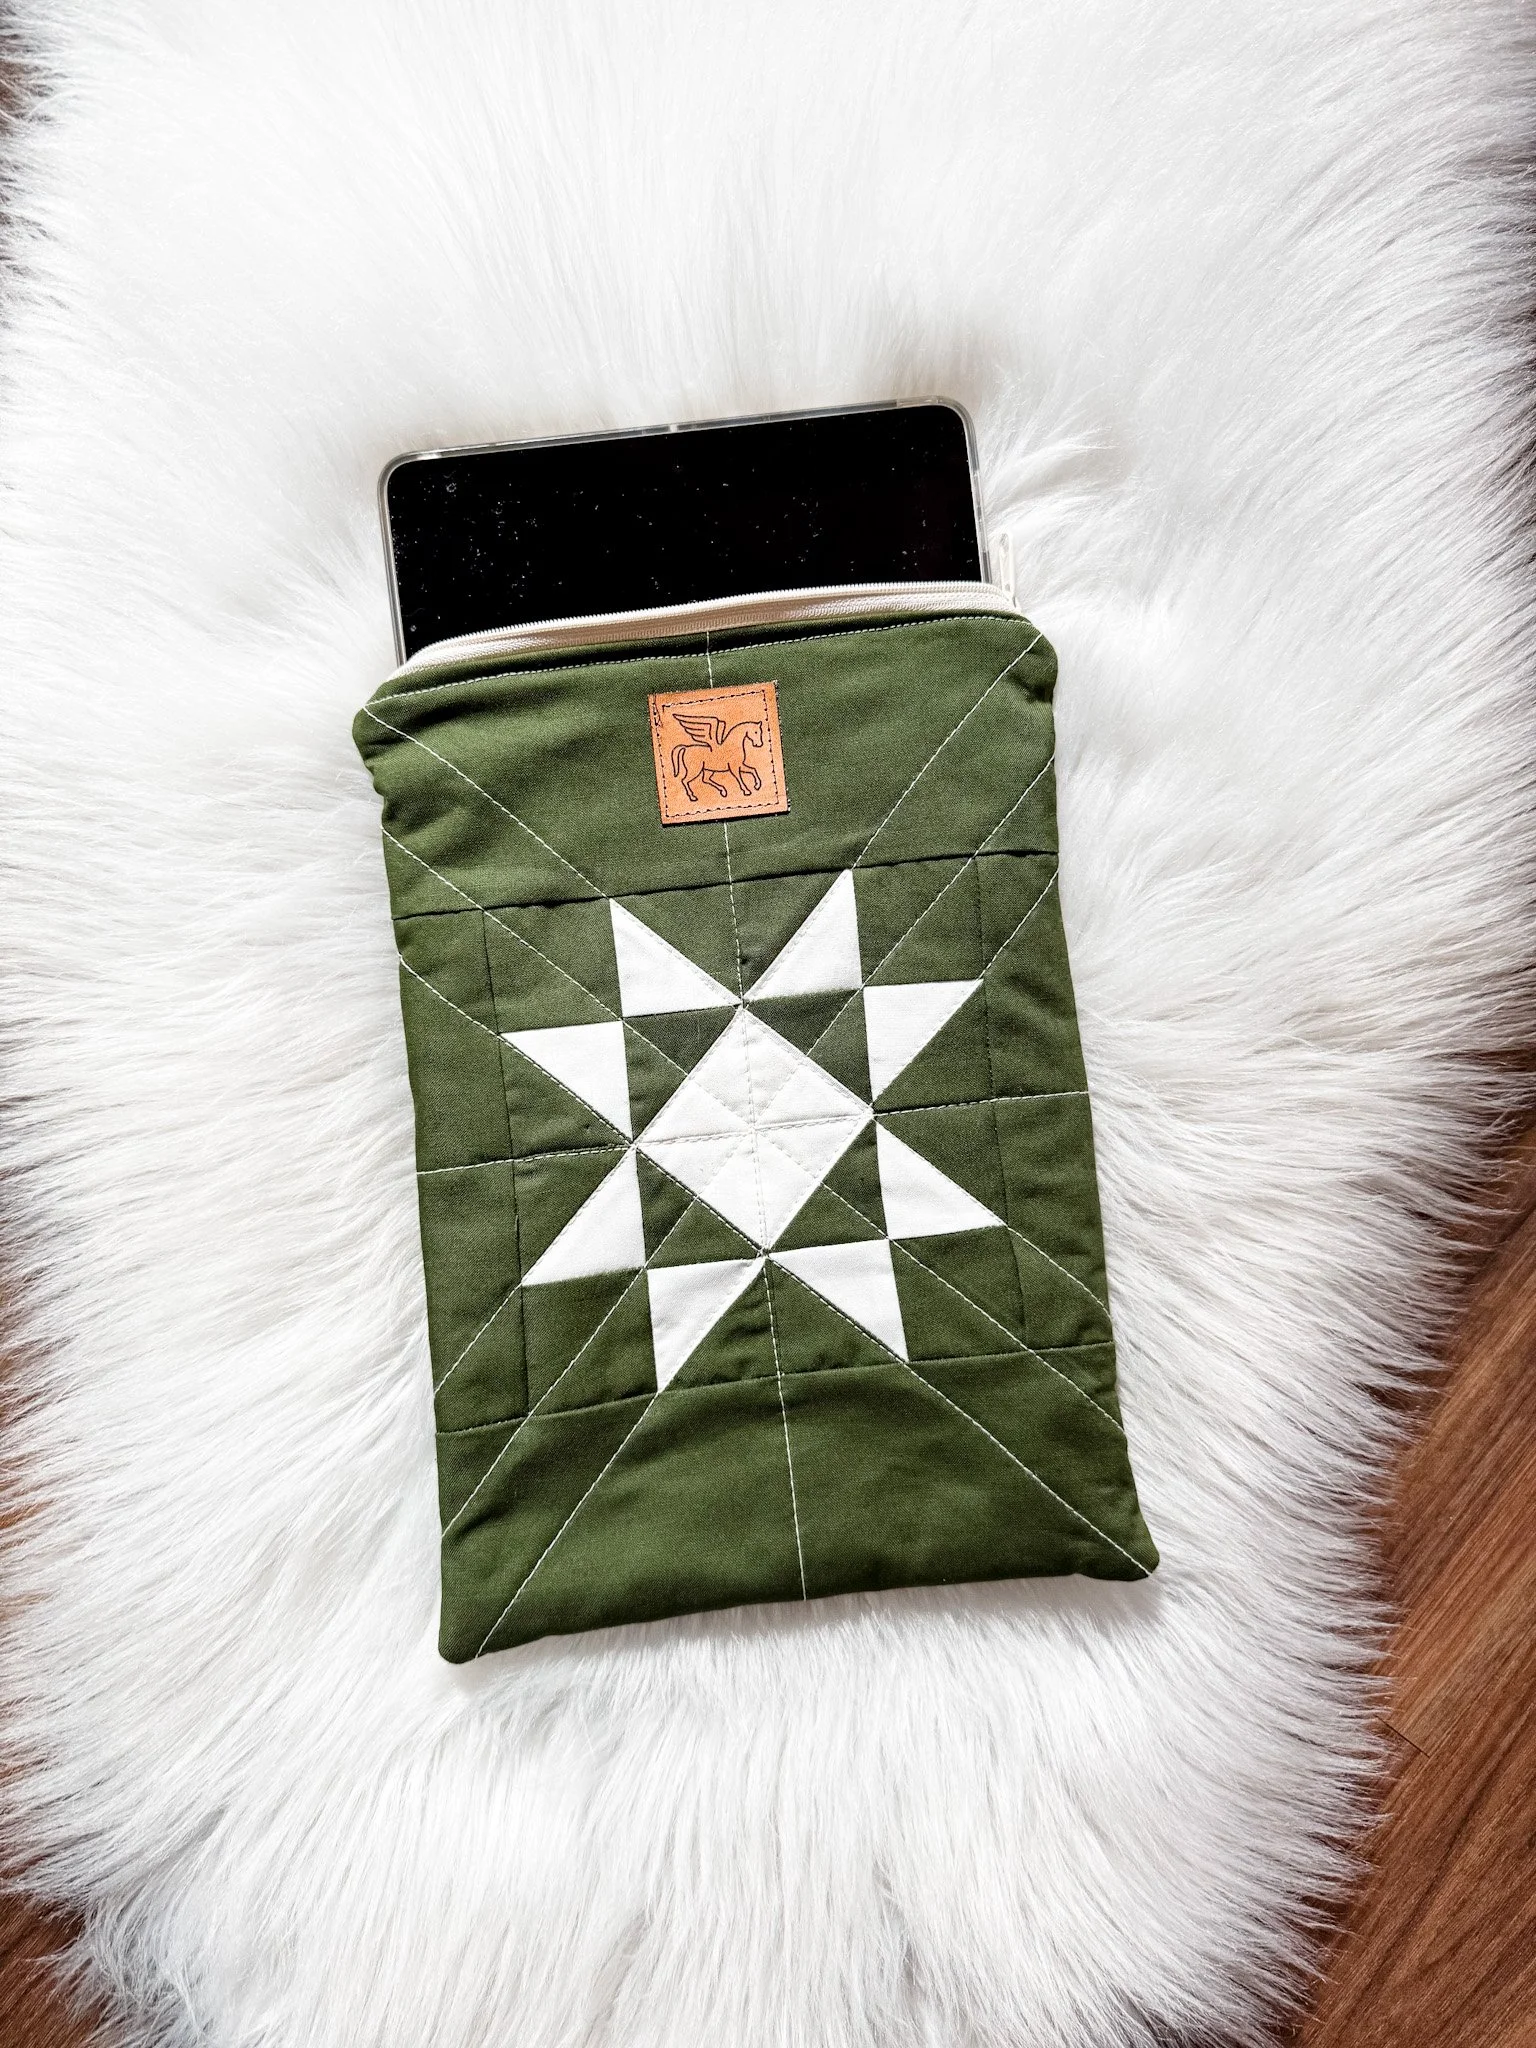
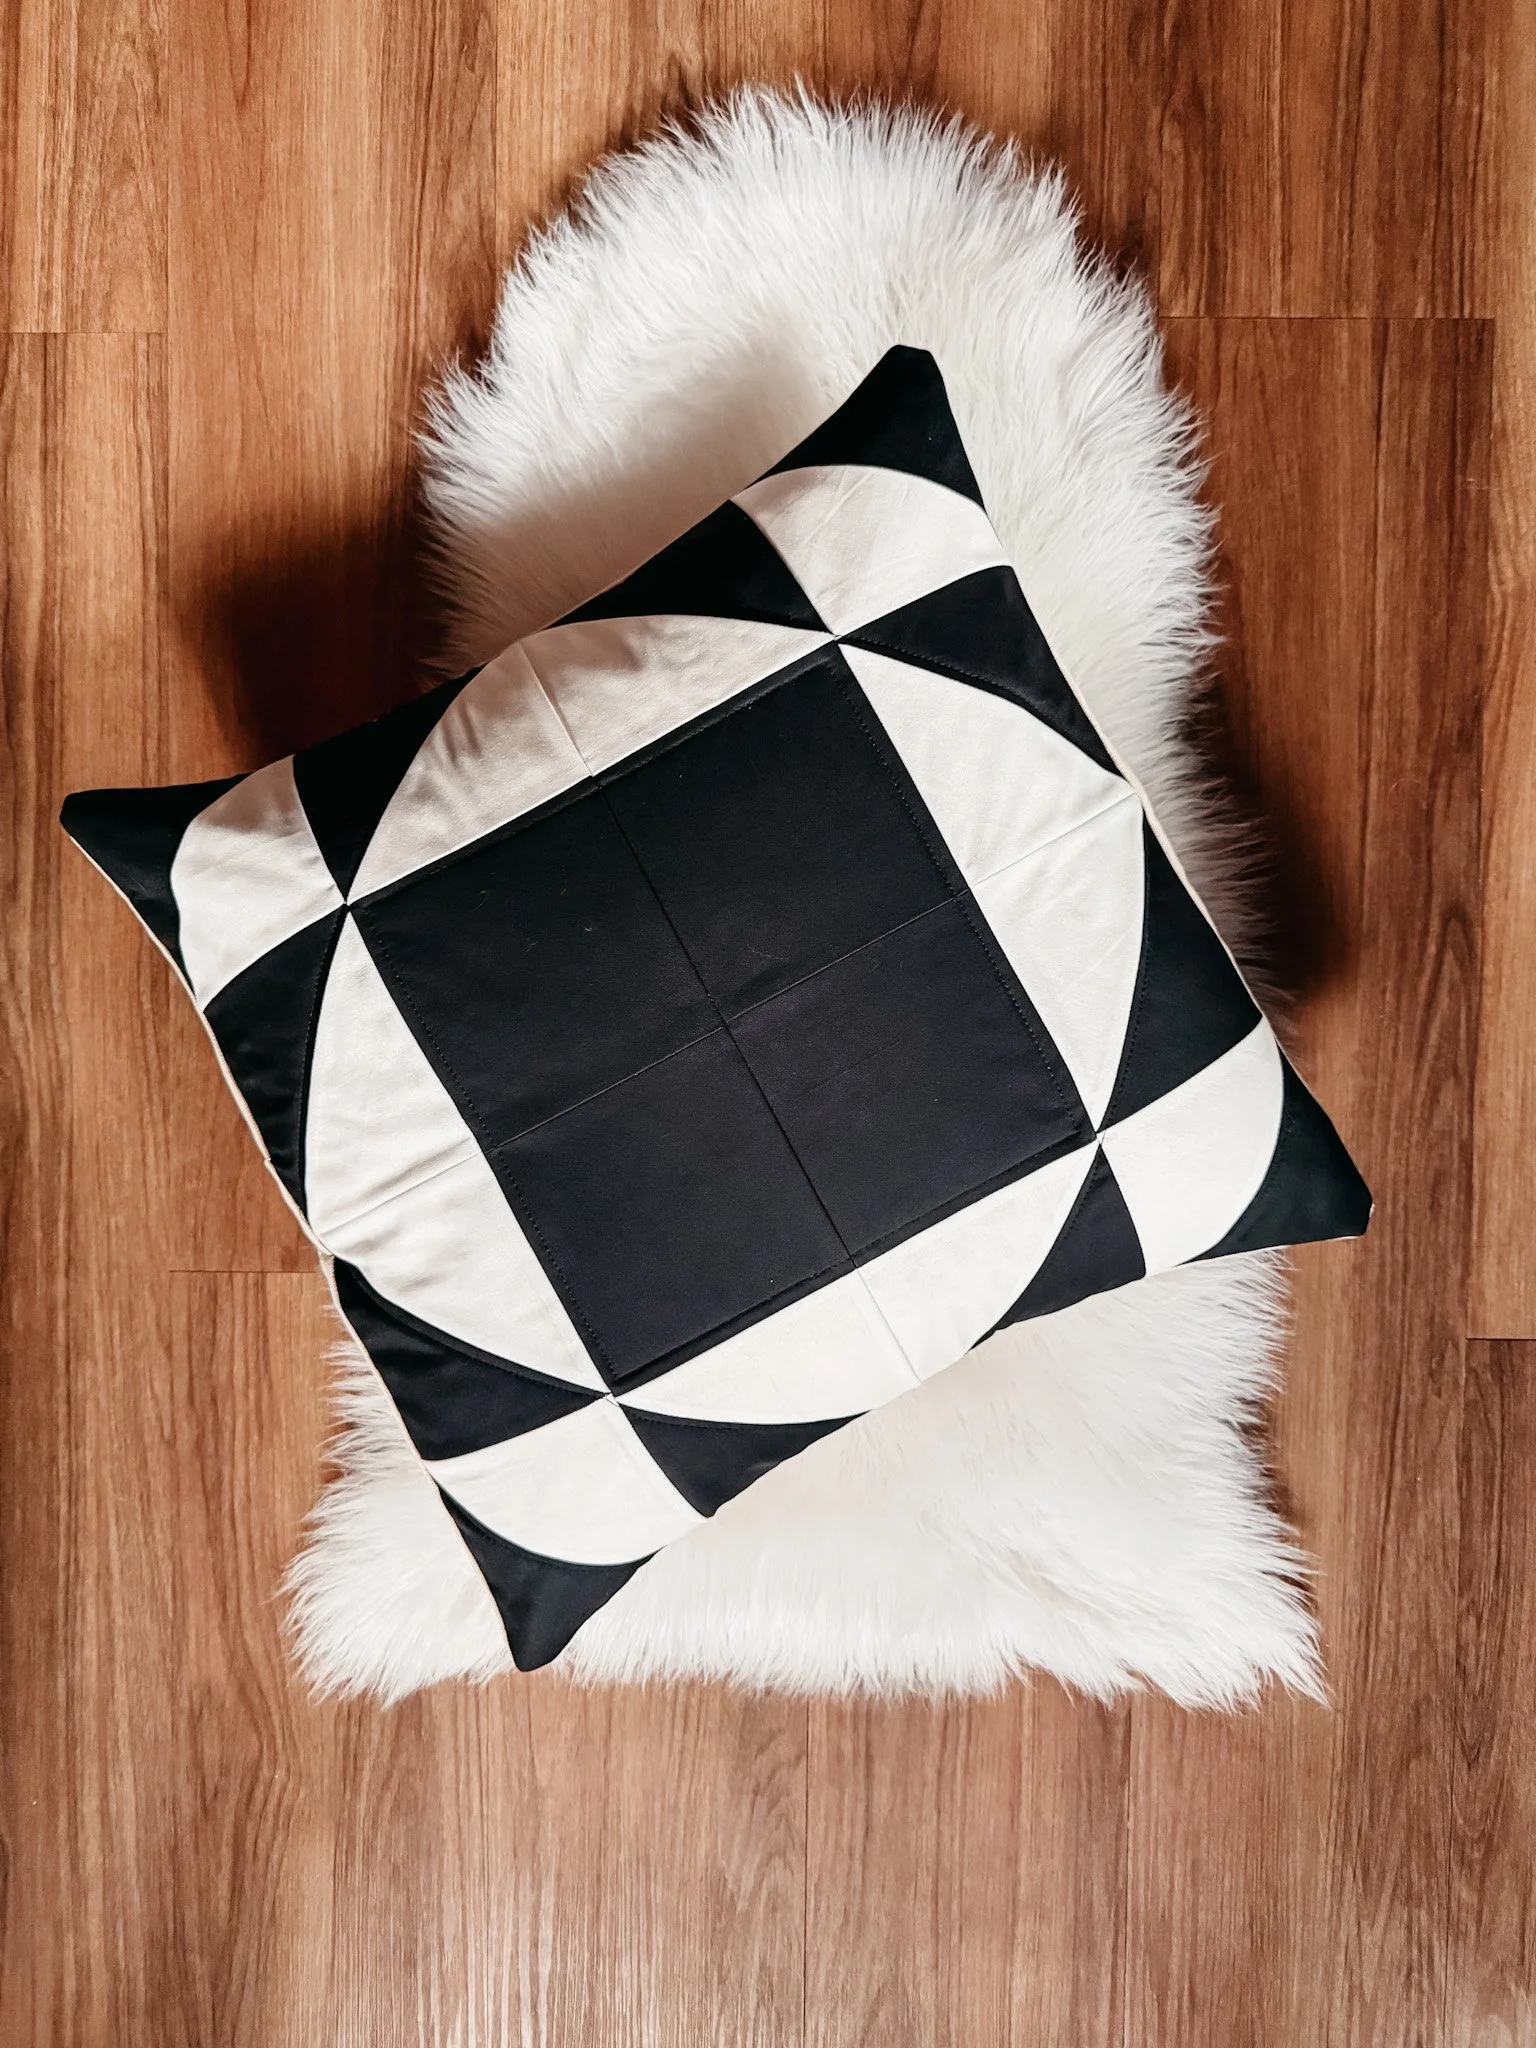
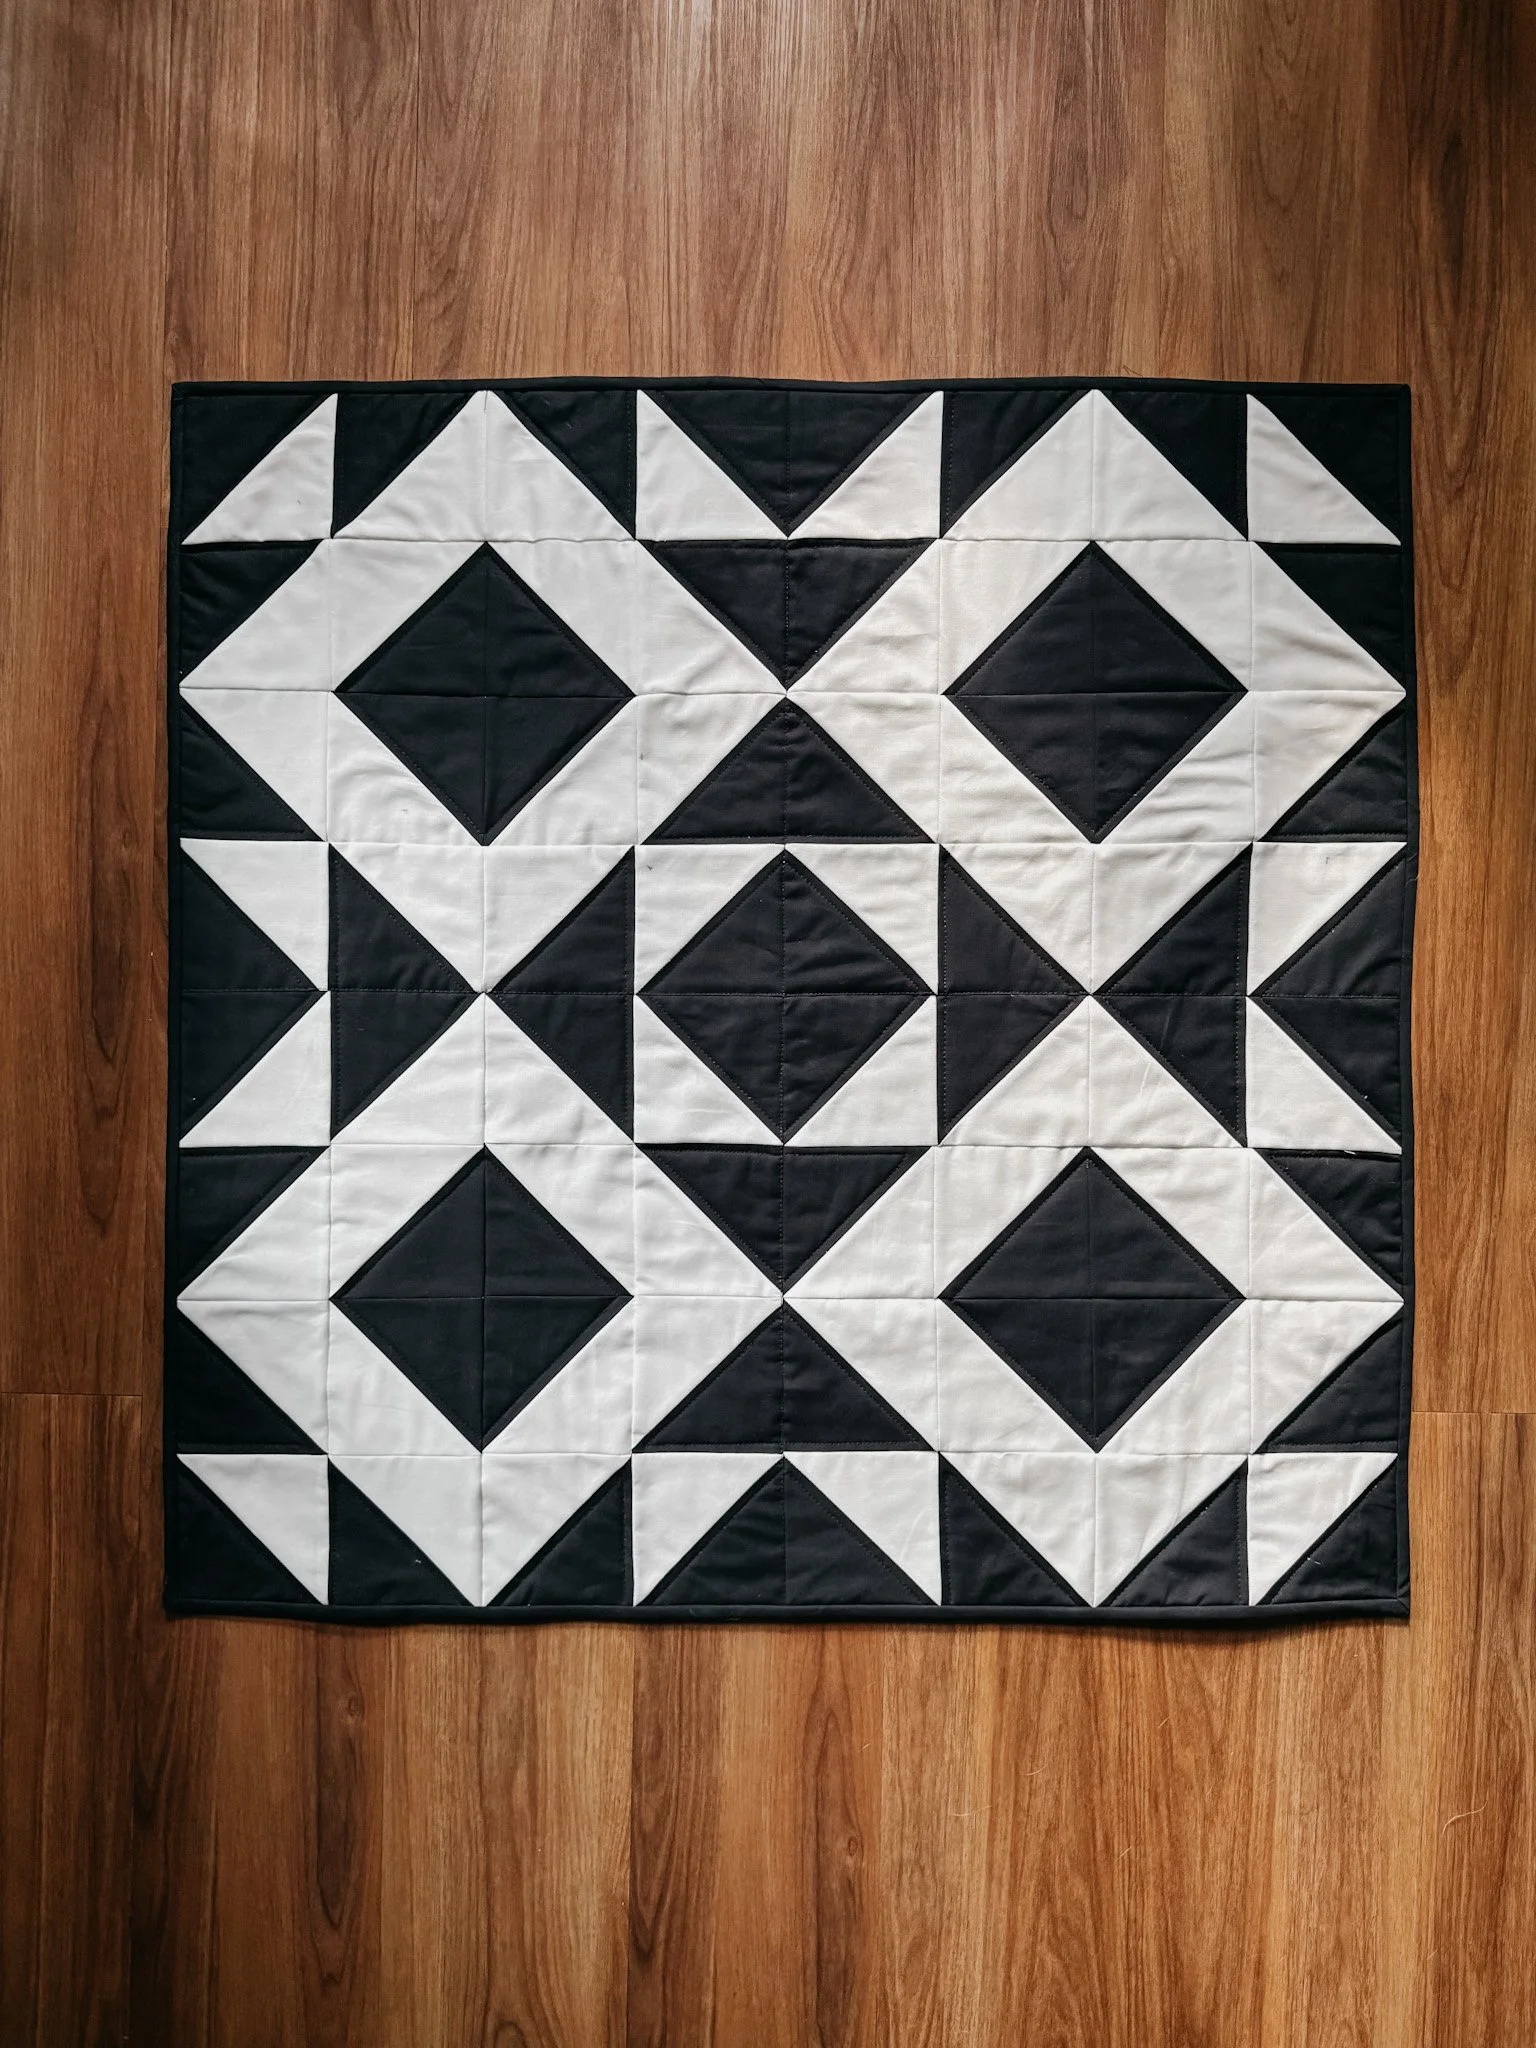
This video focuses specifically on tote bag assembly, not piecing or quilting. I assume your panels are already quilted and trimmed, and from there we move through the finish together.
In the tutorial, you’ll see:
How to box the corners for a sturdy tote base
How to attach straps so they’re aligned and secure
How to insert the lining without twisting or puckering
Where to leave a turning gap (and why it matters)
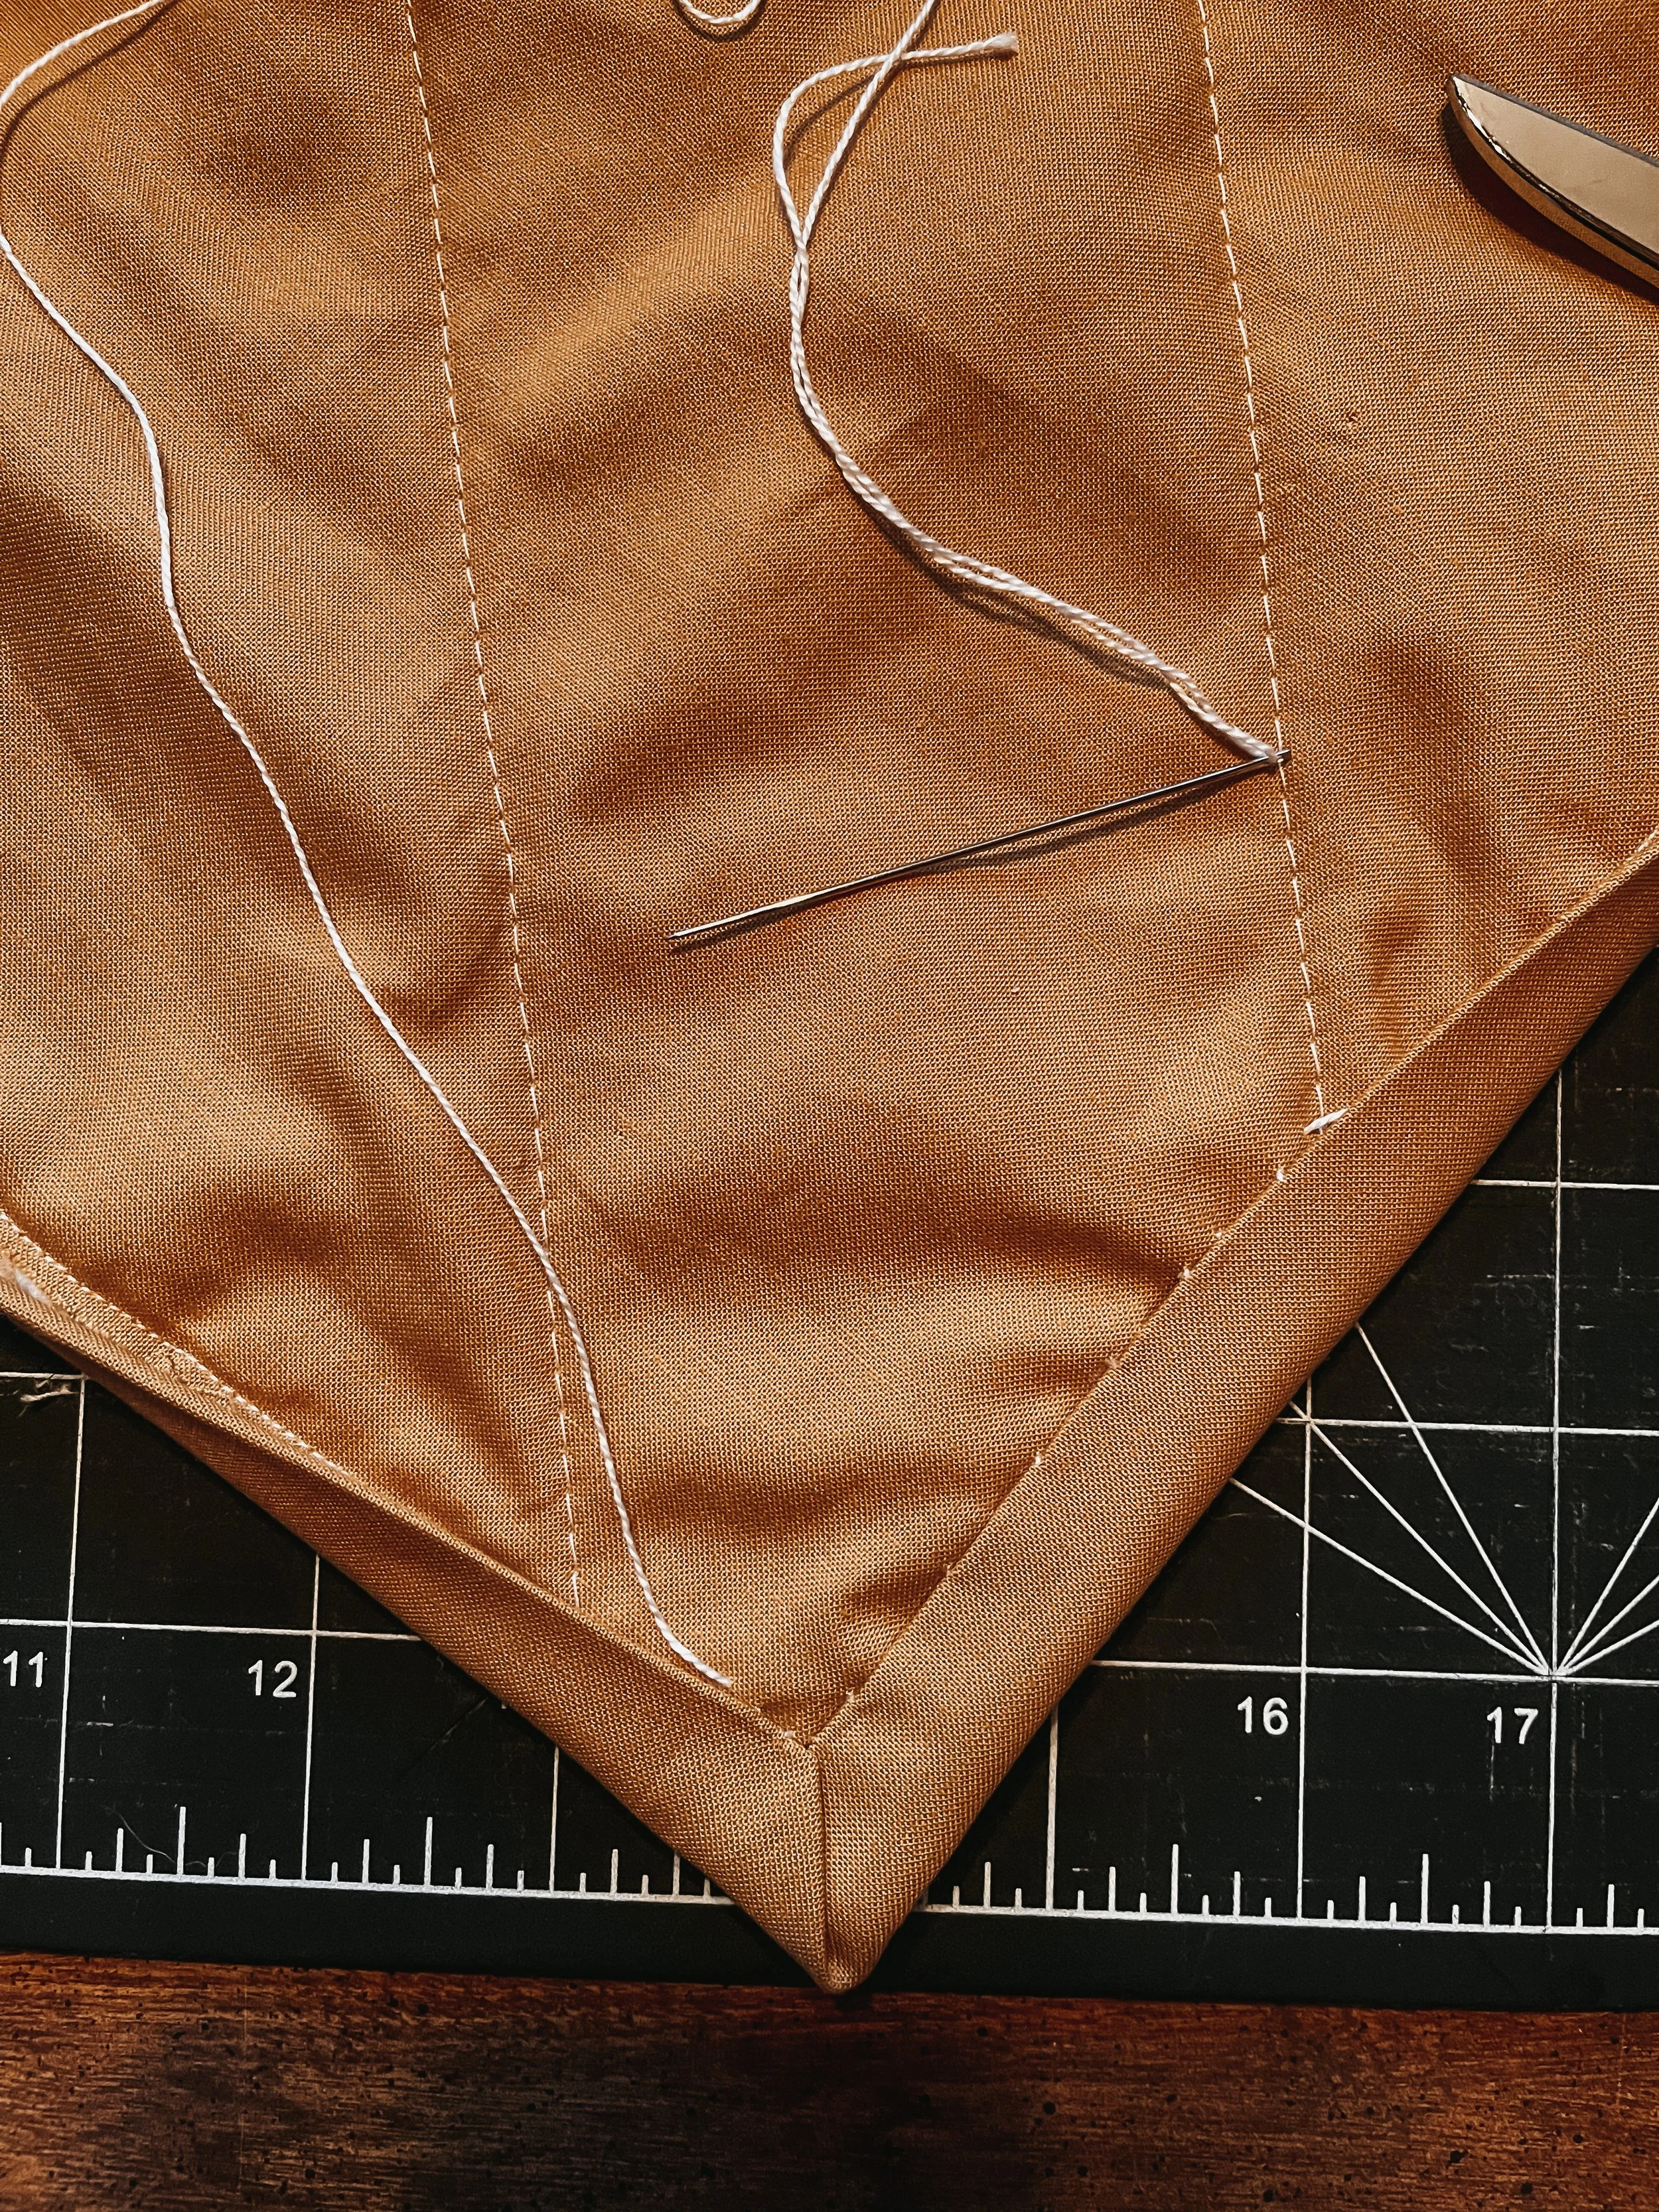
How to finish the bag with clean topstitching
I sew everything in real time and talk through why each step works, not just what to do. This makes it easier to adapt the process to other tote styles down the road.
Who This Is For
This tutorial is especially helpful if you:
Feel confident with basic sewing but want cleaner finishes
Get stuck or second-guess yourself at the lining stage
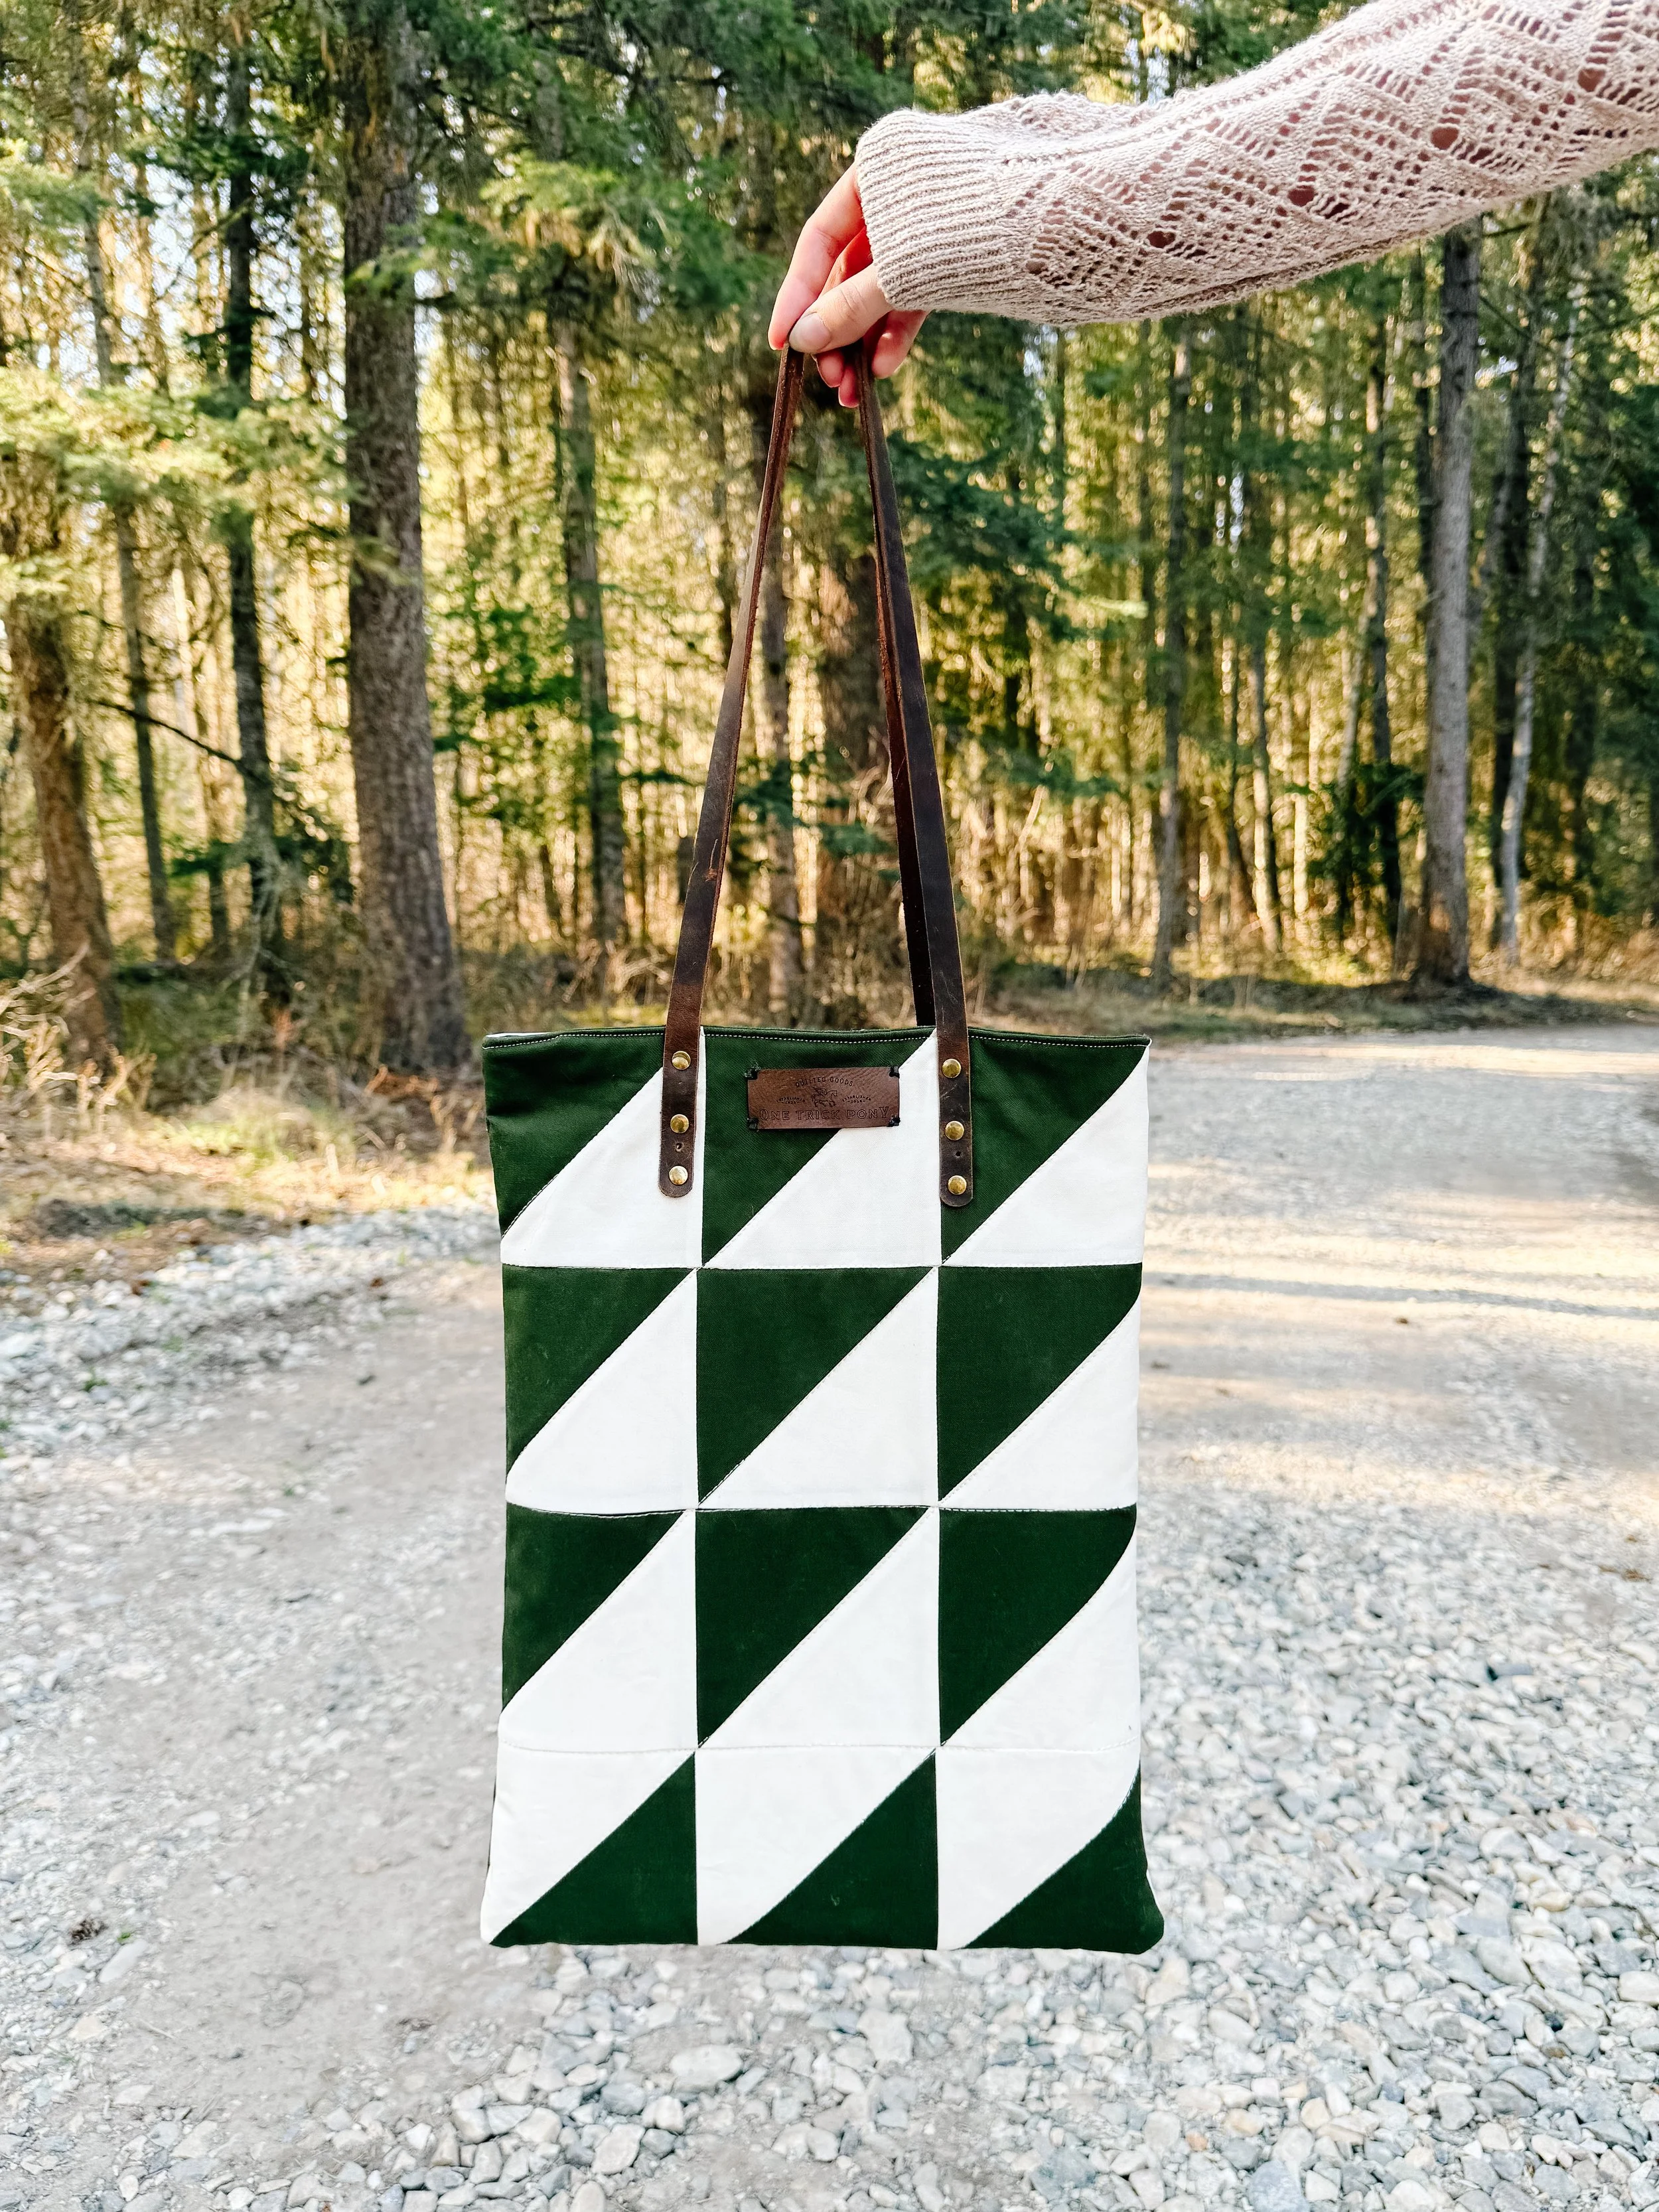
Want your handmade totes to look polished and practical
Prefer calm, no-rush instruction you can sew along with
If you’ve ever unpicked a tote at the very end (we’ve all been there), this one will save you some frustration.
A Note on Patterns
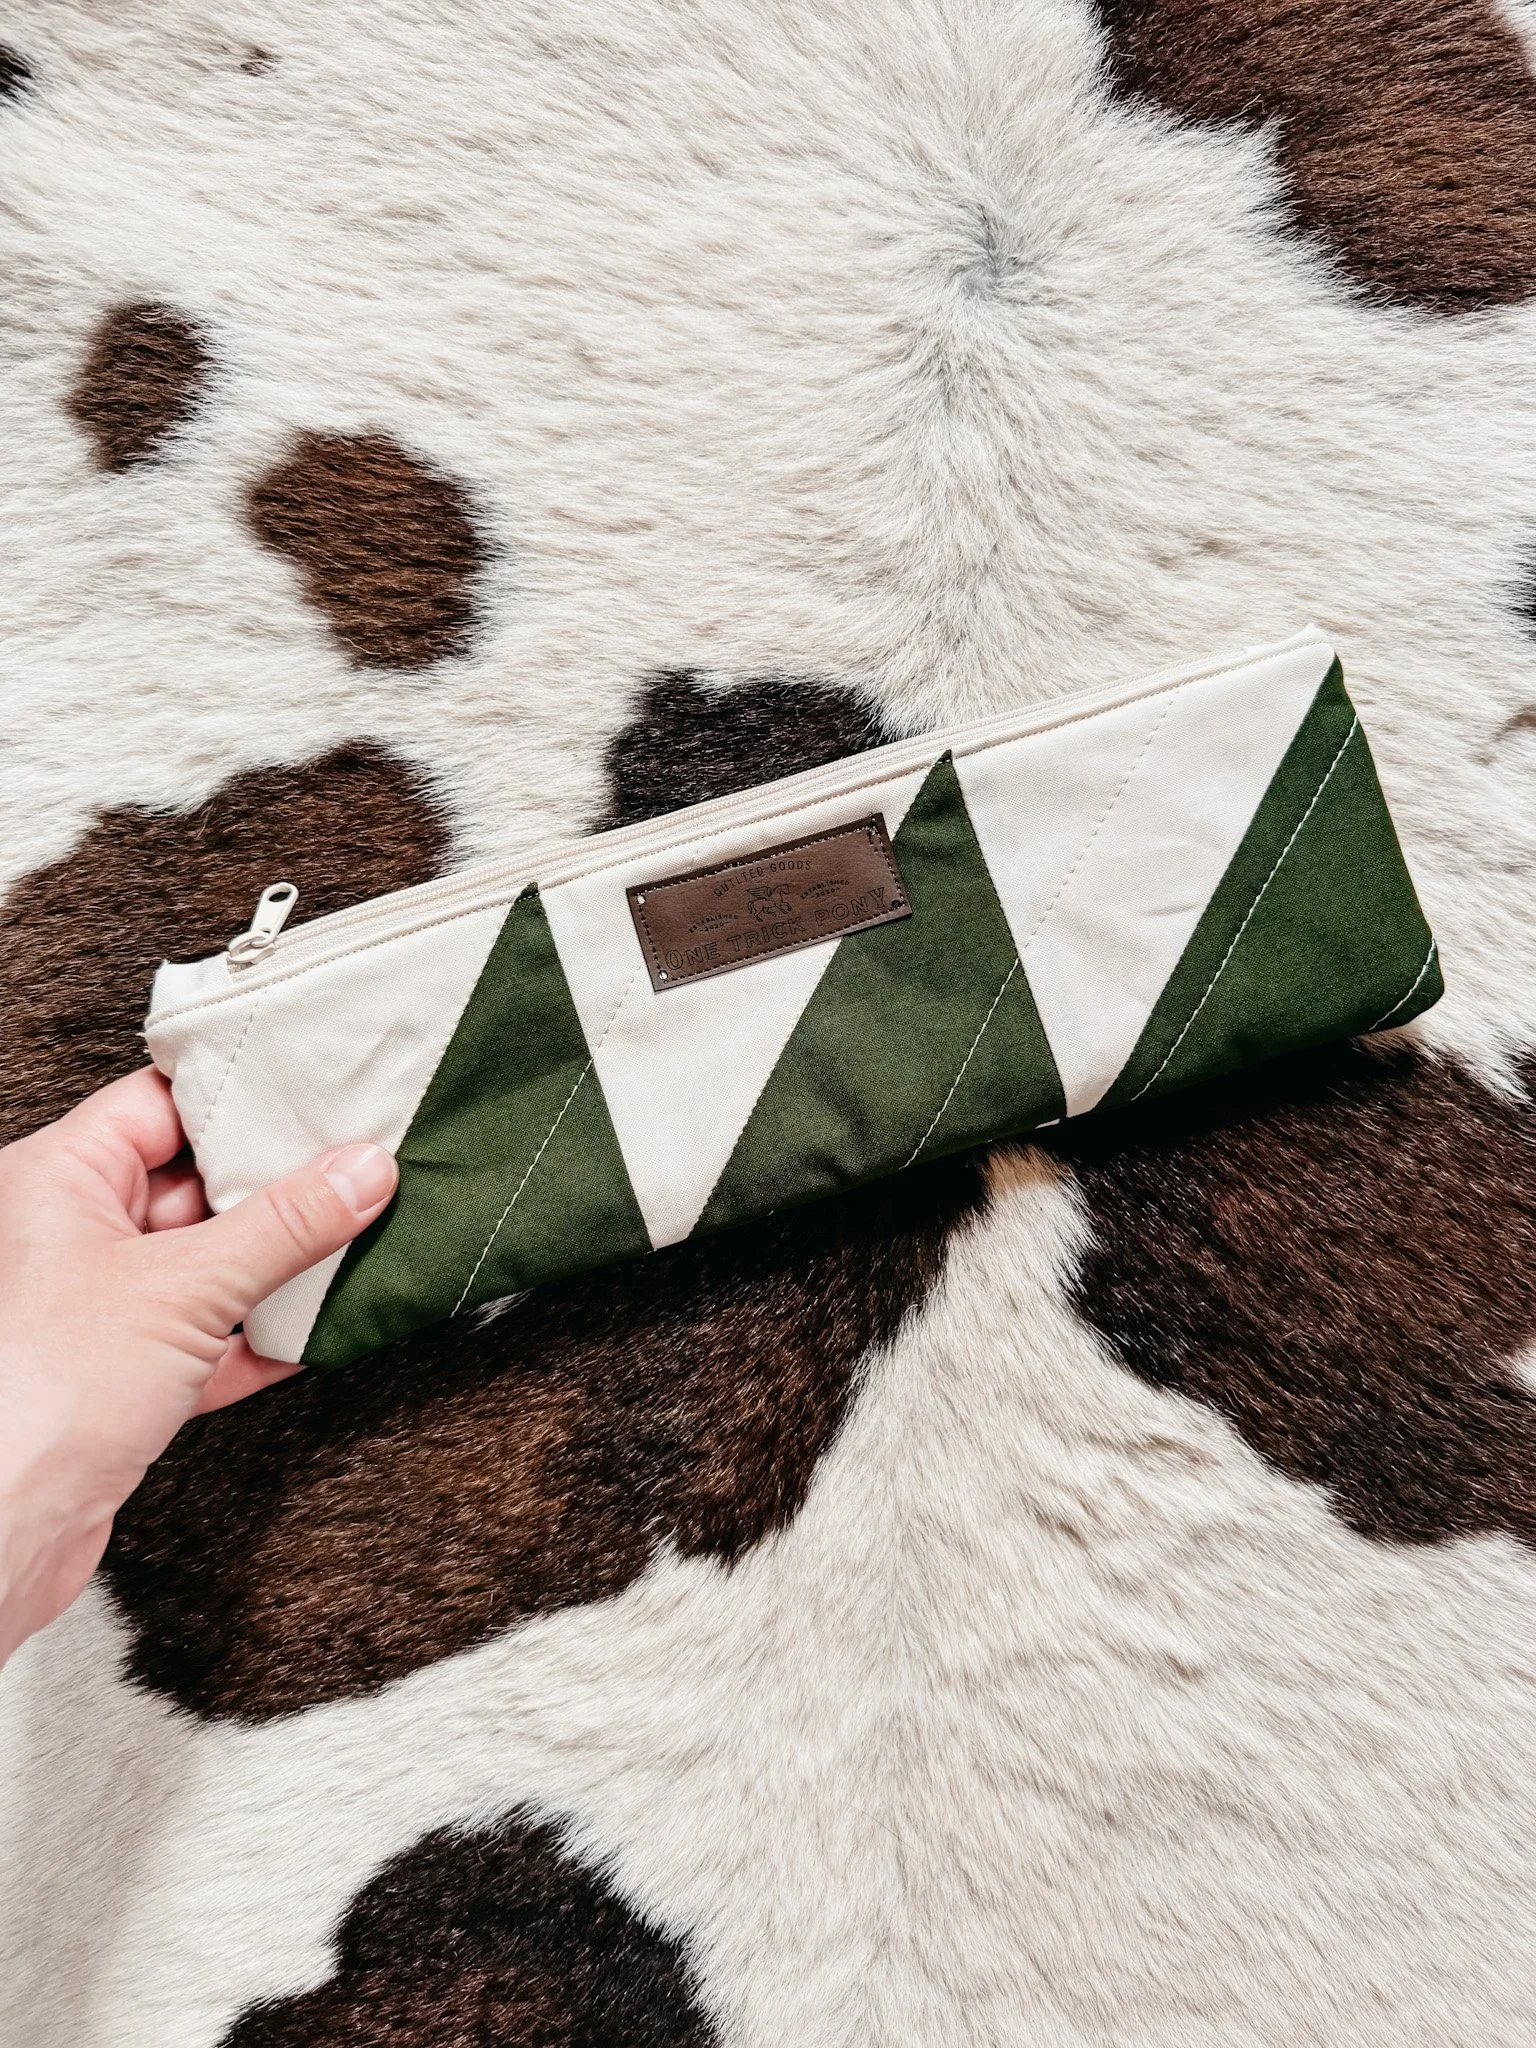
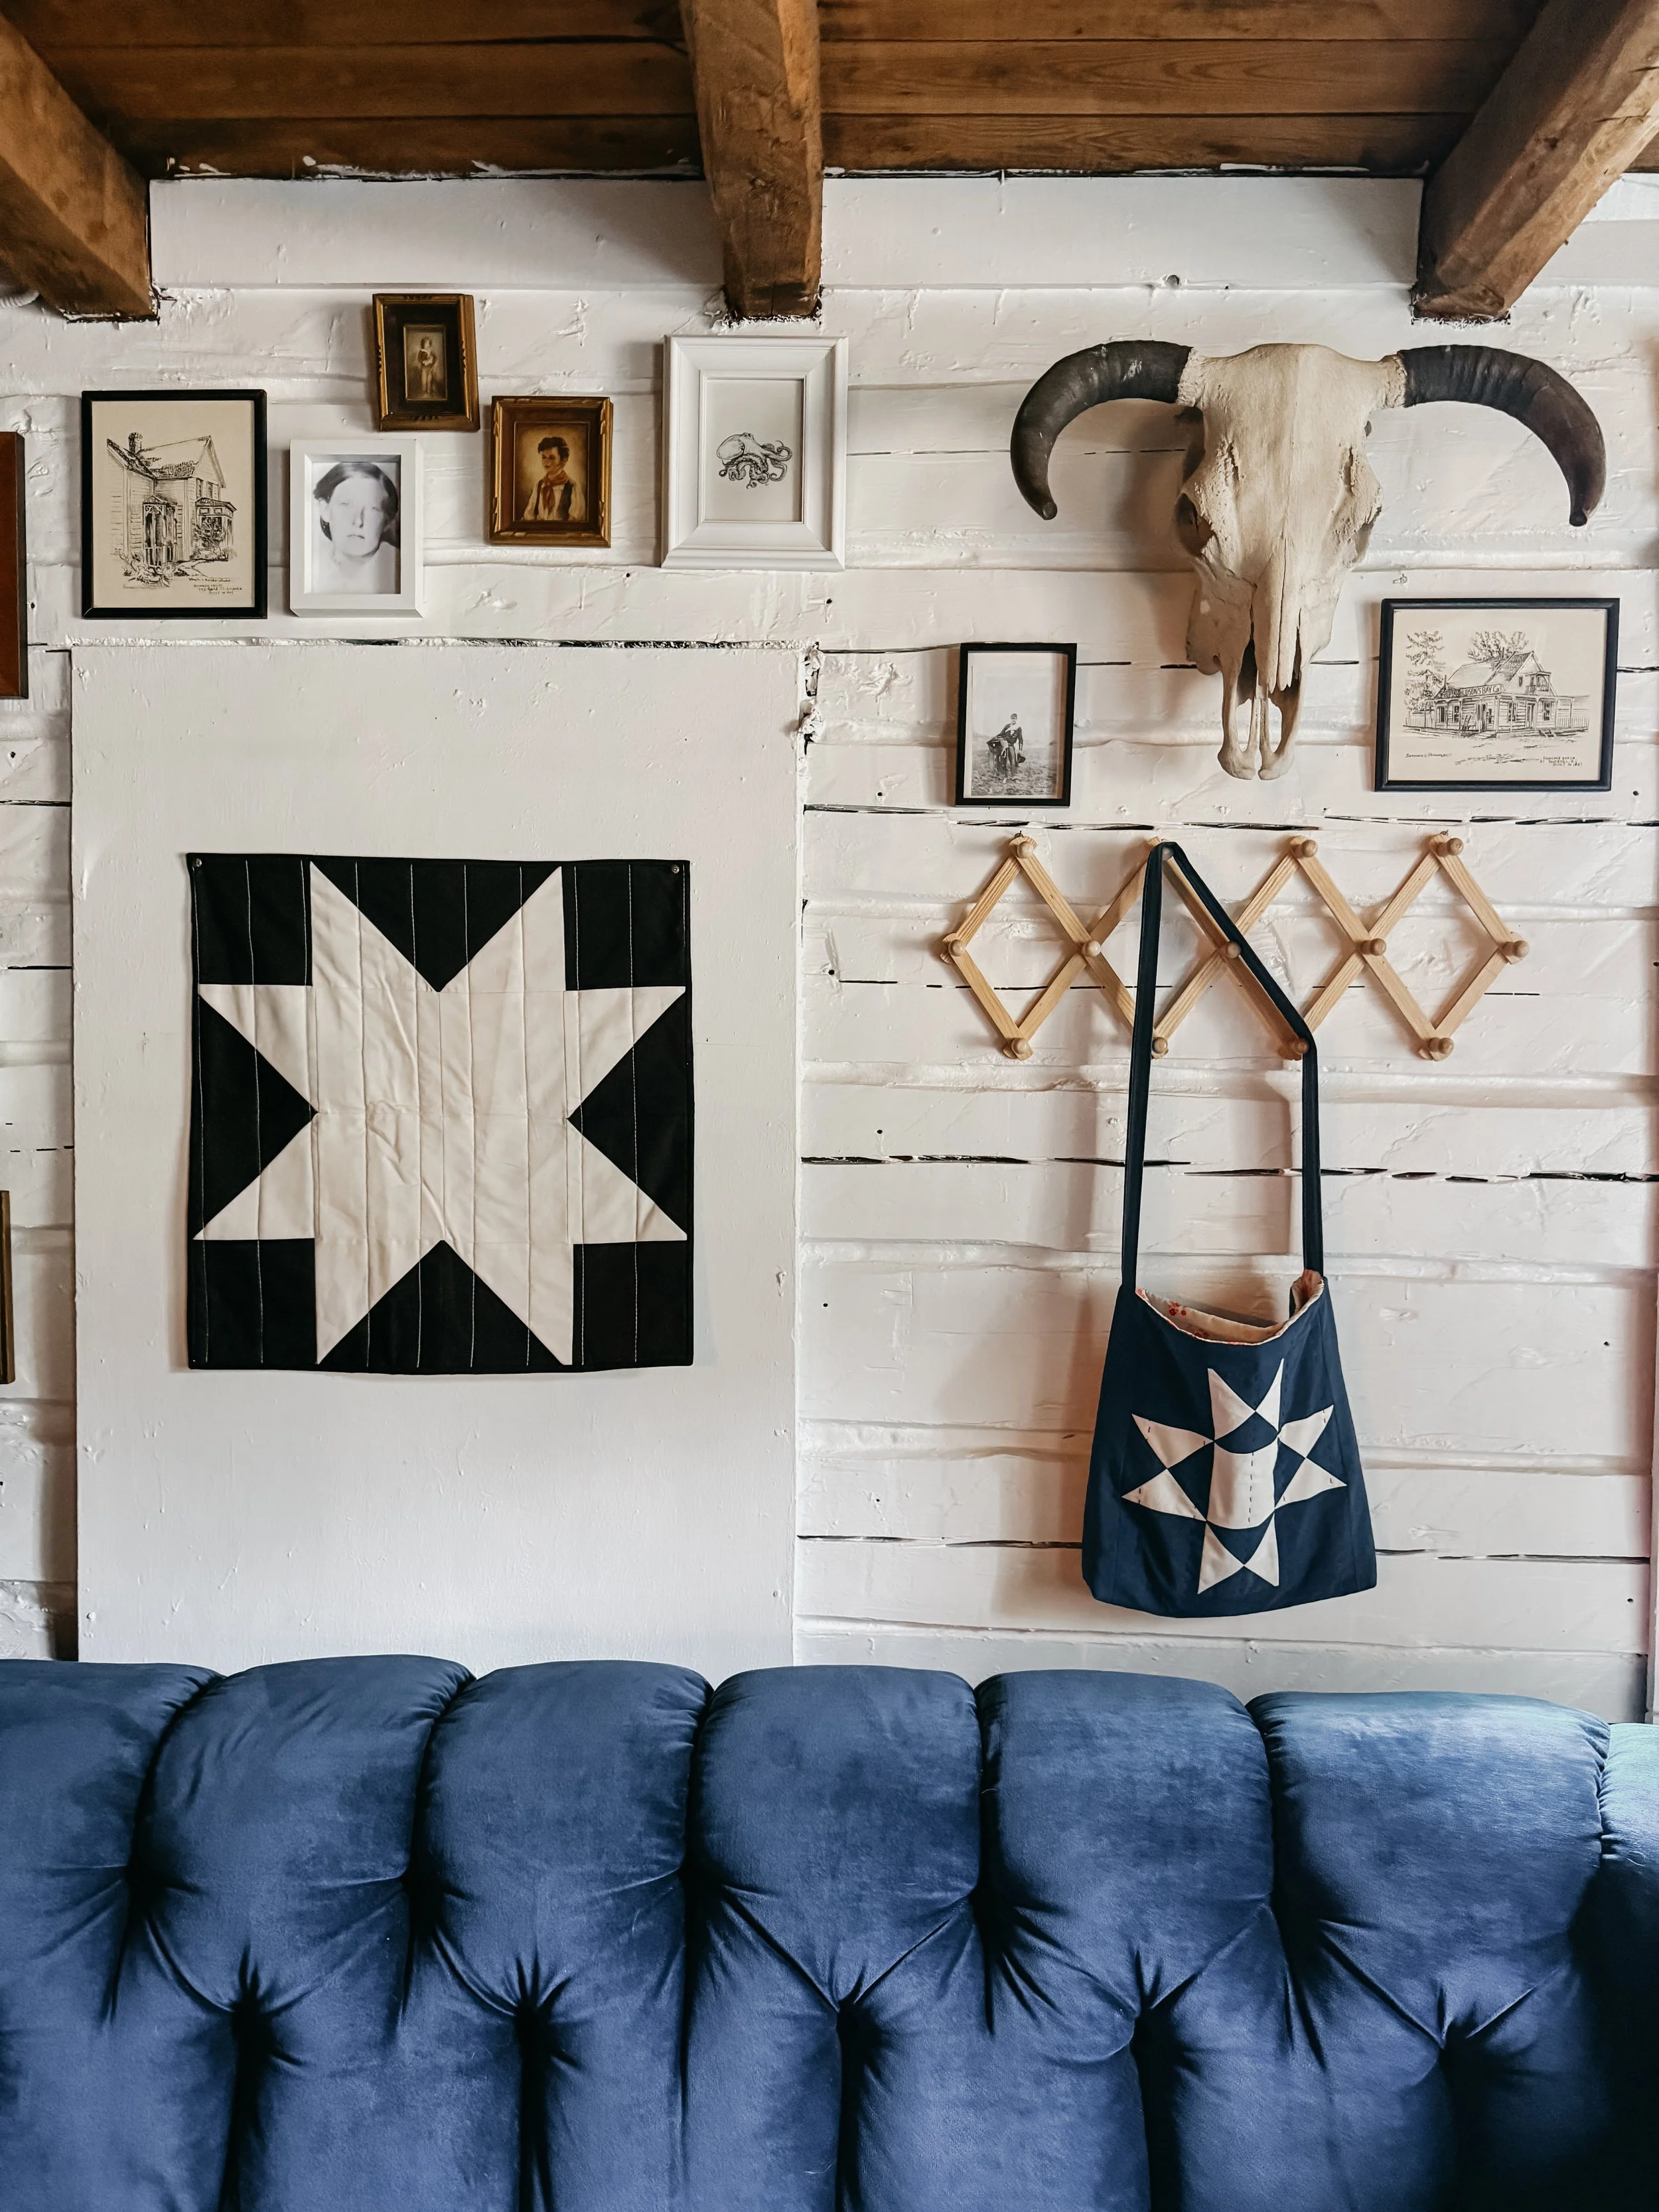
This assembly method pairs perfectly with my quilted tote patterns, but the techniques themselves can be used for many quilted bag styles. Once you understand the flow—outer bag, lining, straps, and finish—it becomes much easier to trust the process.
You can find all of my tote and pouch patterns here:
👉 https://www.exshawquilts.com
Take Your Time With It
This is one of those steps where slowing down actually helps. Press when it feels right. Clip more than you think you need. Trust that it will come together—even if it looks a little strange halfway through.
When you’re ready, click over to the video and sew along with me.
👉 Watch the tote assembly tutorial here:
https://youtu.be/gjGSbyeOTK4
If you make a tote using this method, I’d love to see it—tag me on Instagram @exshaw and share your finish.
Happy sewing,
Kim


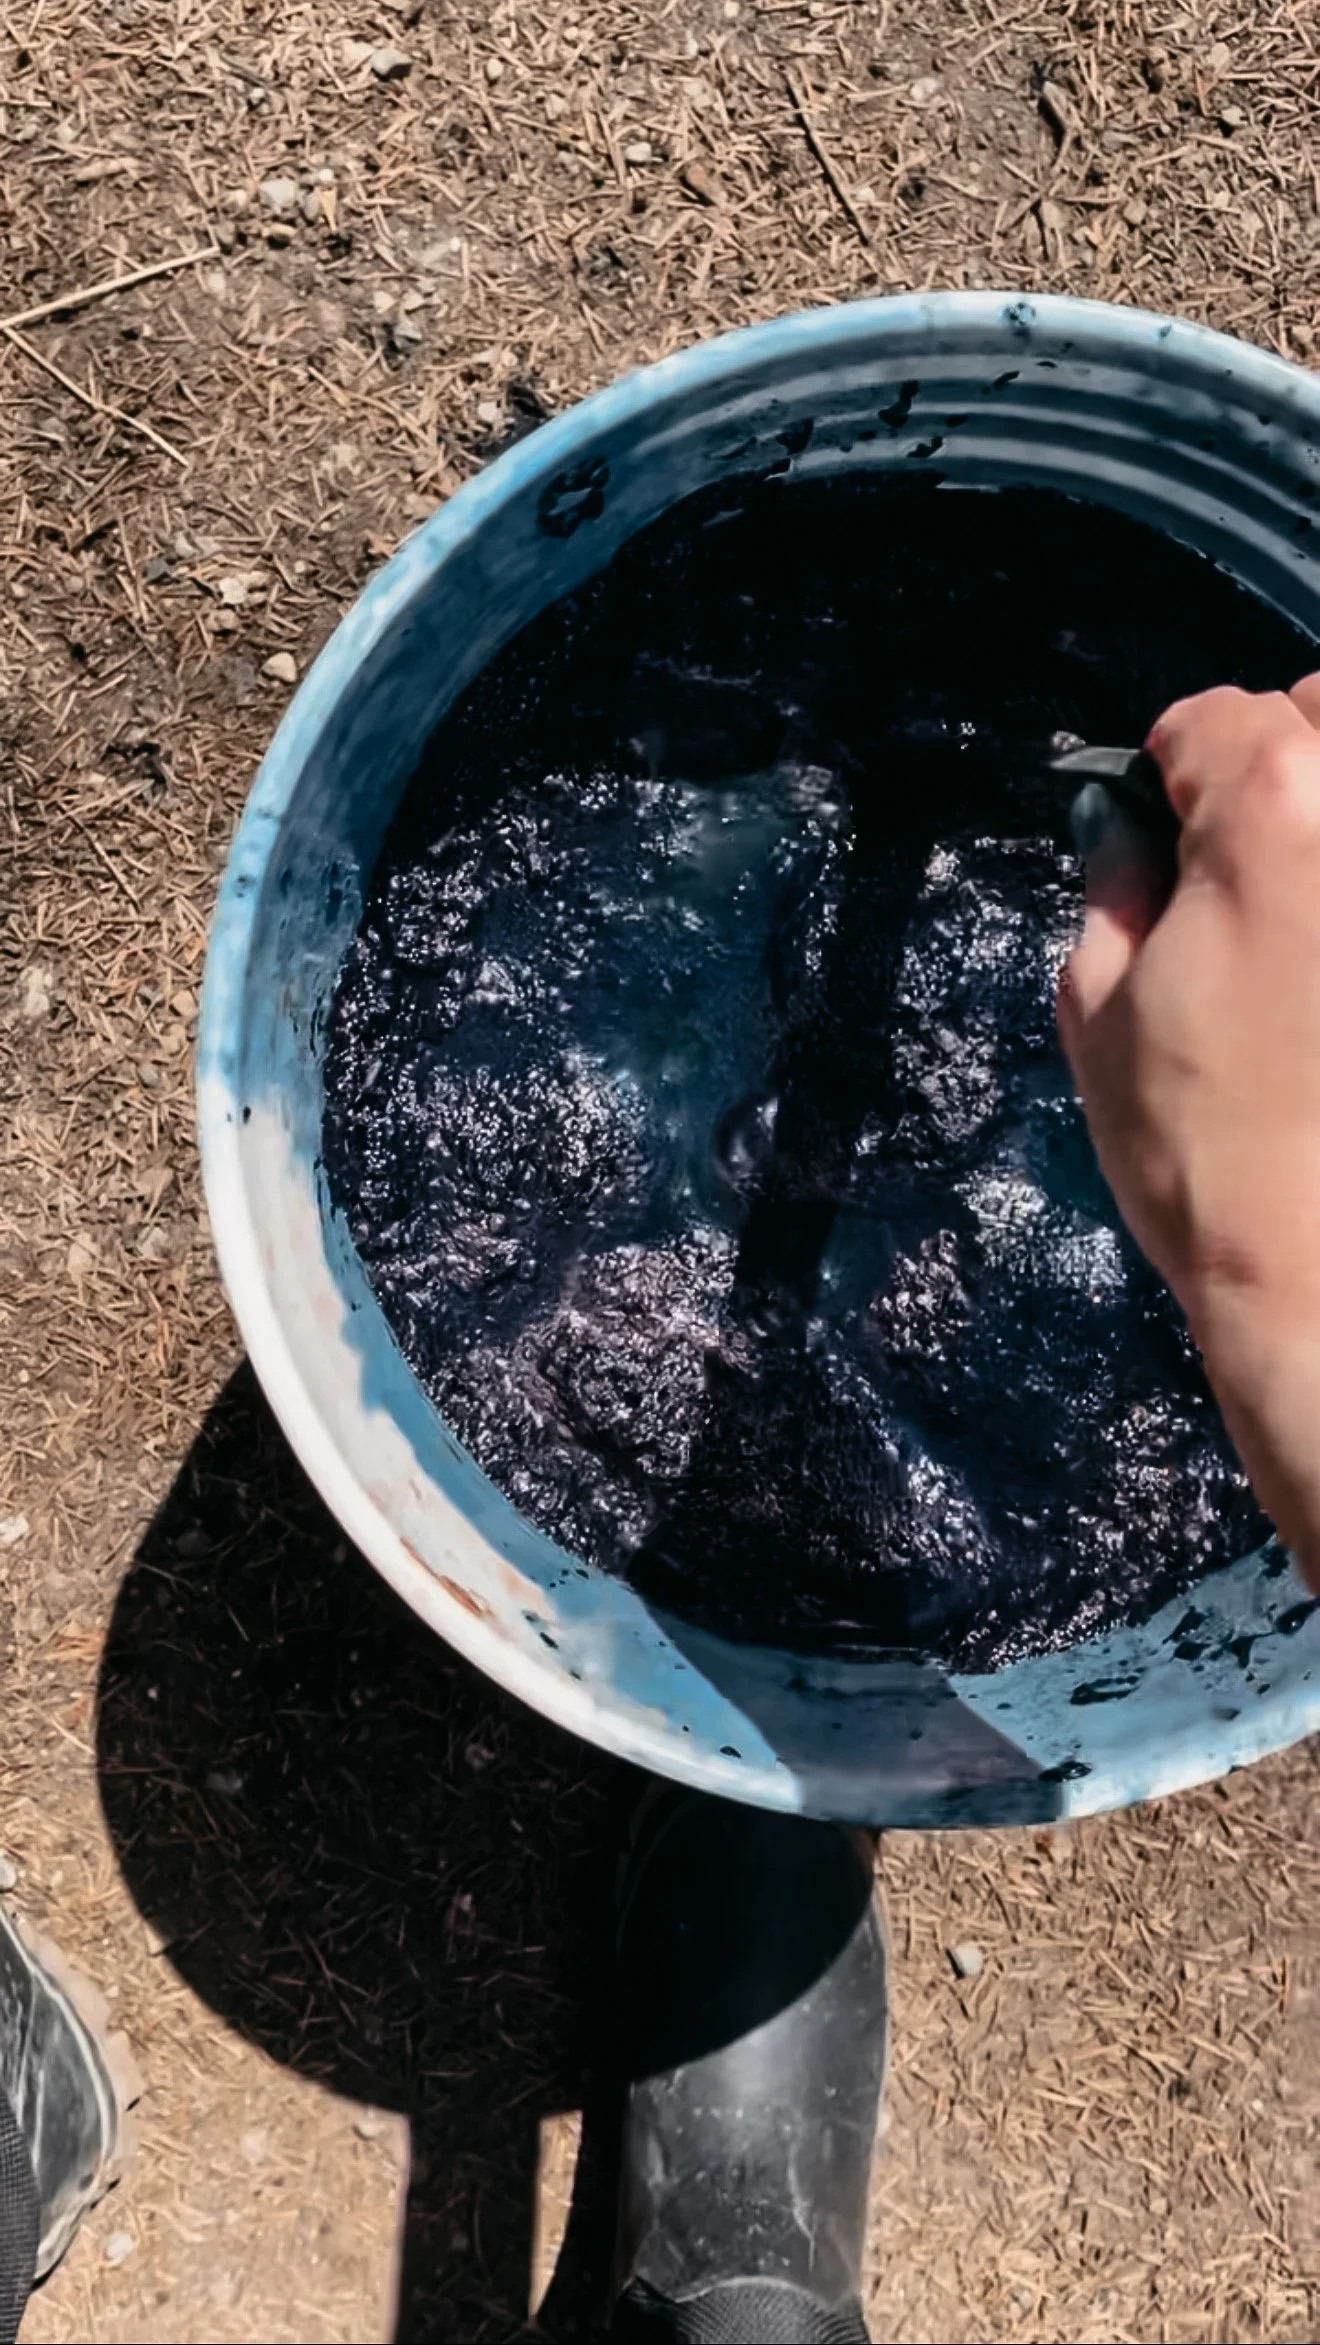


Welcome to the blog—I'm so glad you're here.
I'm Kim, quilting and dyeing from an old cabin in the woods. This is where I share beginner-friendly tutorials, slow craft tips, and stories from a life stitched by hand. I hope you find something here that feels like home.