How to Sew The Classic Pinwheel Quilt Block (12" x 12") – February Block of the Month 2026

Join the Exshaw Quilts Block of the Month series where we make a sampler quilt together!
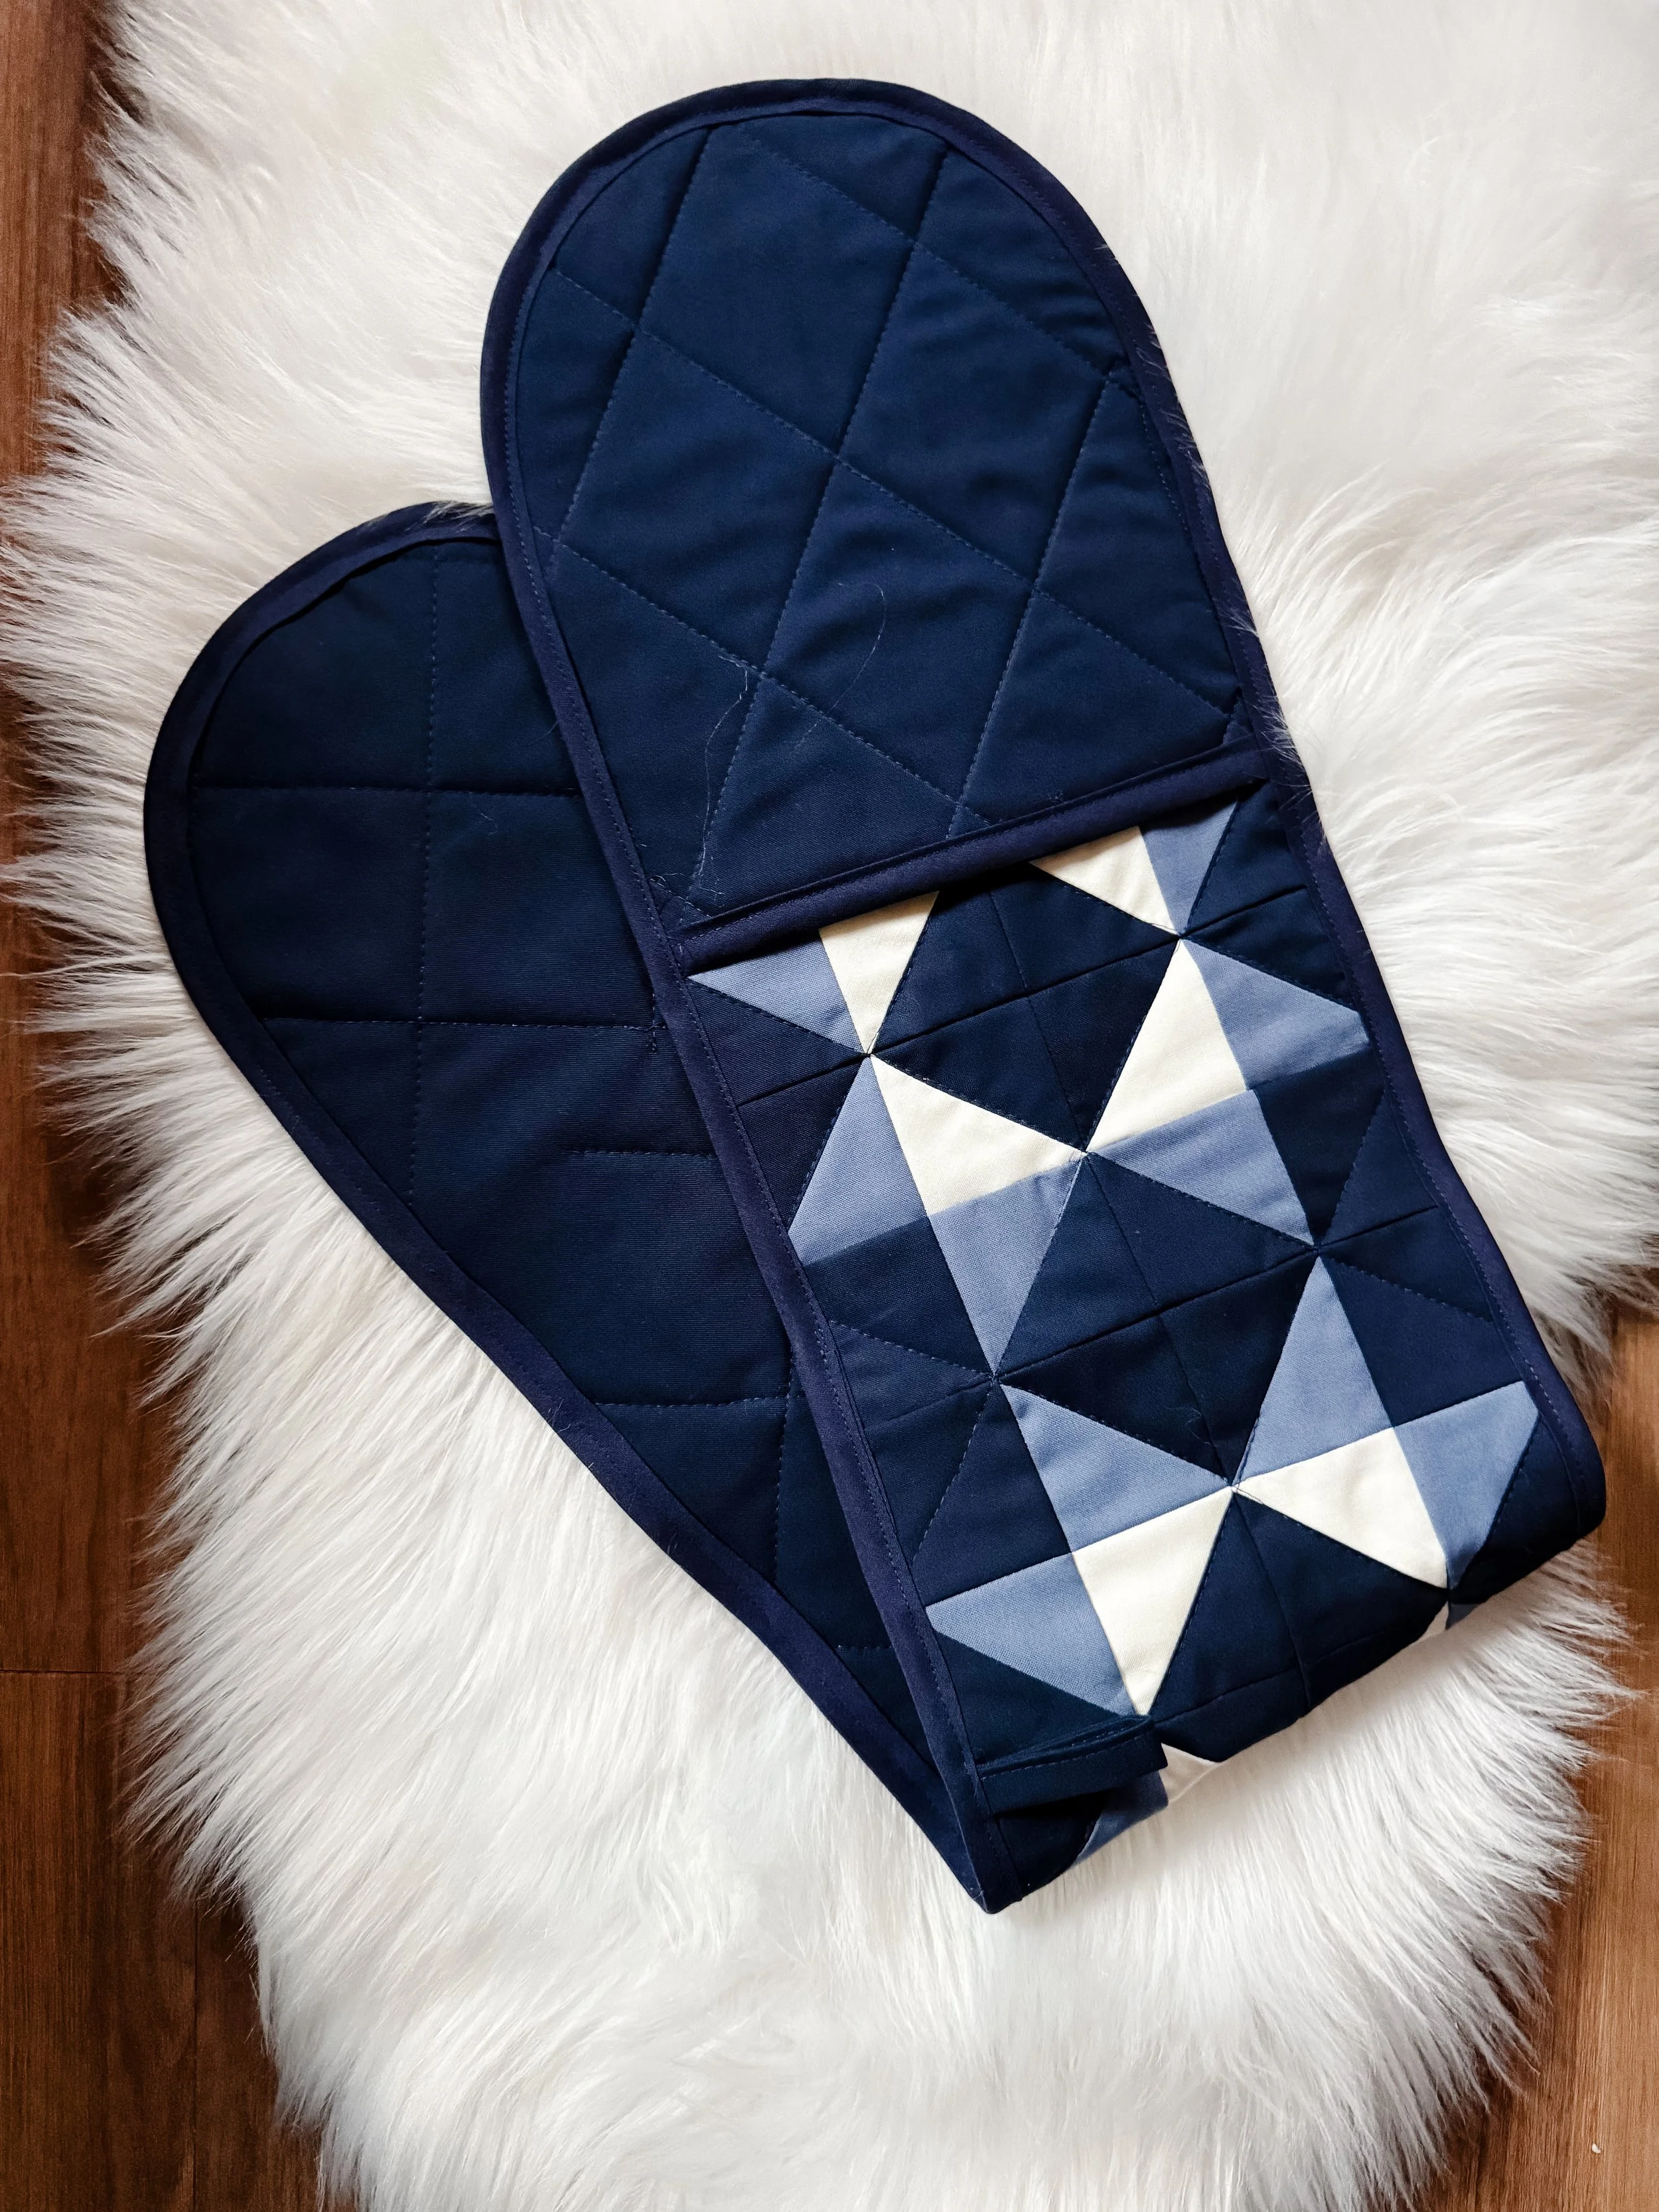
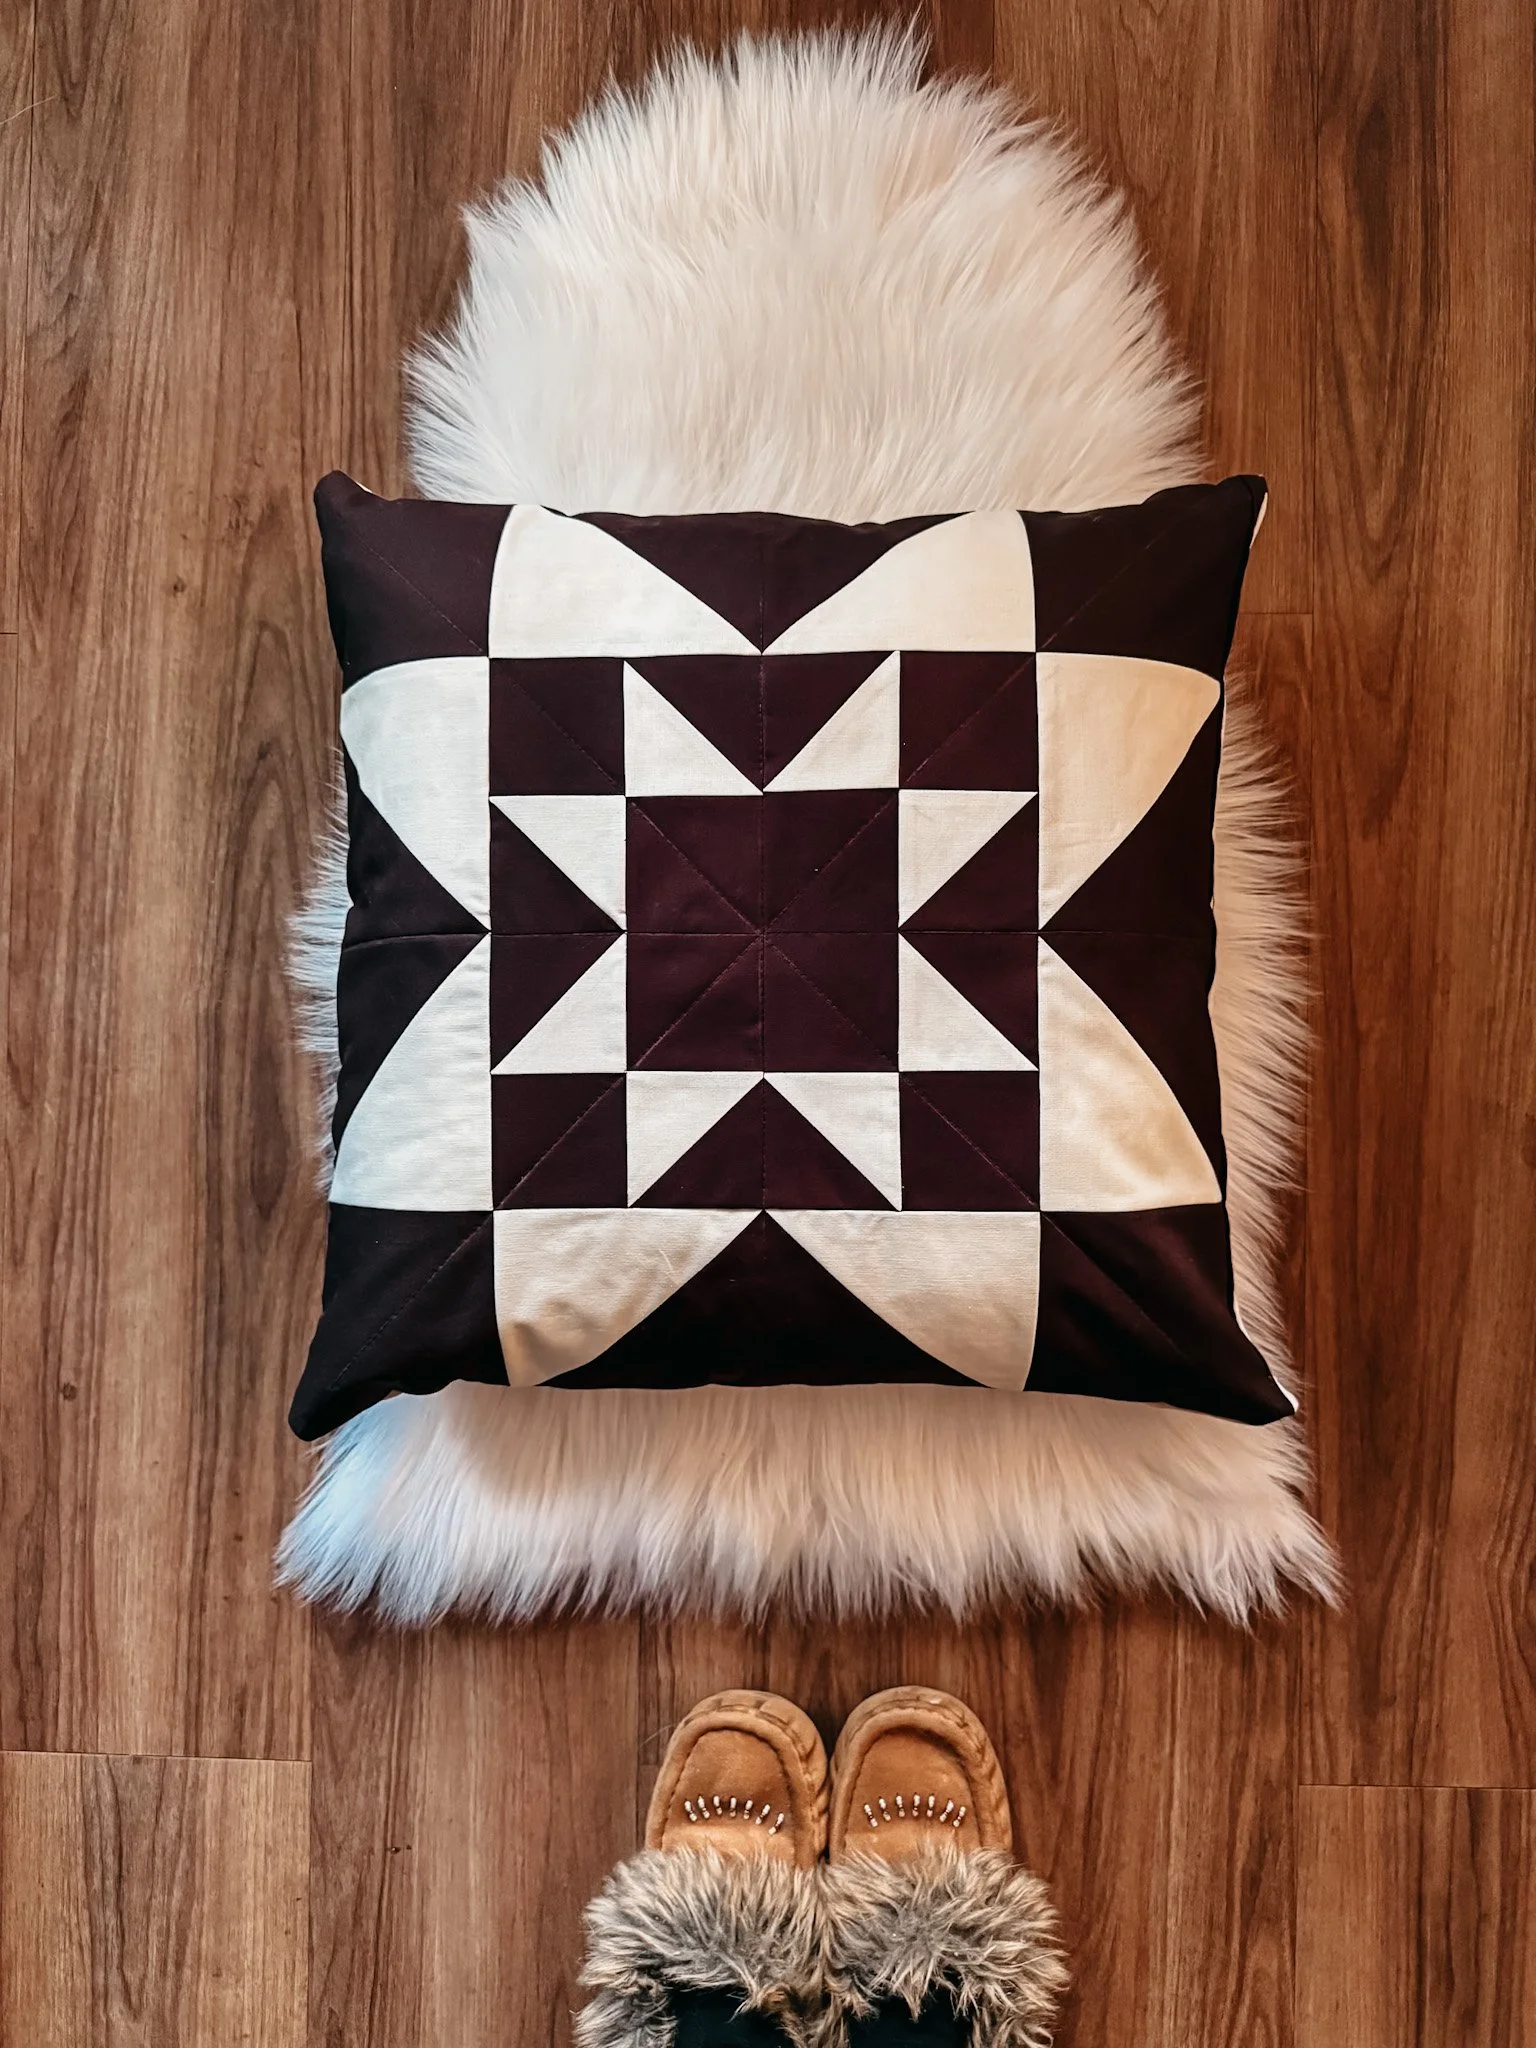
Last month we made the The Birds in the Air Quilt Block. If you haven’t yet made it, click here. Congrats for making this far; this is our last BOM!!! Woohooo!
Alright, let’s learn how to make the 12" x 12" Classic Pinwheel quilt block in this beginner-friendly tutorial. This is the February 2026 installment of our Block of the Month series—start from here.
Let’s dive into The Classic Pinwheel block, shall we?
Want to join in? Subscribe to the newsletter below to get each block free as it’s released. As a thank-you, you’ll also receive a 10% off coupon code to use on any pattern in my shop!Let’s quilt something meaningful, together.
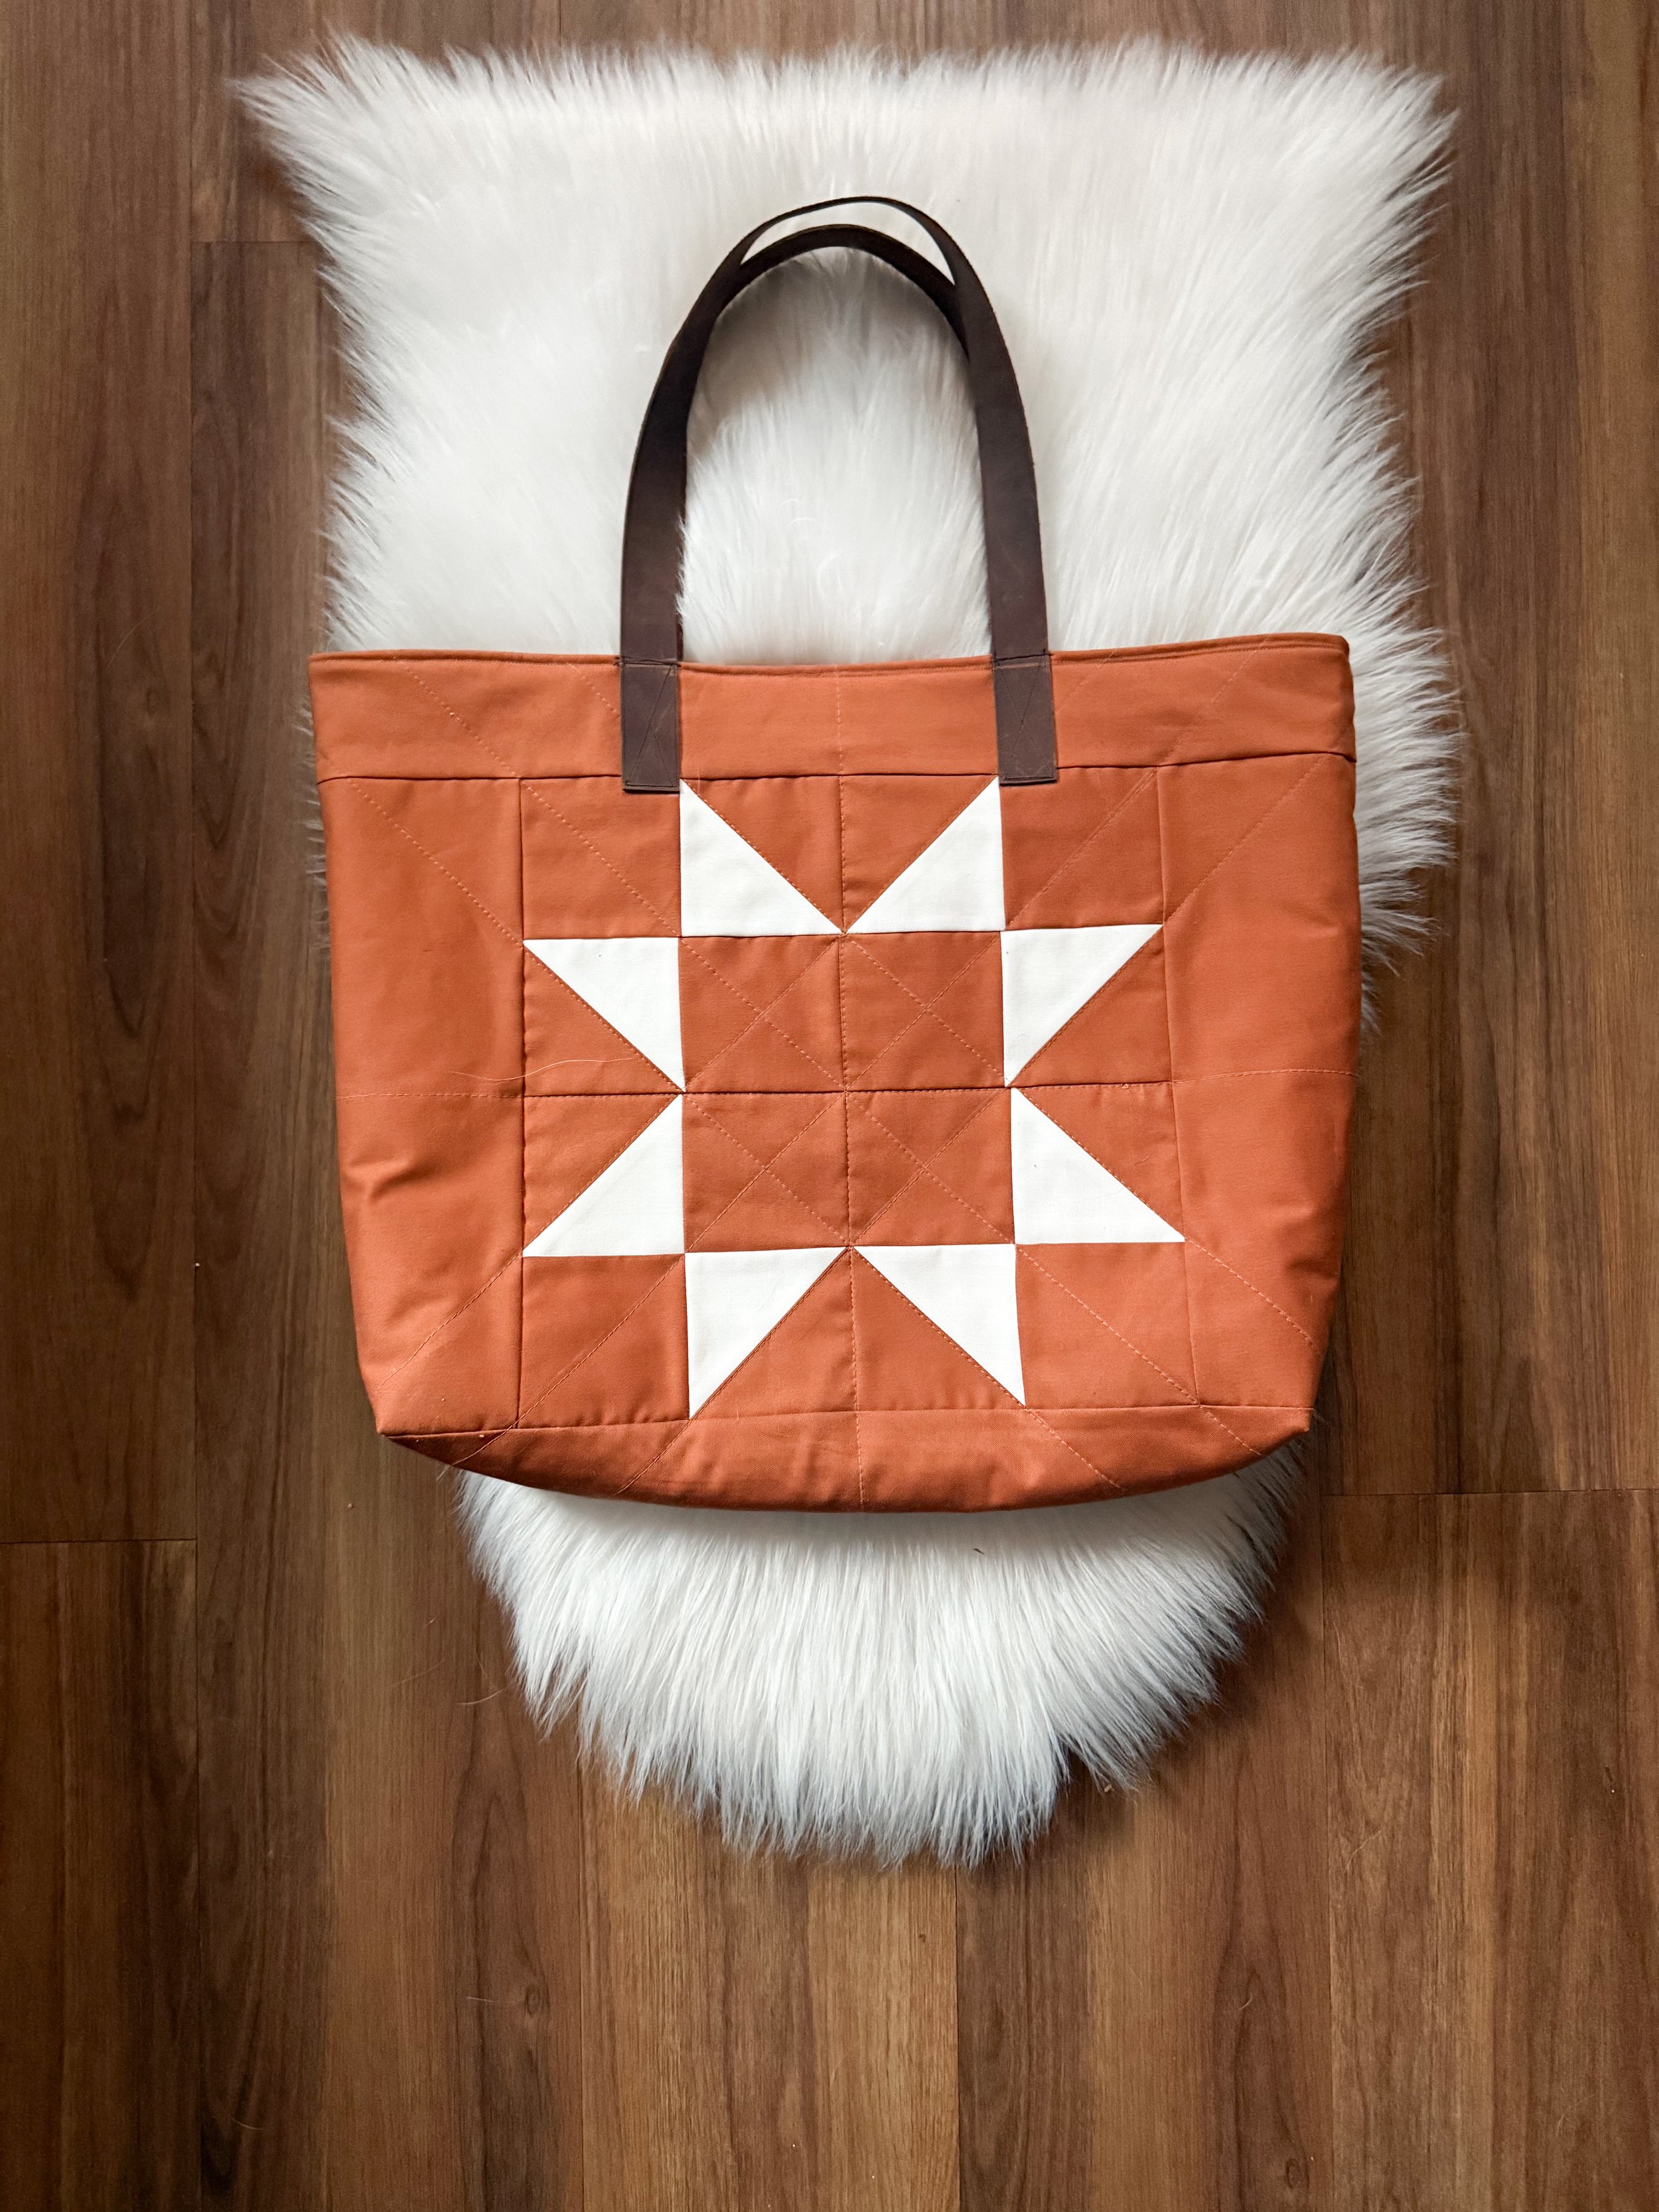
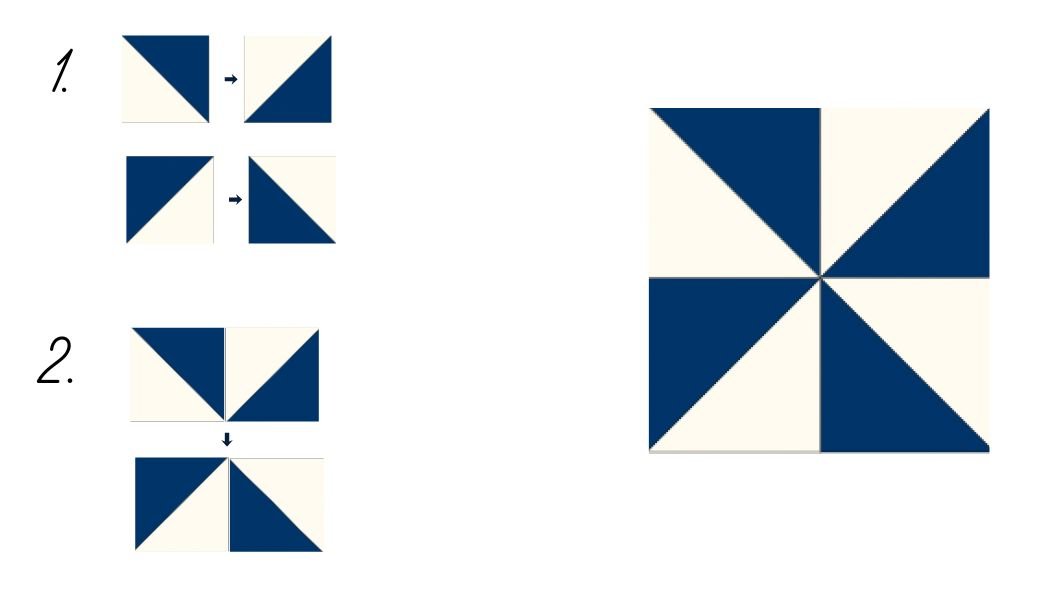
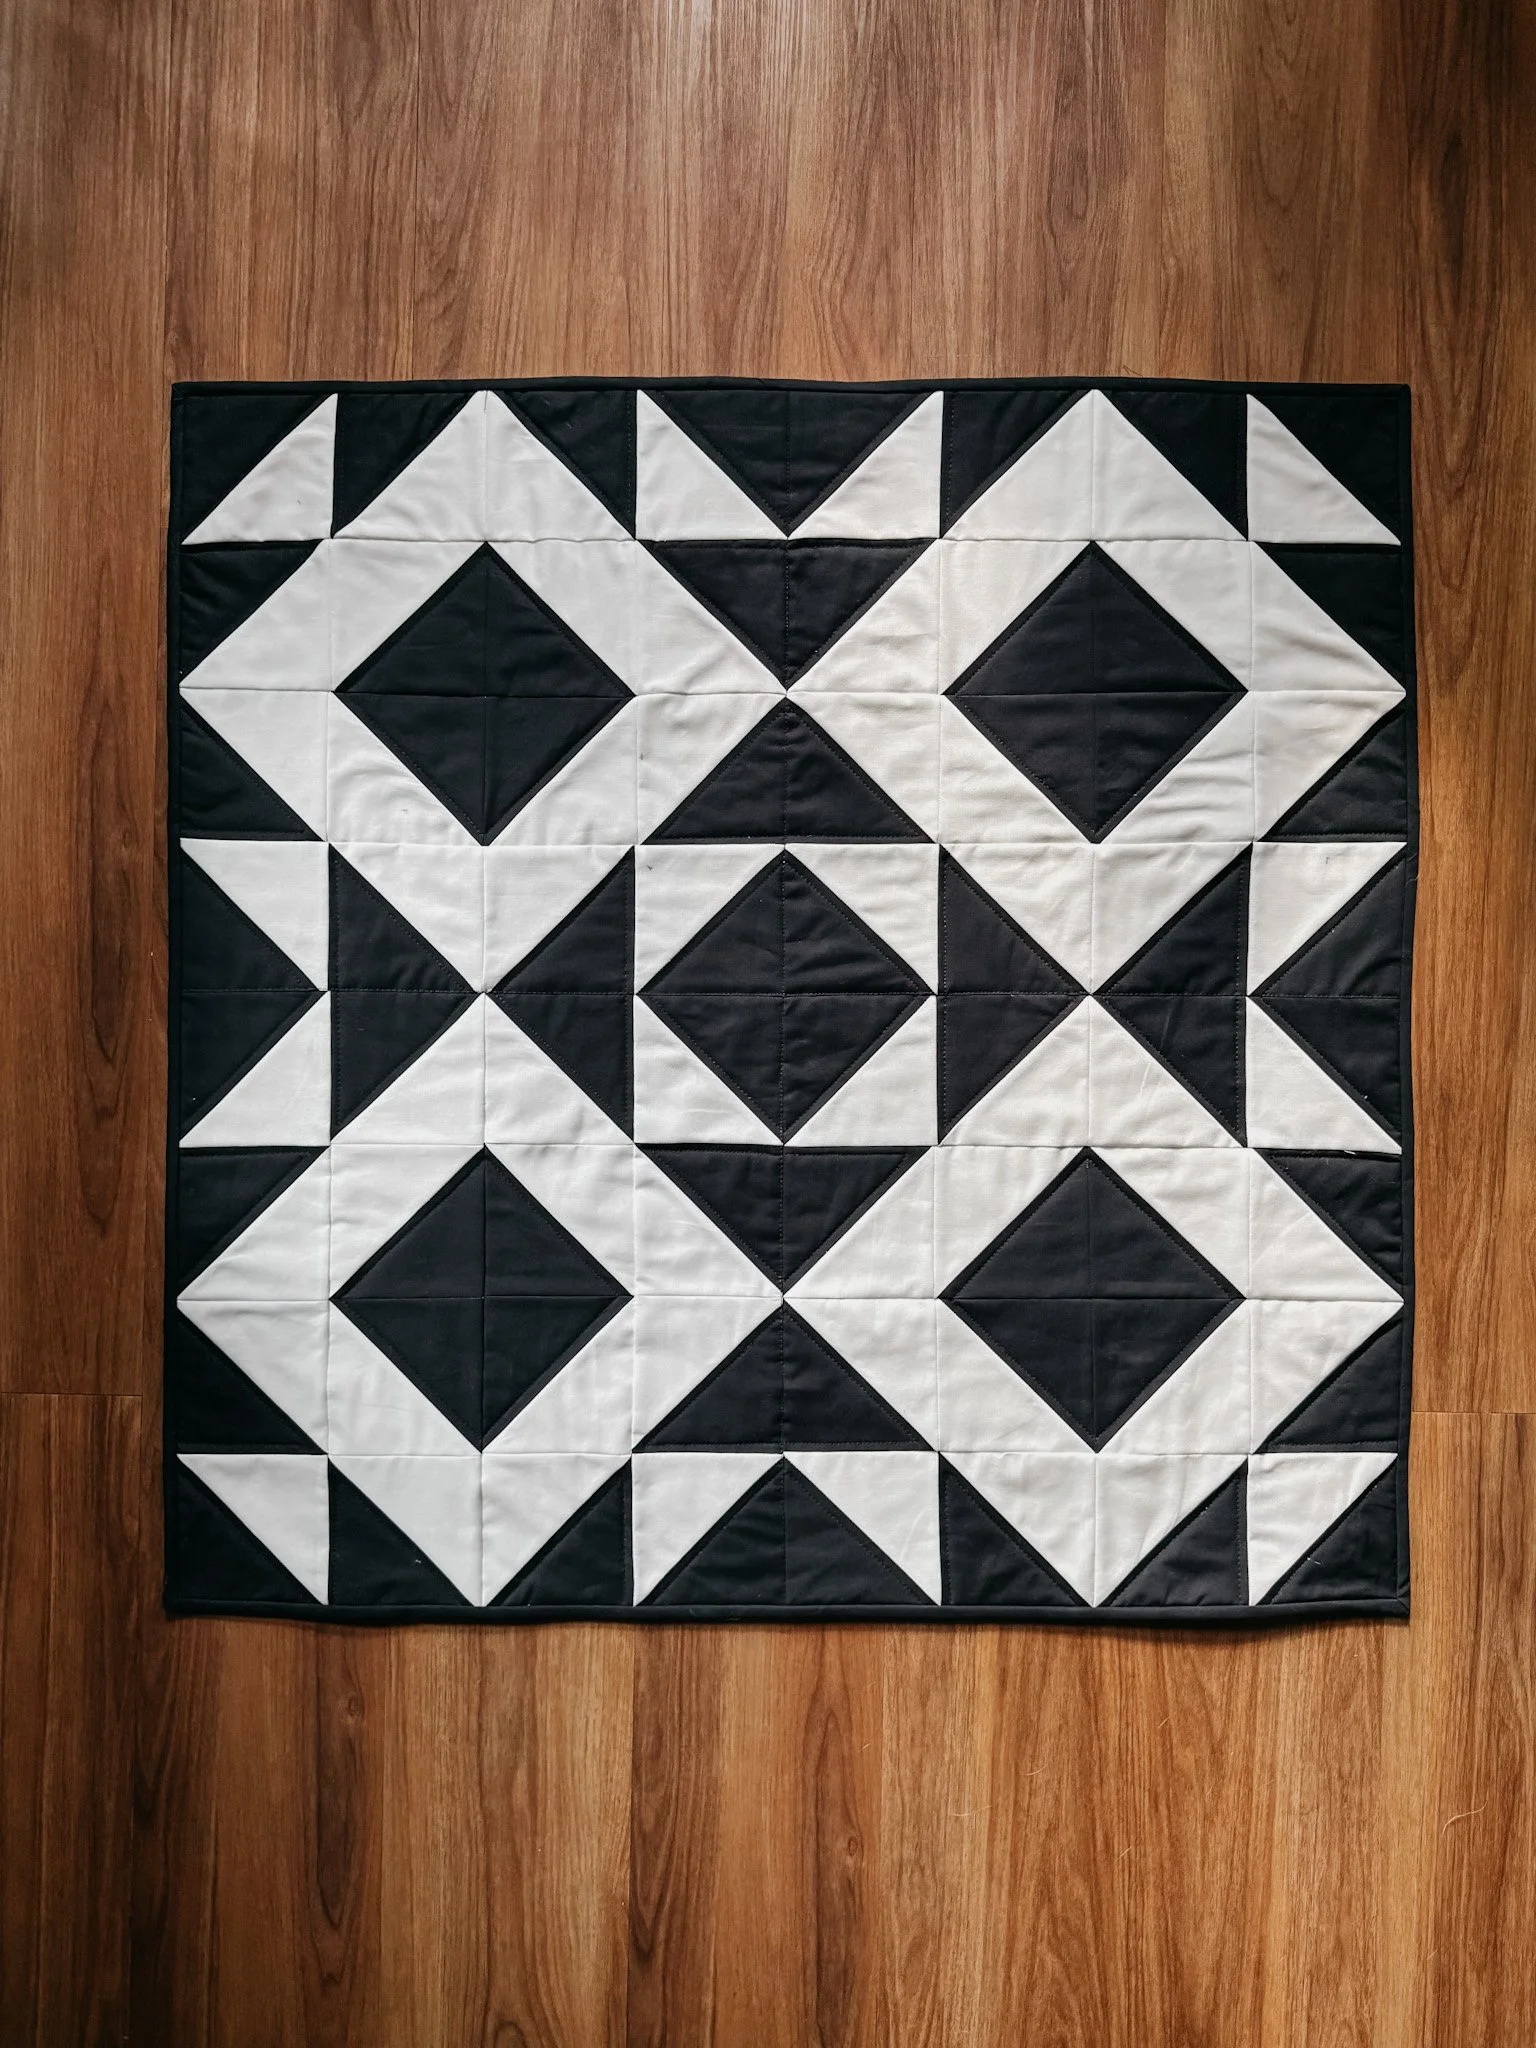
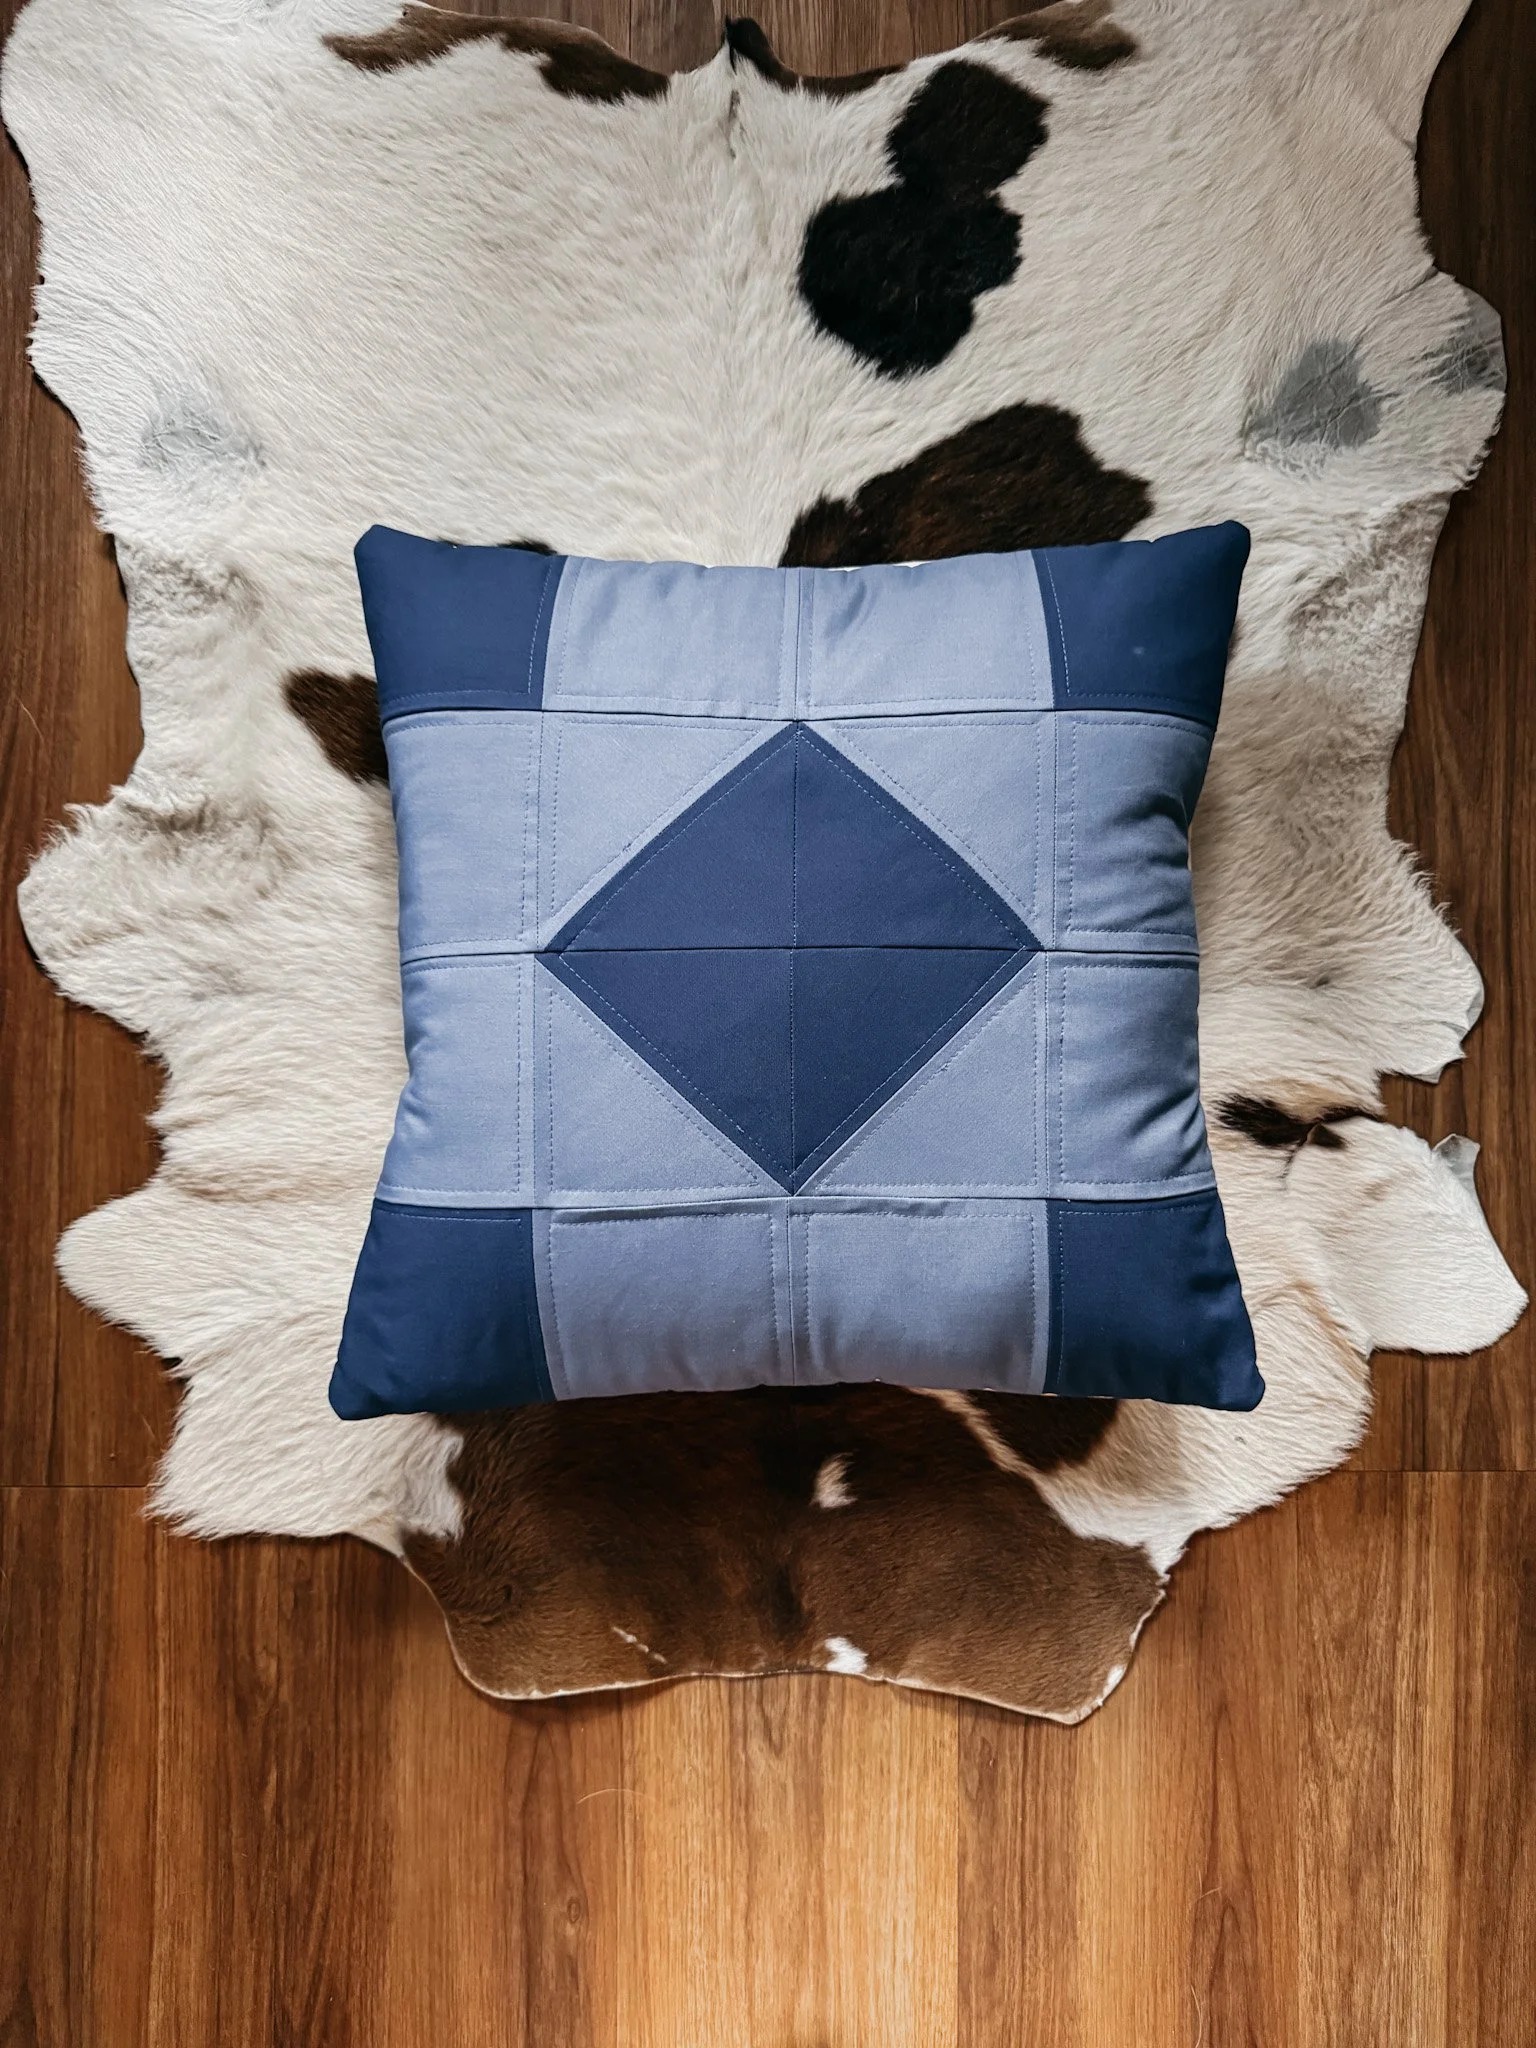
February’s Block: The Classic Pinwheel
I think a lot of people underestimate the power of simple, everyday blocks and that’s a shame because I feel they can really bring something beautiful and timeless to a room. Perhaps it’s just me but I find great comfort in classic designs. This pinwheel originally got it’s name decades ago- perhaps centuries. It’s first known/published appearance was in the Ohio Practical Farmer periodical in the 1800’s. The pinwheel (like most quilt blocks) is known by many names including Old Crow, Windmill, Broken Wheel and Four Leaf Clover just to name a few.
Quilt Along Details
Project Timeline: July 1 – March 1
What We’re Making: A baby-sized sampler quilt (9 blocks) measuring 36" × 36" finished
Block Release: One block per month, right here on the blog (project updates go out via the newsletter—make sure you subscribe!)
Block Size: 12" × 12" finished (12½" × 12½" unfinished)
Skill Level: Beginner-friendly with a few gentle challenges
Style: Traditional patchwork with room to play
Cutting Instructions (one 12″ block)
Assumes ¼″ seams and 42″ usable WOF.
Eggshell (off white) – cut:
(1) 10 1/2 x 10 1/2”
Blue – cut:
(1) 10 1/2 x 10 1/2”
You’ll make 4 HSTs total.
HST Methods Used
4 at a time
Layer: Place two contrasting 10 1/2″ squares RST.
Stitch: Sew ¼″ all the way around the perimeter.
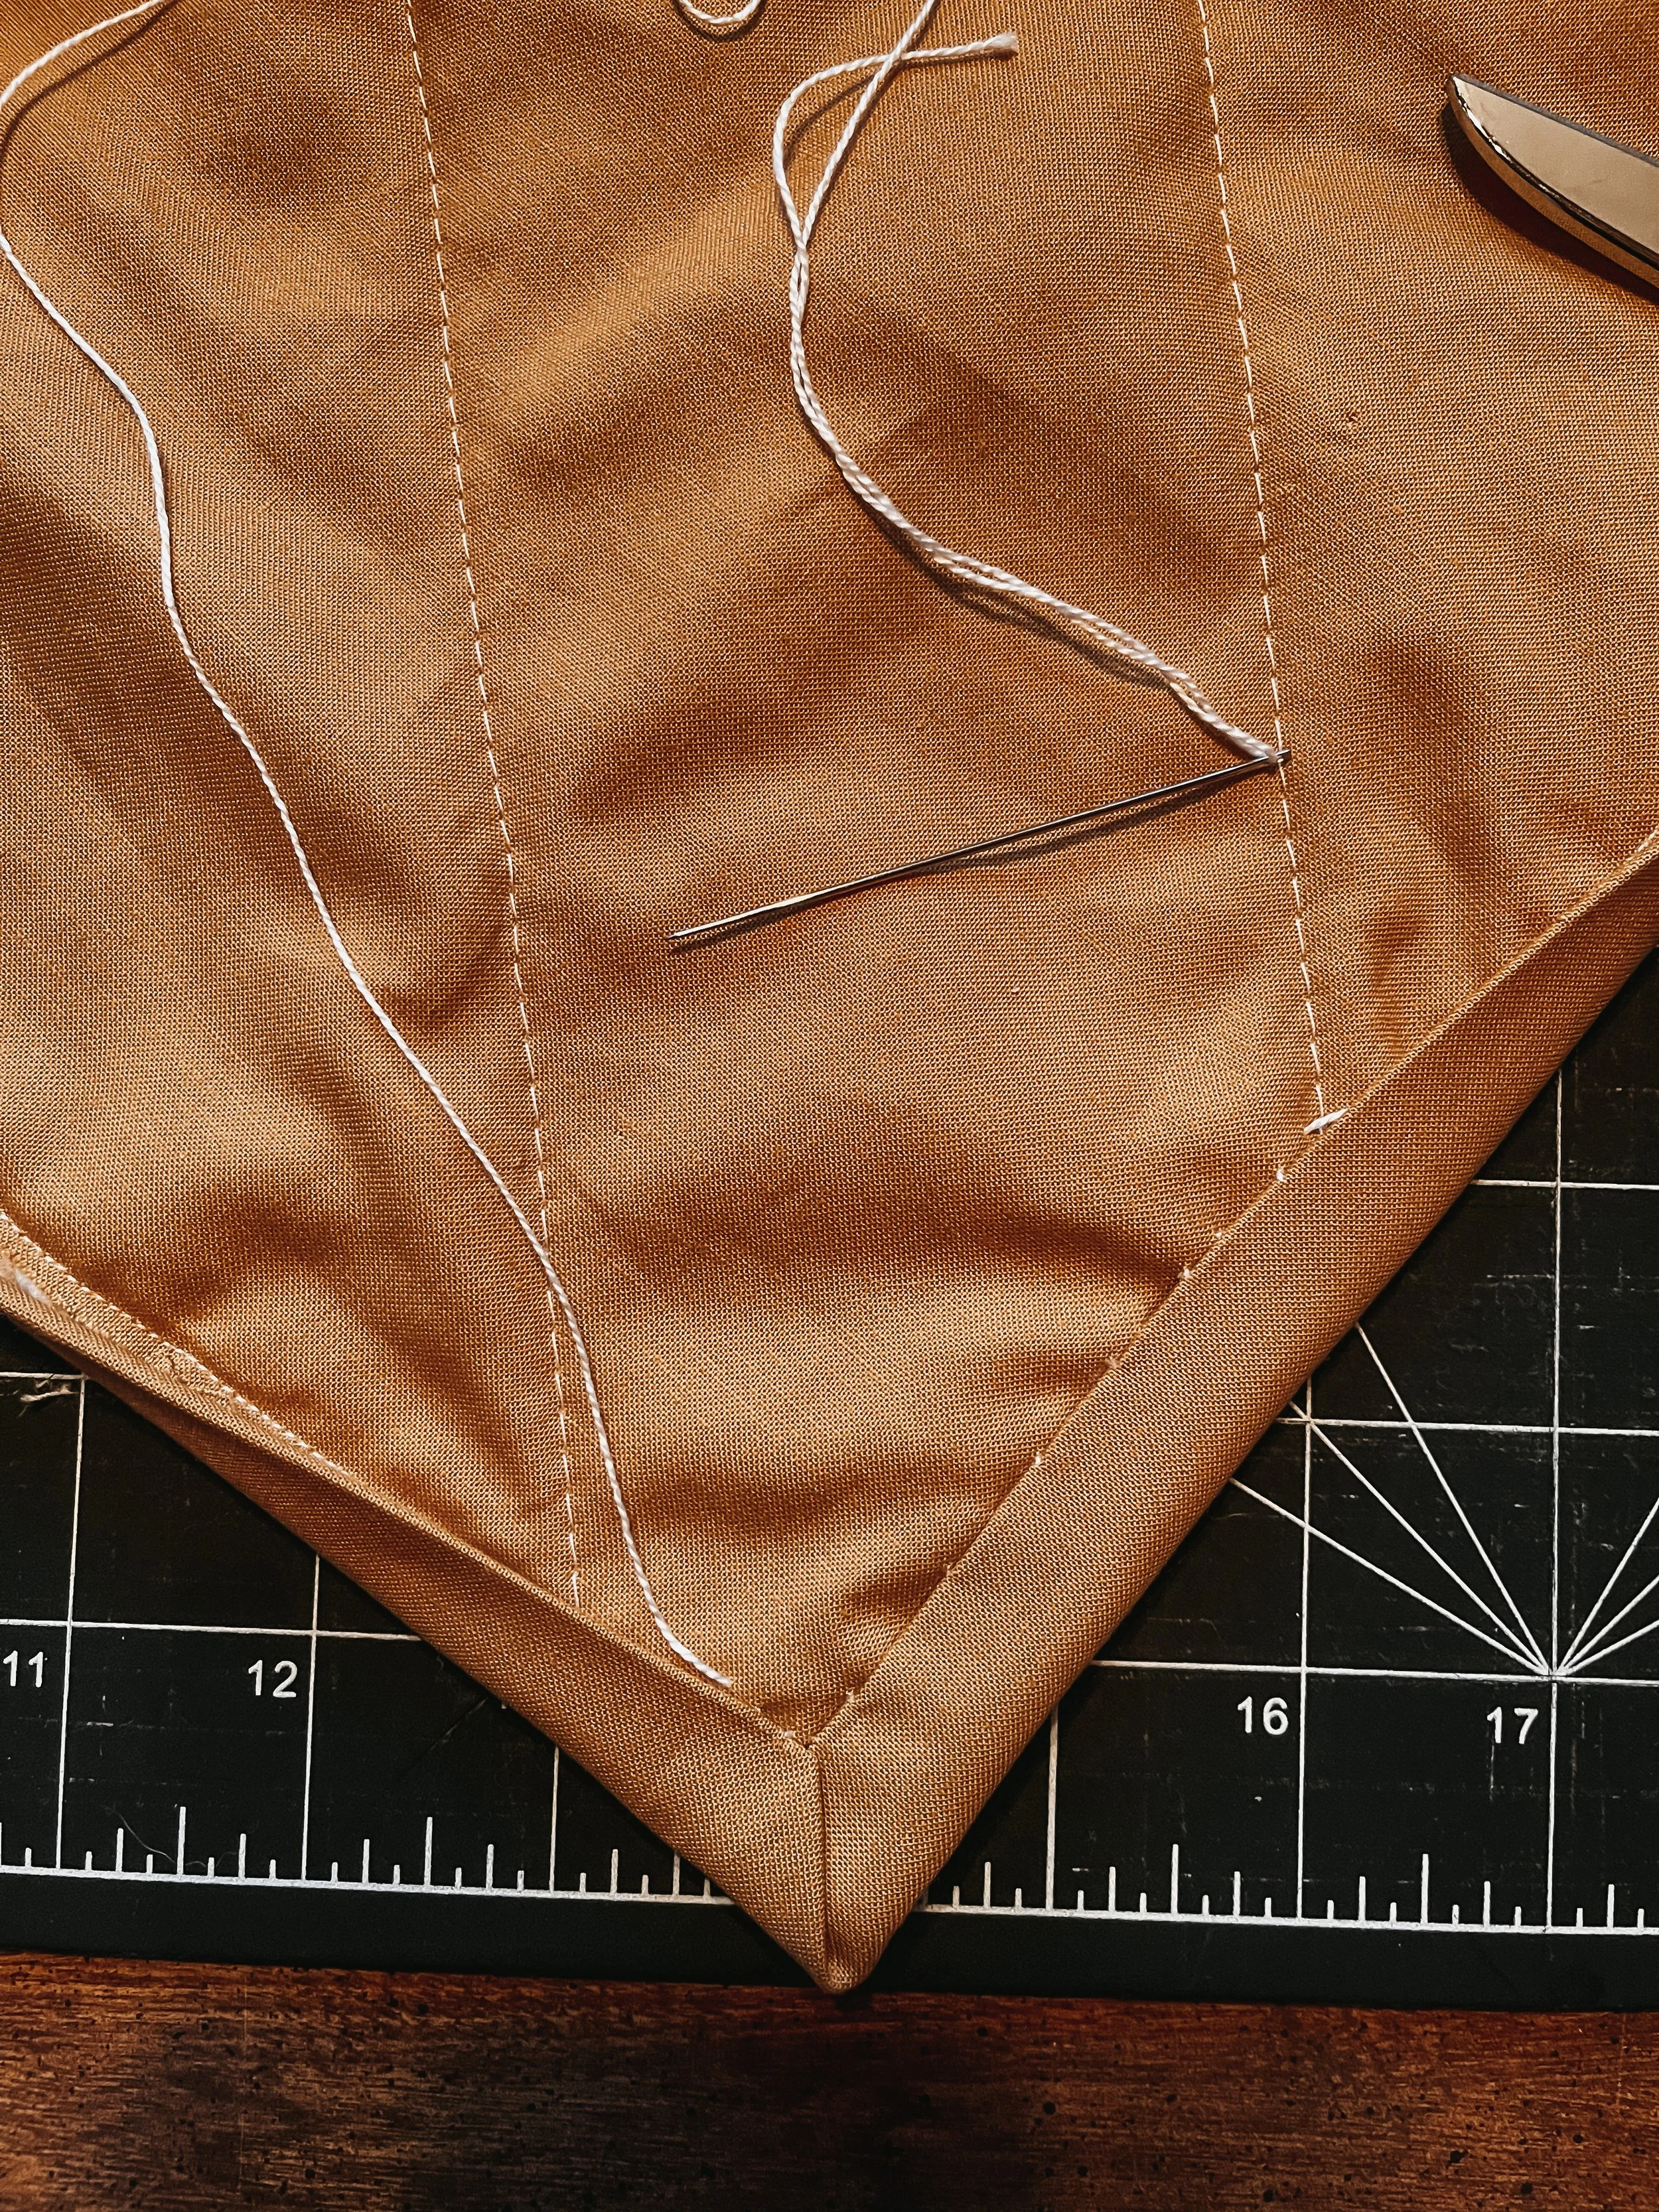
Cut: Cut diagonally corner-to-corner in both directions (an “X”) to make four units.
Trim: Trim each HST to 6 1/2 x 6 1/2”
Why Join This Quilt Along?
There’s something special about having a gentle project on the go—one that doesn’t demand perfection or rush, but simply waits for you whenever you’re ready to stitch. This Block of the Month is meant to be that: a low-pressure, creative thread running through your seasons. Scraps, stash pulls, naturally dyed bits—the charm comes from variety; the heart comes from you.
Share your blocks with #exshawquilts to peek at layouts and say hello. Free tutorials, bonus tips, and a few surprises will pop into your inbox—just little extras to make the journey sweeter. Join here!
Let’s sew something soft, slow, and story-filled—together.


A Quilt Made in Moments
This isn’t a race. It’s a rhythm—one block at a time. Whether you’re new to quilting or years in, this sampler is meant to feel like a friendly nudge back to your sewing table. By March, you’ll have a cozy little quilt top—and a handful of sweet memories stitched into the seams.
P.S. Know a friend who’d love this? Share this post and invite them to join us—more makers, more merriment.


Welcome to the blog—I'm so glad you're here.
I'm Kim, quilting and dyeing from an old cabin in the woods. This is where I share beginner-friendly tutorials, slow craft tips, and stories from a life stitched by hand. I hope you find something here that feels like home.