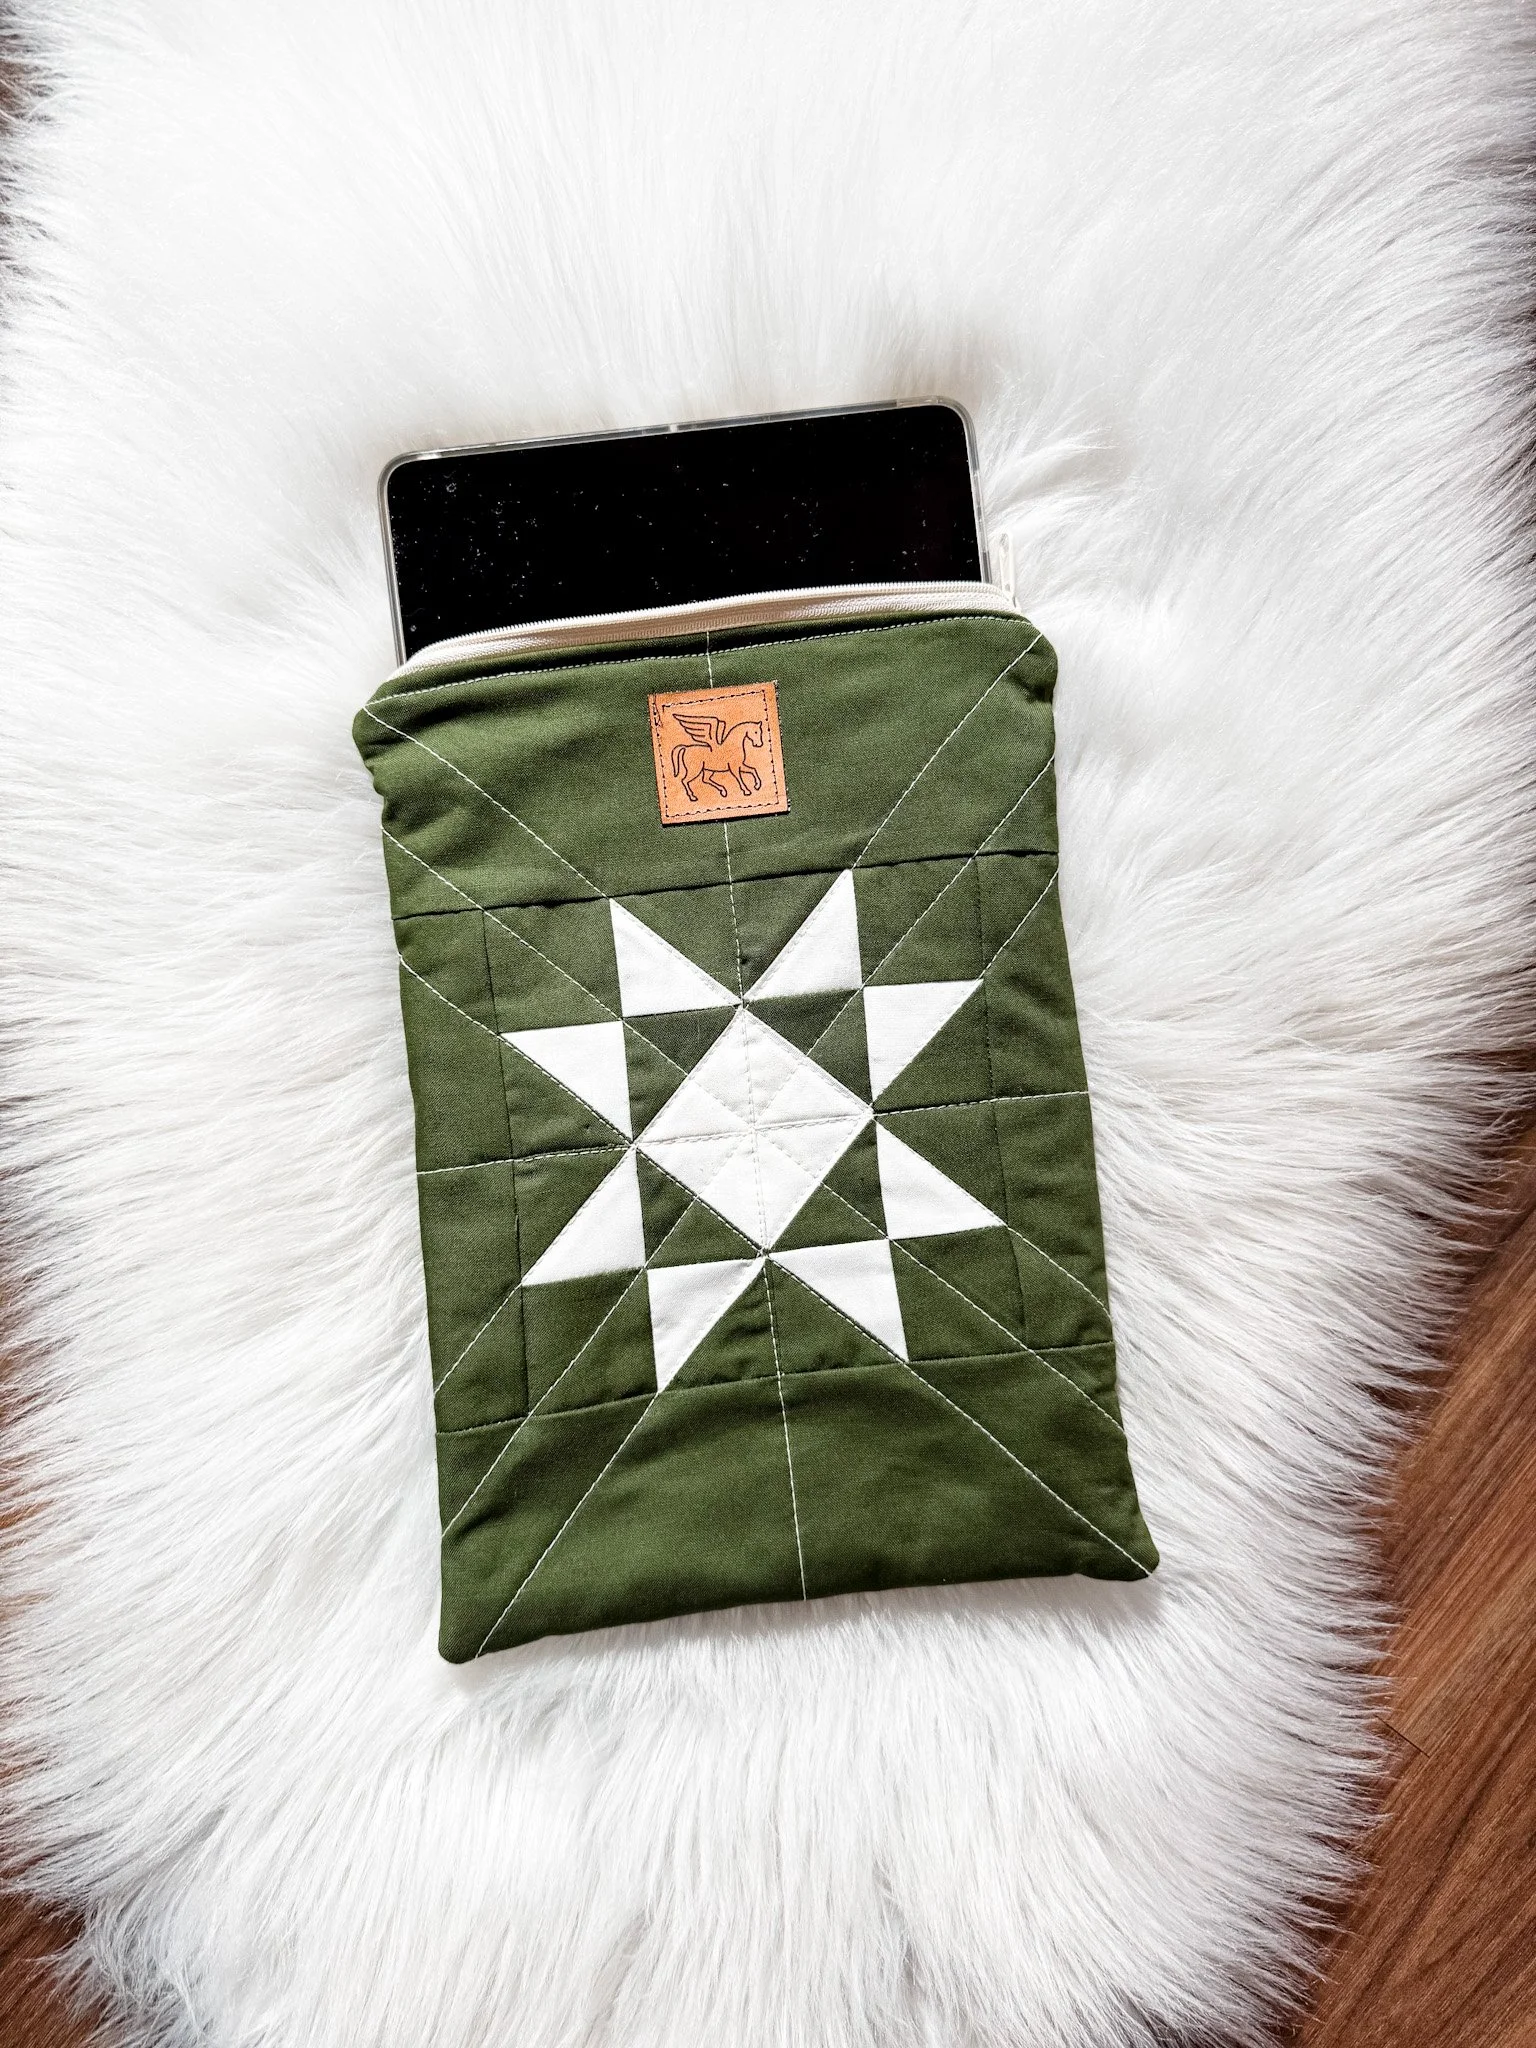
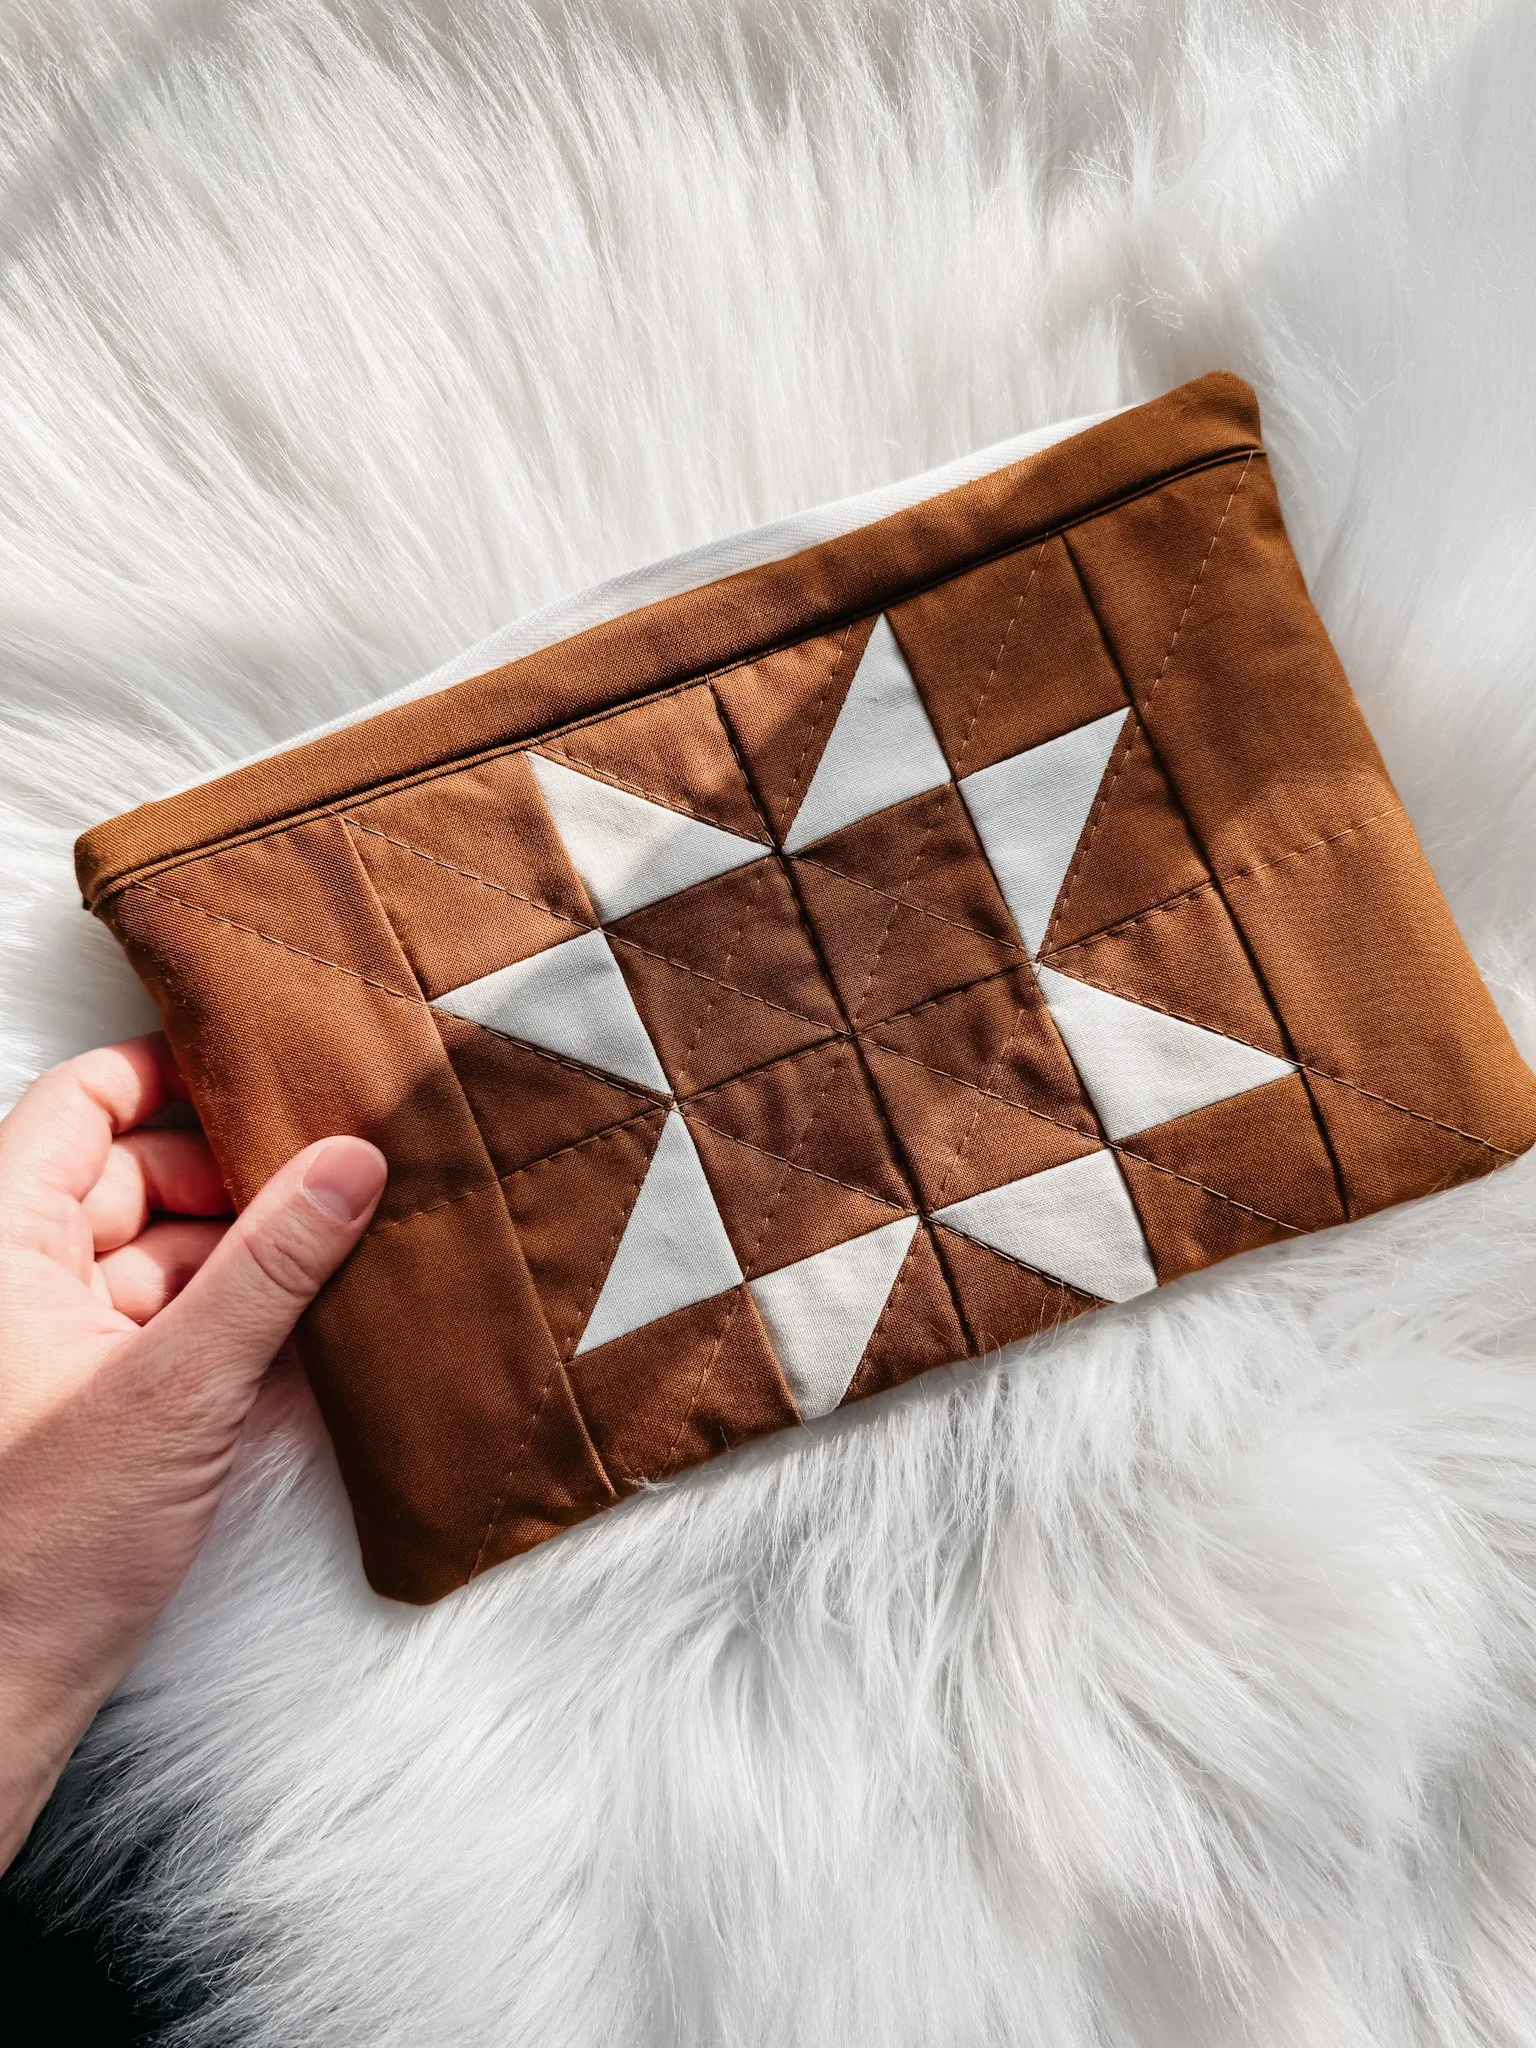
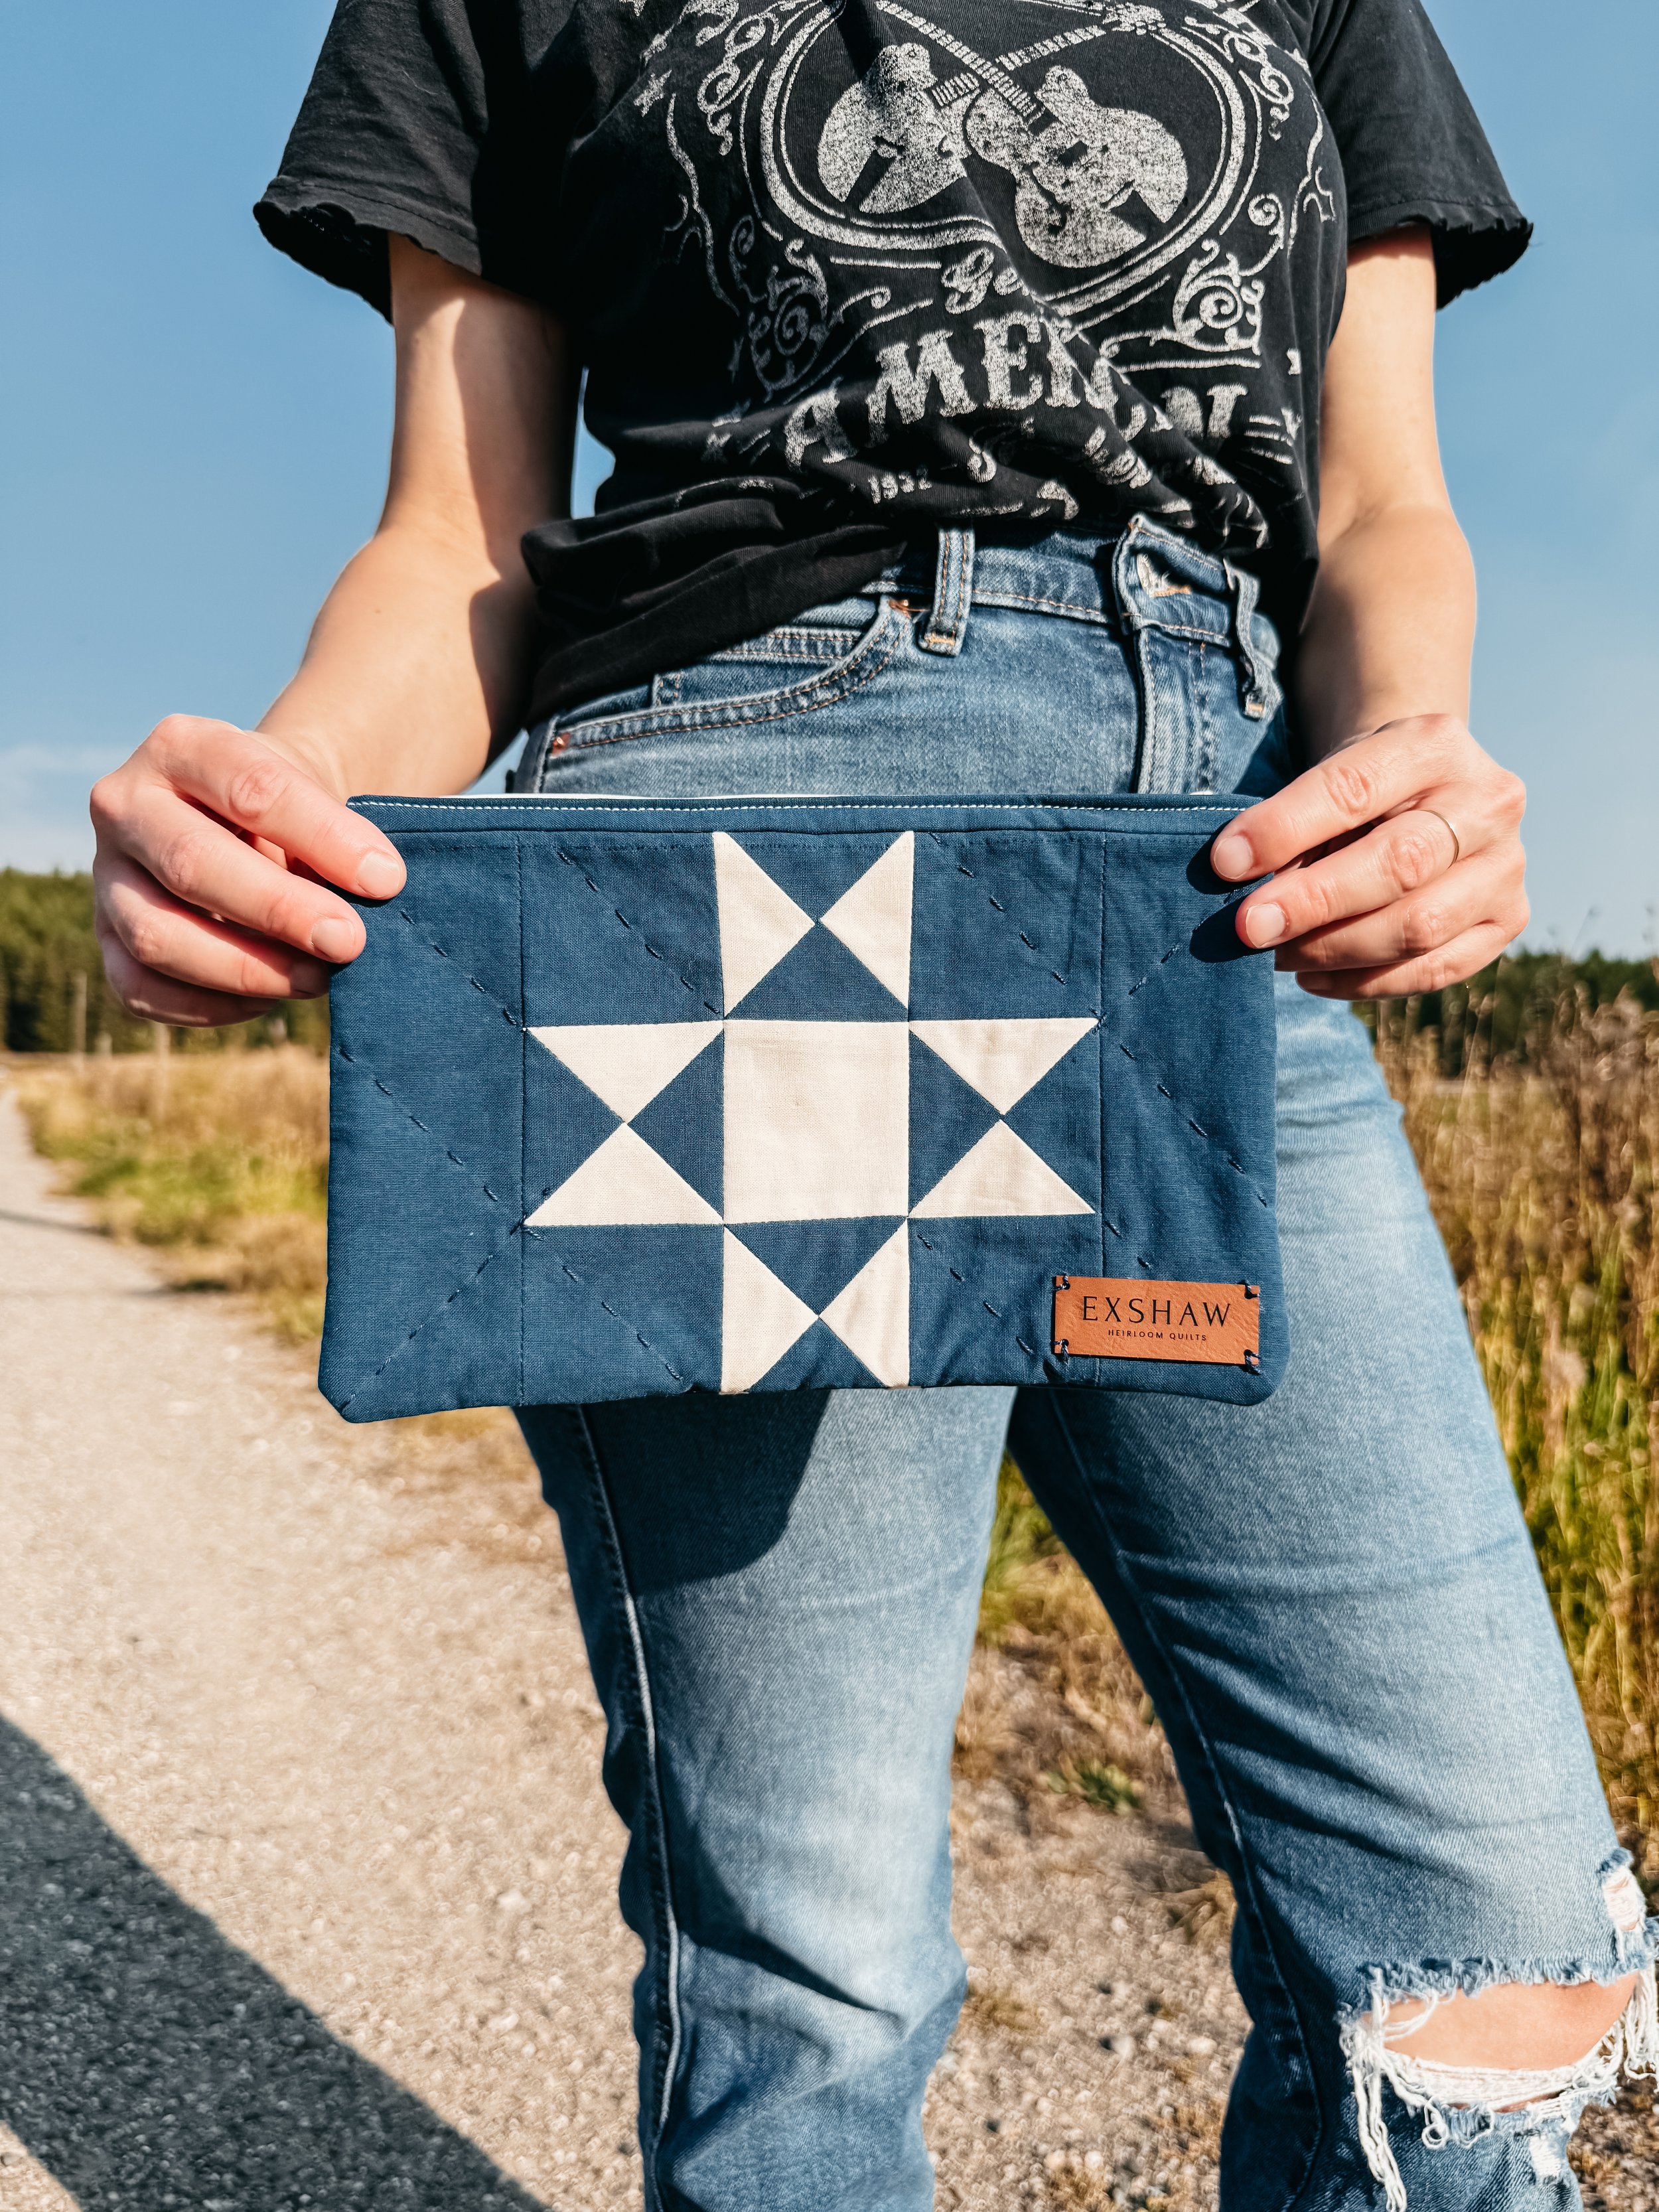
How to Sew a Quilted Zipper Pouch (Beginner Friendly!) | Full Step-by-Step Tutorial

Let’s sew a quilted zipper pouch together — step by step, slowly, and without any of the confusing bits. I’m Kim from ExshawQuilts.com, and today I’m walking you through the full zipper pouch-assembly process: using quilted panels, zipper tabs, lining, topstitching, and finishing your bag so it looks clean and professional.
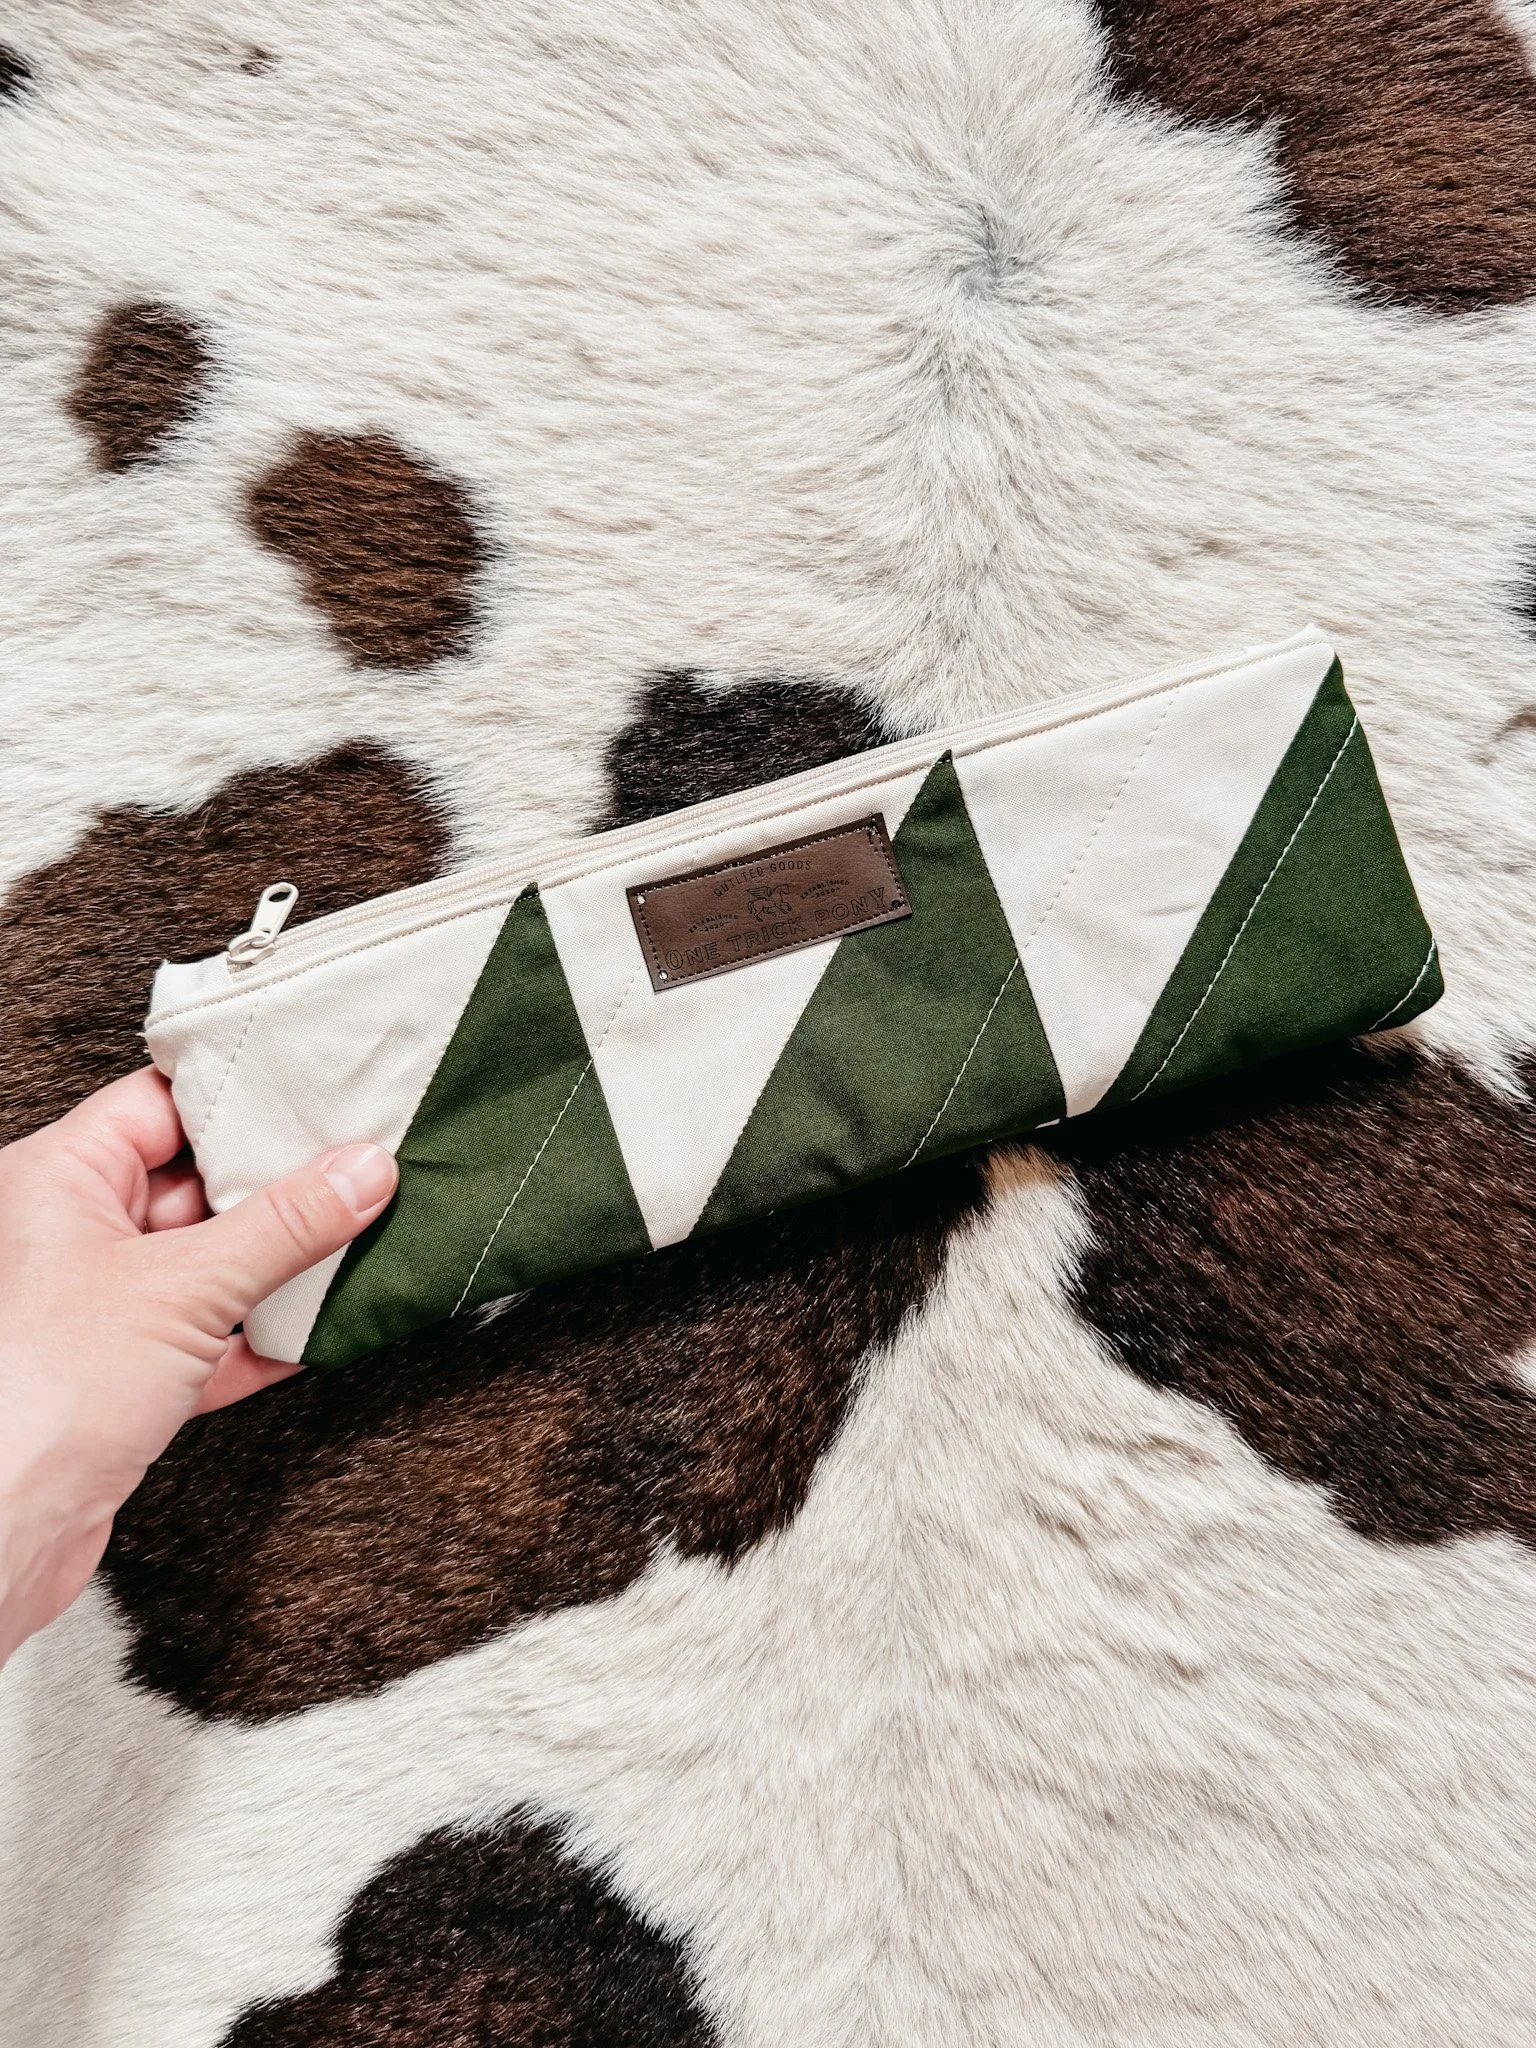
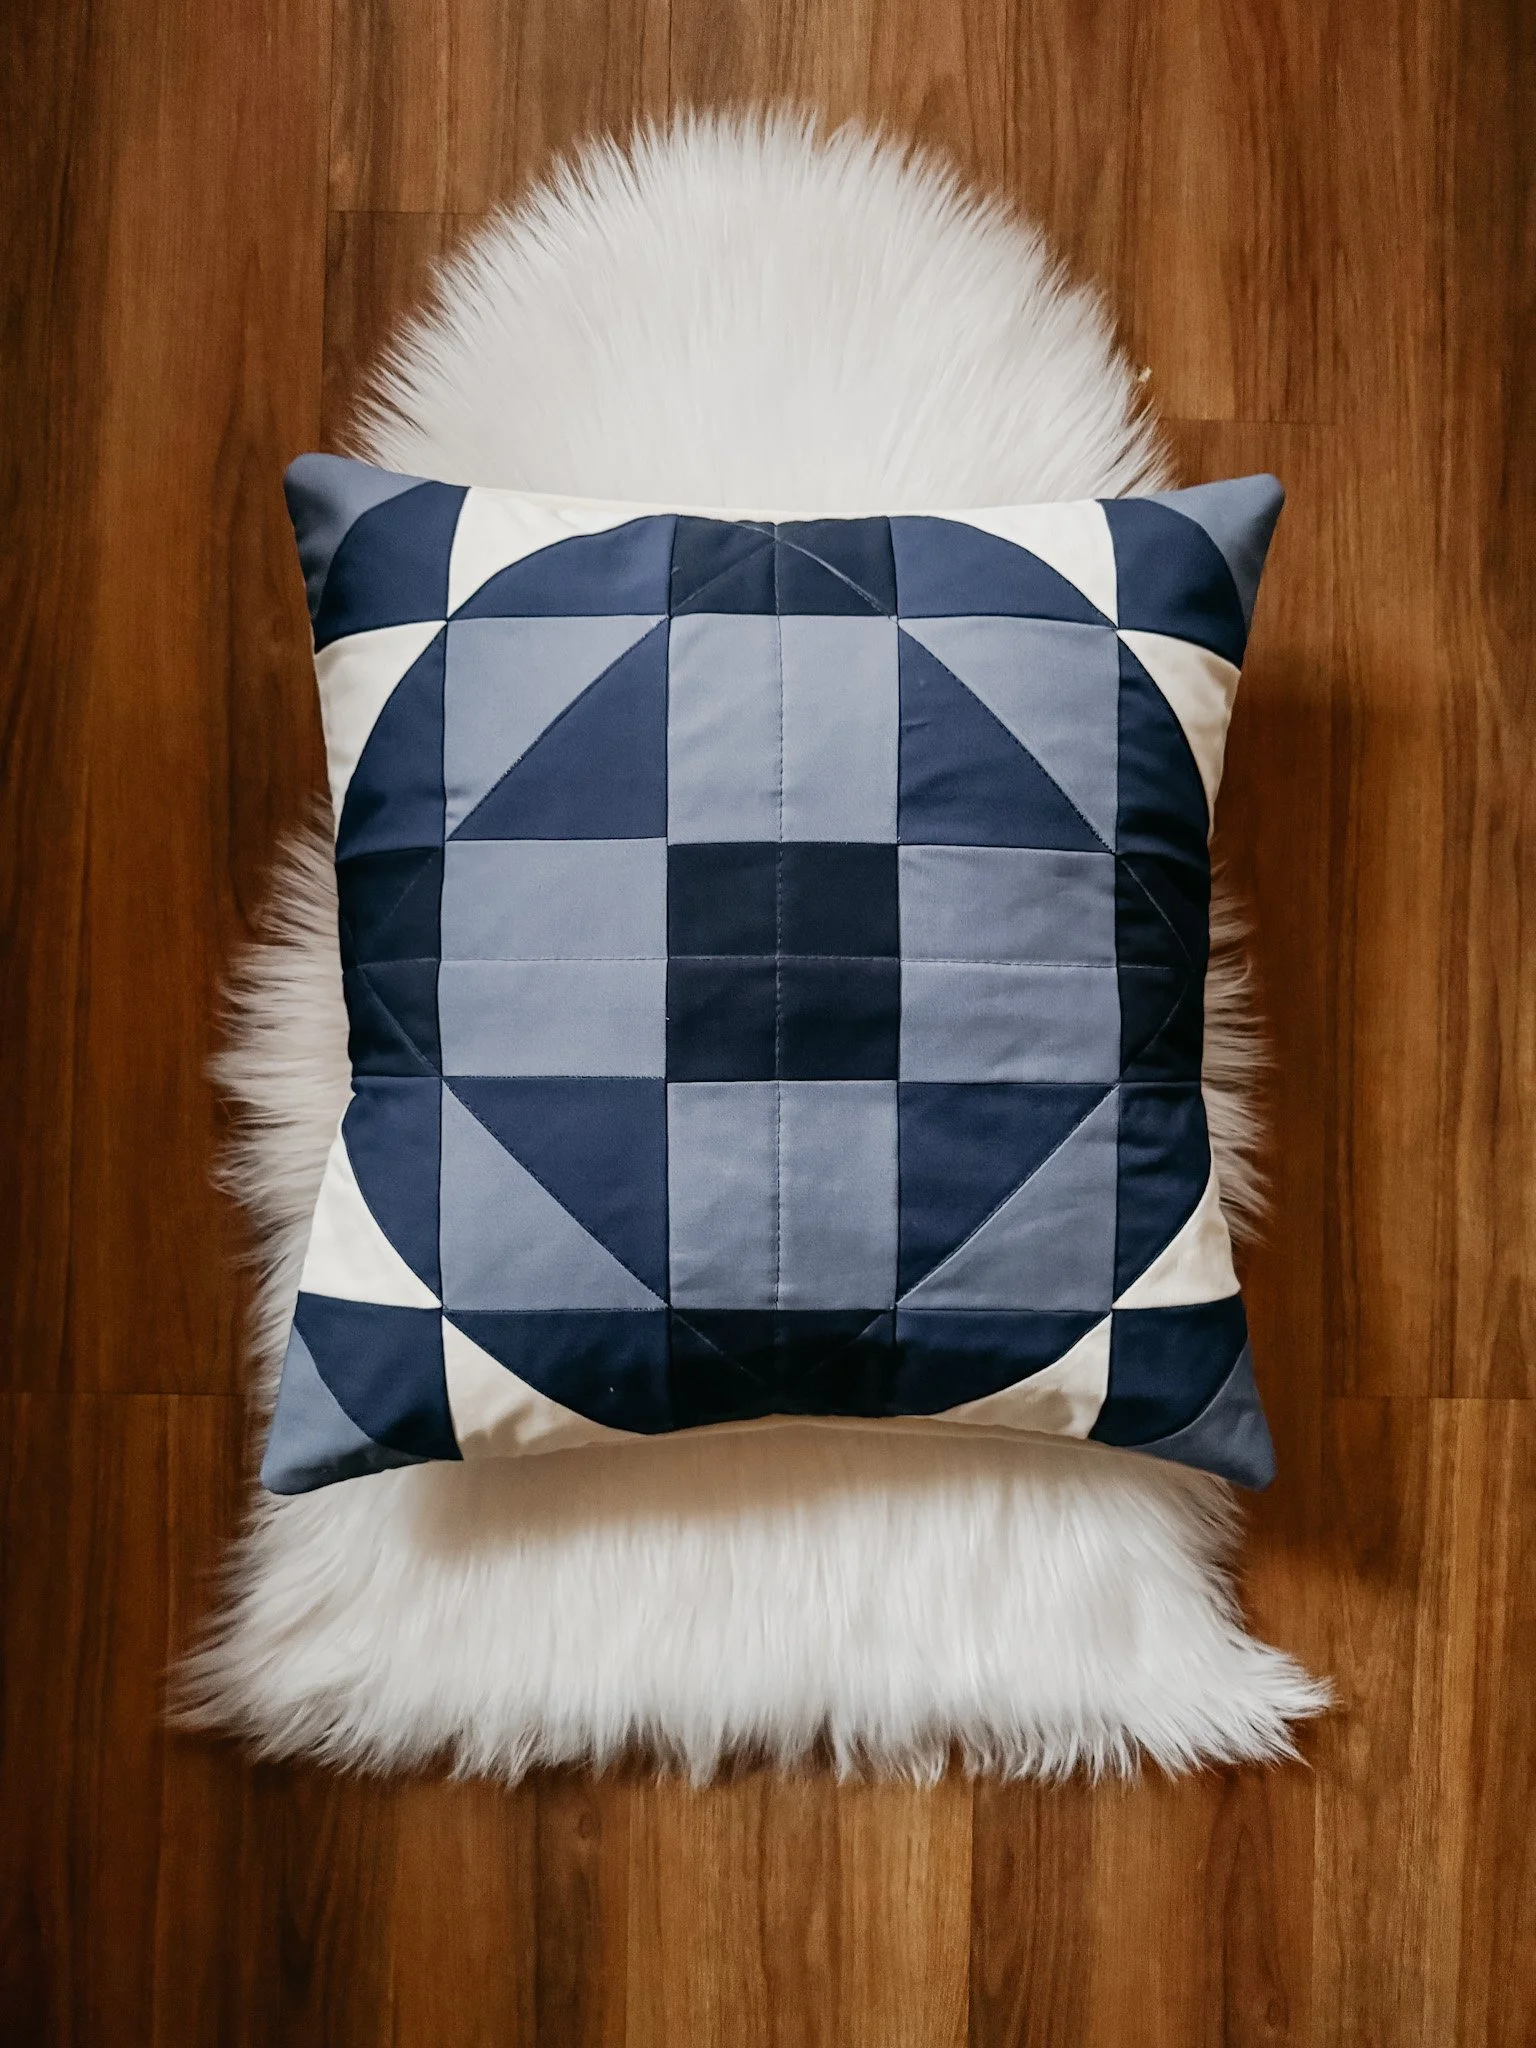
This tutorial is perfect for beginners or anyone wanting to level up their zipper-install skills. We’re using a simple, generic pouch pattern for teaching purposes, but the steps in this video work for any quilted pouch pattern on my website.
✨ Find all of my quilted pouch patterns here: https://www.exshawquilts.com/patterns
What You’ll Learn in This Video:
• how to make and attach zipper tabs
• how to use double-sided tape for easier zipper installation
• how to align lining + quilted panels properly
• how to sew the zipper with a clean finish
• how to topstitch for a pro look
• how to sew the pouch closed and turn it neatly
• troubleshooting tips I wish I’d known as a beginner
Helpful Tools I Used Today:
• 1/4" foot • zipper foot
• double-sided basting tape
• clips or pins • iron + pressing mat
• rotary cutter + ruler
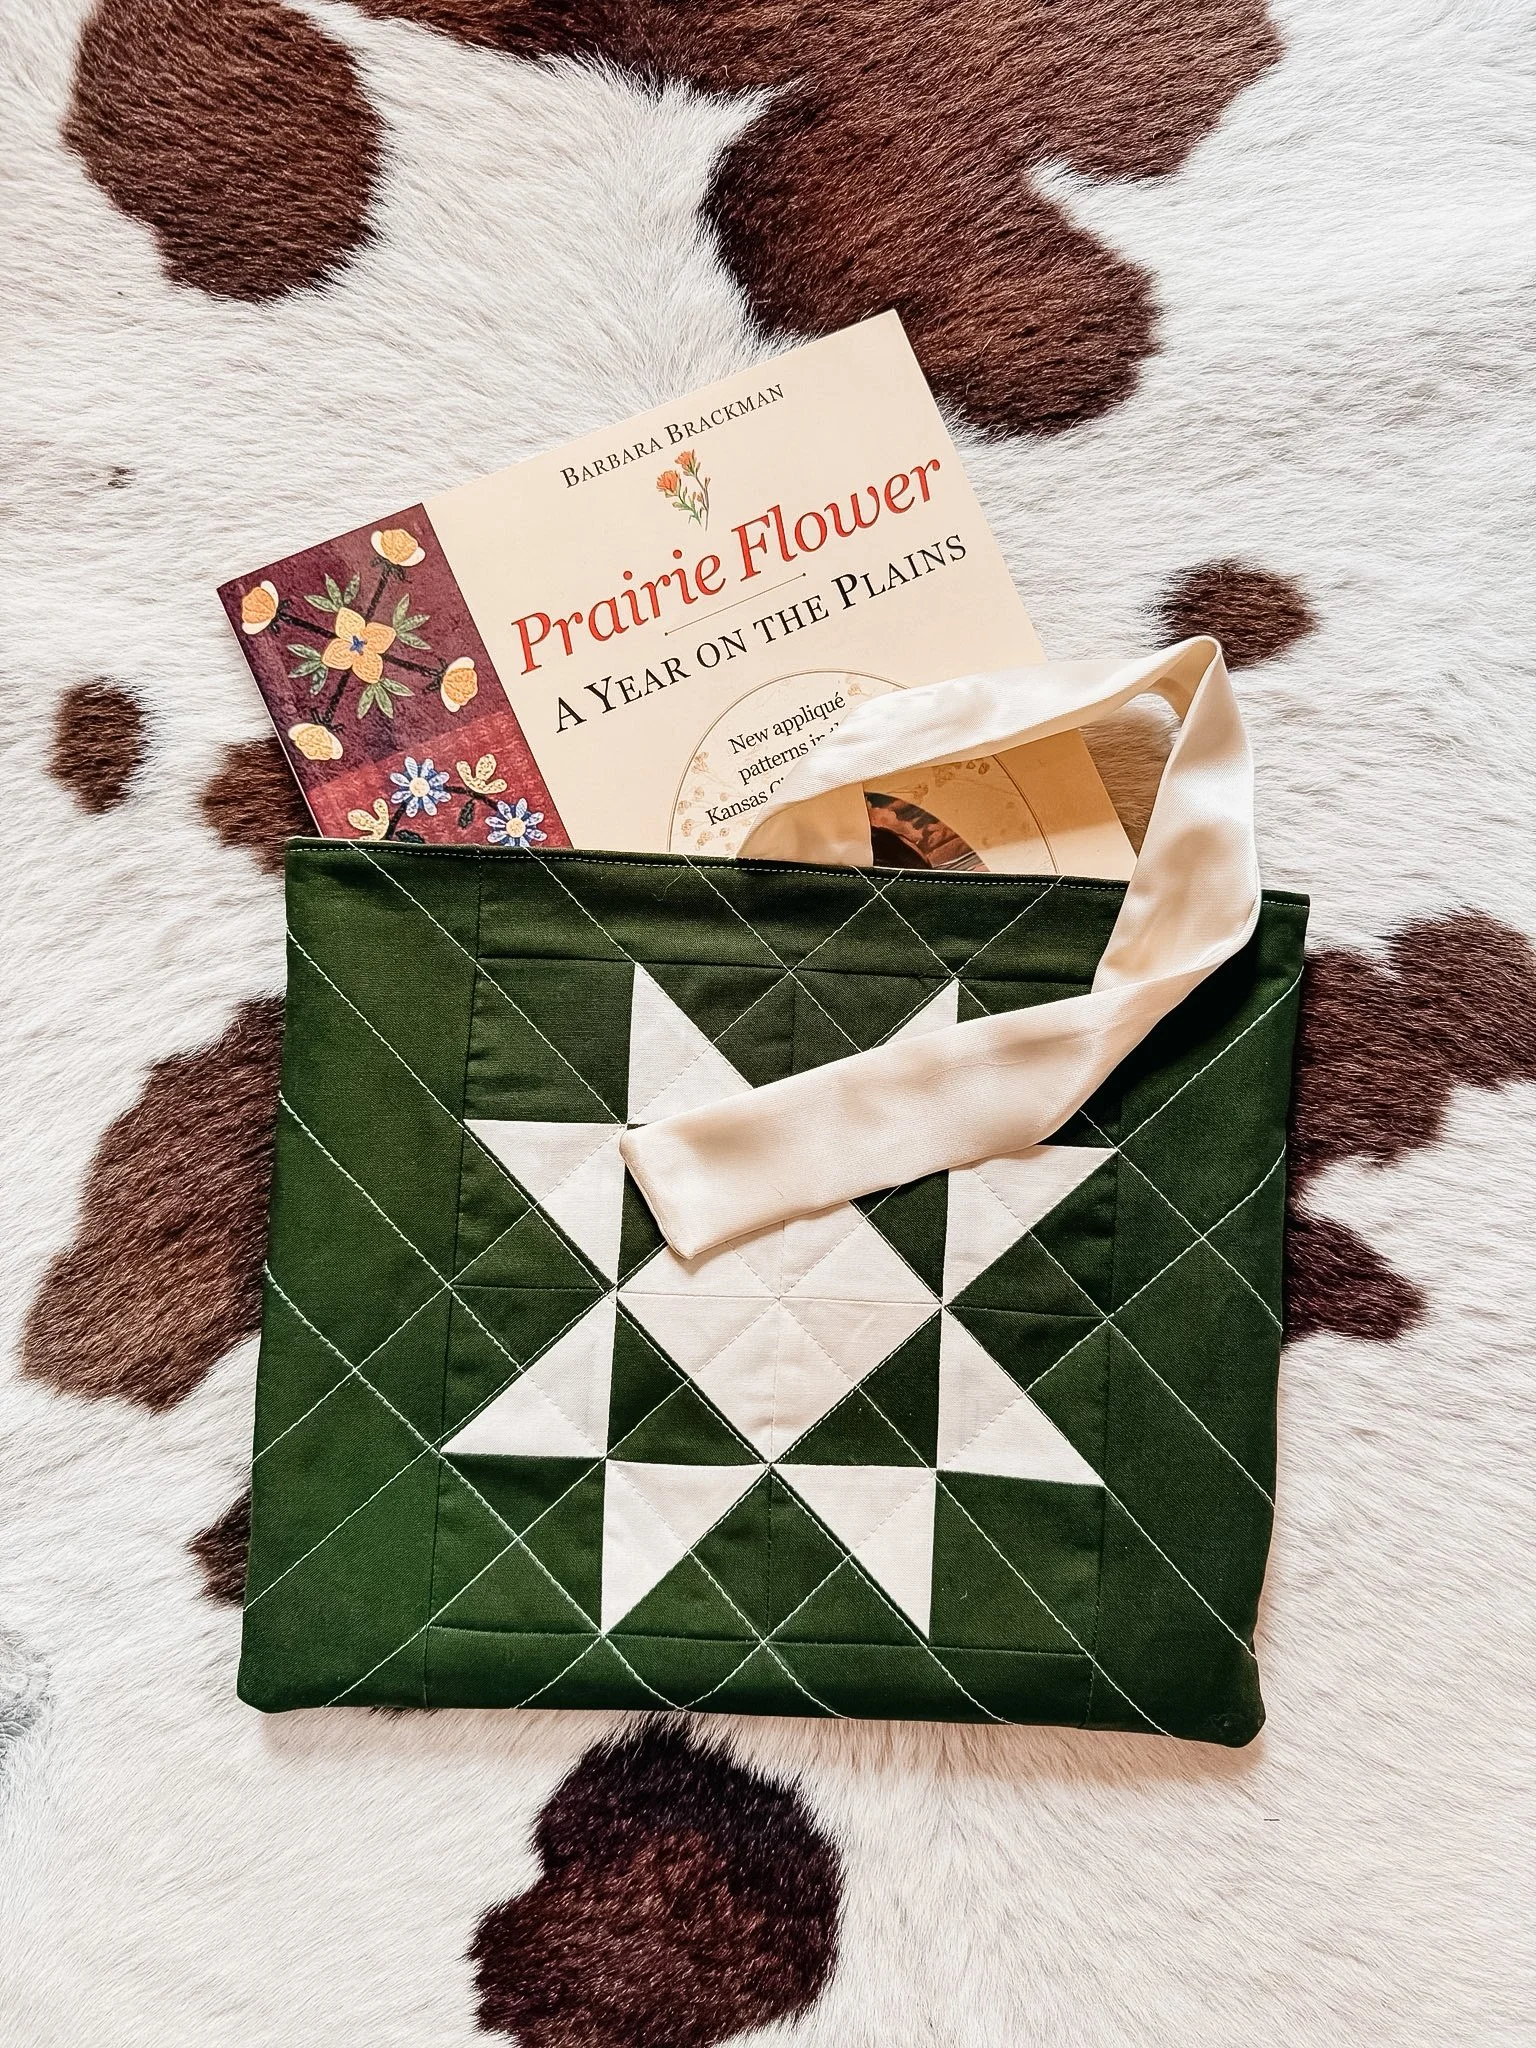
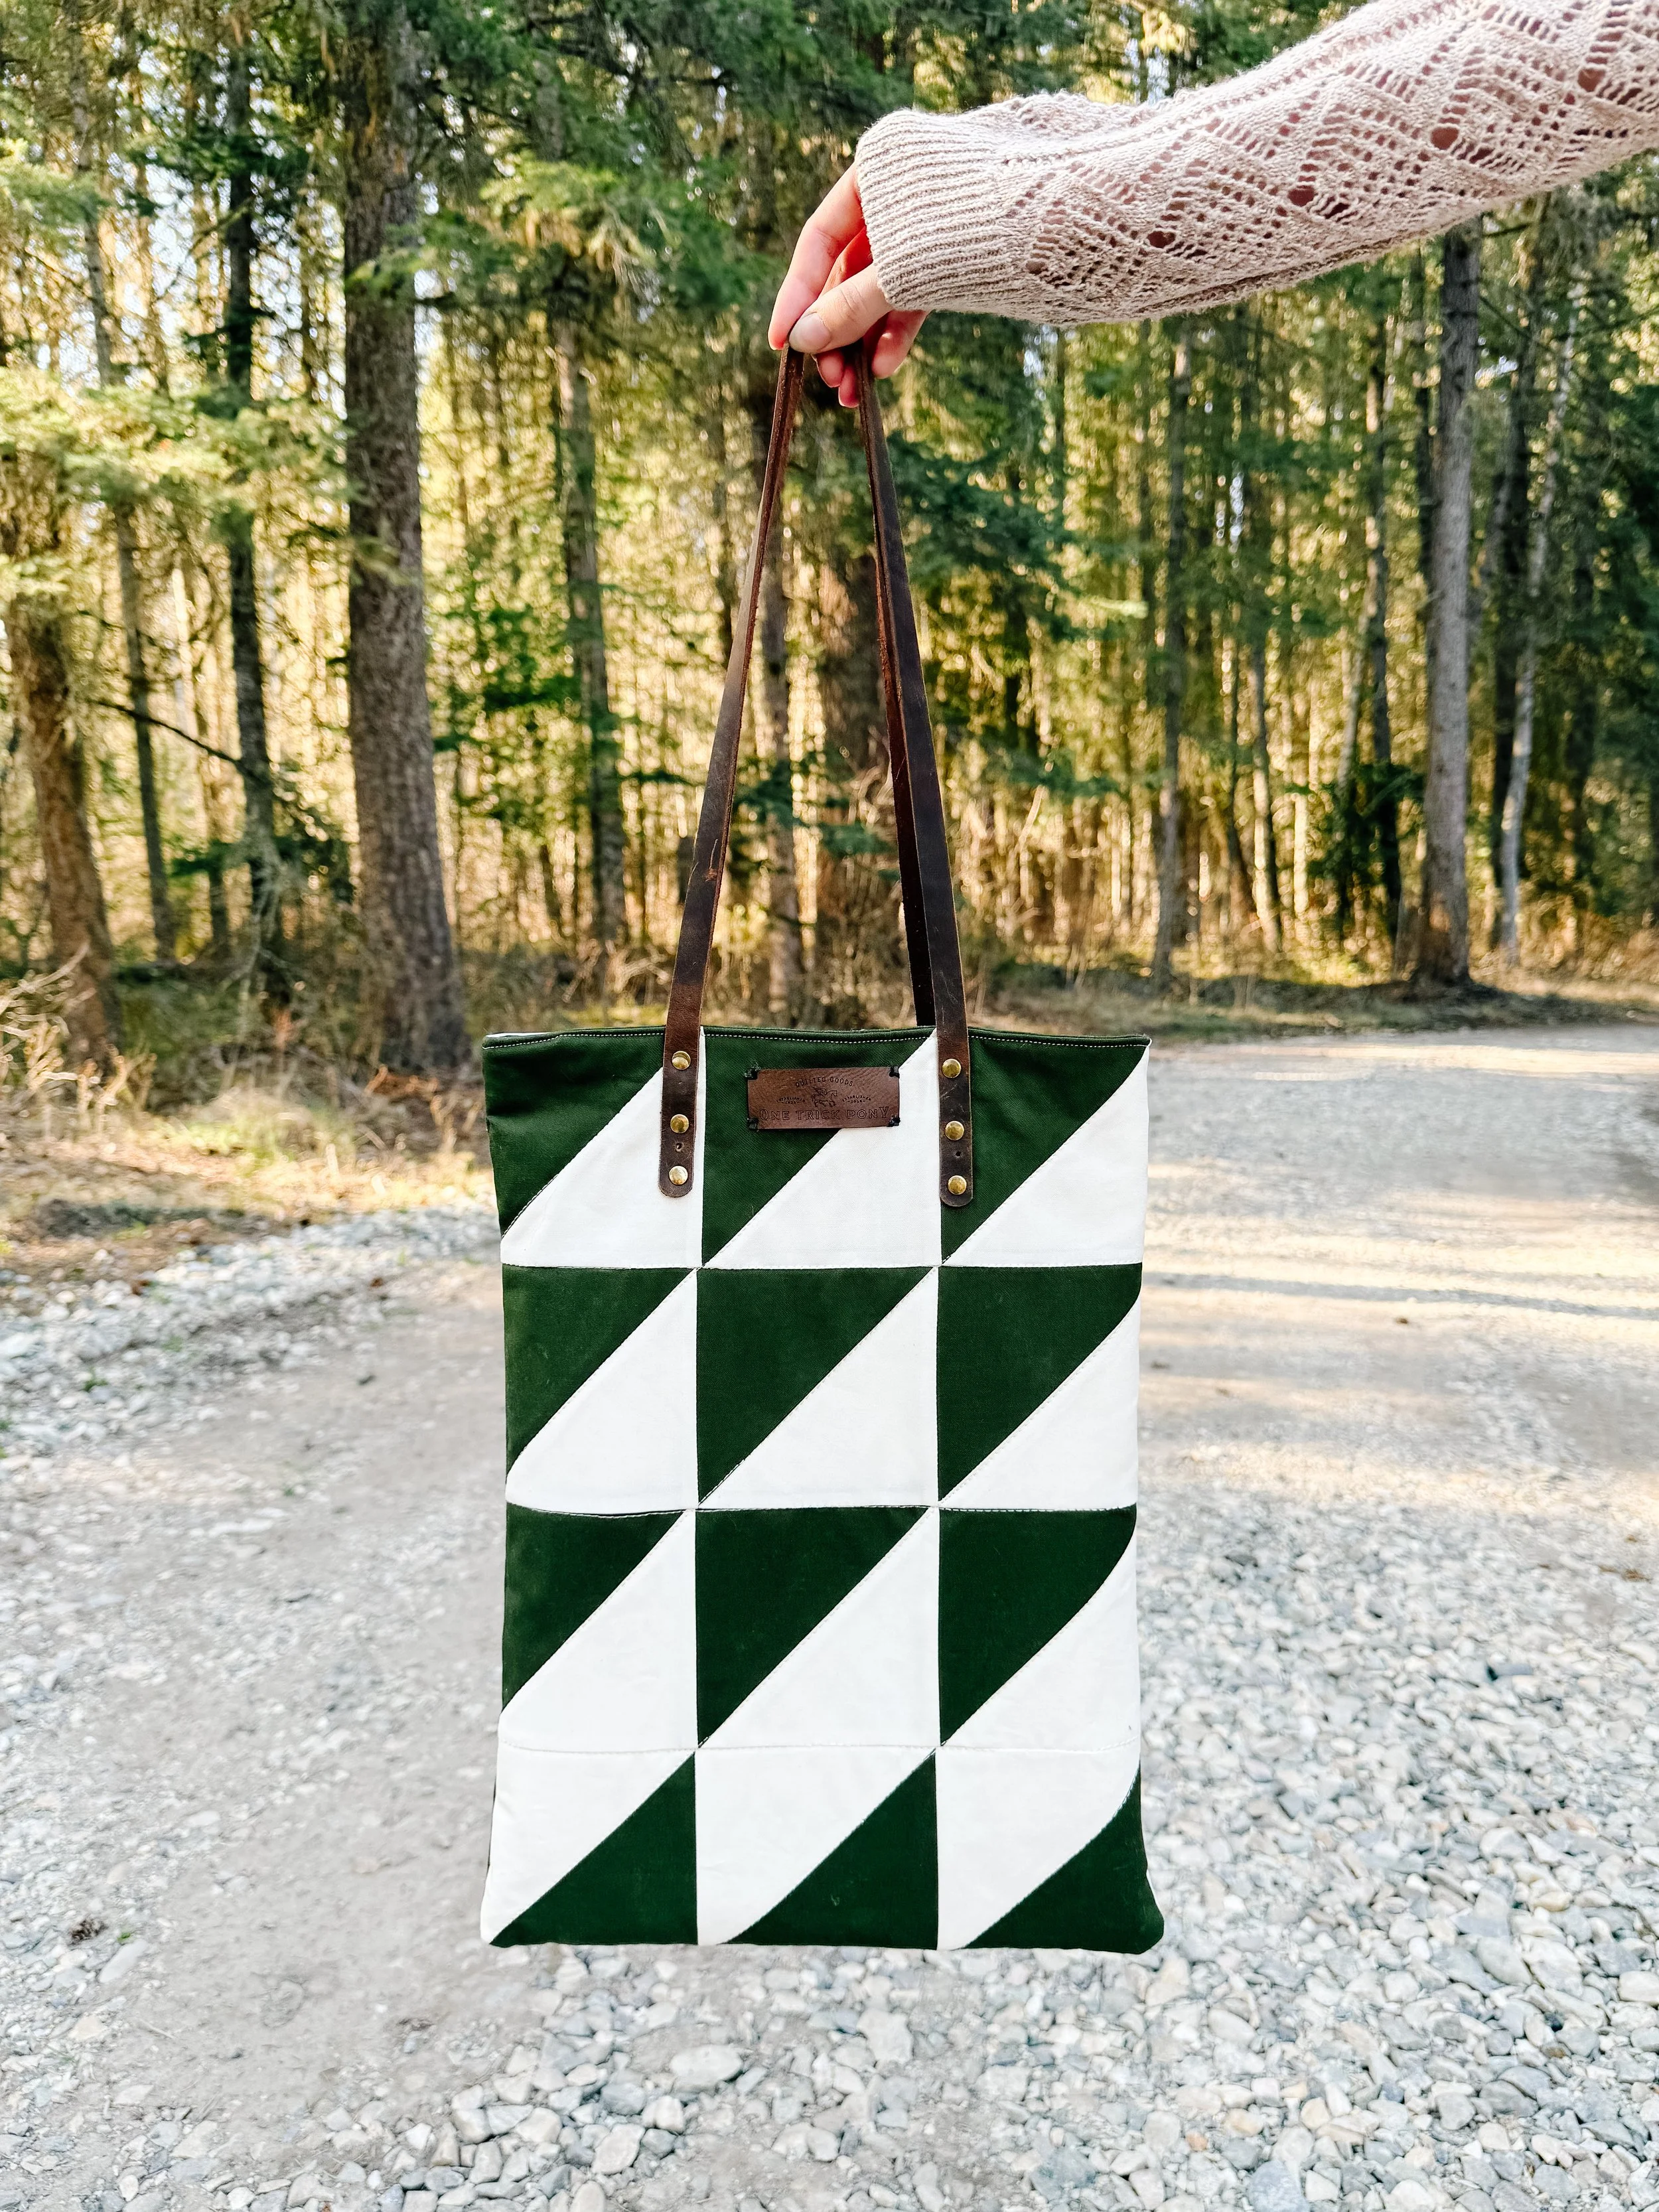
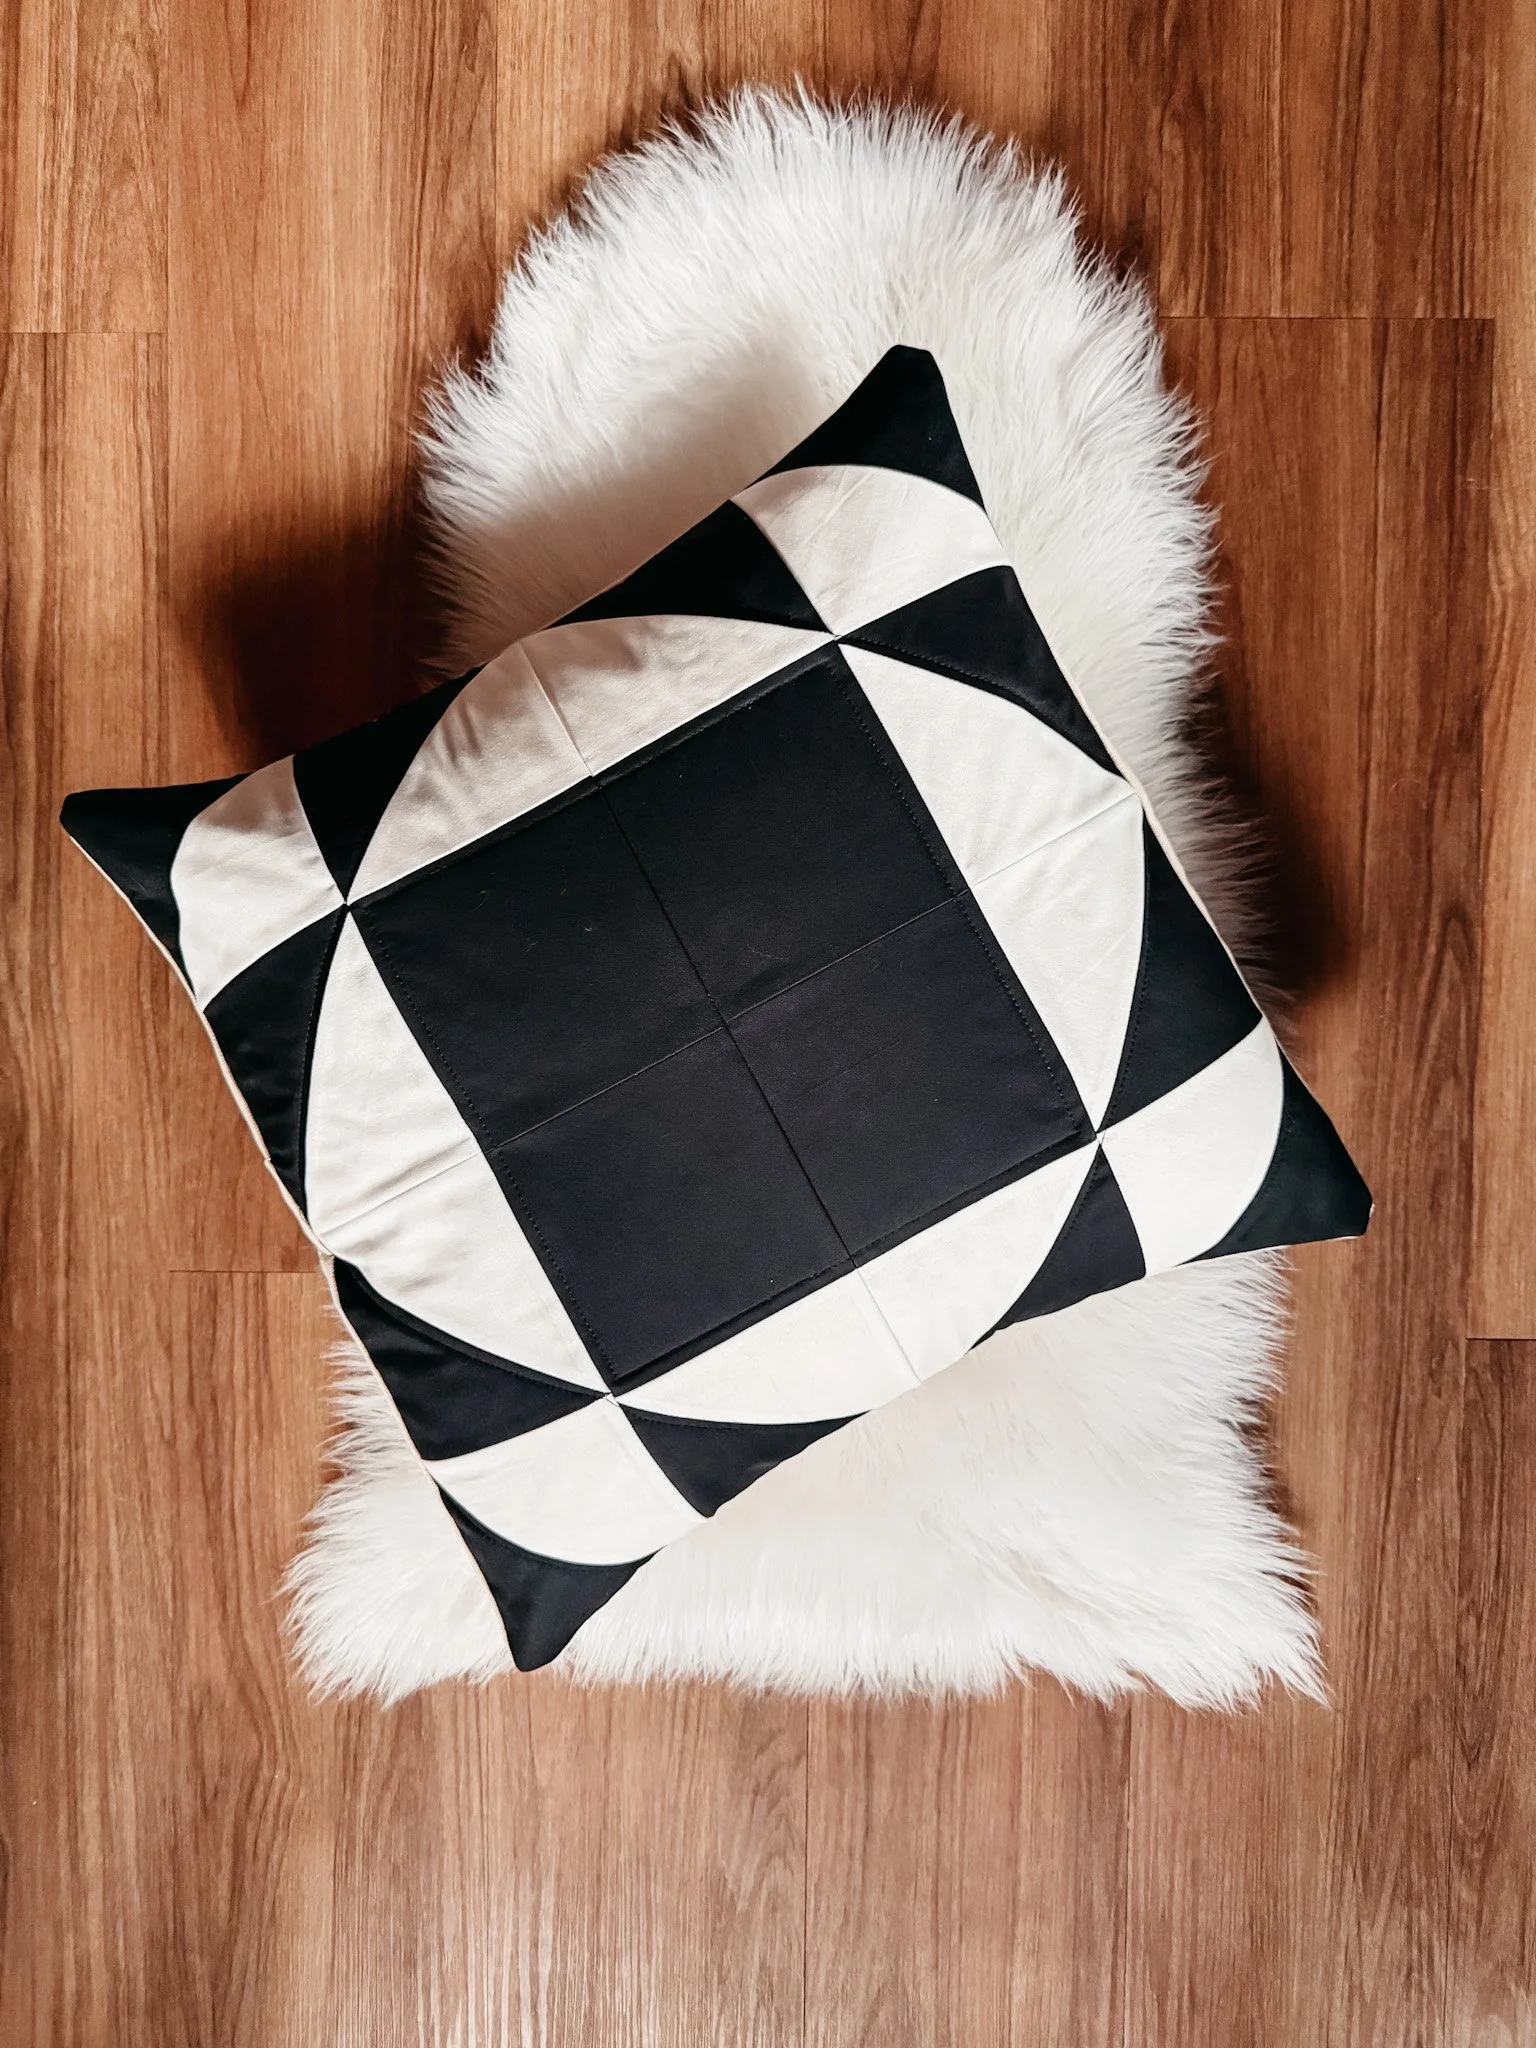
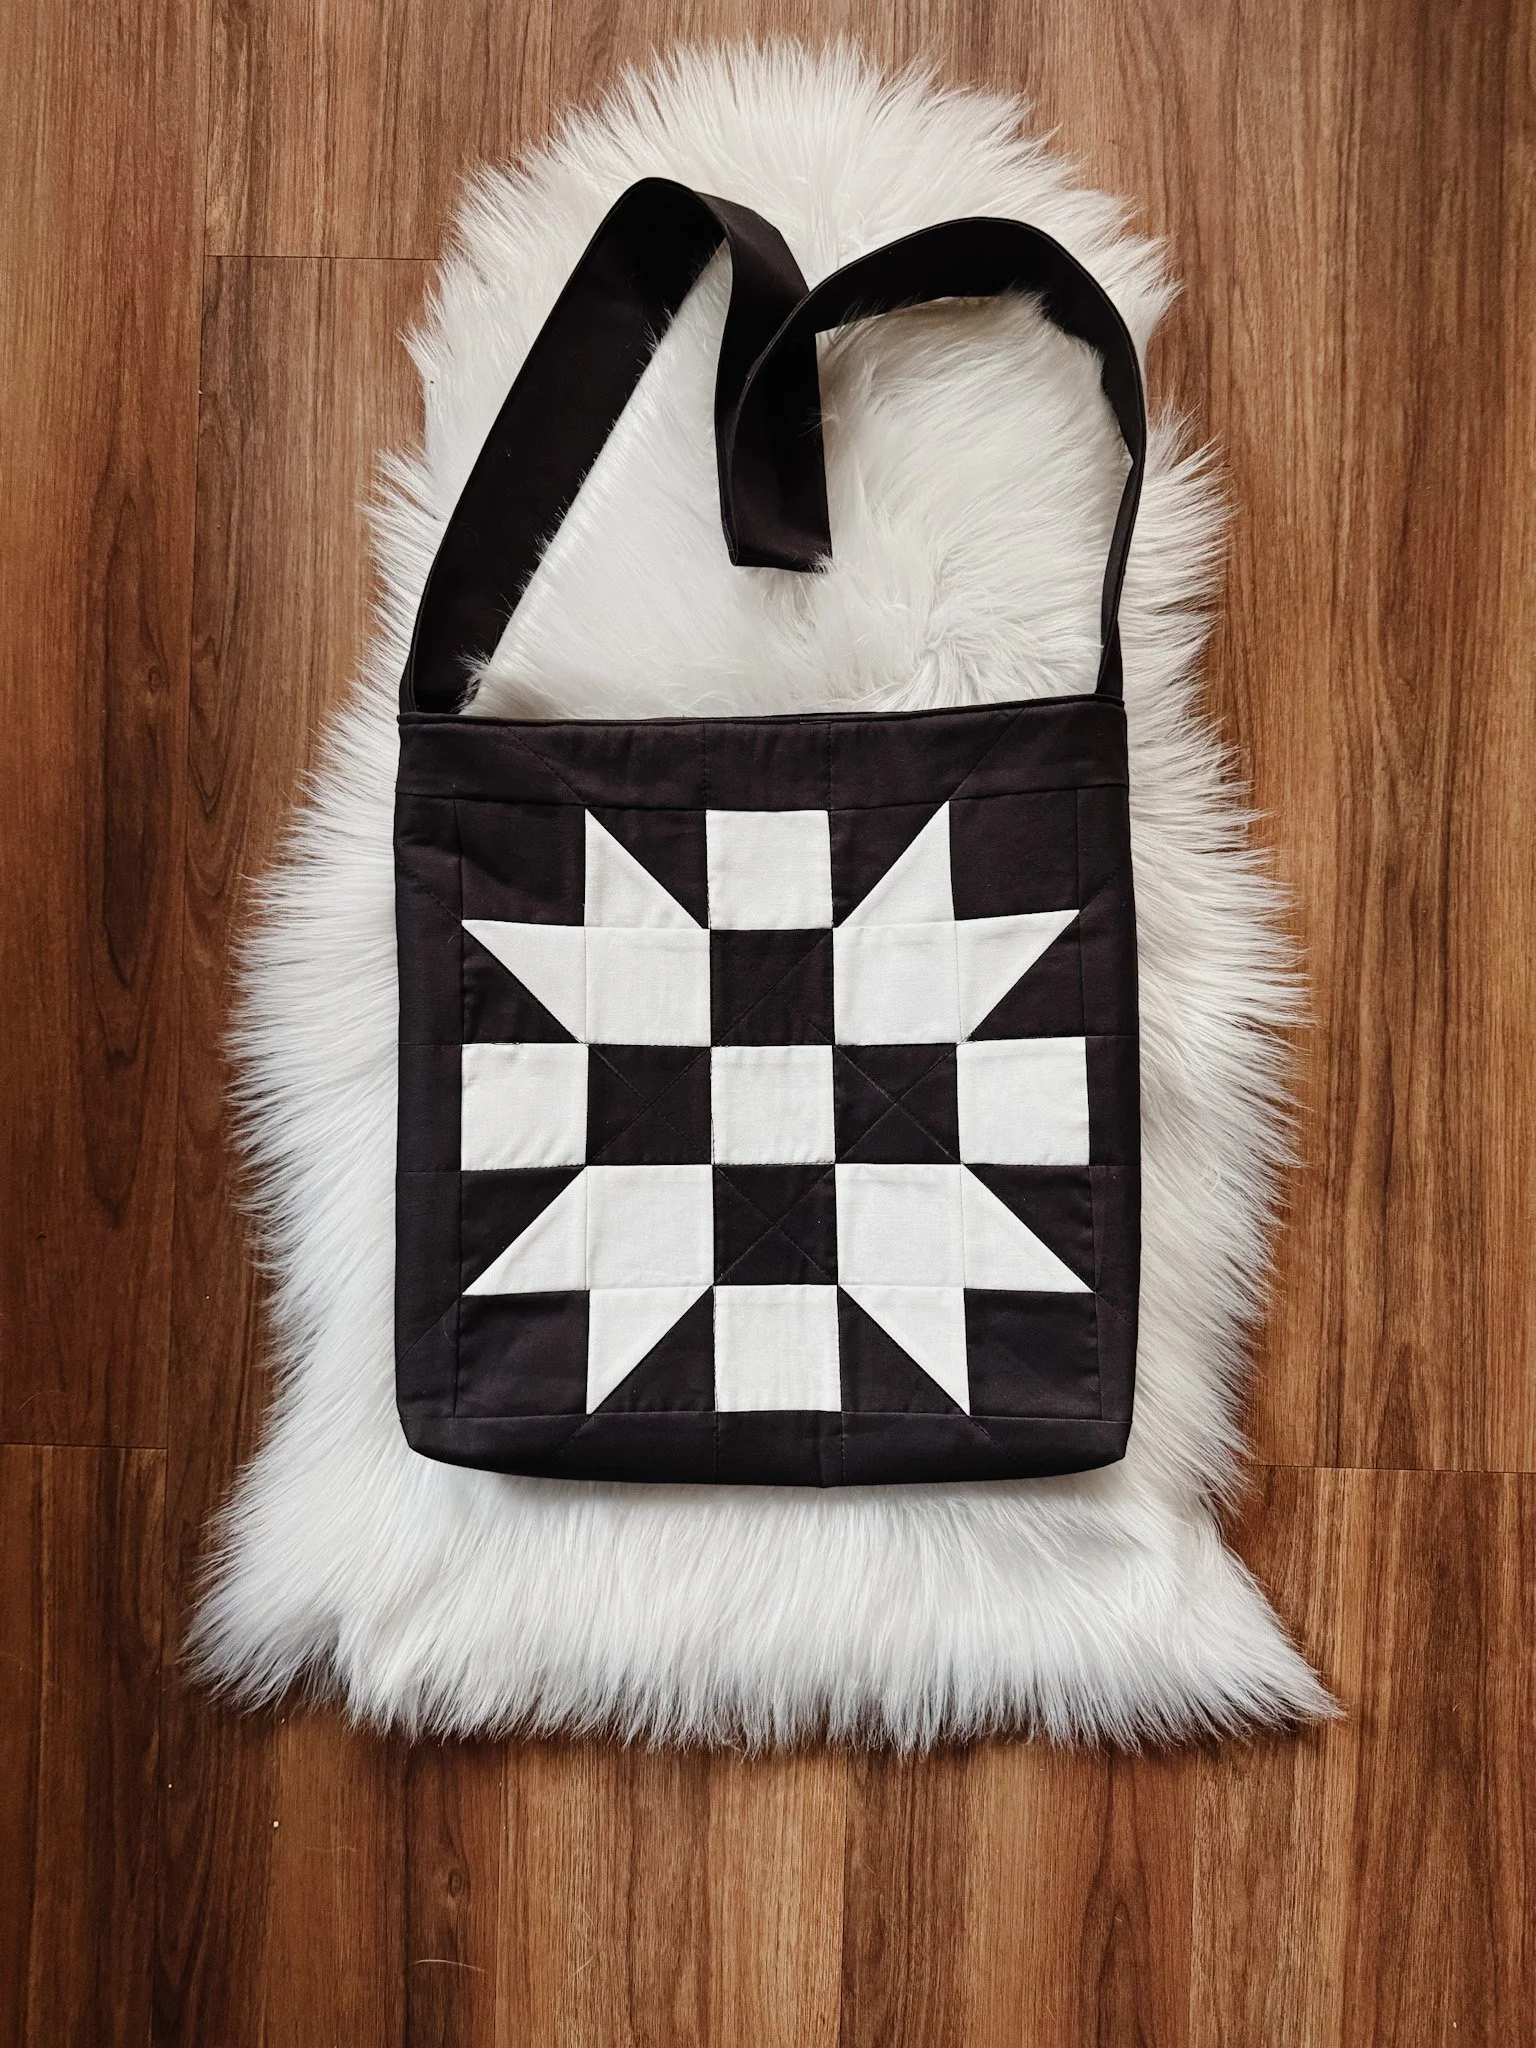
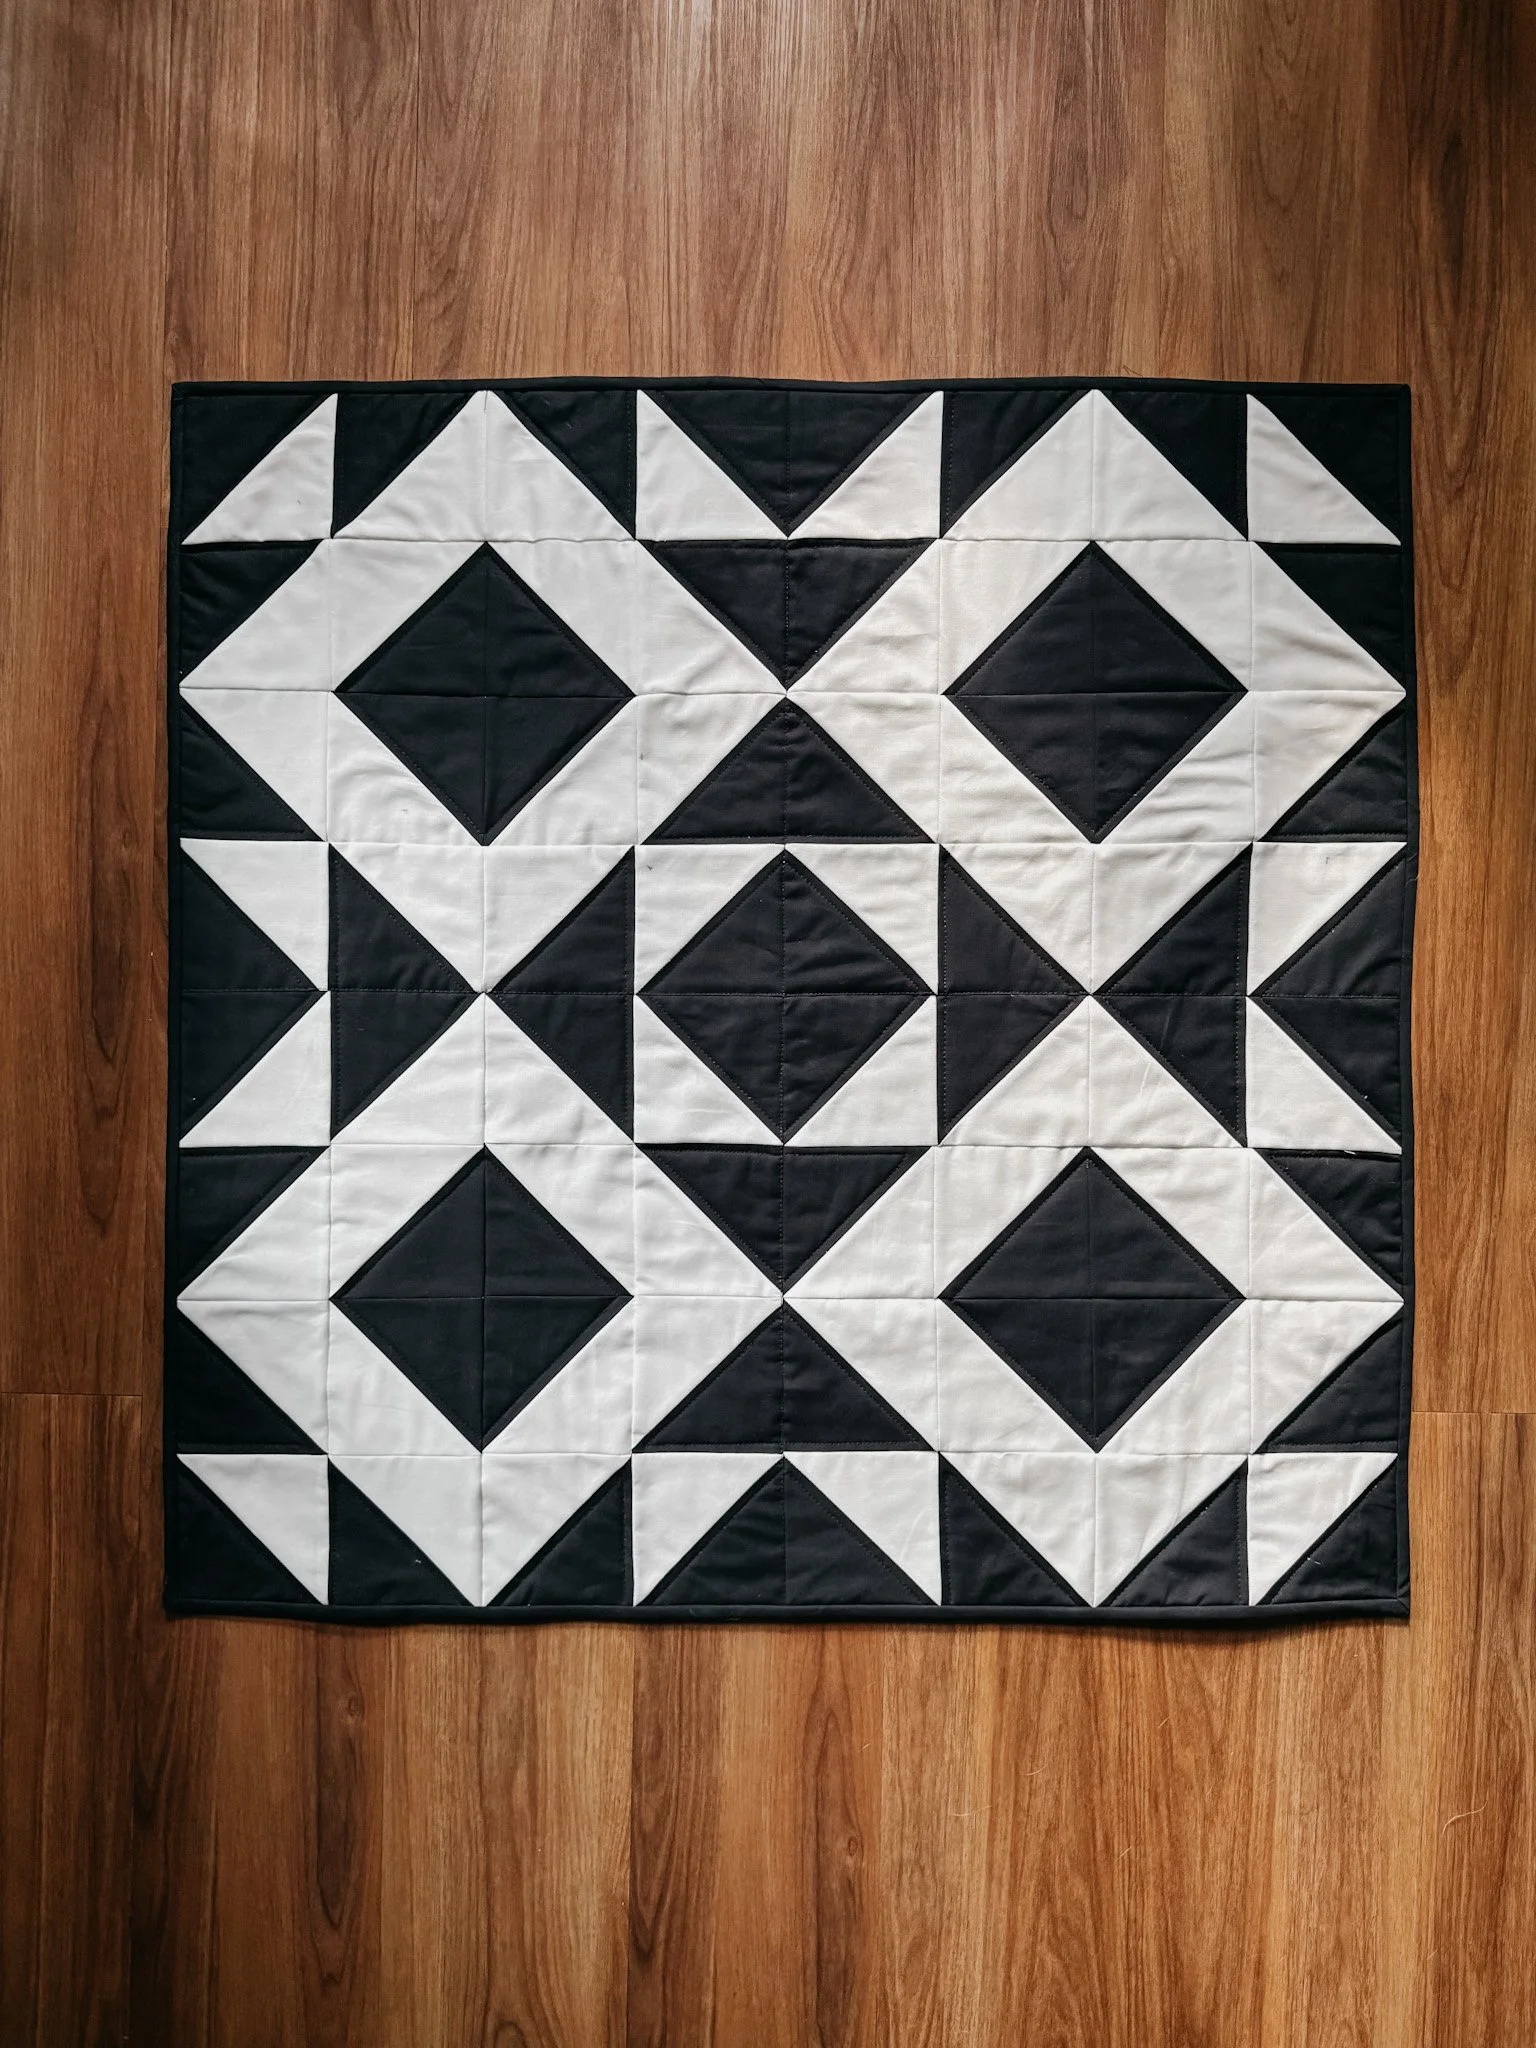
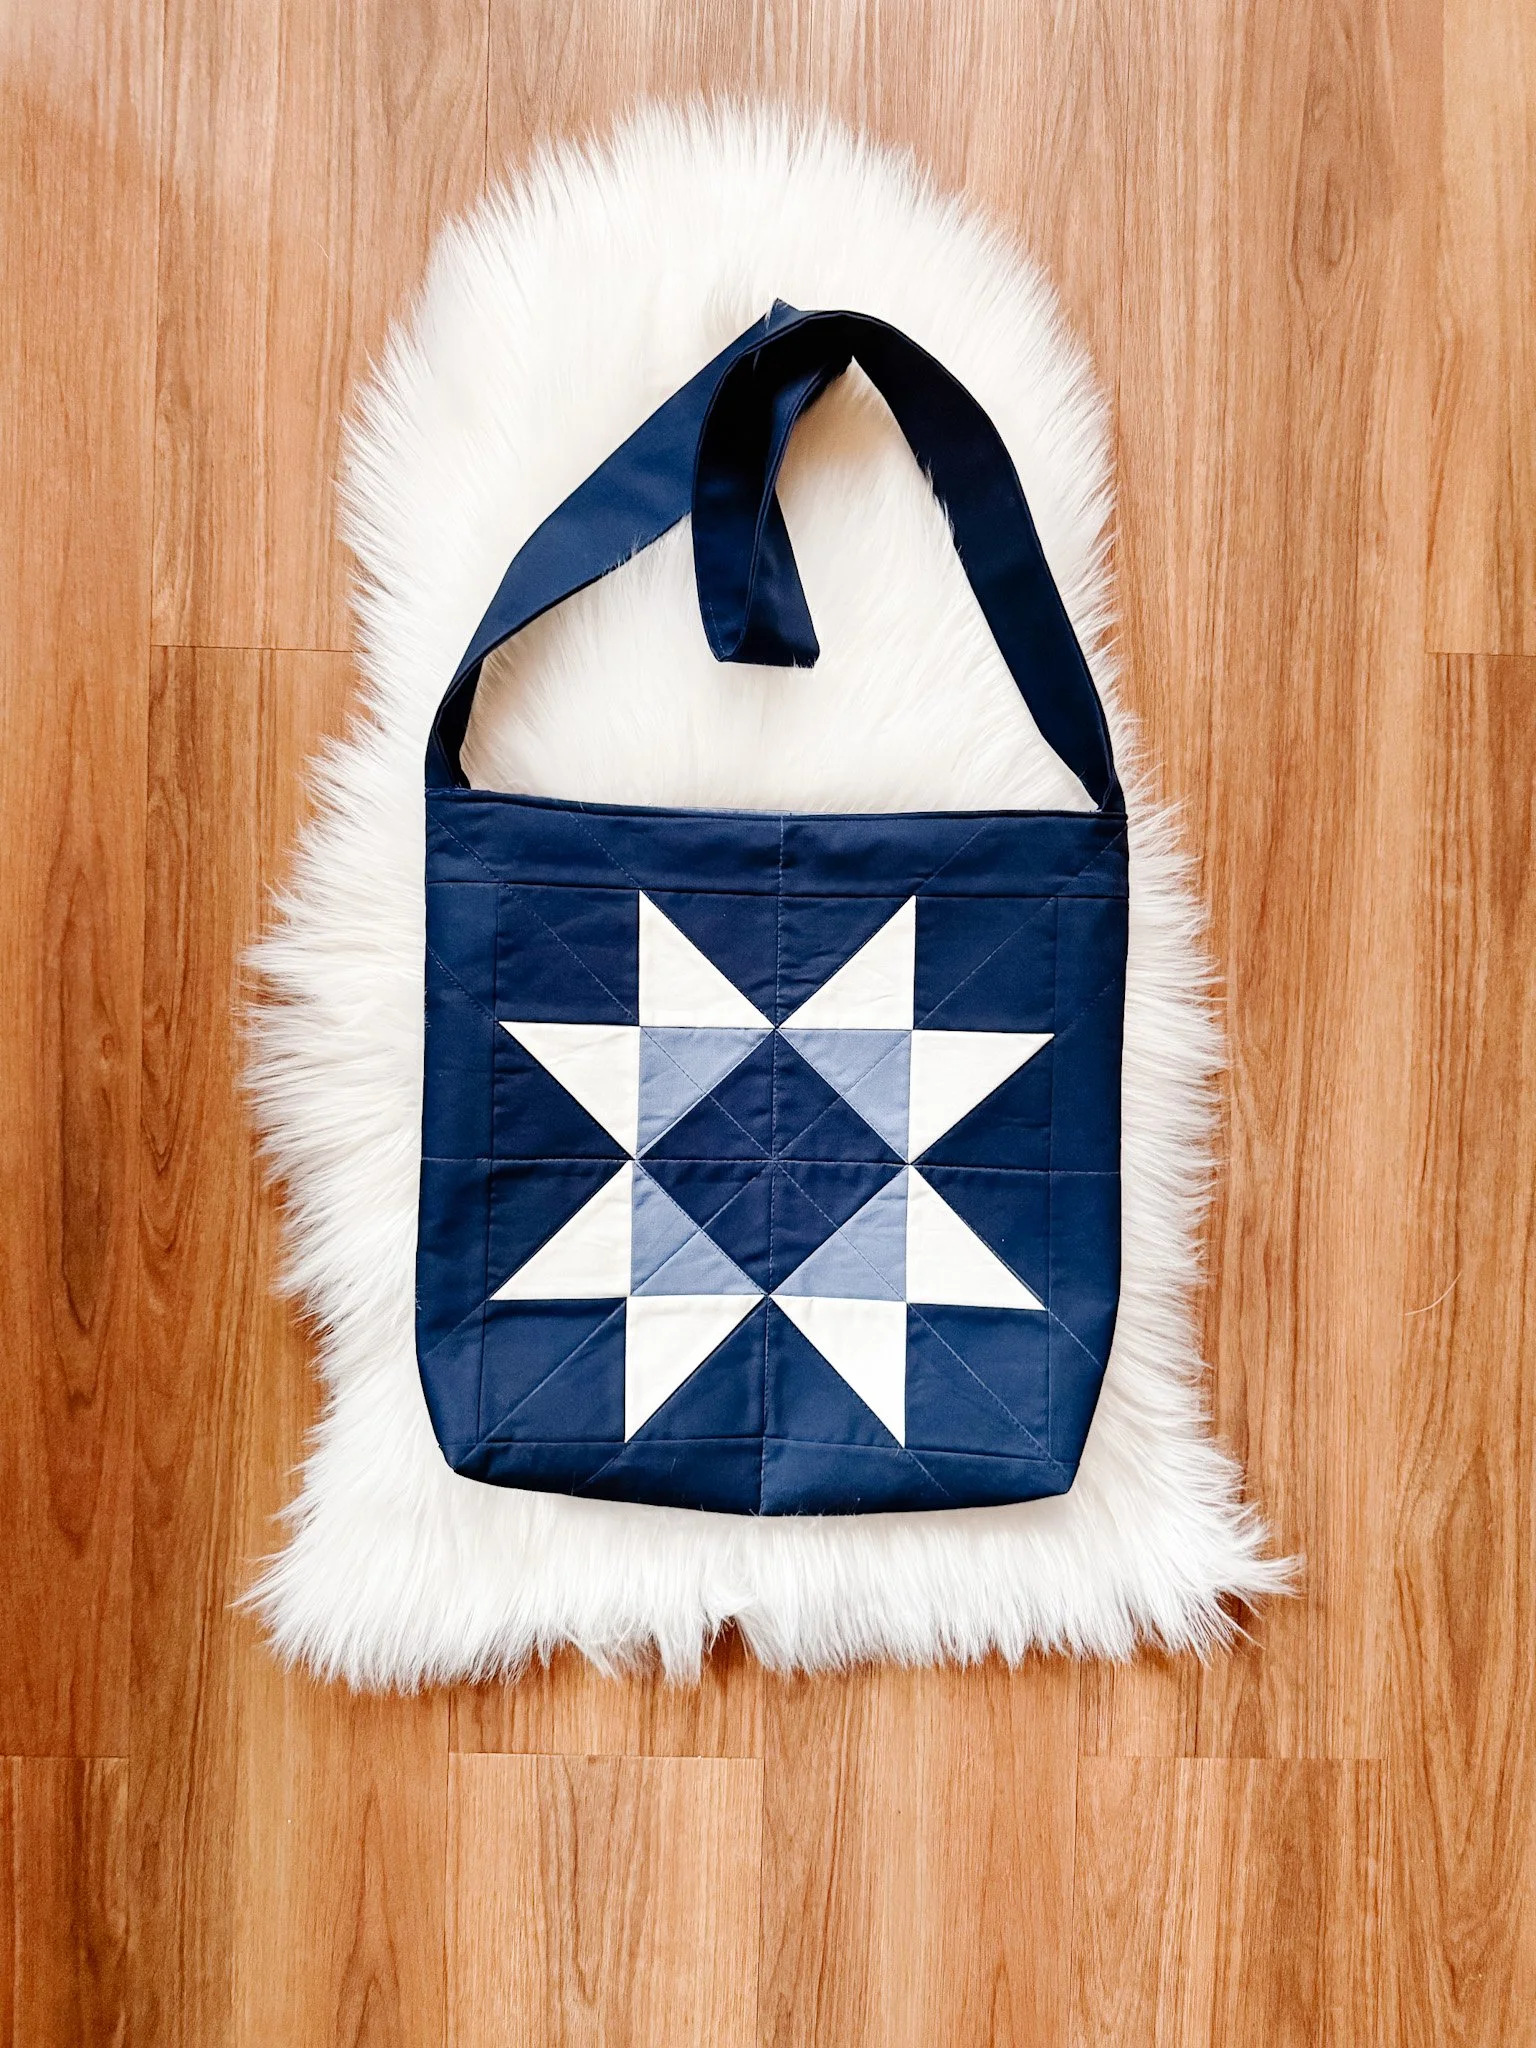
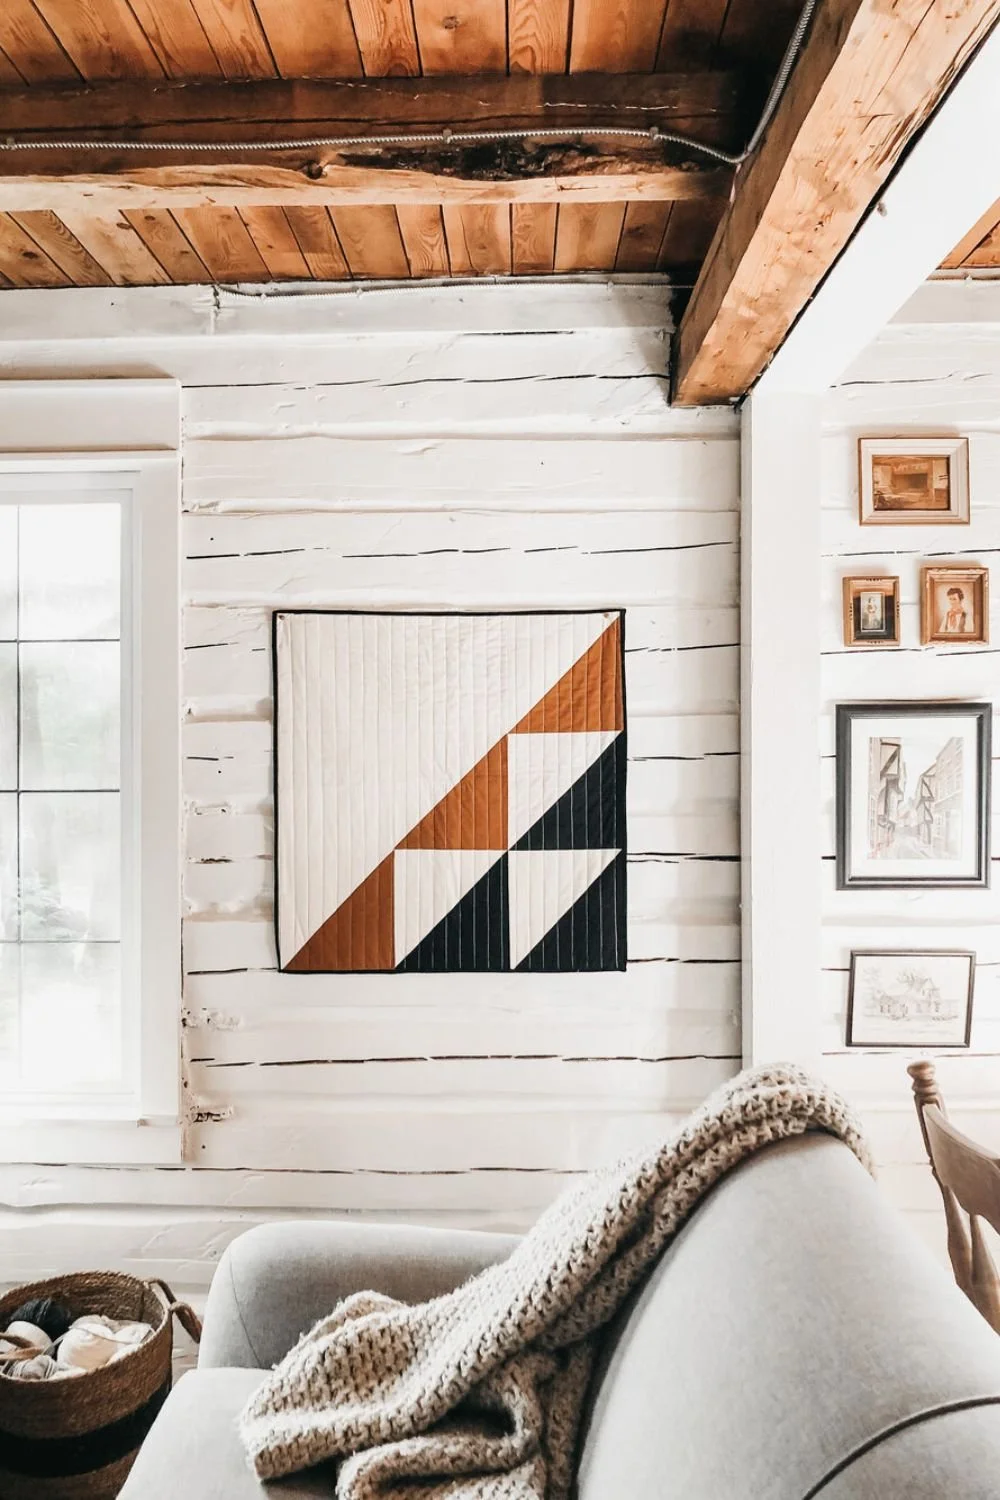
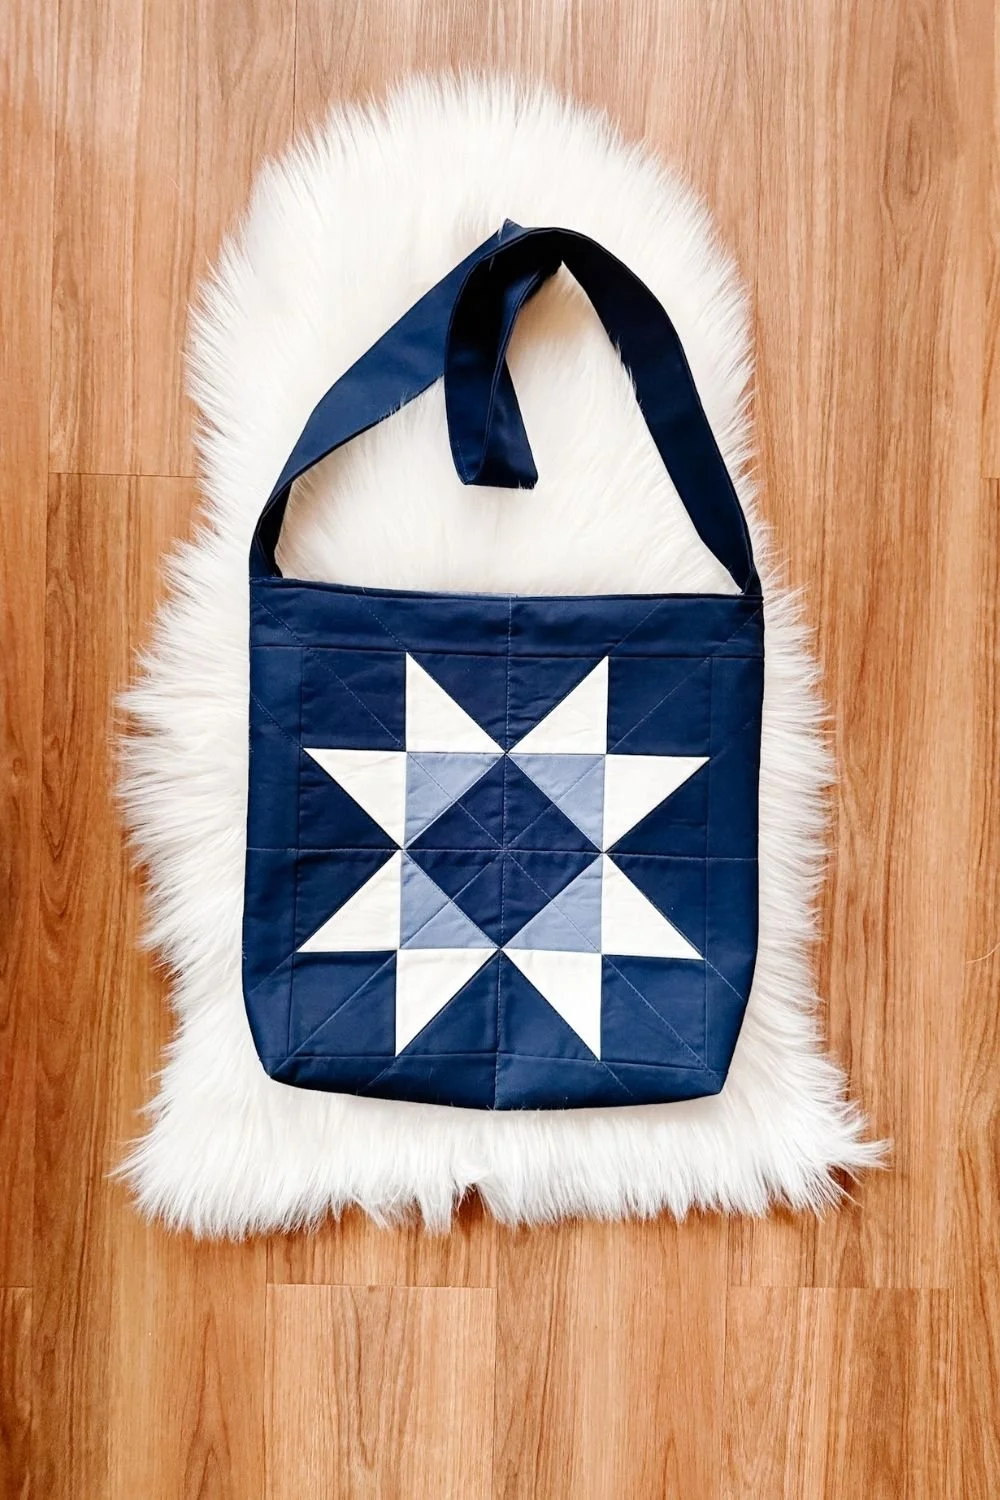
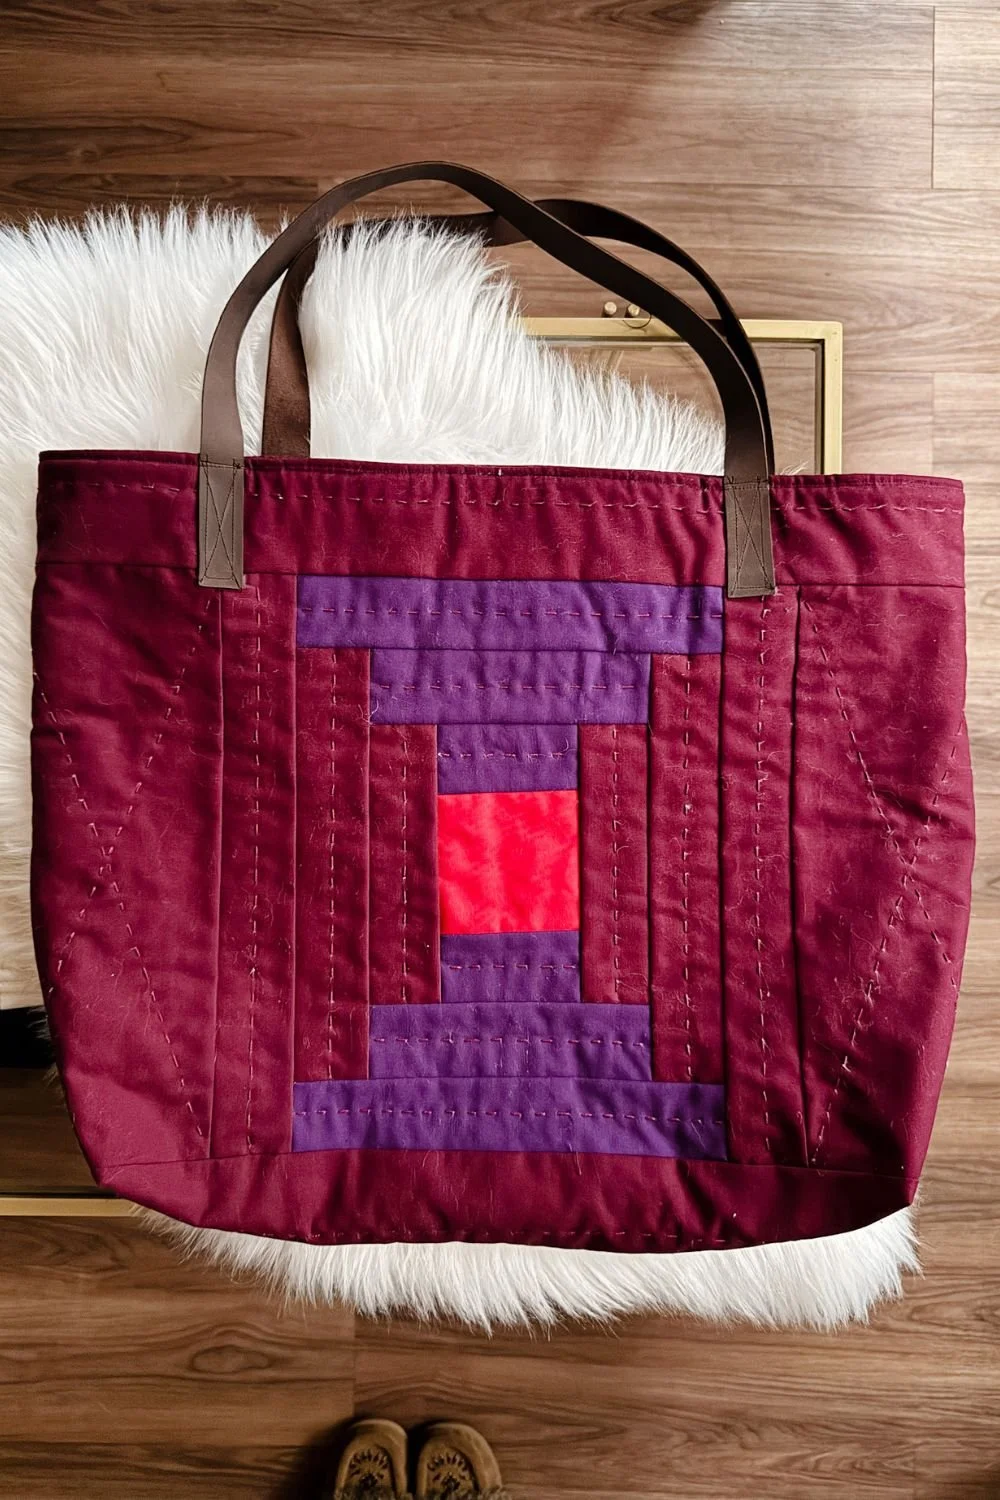
Want More Quilted Bag Patterns? Here’s where you’ll find the whole collection — pouches, totes, wall hangings, and more:
https://www.exshawquilts.com/patterns
Come Hang Out With Me Elsewhere:
Instagram — https://www.instagram.com/exshaw
YouTube — @exshawquilts
Website — https://www.exshawquilts.com
Amazon Faves: https://tinyurl.com/5nuw7x46


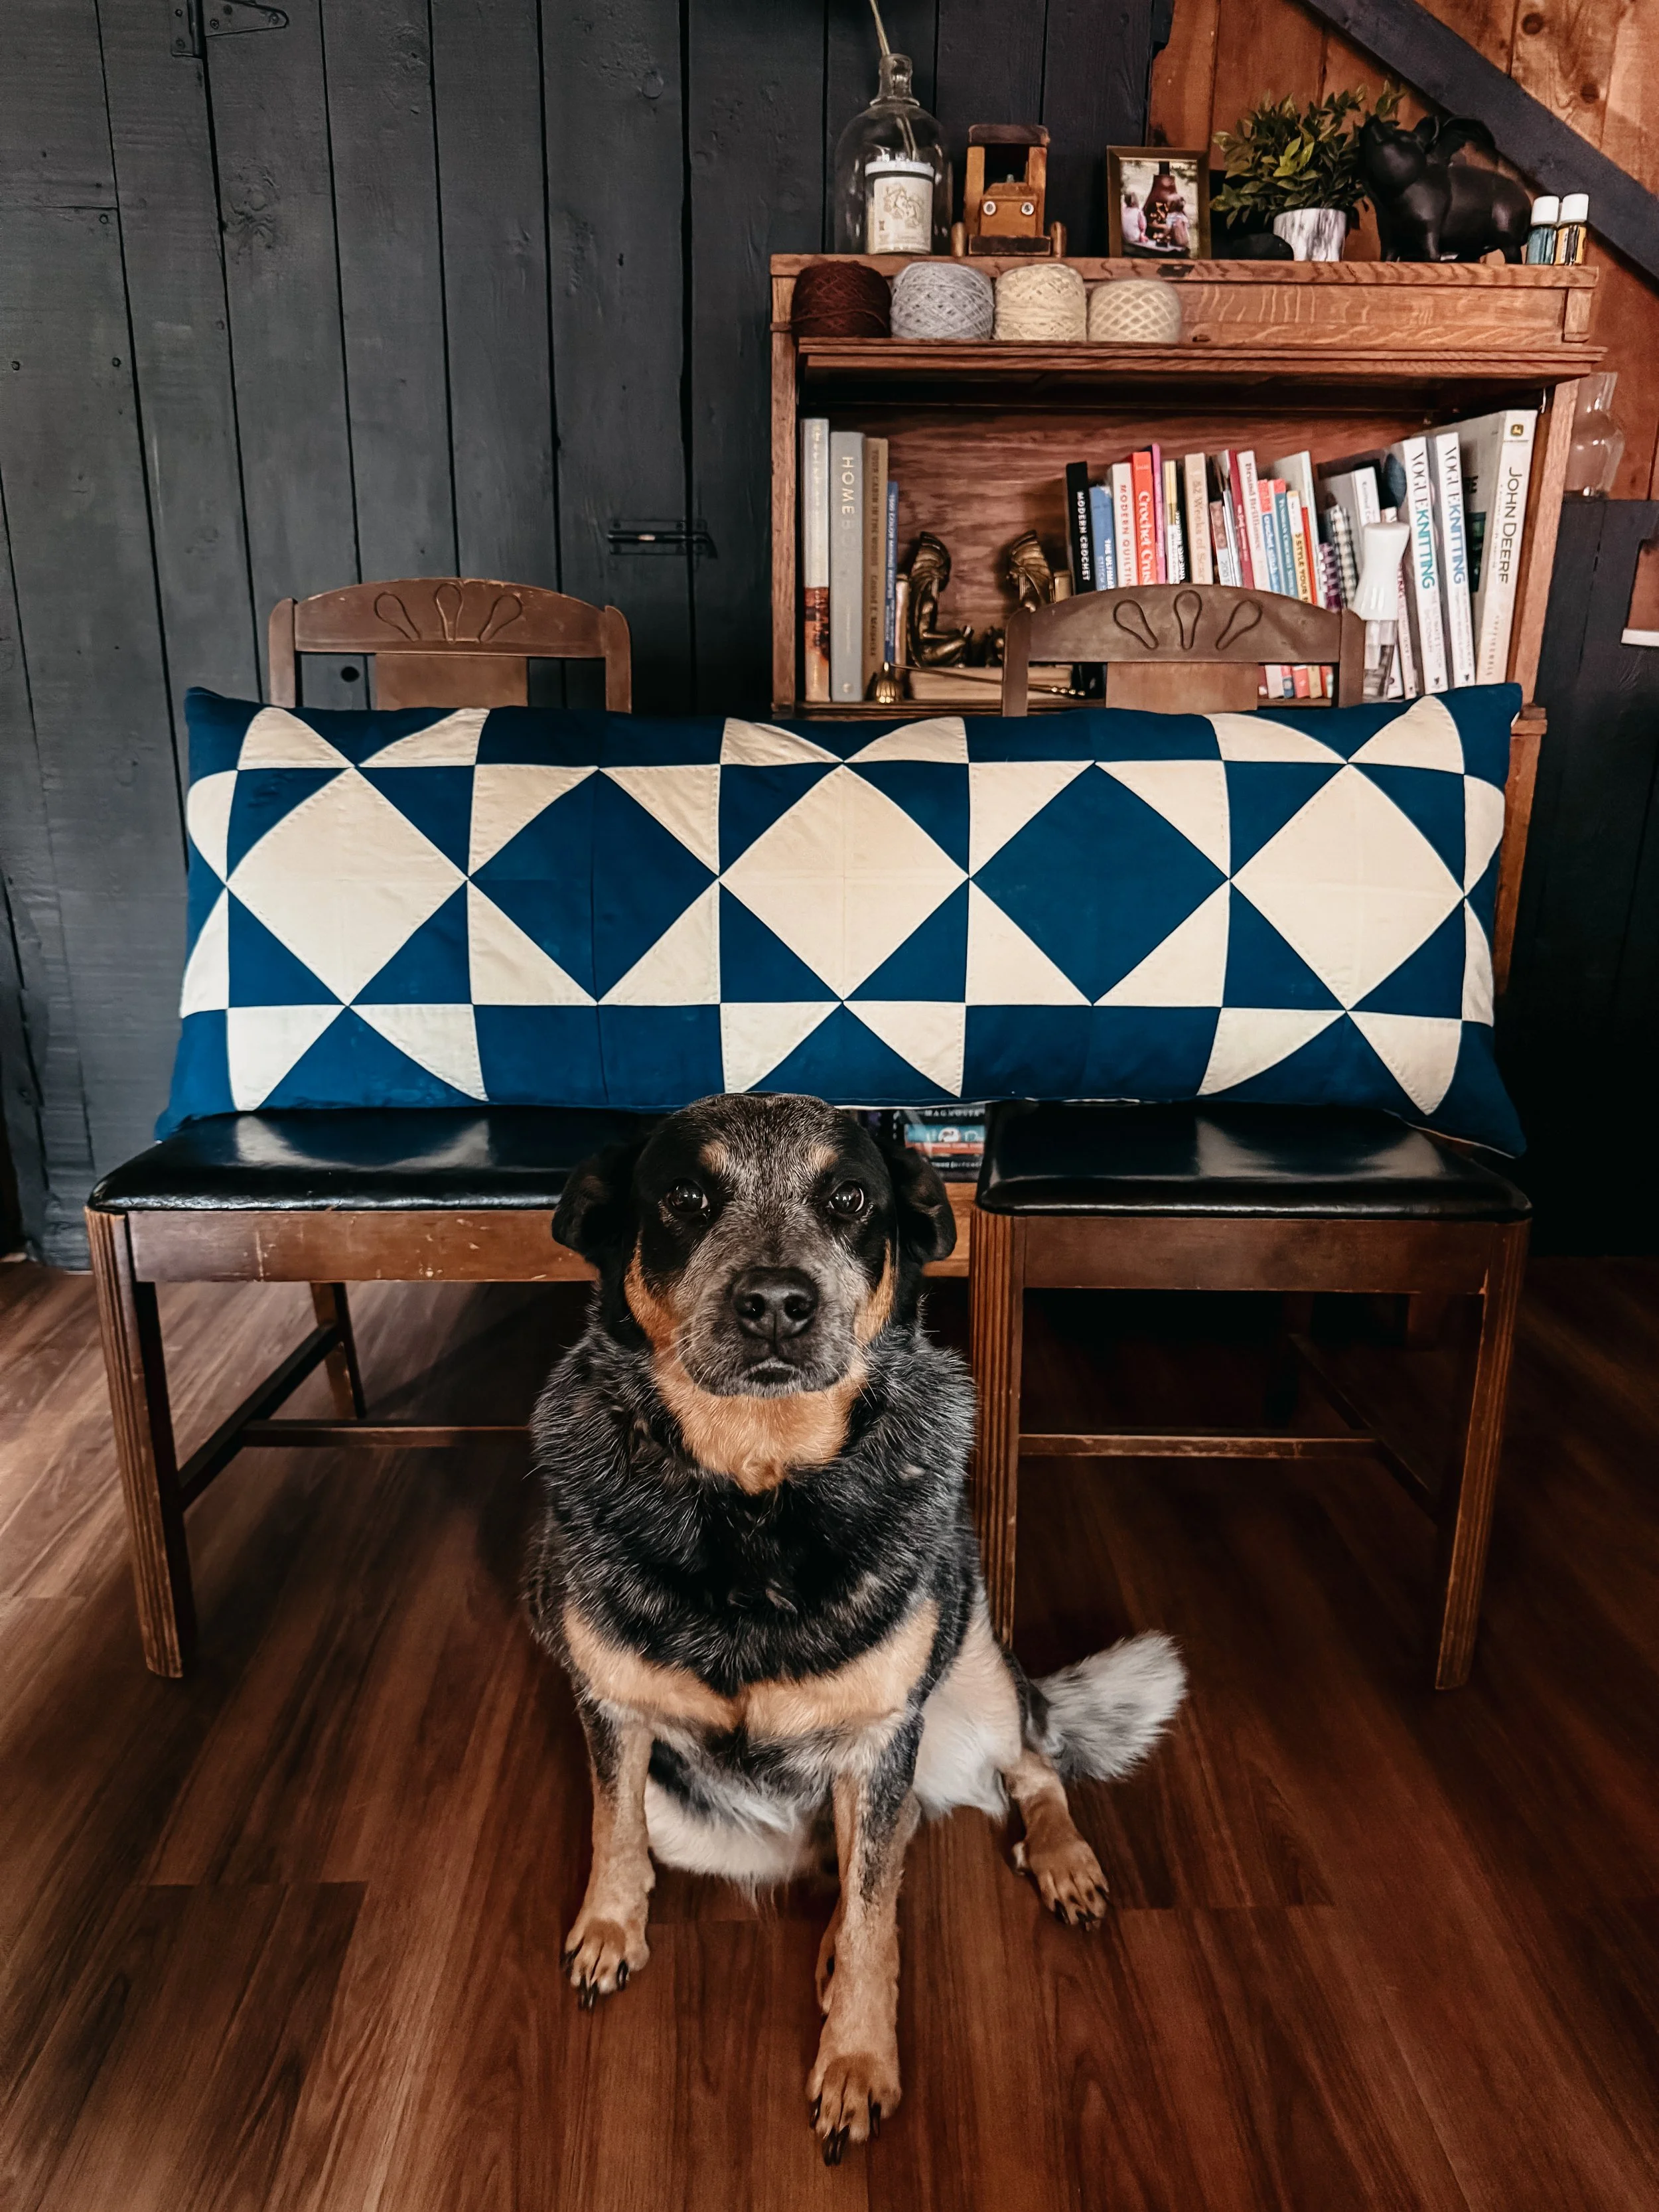
Welcome to the blog—I'm so glad you're here.
I'm Kim, quilting and dyeing from an old cabin in the woods. This is where I share beginner-friendly tutorials, slow craft tips, and stories from a life stitched by hand. I hope you find something here that feels like home.