Quilts From the Cabin Ep2 Quilting Podcast | Hold Your Horses, Cowboy Boots, and Cozy Cabin Makes

Welcome back to Quilts from the Cabin.
I’m Kim from Exshaw Quilts, and today I’m settling in with a big cup of coffee, a stack of finished (and not-so-finished) projects, and a heart that’s feeling really, really grateful.
Before we dive in, I just want to say thank you. The last podcast episode has already racked up almost 400 watch-time hours, which honestly blows my mind. Your comments, emails, and little notes of encouragement have meant so much. It feels like we’re slowly building this tiny quilting corner of the internet where we can sit together, talk fabric, and make things that feel like home.
In this episode (and now in this blog post), I’m chatting about:
A new word quilt I’m designing called Hold Your Horses
Western-style Christmas ornaments and stockings
A very imperfect pair of oven mitts
My Arrowhead table runner and matching tote
The beginner-friendly quilt workshop baby quilt
A future quilt coat, full bolts of fabric, and indigo dyeing plans
Settle in and let’s chat.


Hold Your Horses: a word quilt in the works
This whole quilt started with a scroll through Pinterest and a little phrase that stopped me in my tracks:
“Hold your horses.”
I don’t know why, but it just lit something up in me. I’ve been watching a lot of wild horse footage lately (as one does), and between that and my love of western, cowboy-ish things, that phrase felt like it belonged on a quilt.
Most of my patterns are pieced. Appliqué isn’t my usual lane, which makes this project extra fun because it’s nudging me out of my comfort zone.
Here’s the vision for the Hold Your Horses quilt:
Size: throw-sized – I think around 72" x 82" (still finalizing the exact measurements)
Palette:
A deep espresso brown border (Kona/ColorWorks type solid, that rich dark Western brown)
A white inner border
An eggshell/off-white center, like aged paper or an old poster
Letters in a dark, rustic green
Style: raw-edge appliqué letters in a western-inspired font spelling out “HOLD YOUR HORSES” across the center
For the letters, I’m using Heat n Bond Lite (a fusible web) and doing my usual raw-edge appliqué method:
Print the letters mirrored
Trace them onto the paper side of the fusible
Rough cut (don’t cut on the line yet)
Fuse to the fabric
Then cut neatly on the drawn line
Peel off the paper, center on the block, and press to fuse
To find the center of the background blocks, I just finger-press them in half both ways—nothing too precious. You can get super exact and mark everything out with rulers and lines, but I’m not chasing perfection with this quilt. I’m chasing a feeling.
I haven’t stitched the letters down yet, but I’m leaning toward a simple straight stitch around the edges so they can fray a bit over time—soft, worn, and loved. If you’re more of a “tidy edges” person, you can absolutely use a zigzag or blanket stitch instead.
If you’re new to raw-edge appliqué, I already have a tutorial on my YouTube channel walking through how I do it, step by step—perfect if you want to try something similar.
Cowboy boot ornaments and western stockings
Once I fell down the western rabbit hole, I didn’t climb back out. I wanted some Christmas makes that felt very “cabin on a ranch,” so I started sketching in Procreate and came up with:
Quilted cowboy boot ornaments
Western-stitched Christmas stockings
Cowboy boot ornaments
I drew a little boot template on my iPad, printed and sized it until it felt right for a tree ornament, then:
Quilted a solid fabric “mini quilt” first (you could totally piece scraps for this instead)
Used vintage pinking shears from my grandma to cut the boot shape out of the quilted piece
Stitched all the way around the boot to keep everything sandwiched together
Added a strap/loop so it can hang on the tree
Mine are in pecan and espresso browns—very Western, very cabin. They’re not perfect, but they’re so sweet and full of sentiment. These would be adorable tucked into a gift basket or used as present toppers.
Western stockings
Next up: stockings. I drew a simple cowboy boot–inspired decorative motif in Procreate—like the stitched designs you see on the shaft of a real cowboy boot—and stitched it onto dark blue stockings.
The process looked like this:
Quilt a panel slightly larger than your stocking template
Cut the stocking shape from the quilted piece
Add the decorative motif with big-stitch hand quilting
Line the stocking so it’s sturdy enough to hold real gifts and treats
I tested a water-soluble marking product underneath the stitching. You can see a bit of residue before washing, but it will disappear after laundering. The stockings are a little crinkly (because quilts do what quilts do), but I kind of love that.
Would you like to see a stocking pattern in the shop someday? Let me know—that will help me decide if it should stay “personal make” or become a full pattern.
The oven mitts that did not go to plan
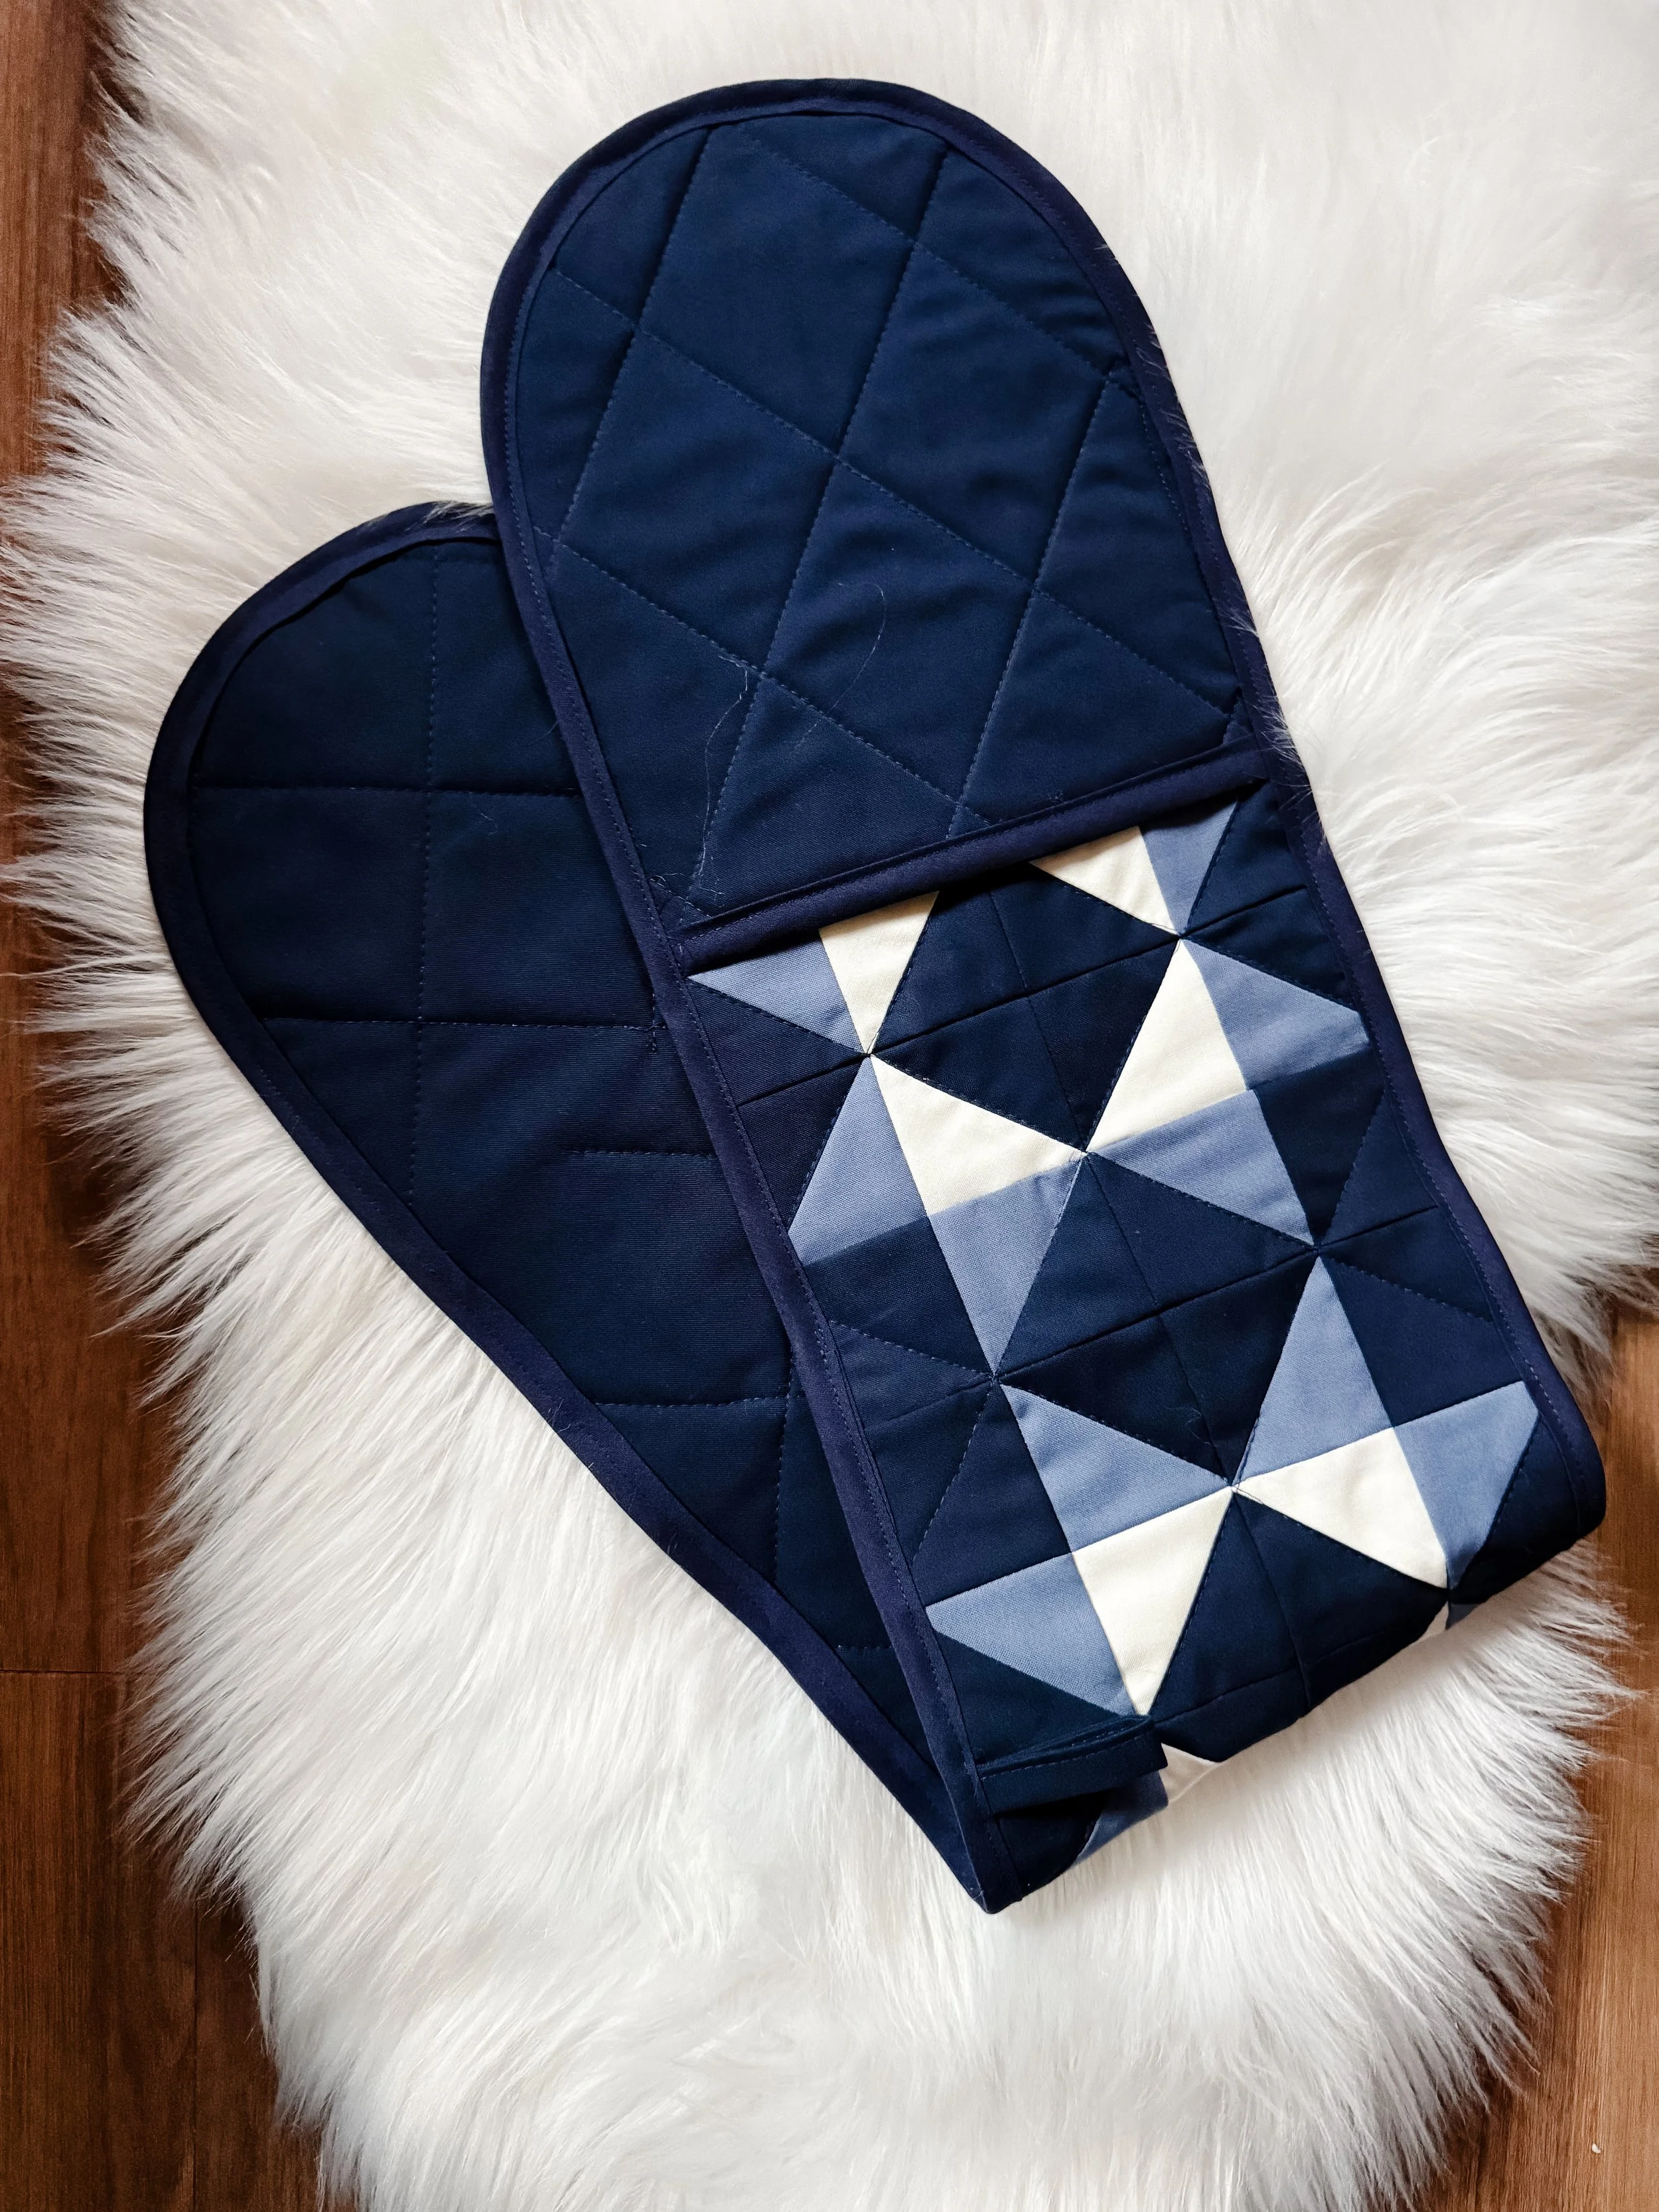
Now for a humbling moment: oven mitts.
I made a pair for a friend who loves smoking his own meat, jerky, and fish—great gift idea, right? I used a dark midnight blue and kept them simple. But the thumb construction did not go how I pictured it. There’s some bunching, and let’s just say they’re not pattern-cover material.
They’re not pretty, but they’re still handmade, functional, and made with that friend in mind. That’s enough. I’ll probably still gift them, lumps and all, as a reminder that not every project has to be perfect to be meaningful.
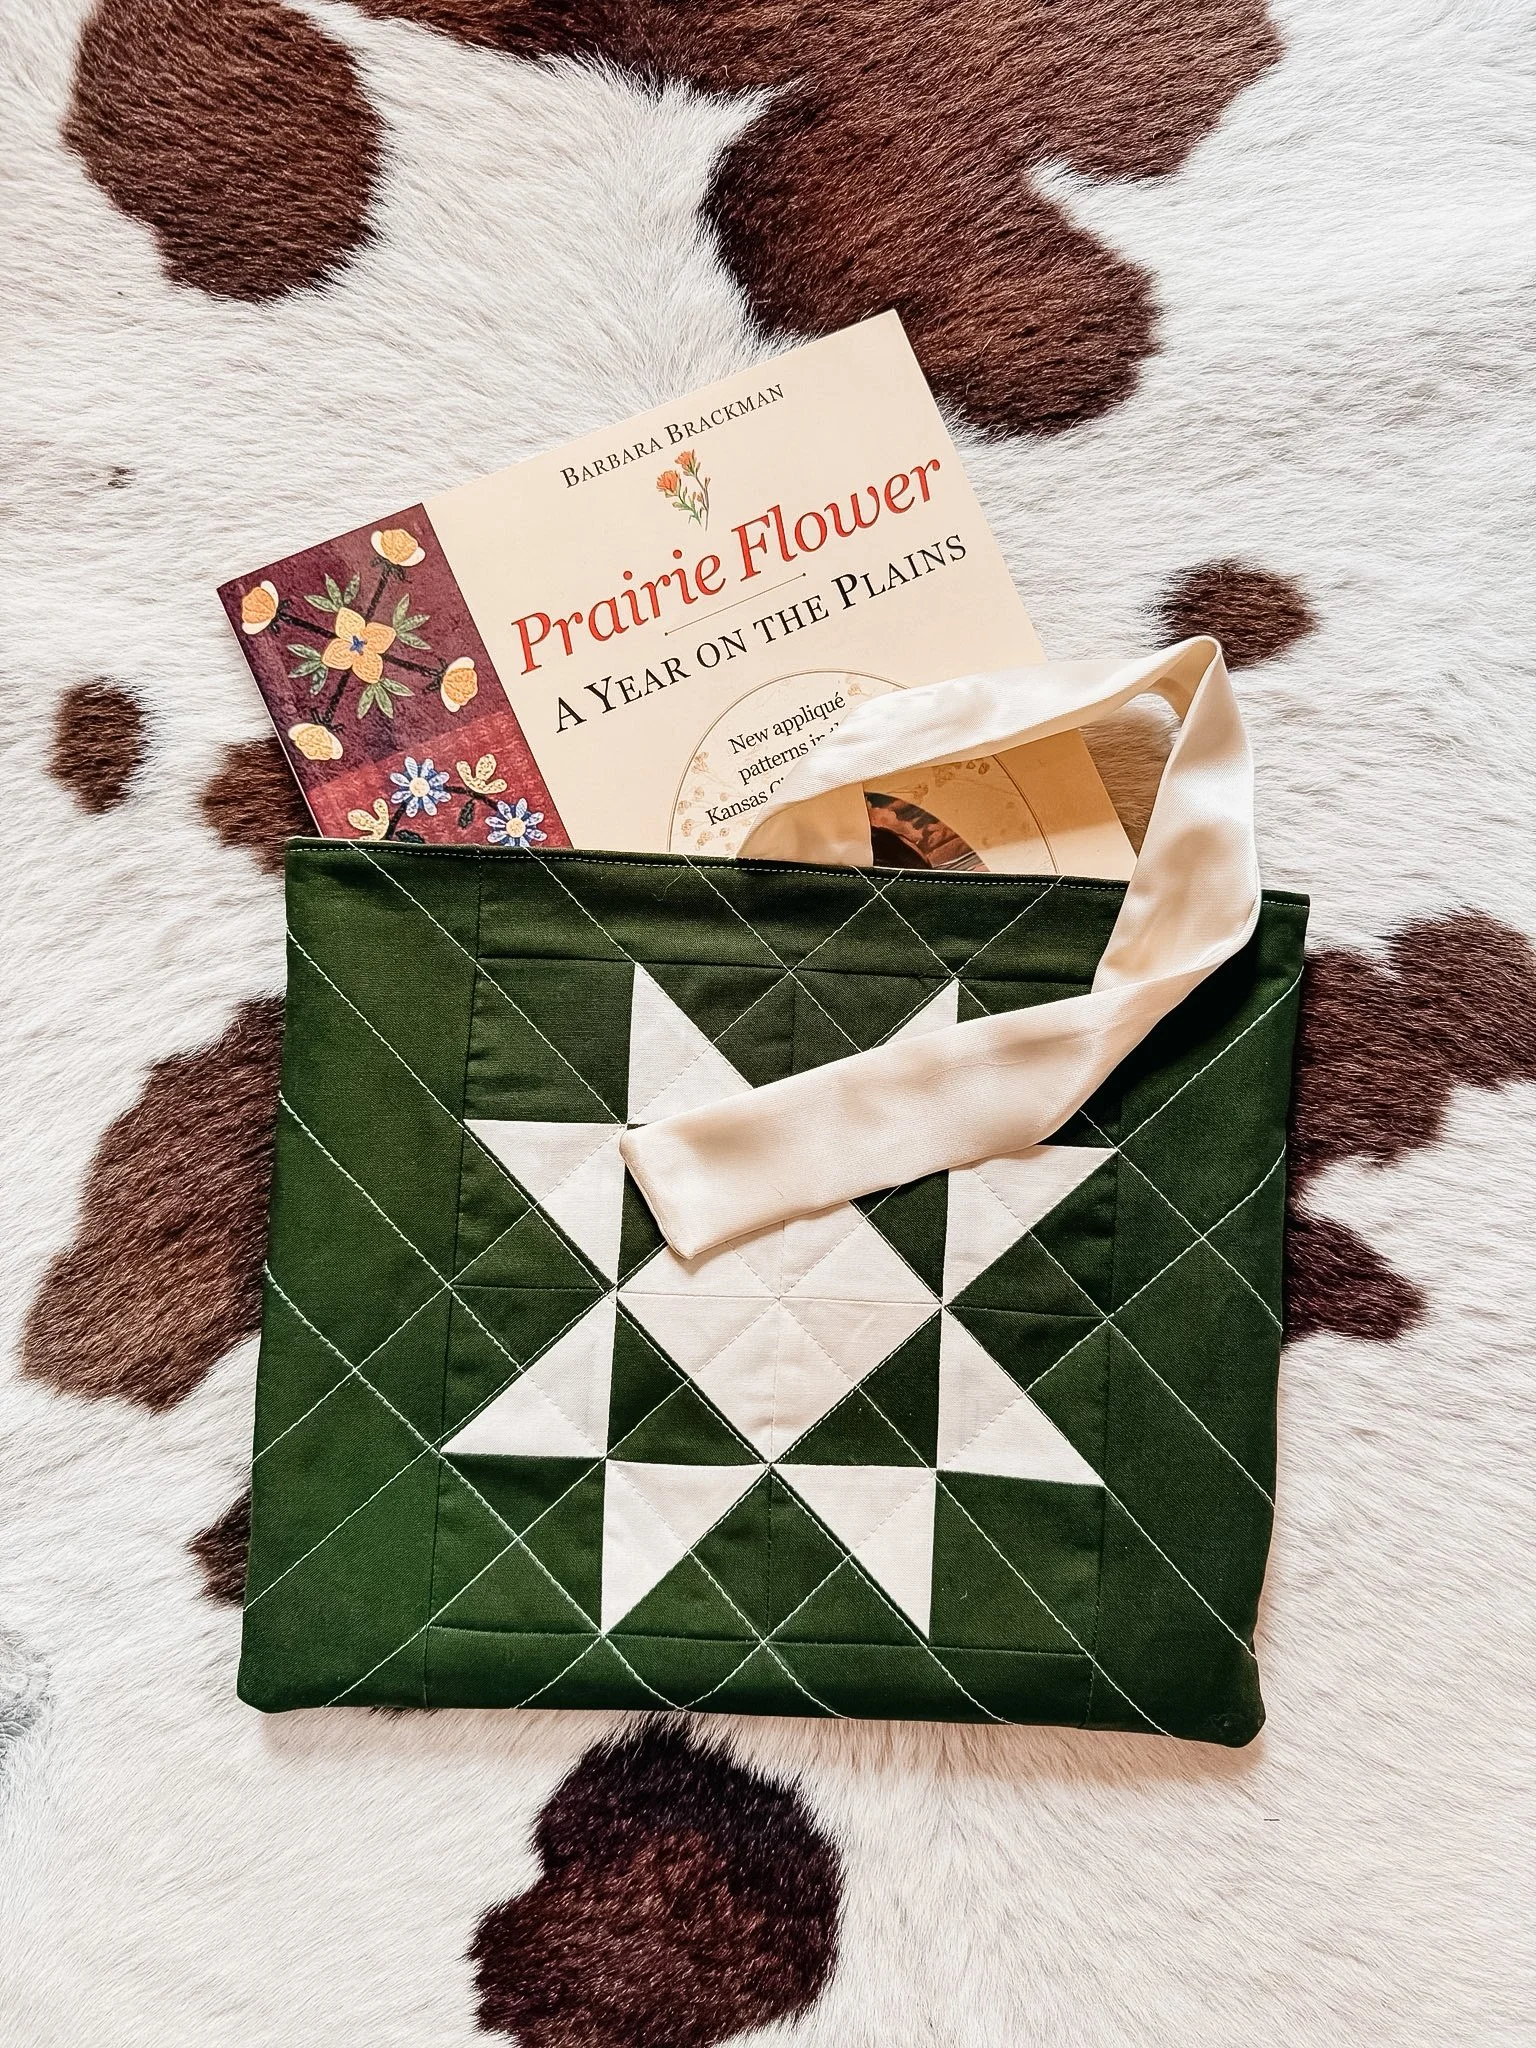
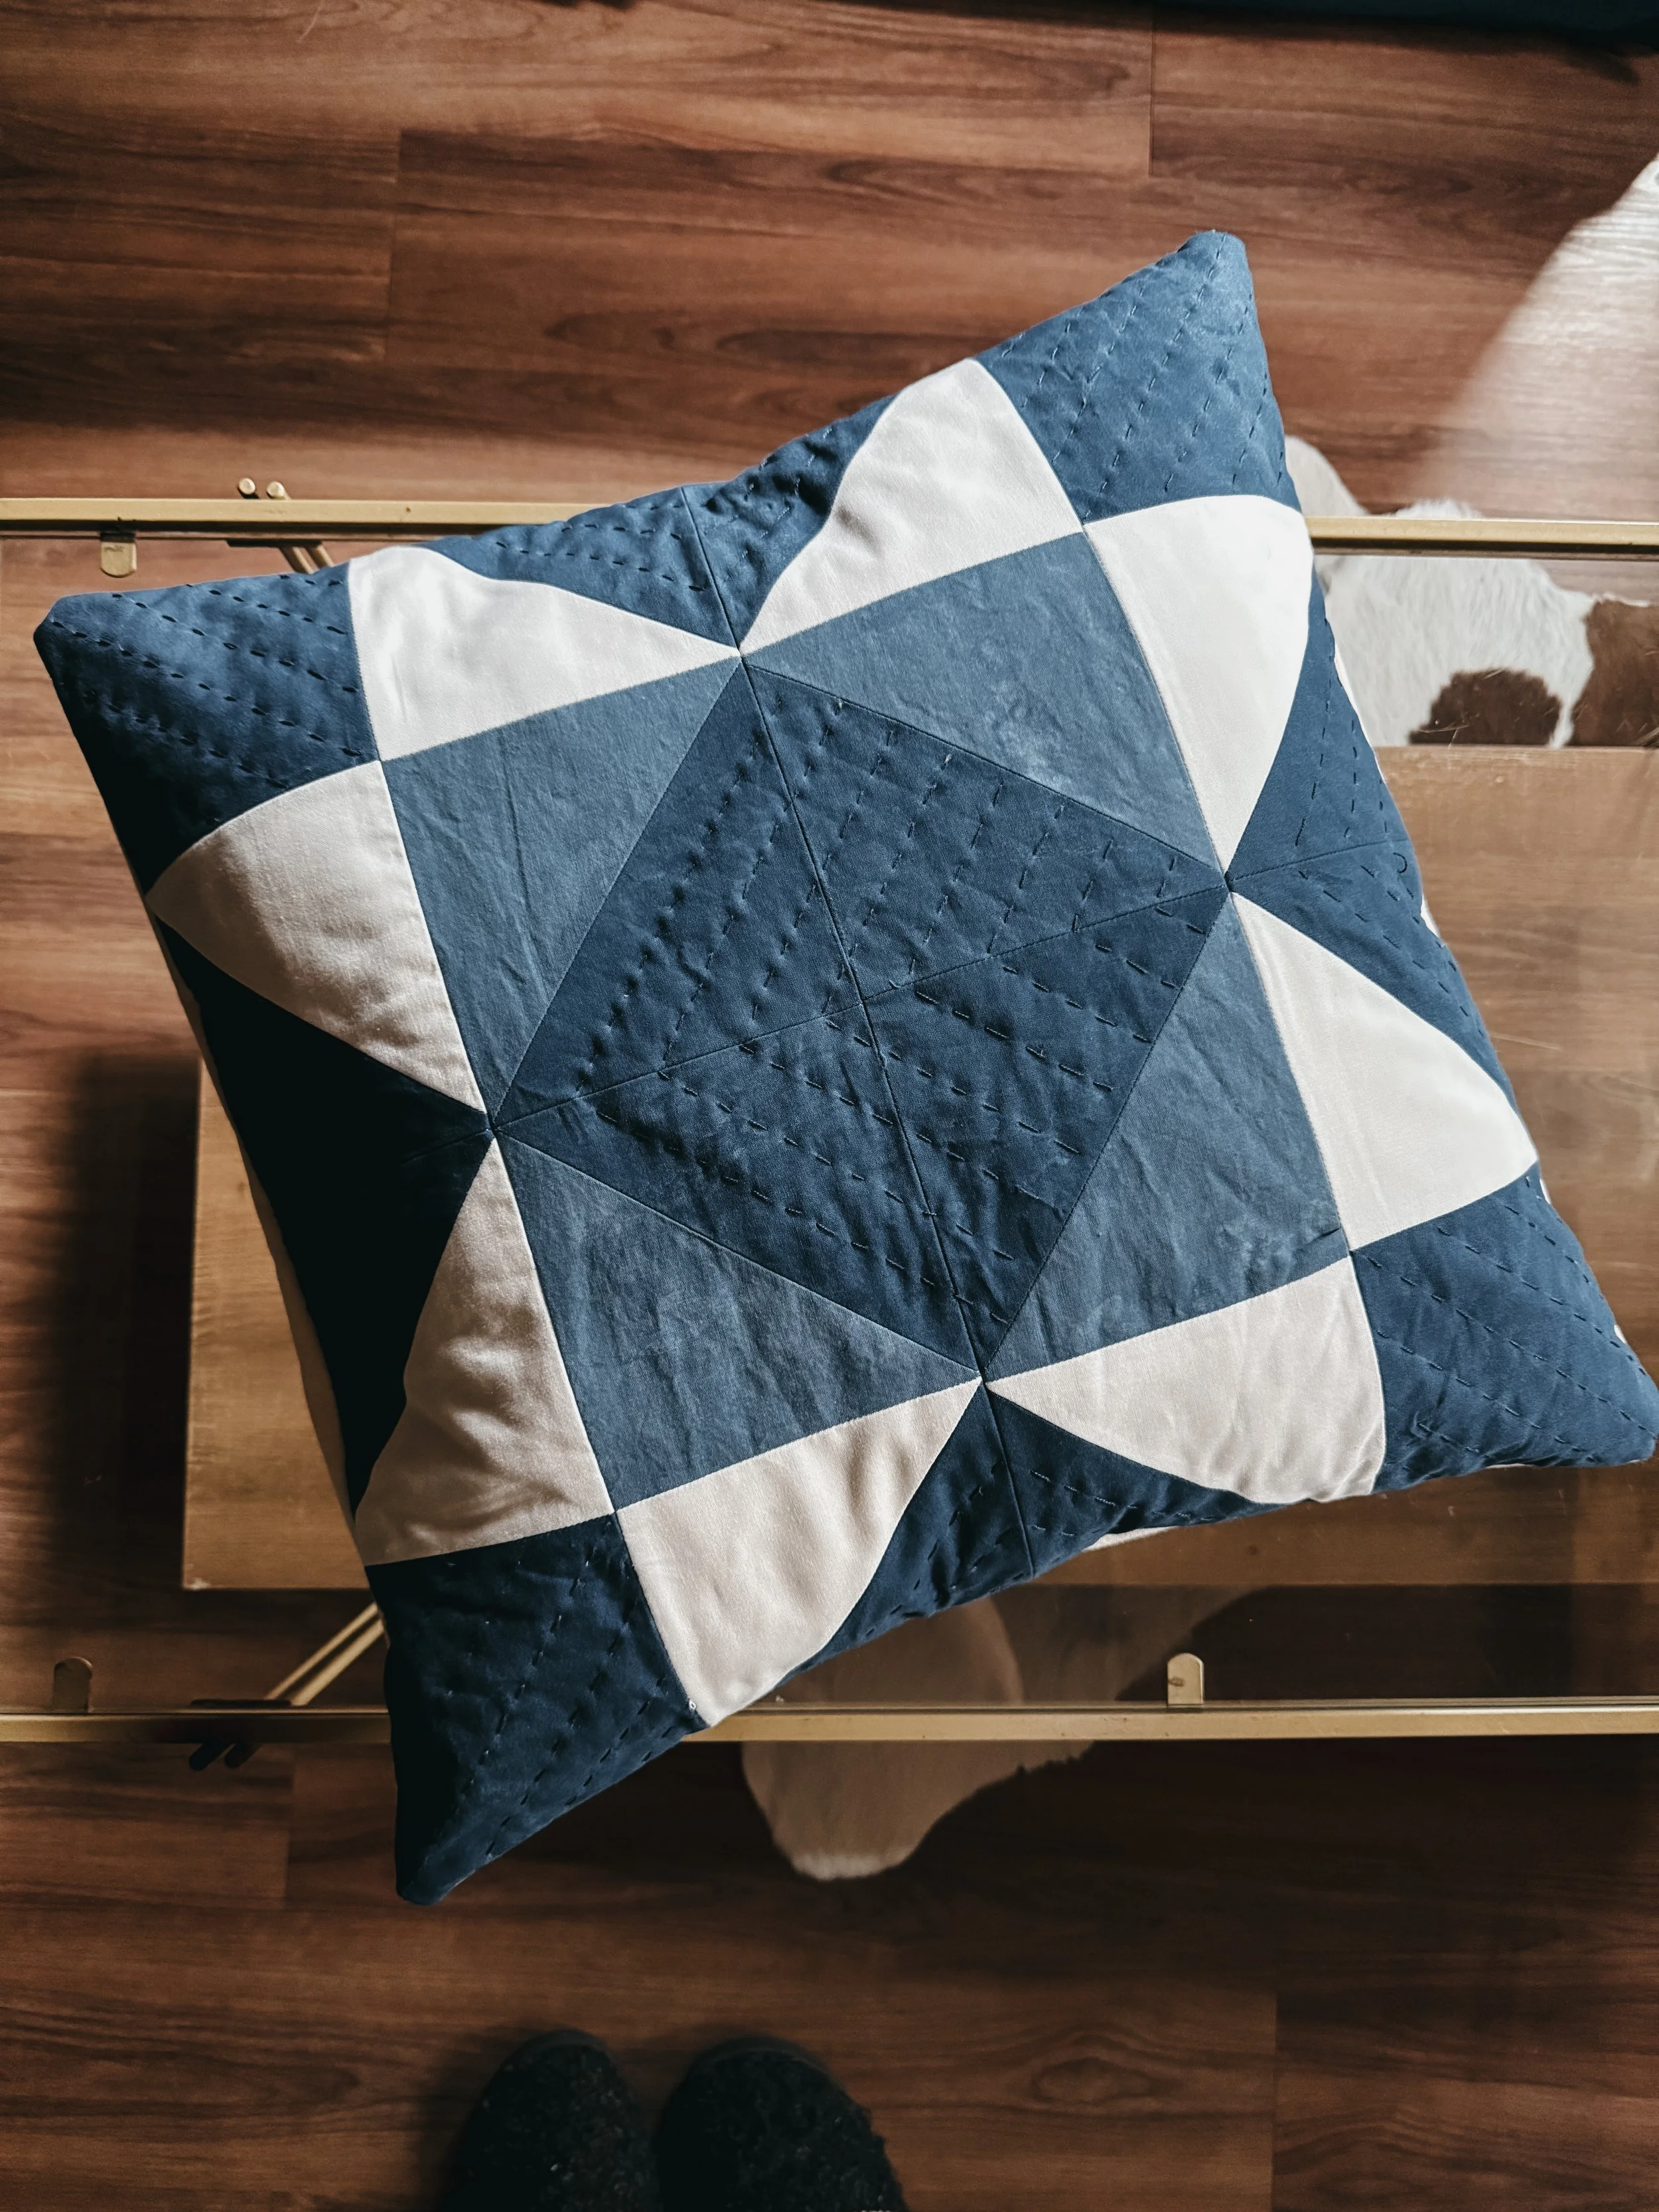
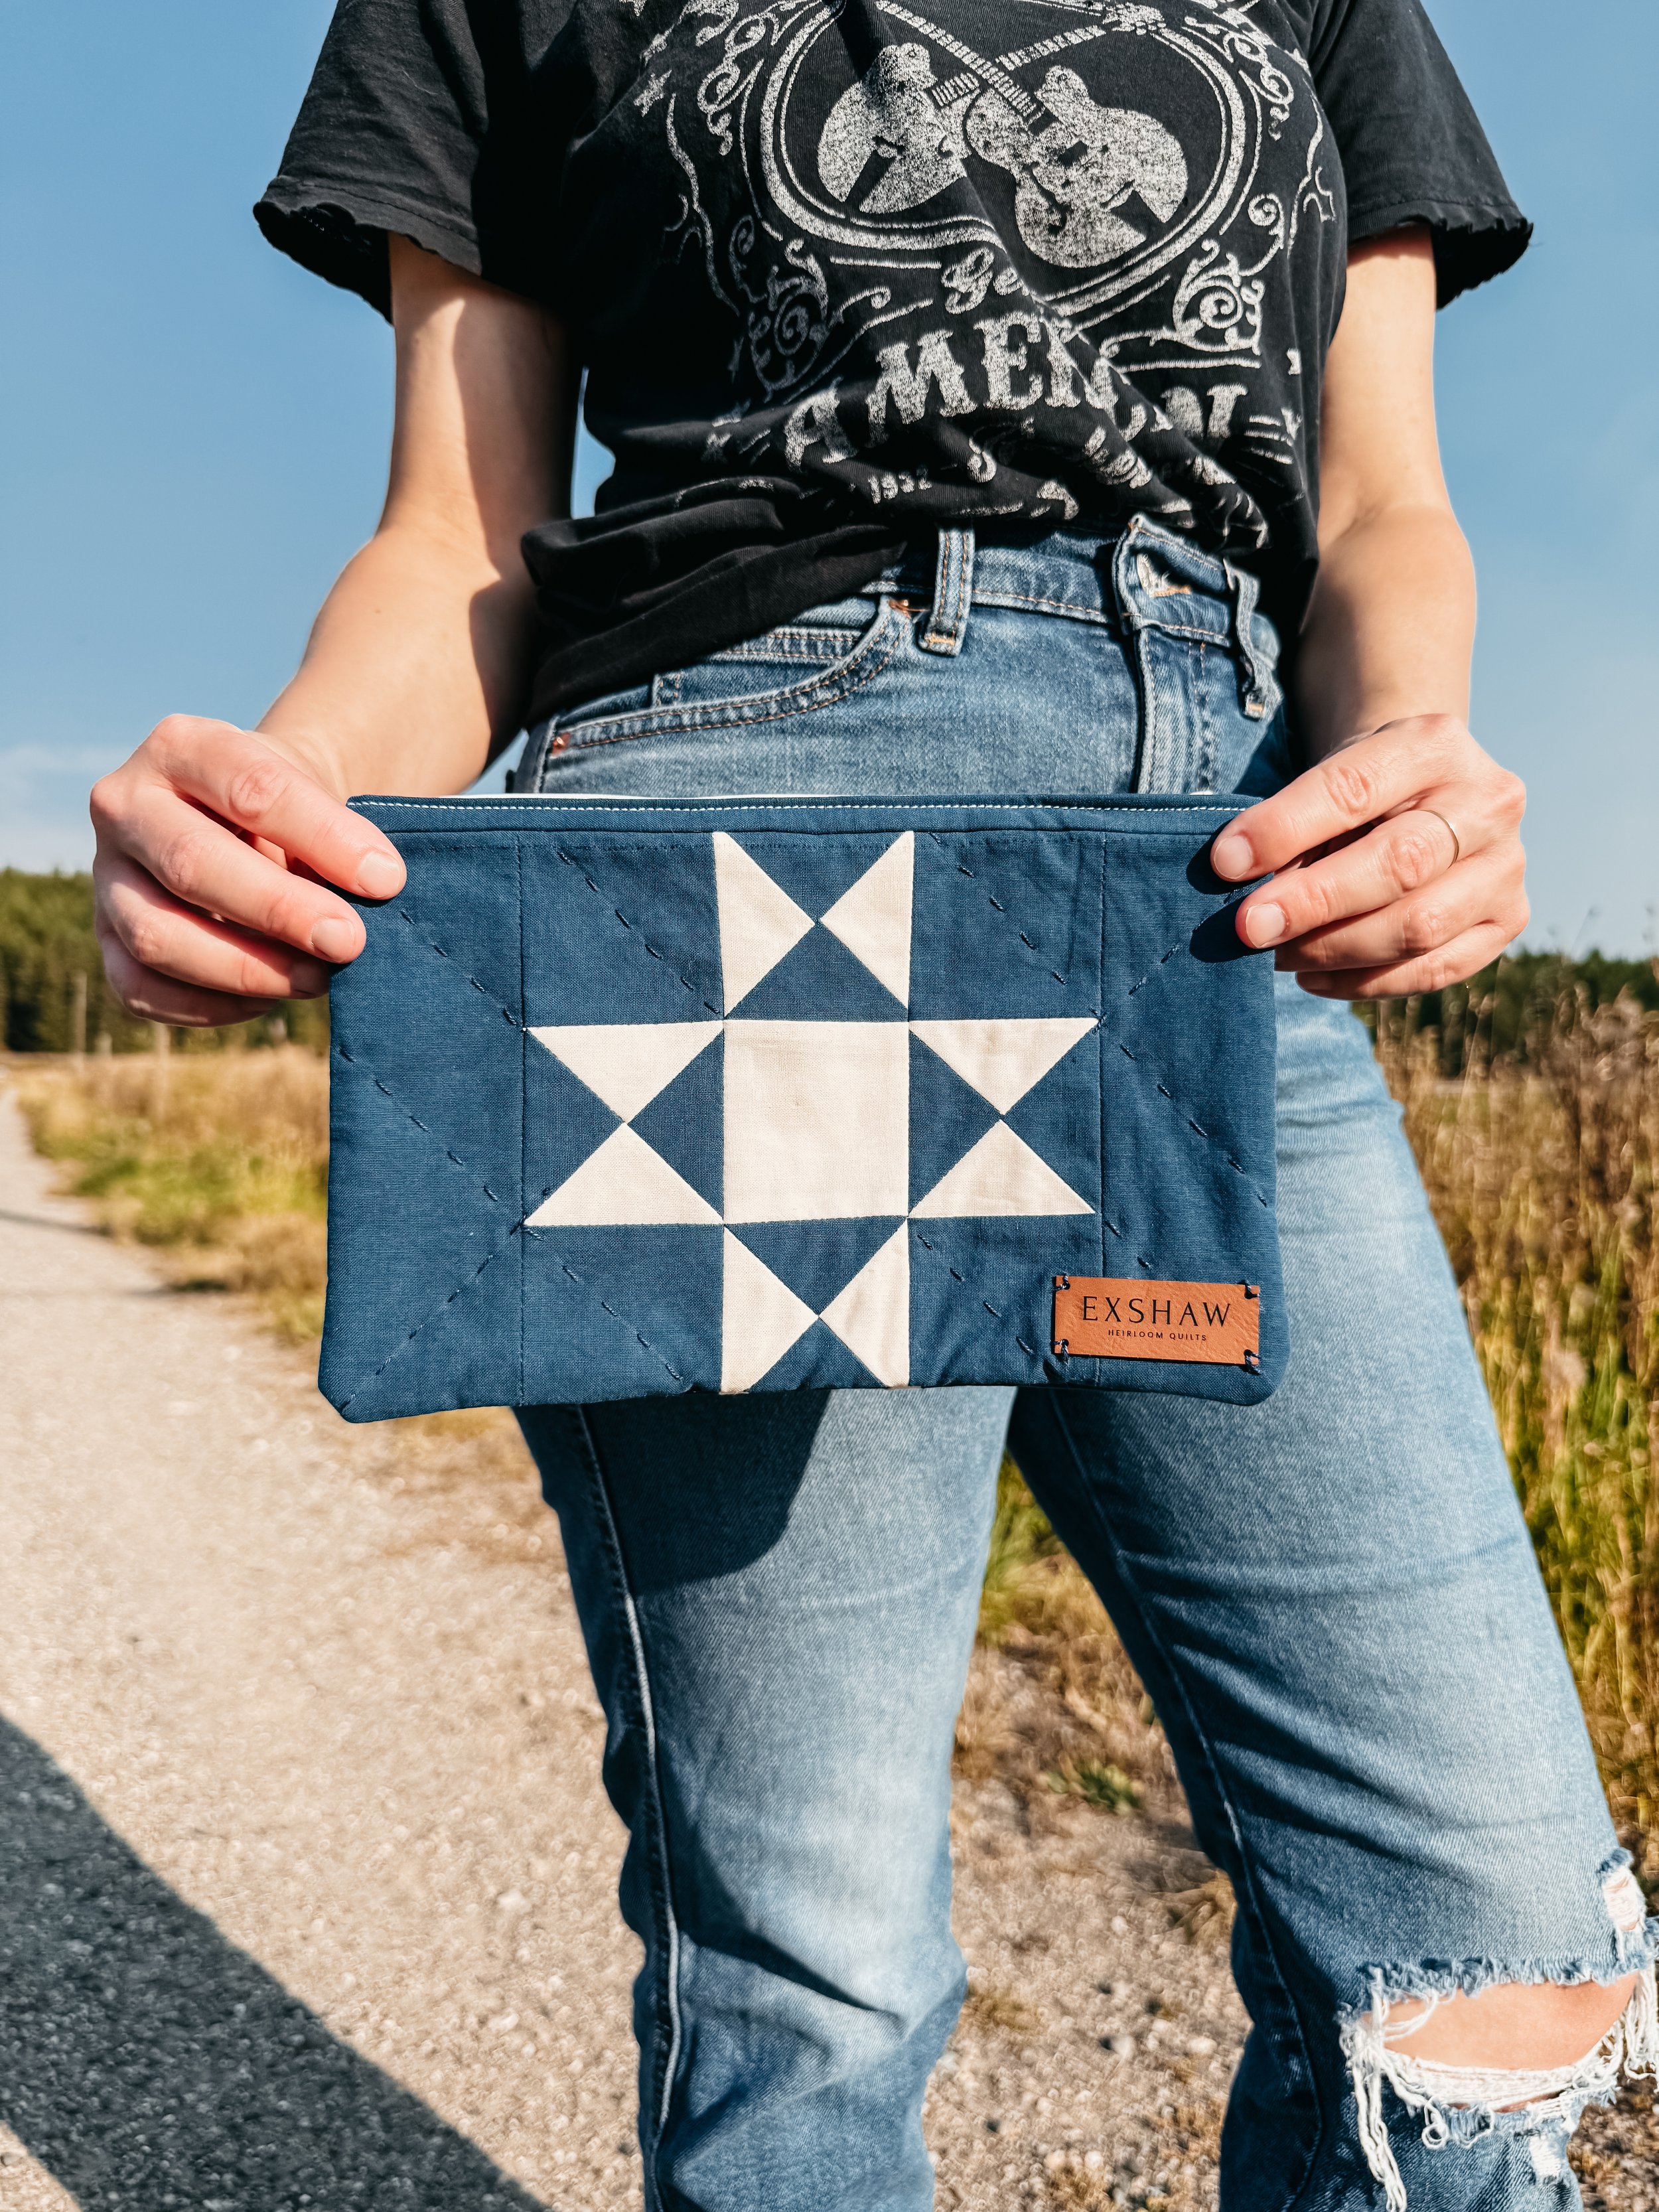
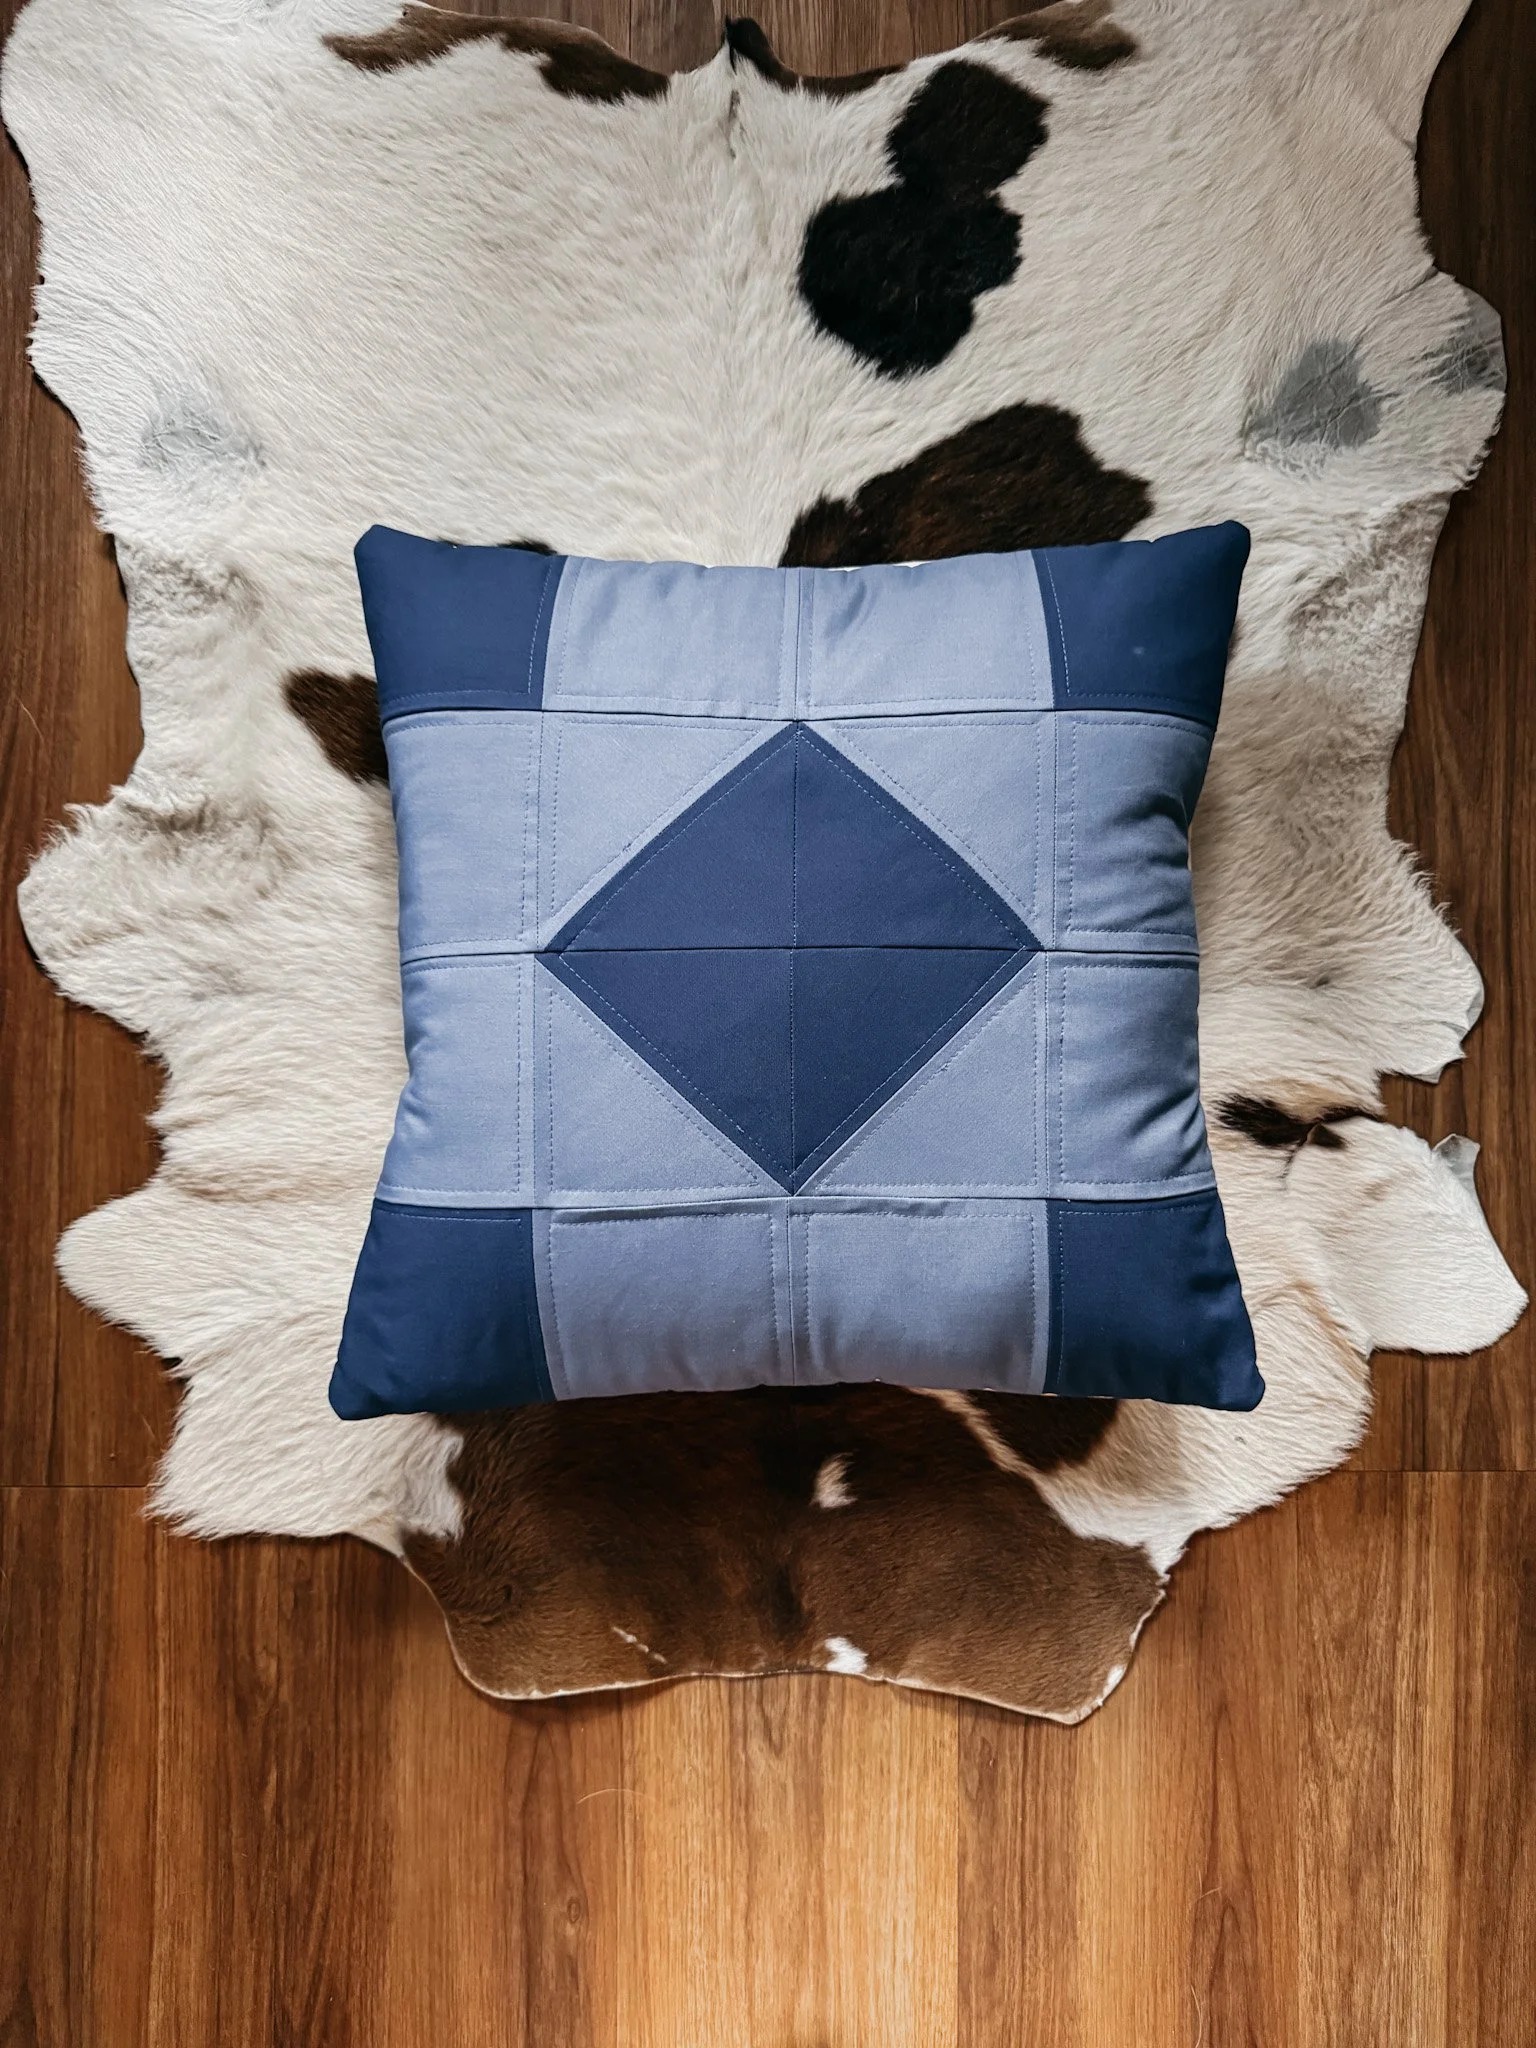
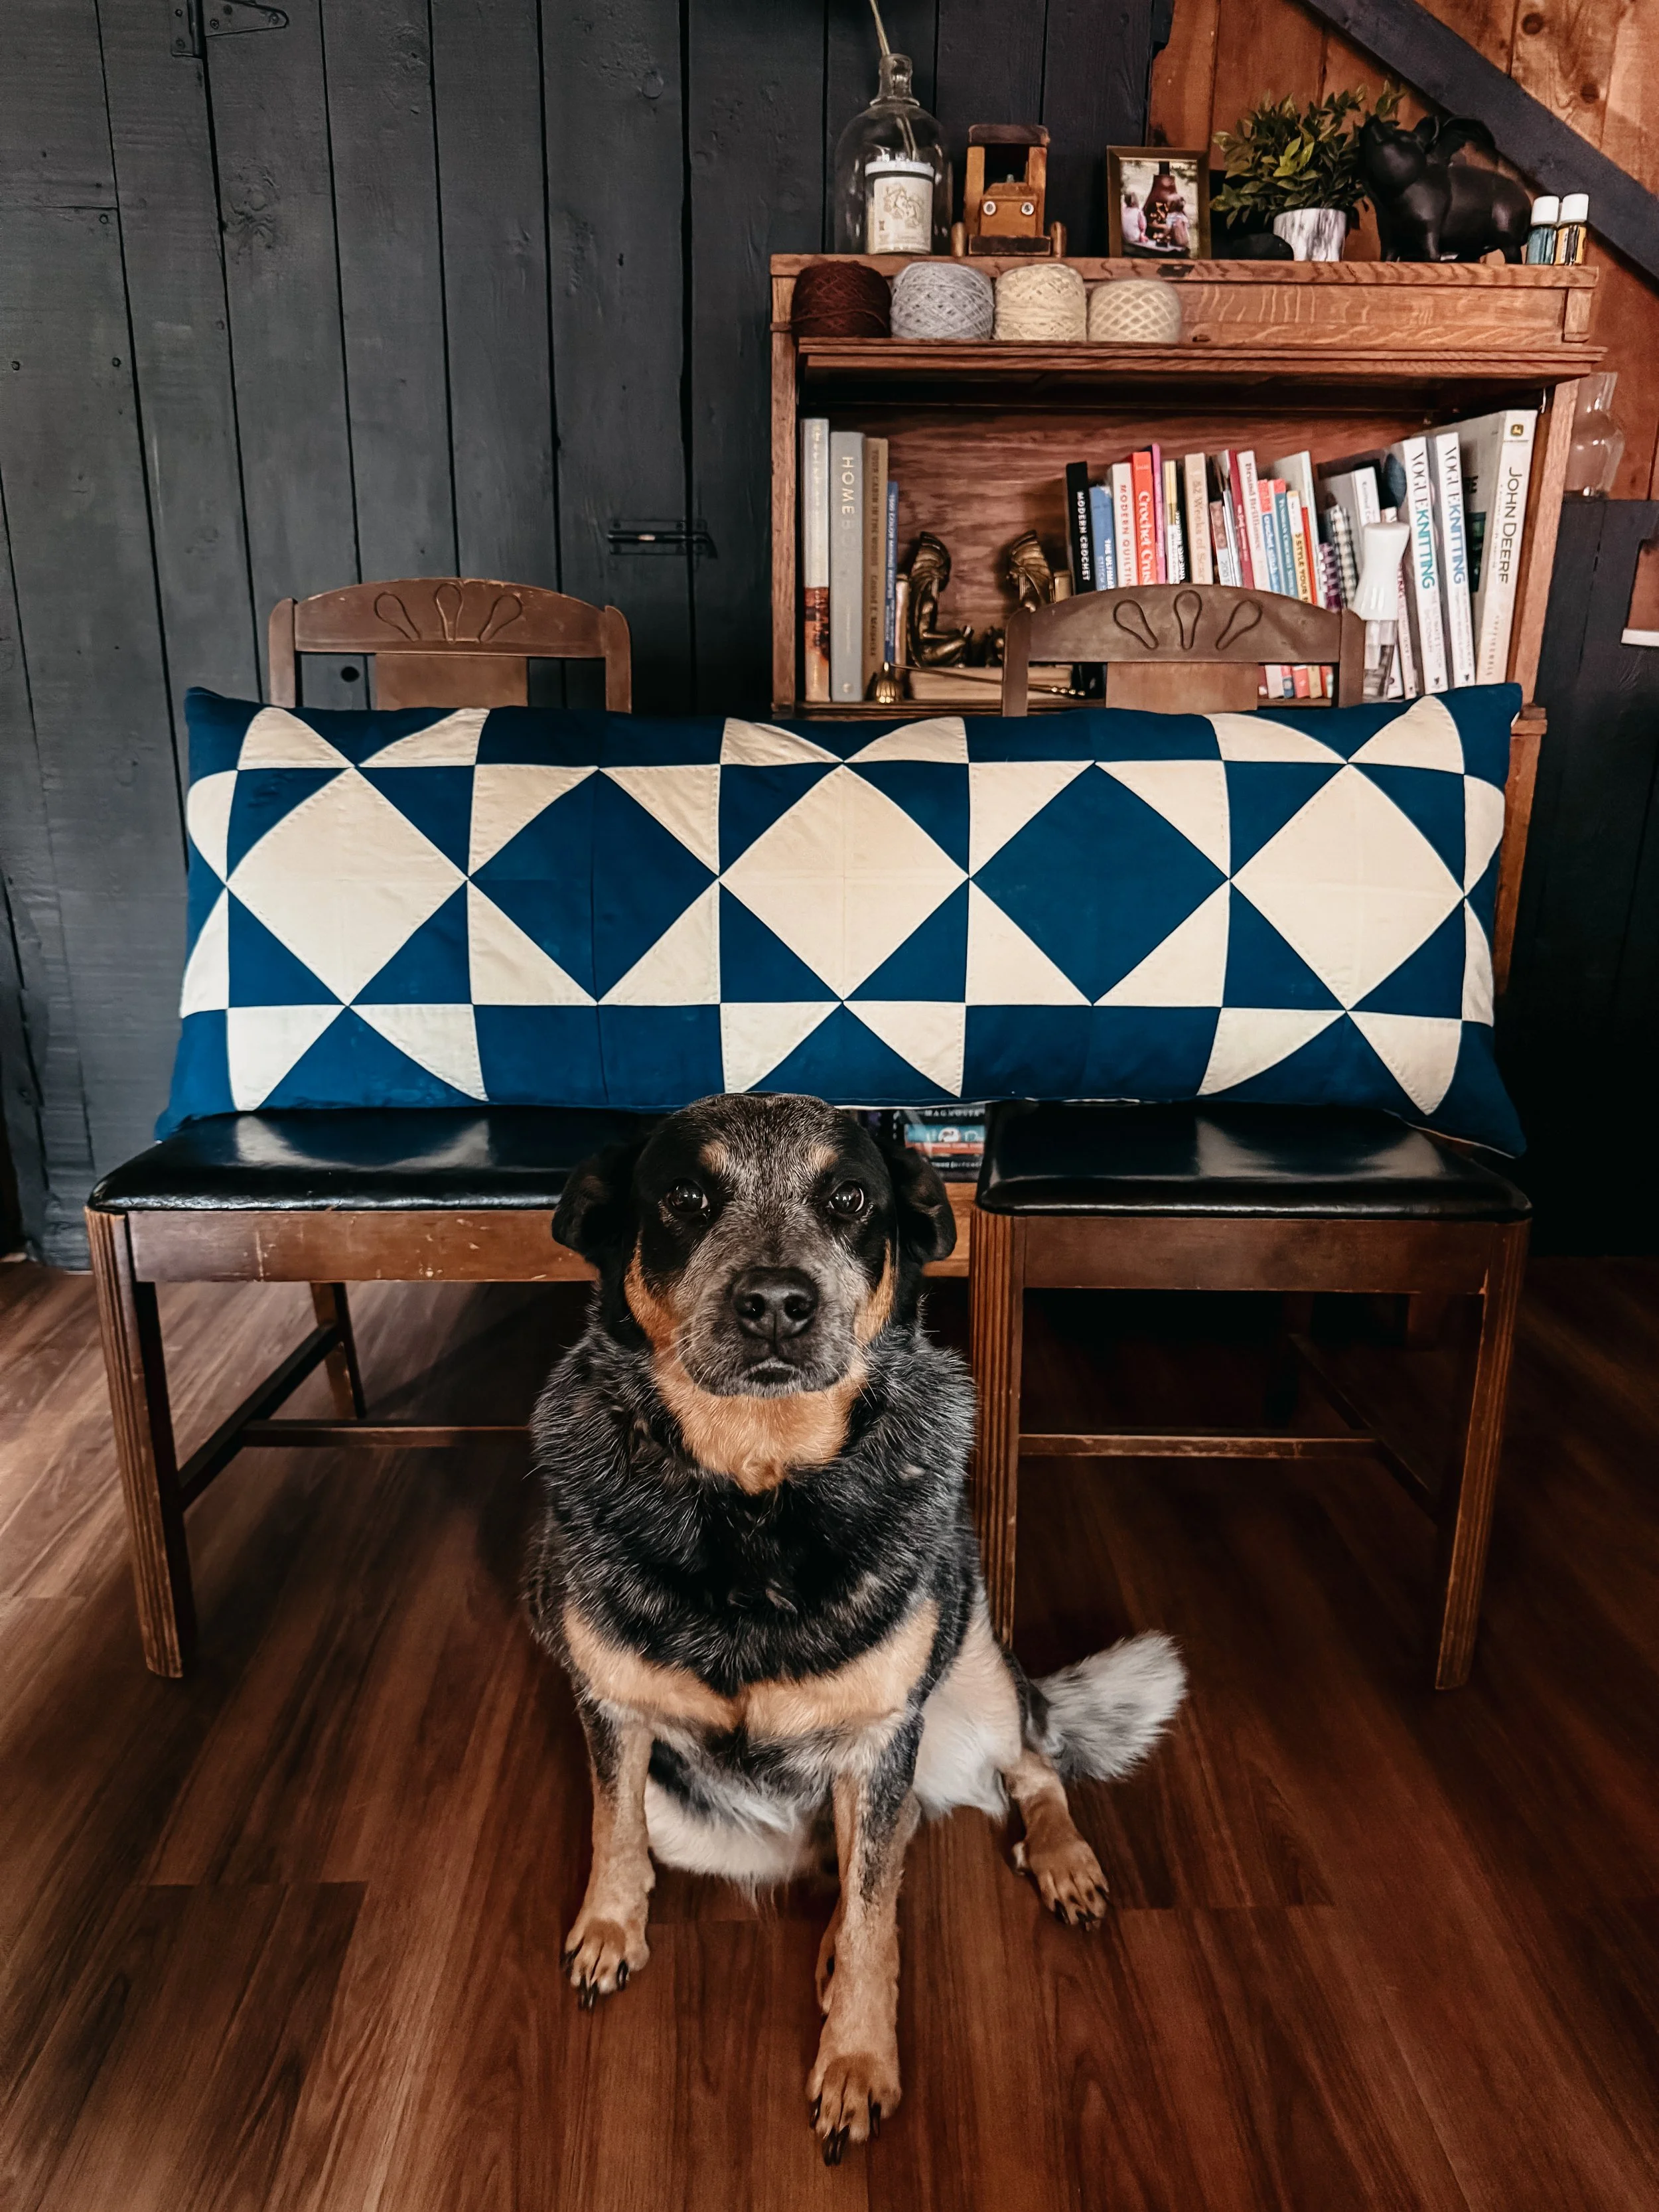
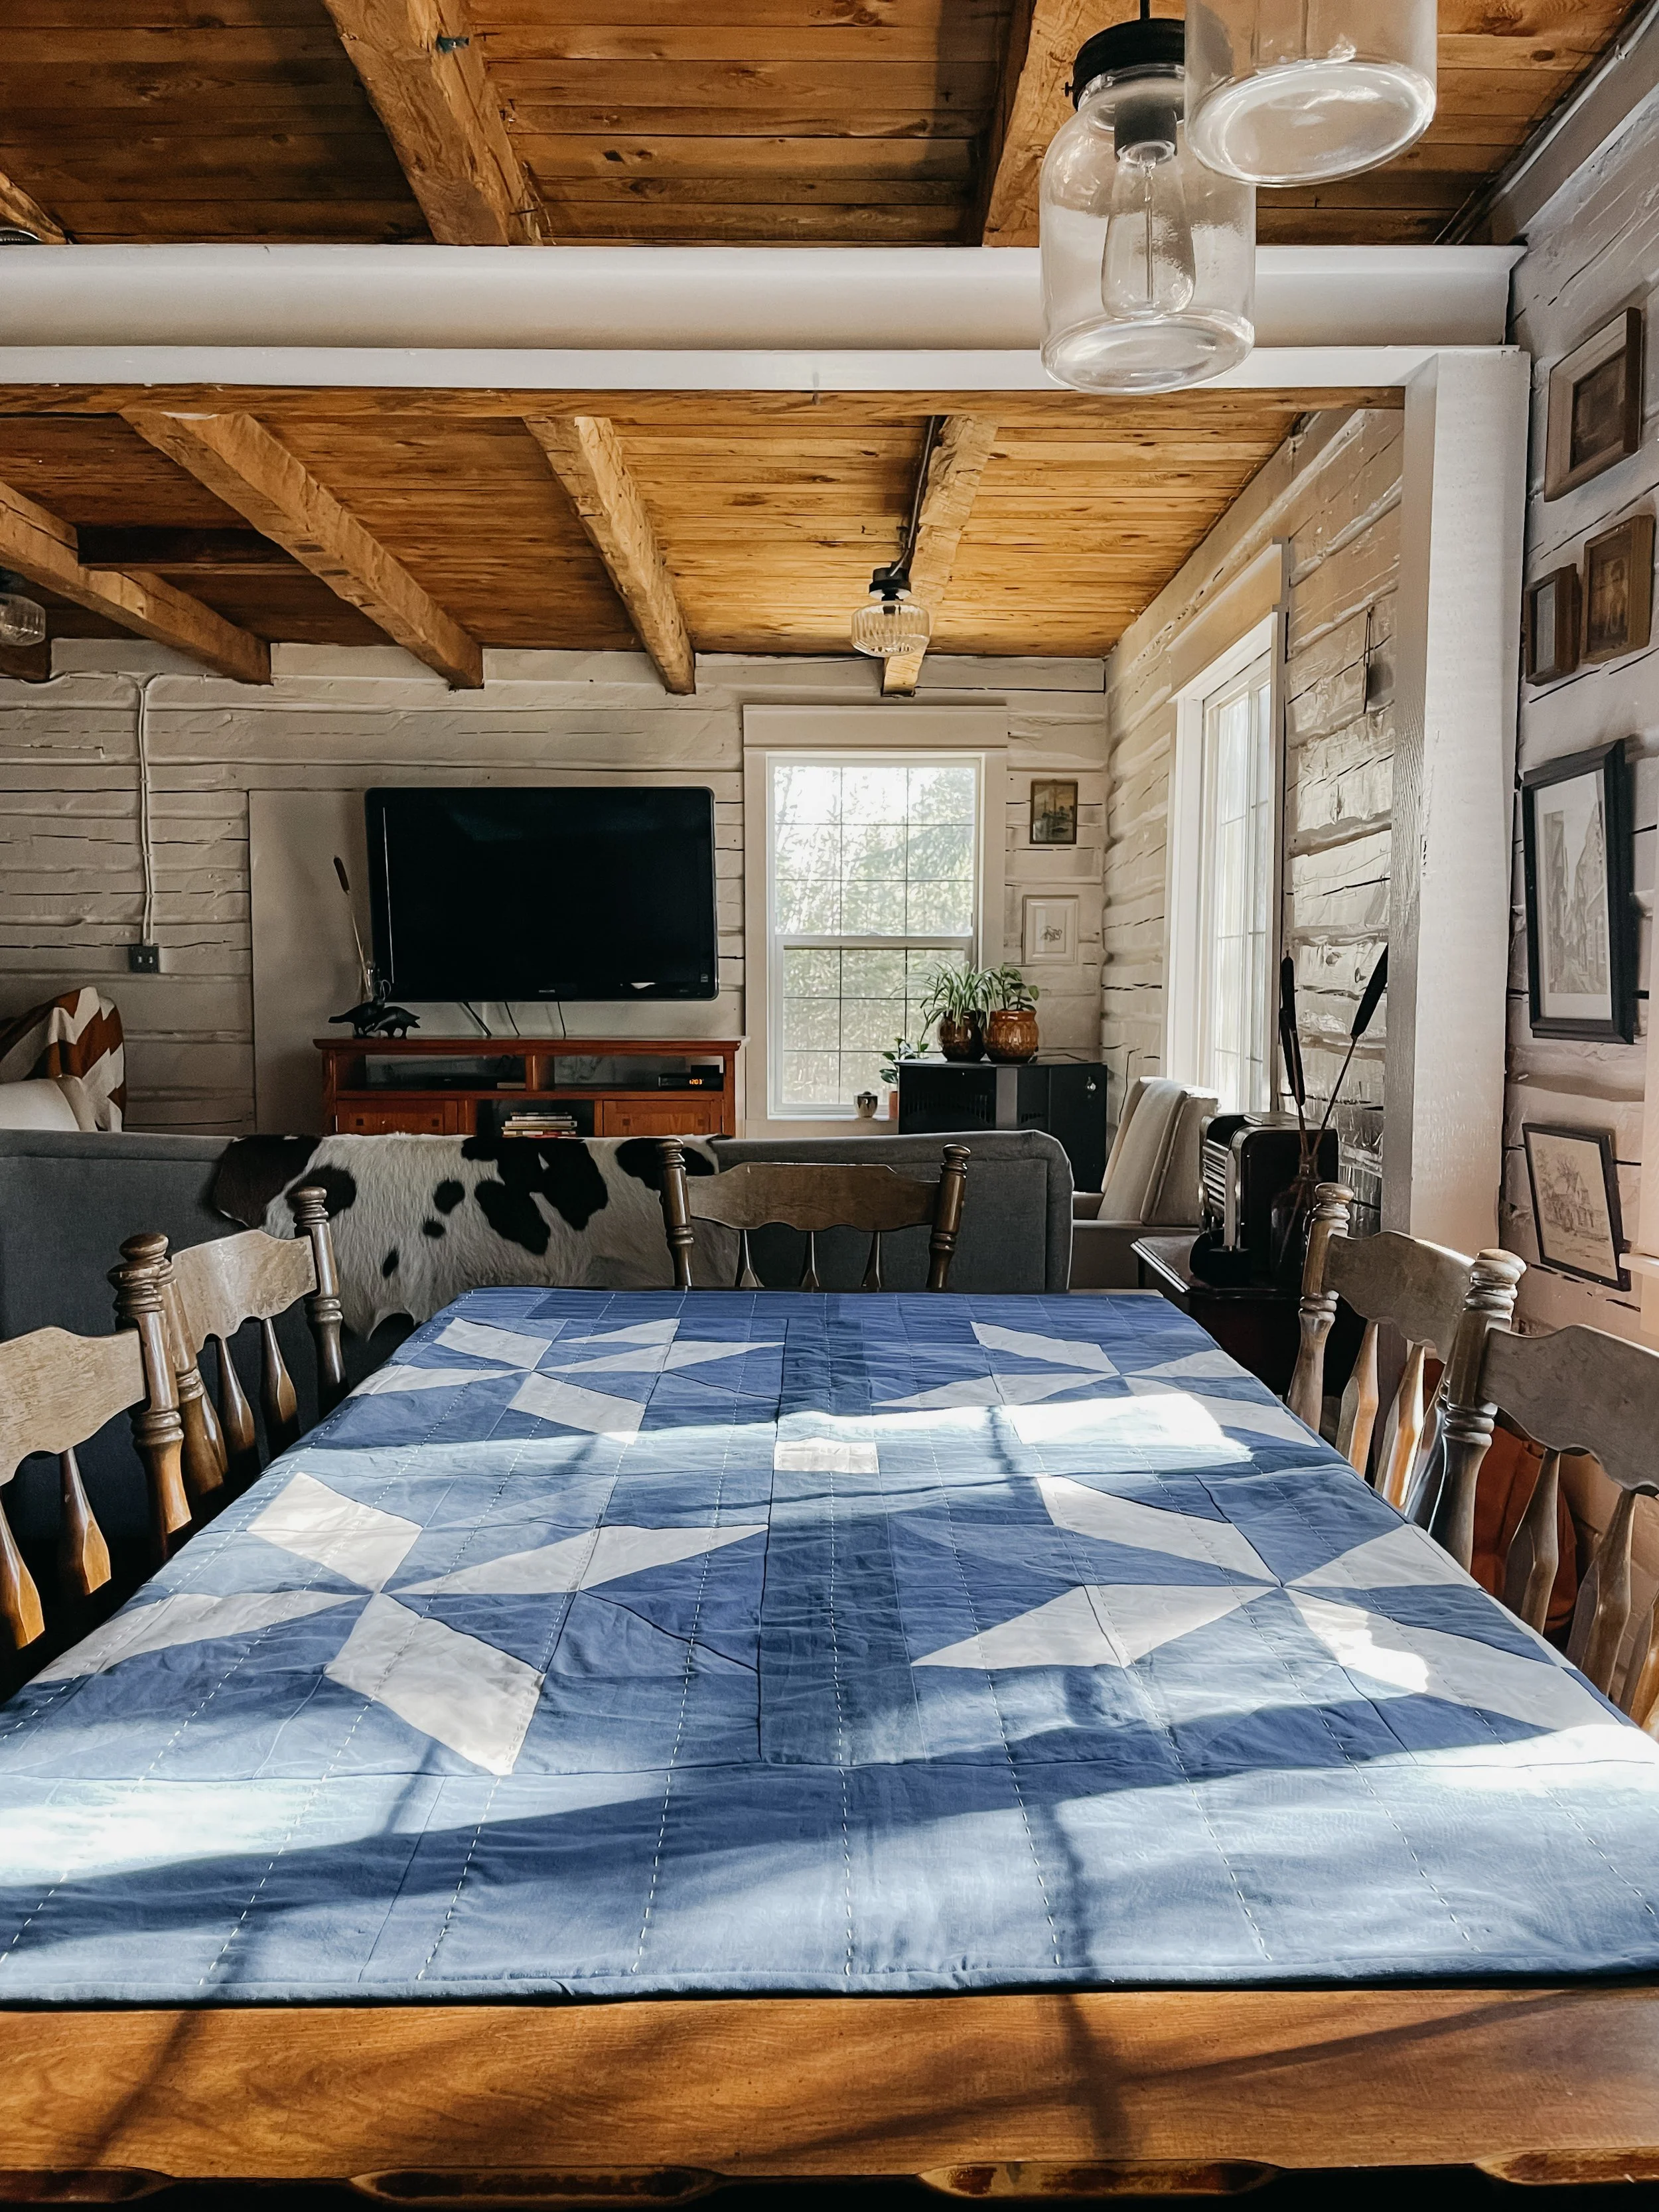
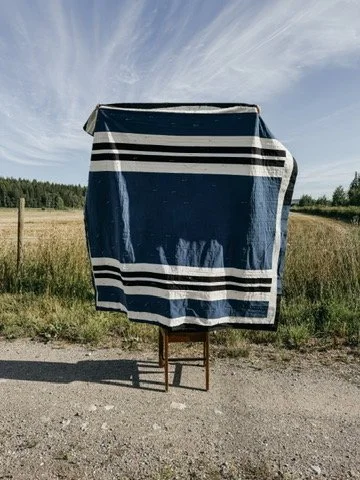
Arrowhead table runner: a summer stitching companion
If you’ve been around a bit, you’ve probably seen my Arrowhead table runner pattern. It’s a simple, graphic design built from half-square triangles, and I love it more every time I look at it.
I made my sample with hand-dyed indigo and quilted it with big-stitch hand quilting using contrasting thread so the stitches really show.
A few details:
Finished size: 13" x 49"
Construction: simple HSTs laid out in an arrow/chevron style motif
Quilting: lines spaced about ¾" apart, marked with chalk and stitched by hand
I stitched a lot of that runner on summer evenings with the cabin windows open and crickets singing outside. It’s one of those makes that holds a whole season inside it.
The Arrowhead table runner pattern is available in my shop if you’d like to make one for your own table.
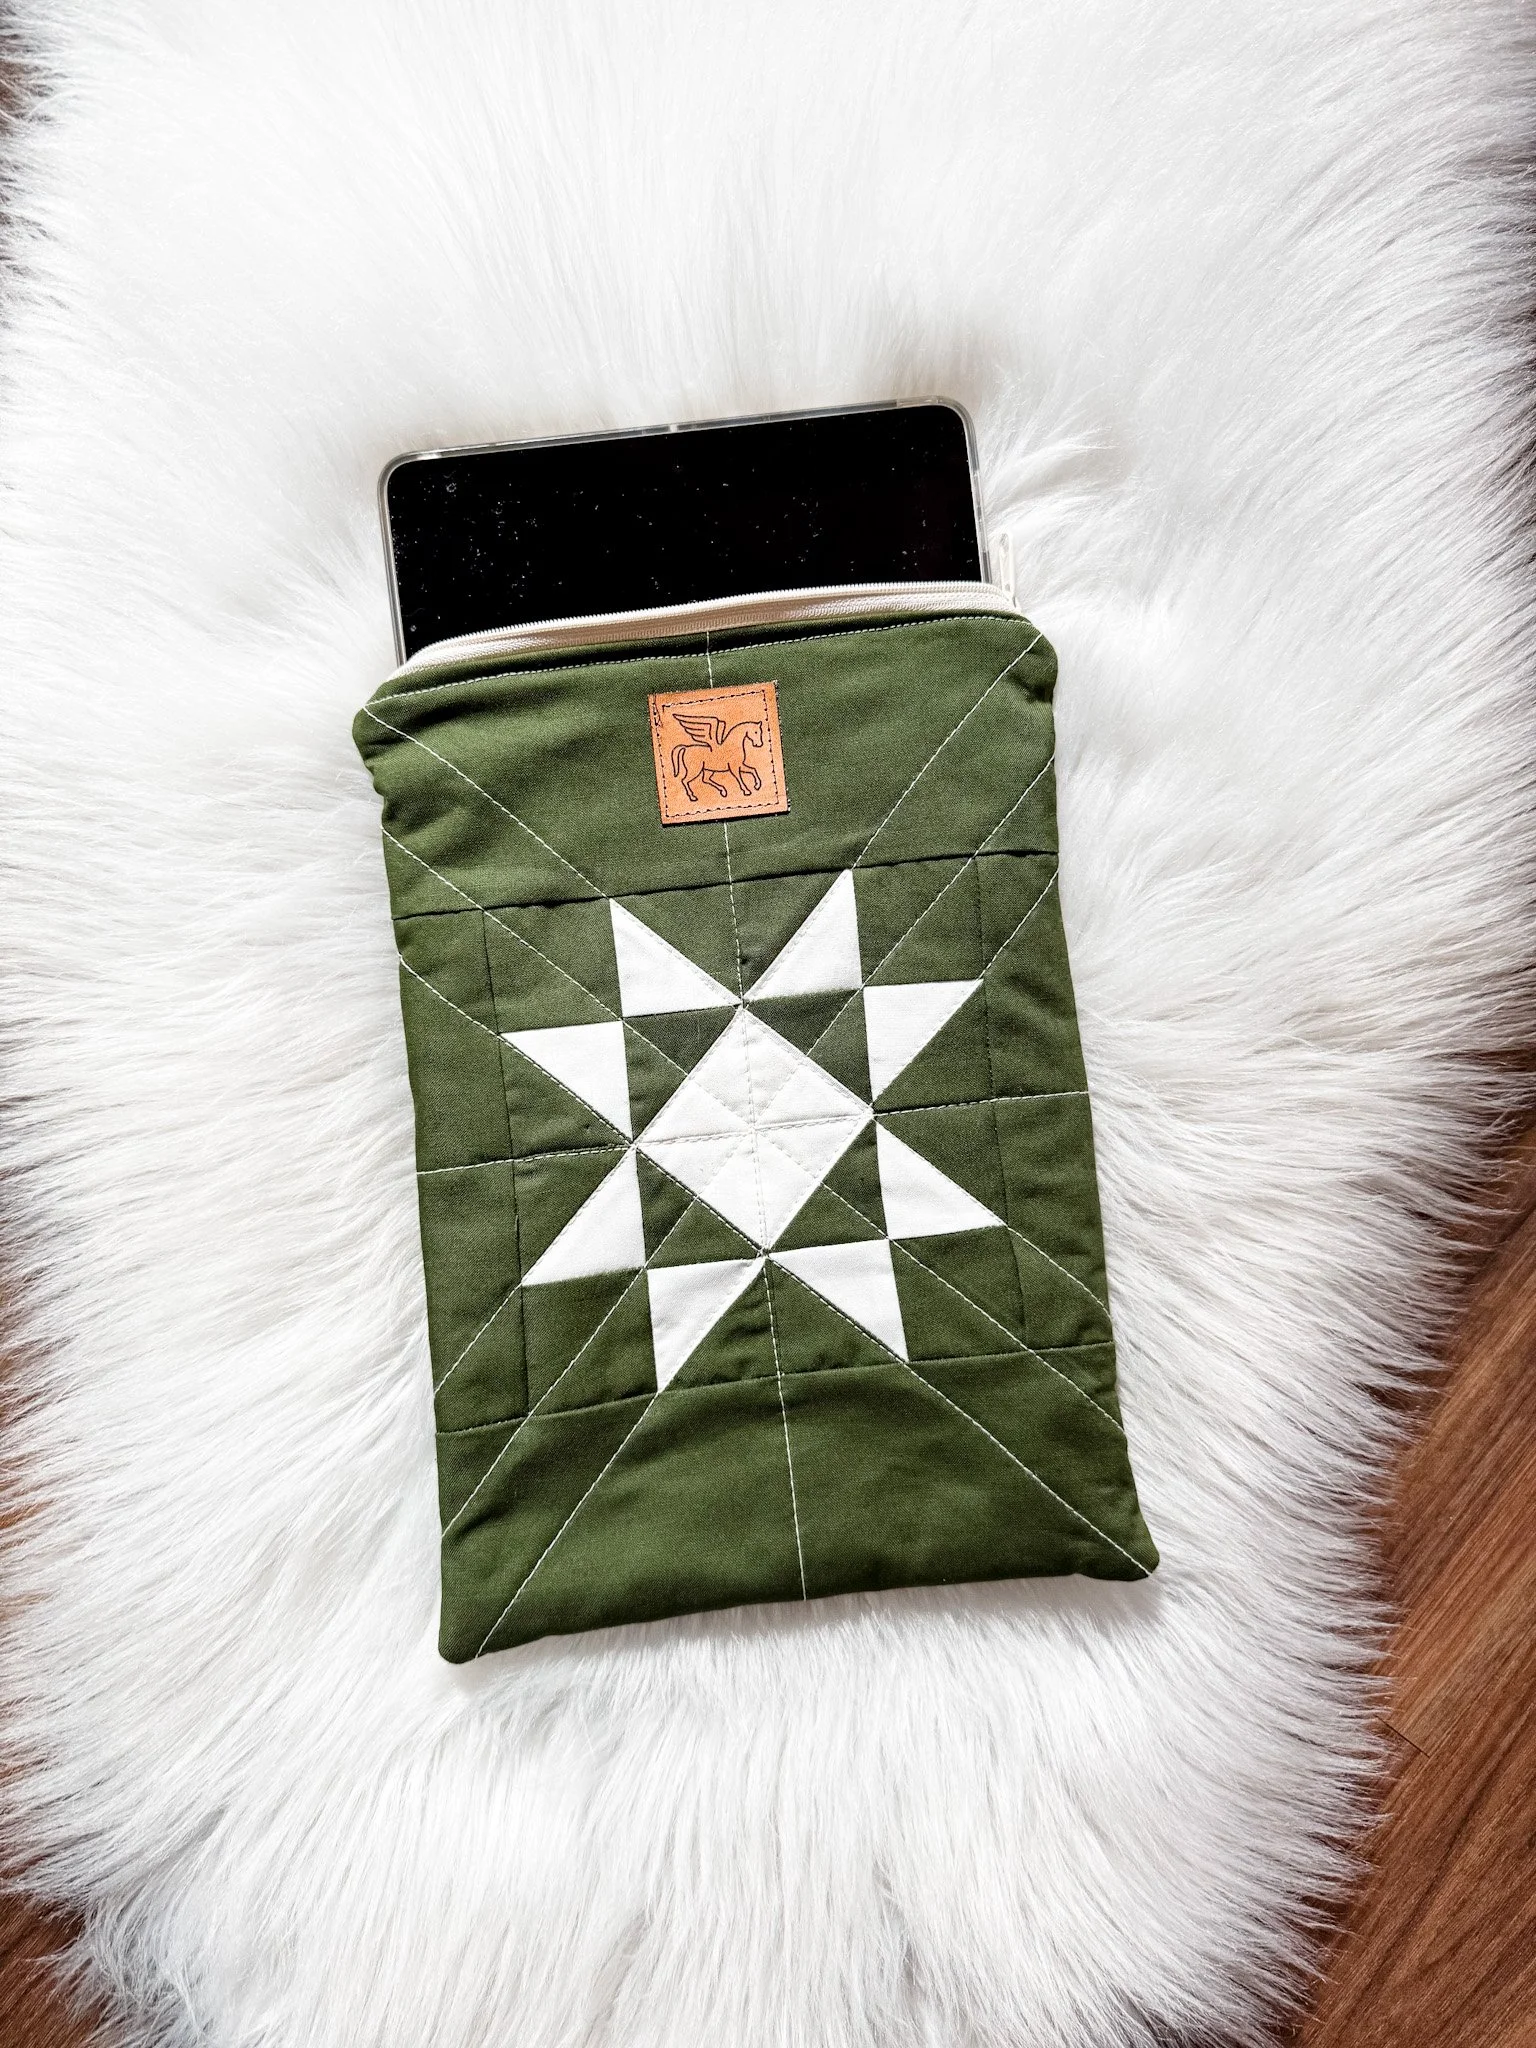
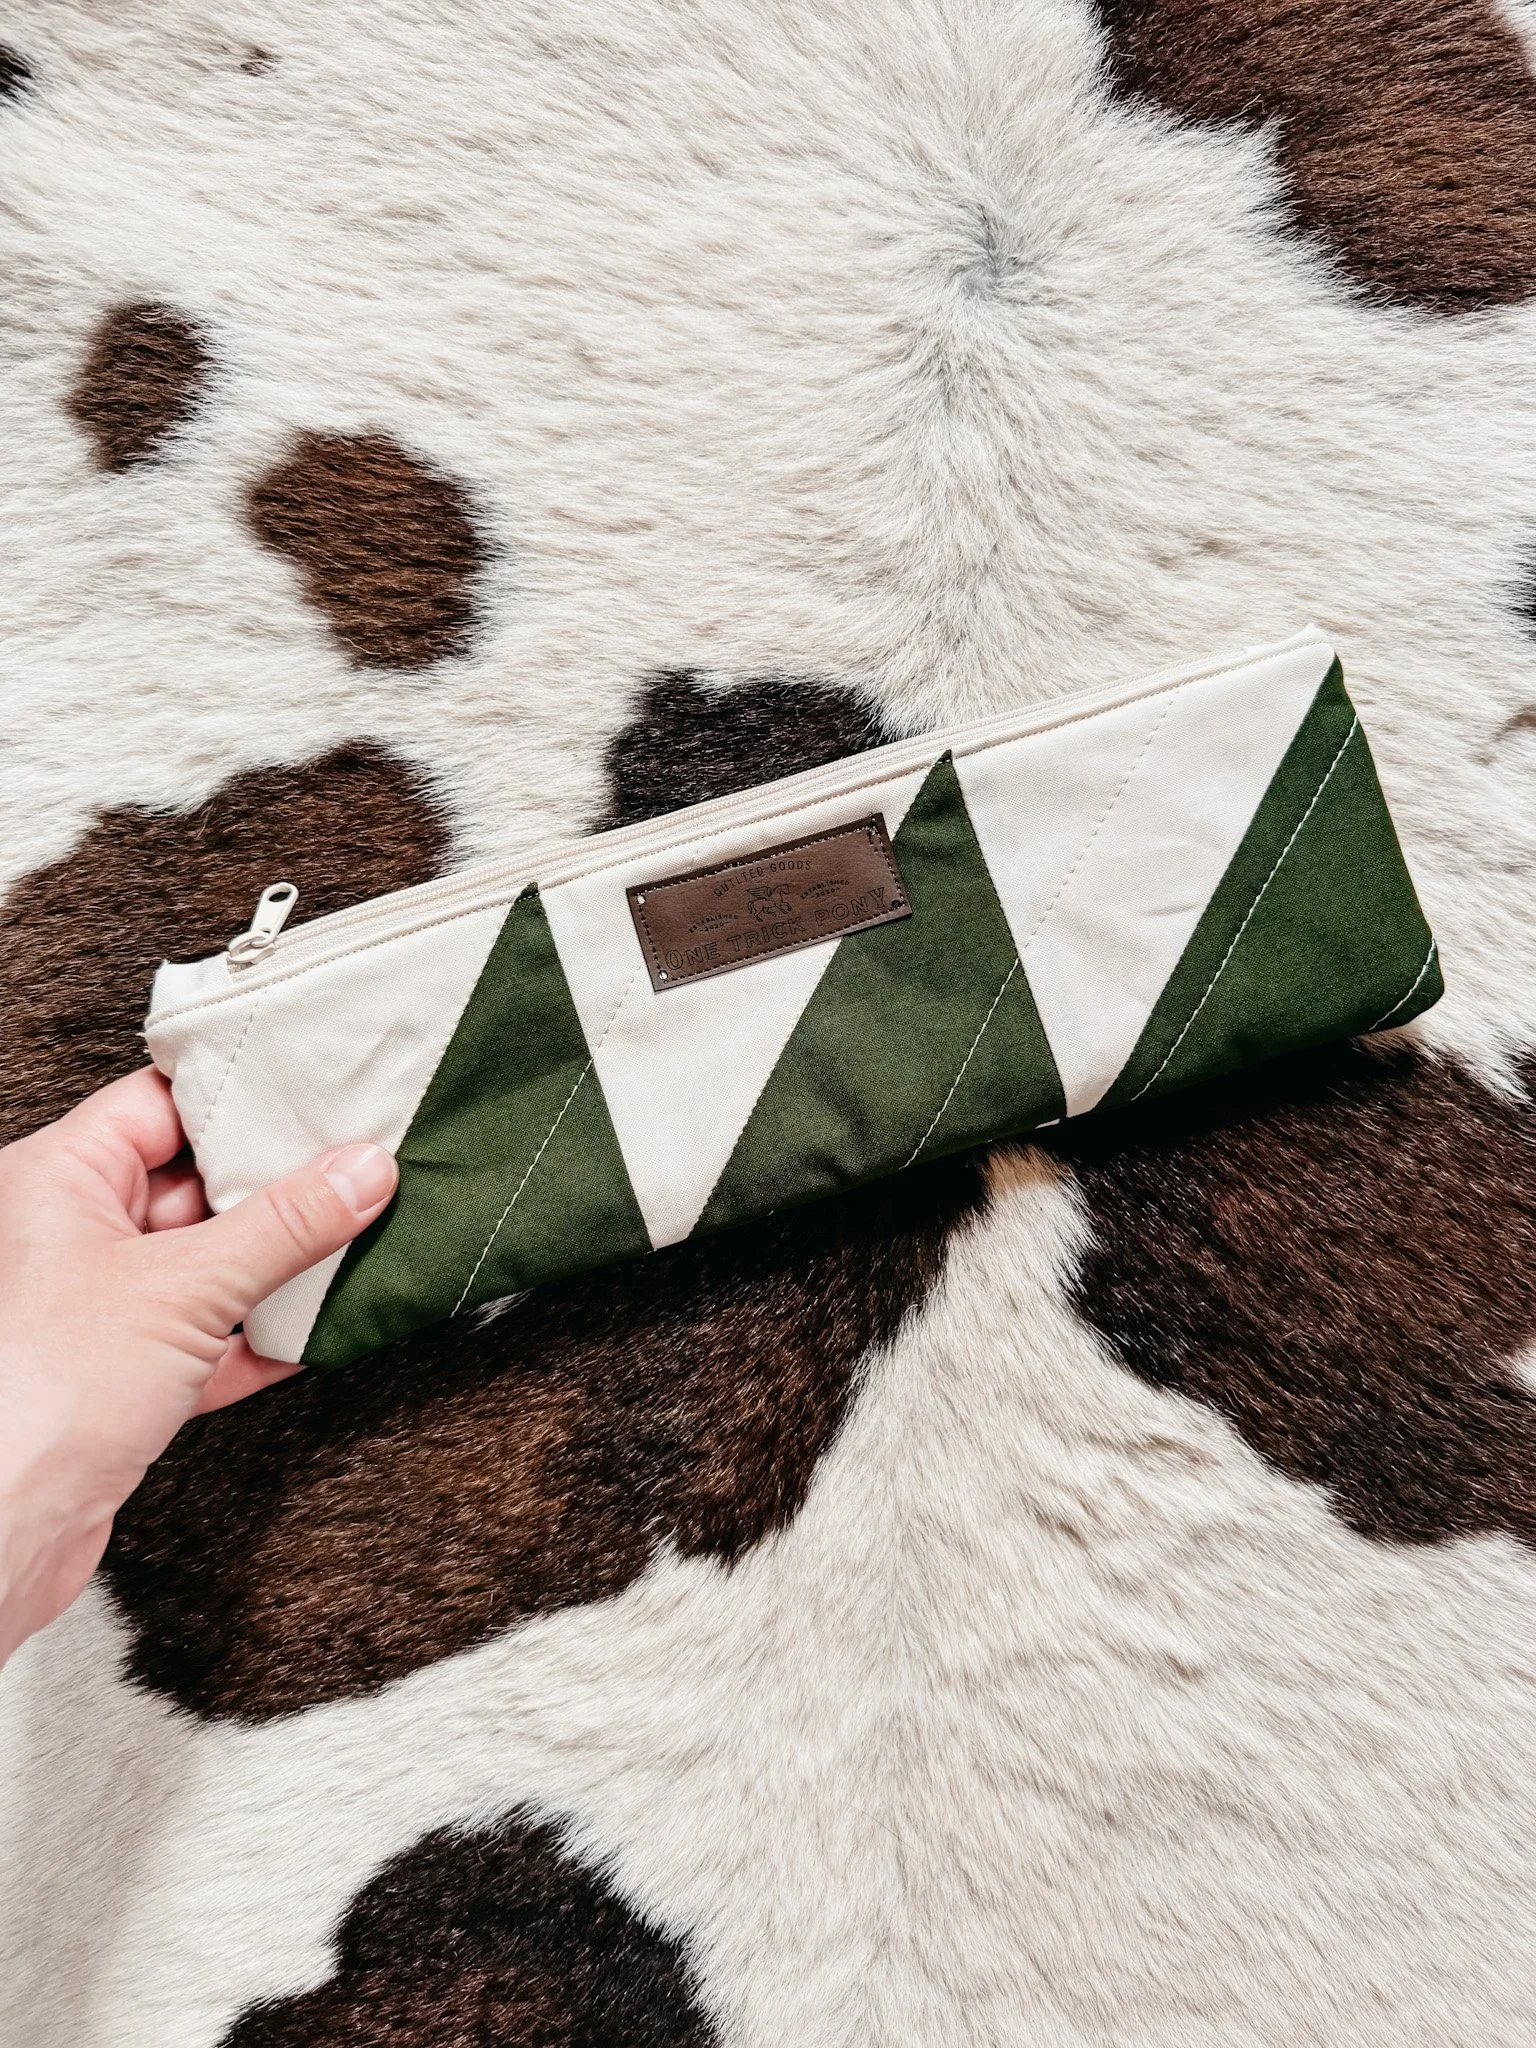
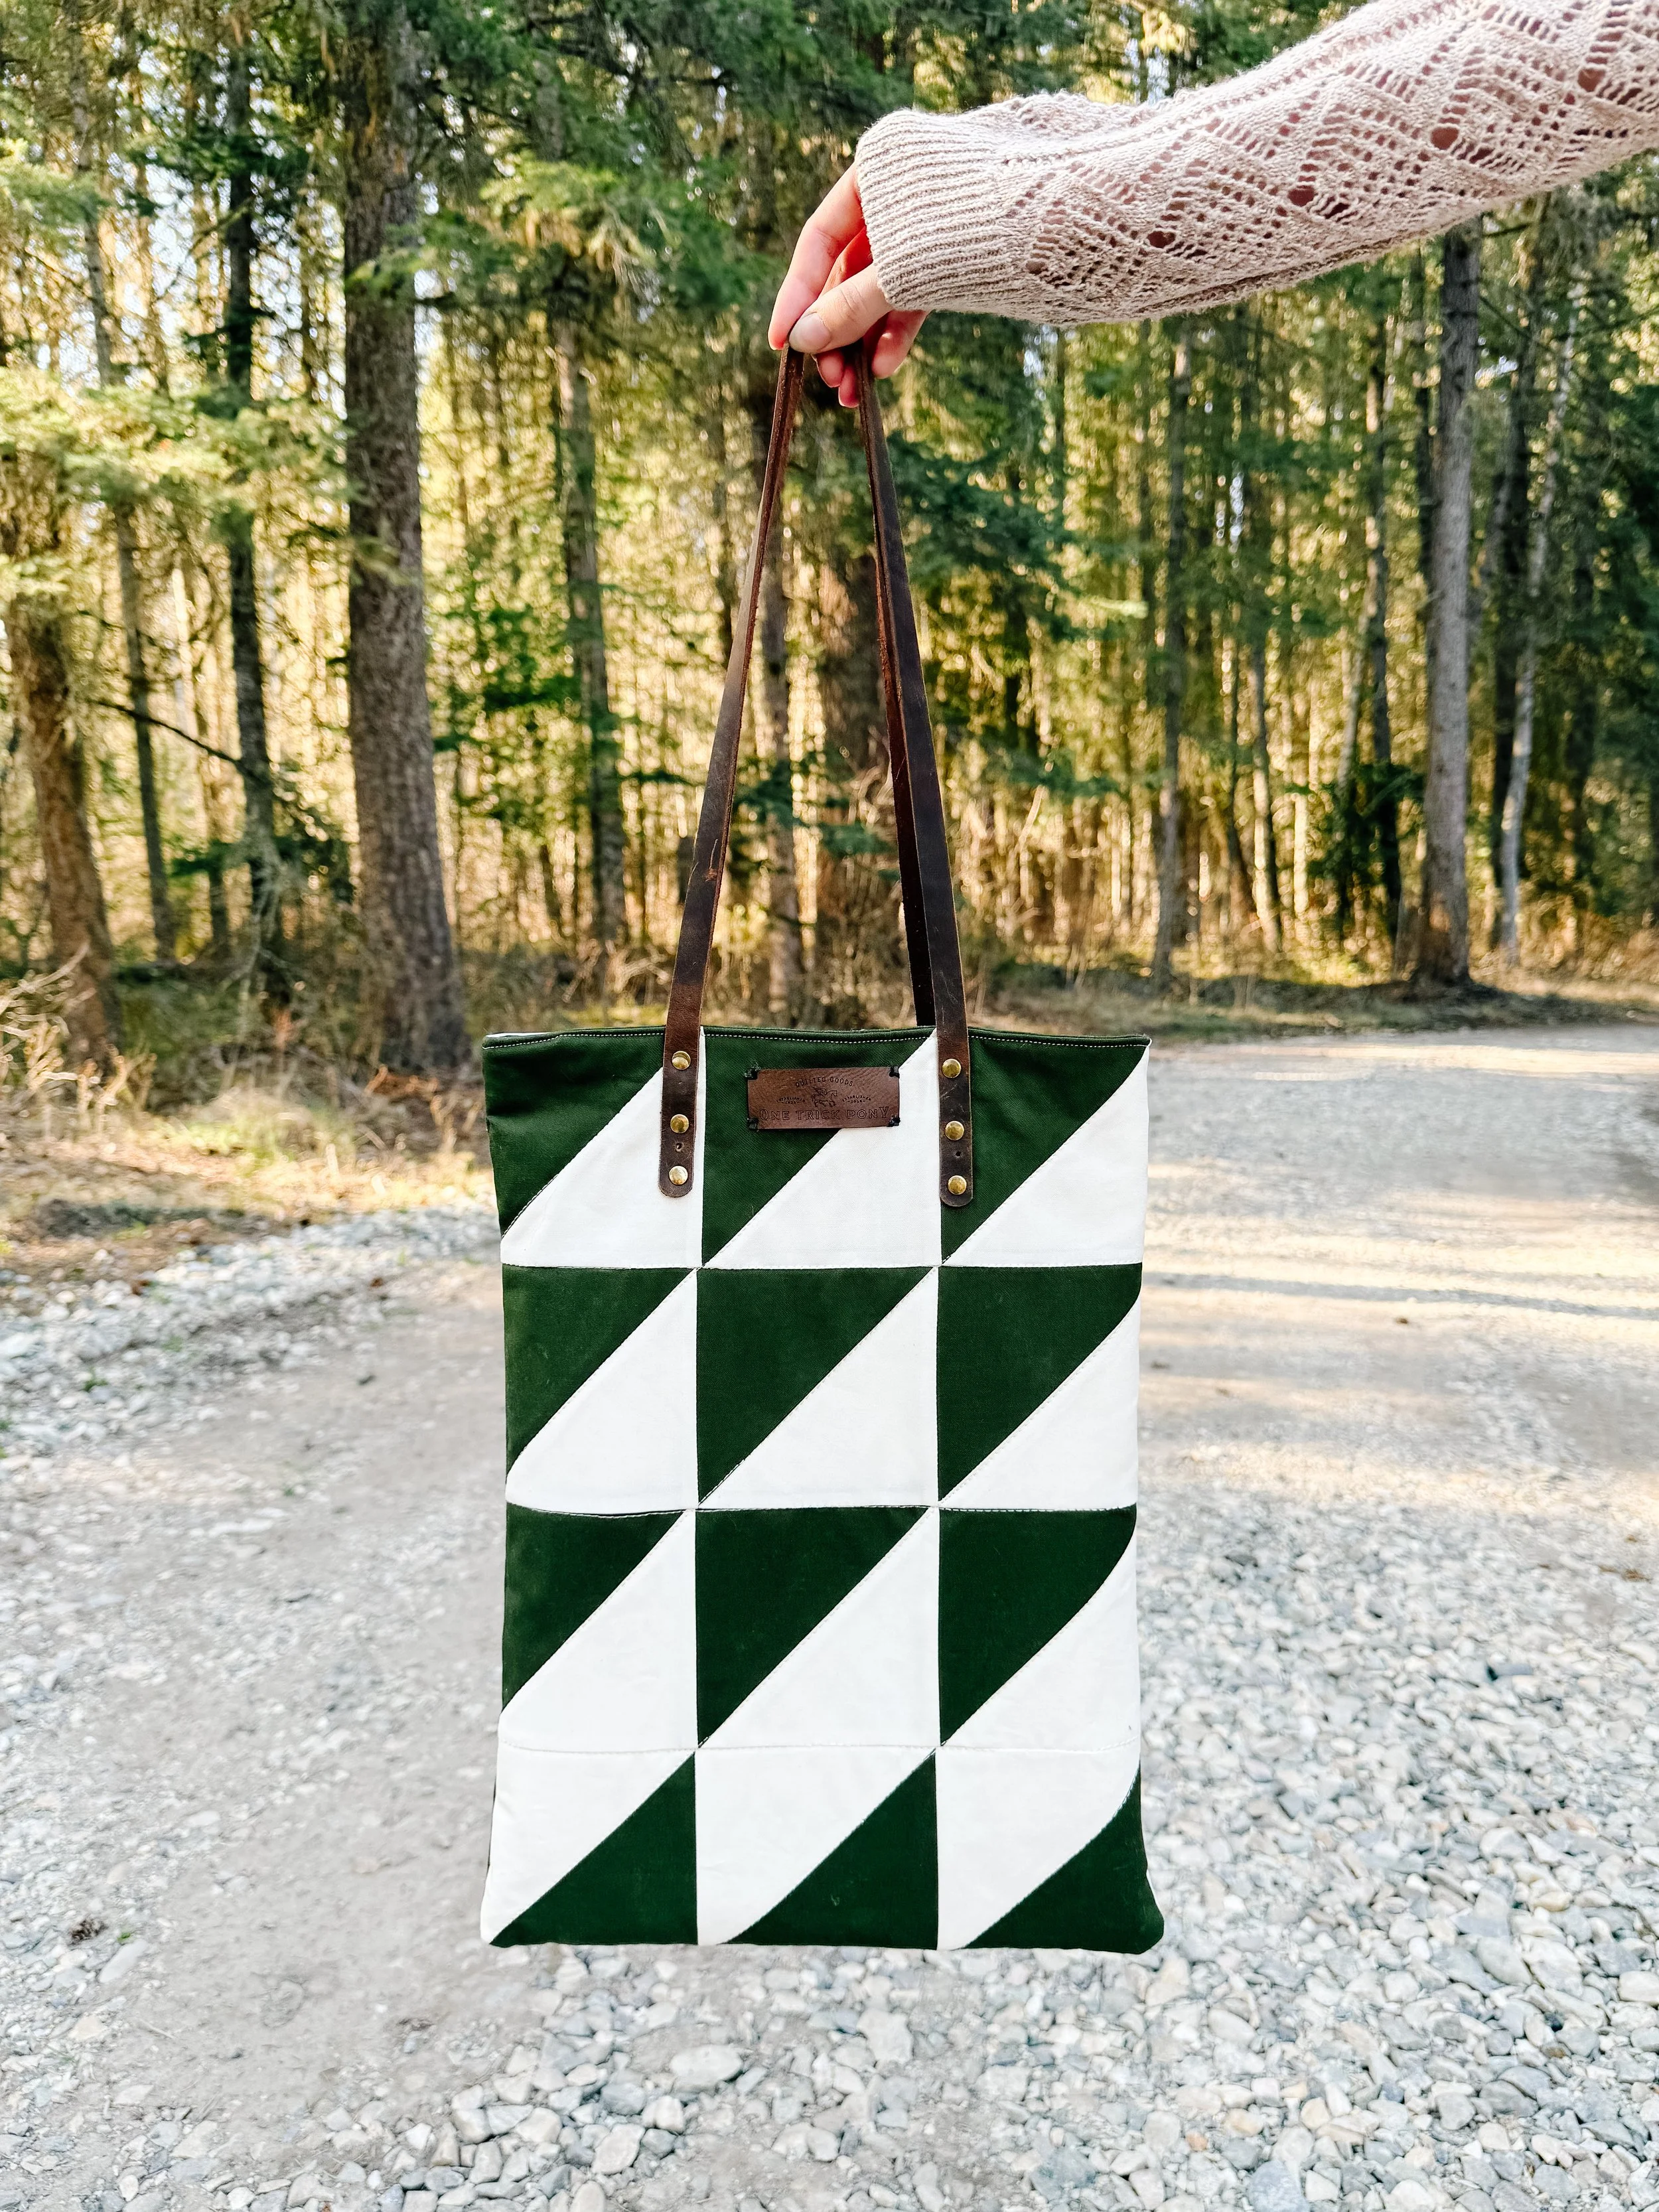
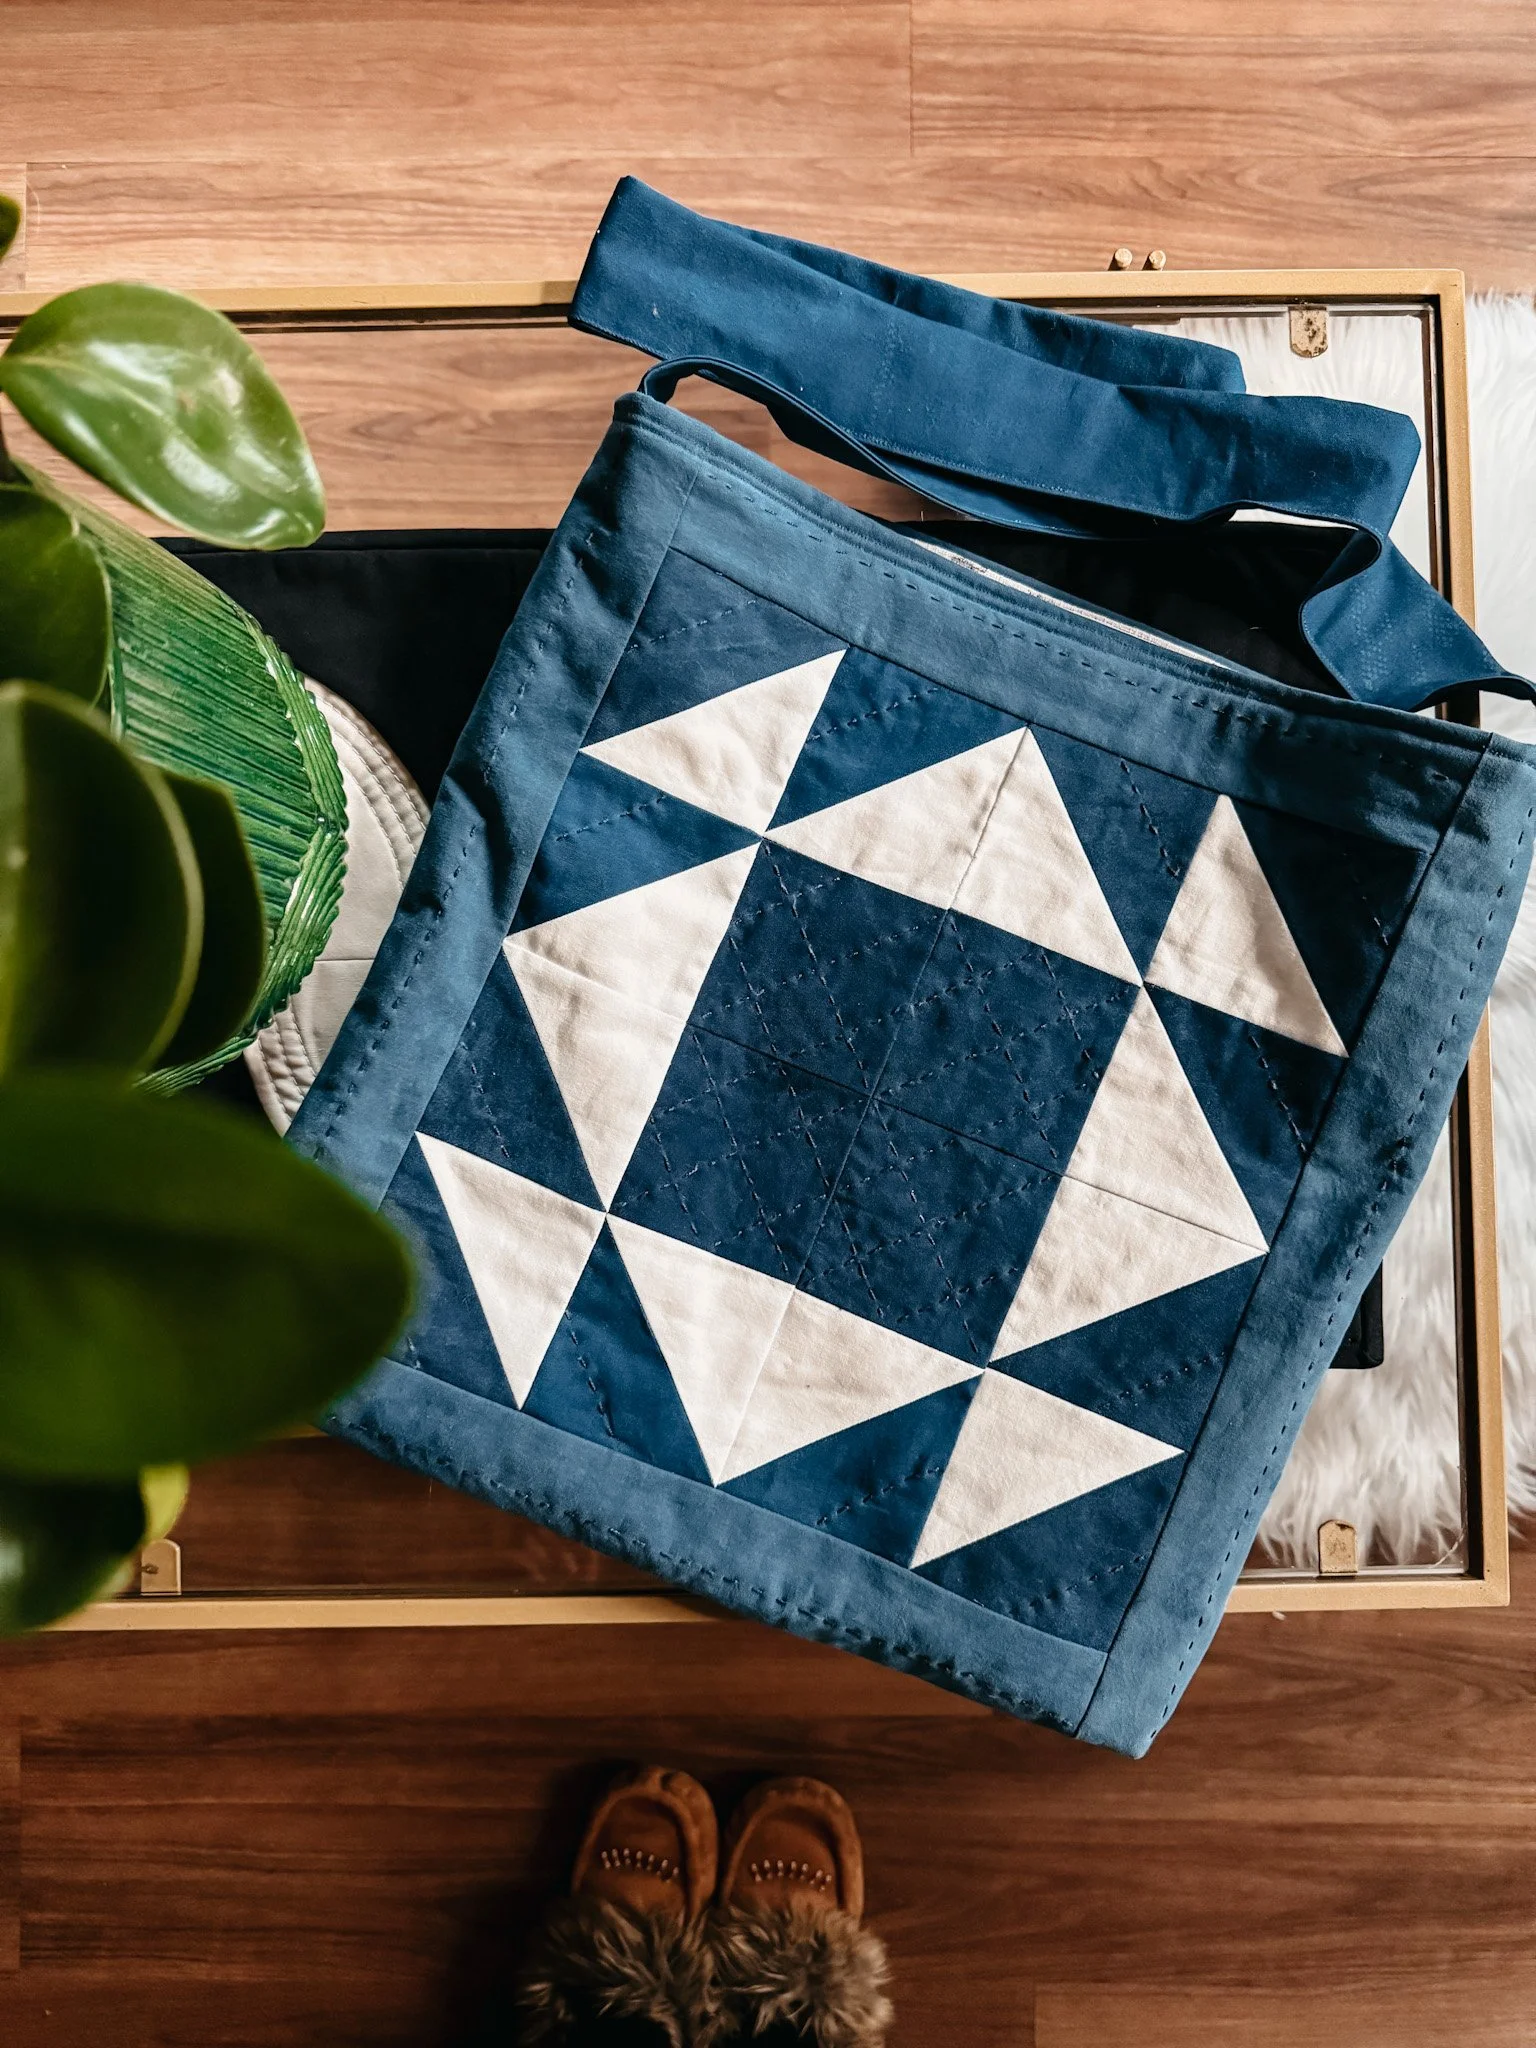
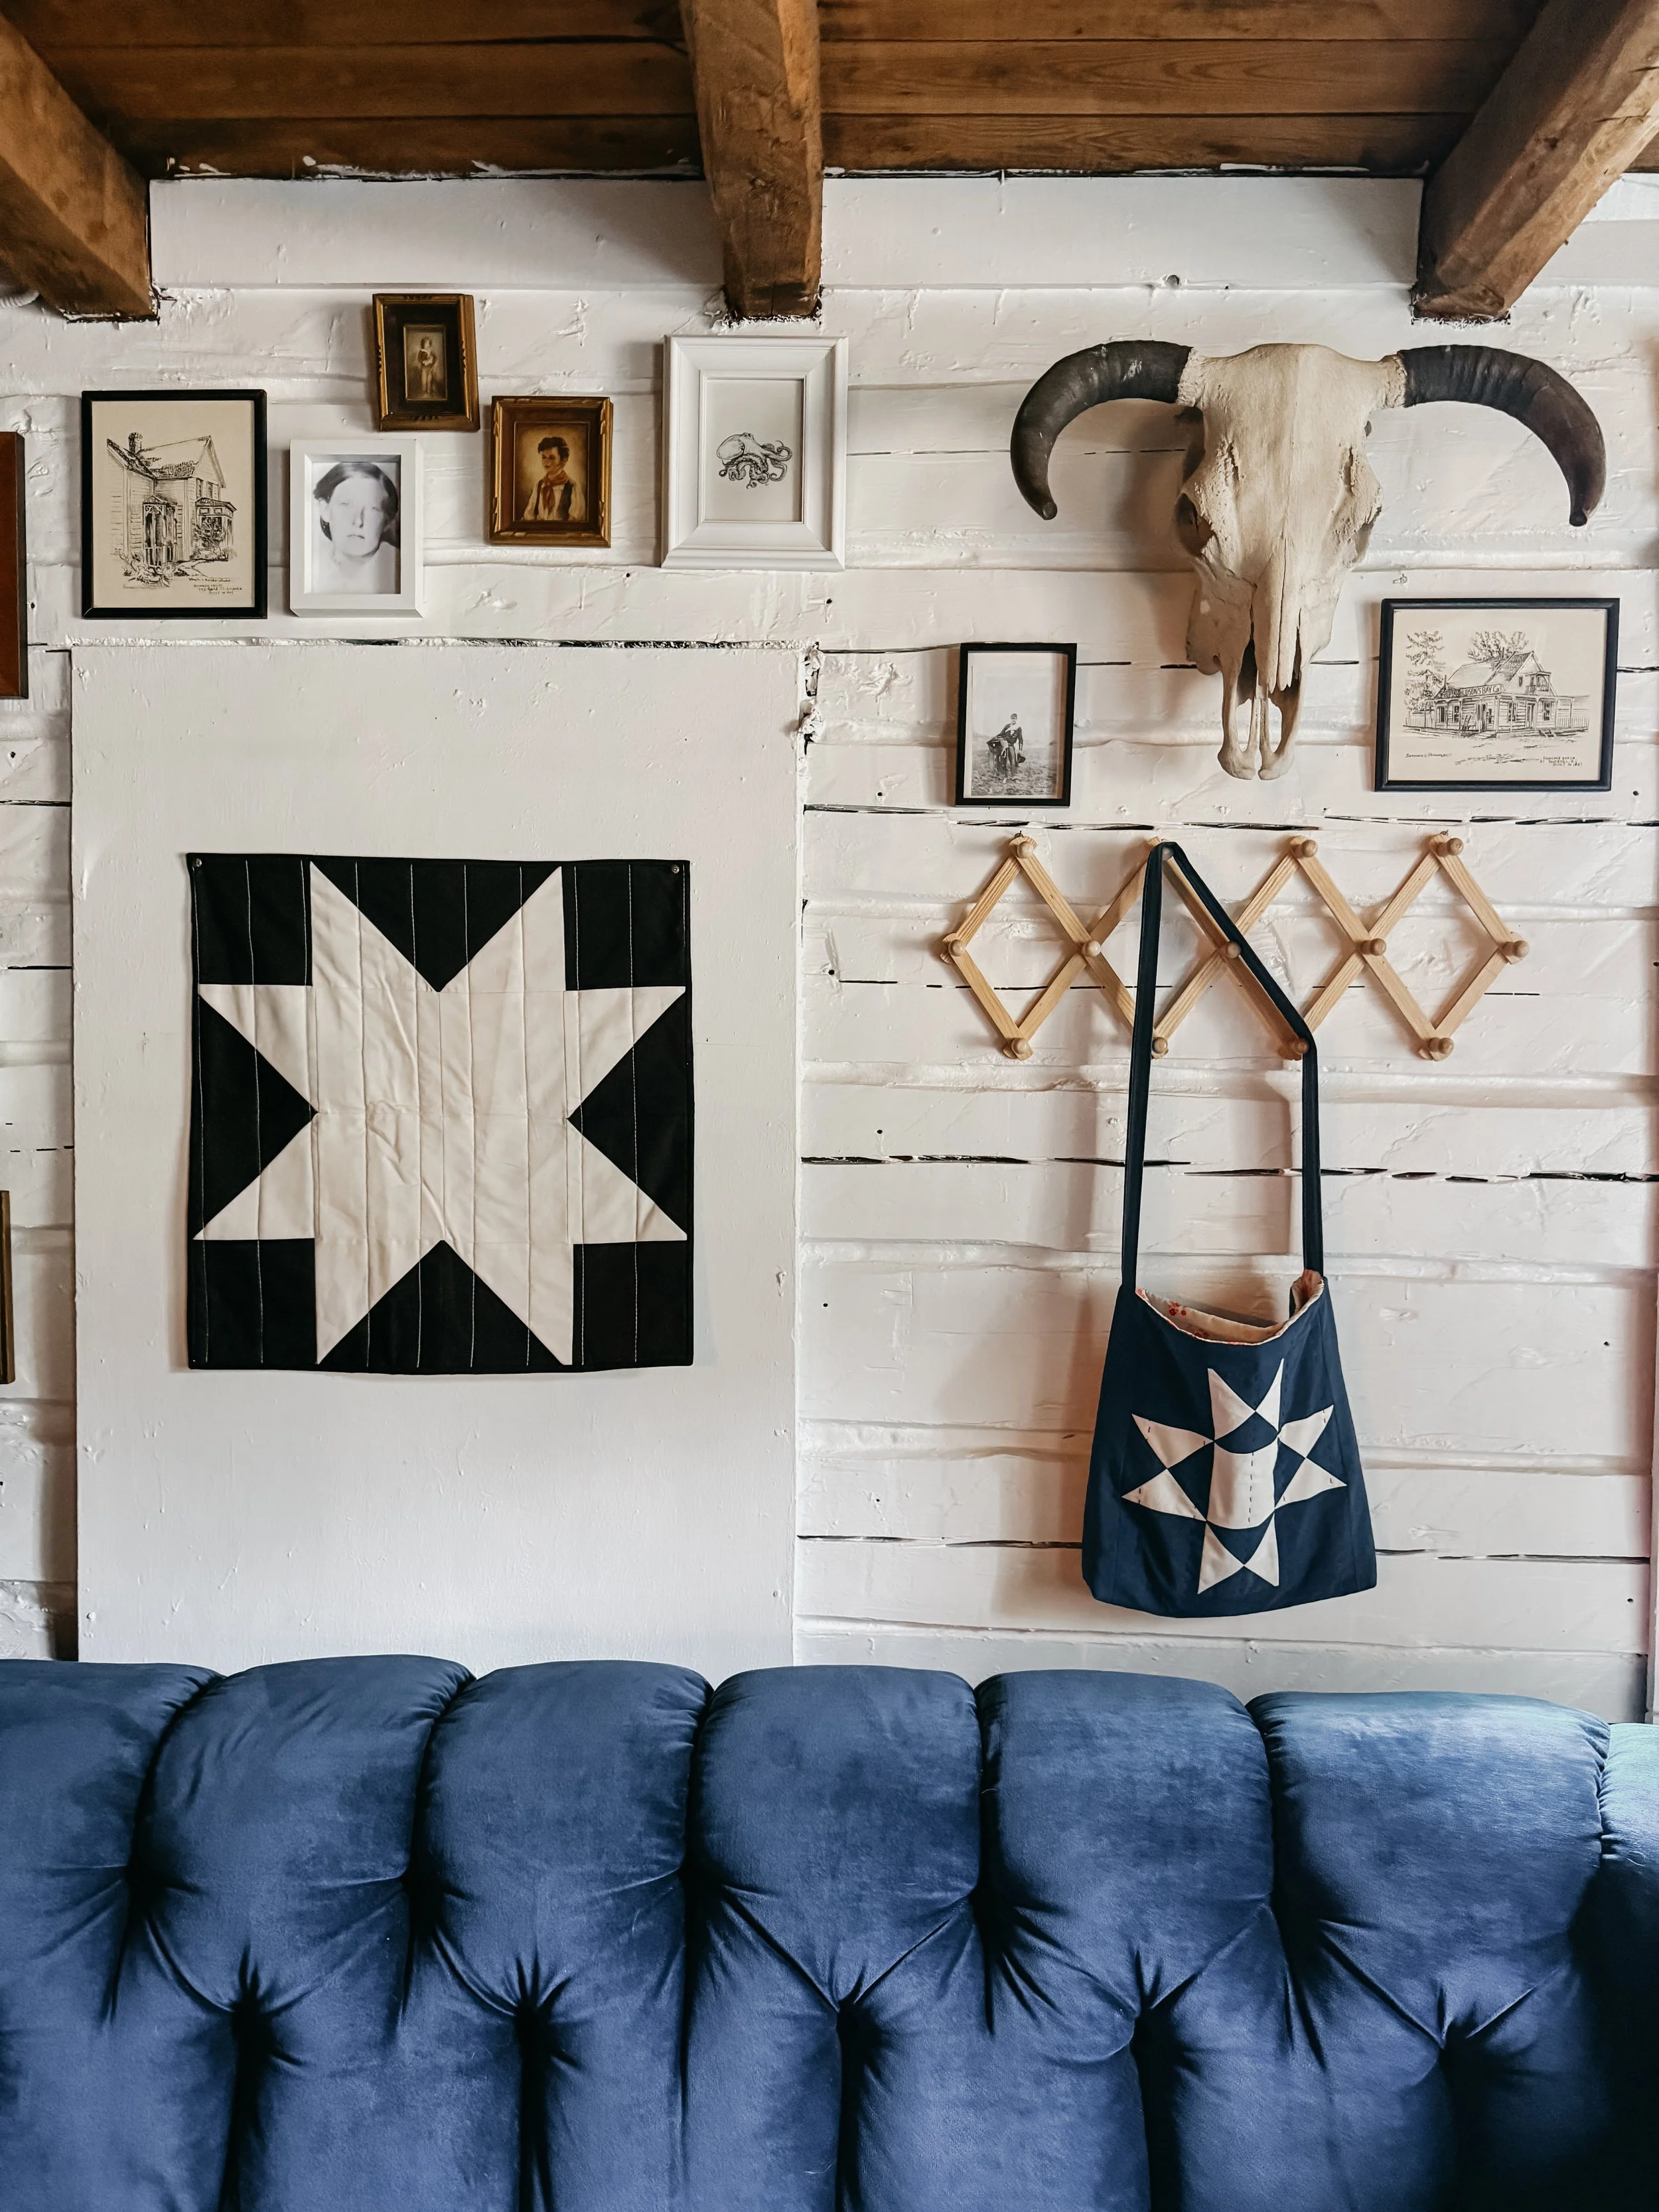
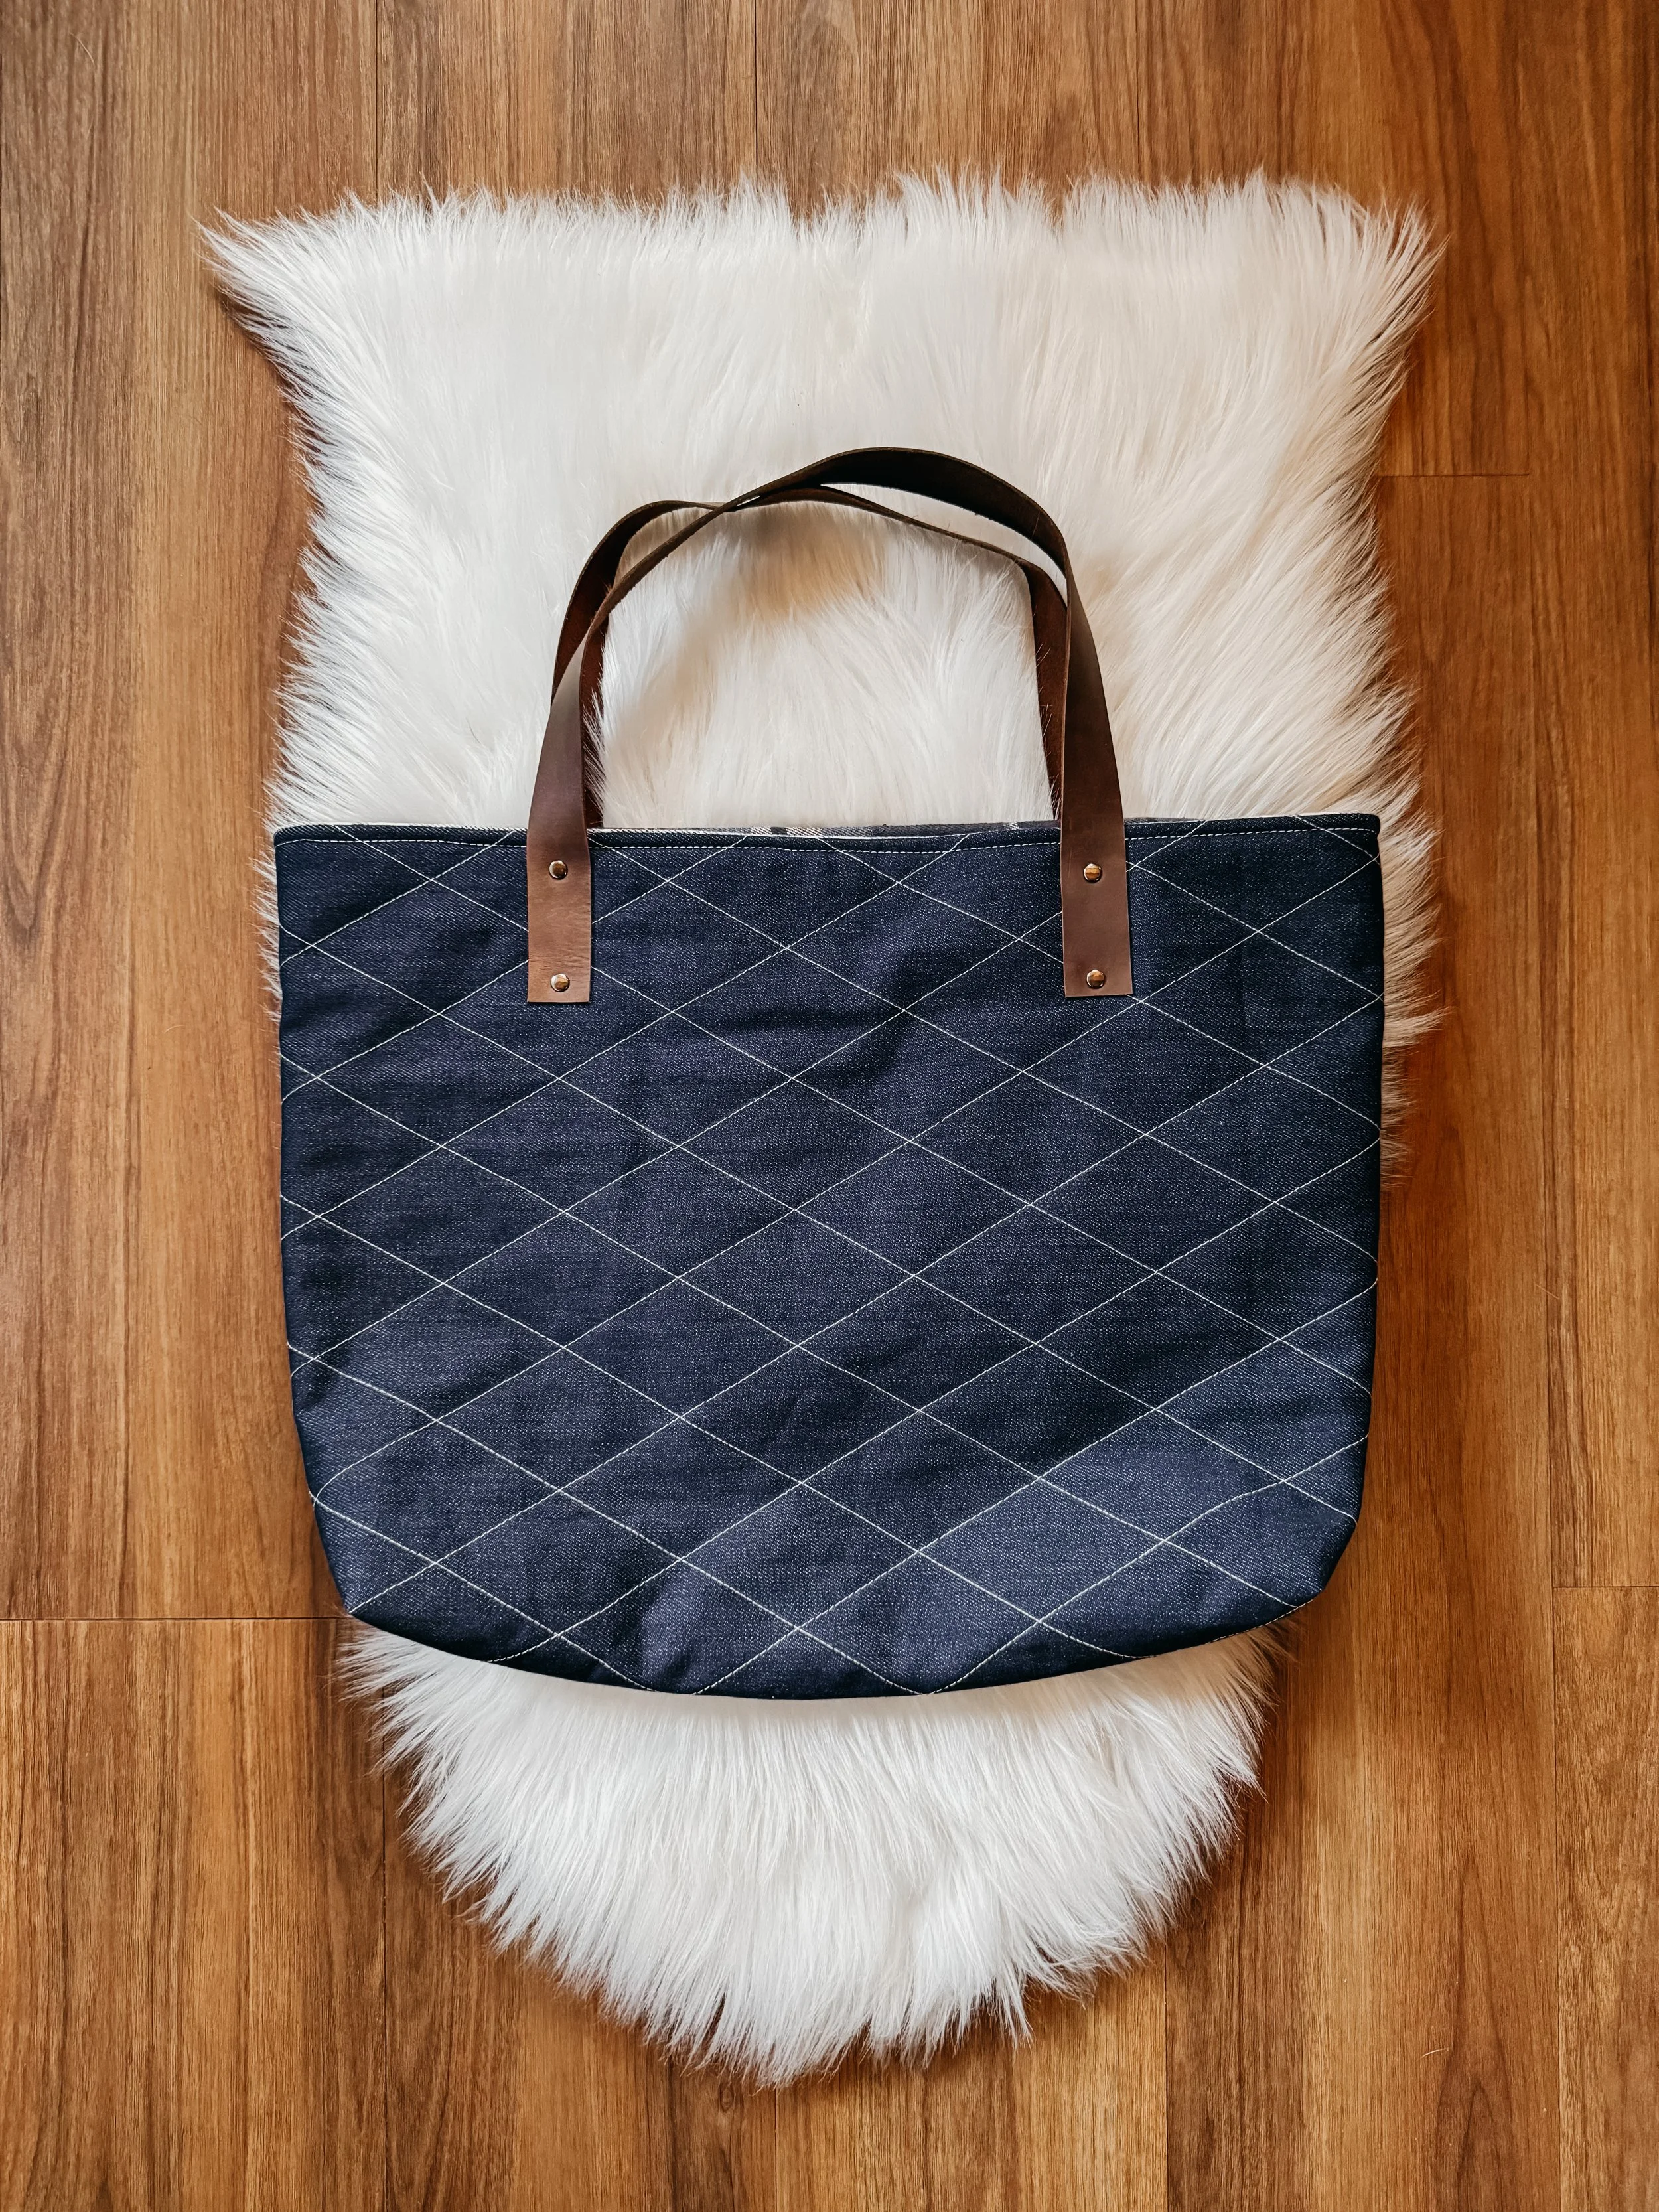
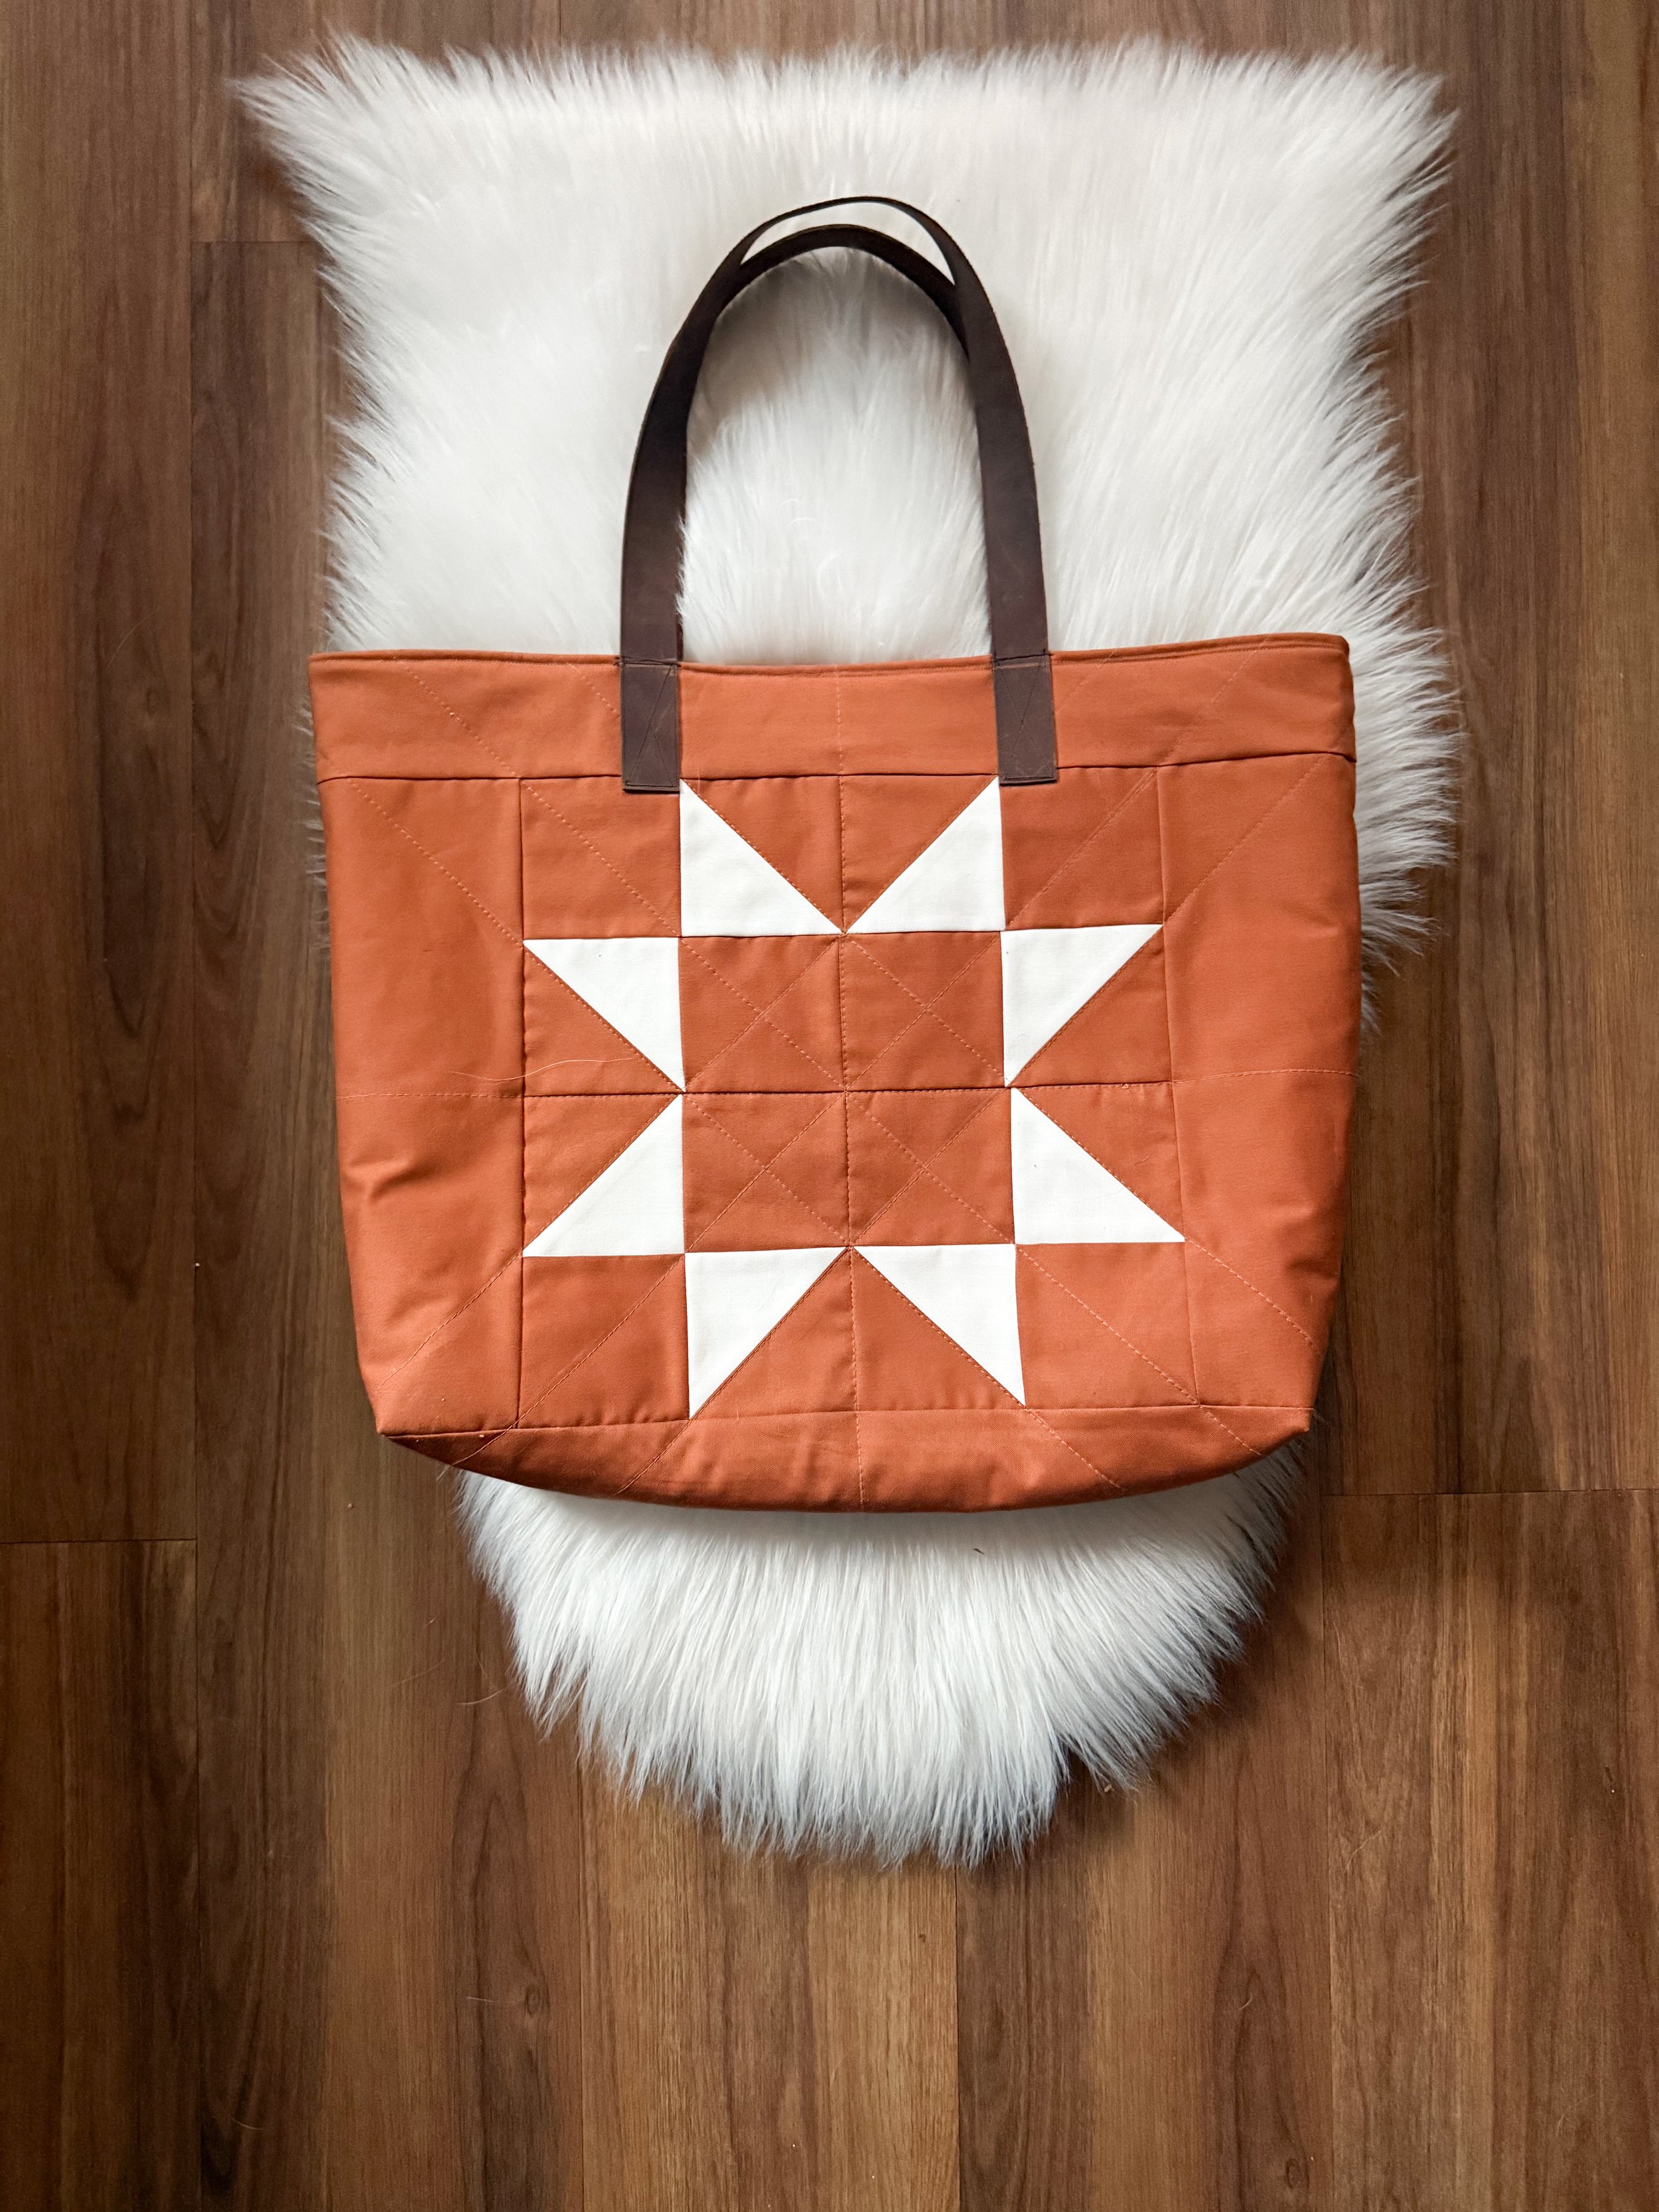
The Arrows bag (and the Leah Tote)
That love for arrows spilled into a bag design too. I drafted a tote with the Arrowhead motif wrapping around the bag, a leather bottom, and leather straps. It’s not published yet (big bag patterns take a lot of brain power!), but I adore how it turned out.
Right now, it mostly hangs on my quilt rack so I can admire the indigo and stitching every time I walk past. One day I’ll sit down, put on a pot of coffee, and finish the pattern-writing part.
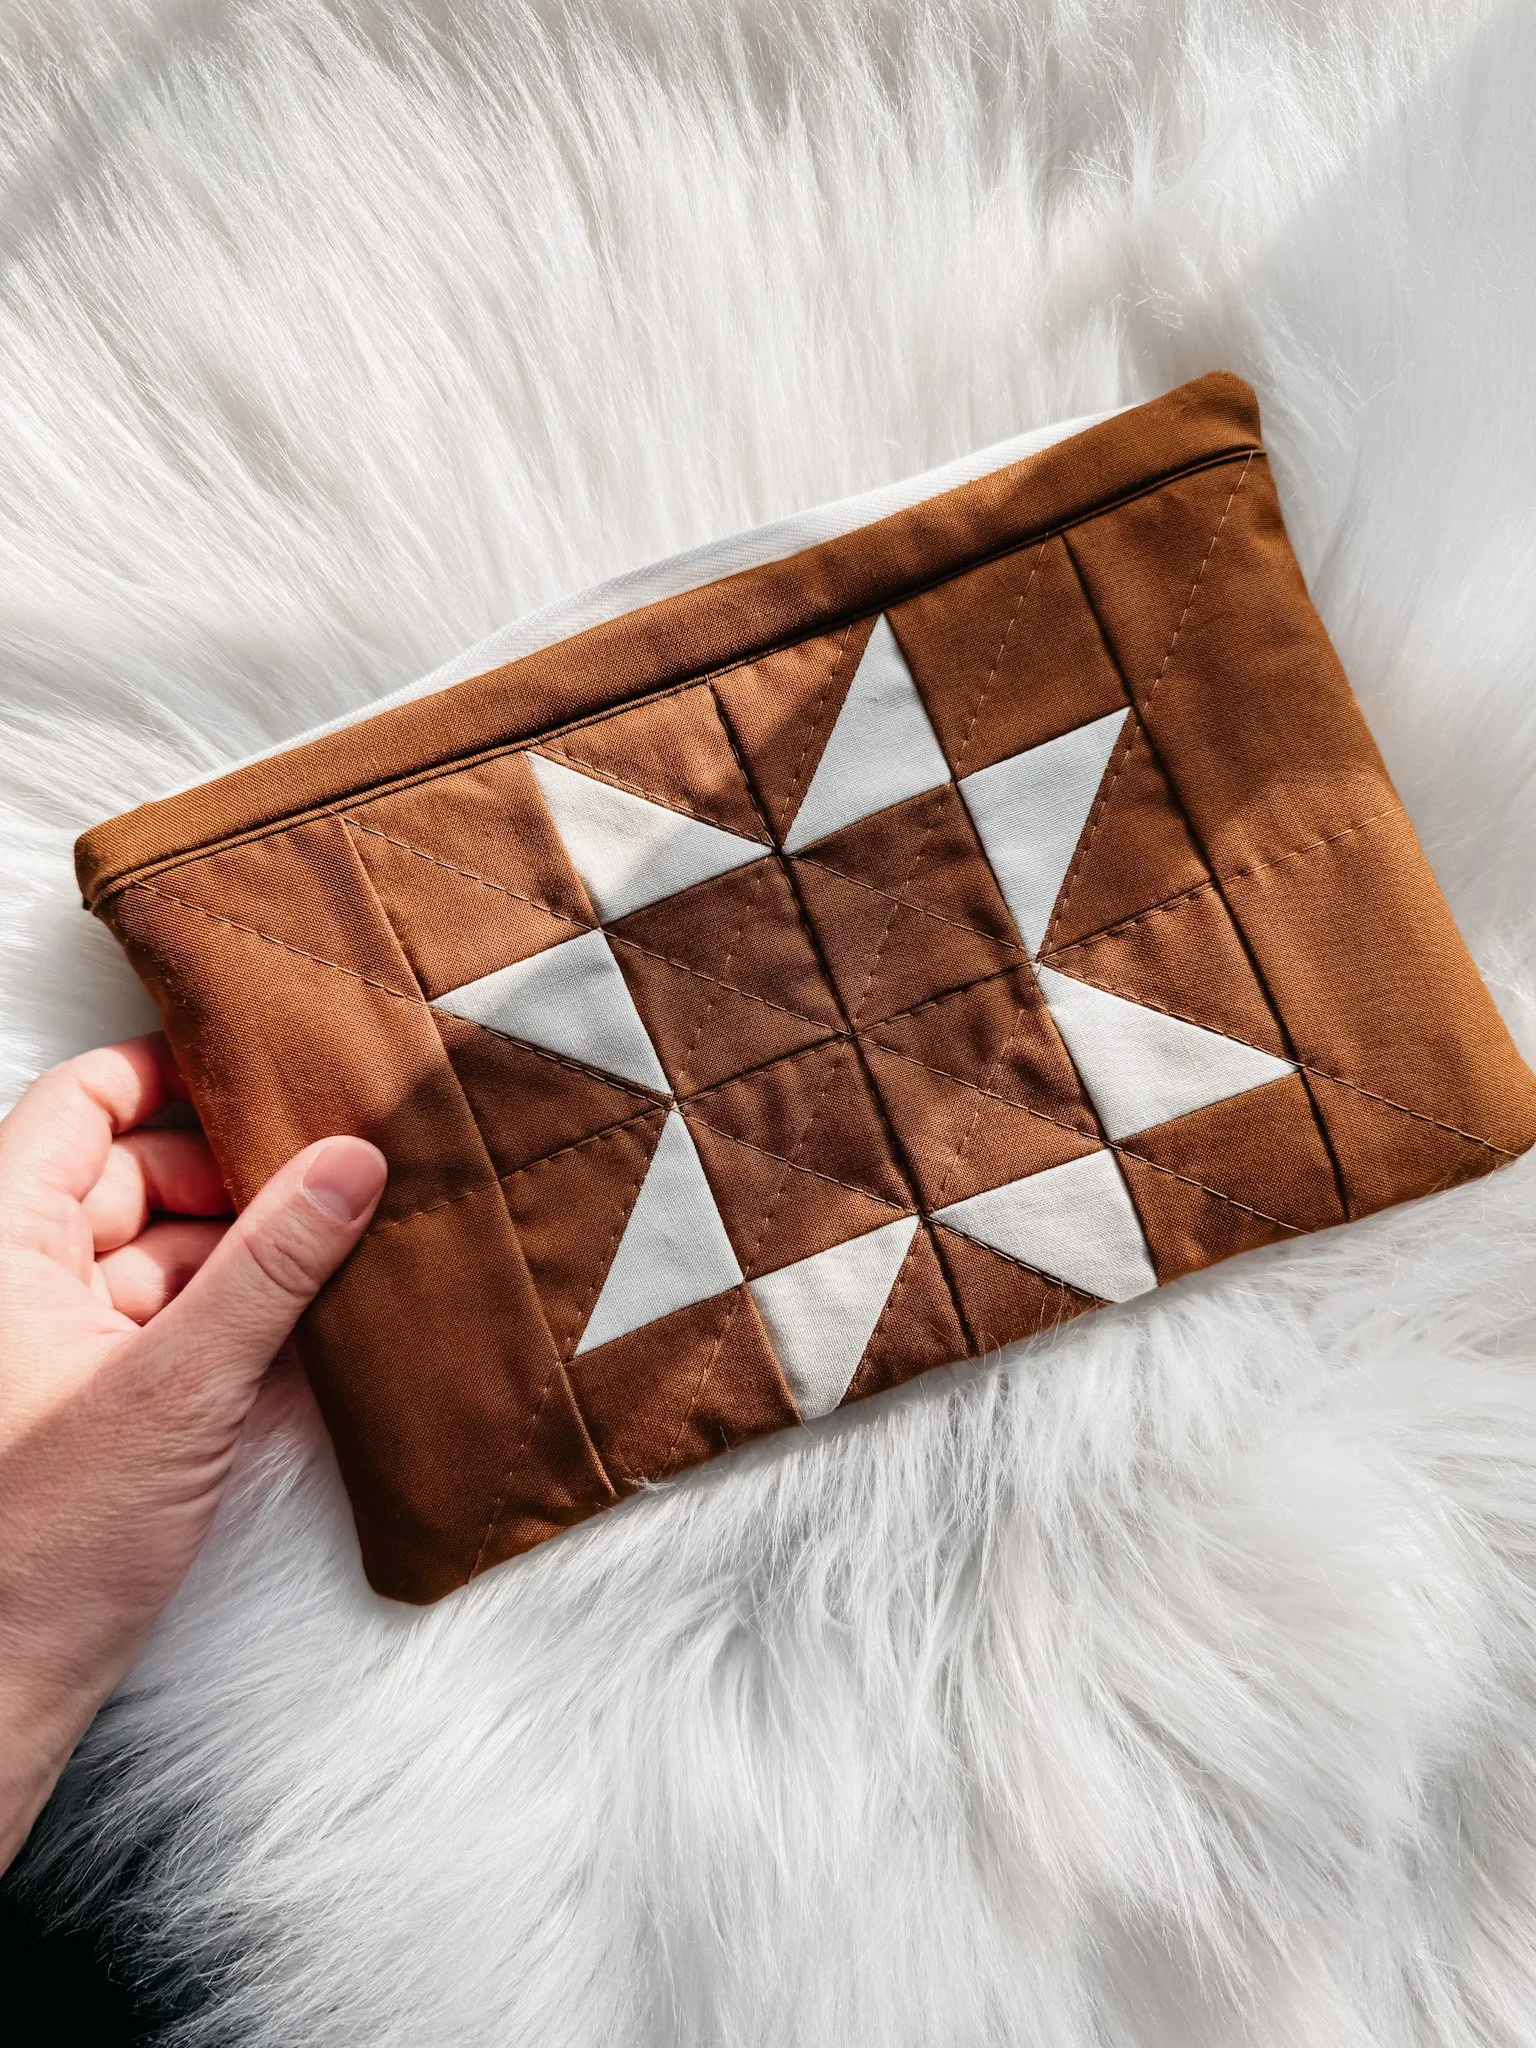
If you’re wanting a leather-bottom bag pattern now, the Leah Tote is available in the shop. It’s another favourite—simple, sturdy, and very “everyday cabin life.”


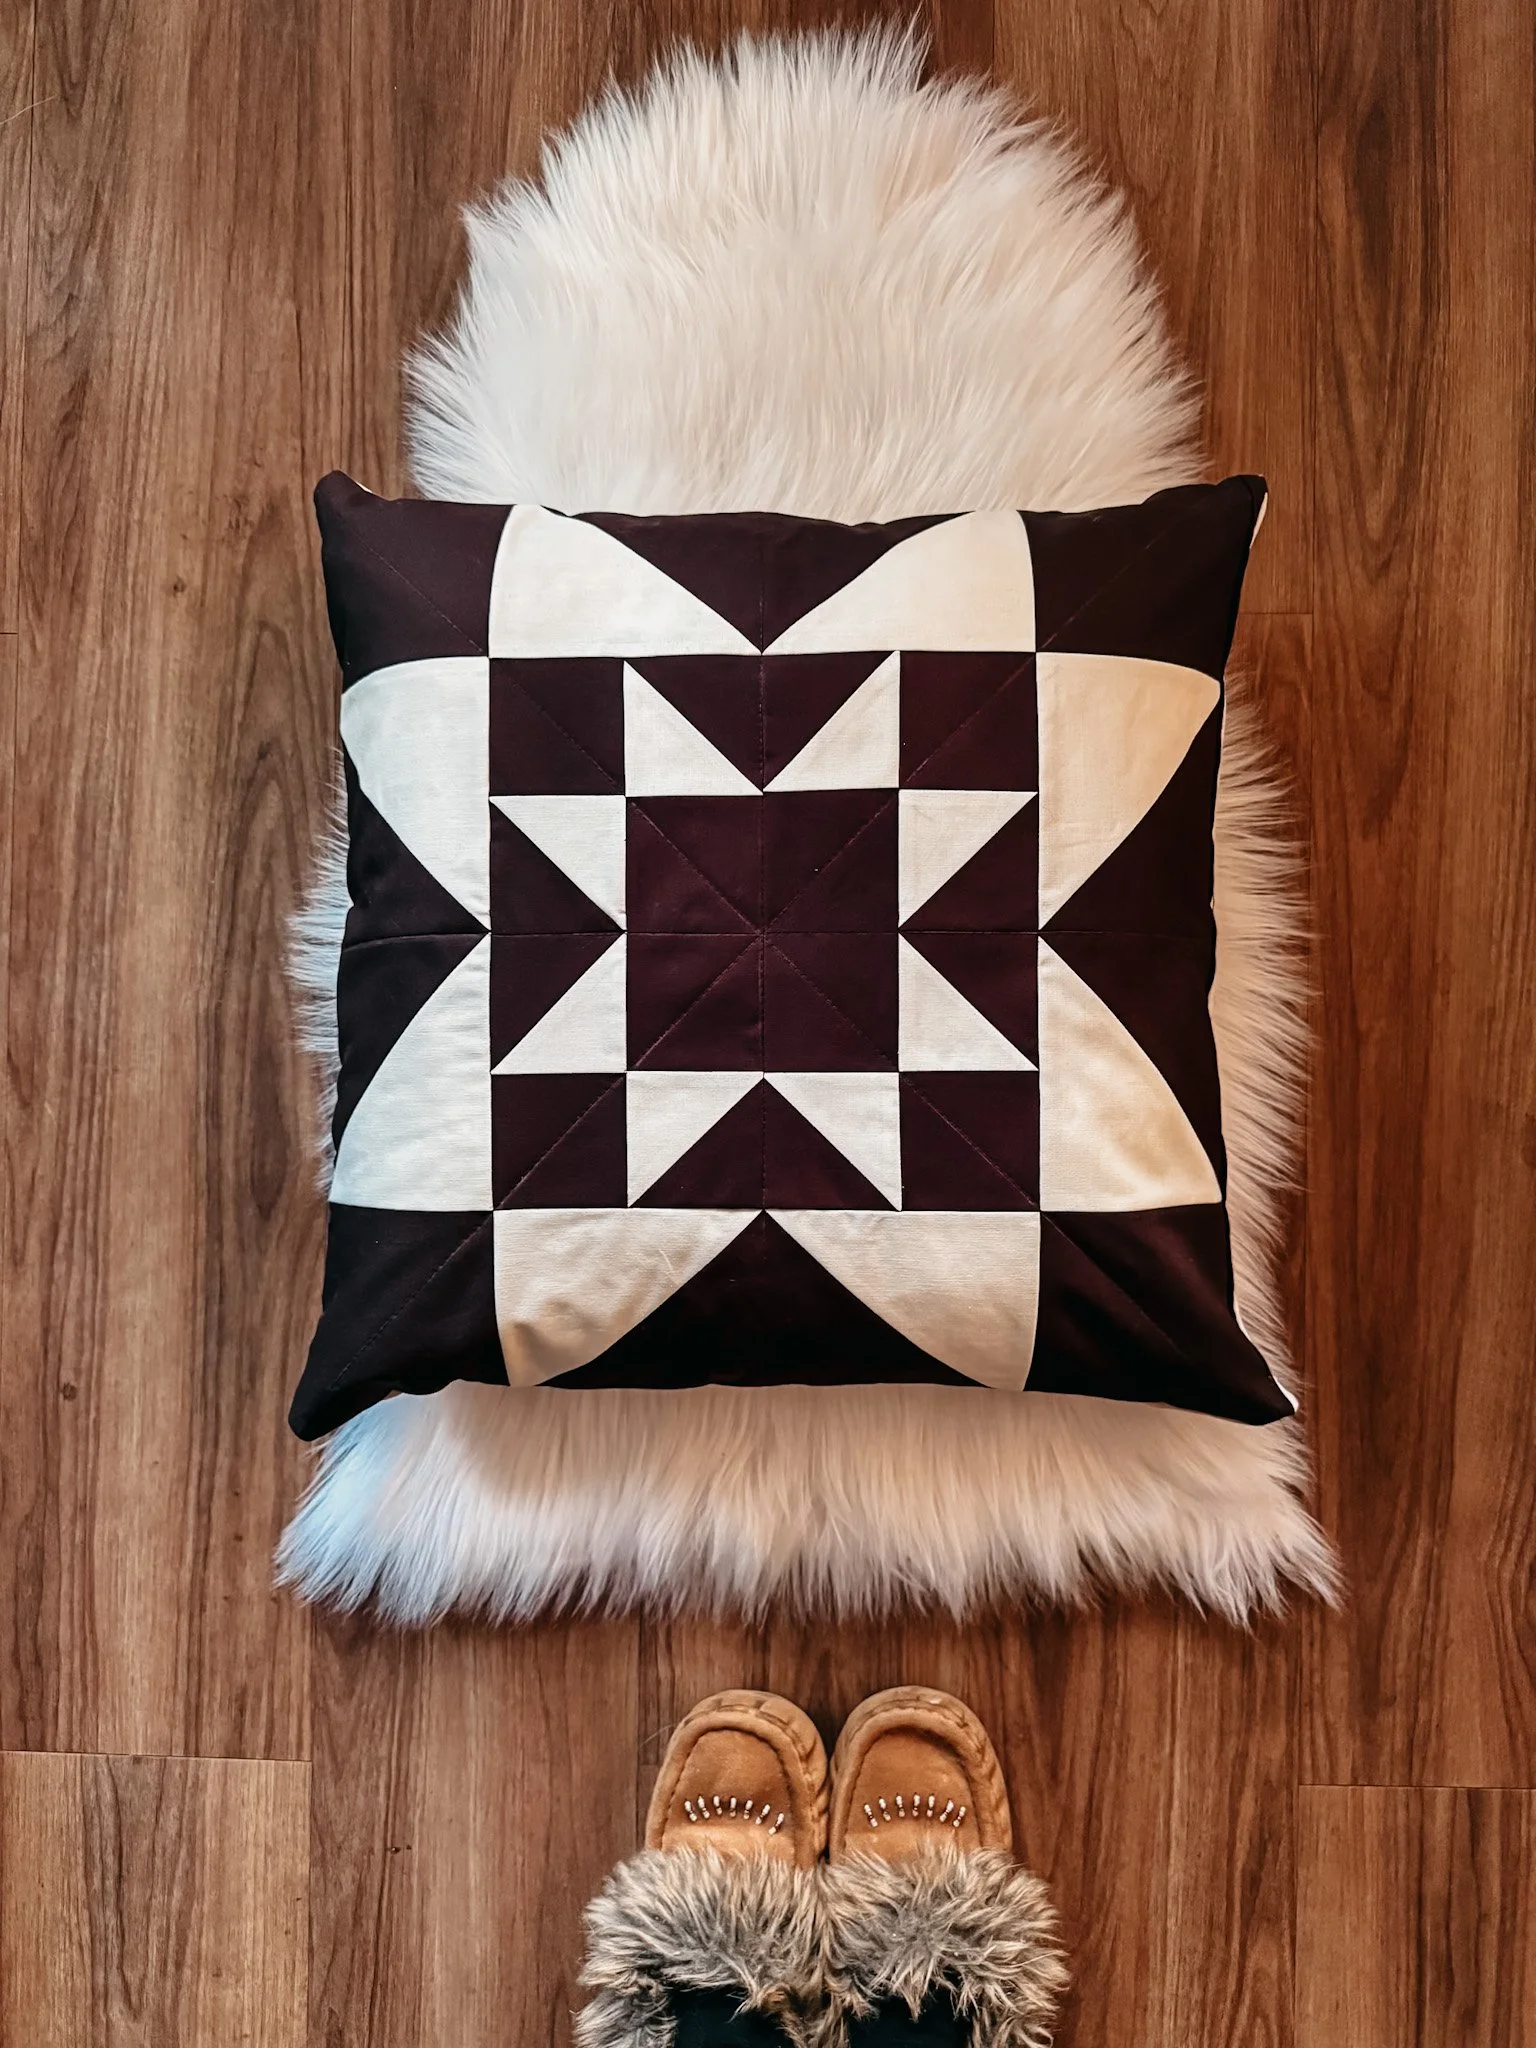
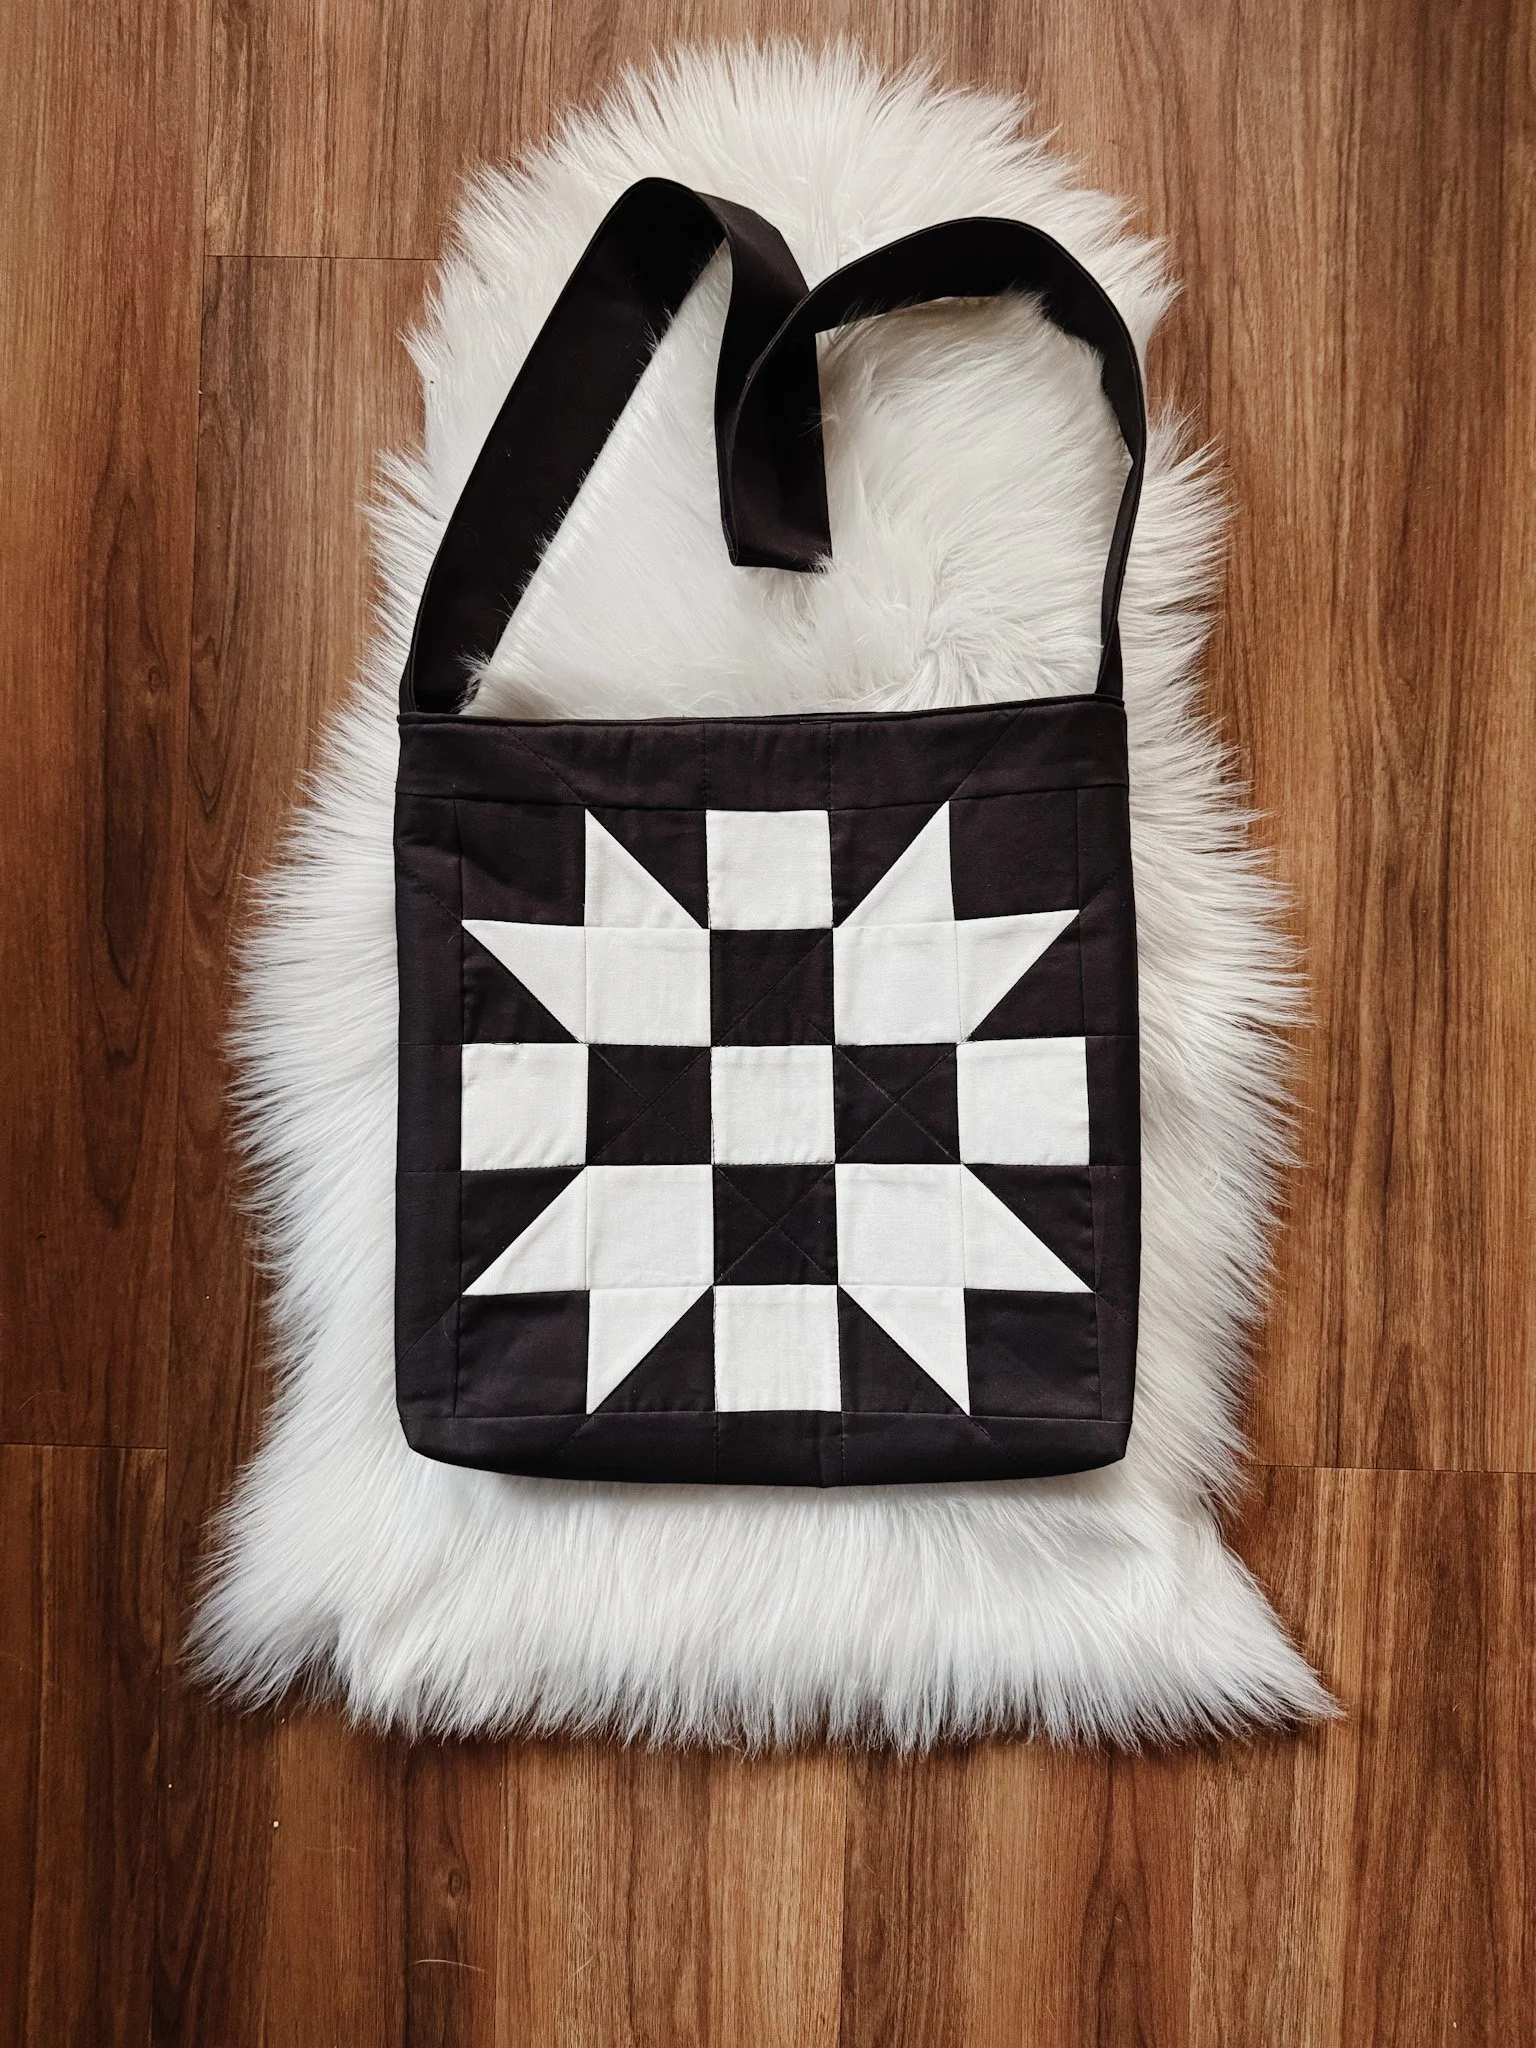
The beginner quilt workshop baby quilt
I also shared the baby quilt from my Quilter’s Workshop—my beginner-friendly online class designed to walk you through making a quilt from start to finish.
The quilt is built around the Ohio Star block (one of my absolute favourites) and uses:
Half-square triangles (HSTs)
Quarter-square triangles (QSTs)
Straightforward piecing and layout
Inside the workshop, I show:
Exactly how to cut your fabric
How to make HSTs and QSTs
Assembling the top
Basting the quilt
Quilting (with simple, approachable quilting lines)
Binding and finishing
It’s all filmed with beginners and confident beginners in mind, but even if you’ve made quilts before and want a refresher, it’s a lovely, hand-holding walkthrough of the full process.
The pattern for this quilt is only available with the workshop to keep it special for students, but you can find all the details on my website if you’d like to join.
Quilt coat dreams, full bolts, and blue hands
To wrap up, I chatted a bit about future plans and fabric:
I’ve ordered a beautiful flannel from Fabricville to turn into a quilted chore coat for the farm—something cozy and rugged that can handle real-life chores.
I don’t usually pre-wash fabric for quilts (I don’t mind shrinkage or crinkle), but for garments like quilt coats, I always wash first so the fit doesn’t change later.
One strong suggestion from me: never pre-wash precuts like charm packs—ask me how I know.
On the indigo front, my current stash is officially used up. I won’t be dyeing more until spring or summer when I can set up vats outside again. Indigo is magical, but it’s also messy and gives off fumes, so it’s strictly an outdoor activity for me. If you’re curious about natural dyeing, I do share my indigo recipe and process on the blog, along with some tips and warnings so you don’t accidentally dye your whole house blue.
A special thank you to Brenda, who emailed me a recommendation for a more affordable full-bolt Kona supplier here in Canada. I’m a full-bolt kind of girl—it’s so nice to be able to cut whatever I need straight from the bolt, especially for background fabrics.
Come quilt with me
If you made it this far—thank you. Truly. It means a lot that you spend part of your day here in the cabin with me, even if it’s through a screen.
If you want to:
Watch this episode: find Quilts from the Cabin, Episode 2 on my YouTube channel @exshawquilts
Make something together: browse quilt patterns, totes, and pouches at exshawquilts.com
Learn big-stitch hand quilting: there’s a full blog post and video with my favourite tools and tips
Start quilting from scratch: check out The Quilt Workshop on my site
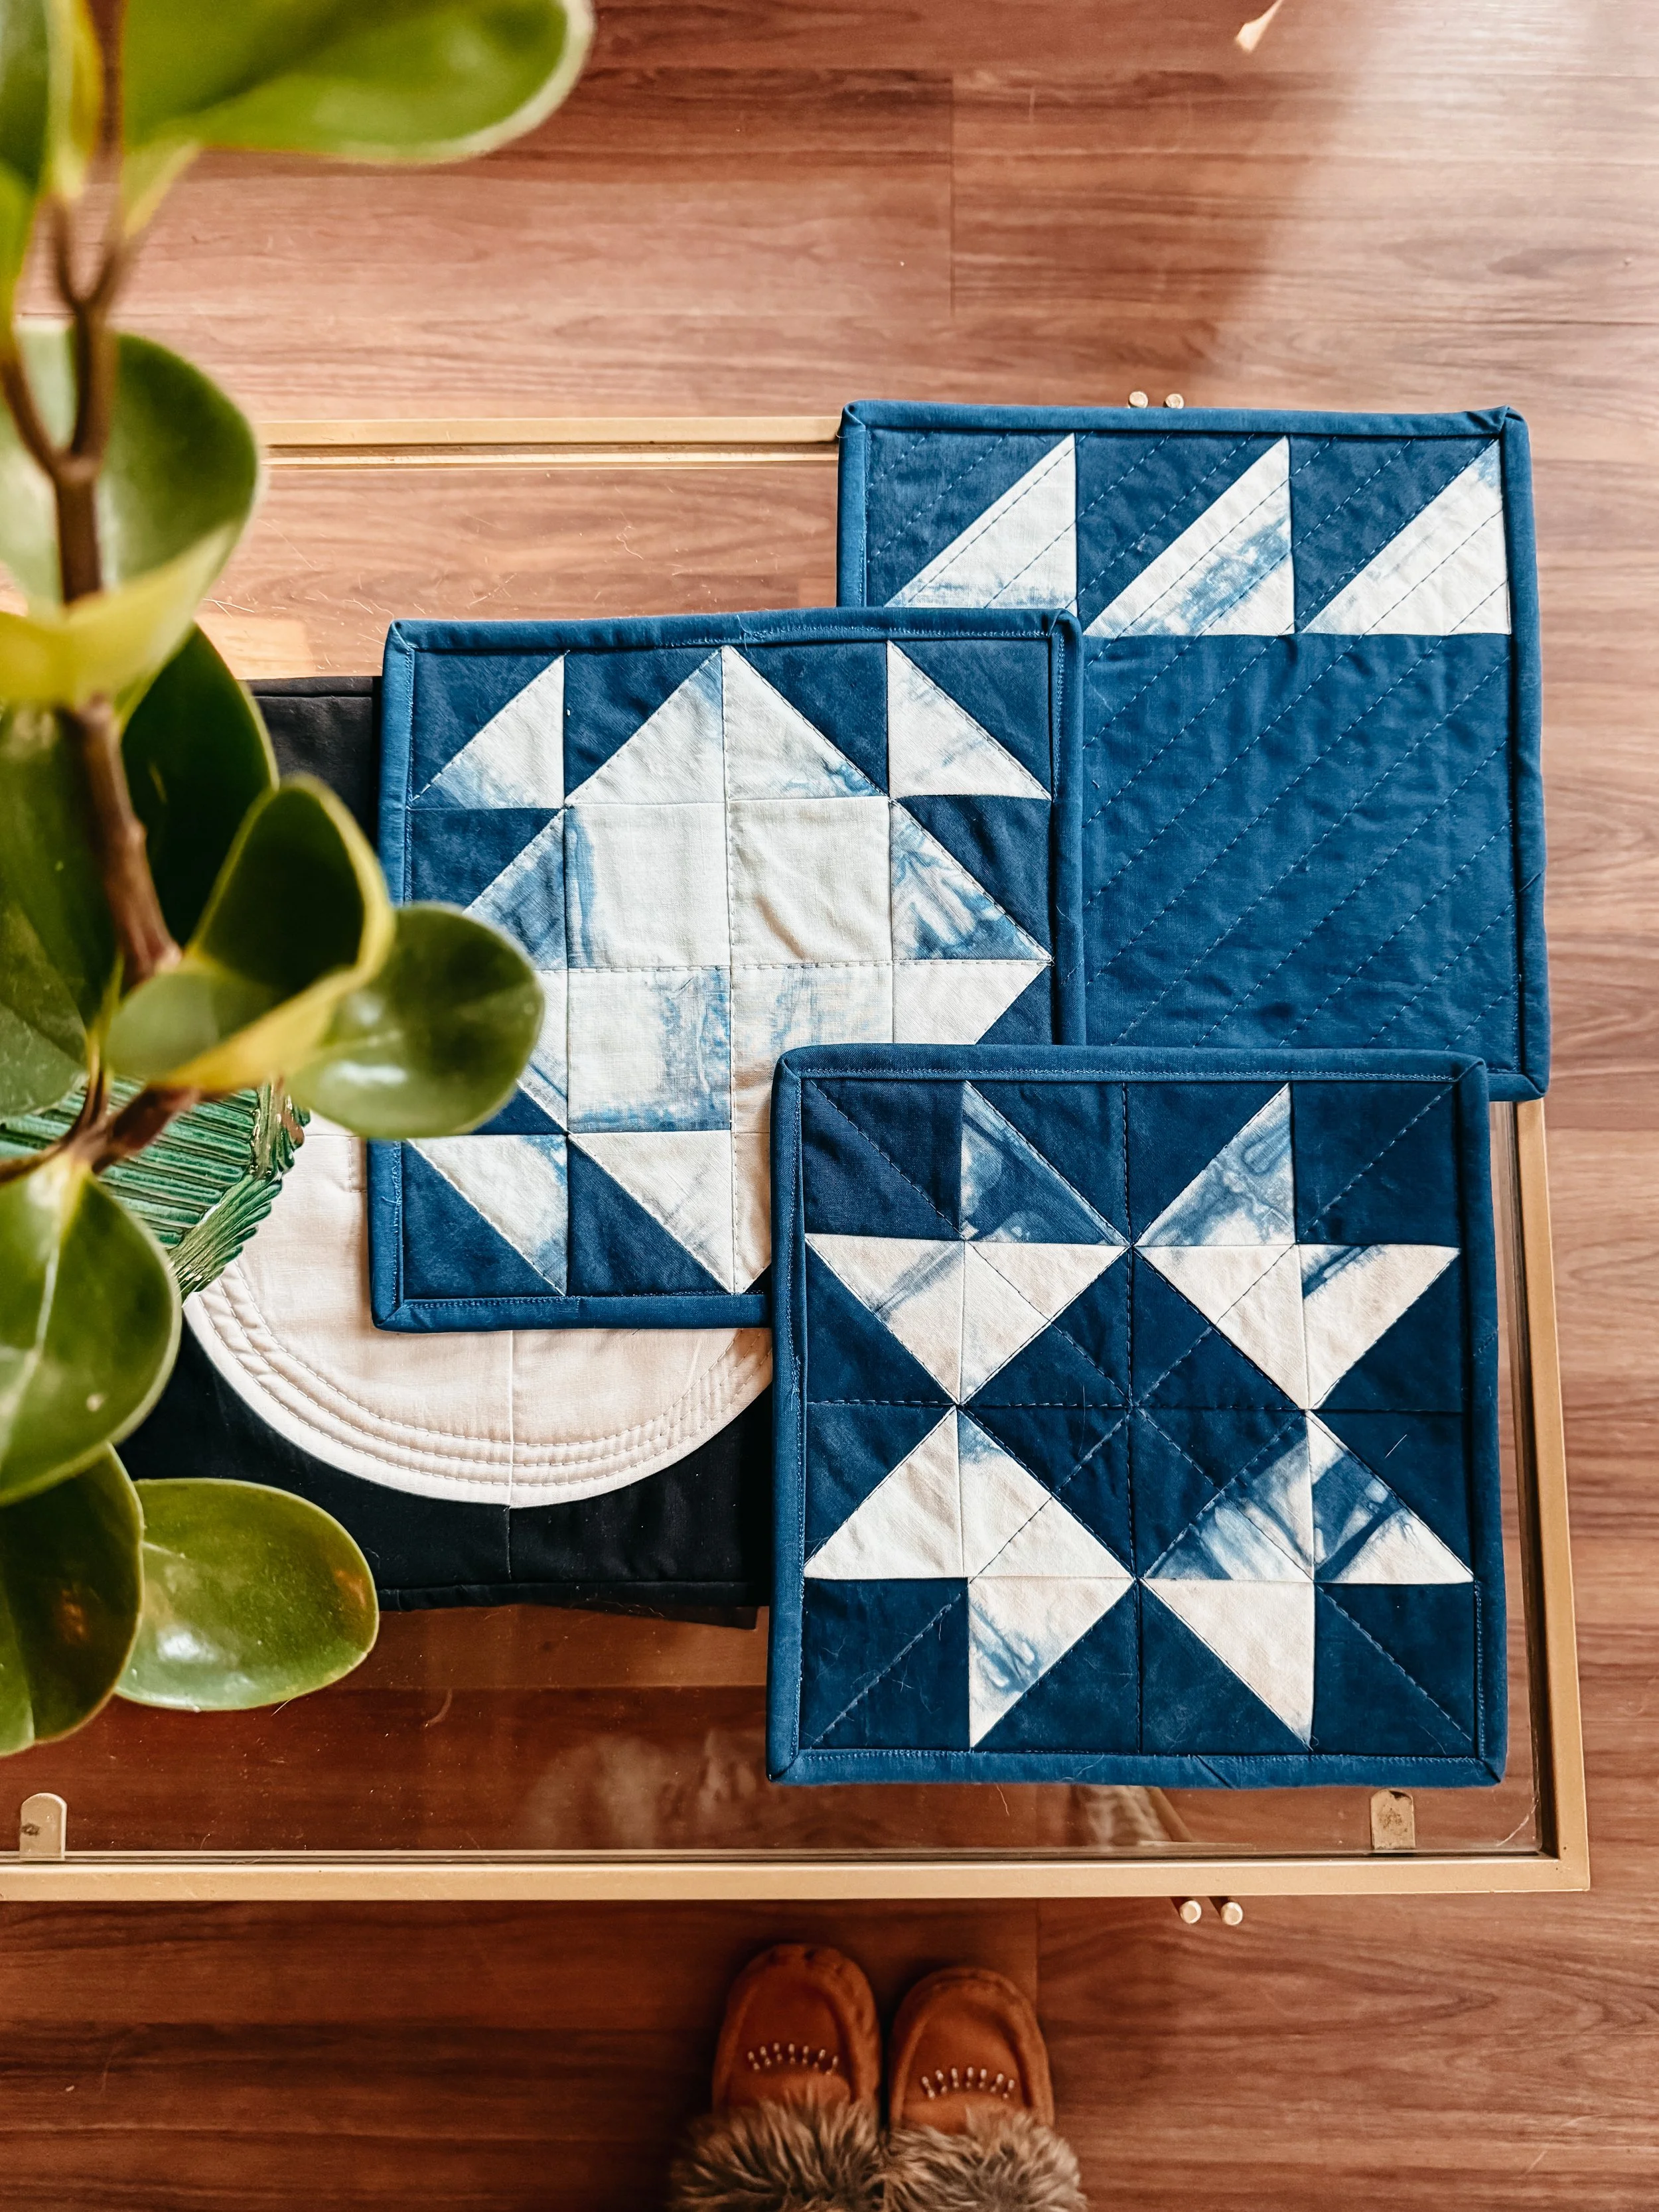
And if you’d like a free pattern, you can grab my quilted potholder design by joining my email list—I send occasional letters from the cabin with updates, tutorials, and behind-the-scenes peeks.
Tell me in the comments:Would you make a Hold Your Horses word quilt?
Cowboy boot ornaments or western stockings—yes or no?
Do you pre-wash your fabric or team “straight off the bolt”?
Thanks again for being here. Your dream quilt life isn’t as far off as it feels, and I’m really glad we get to walk (and stitch) a little of the road together.

Welcome to the blog—I'm so glad you're here.
I'm Kim, quilting and dyeing from an old cabin in the woods. This is where I share beginner-friendly tutorials, slow craft tips, and stories from a life stitched by hand. I hope you find something here that feels like home.