How to Stencil Quilting Cotton: Best Paints to Use + What I Would Avoid

Learn how to stencil and hand stamp quilting cotton, which paints work best, what to avoid, and how to heat set your fabric before using it in quilted projects.
There is something so special about adding your own handmade print to quilting cotton.
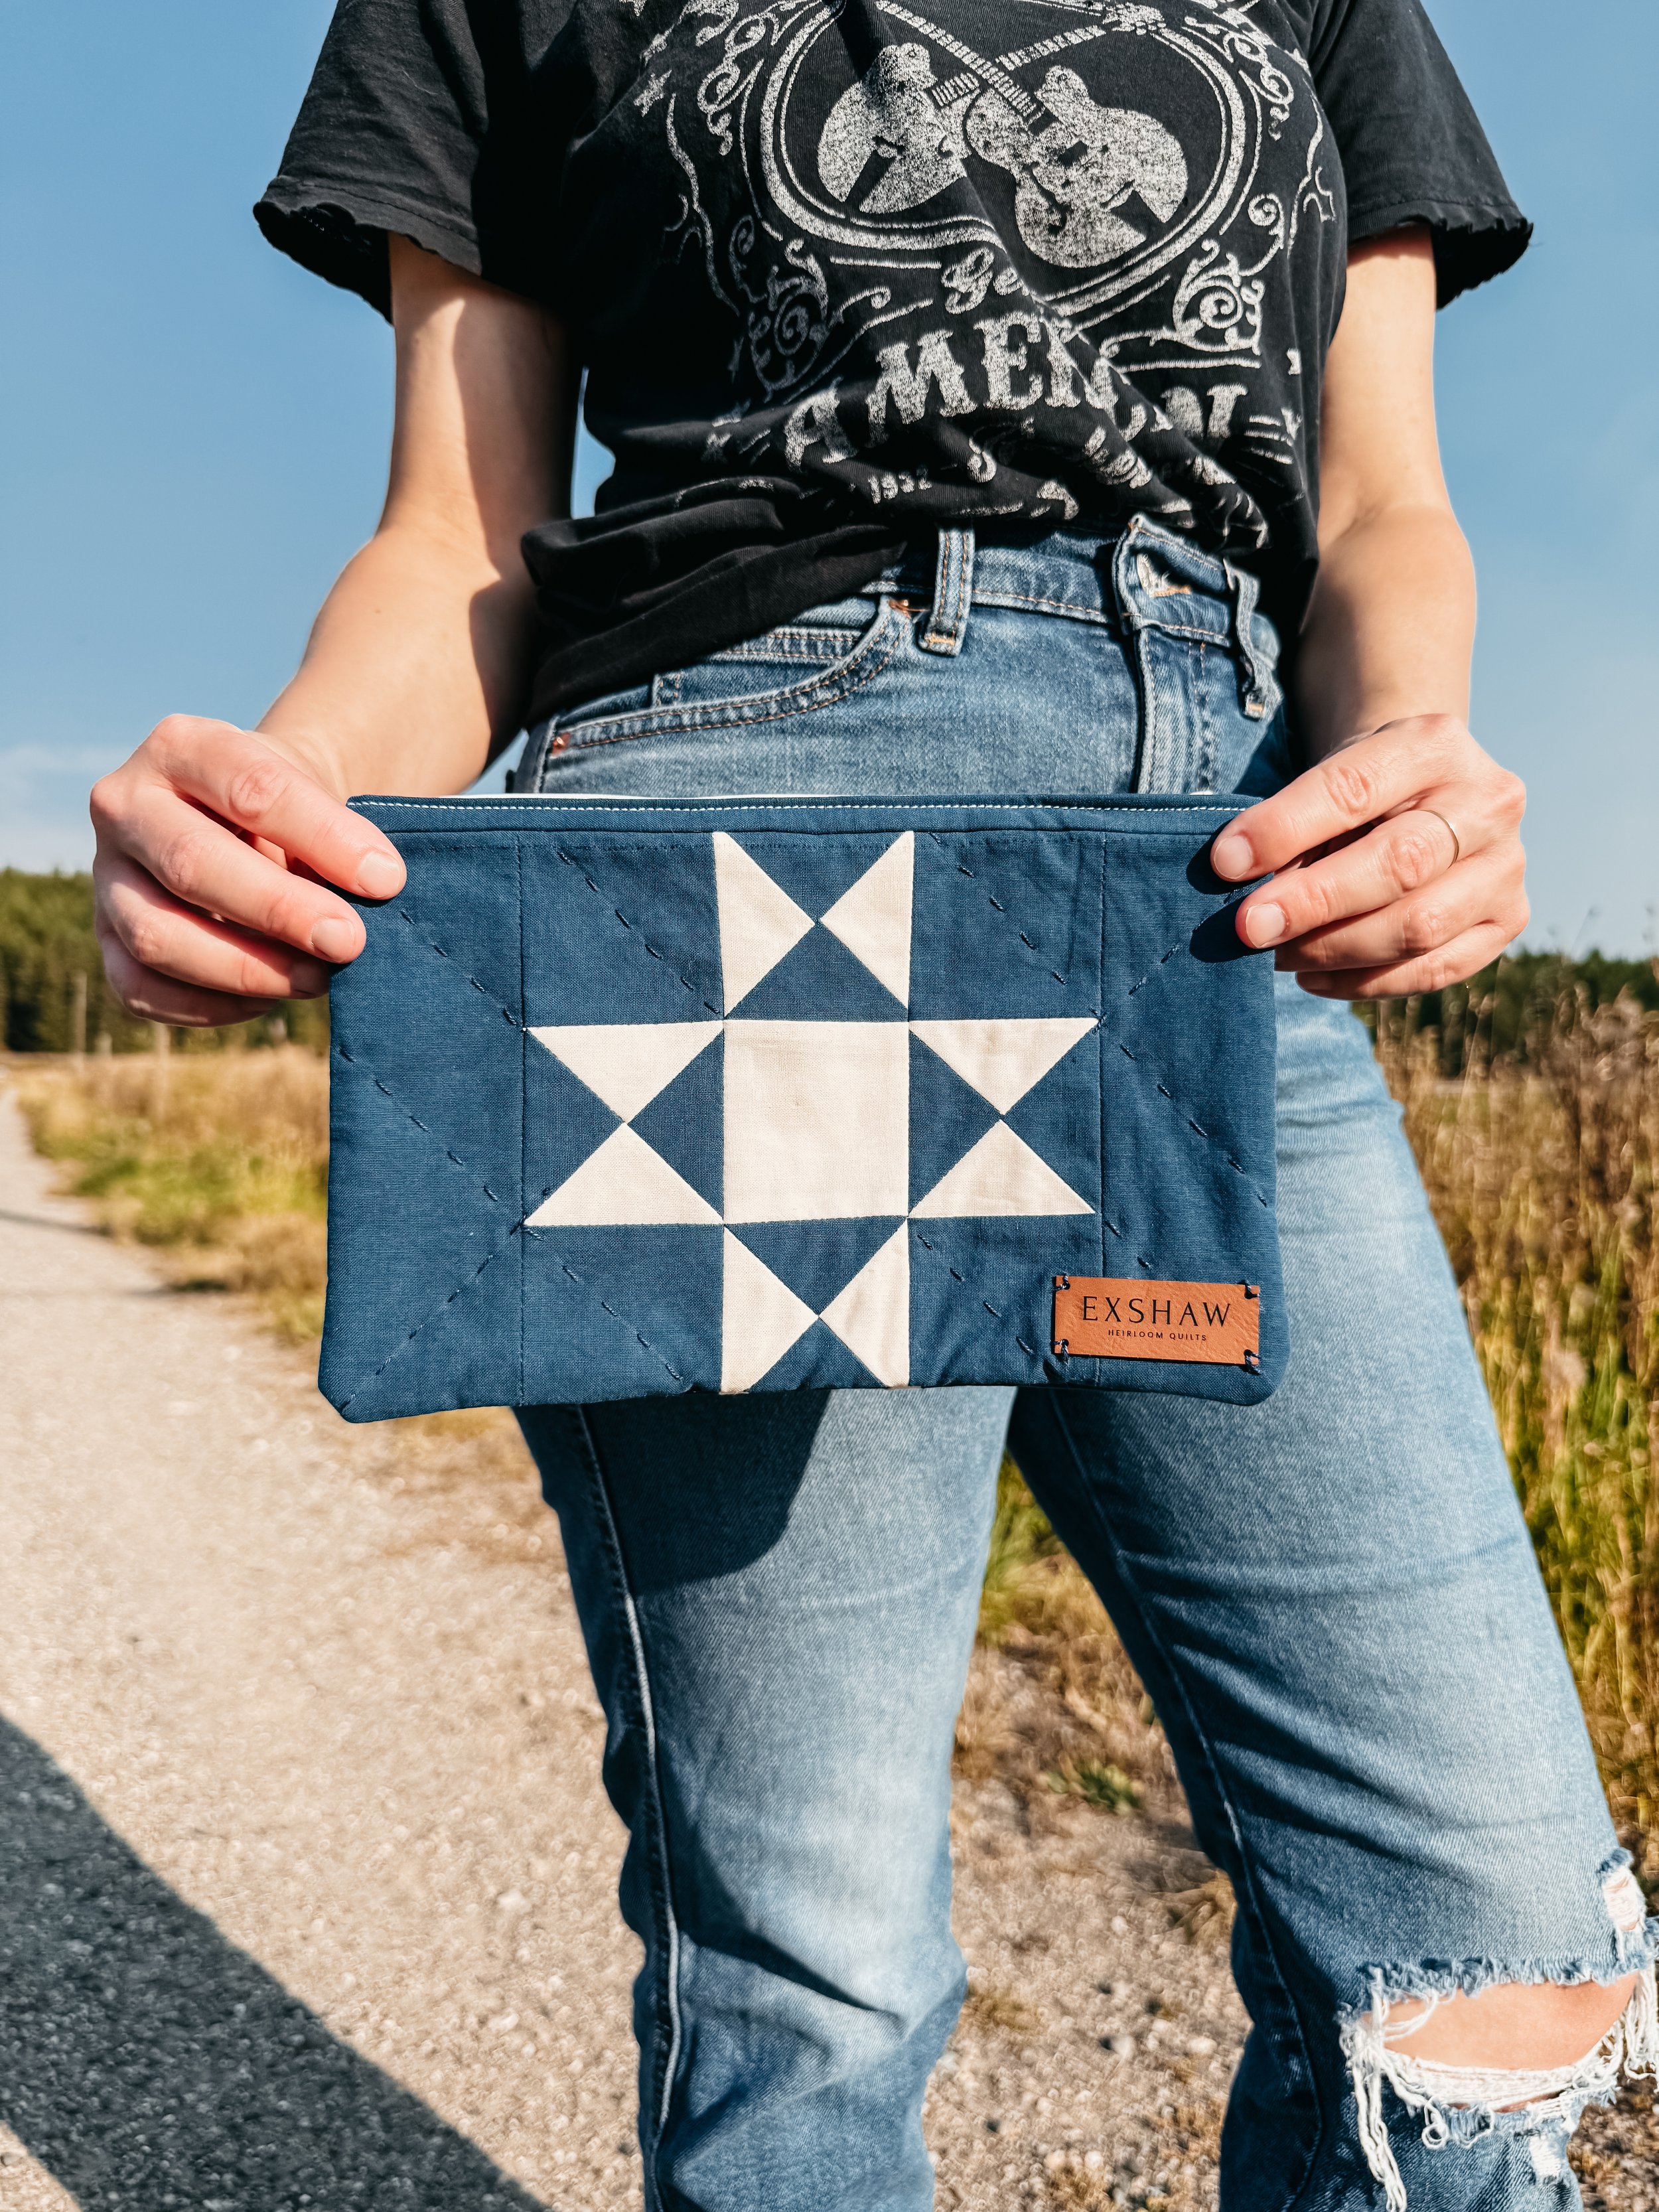
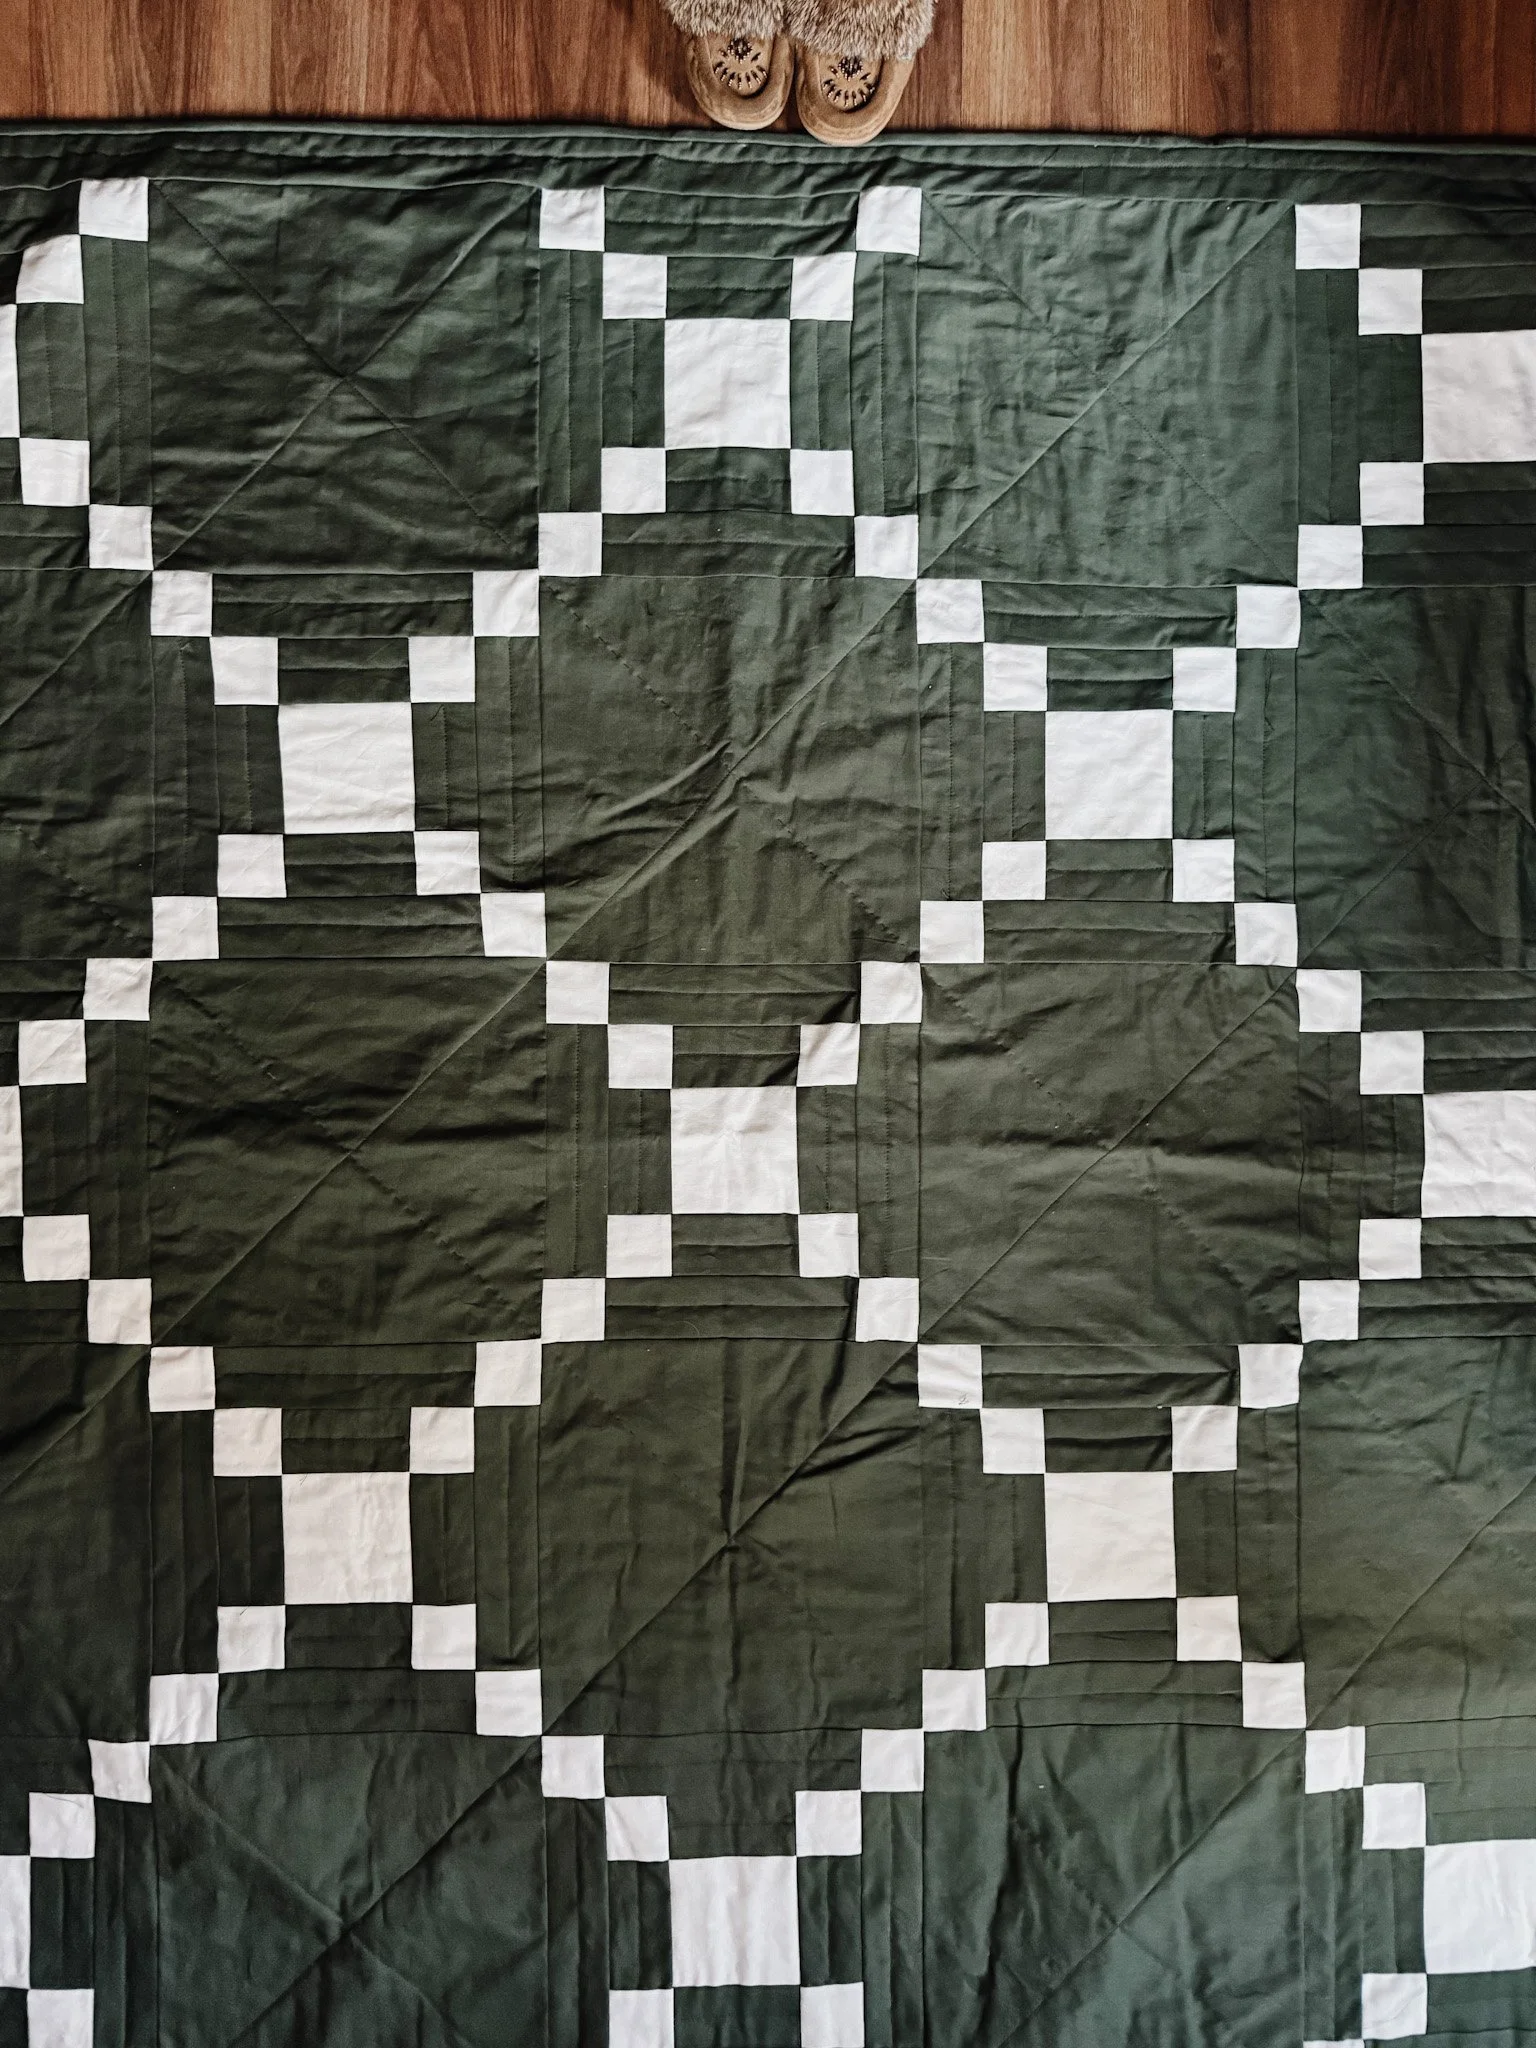
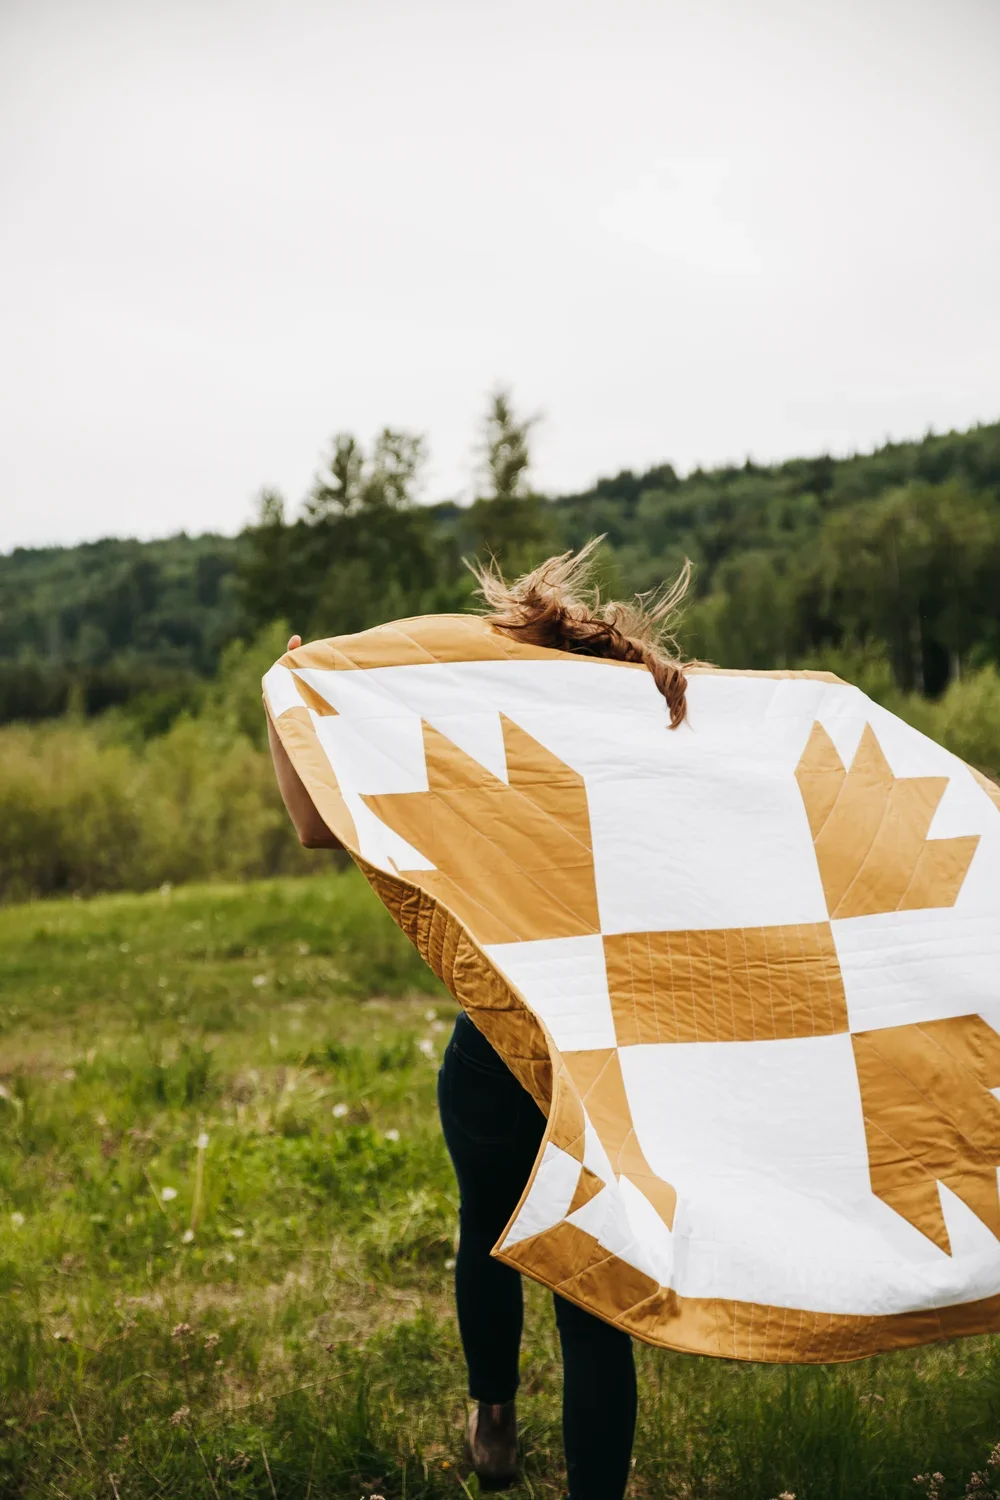
For my recent Gran’s Kitchen pattern collection, I wanted the fabric to feel warm, nostalgic, and a little bit like something you might find tucked away in an old kitchen cupboard. The collection was inspired by the comfort of my grandmother’s kitchen, her love of brown, and those simple handmade details that make a project feel personal.
So I started experimenting with hand stamping and hand stenciling quilting cotton.
I learned a lot through the process — including what worked beautifully, what I would use again, and what I absolutely would not buy for quilting cotton next time.
This post is meant to accompany my YouTube tutorial, where I walk through the process in more detail and show you the paints, stencils, stamps, and tools I used.
my fave quilting tools including the supplies i used in this video!Can You Stencil Quilting Cotton?
Yes, you can stencil quilting cotton.
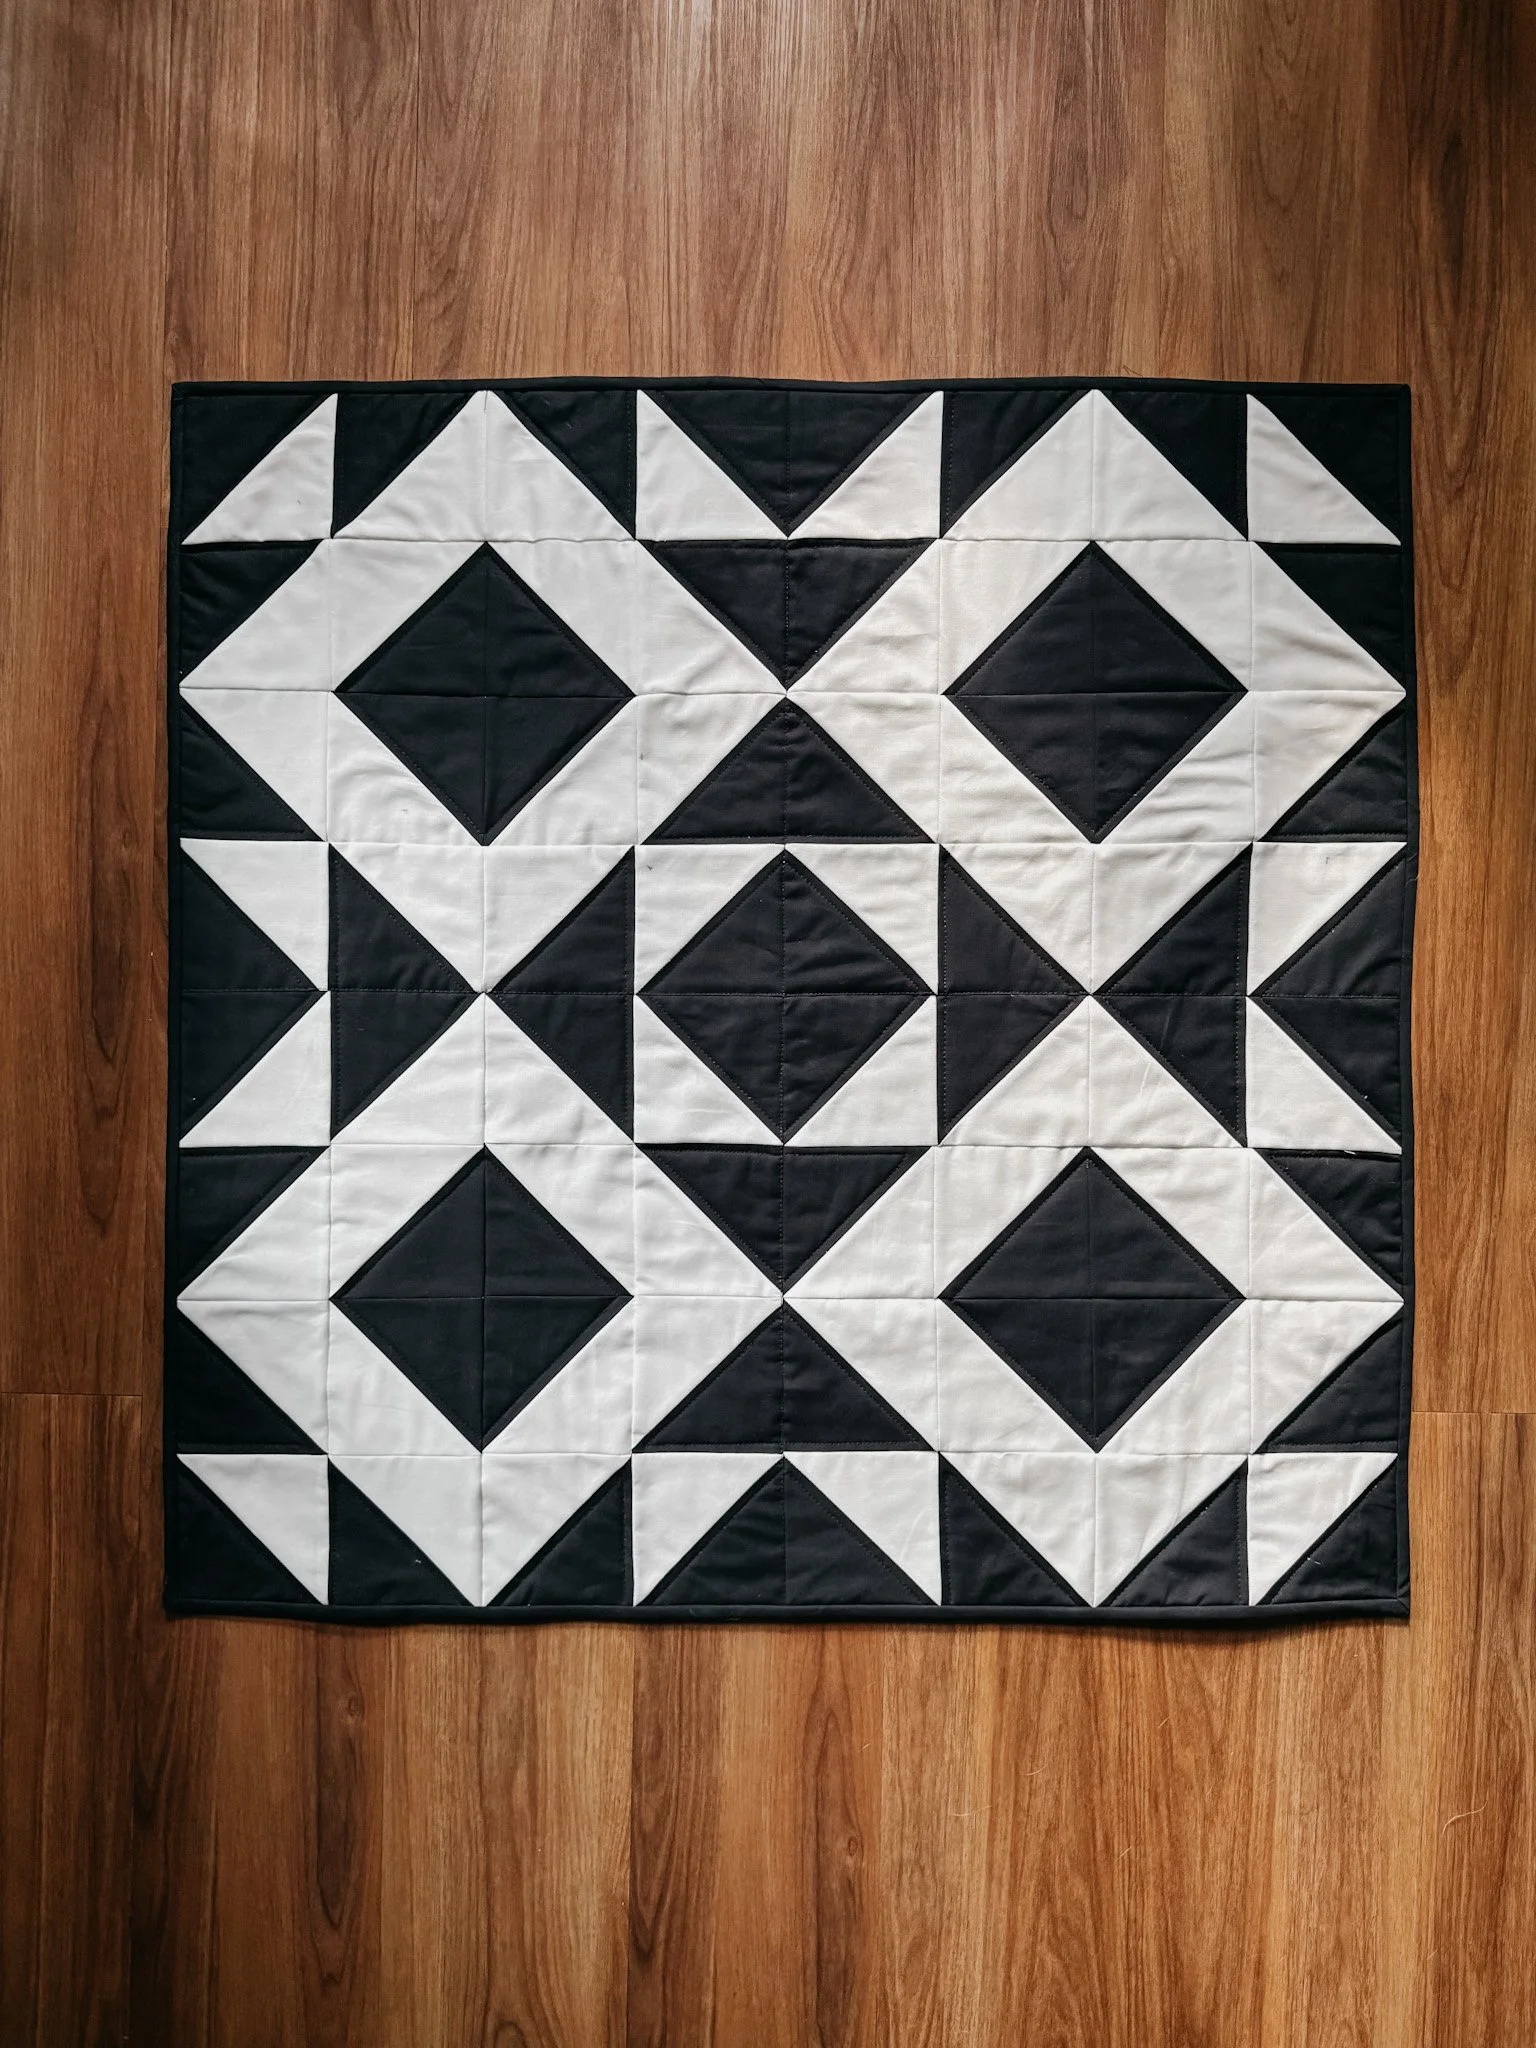
In fact, it is a really lovely way to add your own print to solid fabric, especially if you like using solids in quilts but want a little more visual interest.
Stenciling and stamping fabric can work beautifully for:
Potholders
Placemats
Table runners
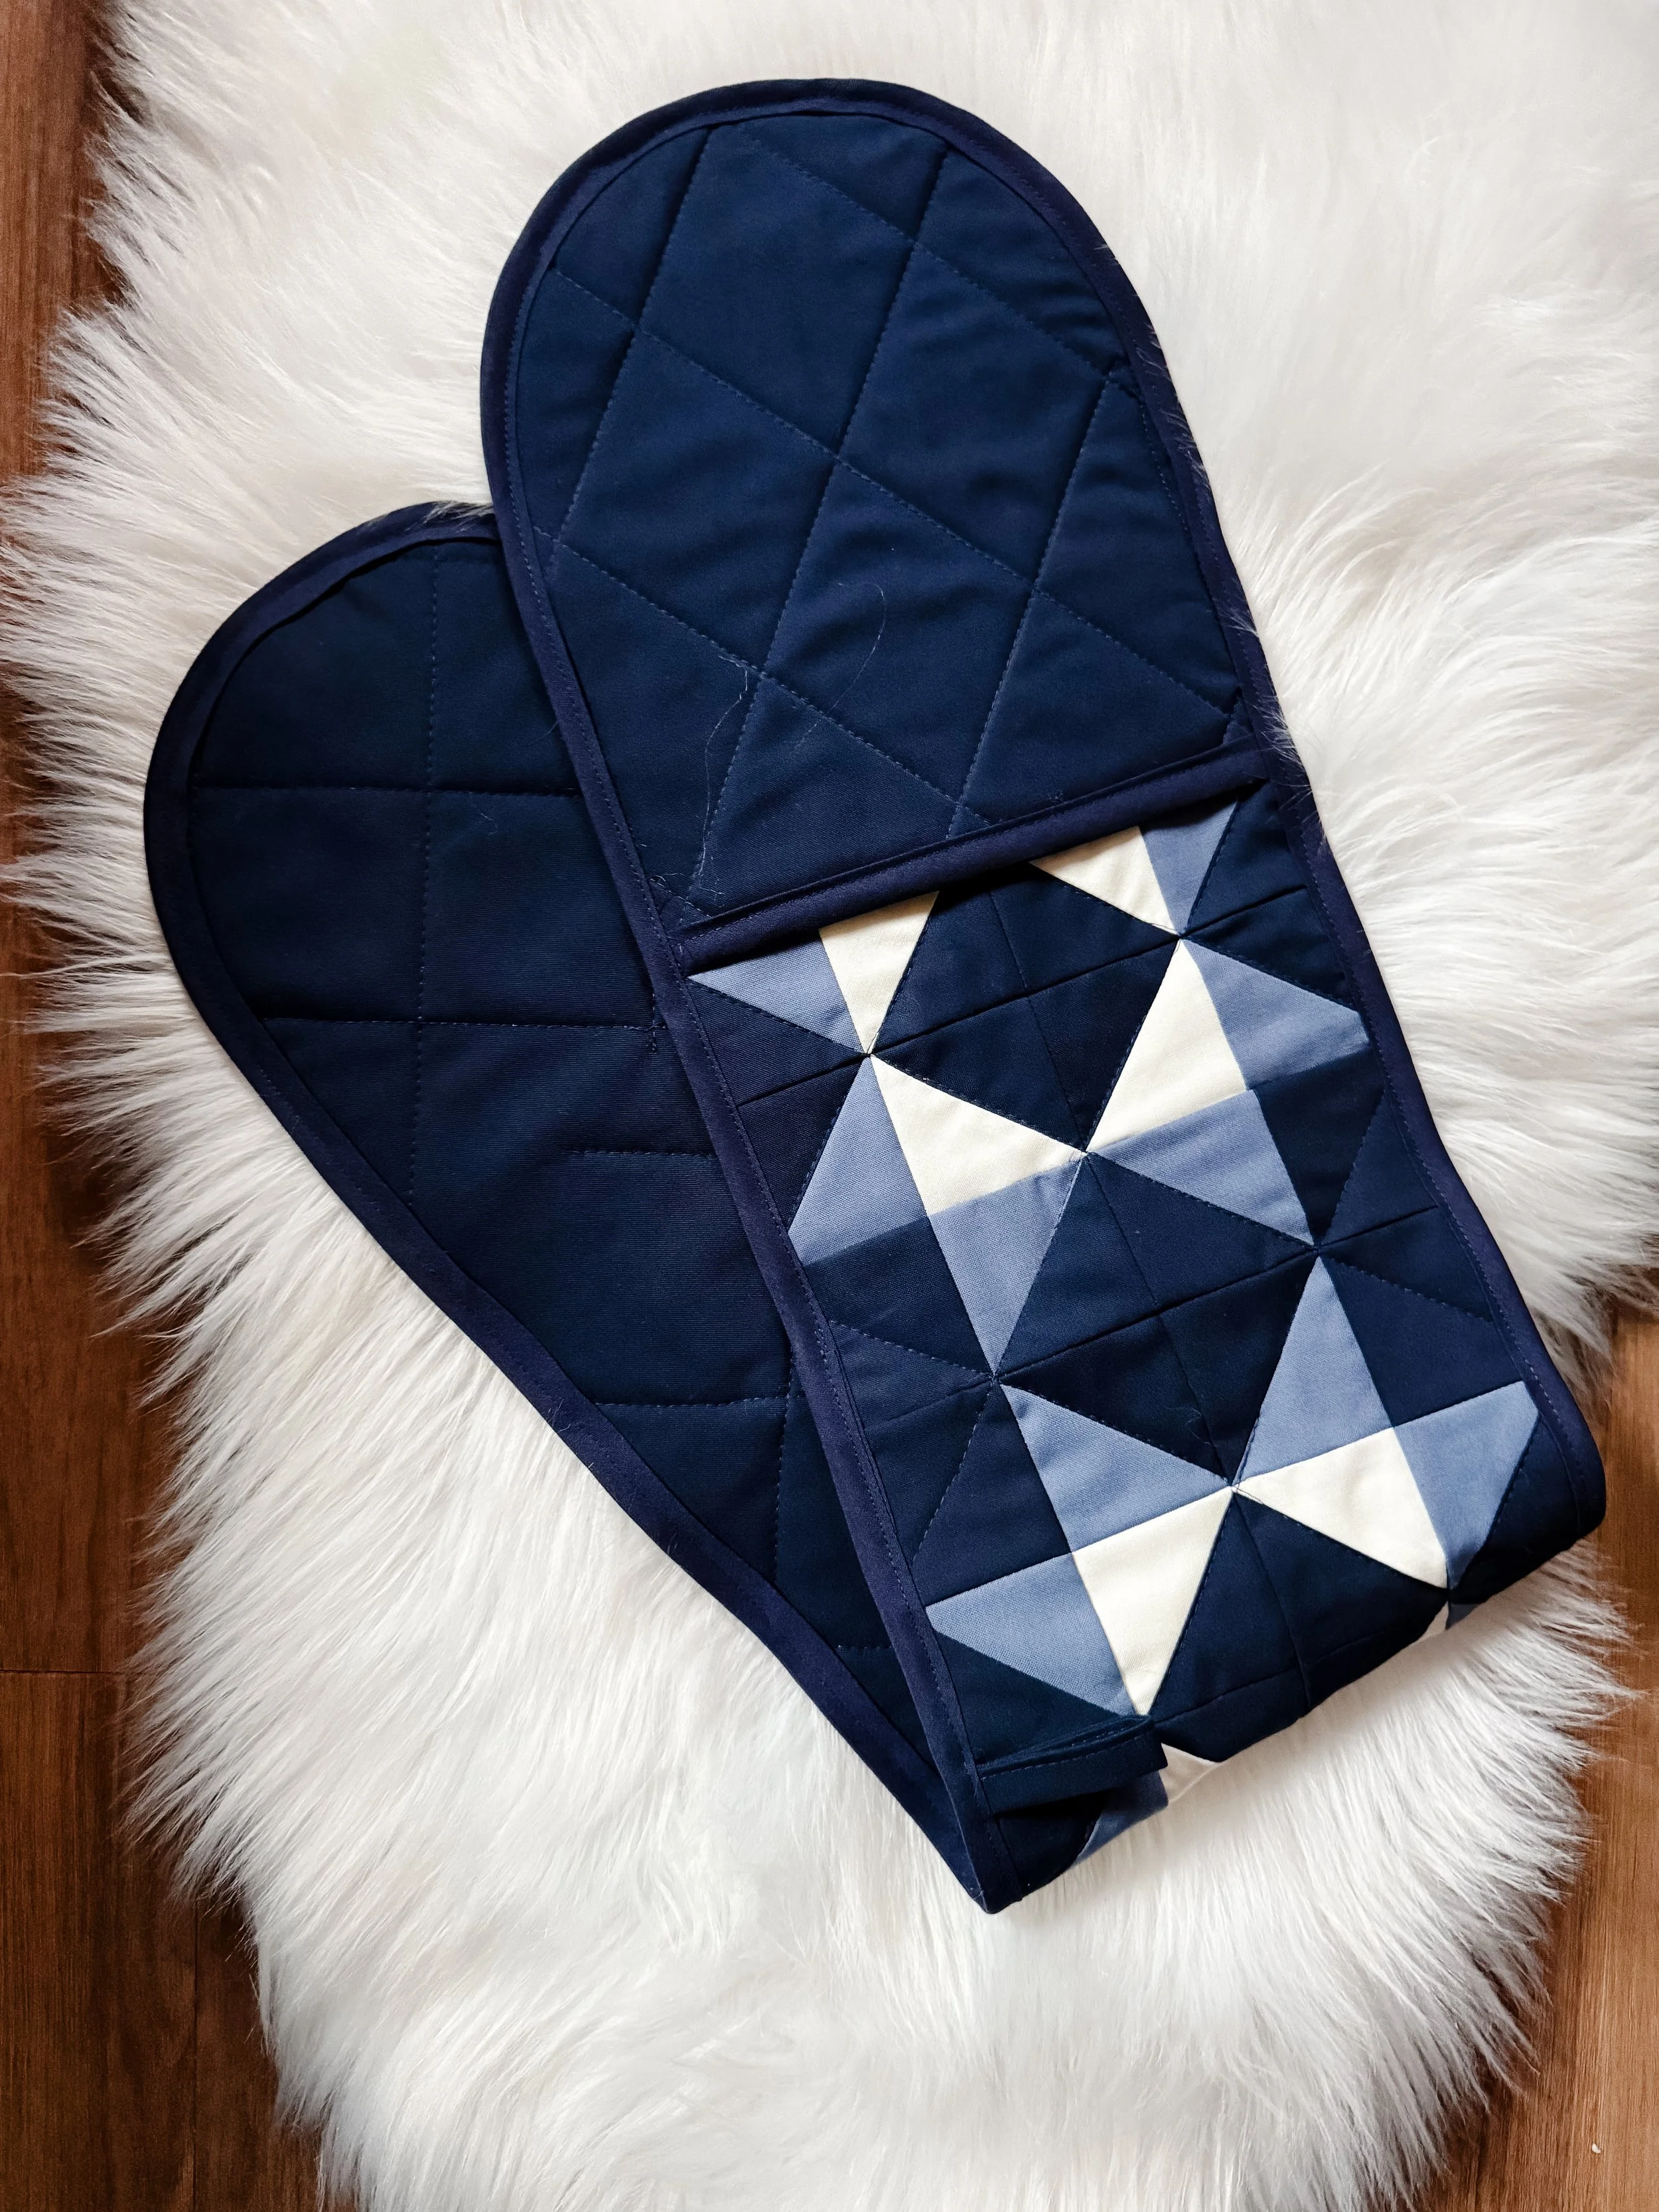
Oven mitts
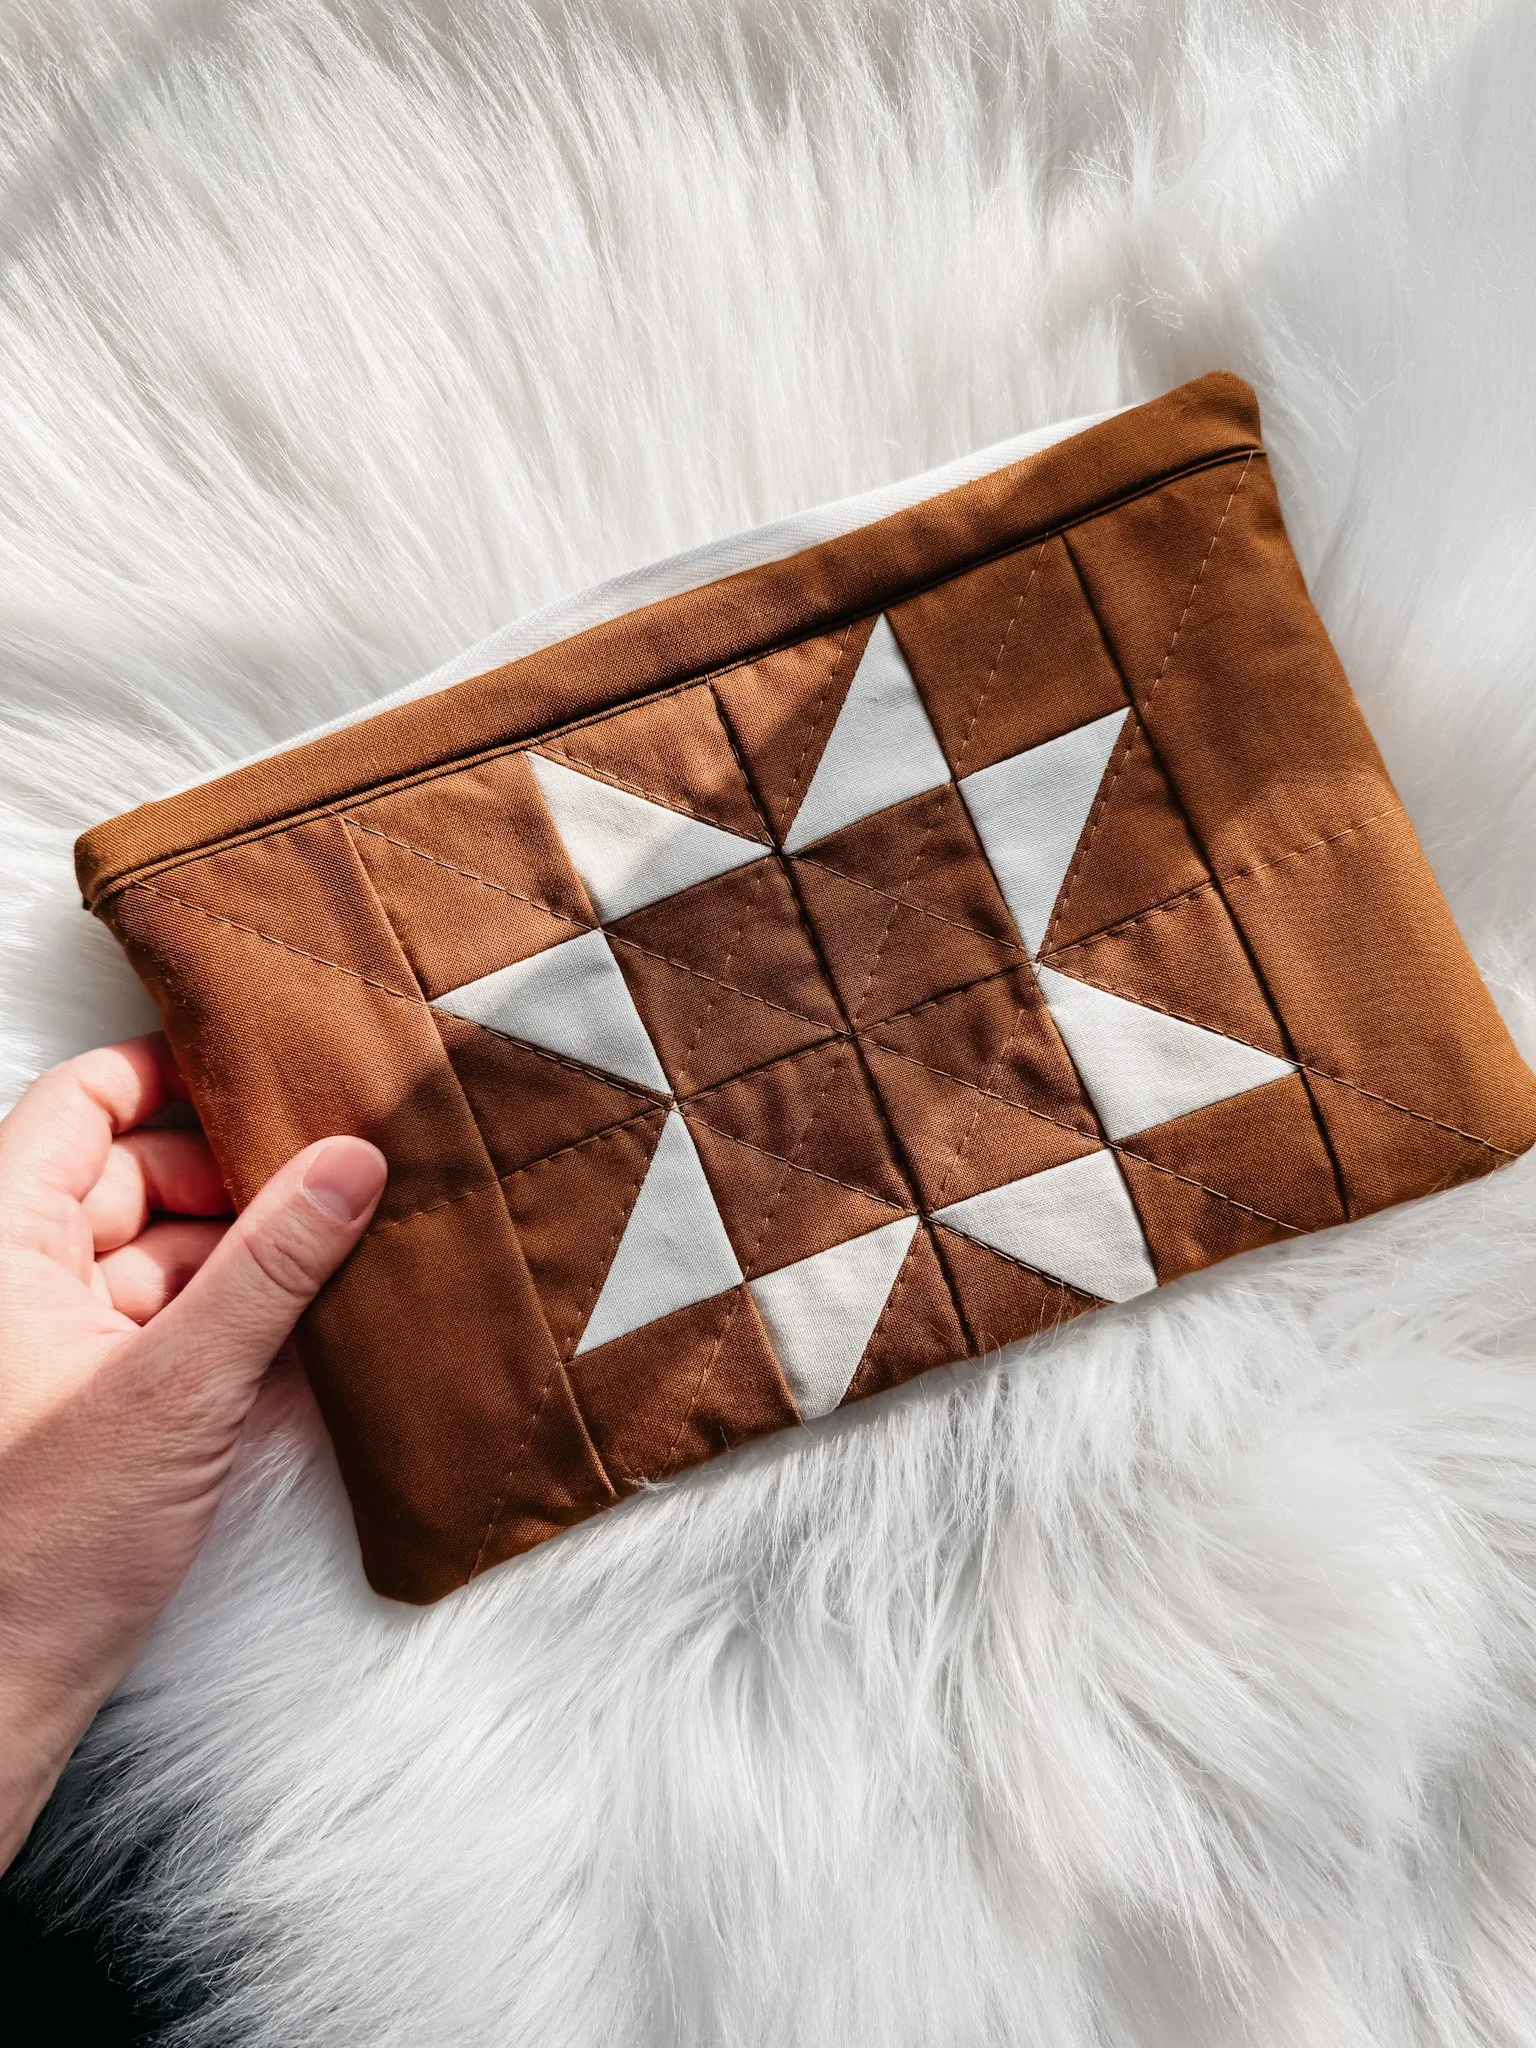
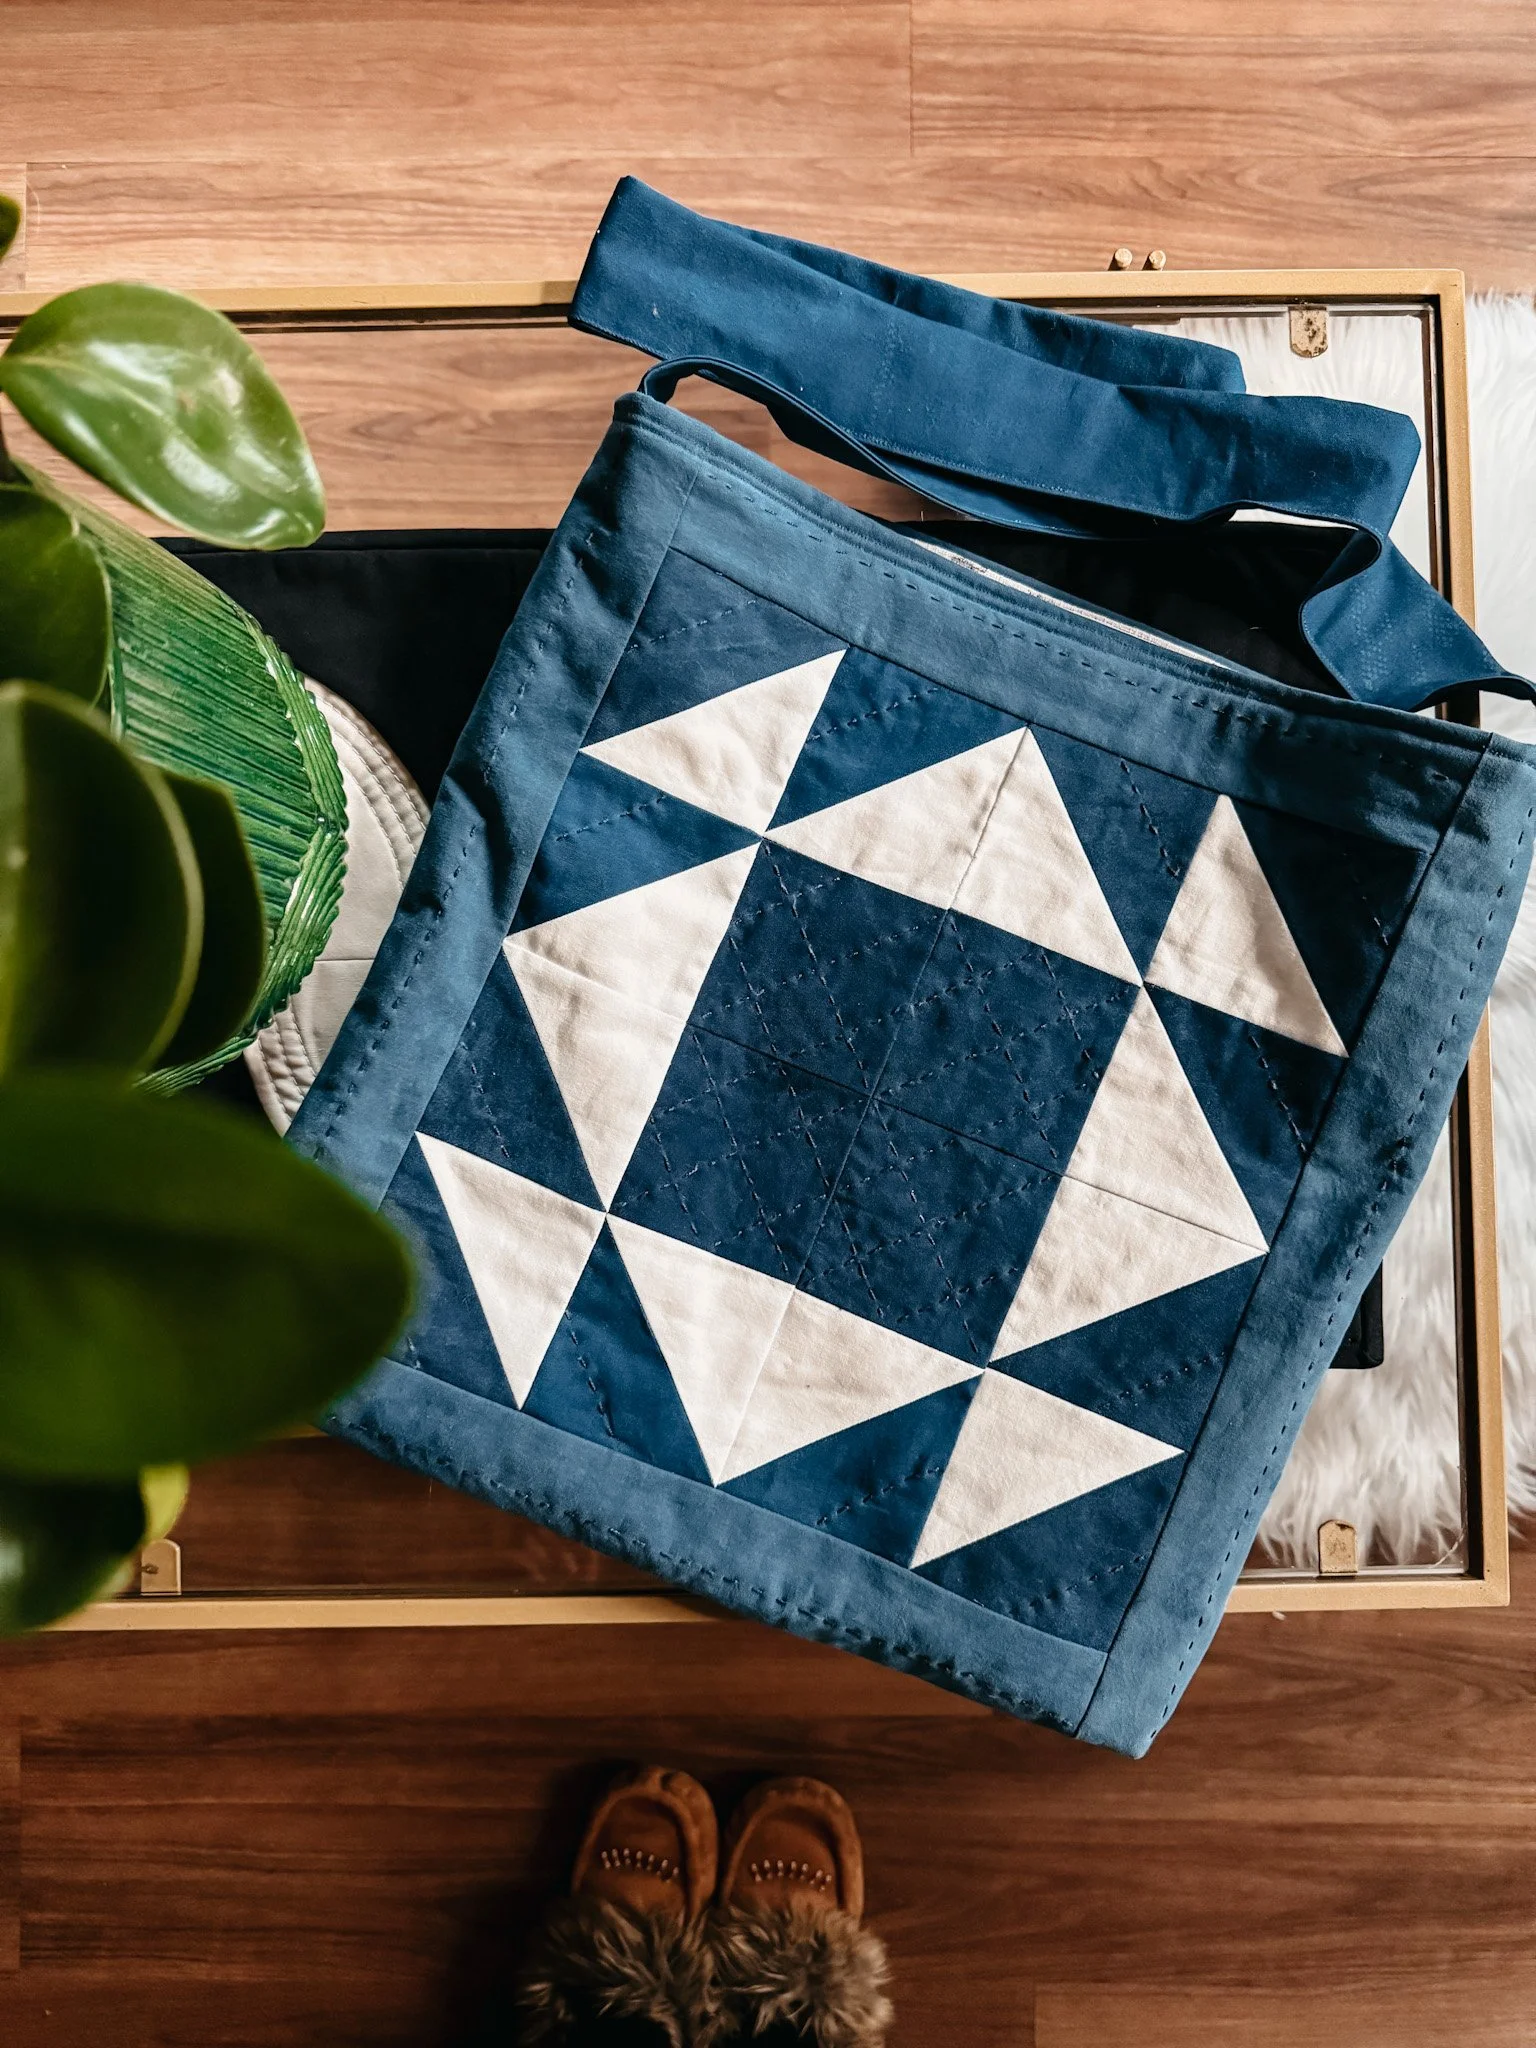
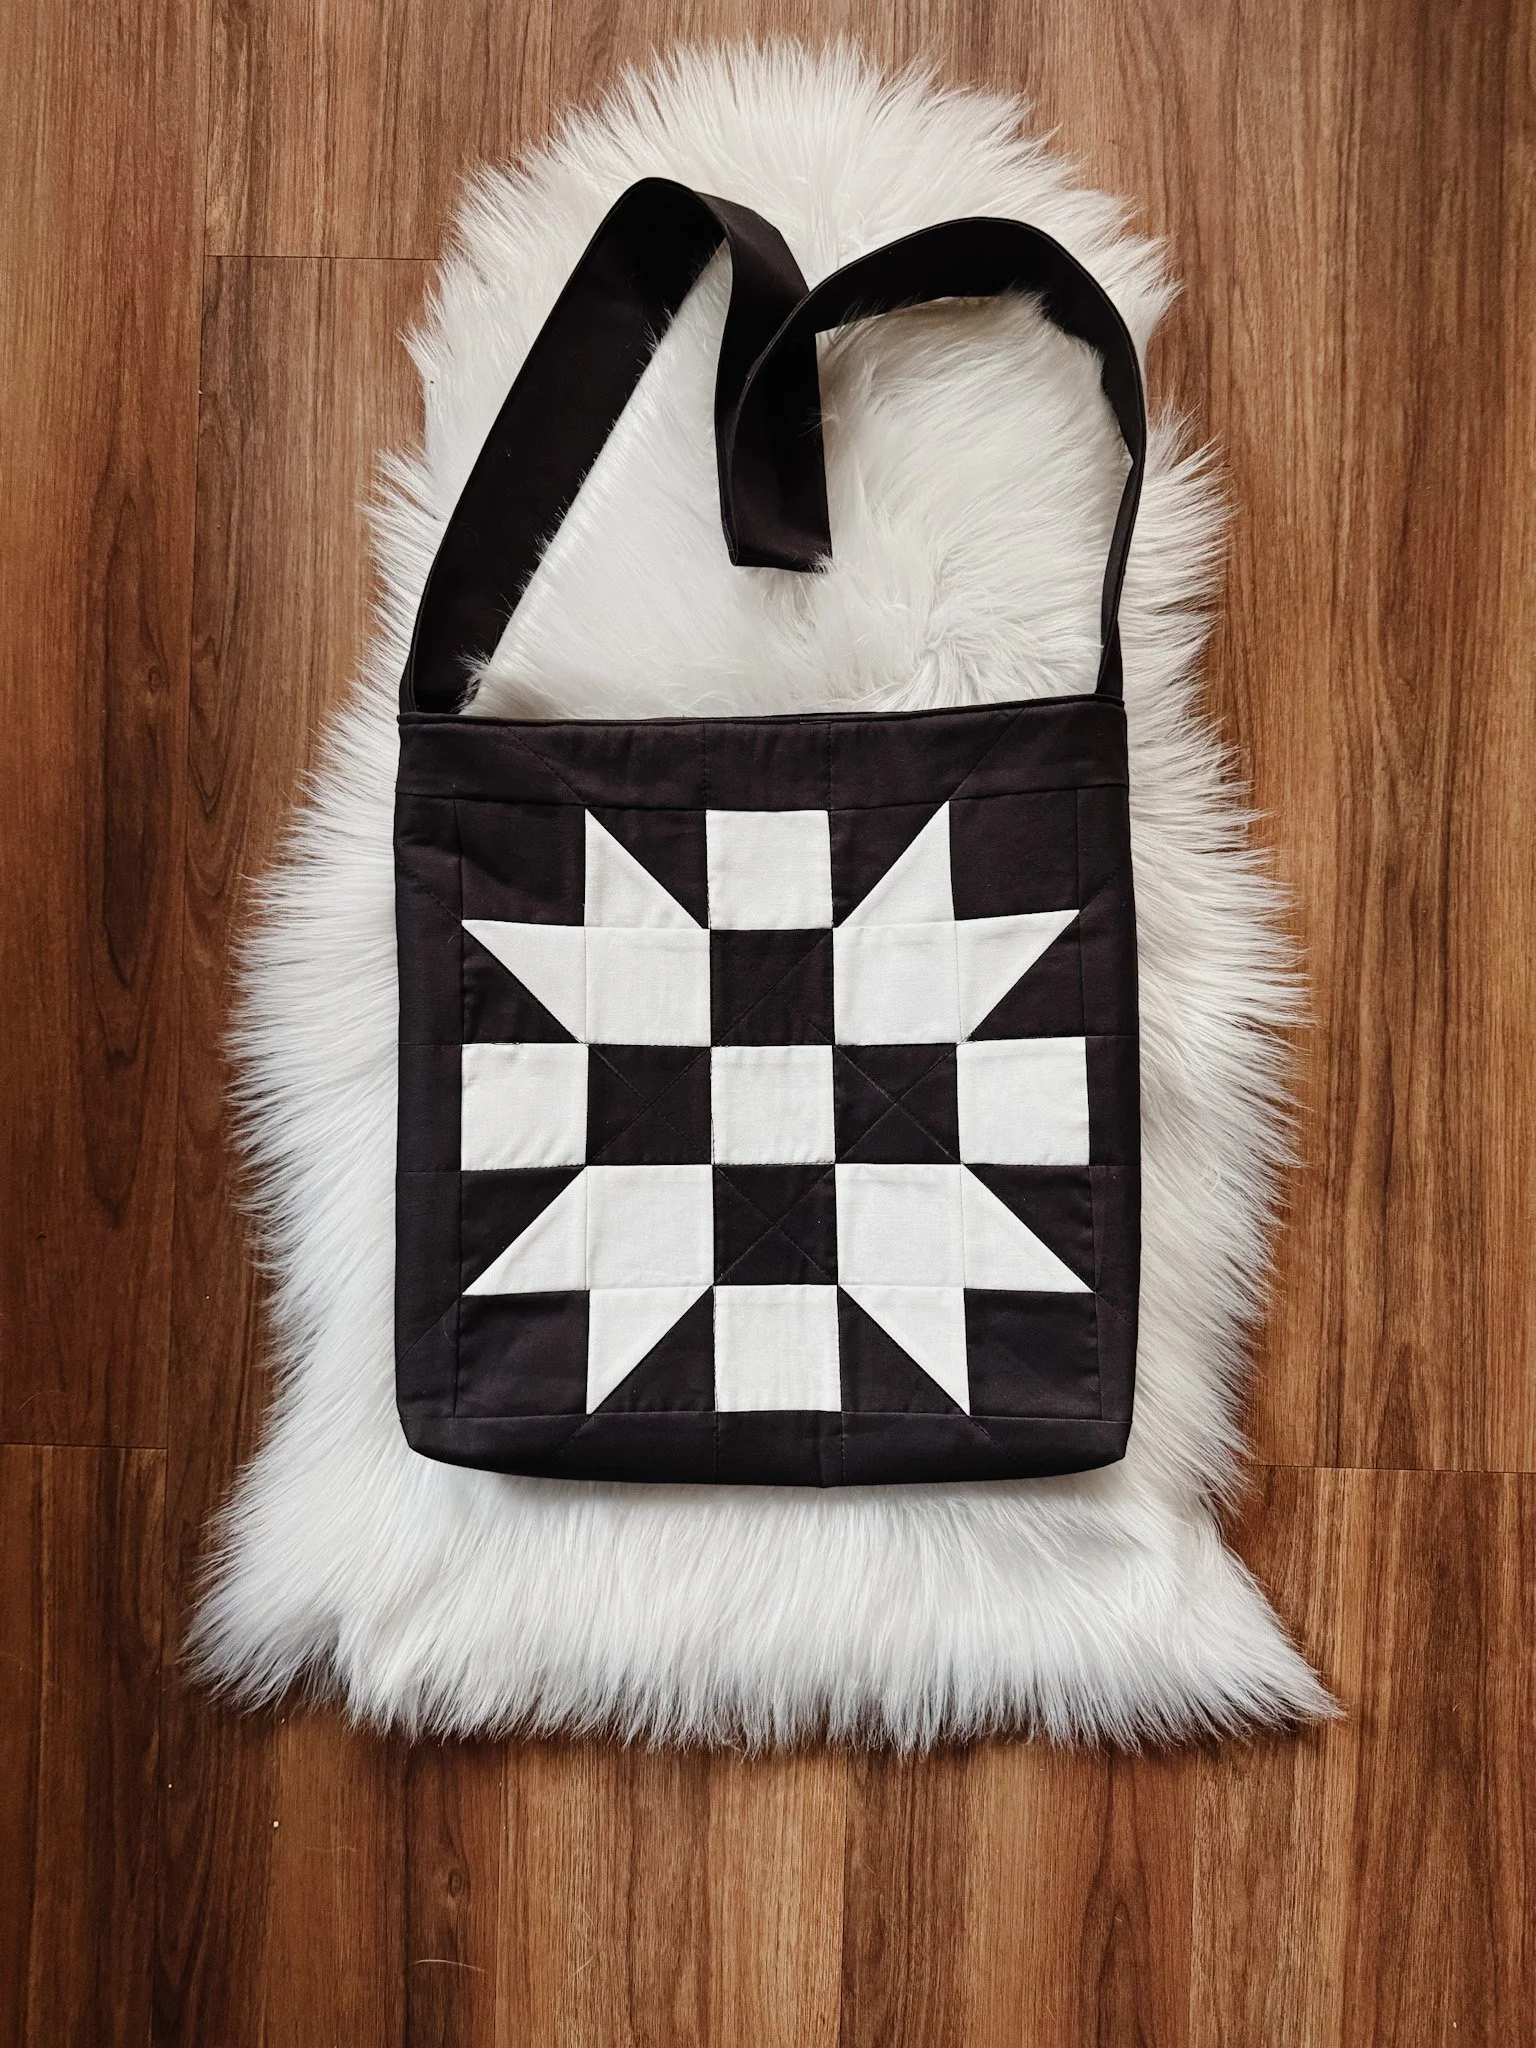
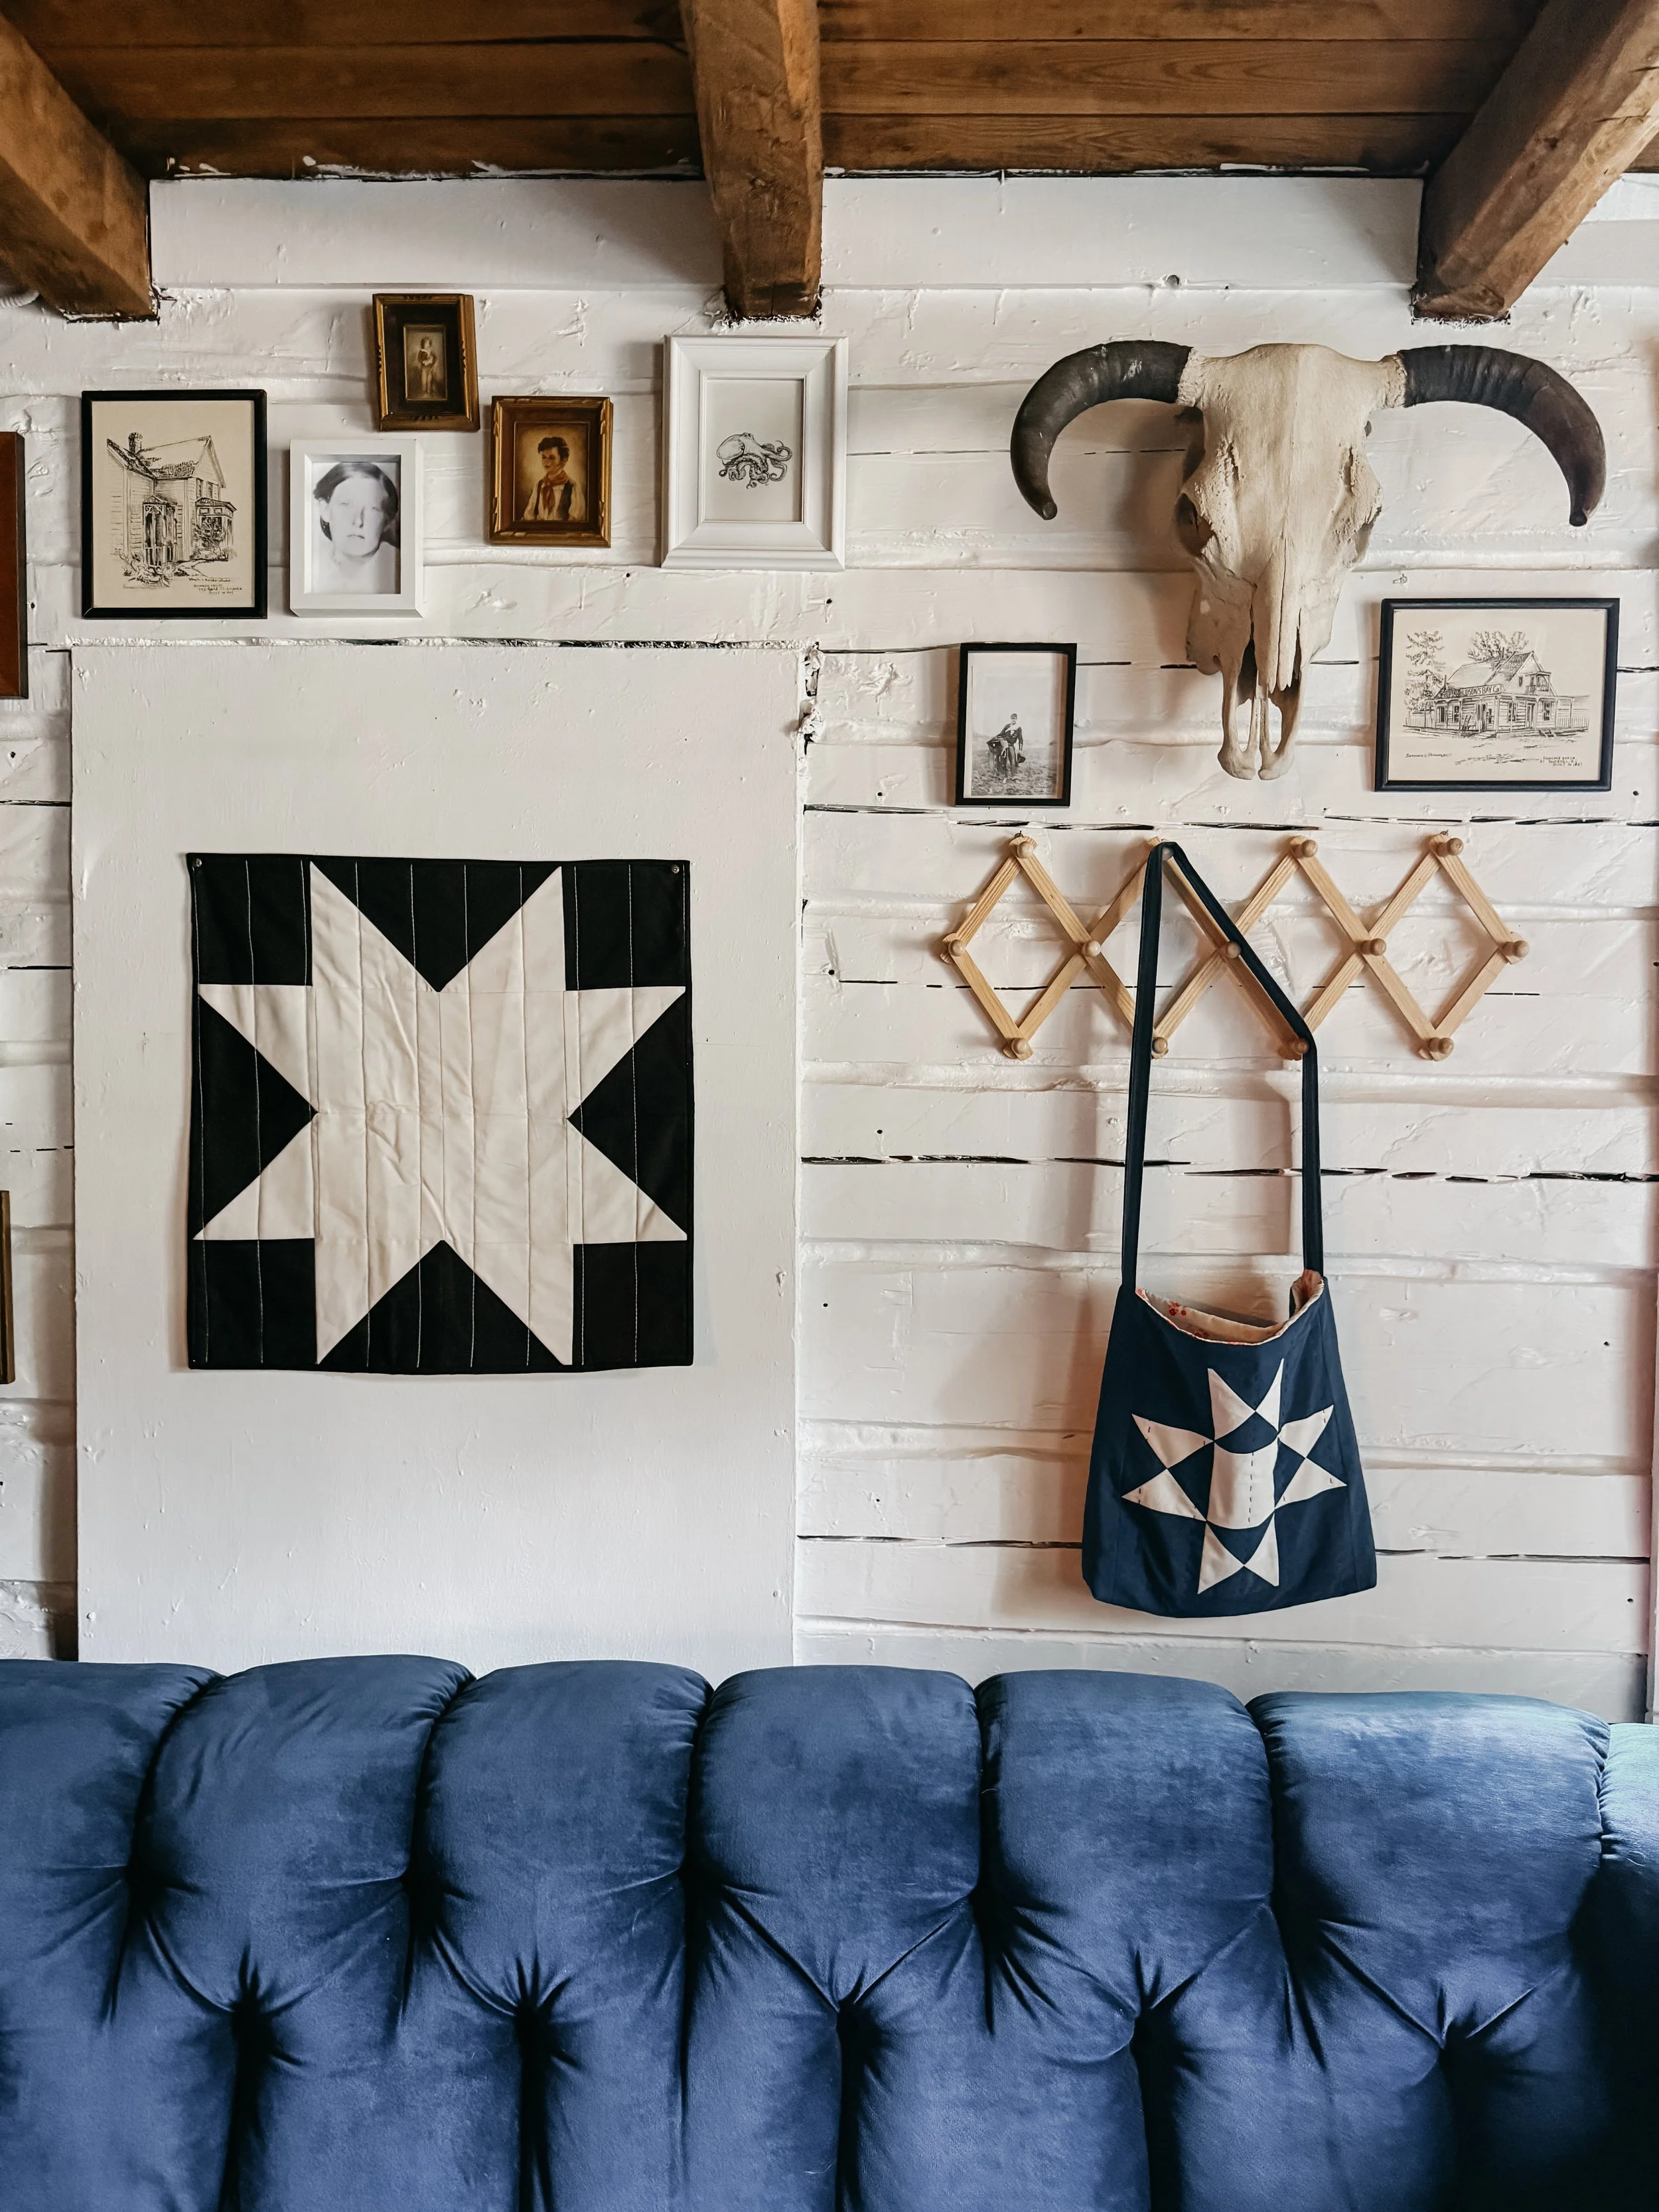
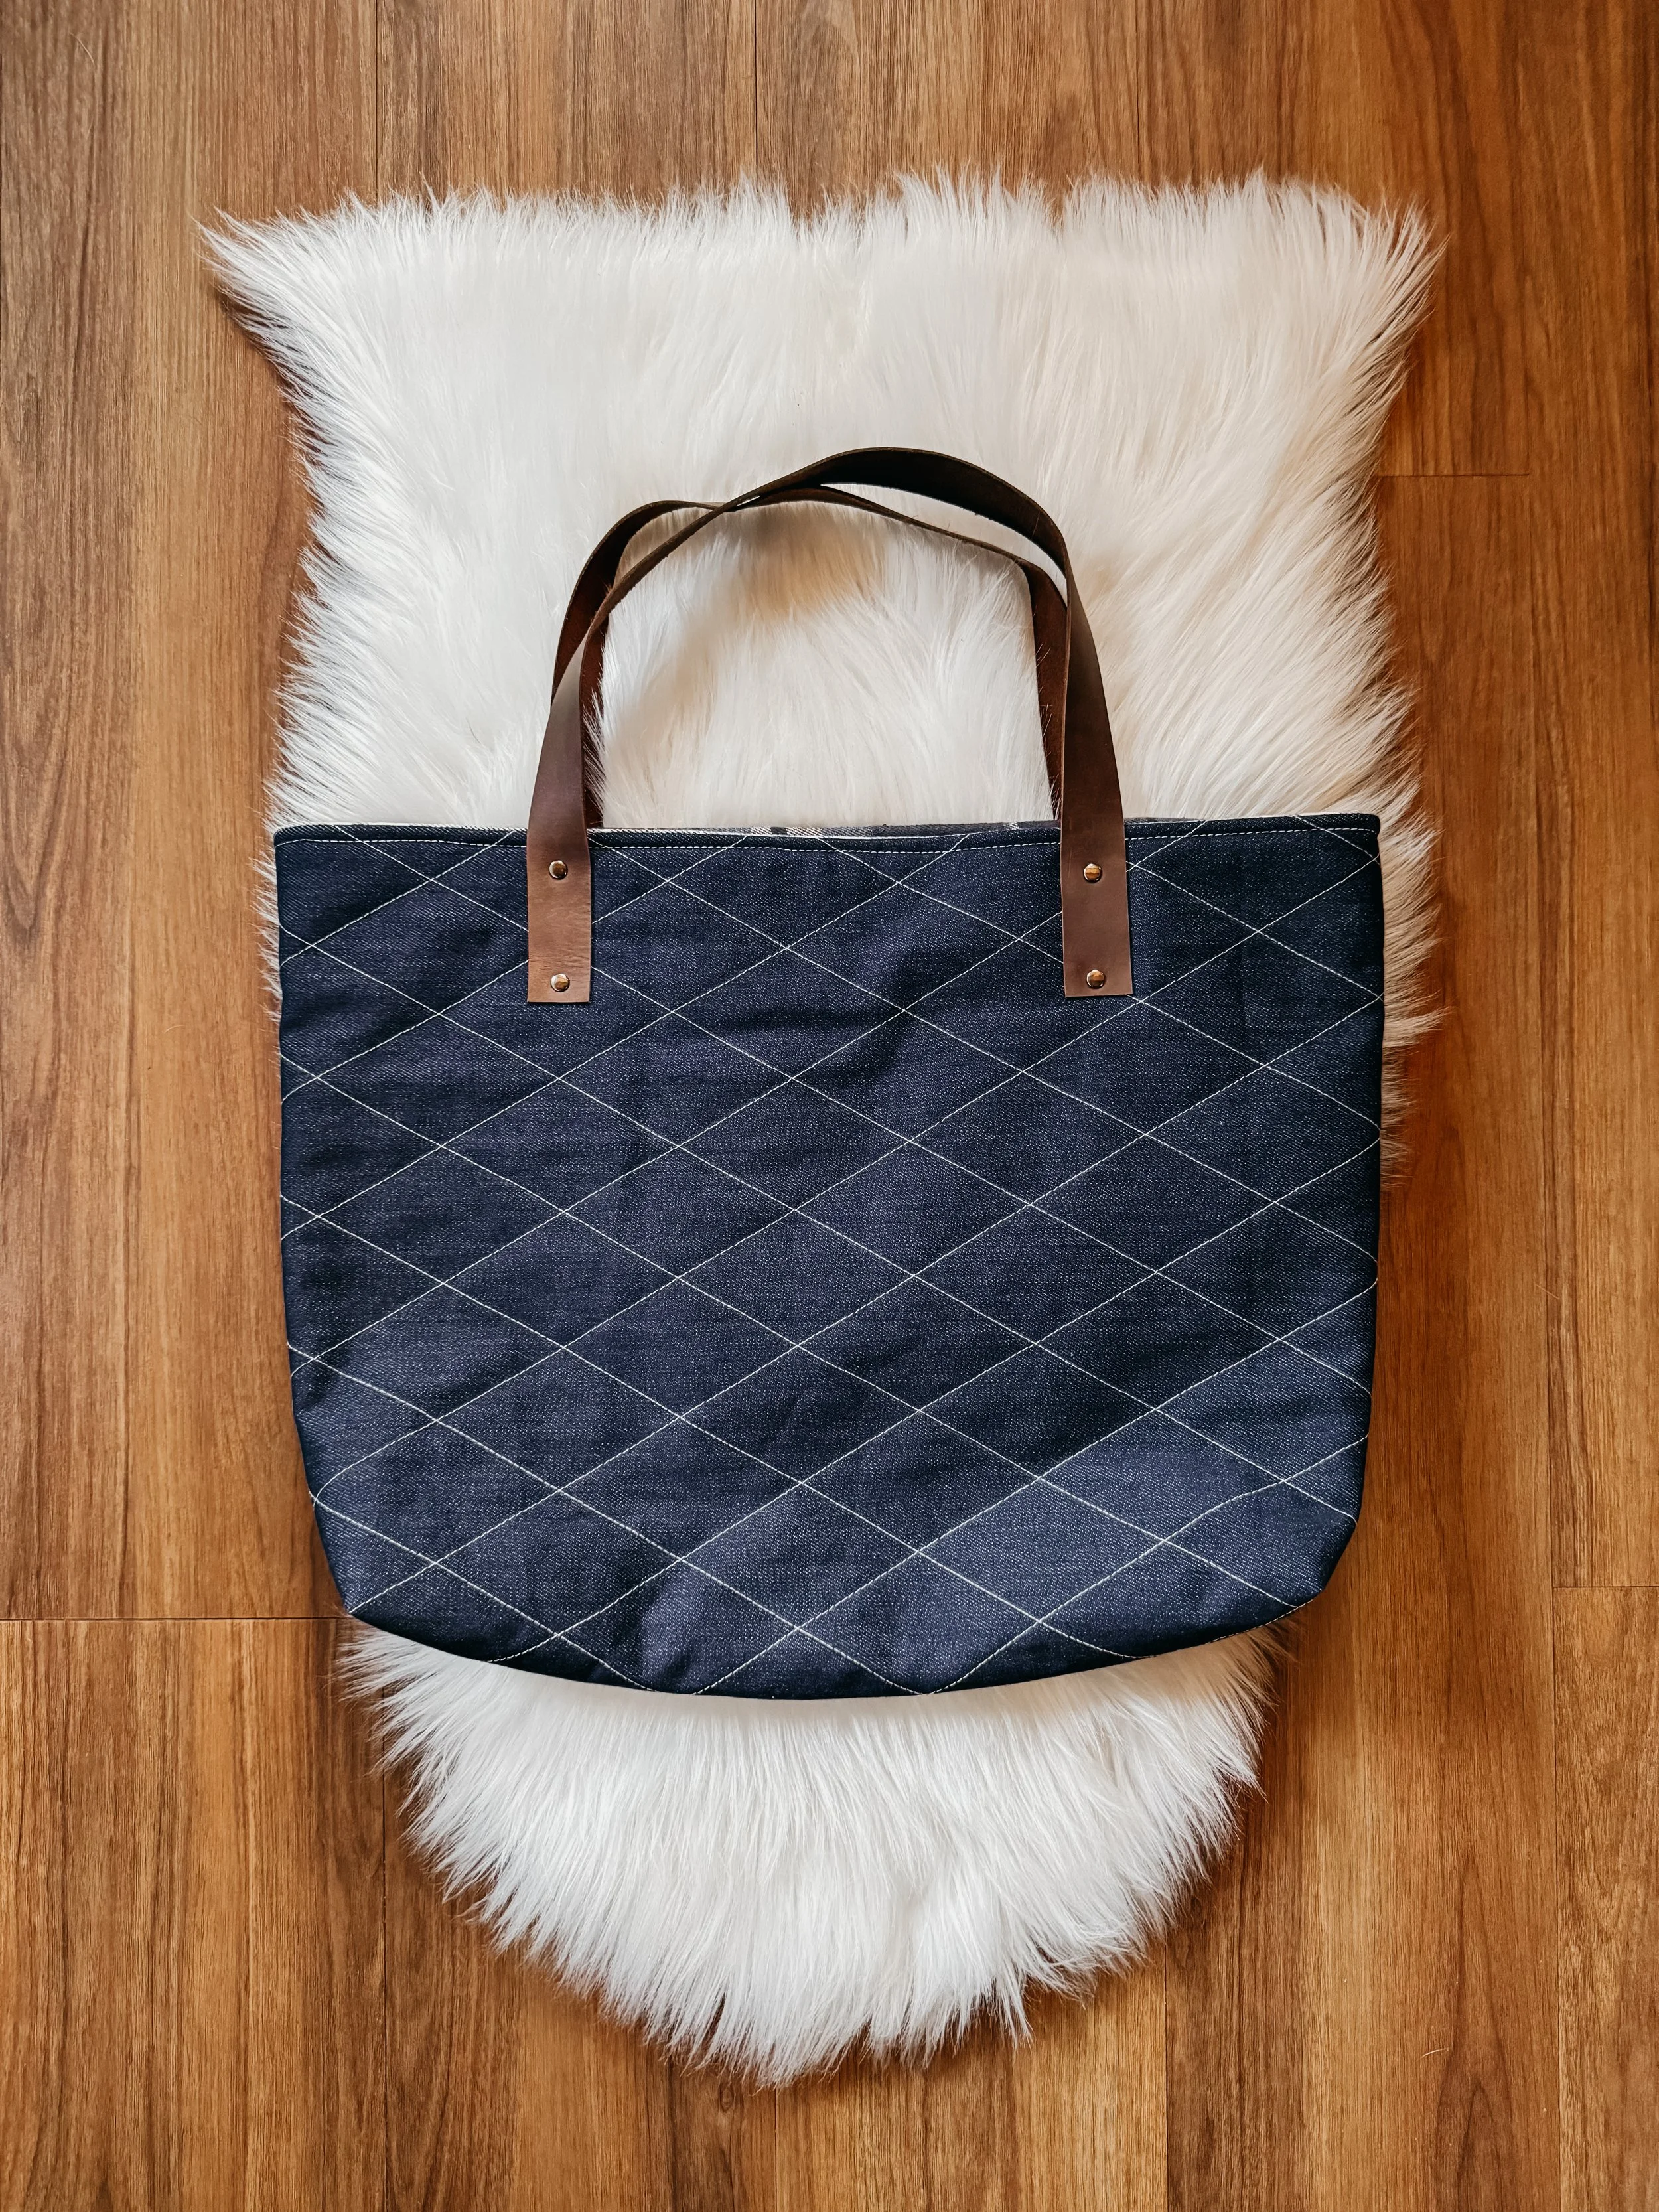
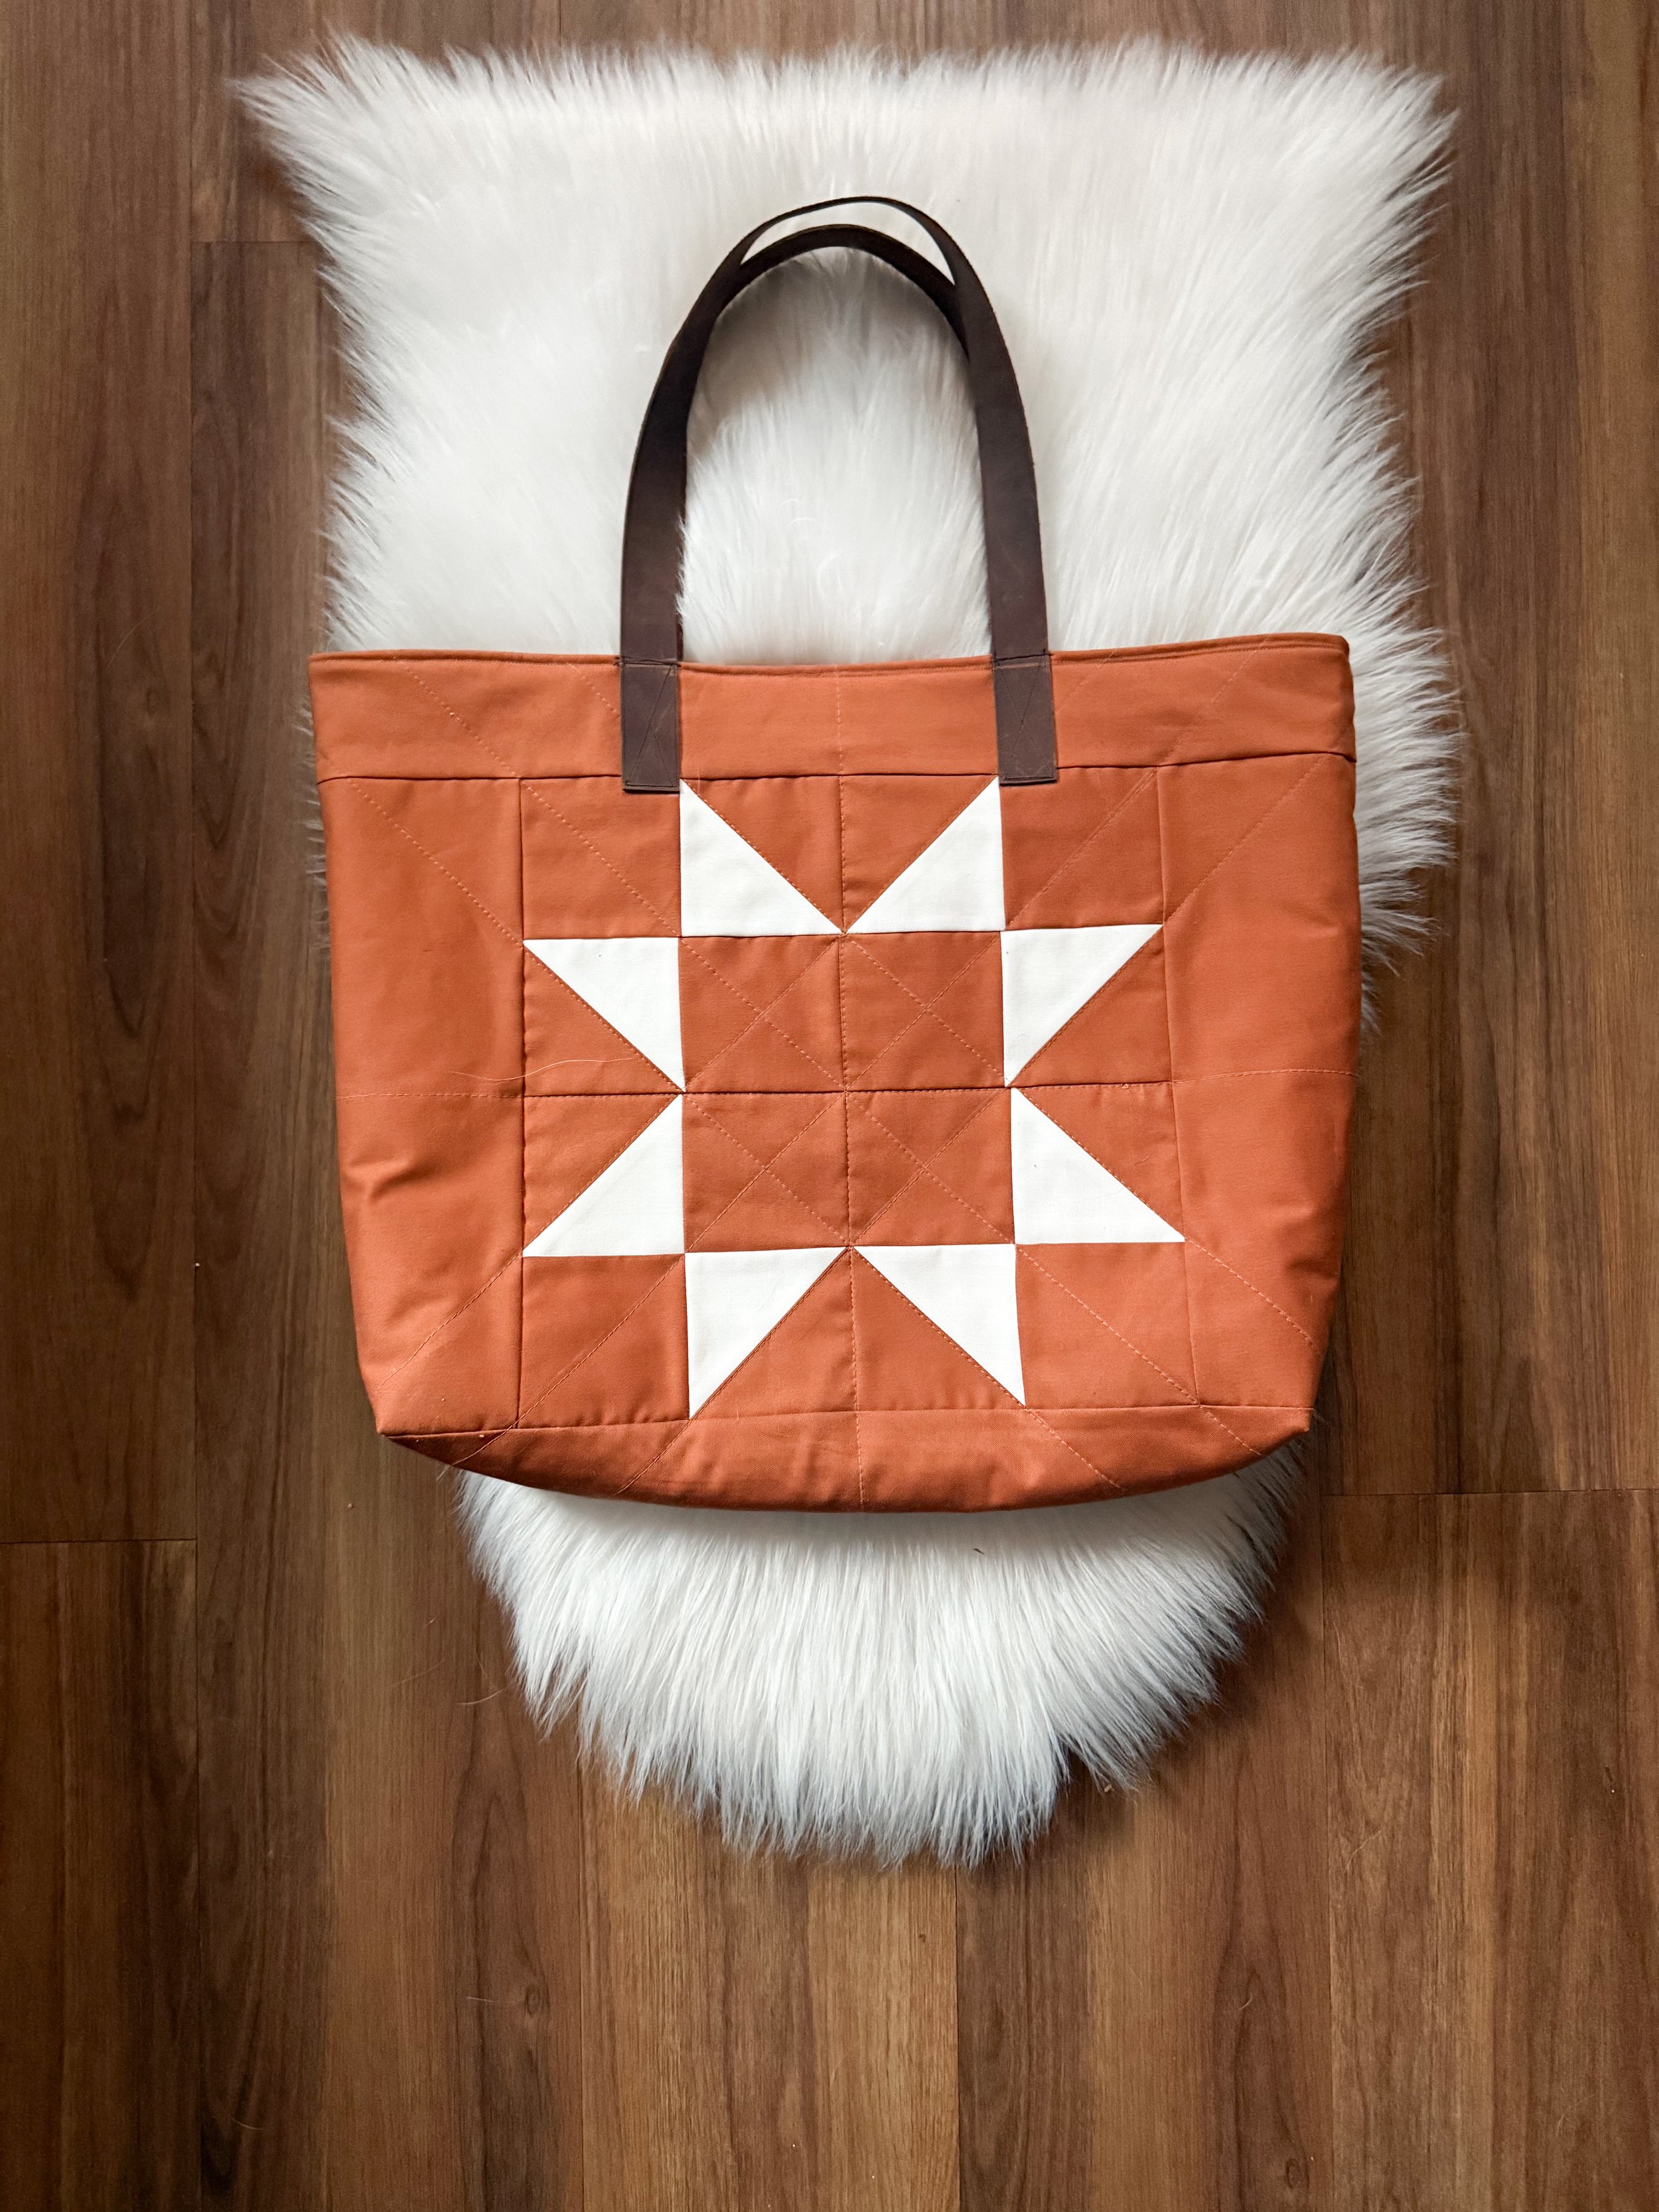
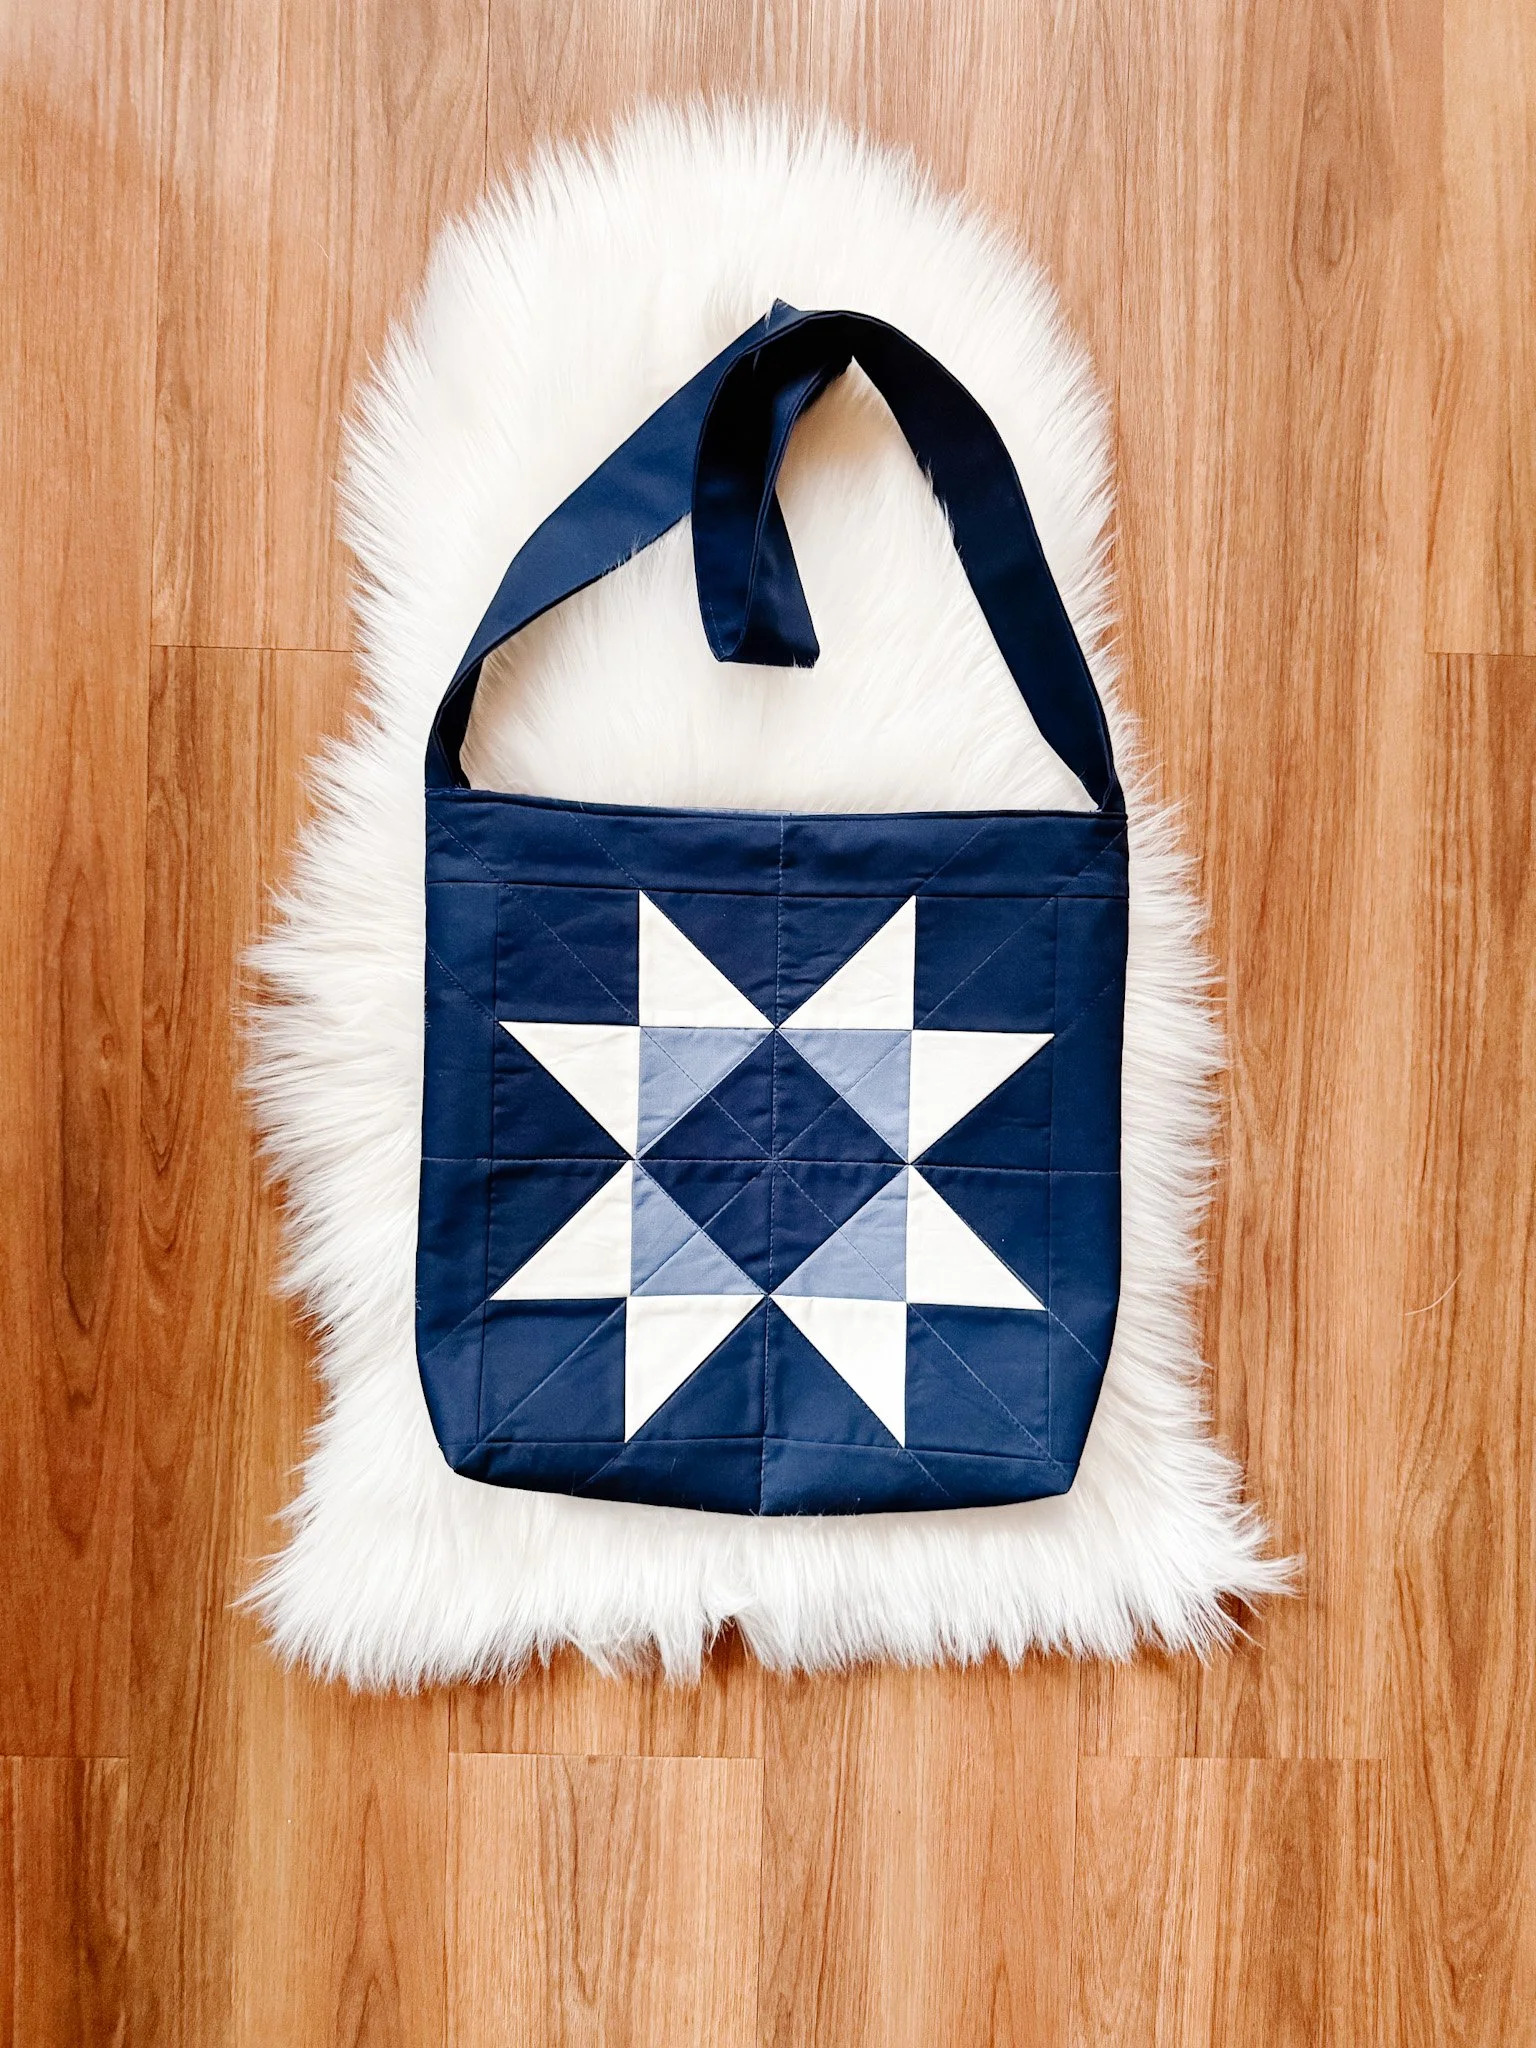
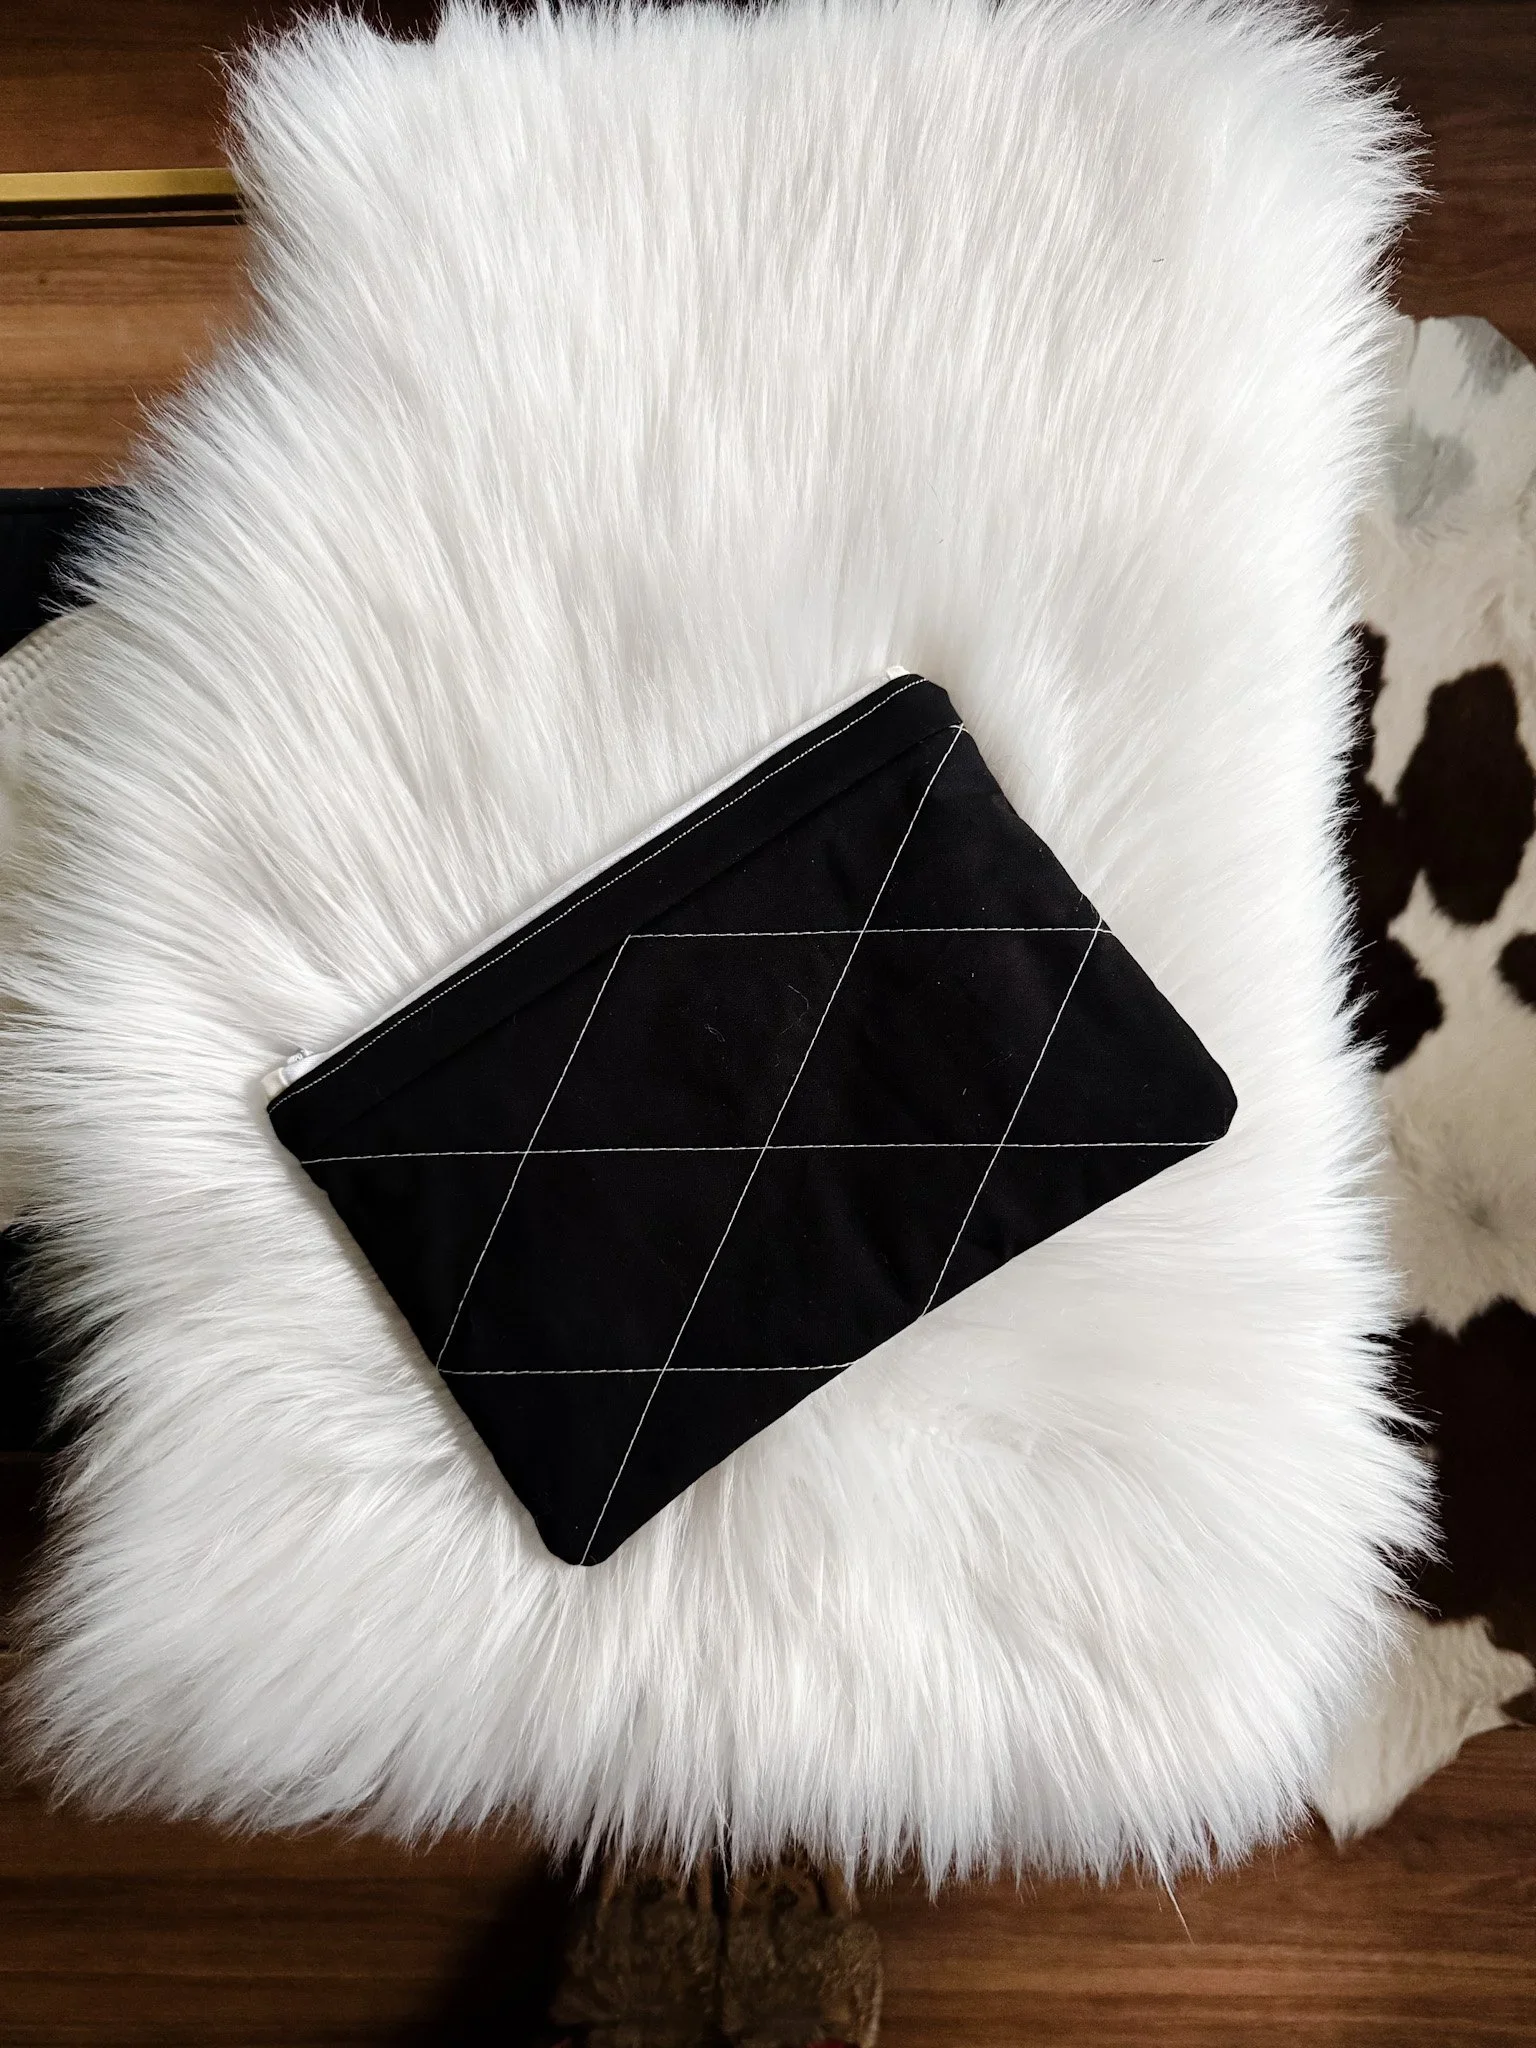
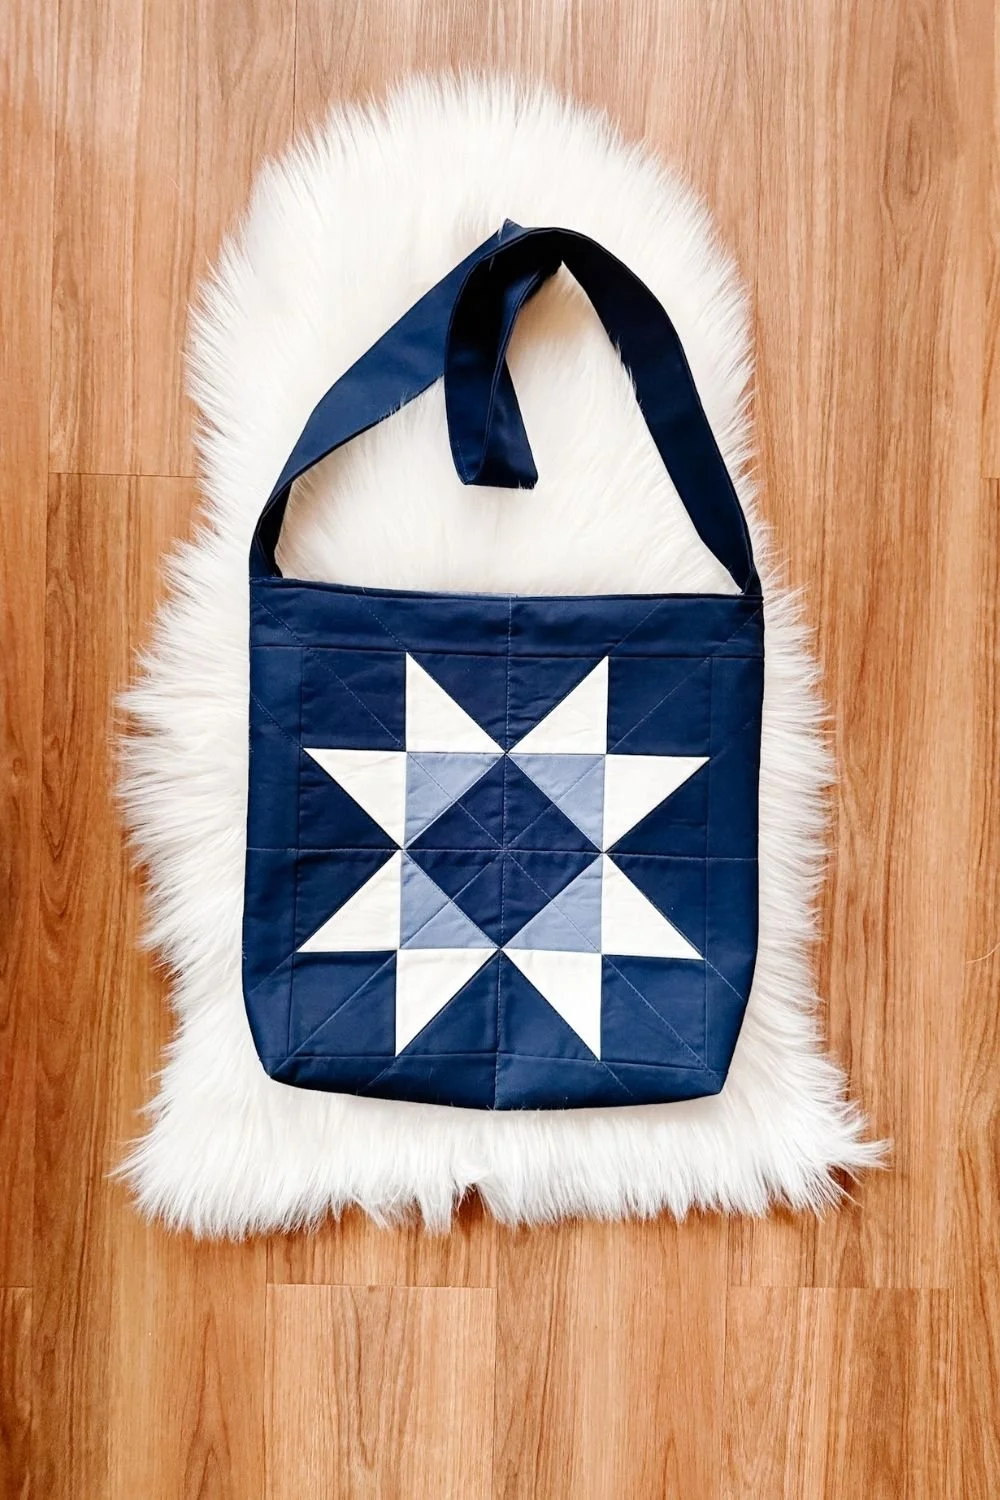
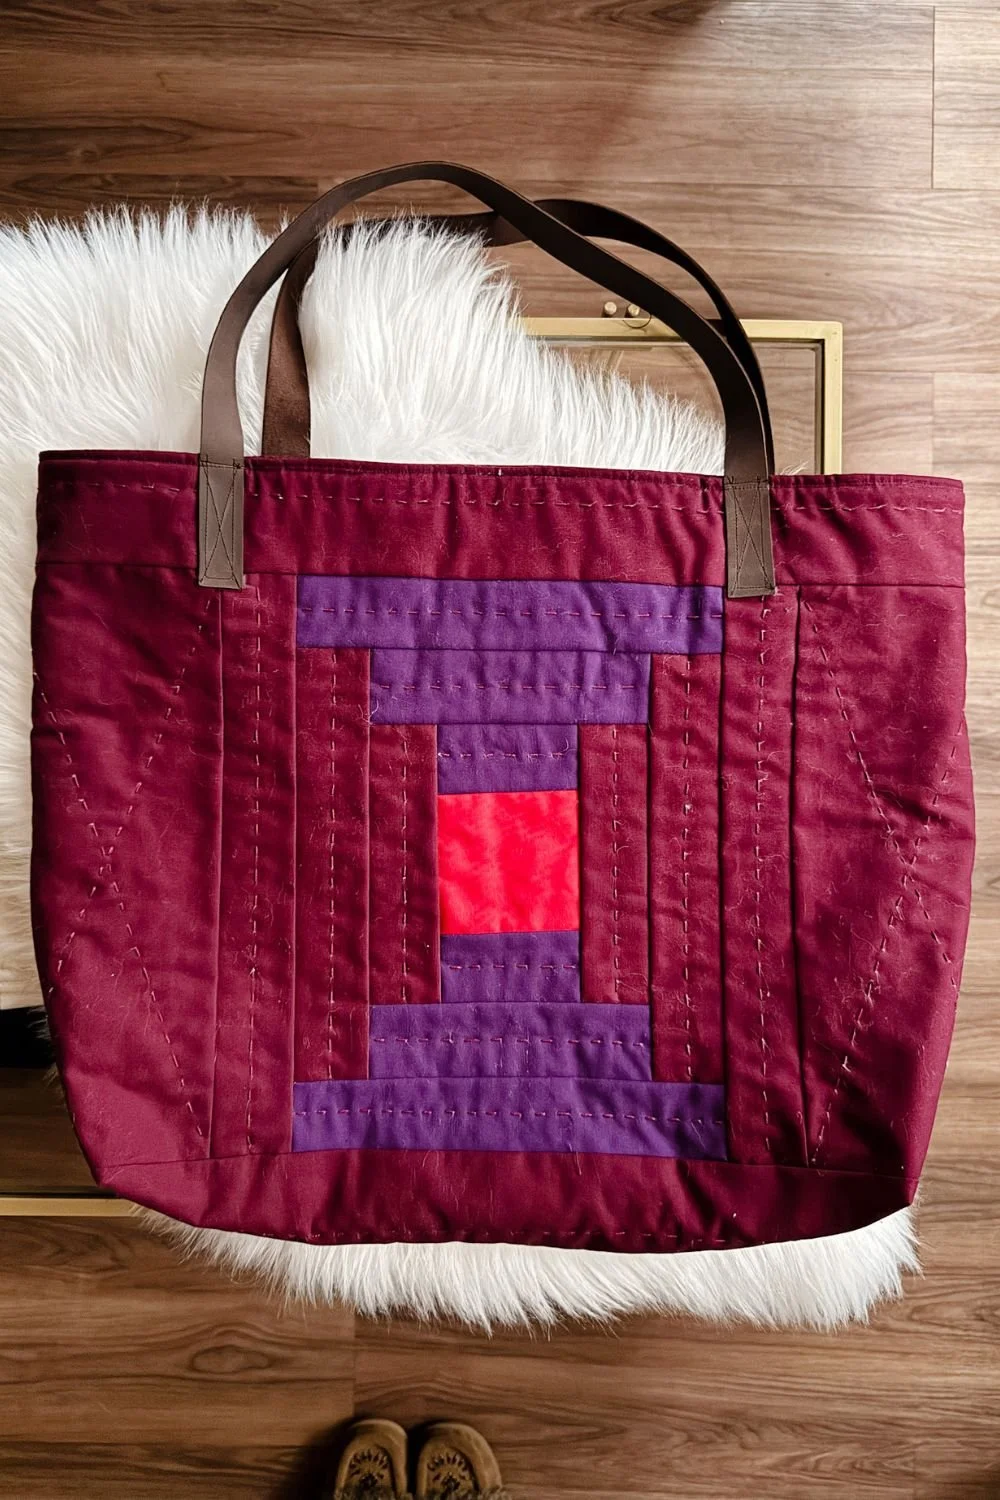
Quilted bags
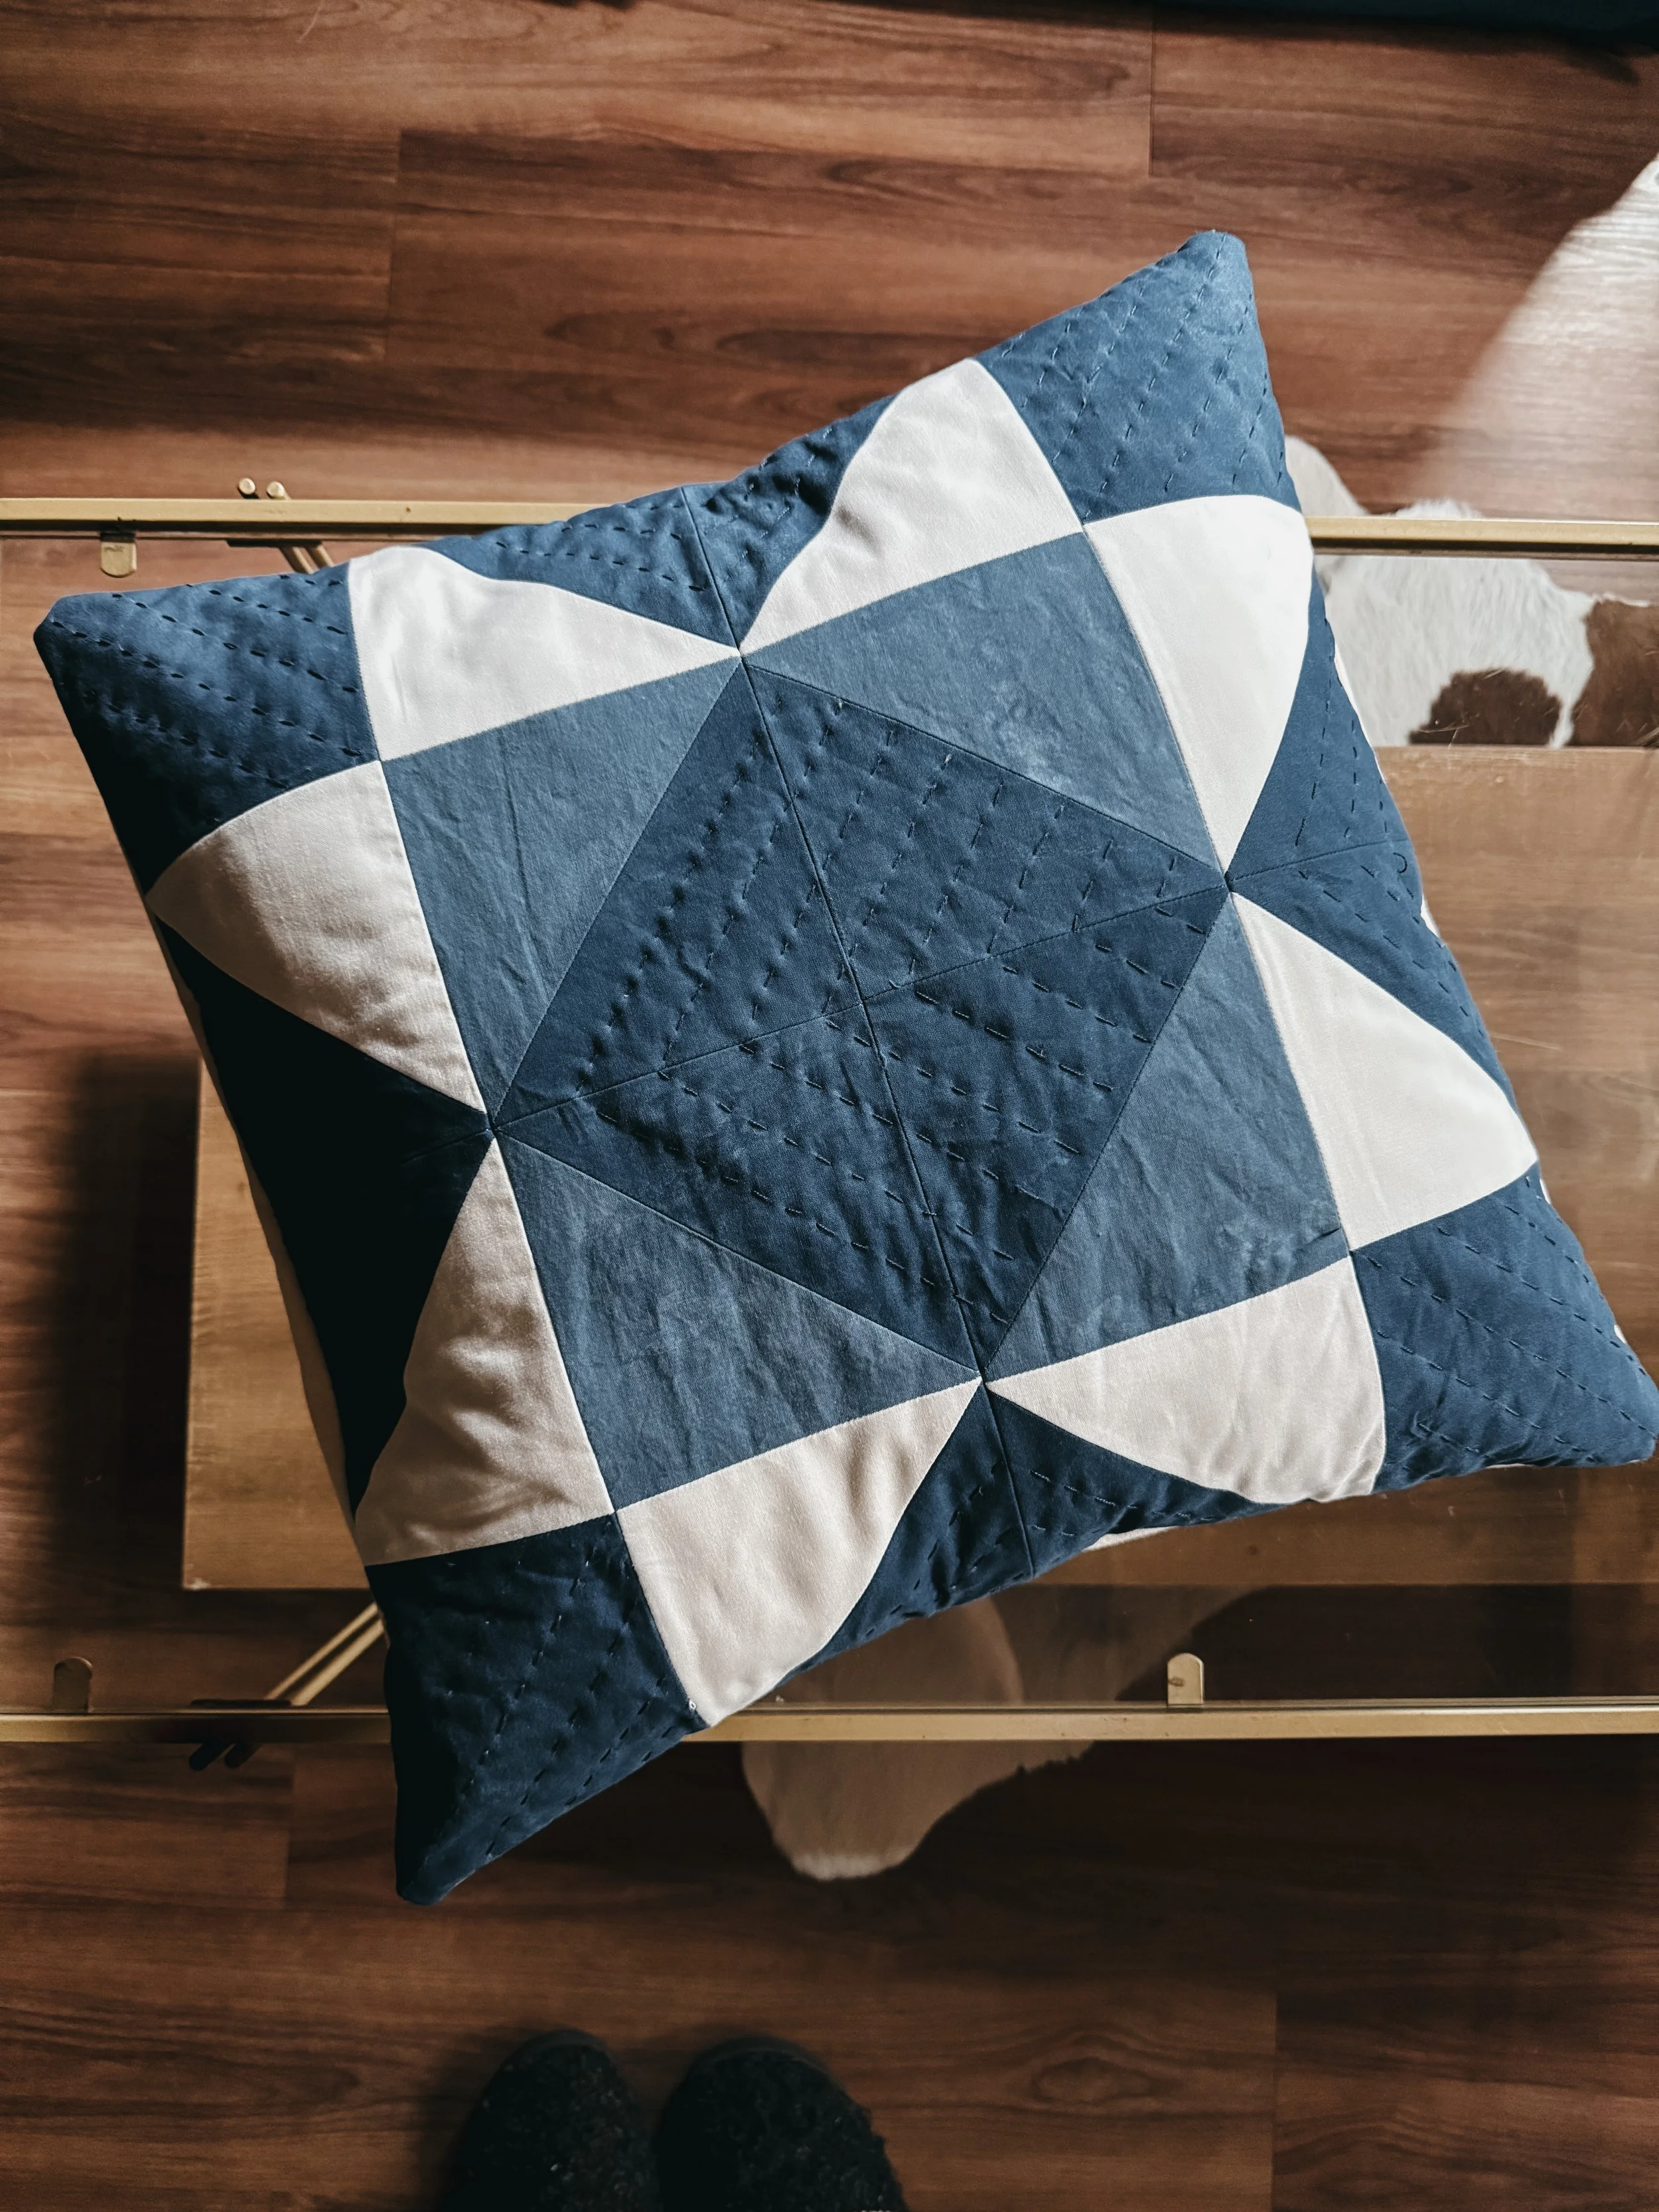
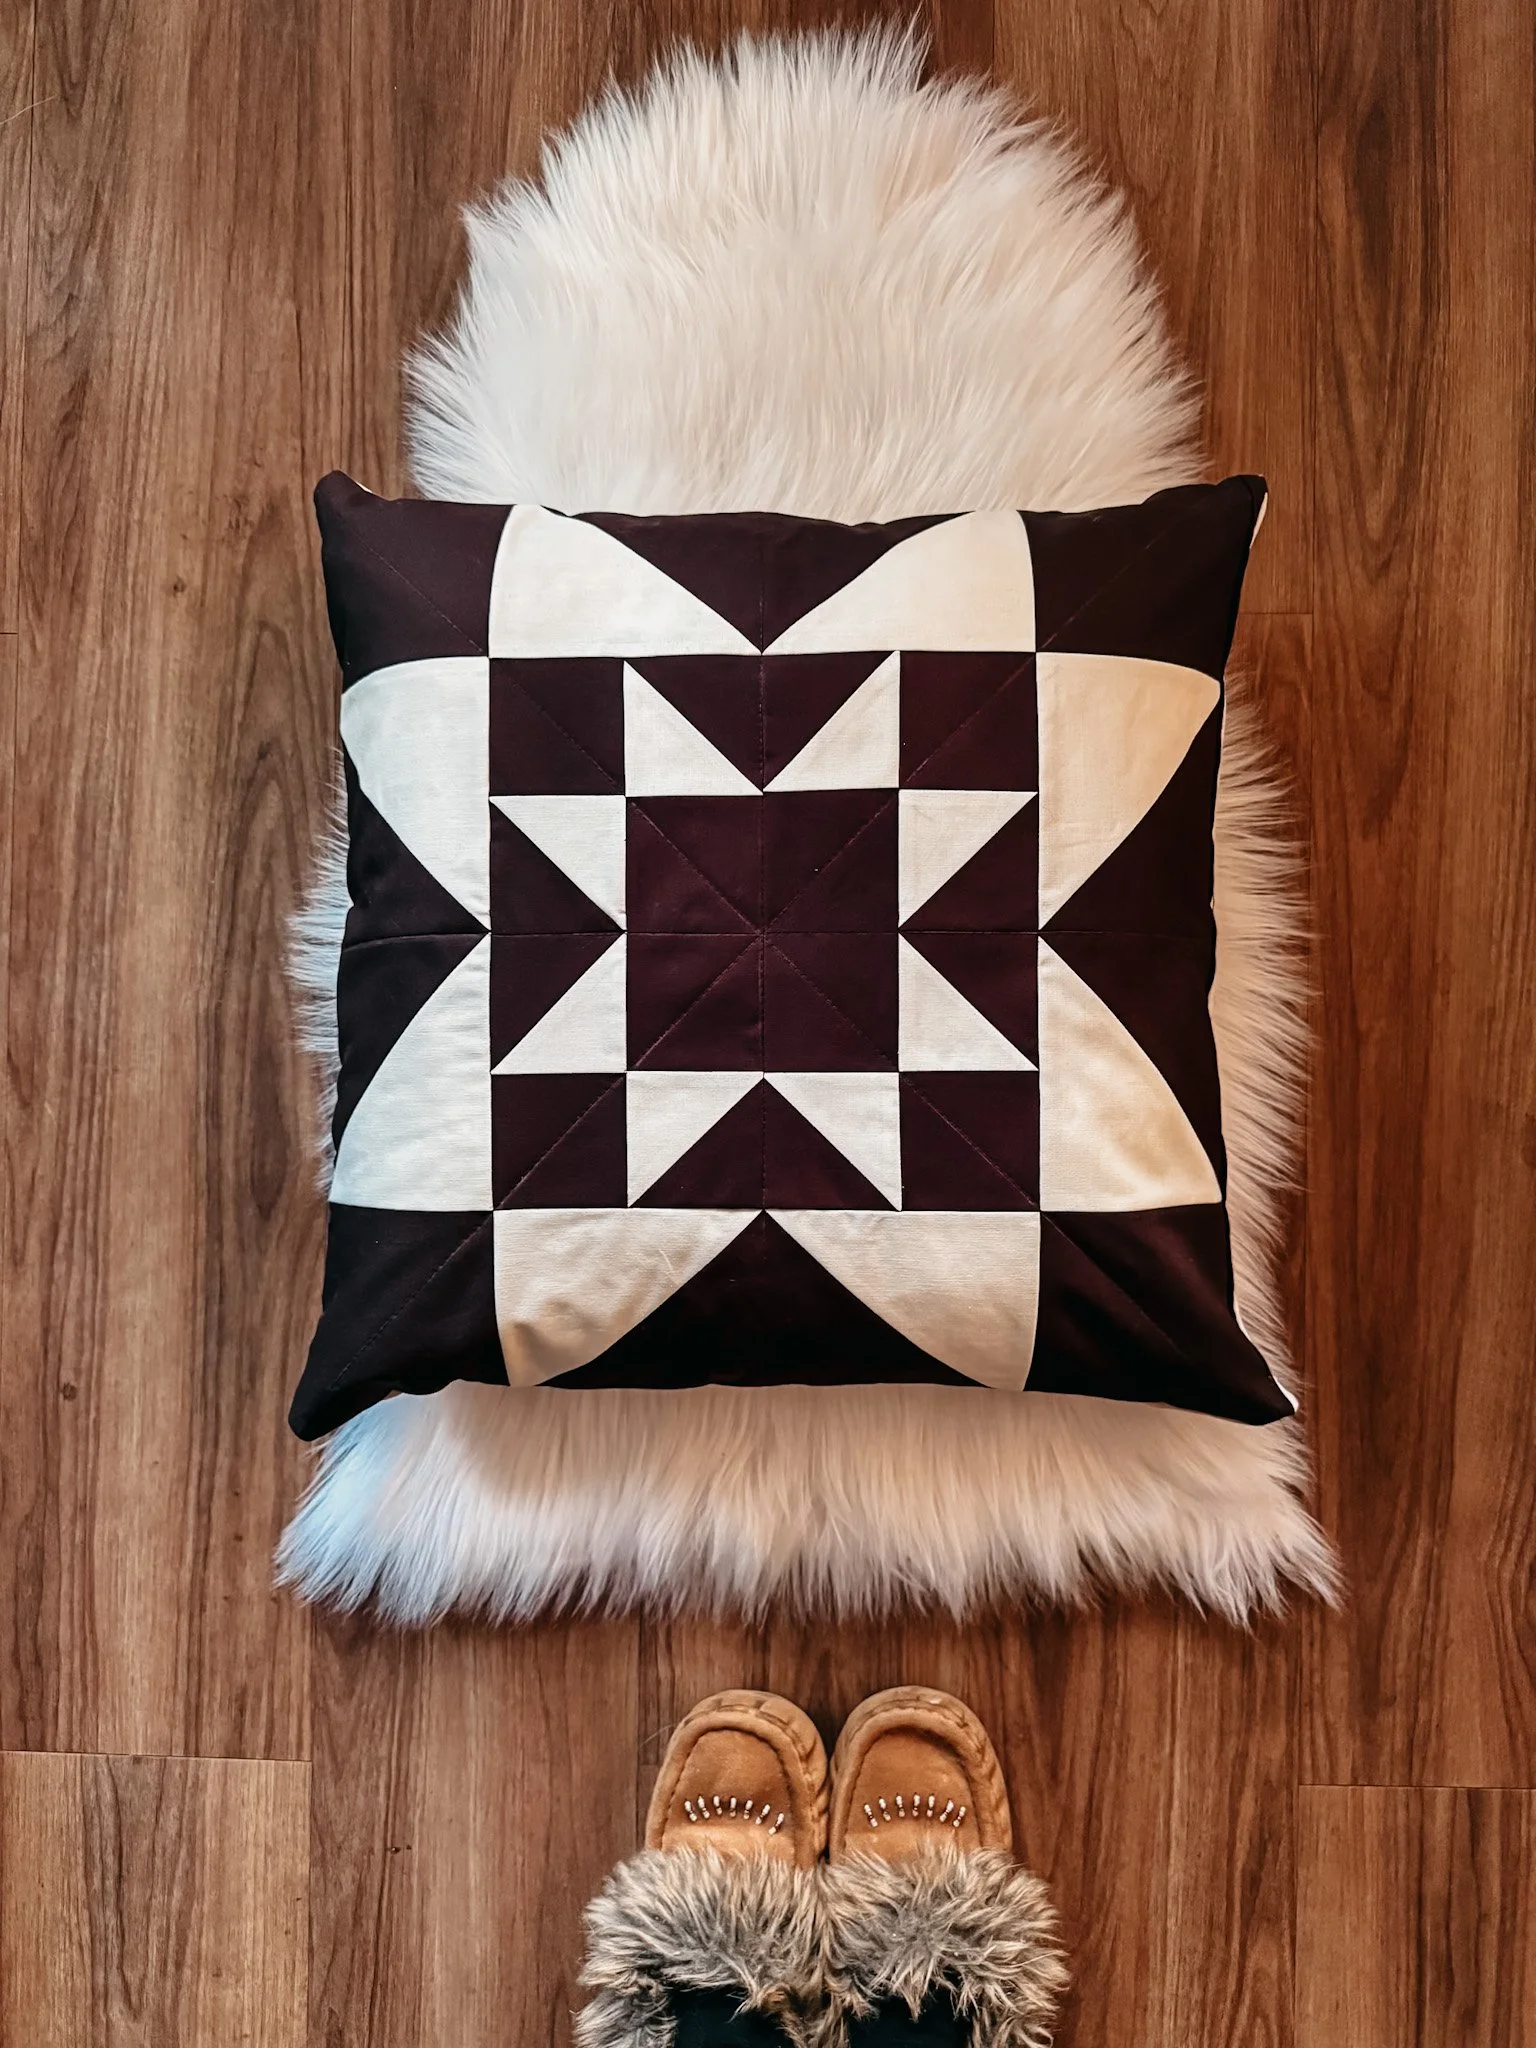
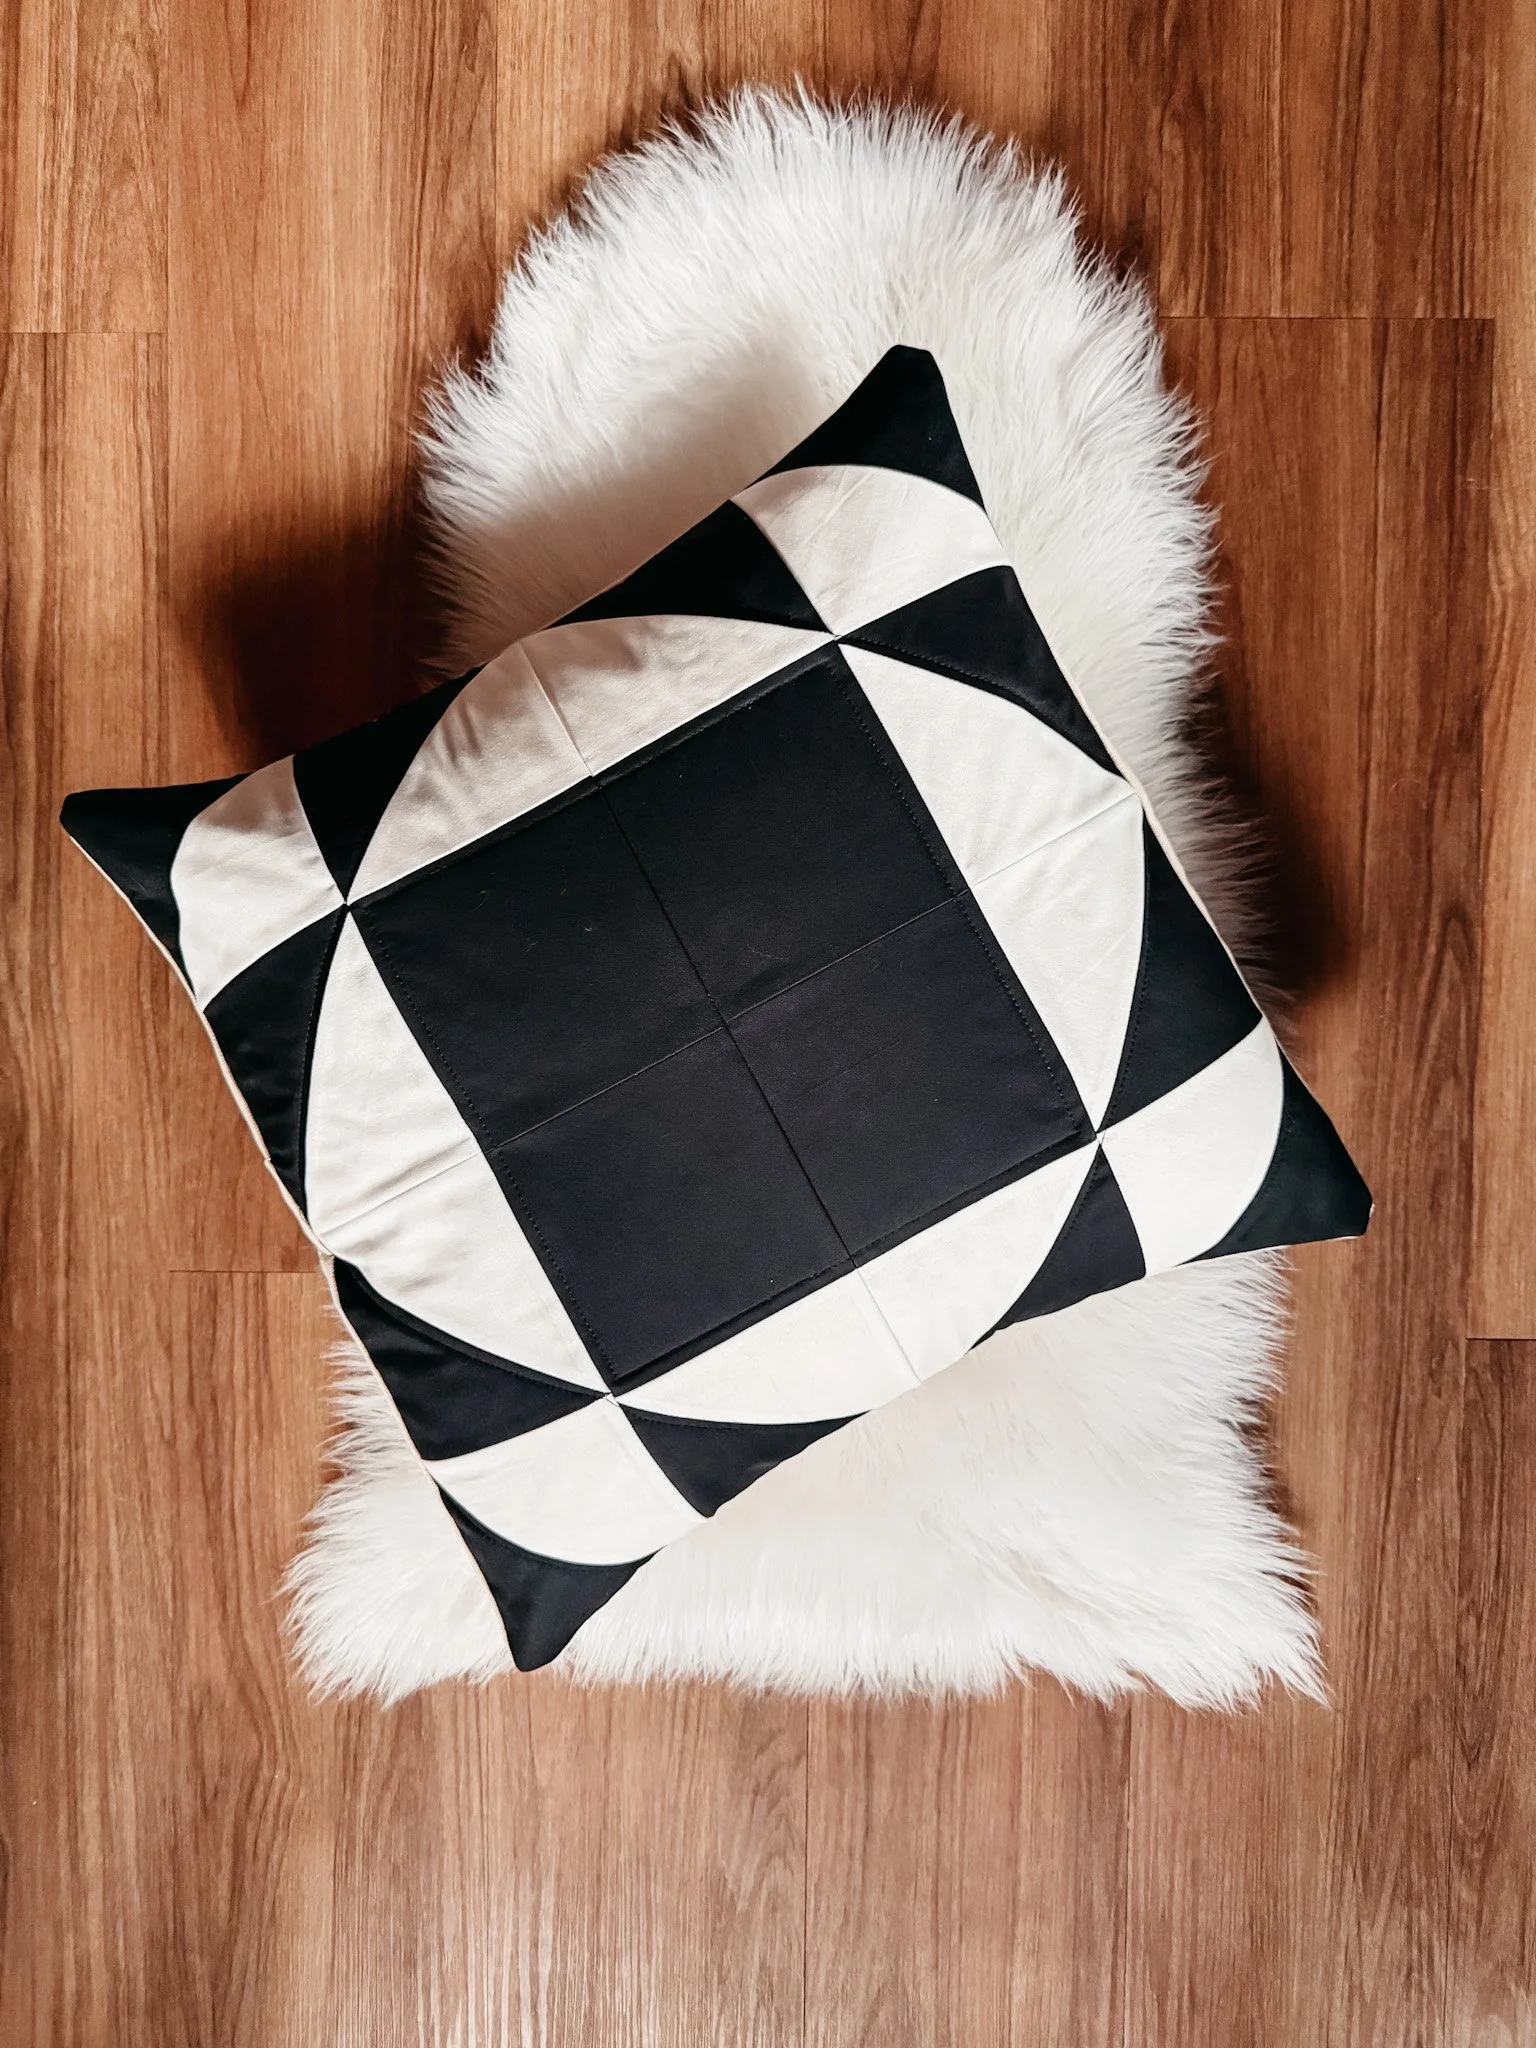
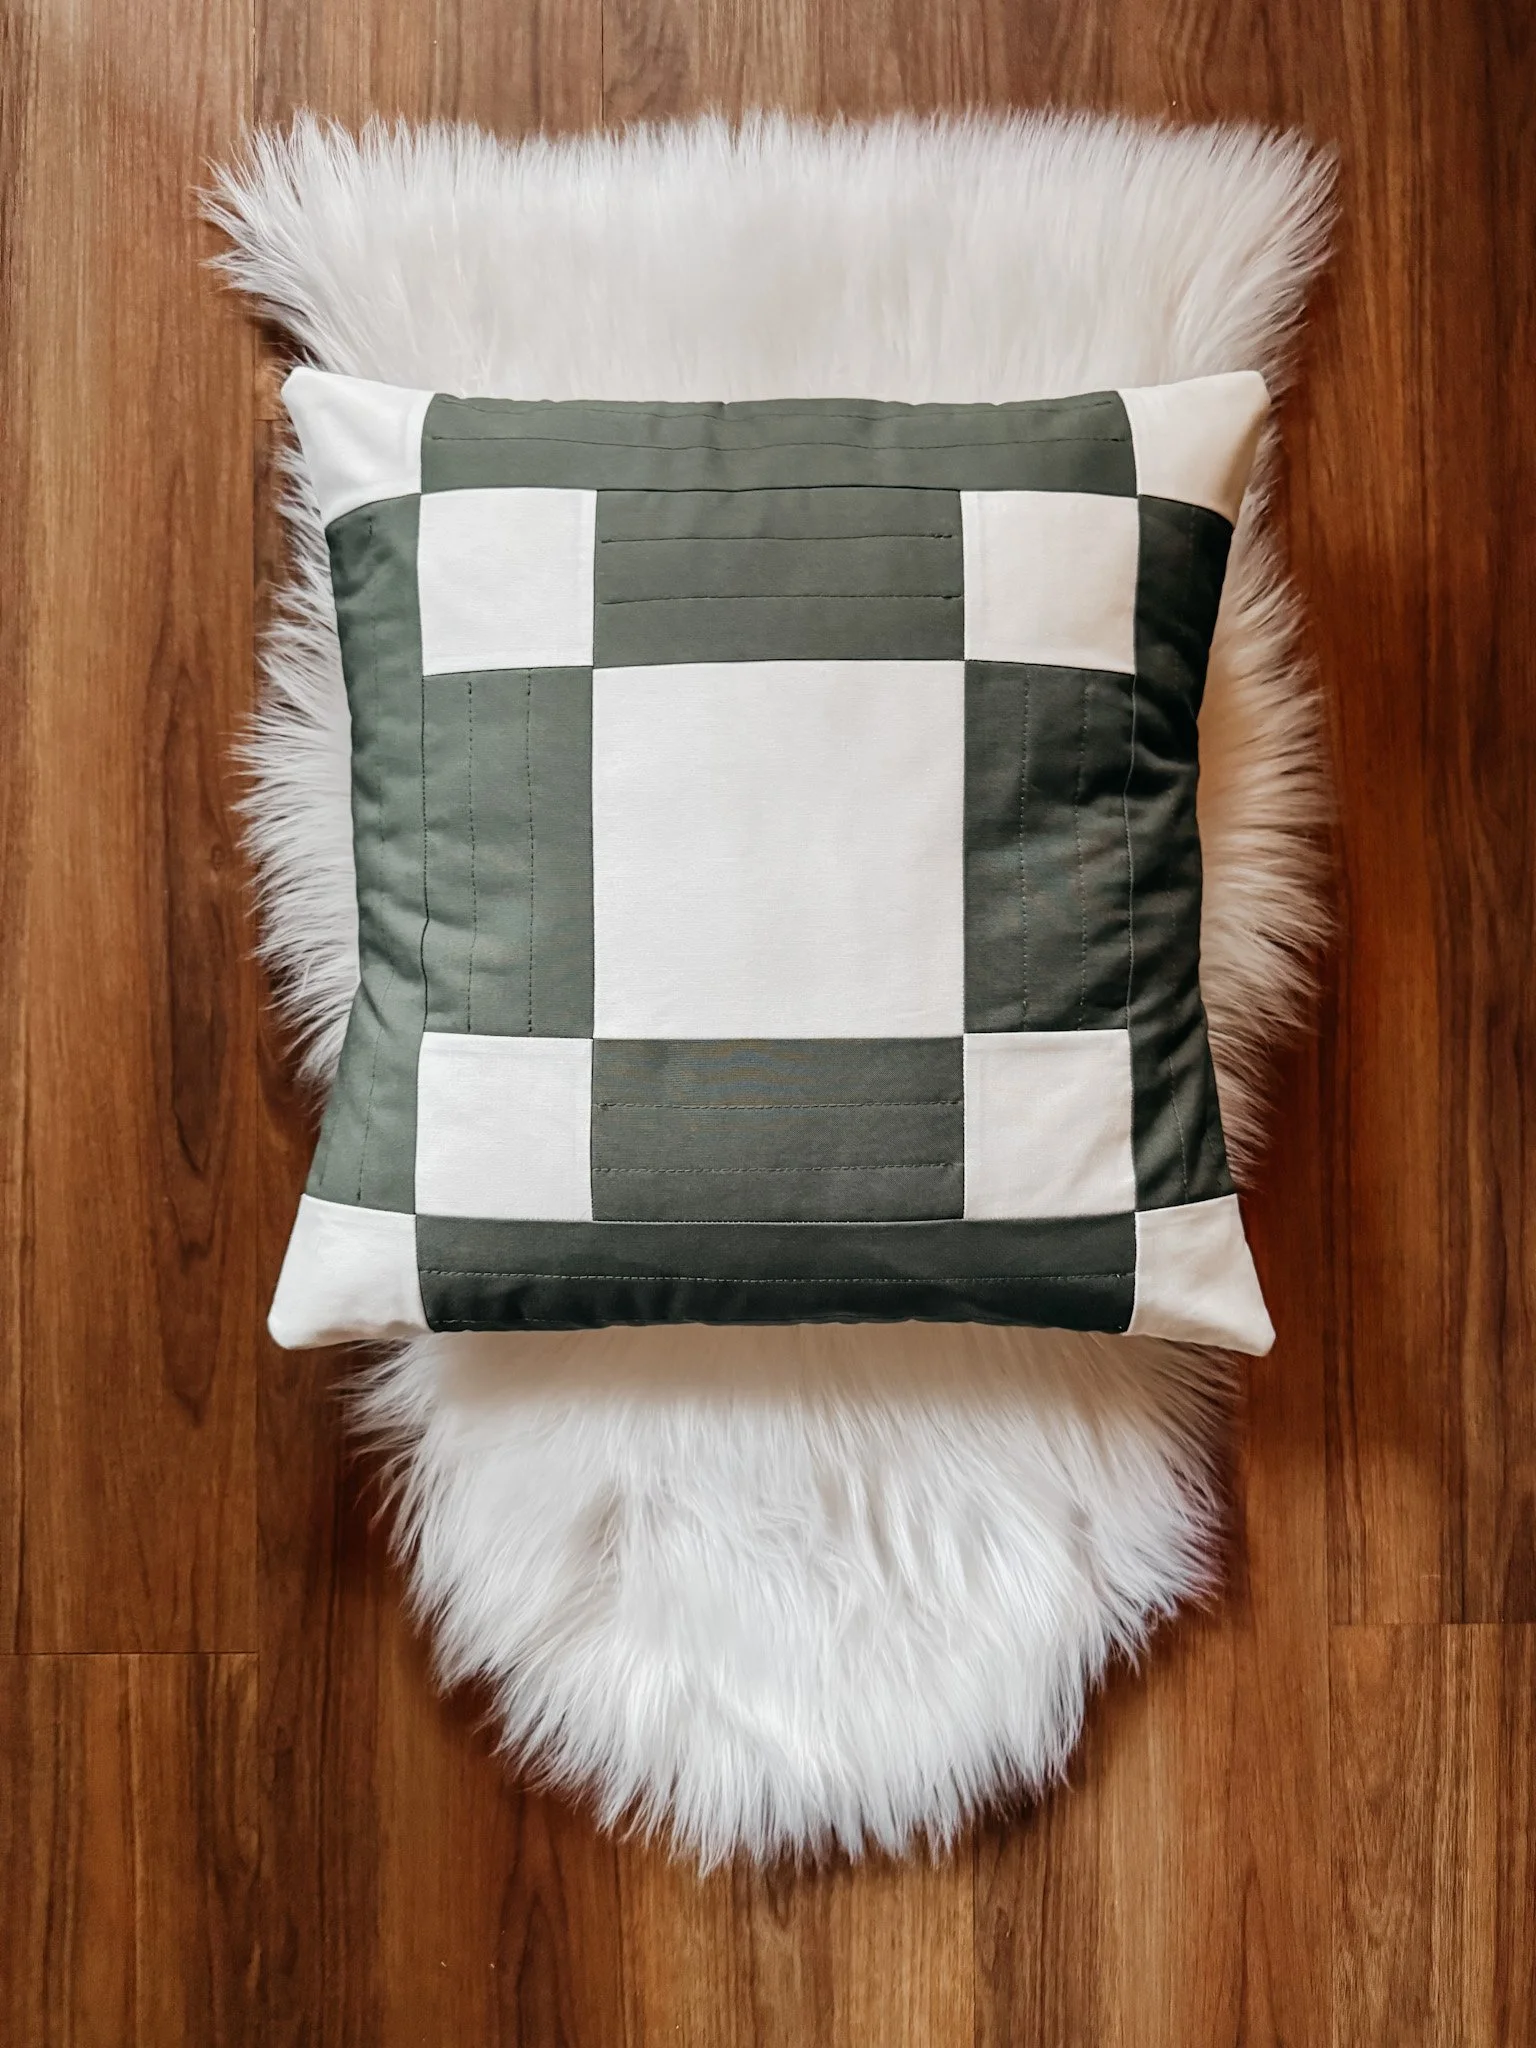
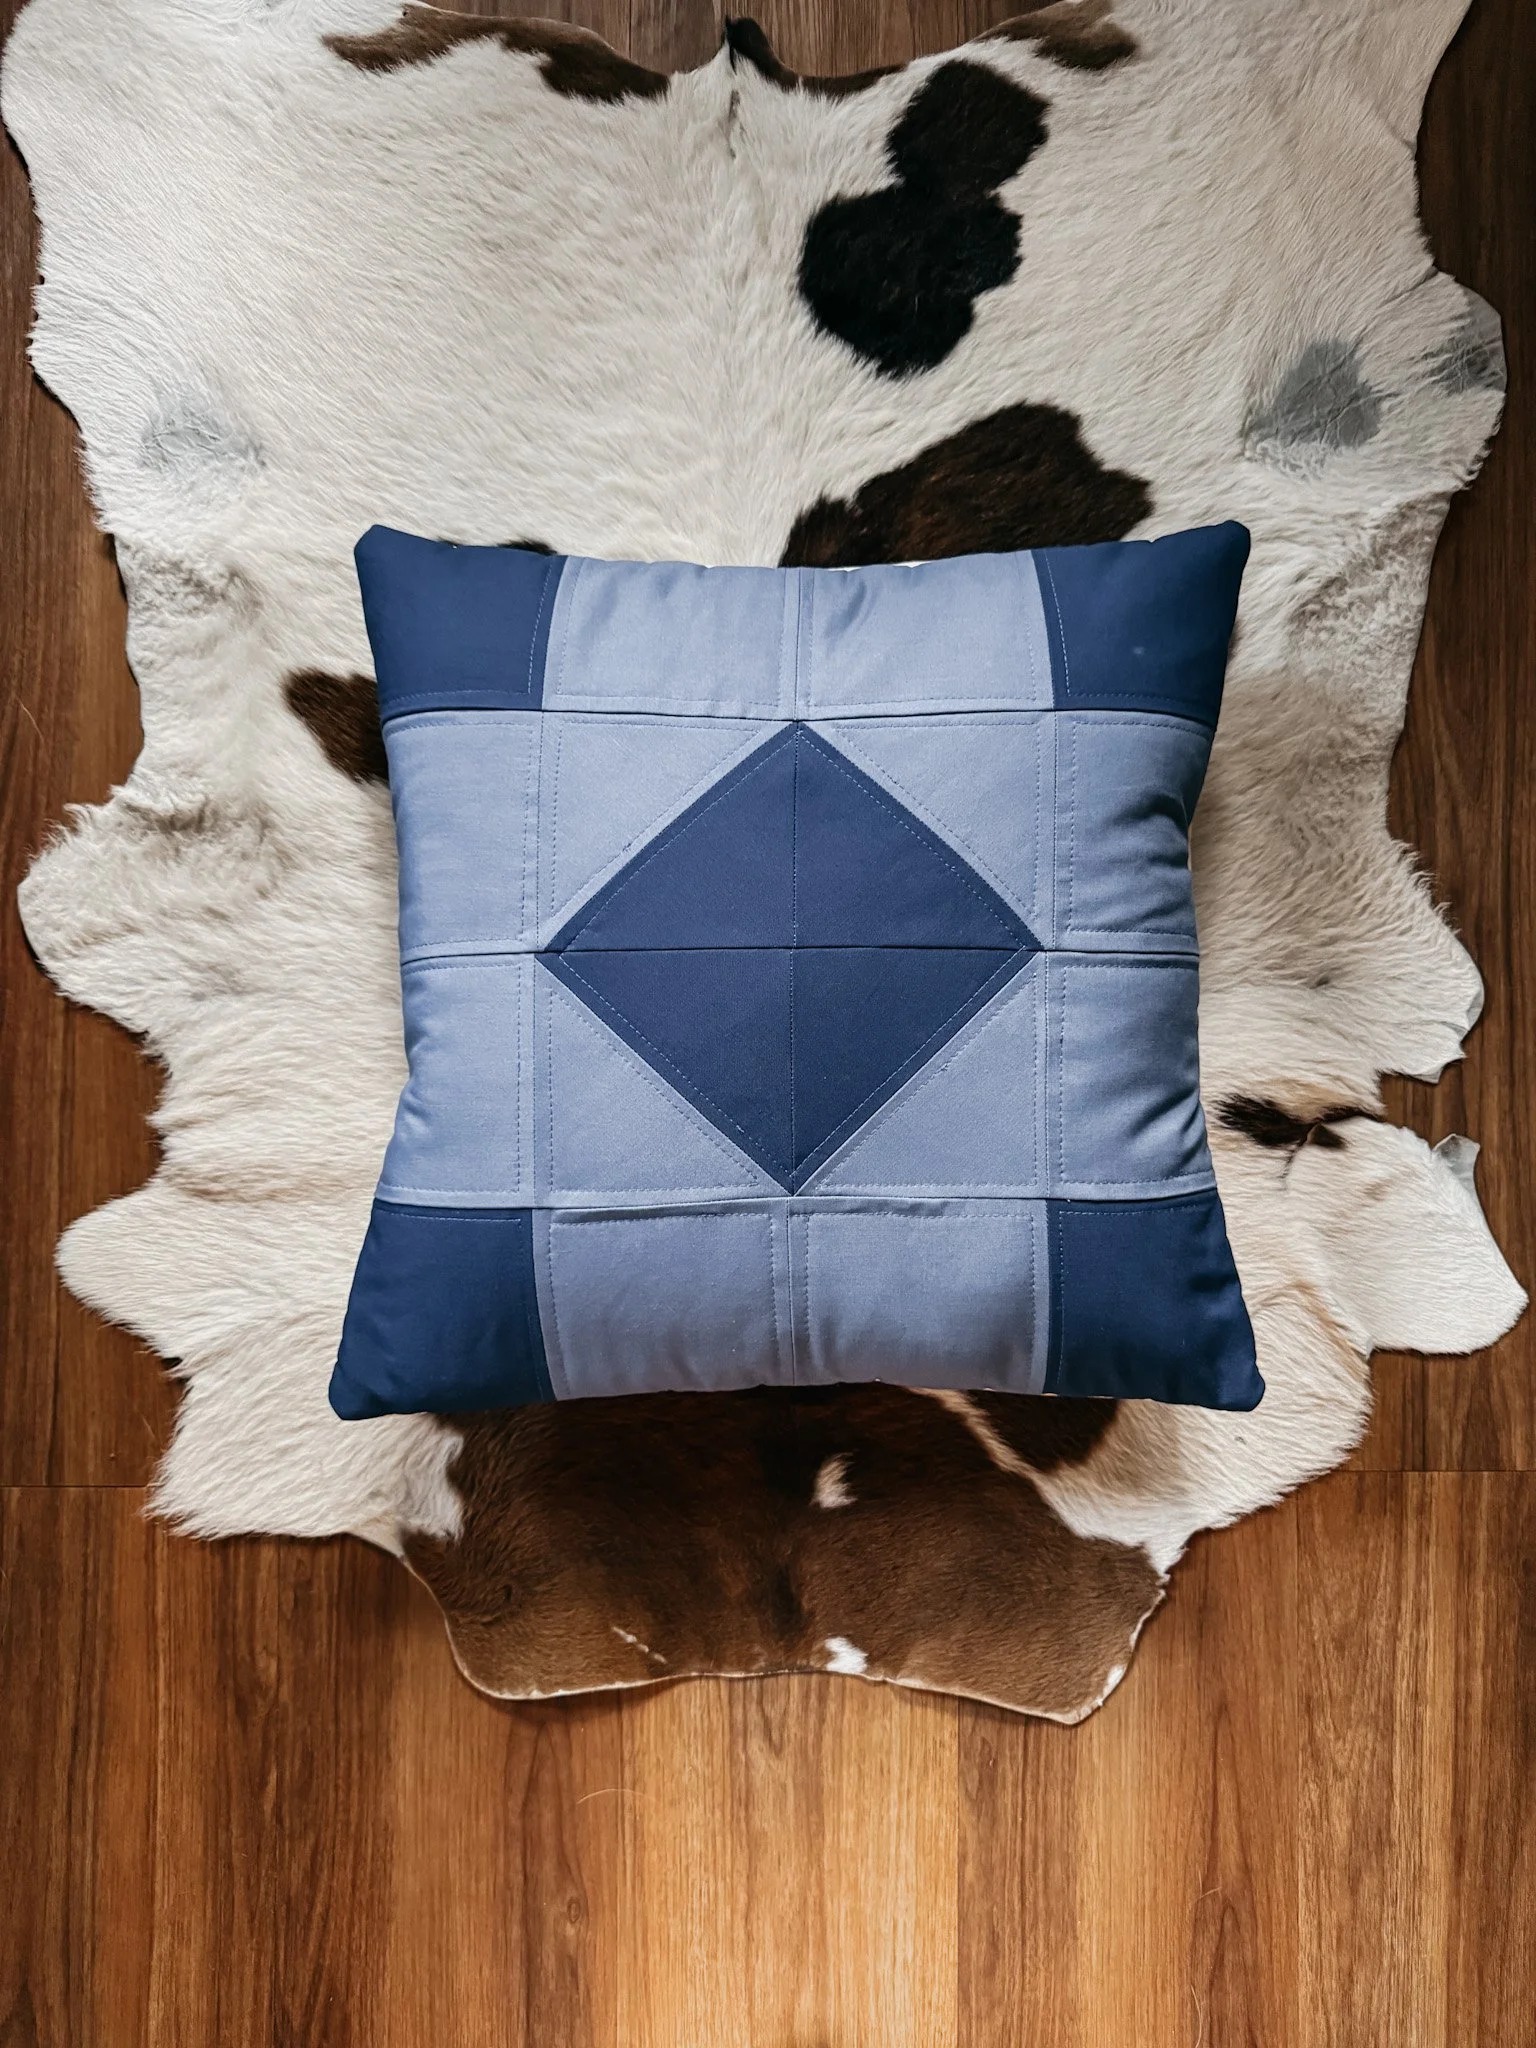
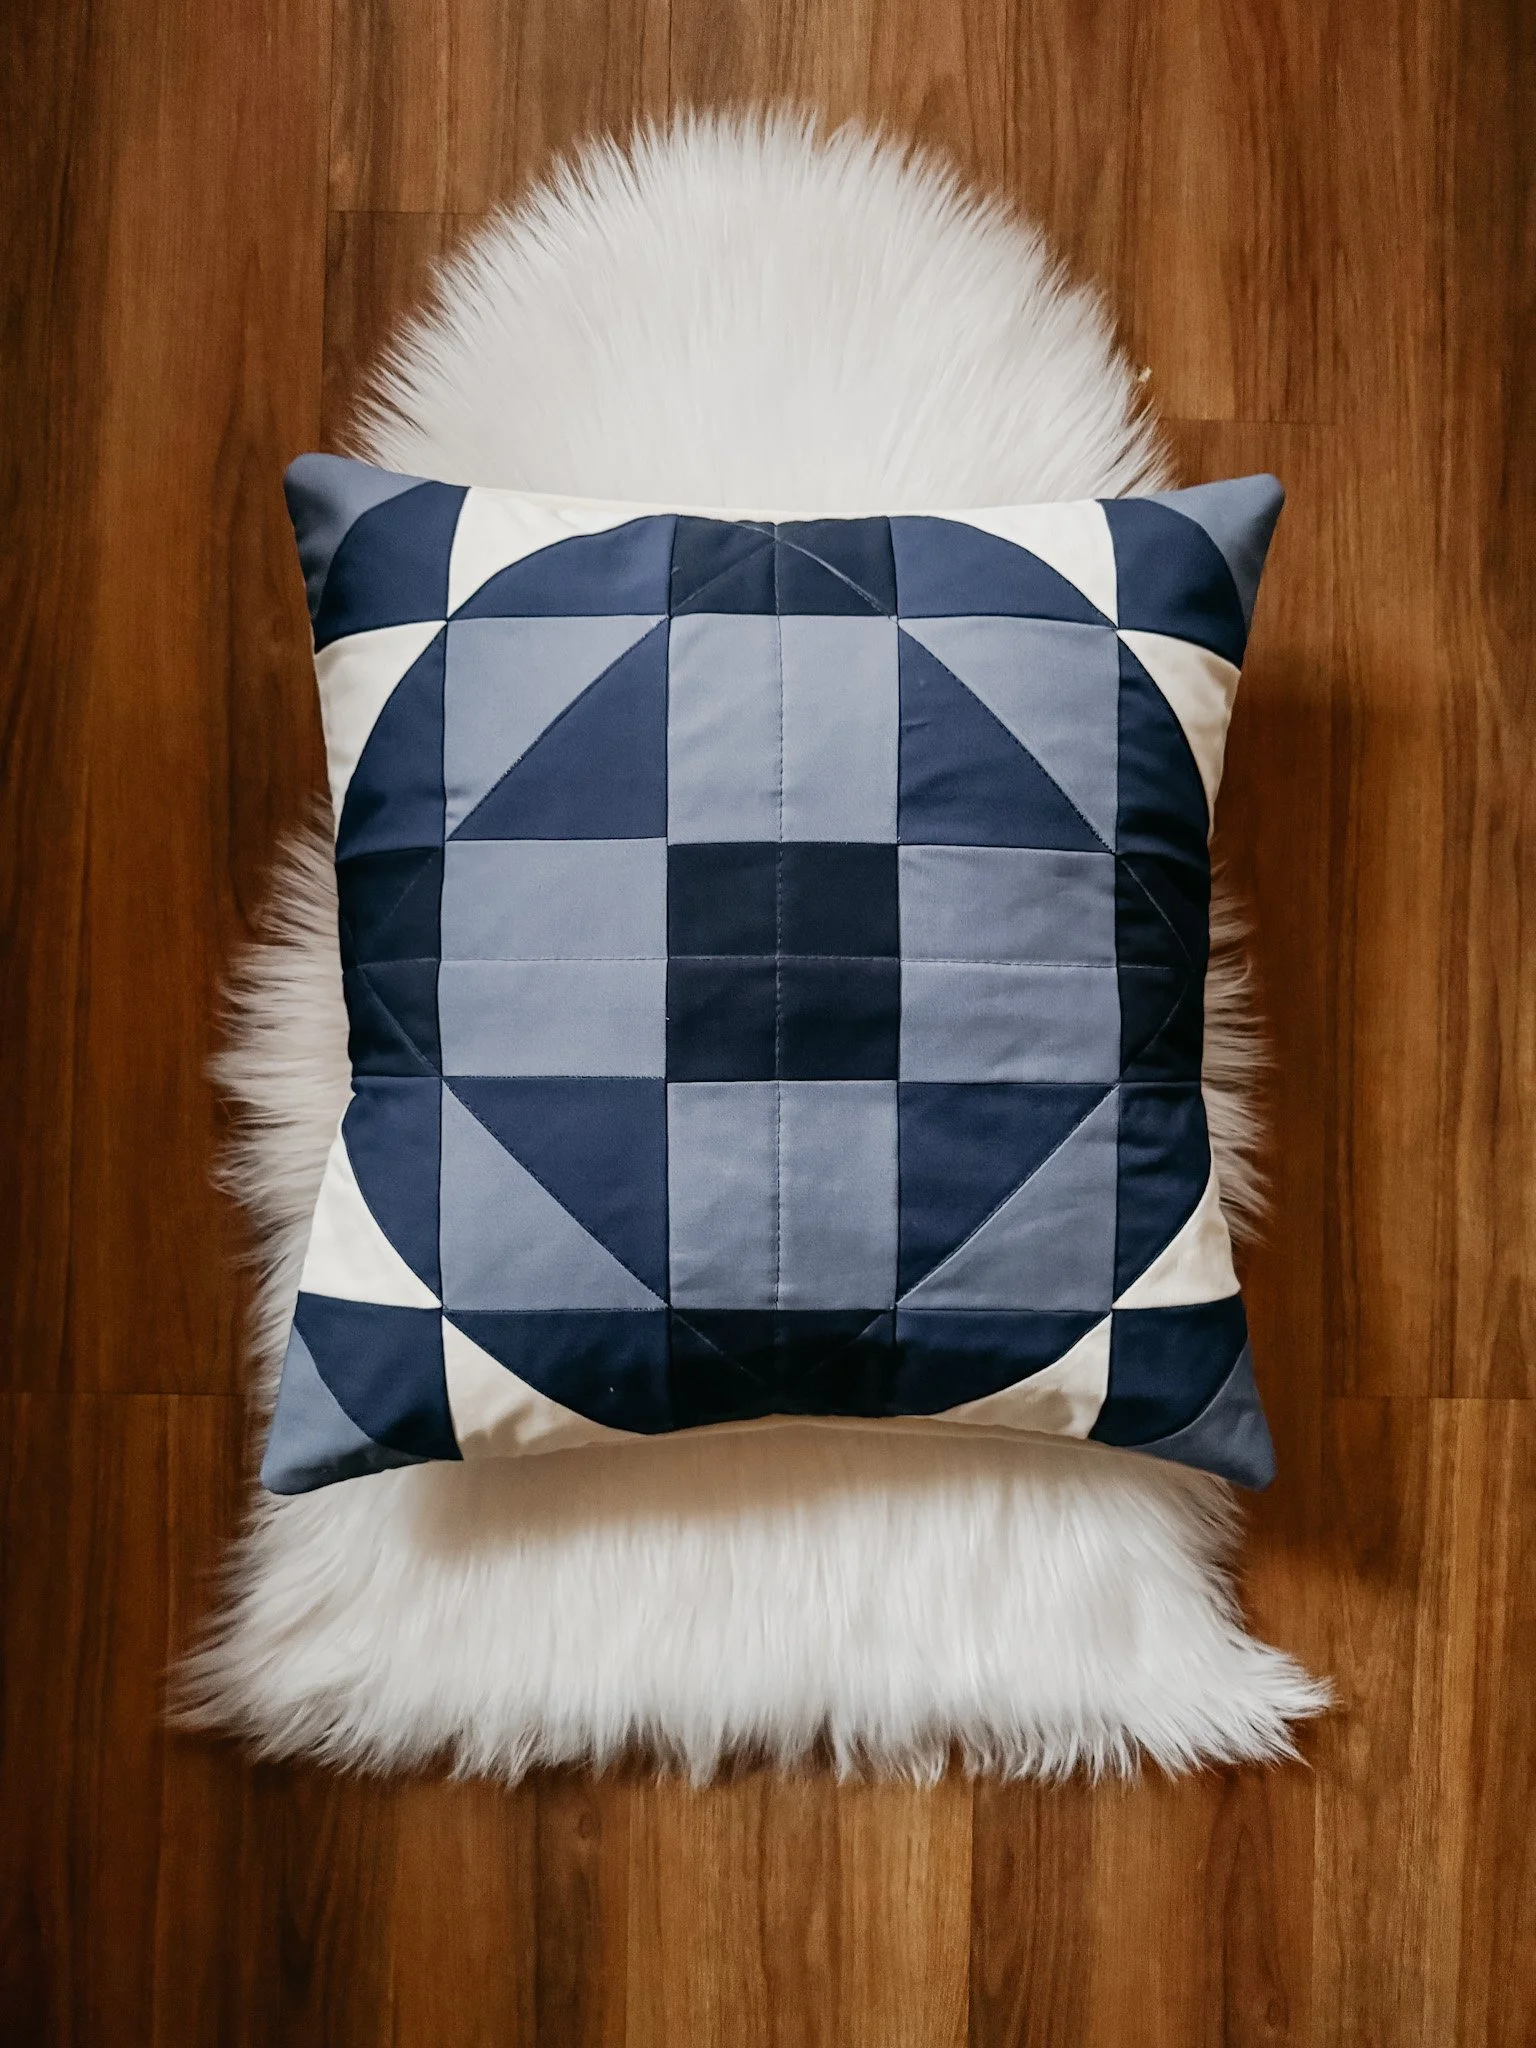
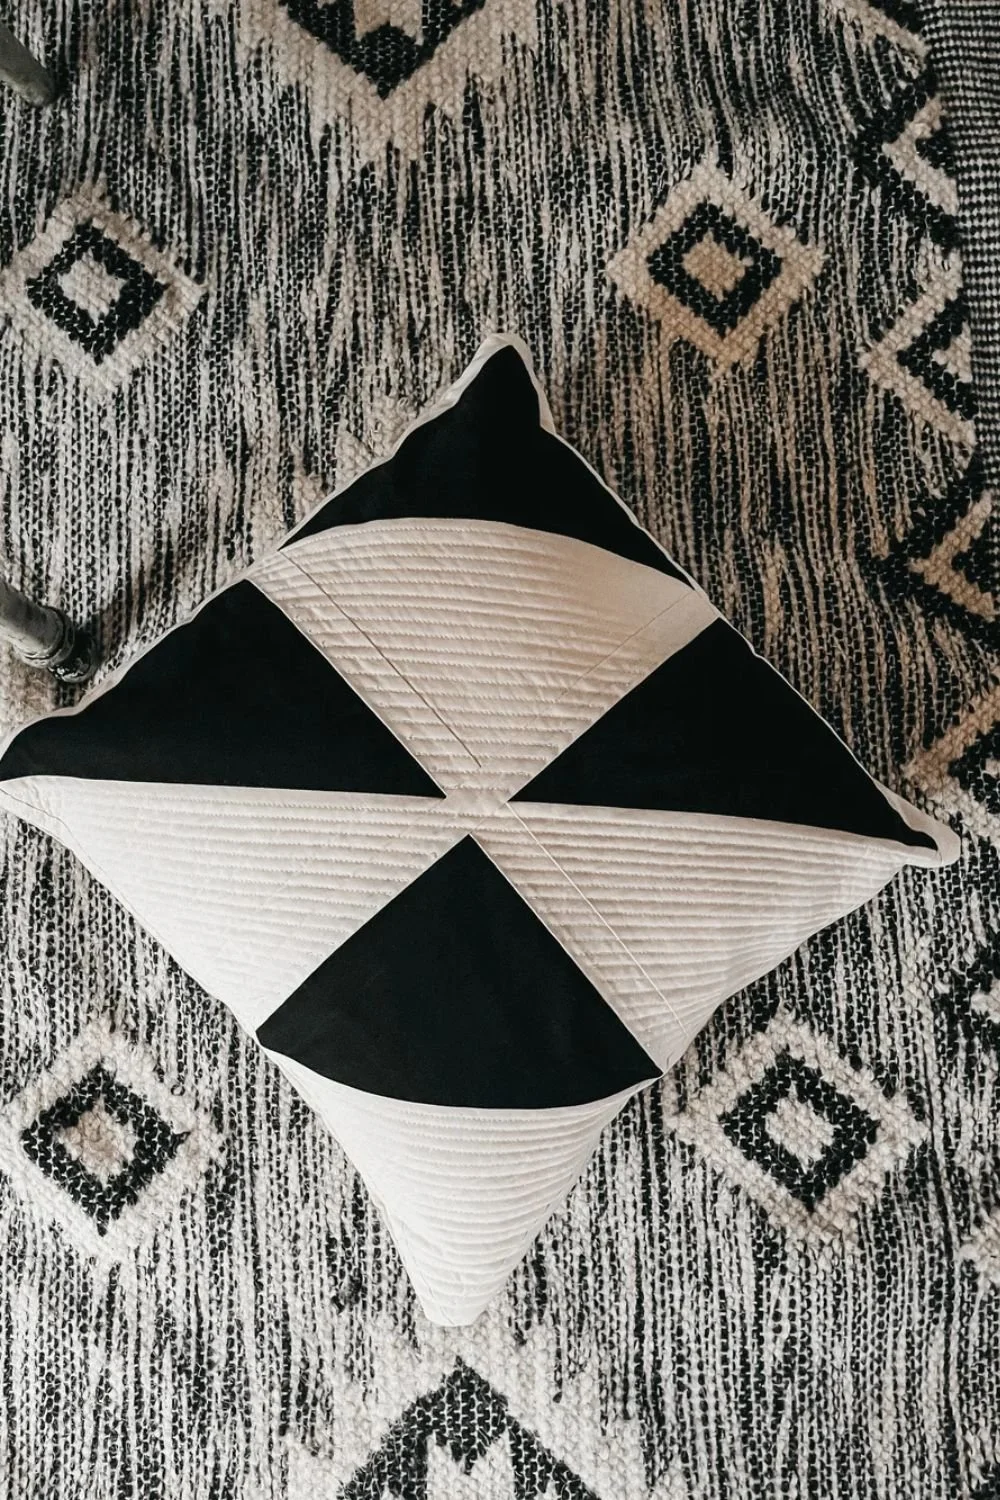
Pillow covers
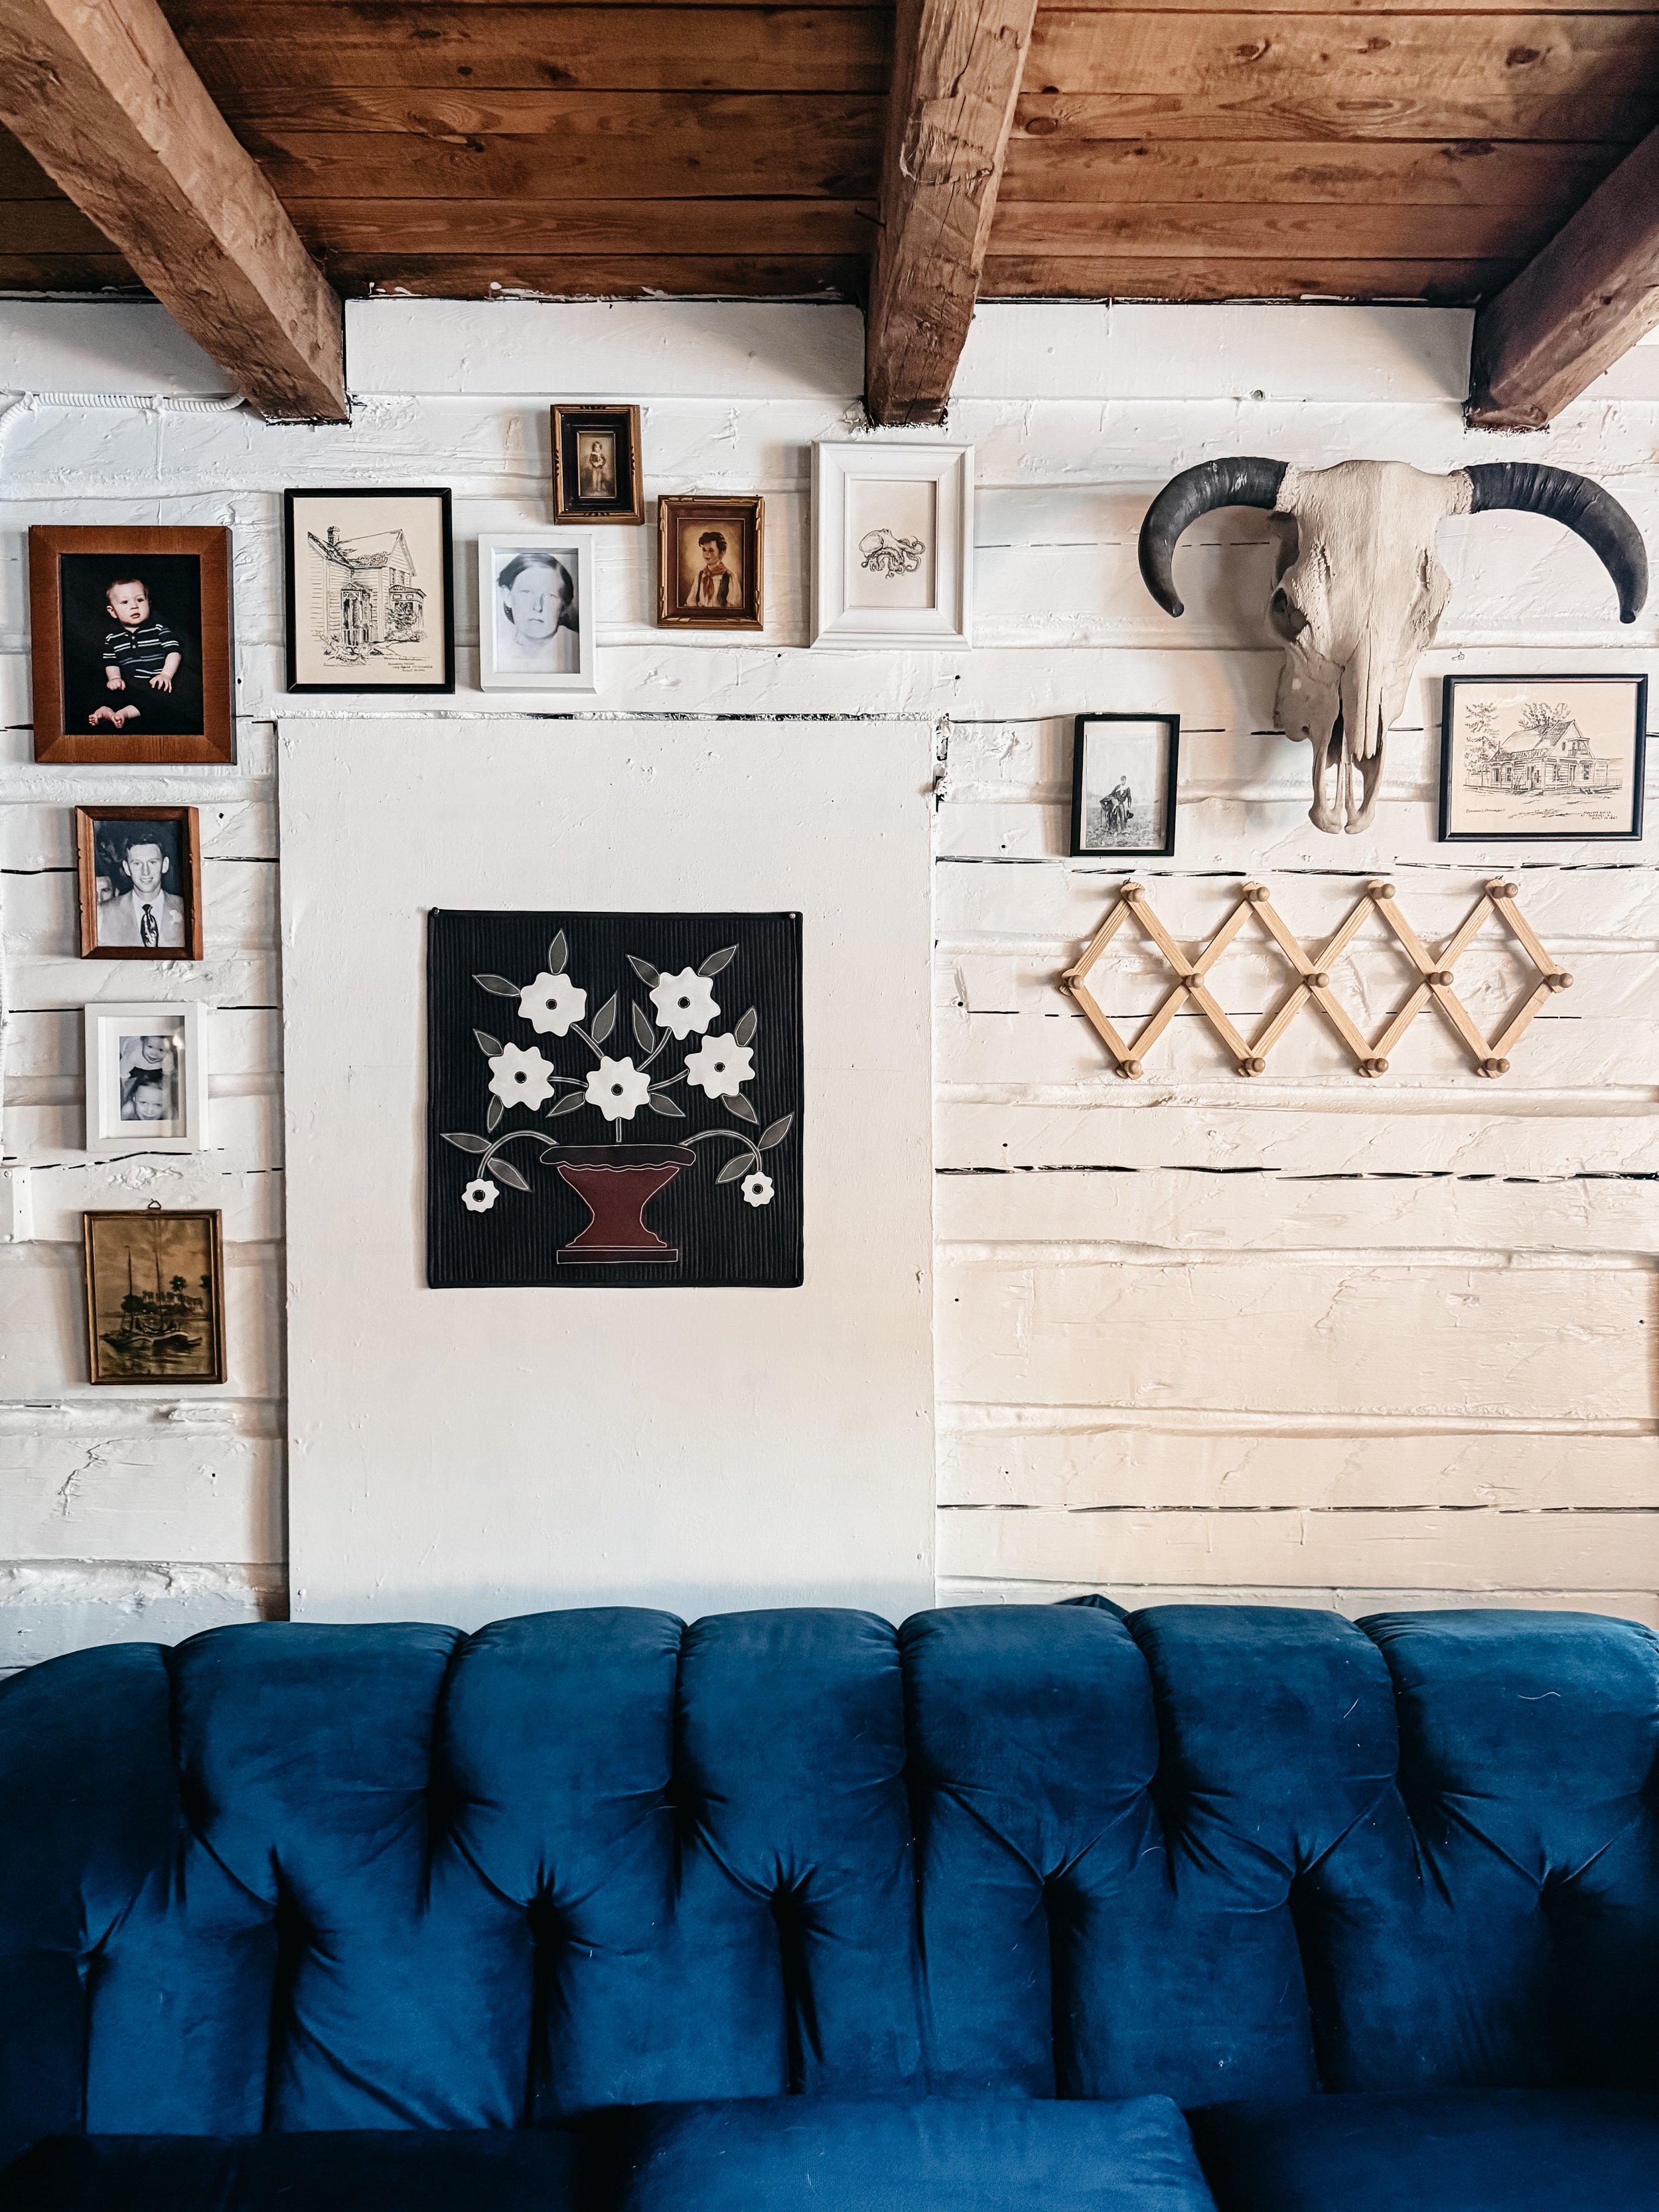
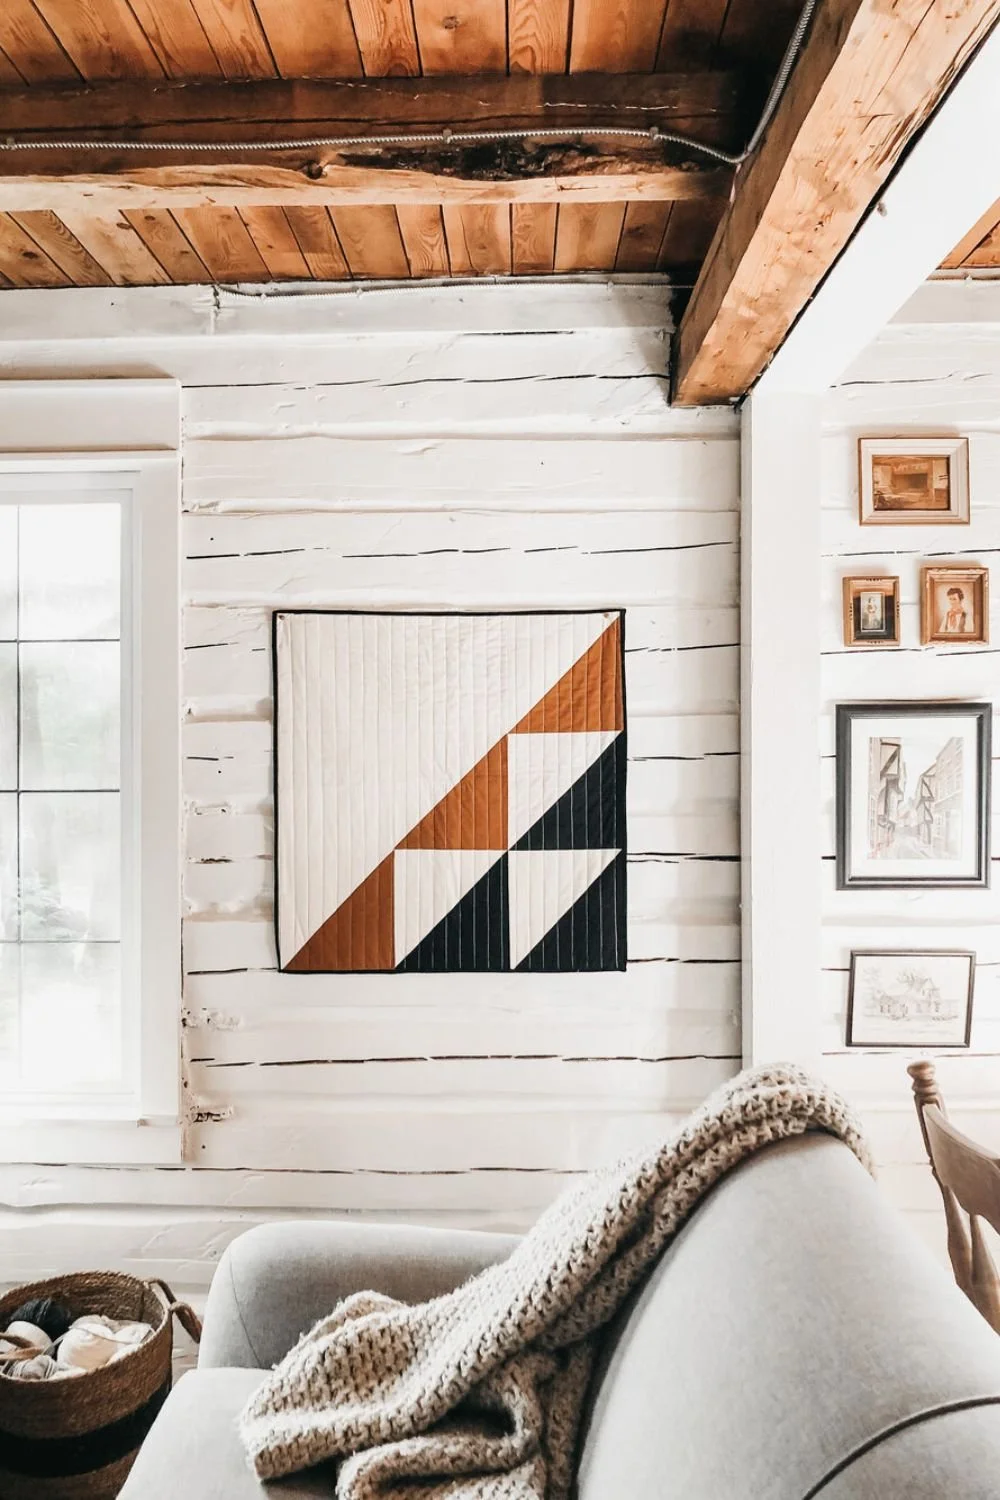
Wall hangings
Small quilted gifts
Folk art inspired quilt projects
It is also a nice way to make your quilting fabric feel more personal without having to buy expensive printed yardage that can go for nearly $30 cdn a metre.
Why I Wanted to Try Stenciling Fabric
I use a lot of solid quilting cotton in my work. Solids are usually more affordable than designer prints, and I love the clean, traditional look they give to quilted projects.
But for the Gran’s Kitchen collection, I wanted something softer and more nostalgic.
I wanted little floral details.
Something that felt handmade.
Something that reminded me of old kitchens, brown cupboards, vintage linens, and the warmth of my grandmothers.
That is what led me to try hand stenciling and hand stamping my own quilting cotton.
The Paint I Would Not Use Again
The biggest thing I learned?
I would not use regular fabric paint for quilting cotton again.
I tried it, and while it technically worked on the fabric, I did not like how it behaved afterward.
Once it dried and was heat set, it felt rubbery and sticky. That became a problem when I went to iron and cut the fabric for quilting projects.
The paint wanted to stick to my quilting ruler, which made cutting really frustrating. It also did not feel as nice on the fabric as I wanted it to.
For a t-shirt, tote bag, or another craft project, fabric paint might be fine. But for quilting cotton that you still need to press, cut, piece, quilt, and bind, I personally would not use it again.
My Favourite Paint for Stenciling Quilting Cotton
My favourite paint so far has been multi-surface craft paint.
I used Martha Stewart multi-surface paint, and I was really happy with how it worked on quilting cotton.
It gave me a nicer finish than regular fabric paint. It did not feel as rubbery, it did not stick to my acrylic quilting ruler, and it worked well with both stencils and stamps.
It also gave a stronger, clearer result when stenciling, which is what I wanted for the floral motifs in the Gran’s Kitchen collection.
After the paint dried completely, I heat set it with a hot iron to make it permanent.
Other Paint Options for Stamping and Stenciling Fabric
There are a few different options you can try when adding designs to quilting cotton.
1. Multi-Surface Craft Paint
This was my favourite option.
It worked well for stenciling and stamping, gave a nice finish, and did not cause the same sticky issues I had with regular fabric paint.
2. Acrylic Paint + Fabric Medium
Another option is mixing regular acrylic paint with fabric medium.
The fabric medium helps make acrylic paint more suitable for fabric. I mixed mine about 50/50.
This can be a more affordable option, especially if you already have acrylic paint at home. The one thing to watch is the consistency. If your acrylic paint is too runny, your stencil may not come out as crisp.
A thicker acrylic paint will usually give you a cleaner result than a very fluid acrylic.
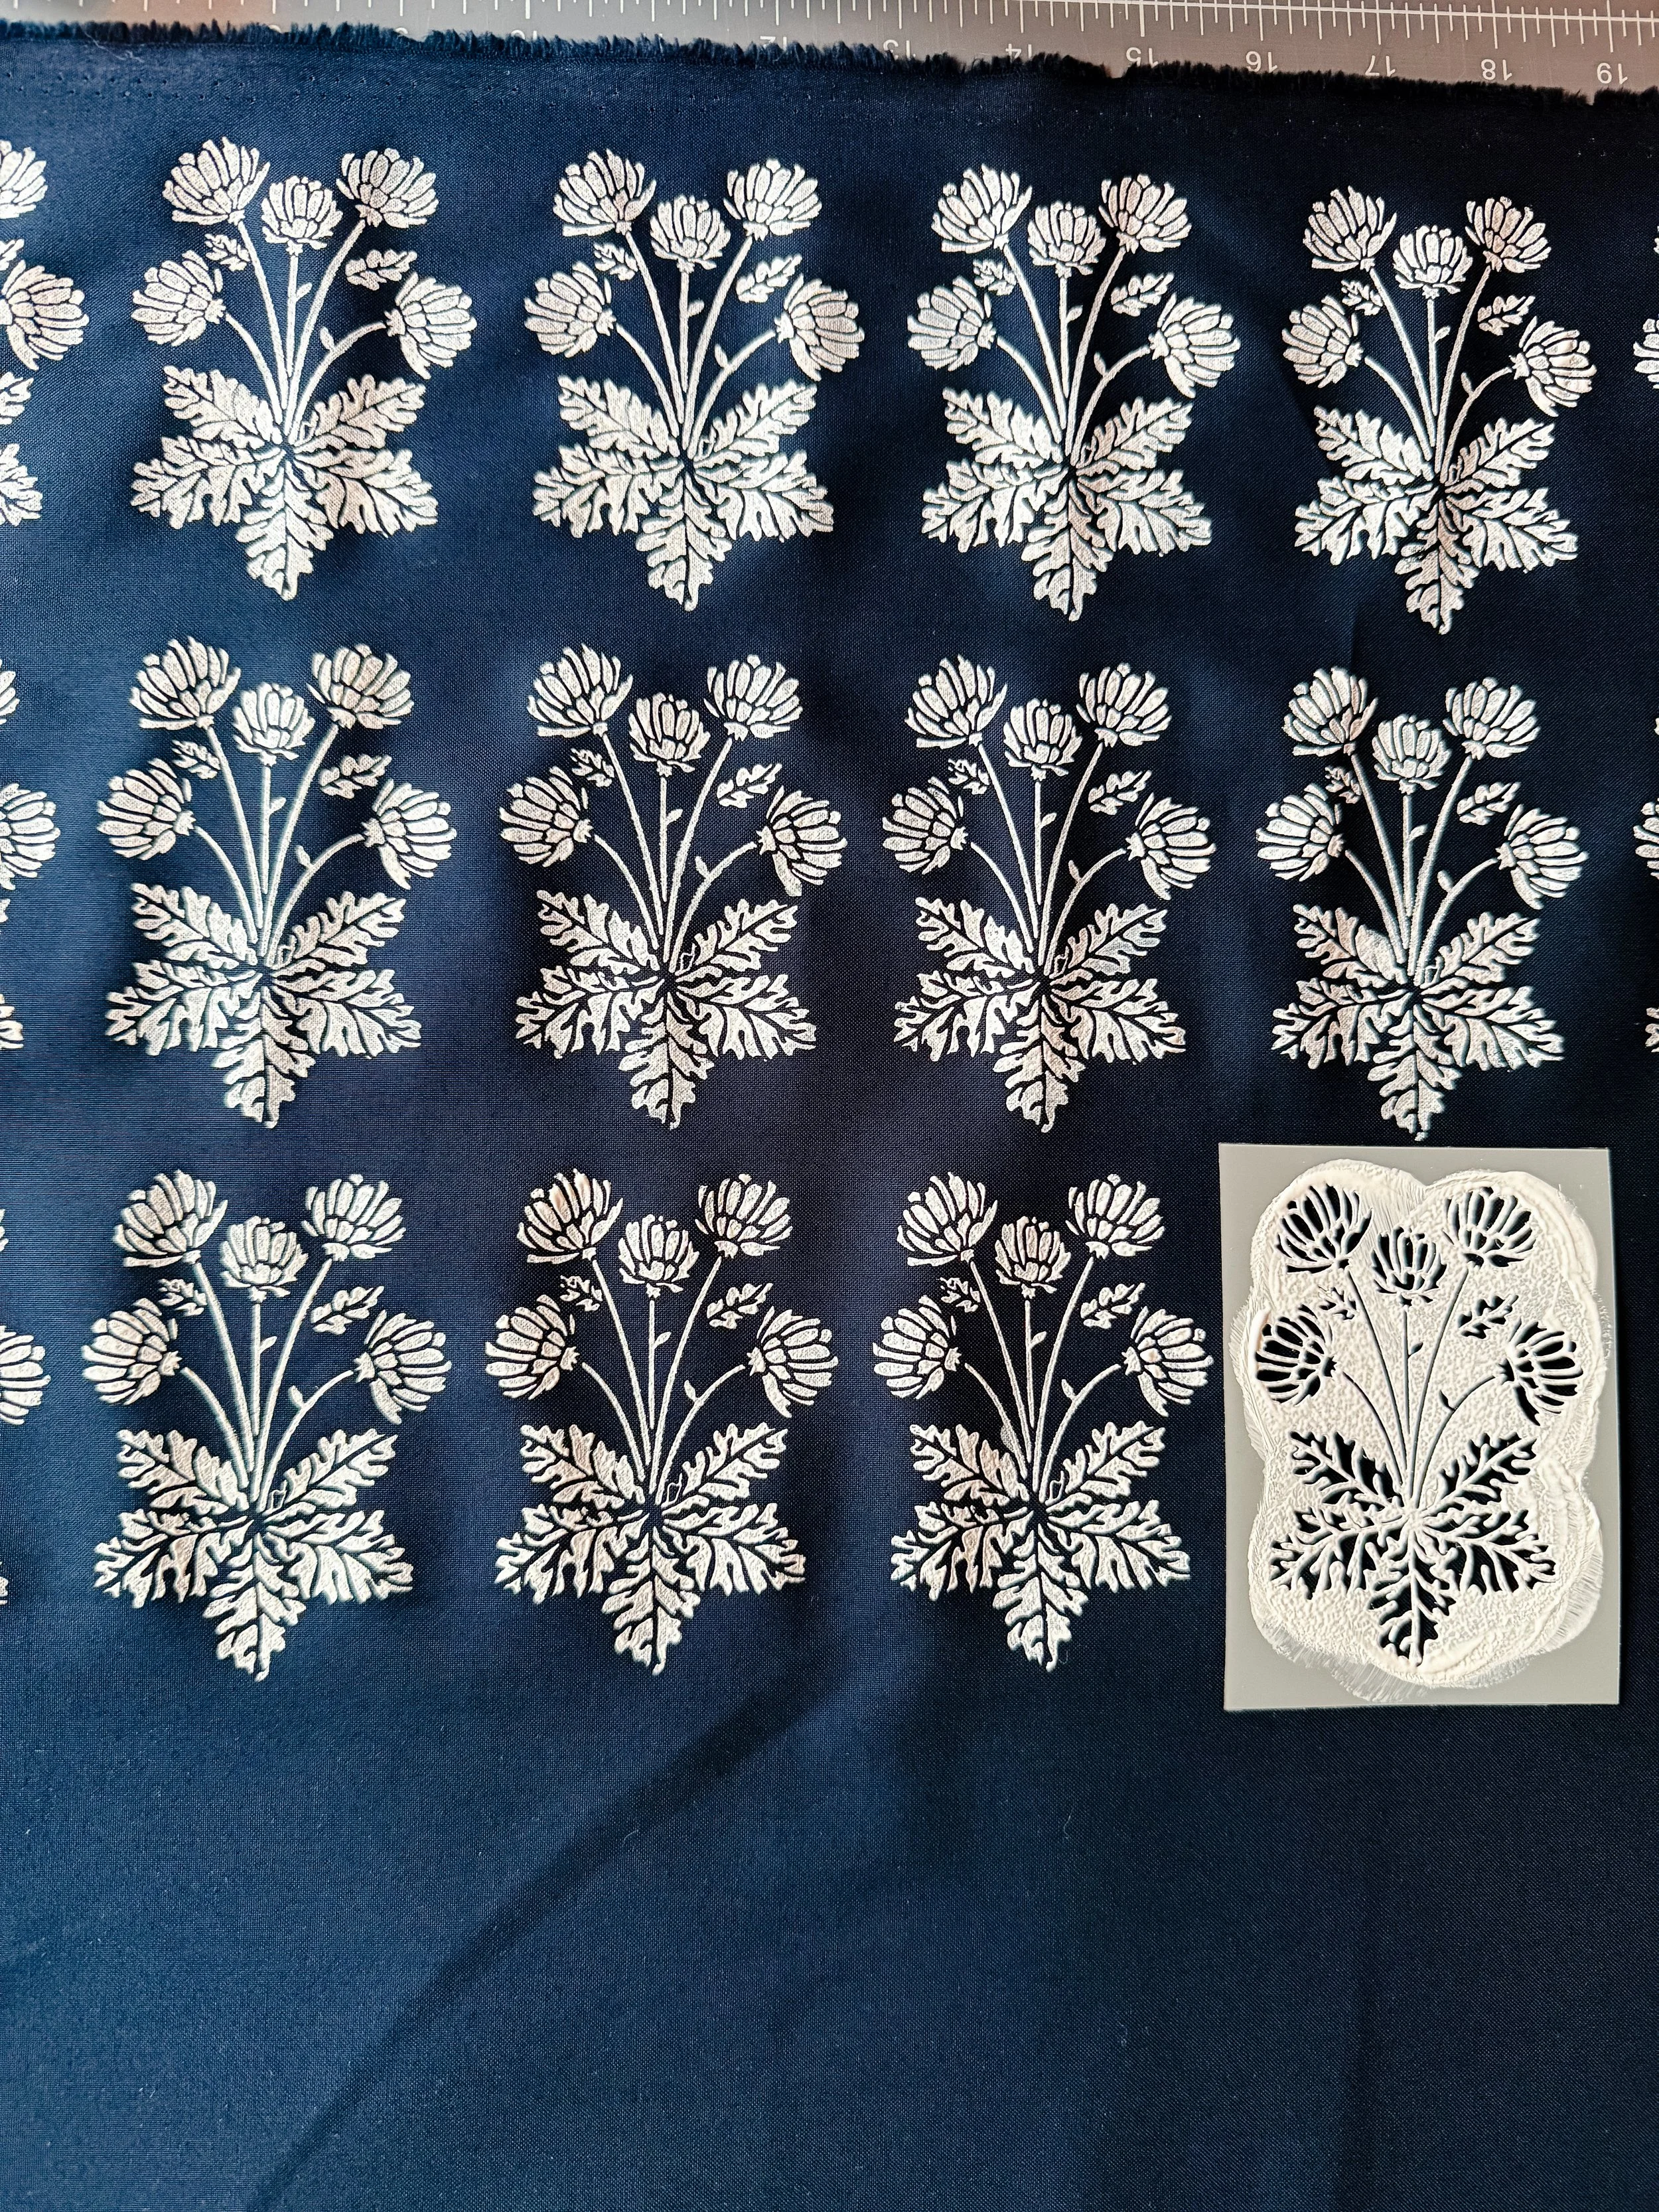
3. Block Printing Ink
Block printing ink works really well for stamping, especially with carved stamps.
It gives that beautiful hand-printed look, with natural variation in the design. I love that rustic, handmade feel.
However, I did not love it quite as much for stenciling. It is thicker and more expensive, and I found it better suited to stamping than to filling in stencil designs.
4. Regular Fabric Paint
This was my least favourite for quilting cotton.
It felt too rubbery and sticky after drying and heat setting. It made the fabric harder to work with for quilting, especially when cutting with an acrylic ruler.
Stenciling vs. Stamping Fabric
I tried both stamping and stenciling, and I liked them for different reasons.
Hand stamping gives a more rustic, imperfect, handmade look. You get little variations in the print depending on how much ink or paint is on the stamp. I actually really like that look for certain projects.
Stenciling gives a bolder and more vibrant design. You can apply more paint through the stencil, so the design tends to show up more clearly.
For Gran’s Kitchen, I wanted the little flowers to pop, so I ended up preferring the stencils.
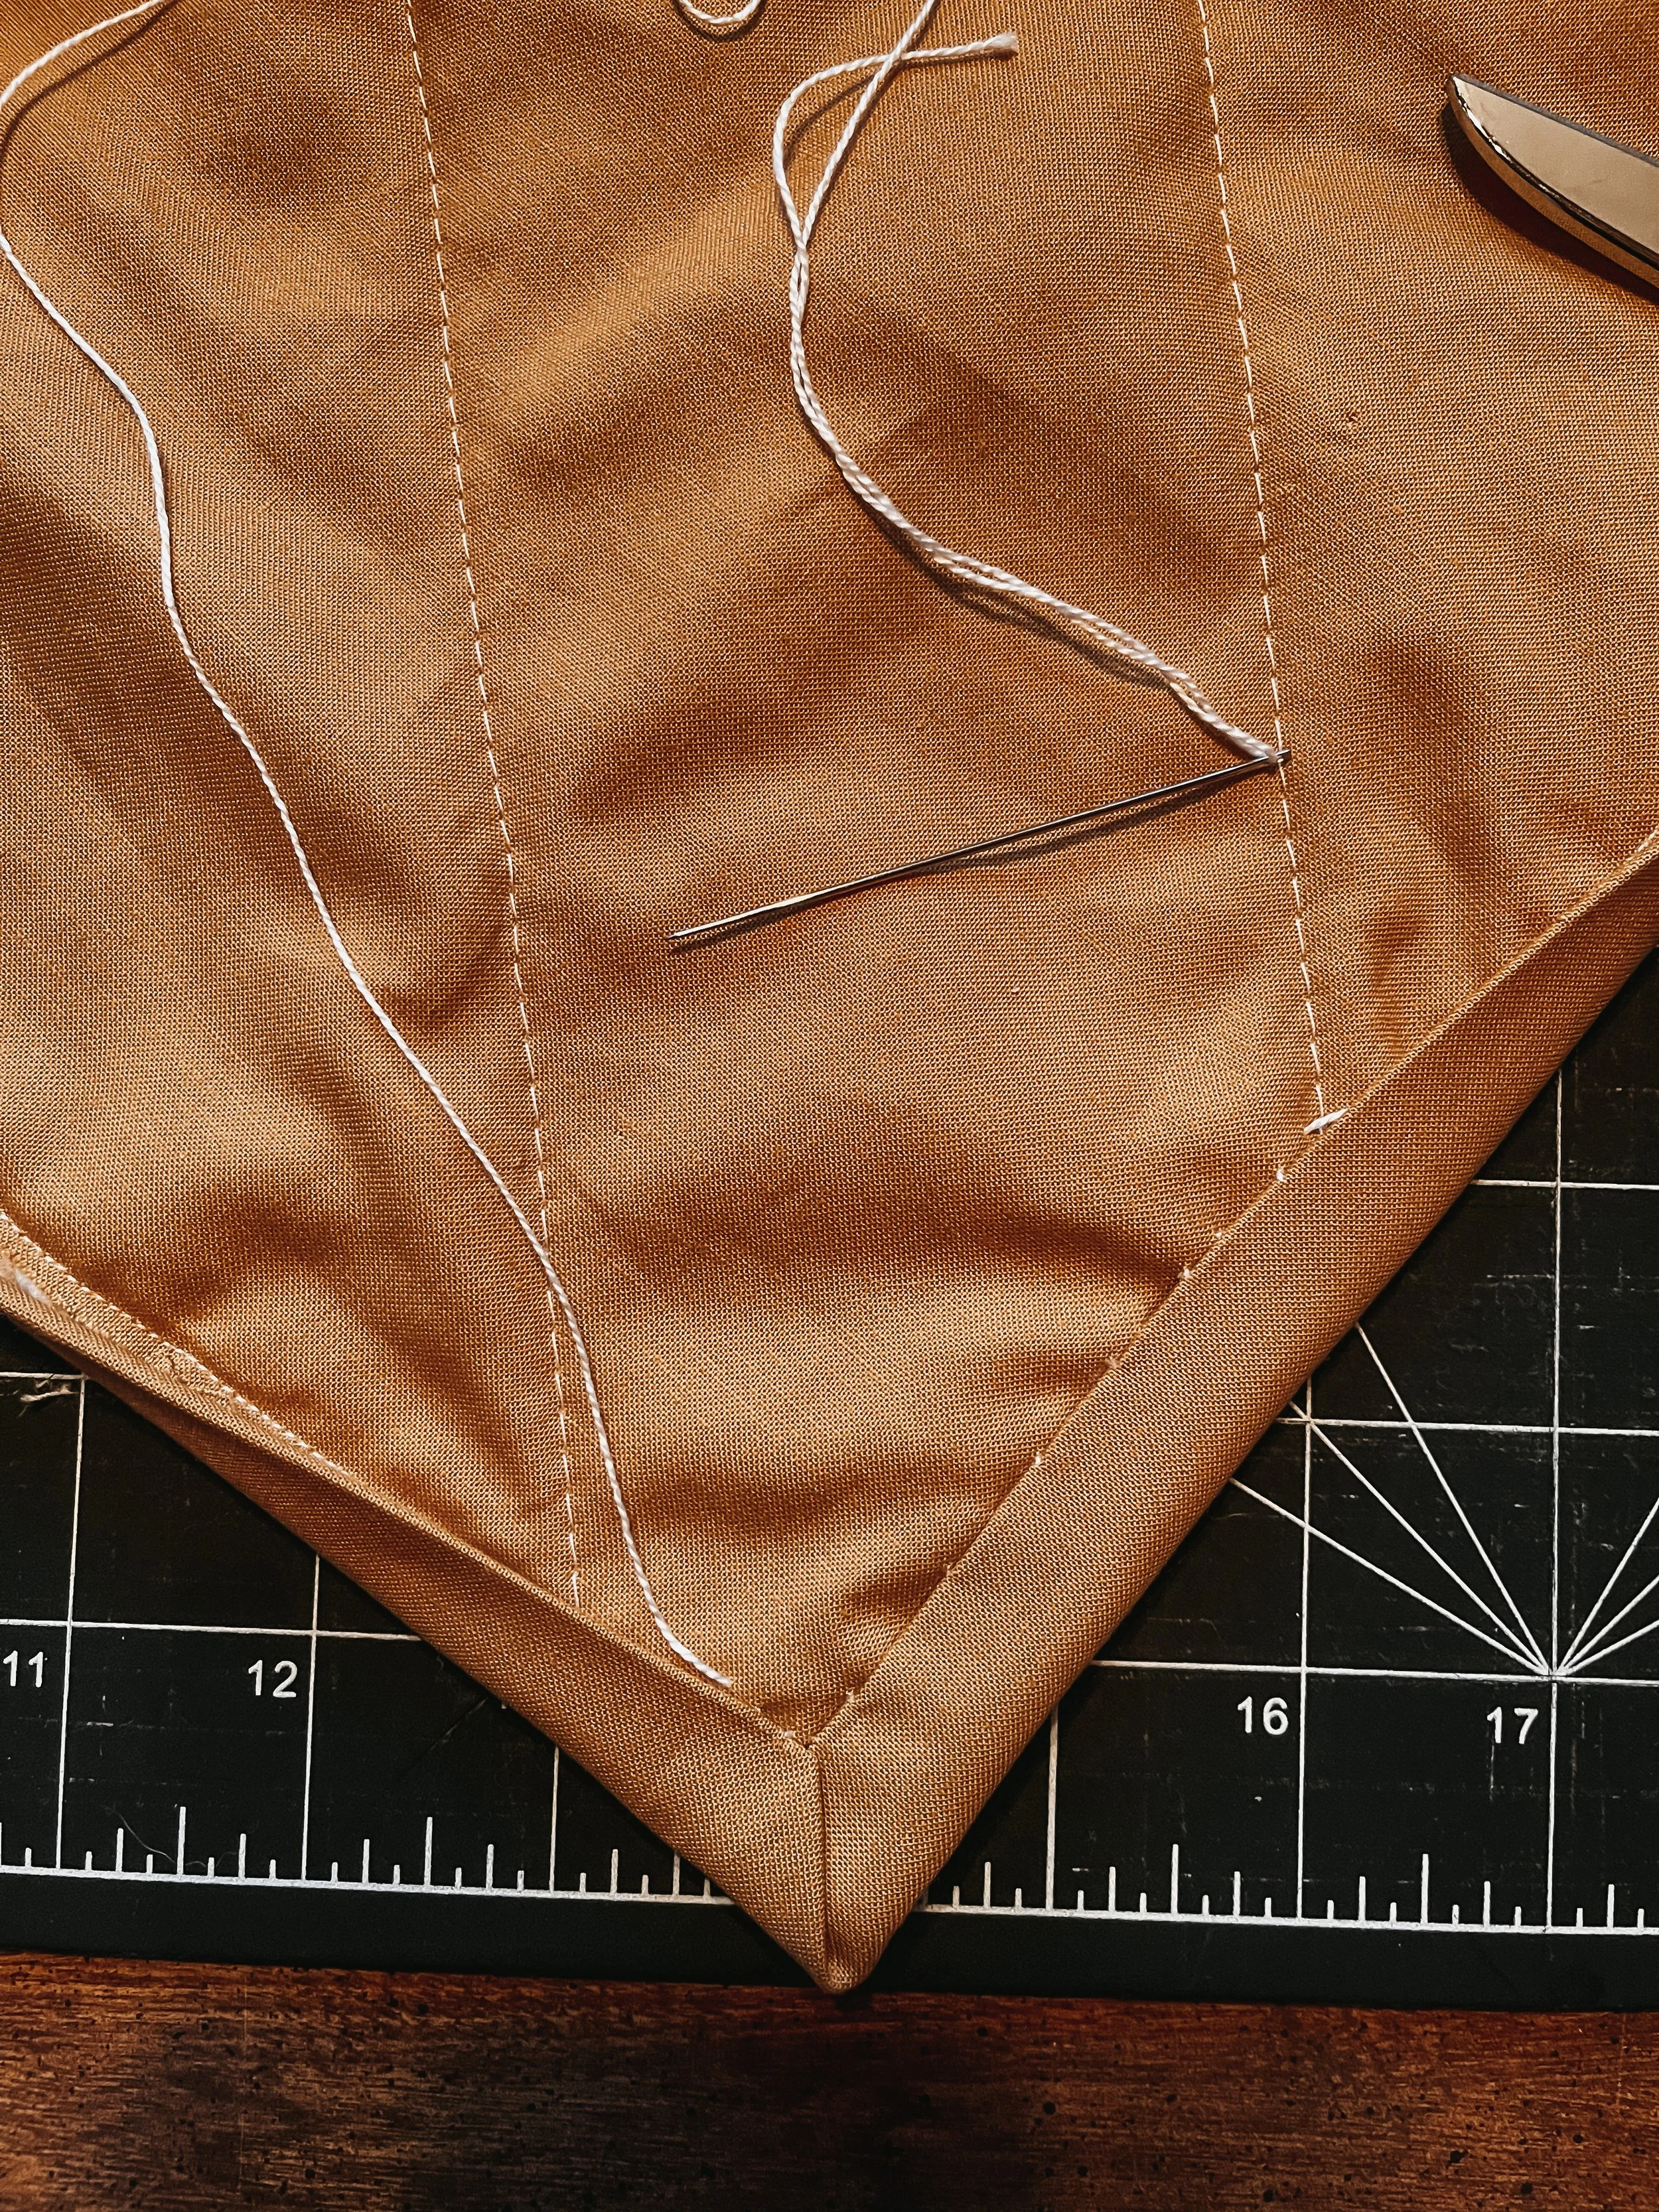
How to Stencil Quilting Cotton
Here is the basic process I use:
Press your quilting cotton first.
Place something underneath the fabric to protect your table or cutting mat.
Use a lint roller to remove dust, hair, or threads from the fabric.
Place your stencil onto the fabric.
Dab the paint gently through the stencil.
Peel the stencil away carefully.
Let the fabric dry completely.
Heat set the paint with a hot iron.
Wash your stencil, stamp, brush, or dabber right away.
The biggest tip is to test first.
Different paints behave differently, and the same paint can look different depending on the fabric colour, paint thickness, and stencil design.
How to Heat Set Painted Quilting Cotton
Once the paint is fully dry, heat set it with a hot iron.
I heat set mine for about 5 to 8 seconds on high.
Always make sure the paint is dry before doing this. You do not want wet paint on your iron or ironing surface.
I also recommend testing on a scrap first so you can see how your paint behaves with heat before using it on your actual project fabric.
How to Clean Your Stencils and Stamps
Clean your stencils, stamps, dabbers, and brushes right away after using them.
I like using warm water and dish soap. Dawn dish soap works really well for getting paint out.
If I am stenciling a lot of fabric and the design starts to look less clear, I rinse the stencil partway through, dry it off, and keep going. Sometimes paint starts to dry in the tiny openings of the stencil, especially with more detailed designs.
Keeping the stencil clean helps give you a sharper print.
My Best Tips for Stenciling Quilting Cotton
Here are a few things I learned through trial and error:
Do not use paint that feels too rubbery after drying.
Test your paint on a scrap before committing to yardage.
Use a thicker paint if you want a crisper stencil.
Keep your stencil clean as you work.
Put something underneath your fabric so paint does not transfer to your table or cutting mat.
Heat set only after the paint is completely dry.
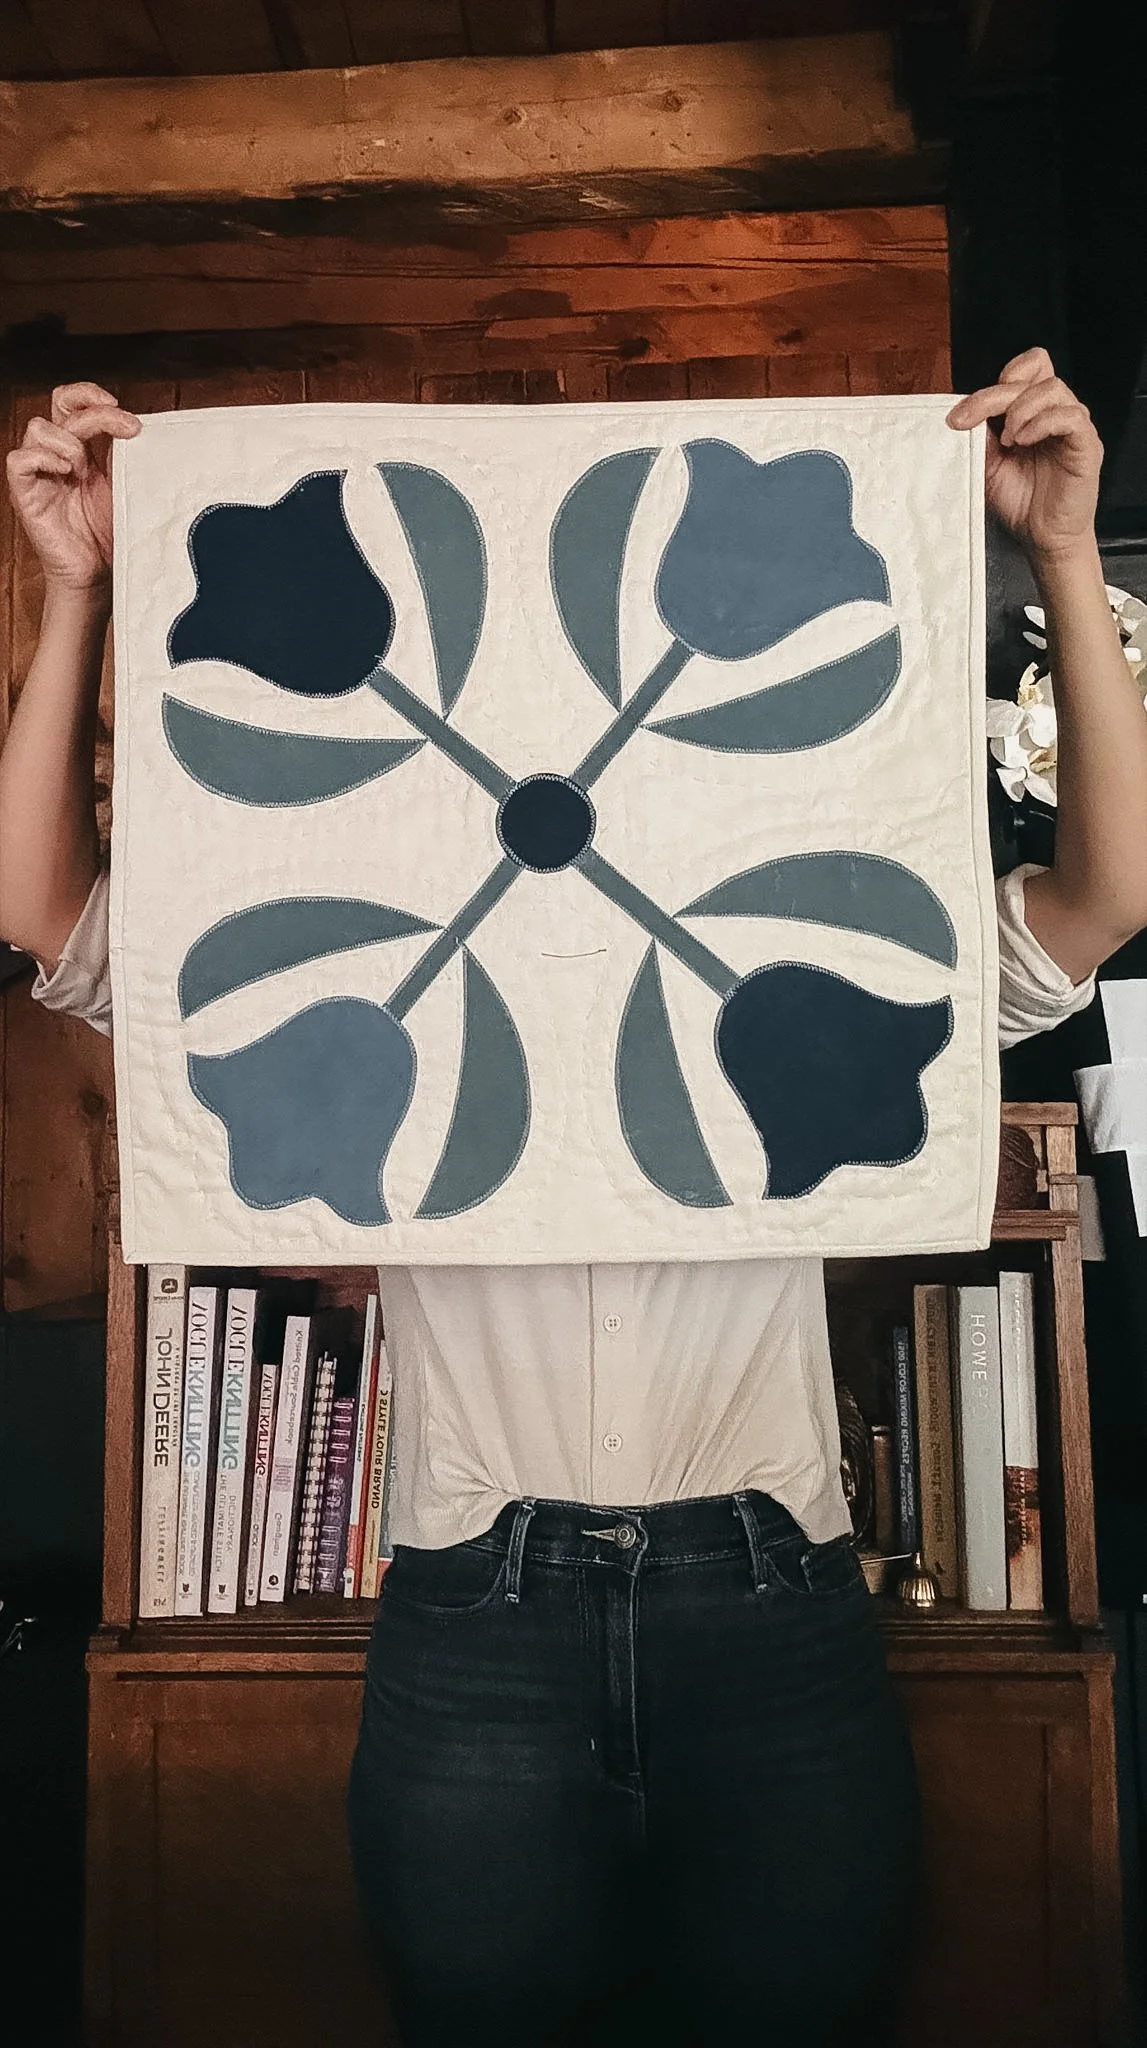
Medium-coloured fabrics, like browns and blues, can look especially beautiful with stenciled designs.
Stenciling works really well when you want the design to be more vibrant.
Stamping works beautifully when you want a more rustic, imperfect look.
Why This Works So Well for Quilting Projects
Stenciling quilting cotton is such a lovely way to make a project feel more personal.
It lets you take simple solid fabric and turn it into something that feels one-of-a-kind. You can make the print as bold or subtle as you like, and you can choose colours that match the exact feeling of your project.
For my Gran’s Kitchen collection, the hand stenciled floral motifs helped give the pieces that warm, nostalgic feeling I was hoping for.
They made the fabric feel less like plain yardage and more like something handmade with memory stitched into it.
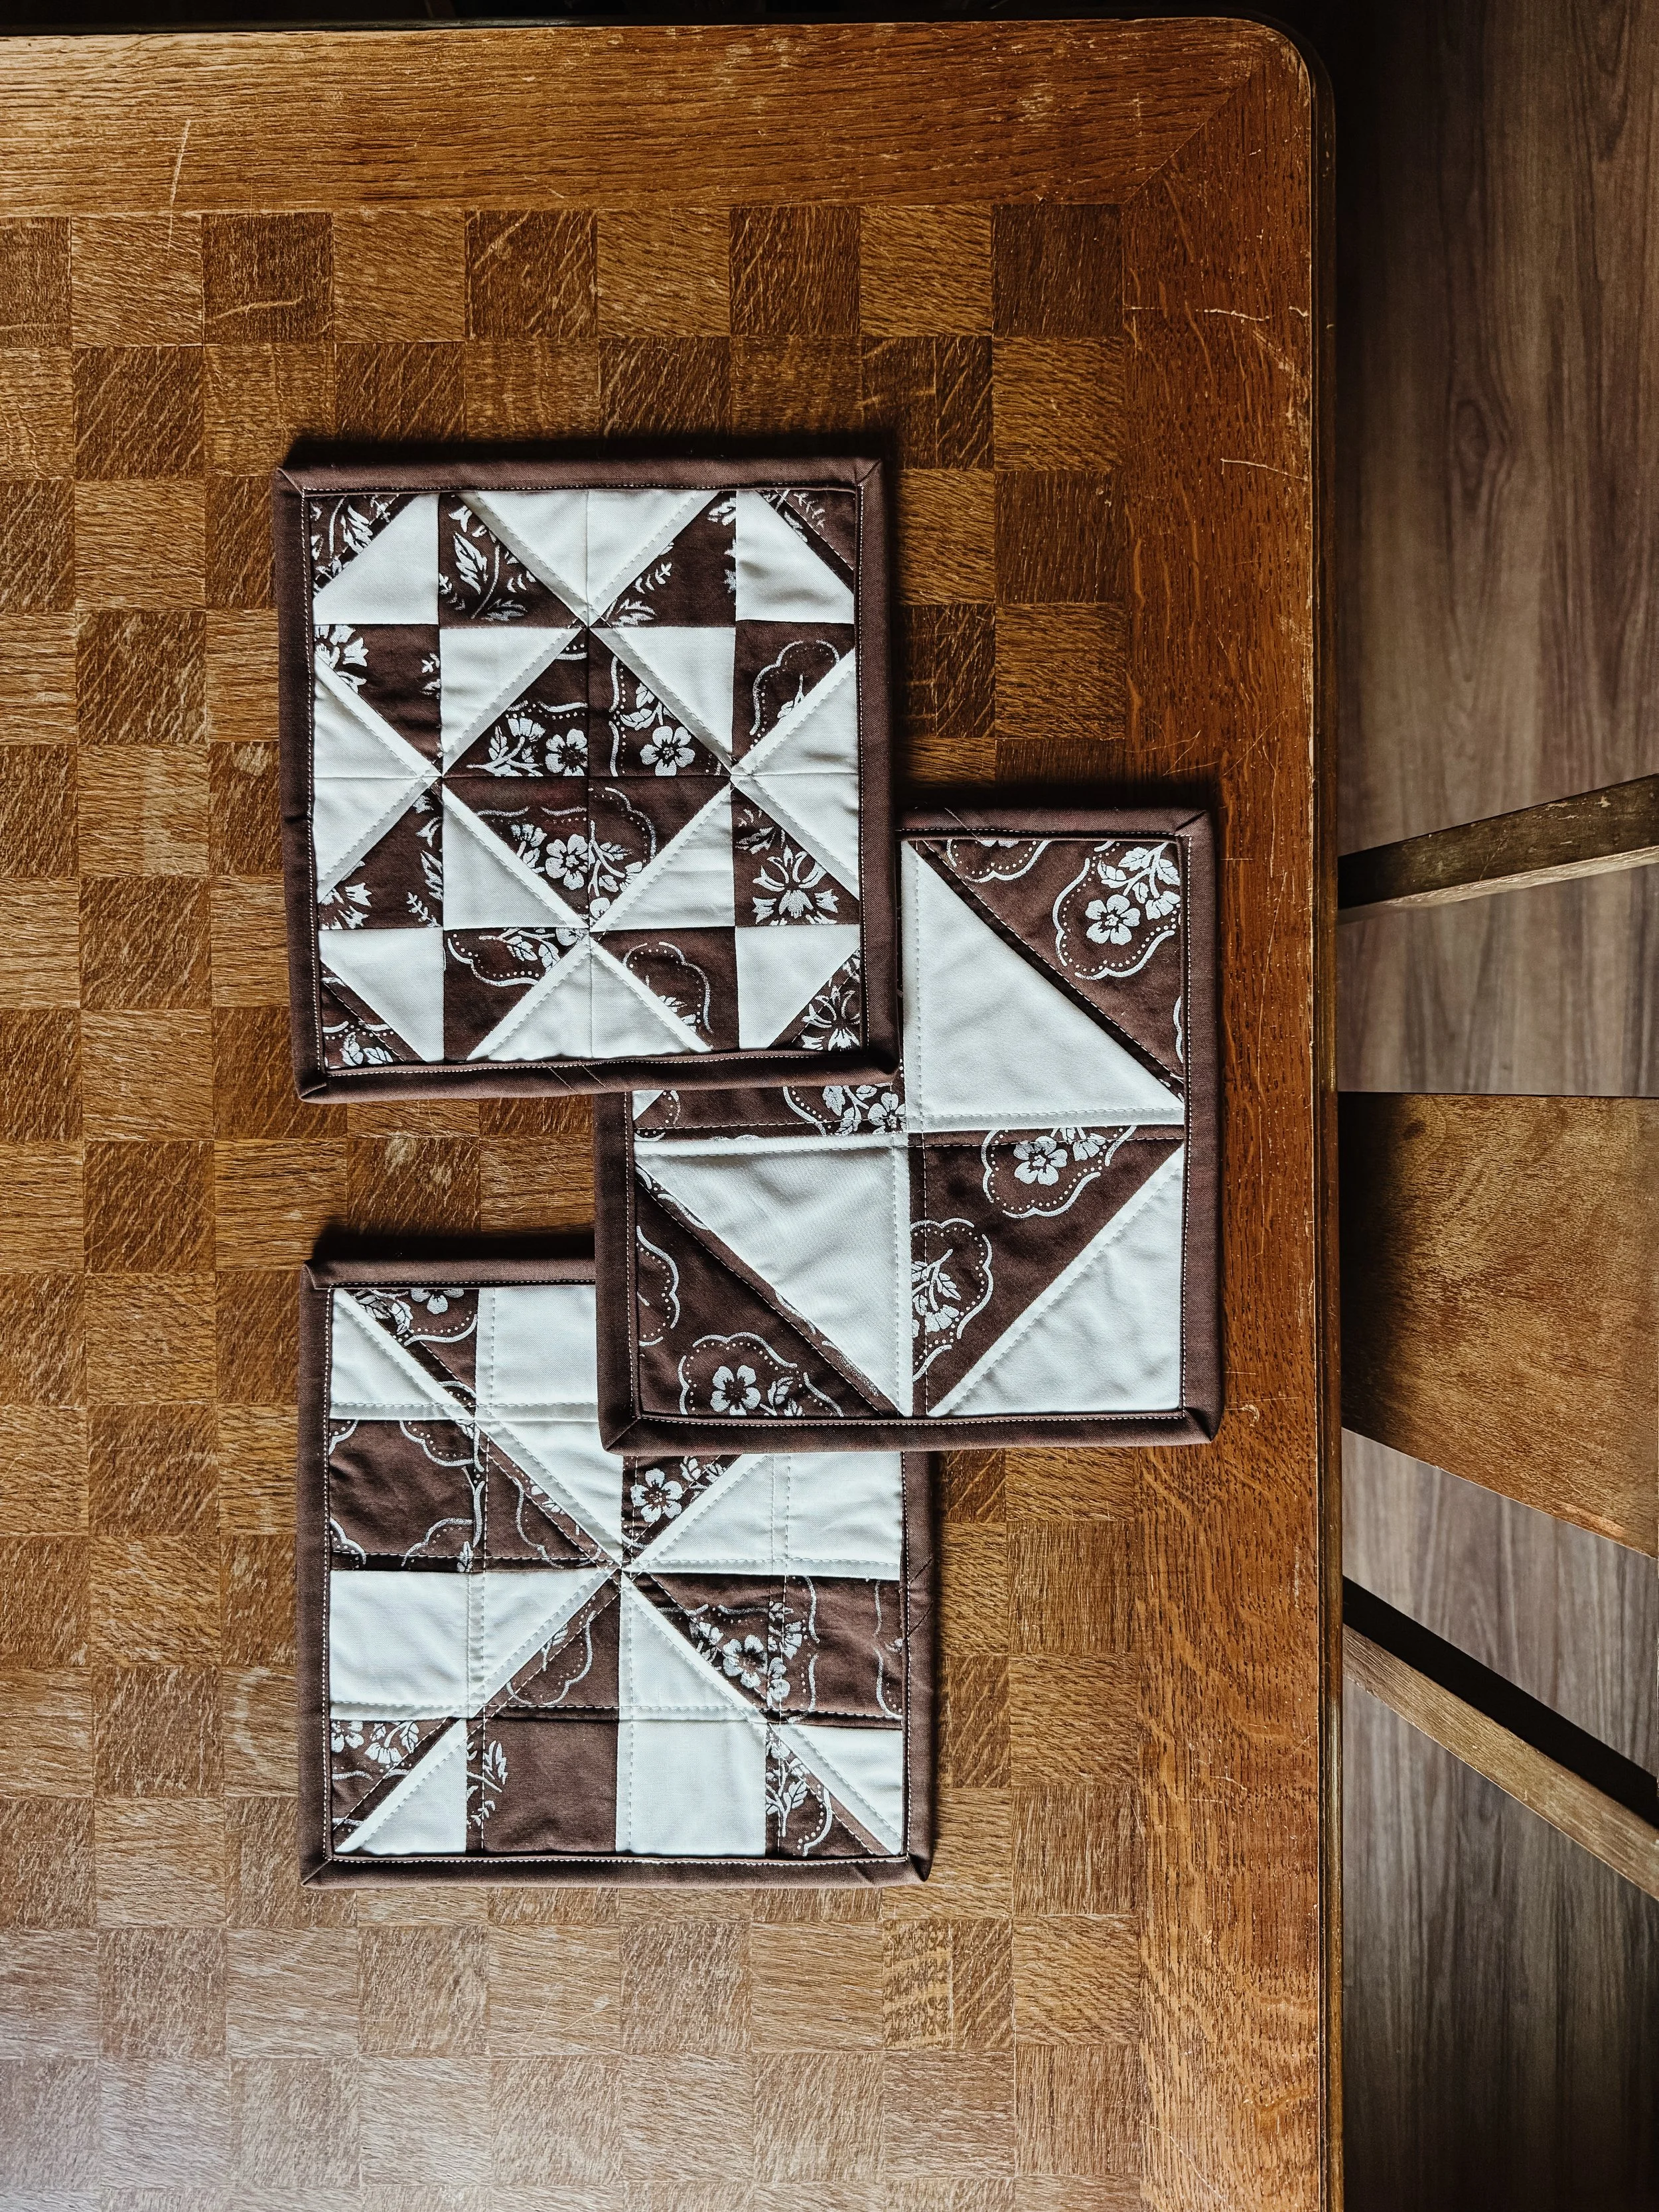
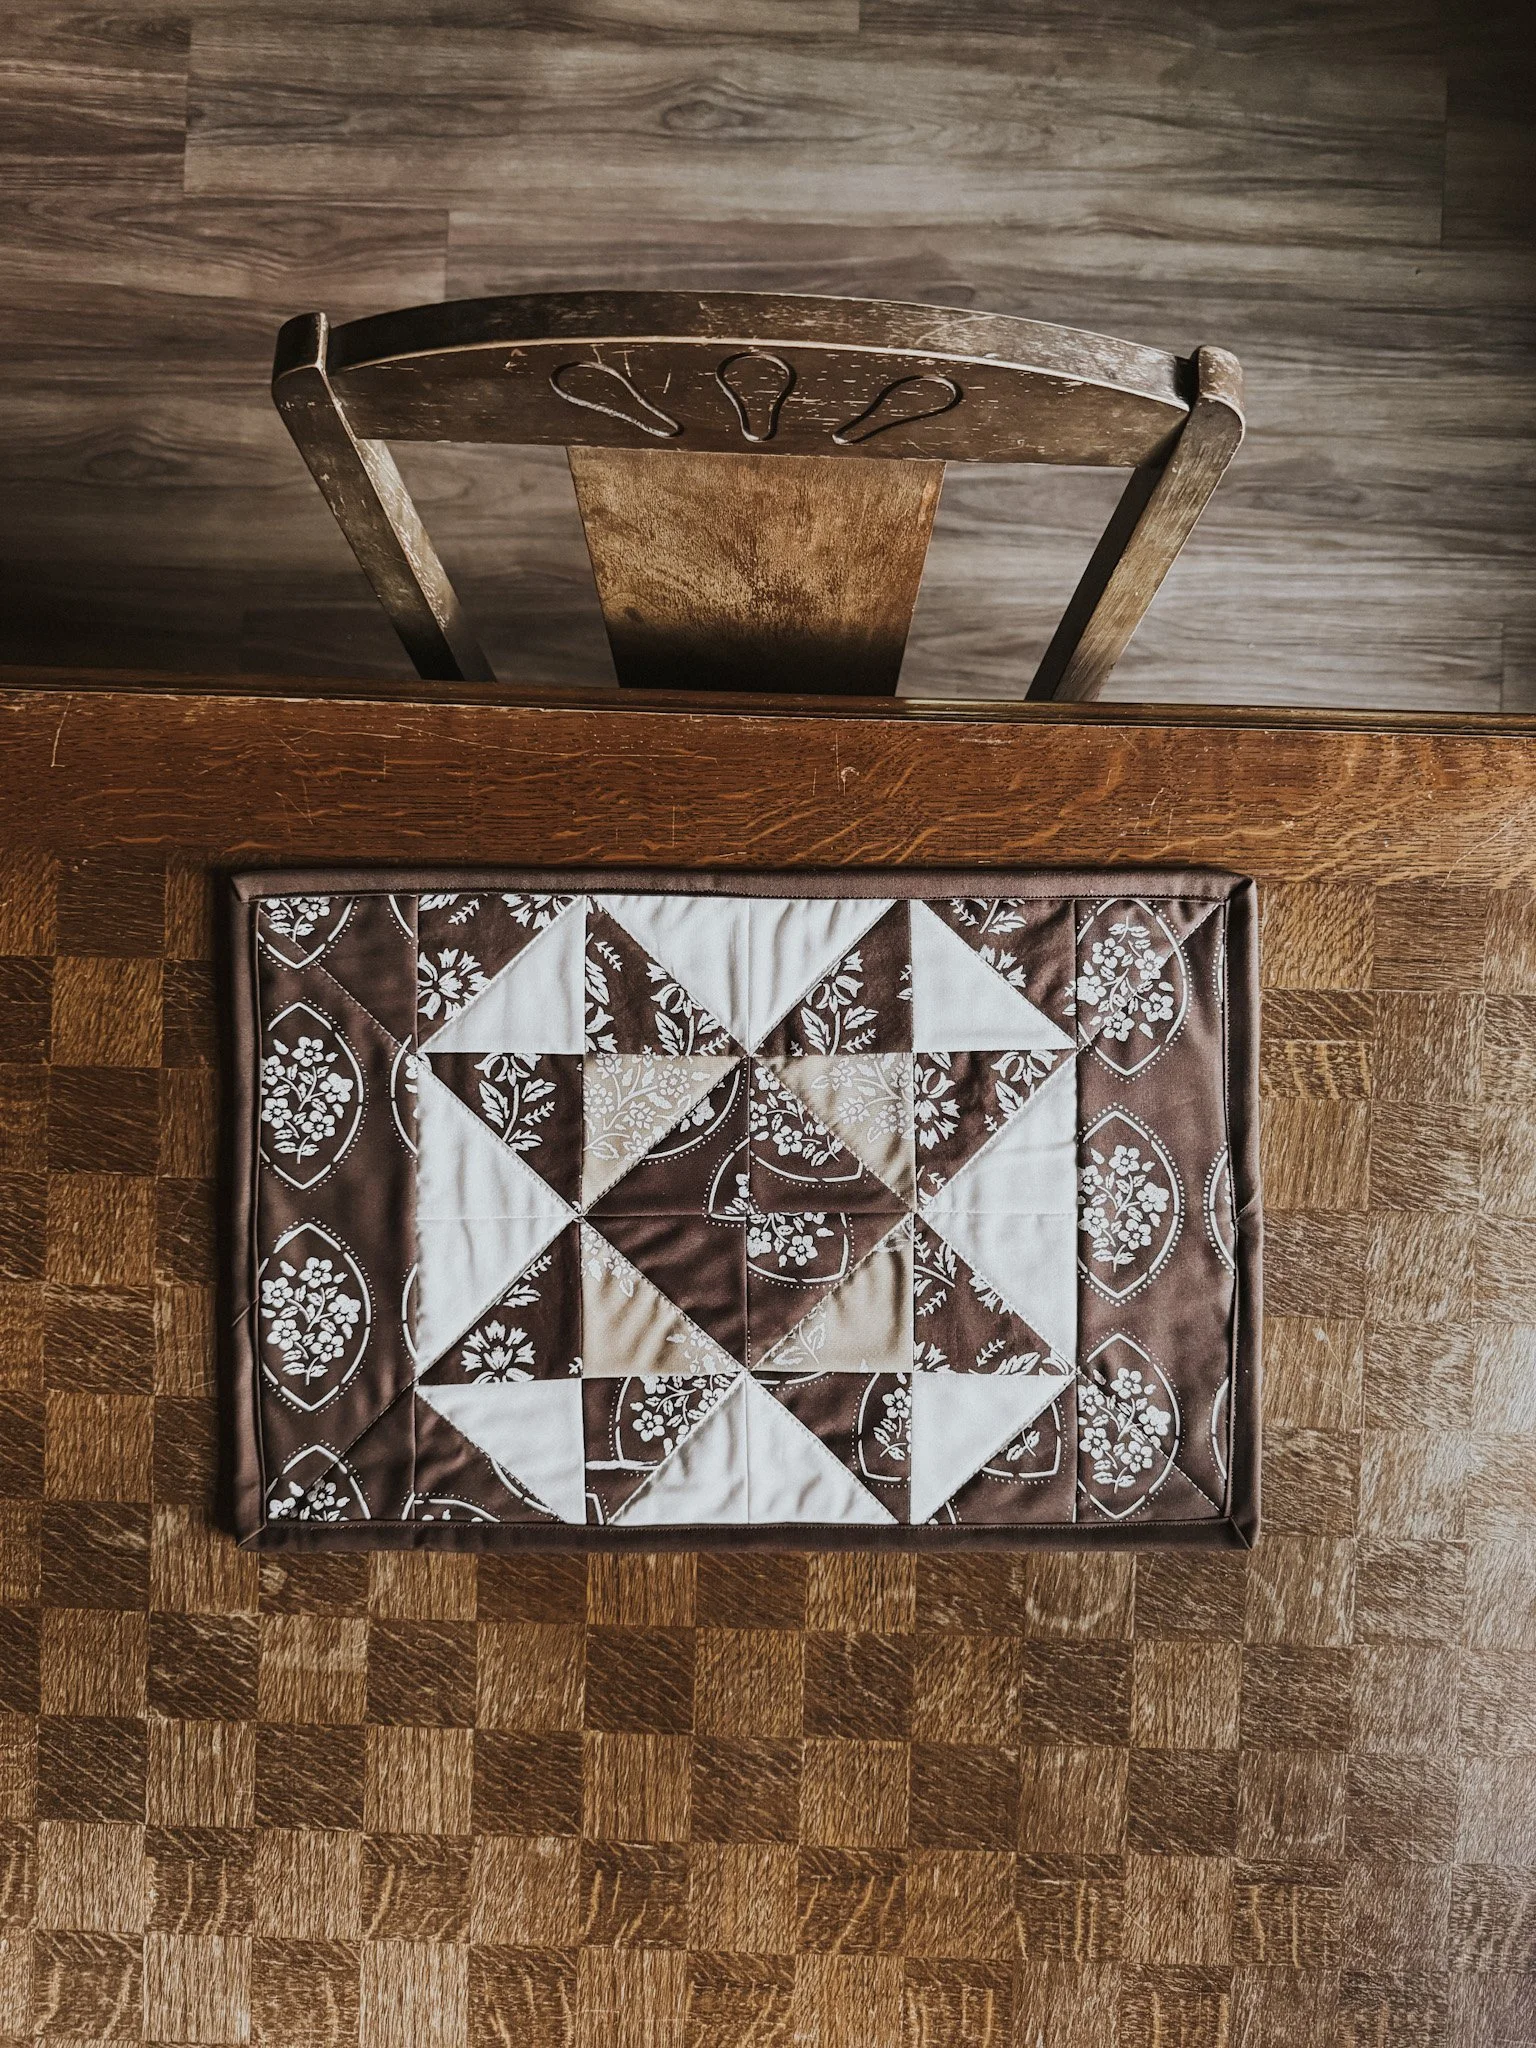
Gran’s Kitchen Pattern Collection
The fabric I show in this tutorial was used in my Gran’s Kitchen collection.
The collection includes:
A trio of quilted potholders
A quilted table runner
Quilted placemats
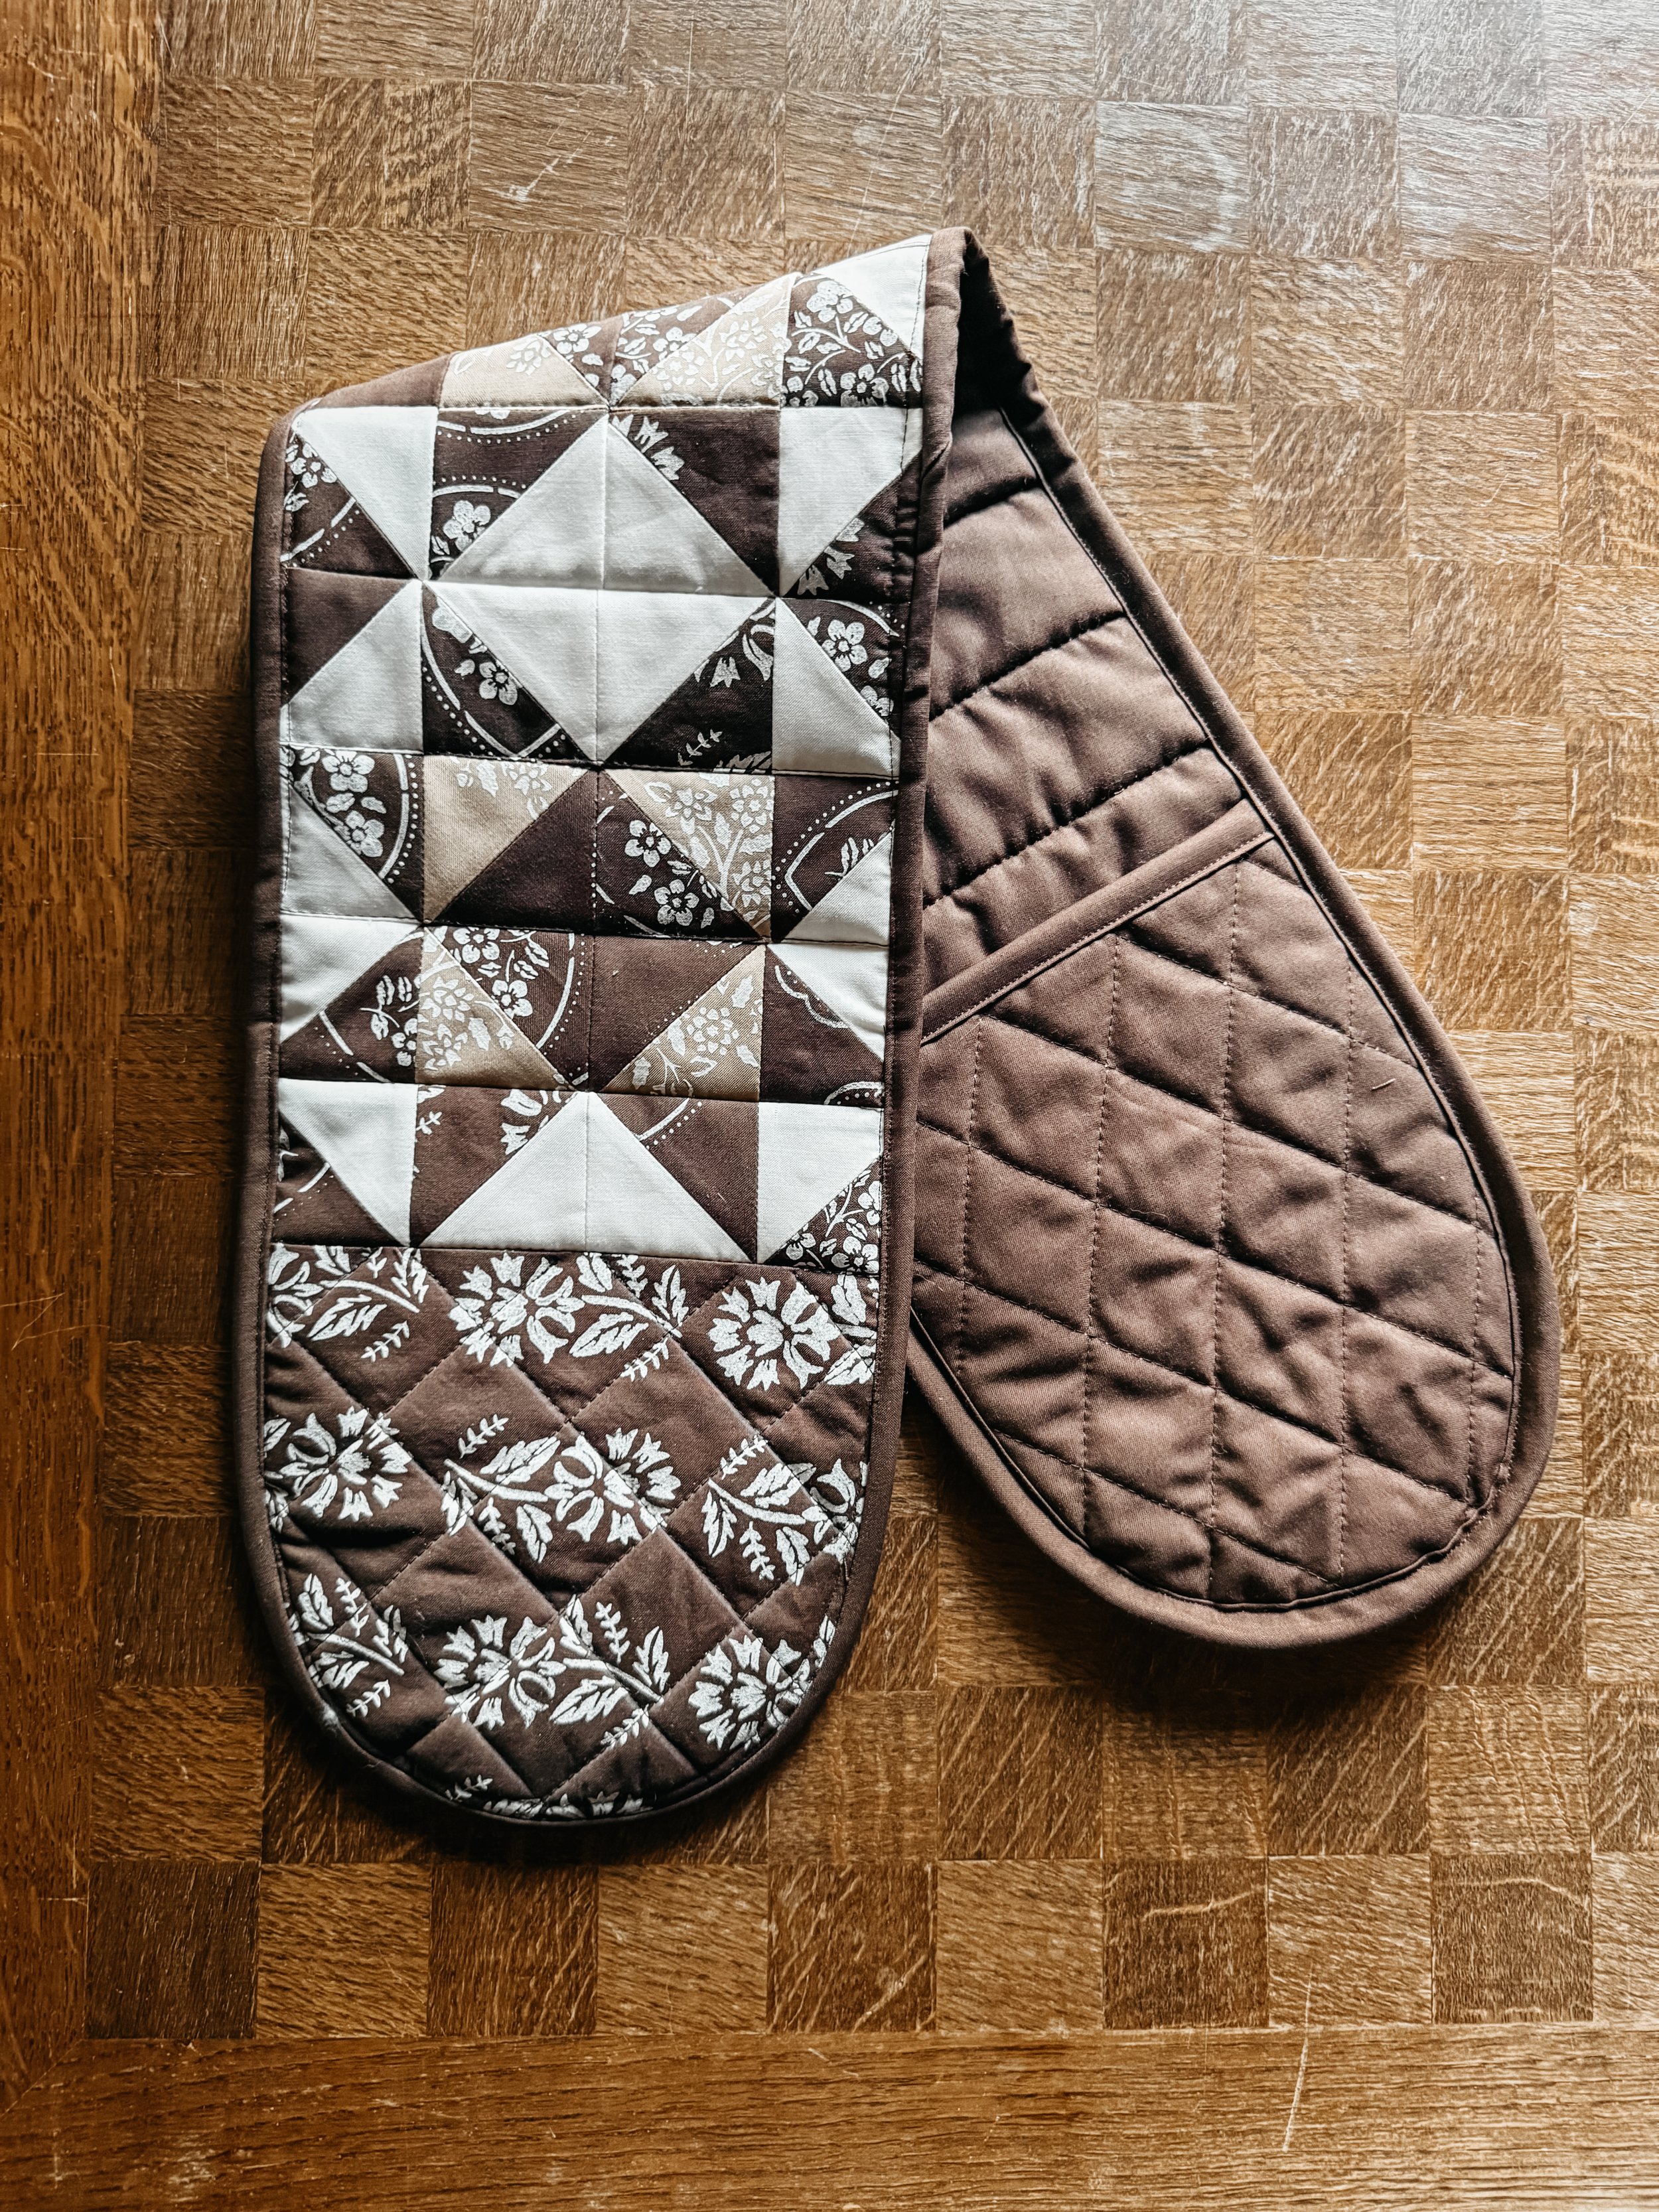
Double oven mitts
These patterns were inspired by the warmth and nostalgia of my grandmother’s kitchen, her love of brown, and the kind of handmade home goods that feel both useful and beautiful.
You can find the Gran’s Kitchen quilt patterns in my shop.

Final Thoughts
Hand stenciling and hand stamping quilting cotton is such a fun way to add your own touch to a project.
It is a little messy, a little imperfect, and that is part of the charm.
My biggest recommendation is to test your paint first, especially if you plan to use the fabric in a quilted project. The fabric still needs to press well, cut cleanly, and feel good once it is sewn into something useful.
For me, multi-surface craft paint has been the winner so far, while regular fabric paint is something I would avoid for quilting cotton.
I hope this gives you the confidence to try printing your own fabric for a future quilted project.
Watch the full tutorial on YouTube to see the process in action.


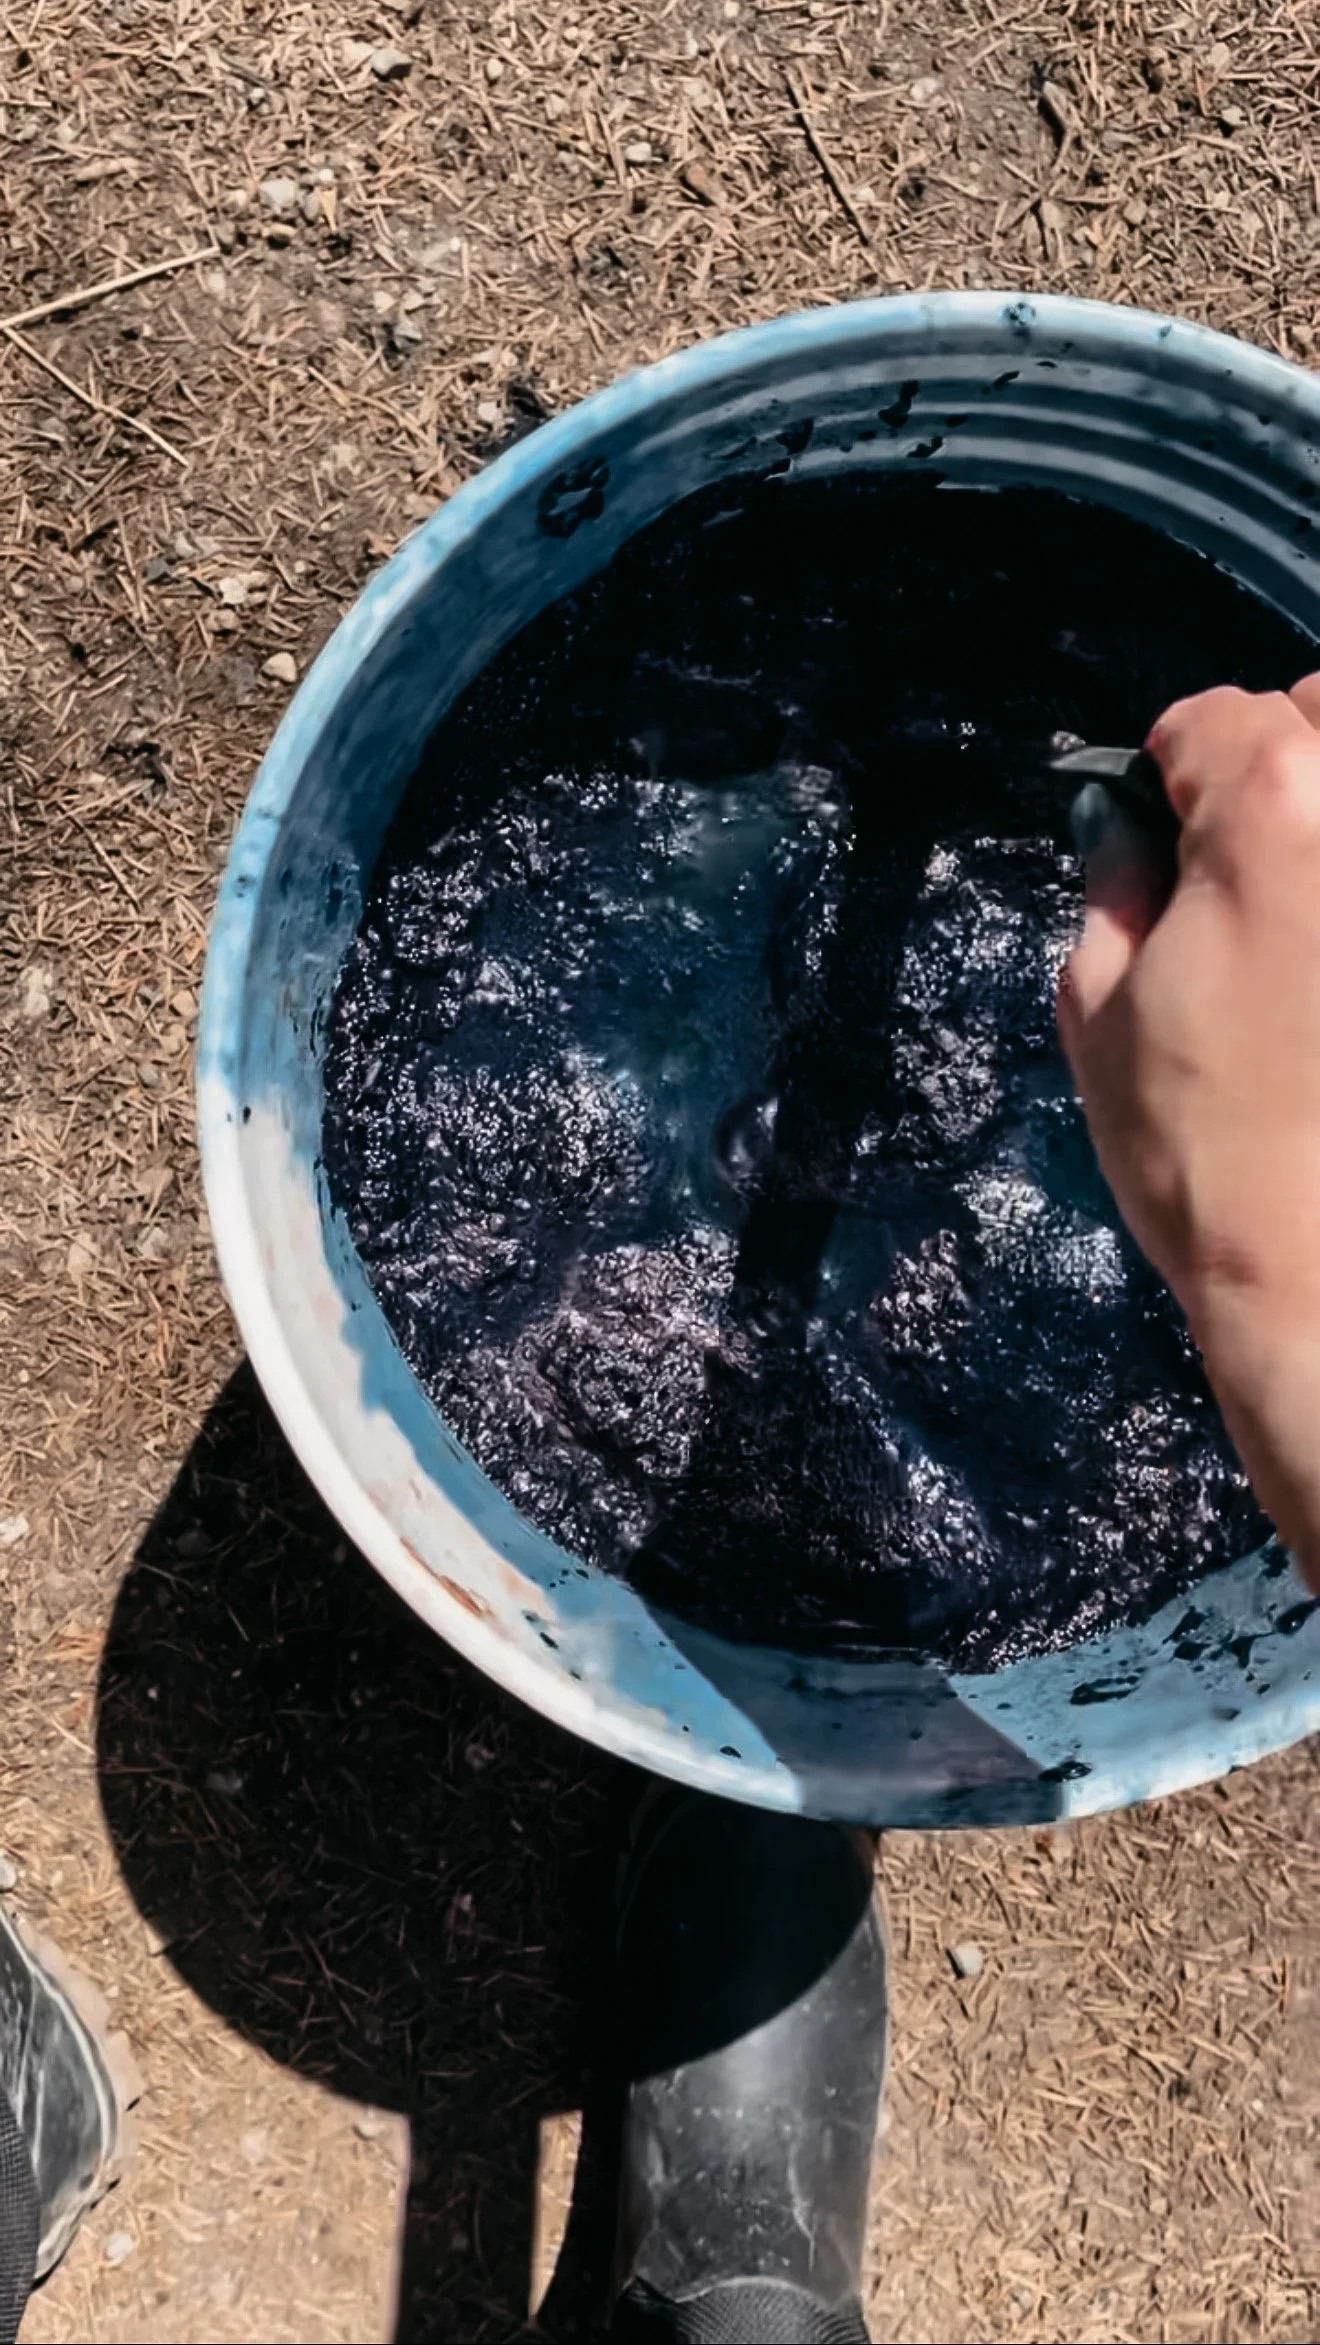


Welcome to the blog—I'm so glad you're here.
I'm Kim, quilting and dyeing from an old cabin in the woods. This is where I share beginner-friendly tutorials, slow craft tips, and stories from a life stitched by hand. I hope you find something here that feels like home.