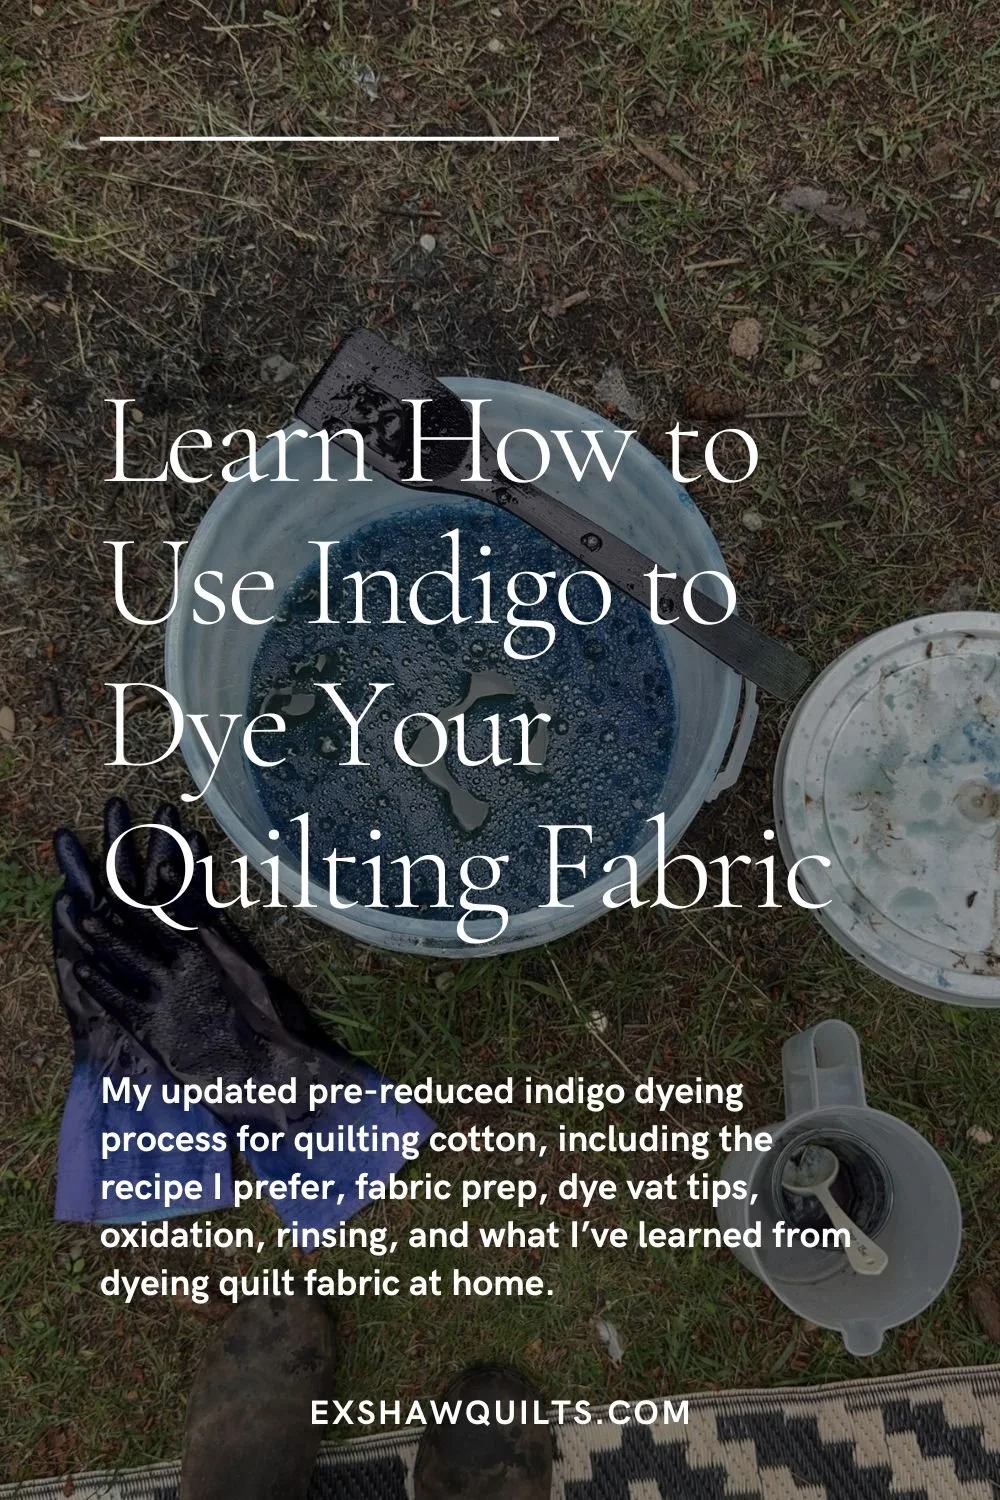
How I Dye Quilting Cotton with Pre-Reduced Indigo: My Updated Process for More Even Results

Welcome to the blog—I'm so glad you're here.
I'm Kim, quilting and dyeing from an old cabin in the woods. This is where I share beginner-friendly tutorials, slow craft tips, and stories from a life stitched by hand. I hope you find something here that feels like home.


My updated pre-reduced indigo dyeing process for quilting cotton, including the recipe I prefer, fabric prep, dye vat tips, oxidation, rinsing, and what I’ve learned from dyeing quilt fabric at home.
There is something about indigo that feels like old magic.
You lower plain cotton into a yellow-green vat, pull it back out, and for a moment it looks like nothing special has happened. Then the air touches it. Slowly, almost unbelievably, the fabric begins to shift from yellow to green to blue. Soft blue. Denim blue. Deep, moody, inky blue.
if you're interested in natural dyeing online workshops, subscribe to my email for updates!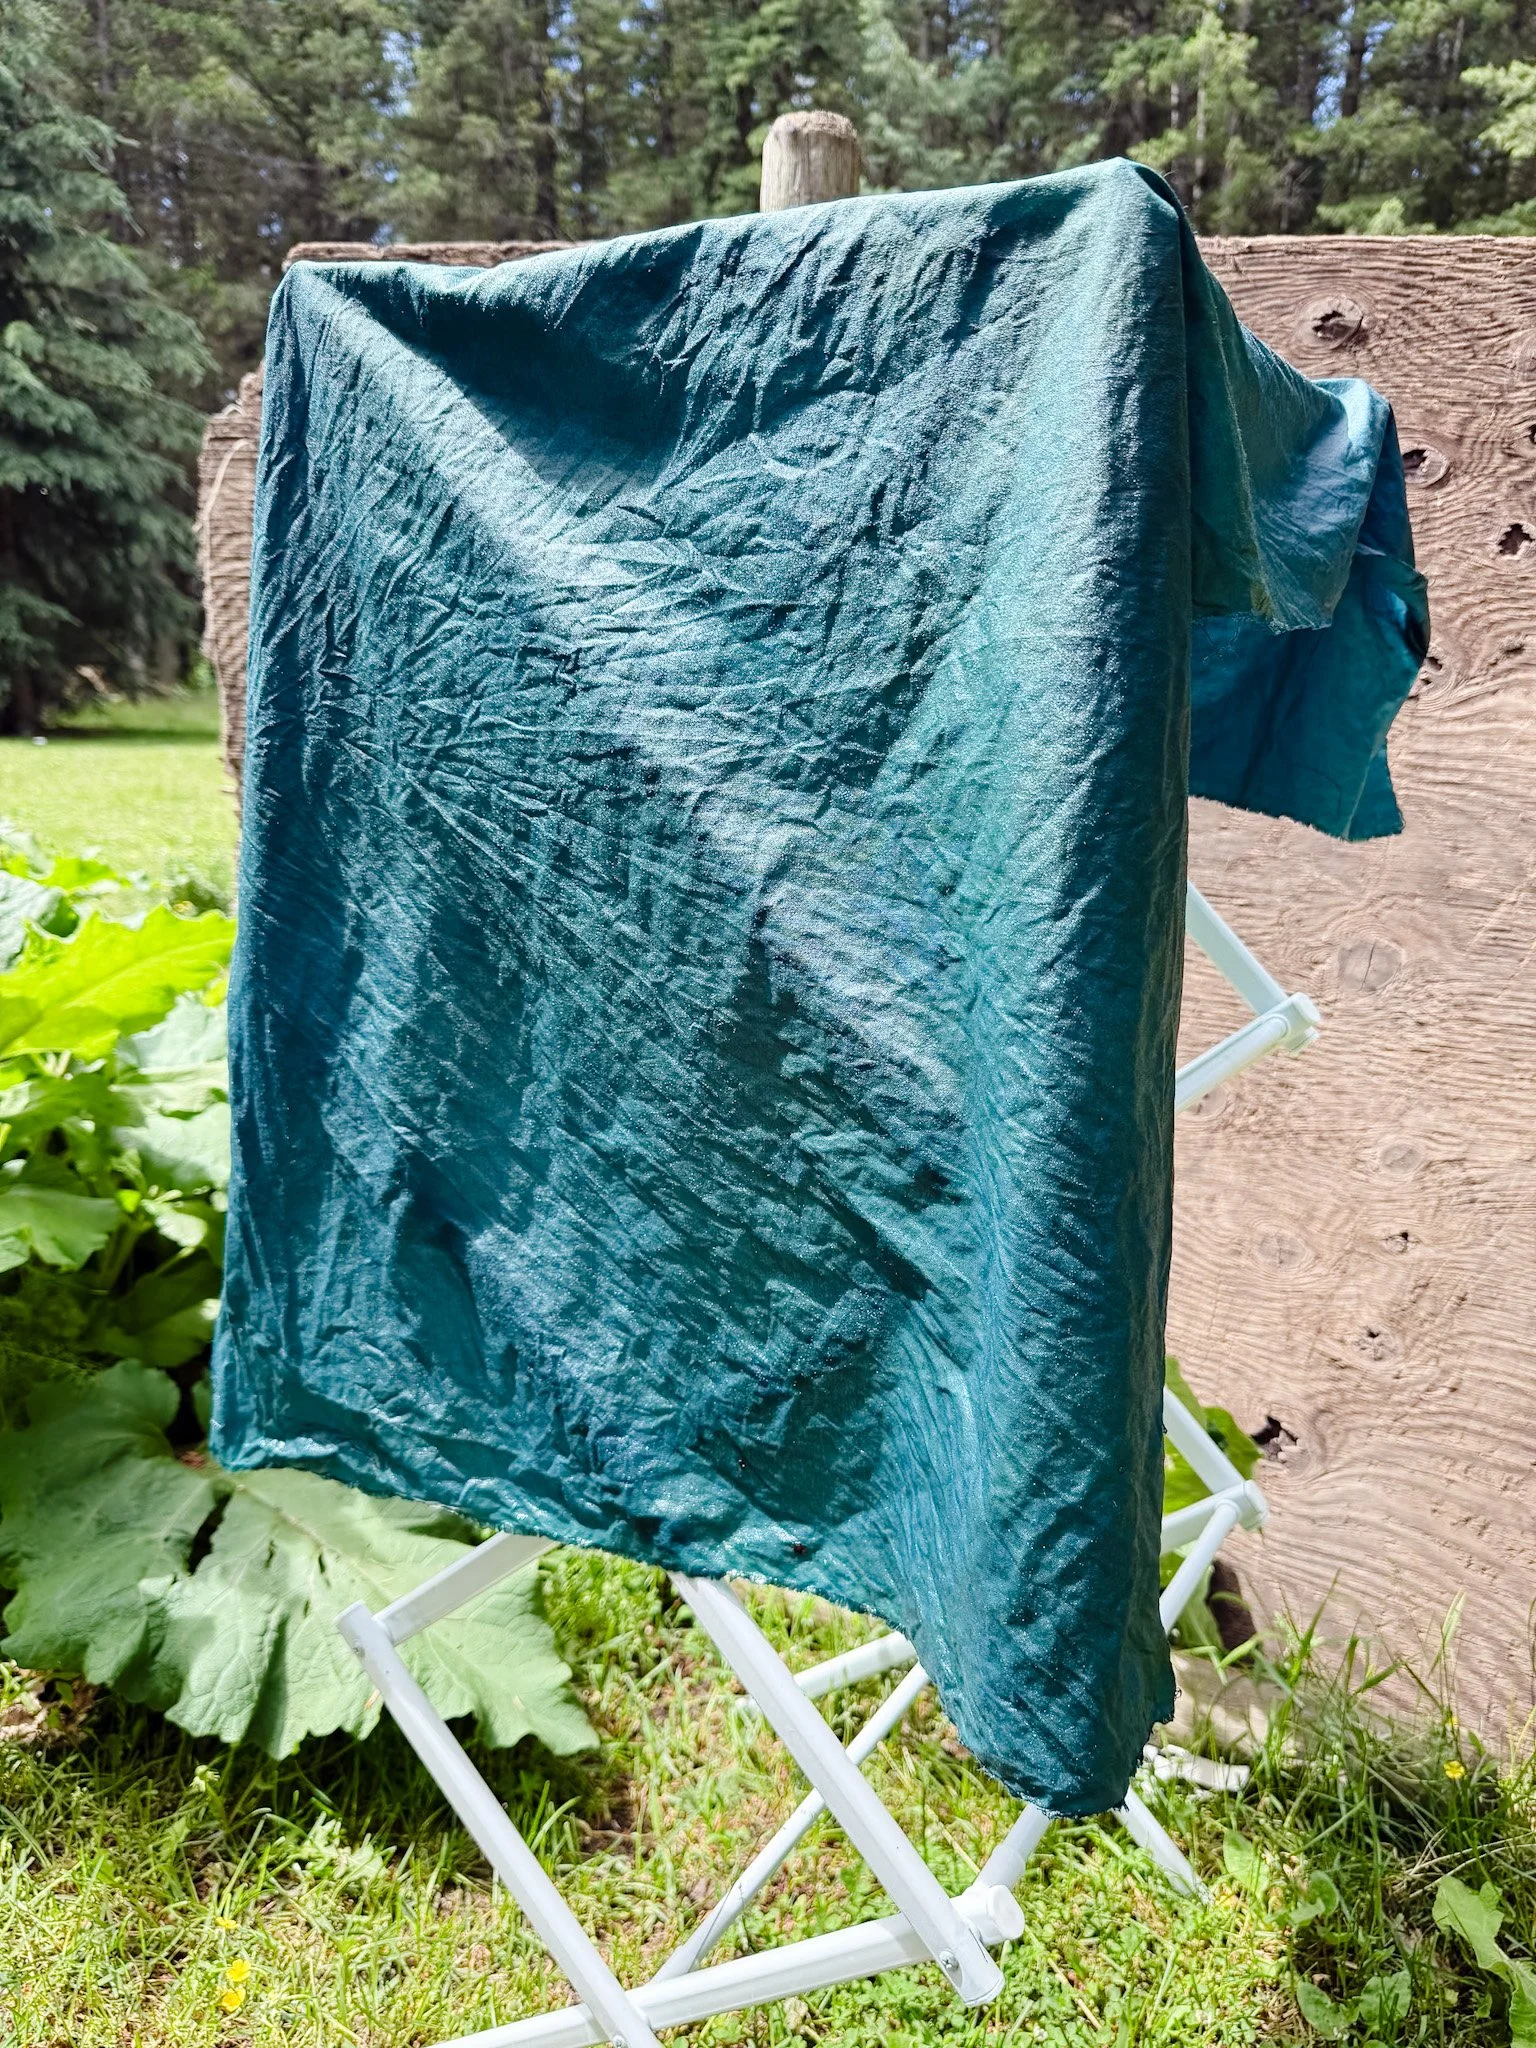
It still gets me every single time.
I wrote before about naturally dyeing my first quilt with pre-reduced indigo, and while I still love that first experience, I’ve since changed my process. After more experimenting, more fabric, more quilt plans, and more blue-stained gloves than I can count, I’ve landed on a recipe and method I enjoy much more.
This updated process feels easier, calmer, and more consistent for me. I prefer the results. I find the colour more even, the vat easier to manage, and the whole experience less fussy. And as someone who wants to use naturally dyed quilting cotton in actual quilts, not just tiny experiments, evenness matters.
So today I’m walking you through my updated pre-reduced indigo process for dyeing quilting cotton at home.
This is the method I’m using now.
Why I Changed My Indigo Dyeing Process
My first indigo dyeing experience was beautiful, but it was also very much a first attempt. I was learning as I went, figuring out the timing, watching the colour shift, and trying to understand how the vat behaved.
Since then, I’ve realized that I prefer using the larger pre-reduced indigo vat recipe. It gives the fabric more room to move, which I think helps create more even results. When quilting cotton is crowded into a small container, it can bunch, fold, trap air, and create areas where the dye doesn’t reach as evenly.
A larger vat feels better.
There is more space to slowly lower the fabric in, gently move it beneath the surface, and avoid disturbing all the sediment at the bottom of the bucket. The whole process feels less rushed and more controlled.
For quilting cotton especially, I think that matters.
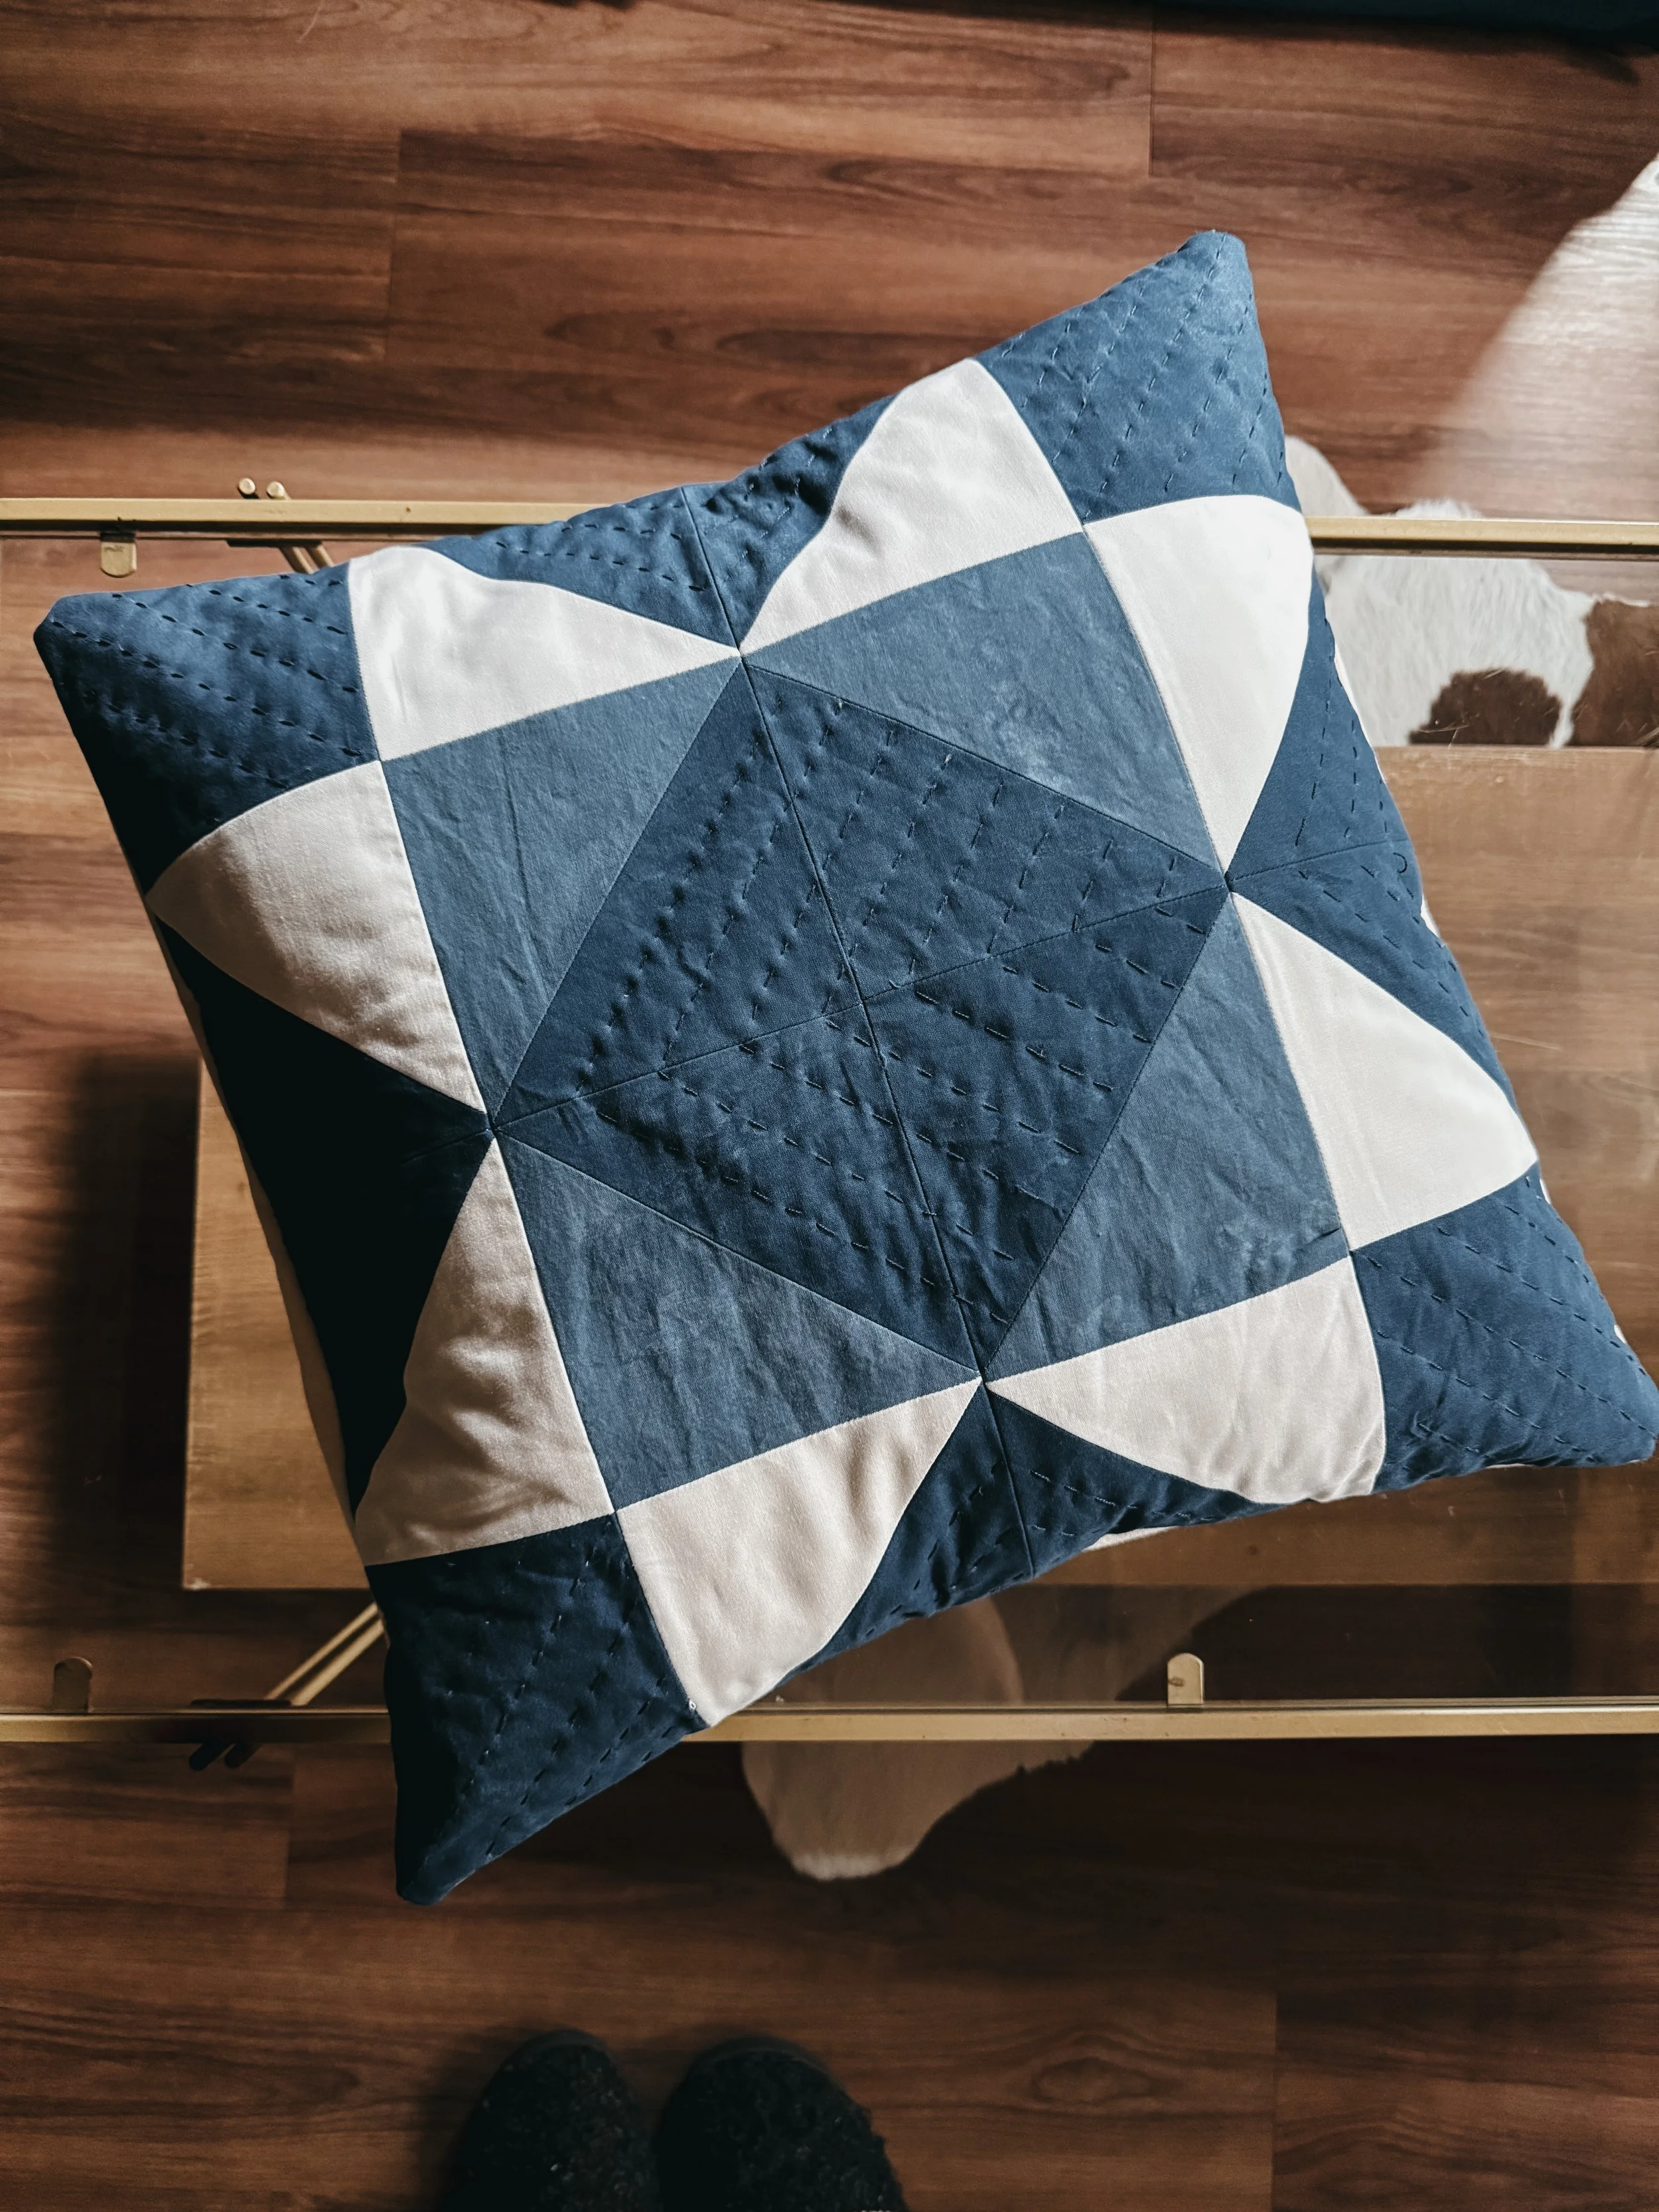
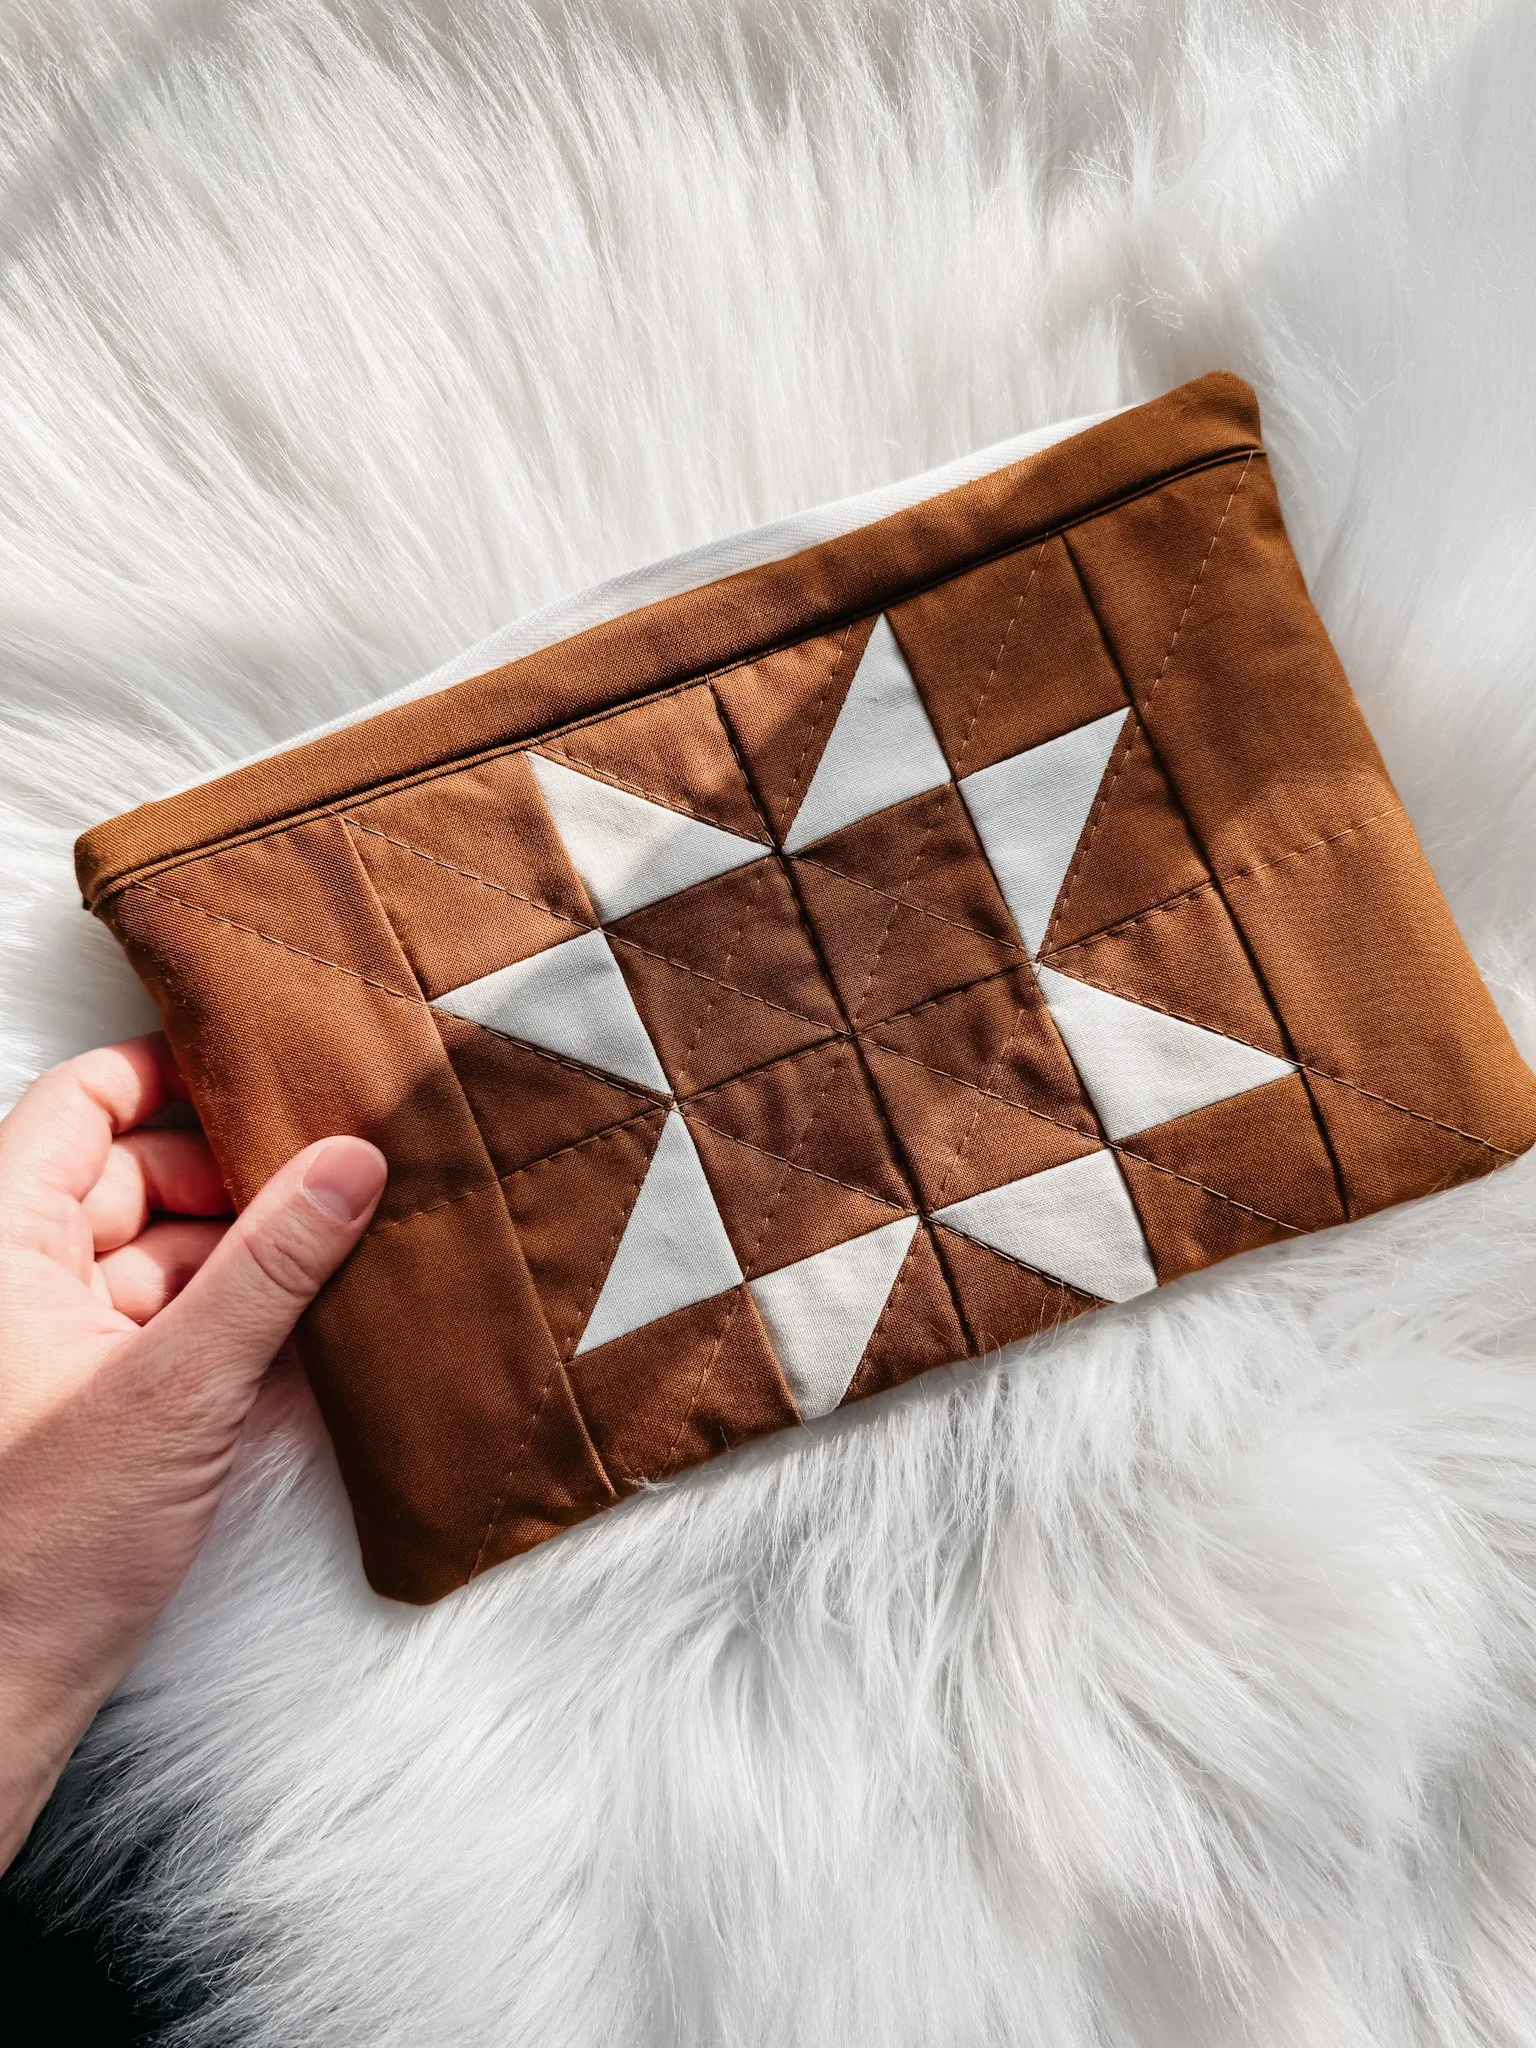
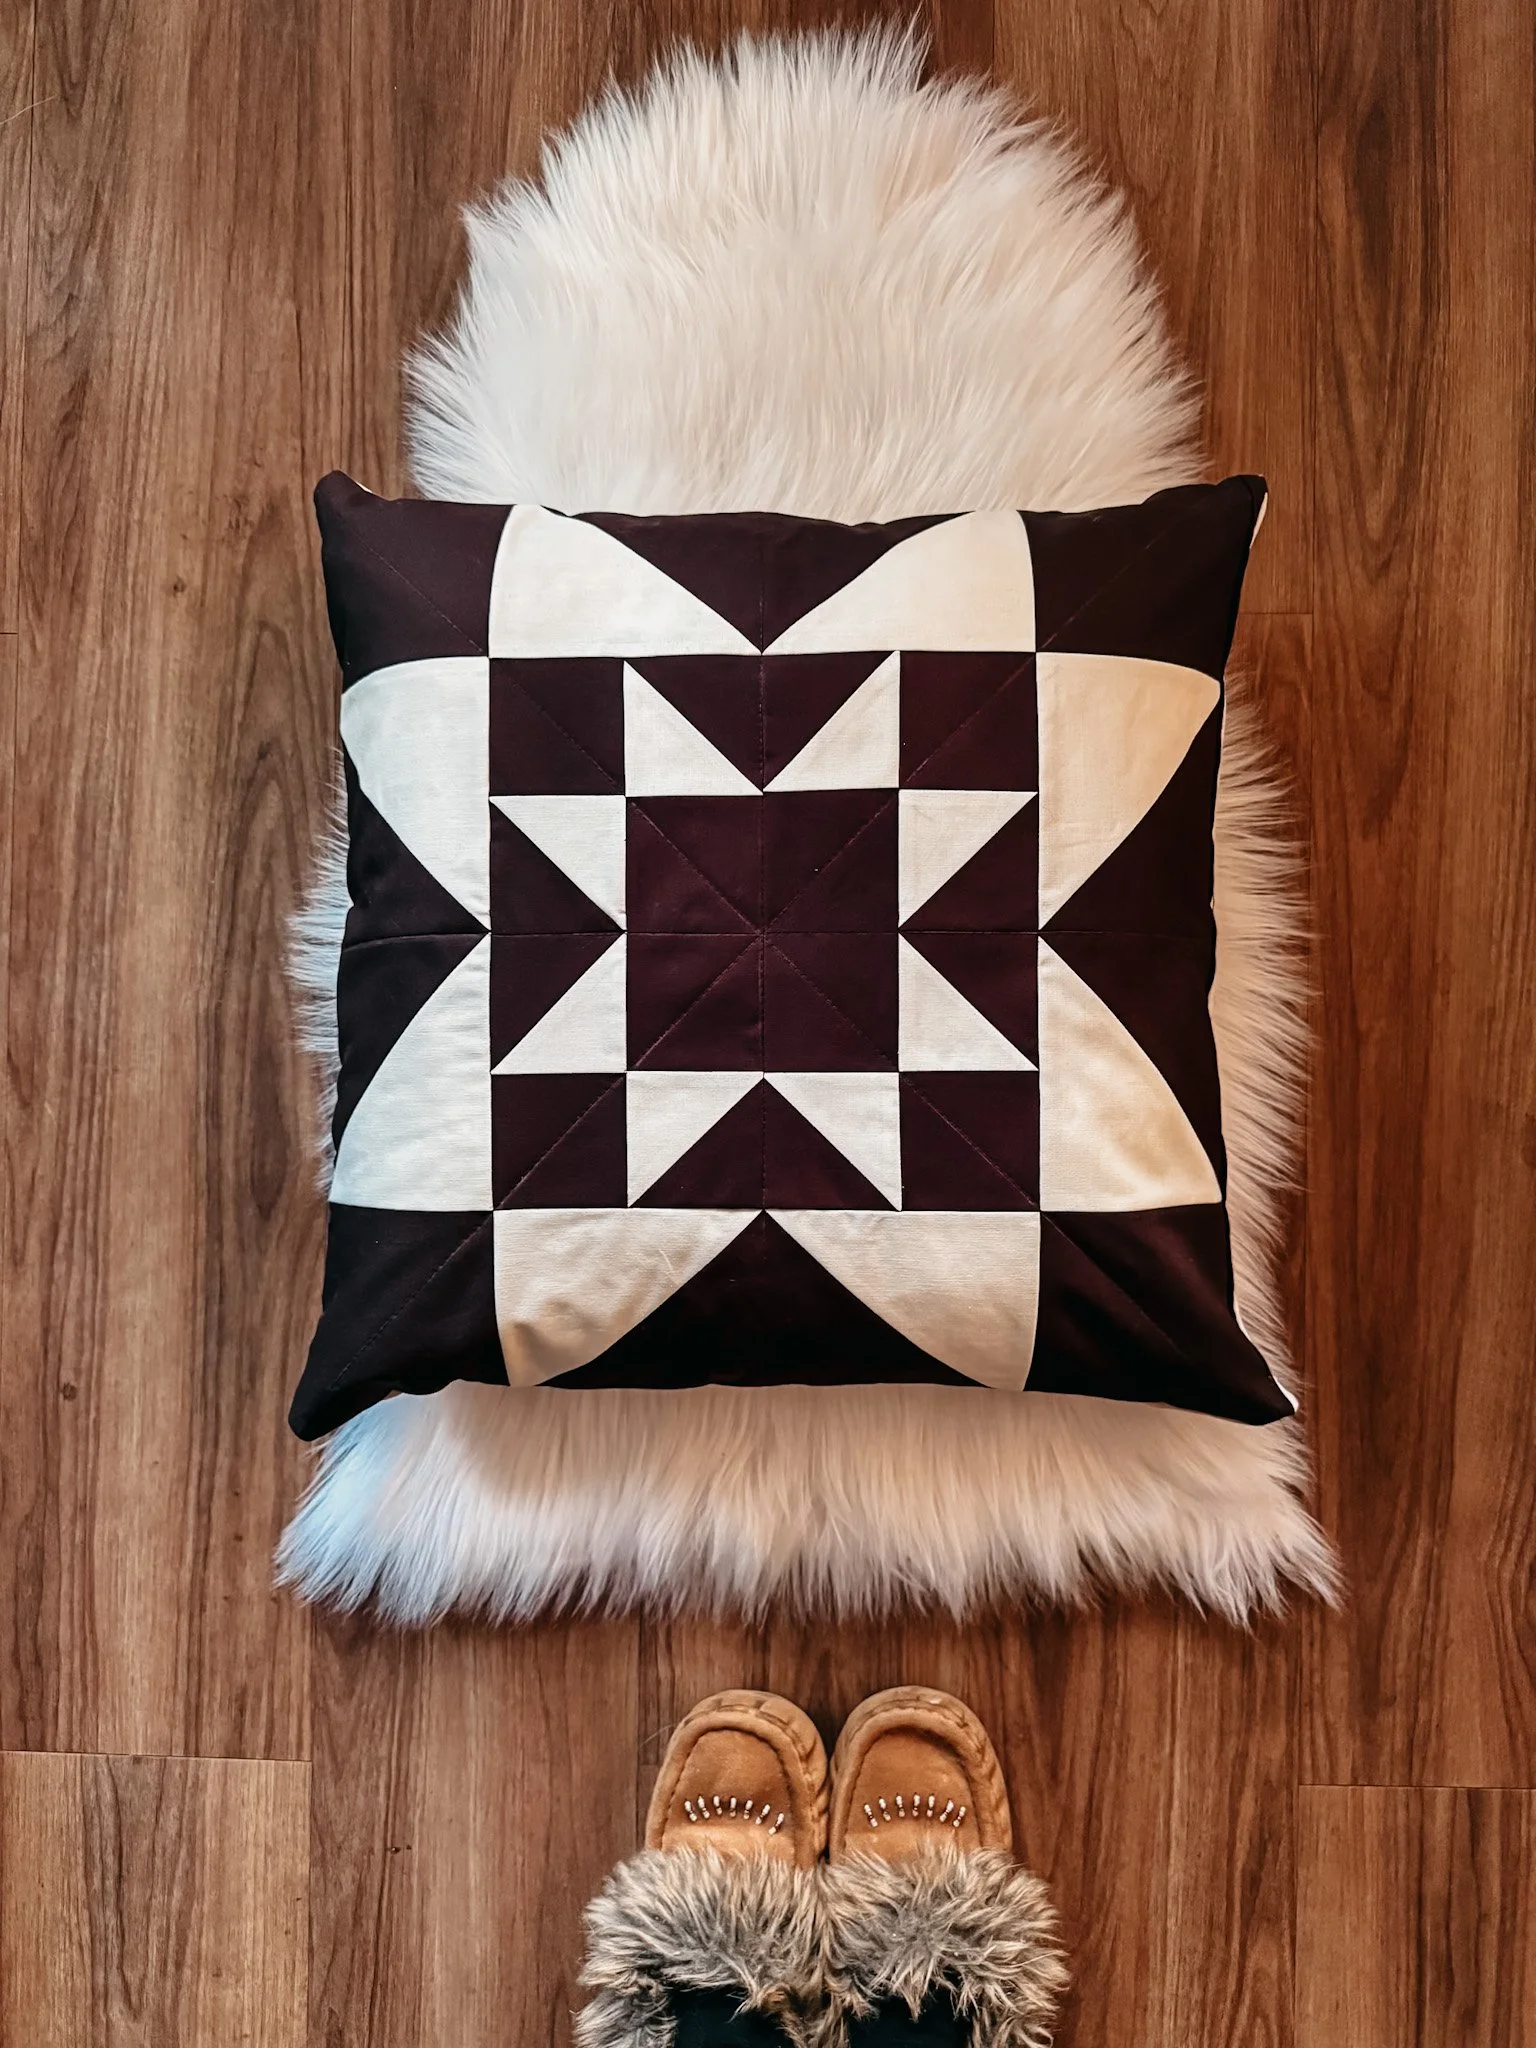
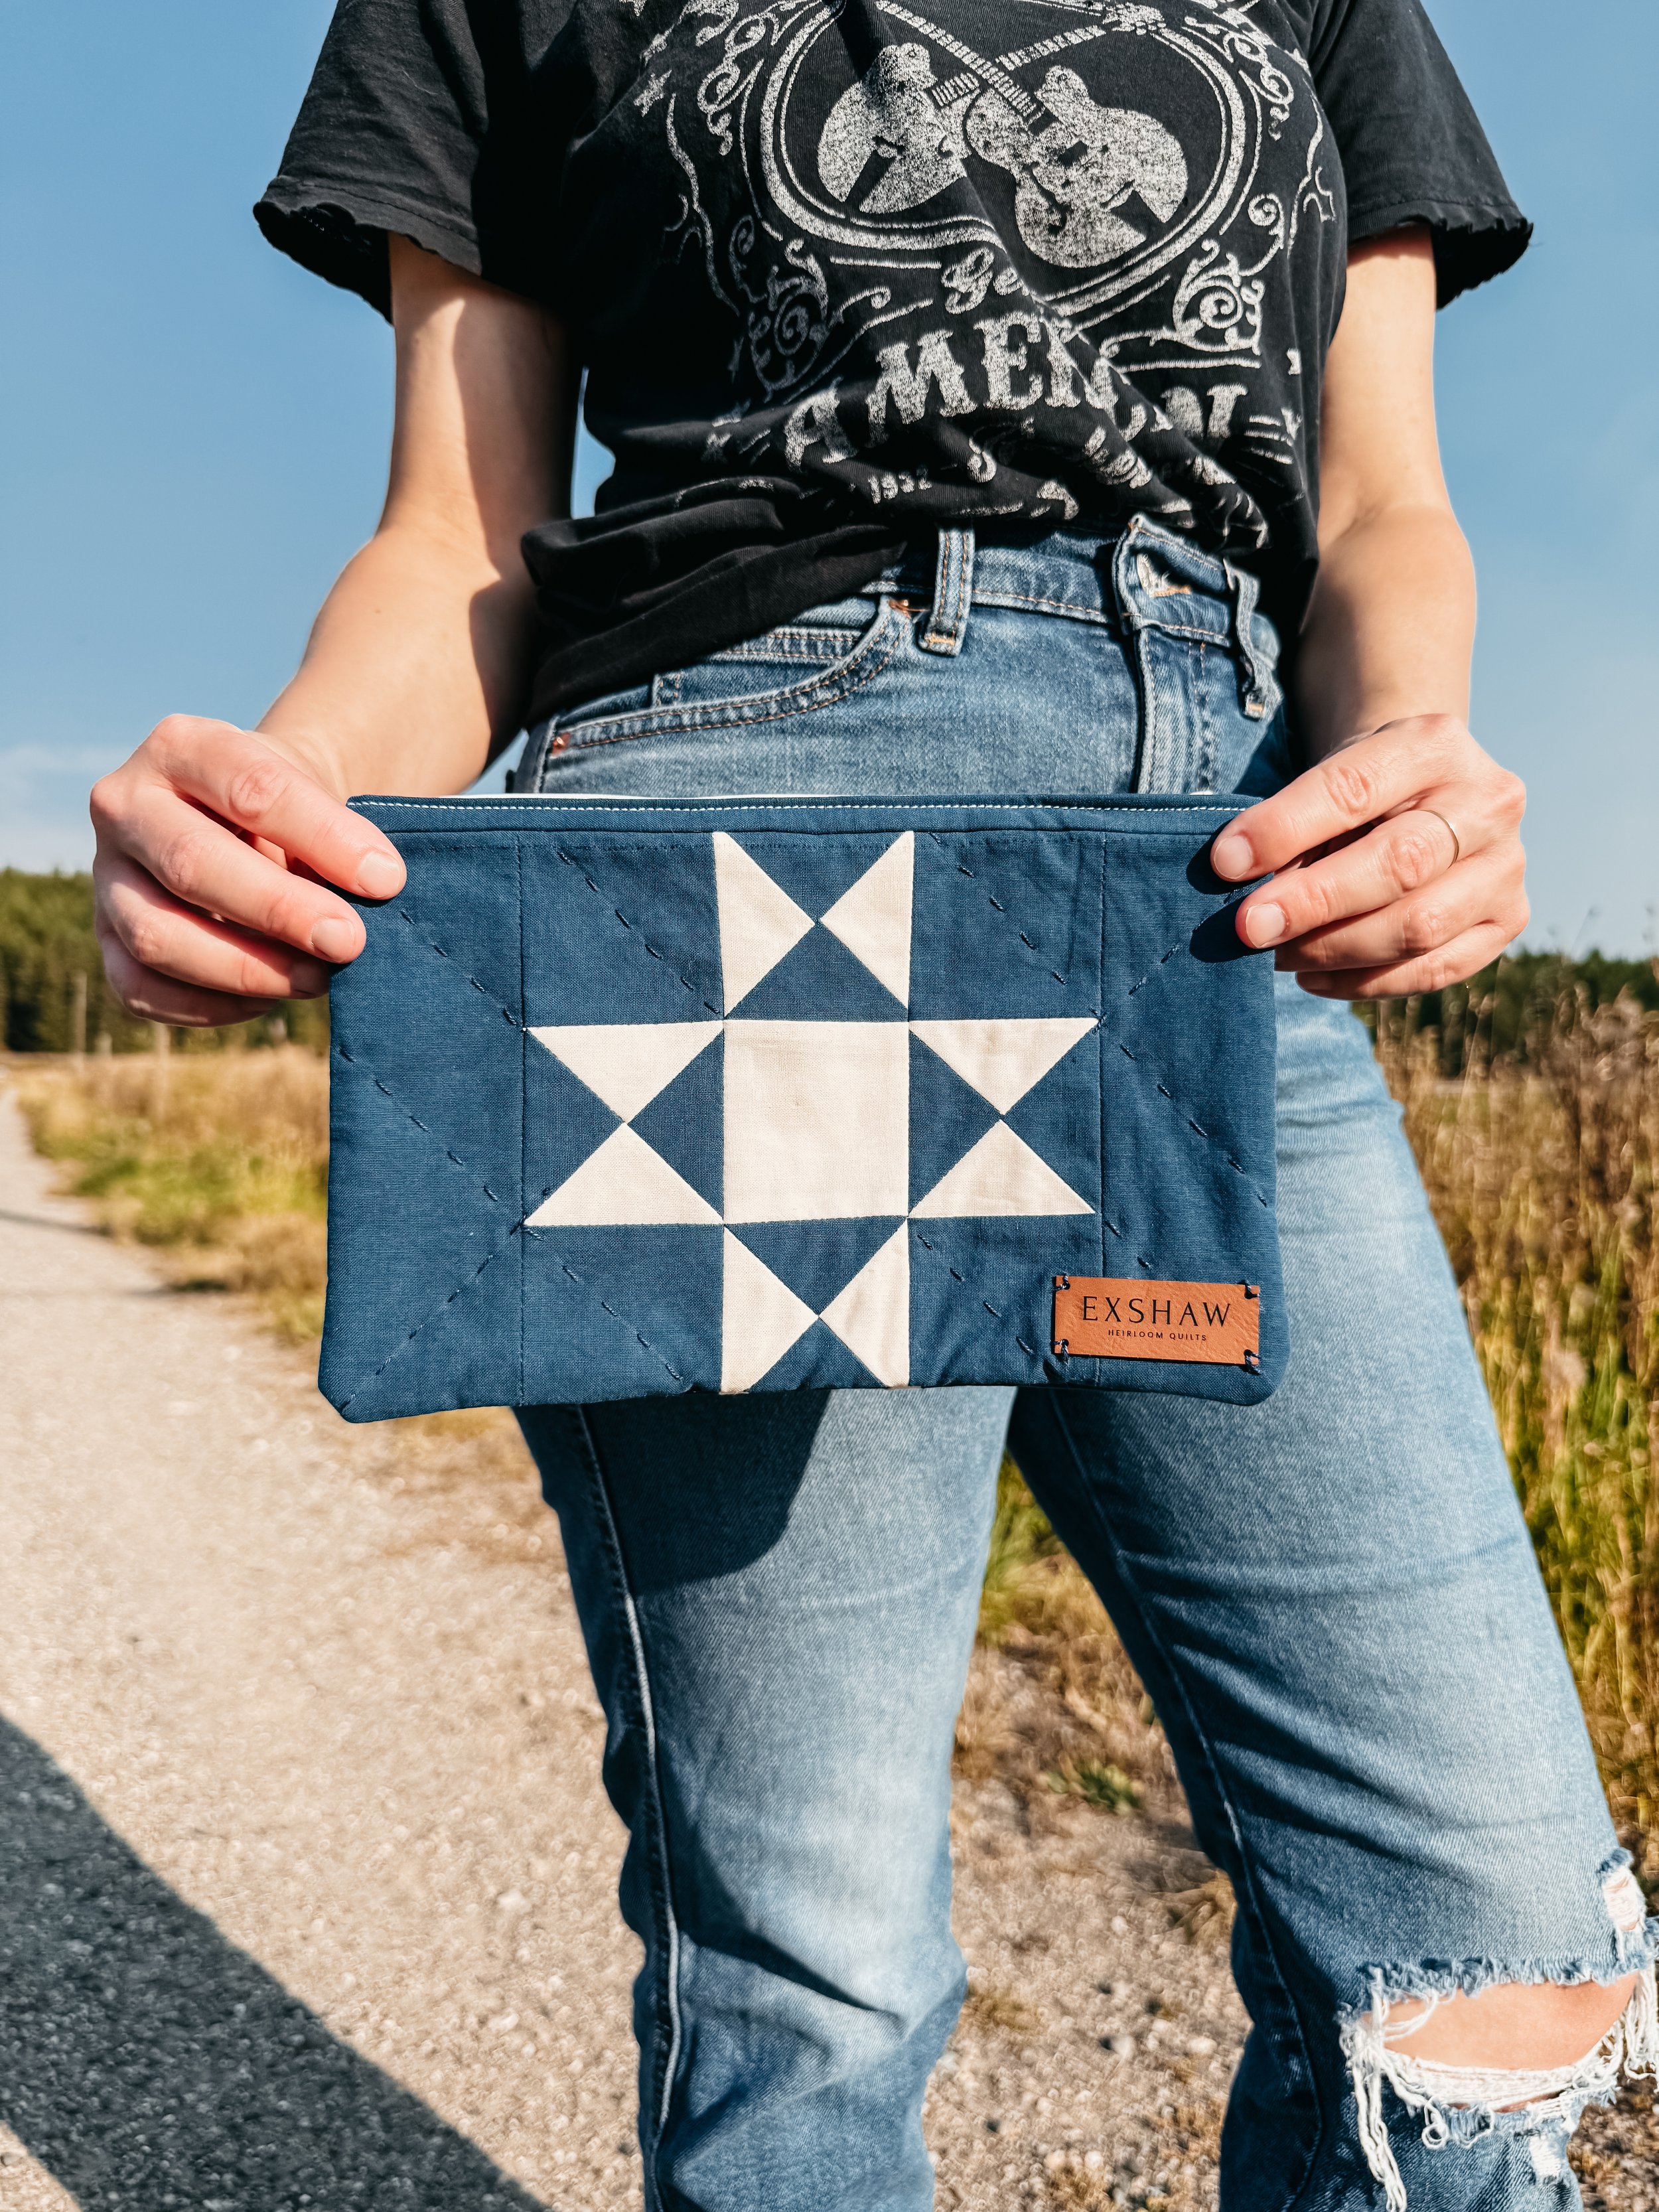
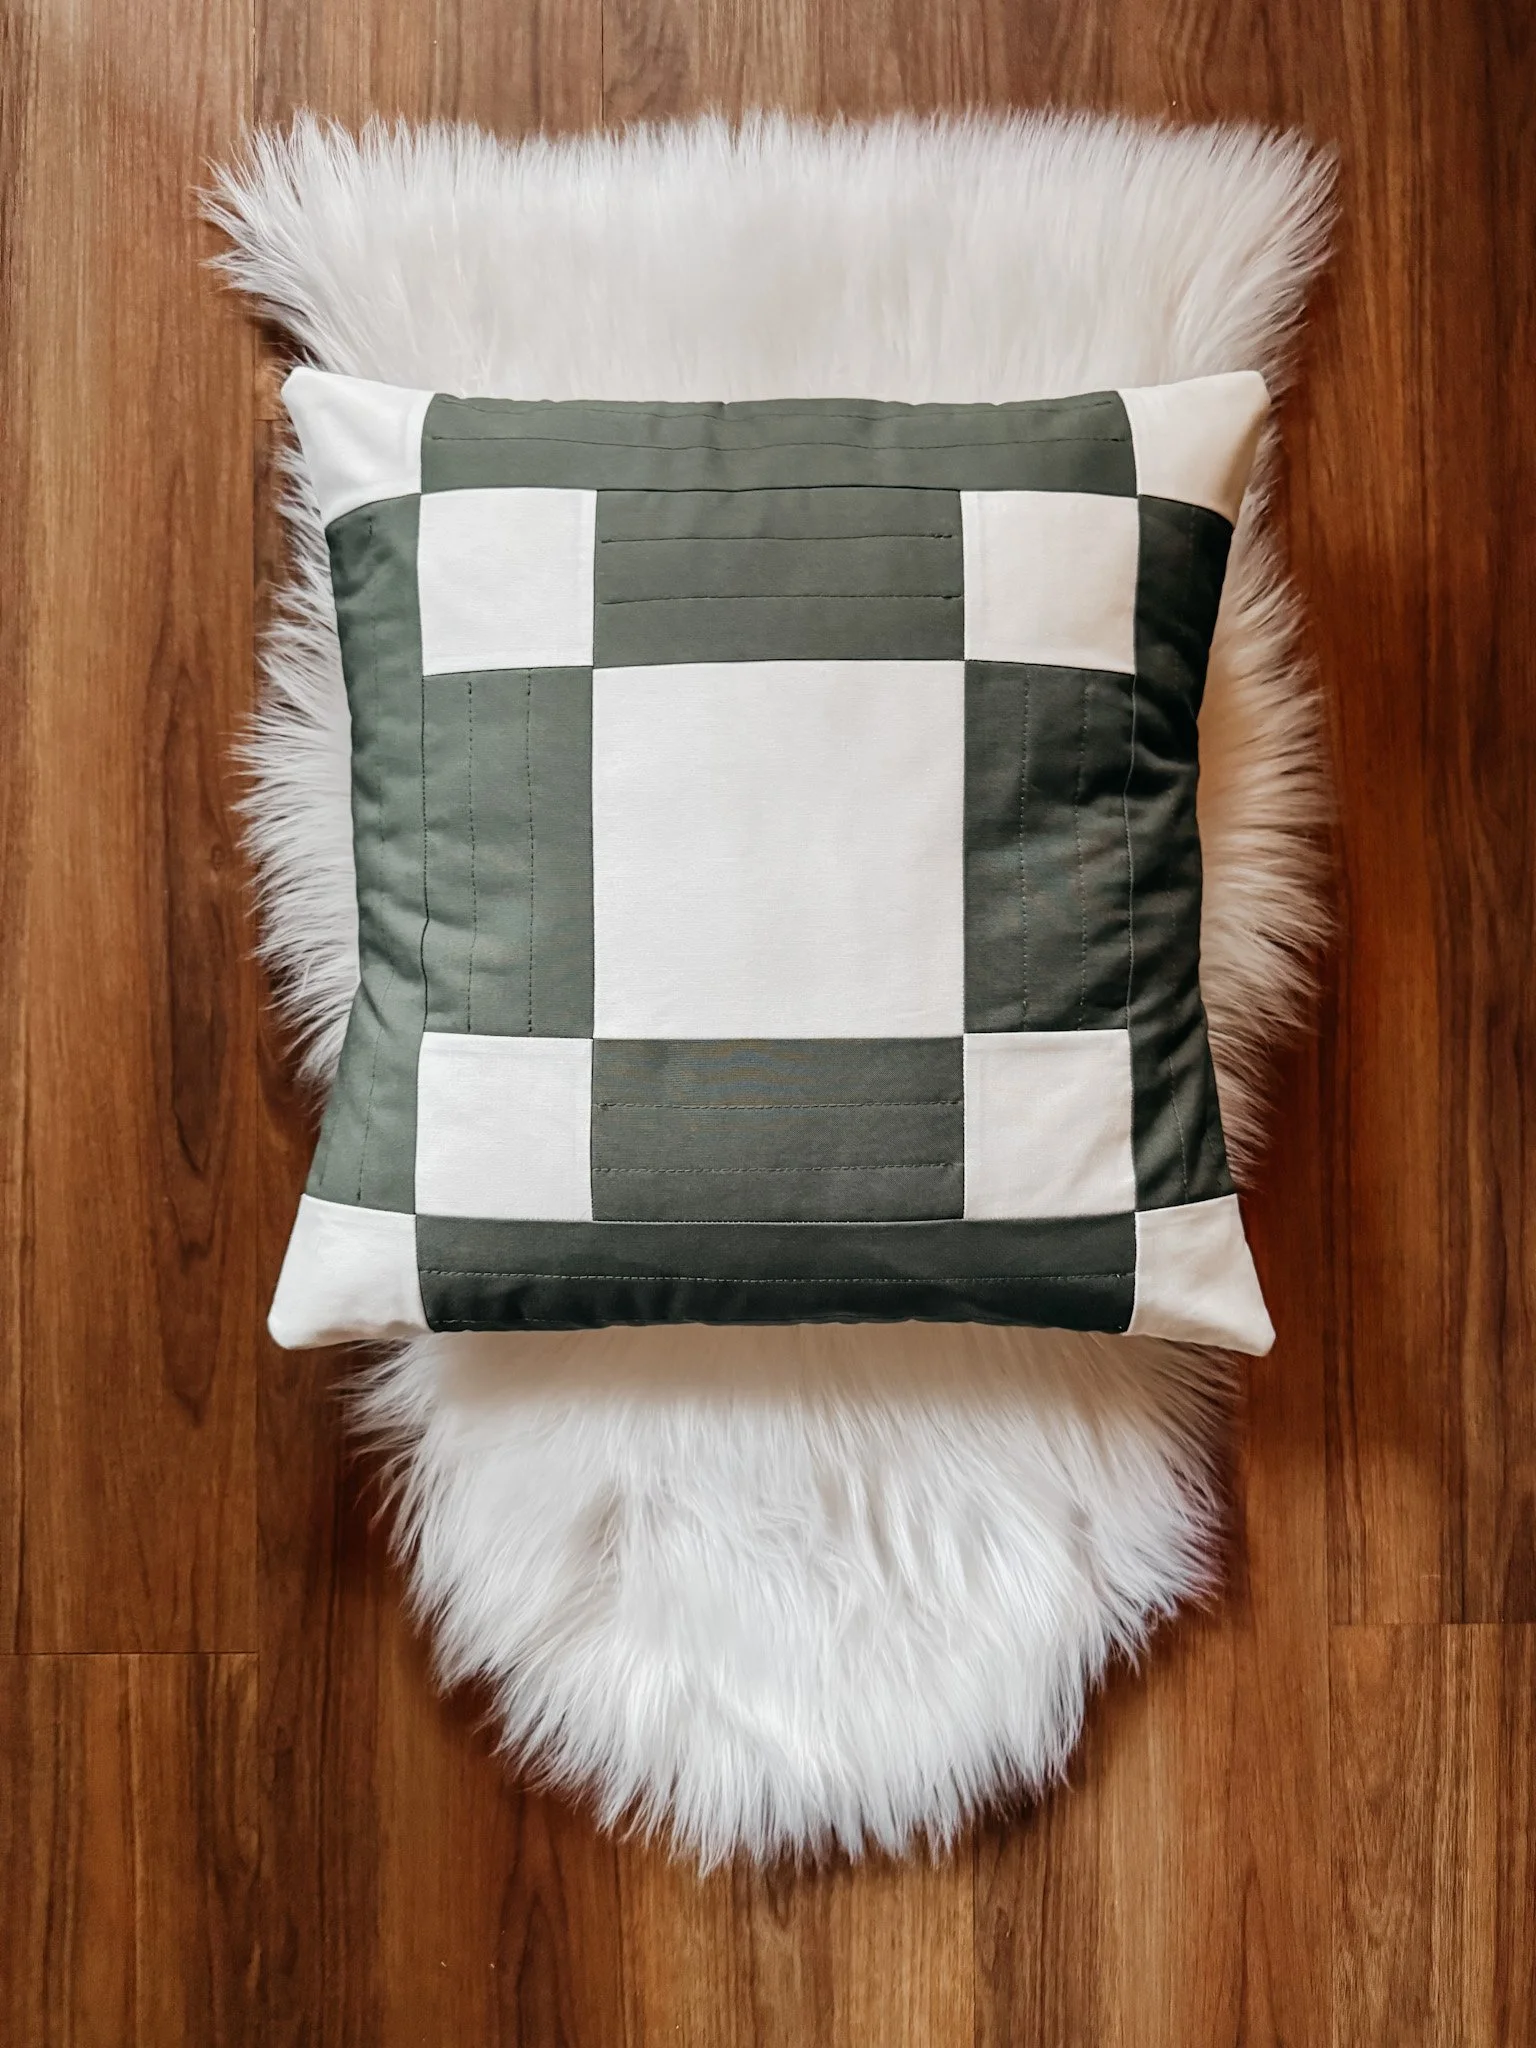
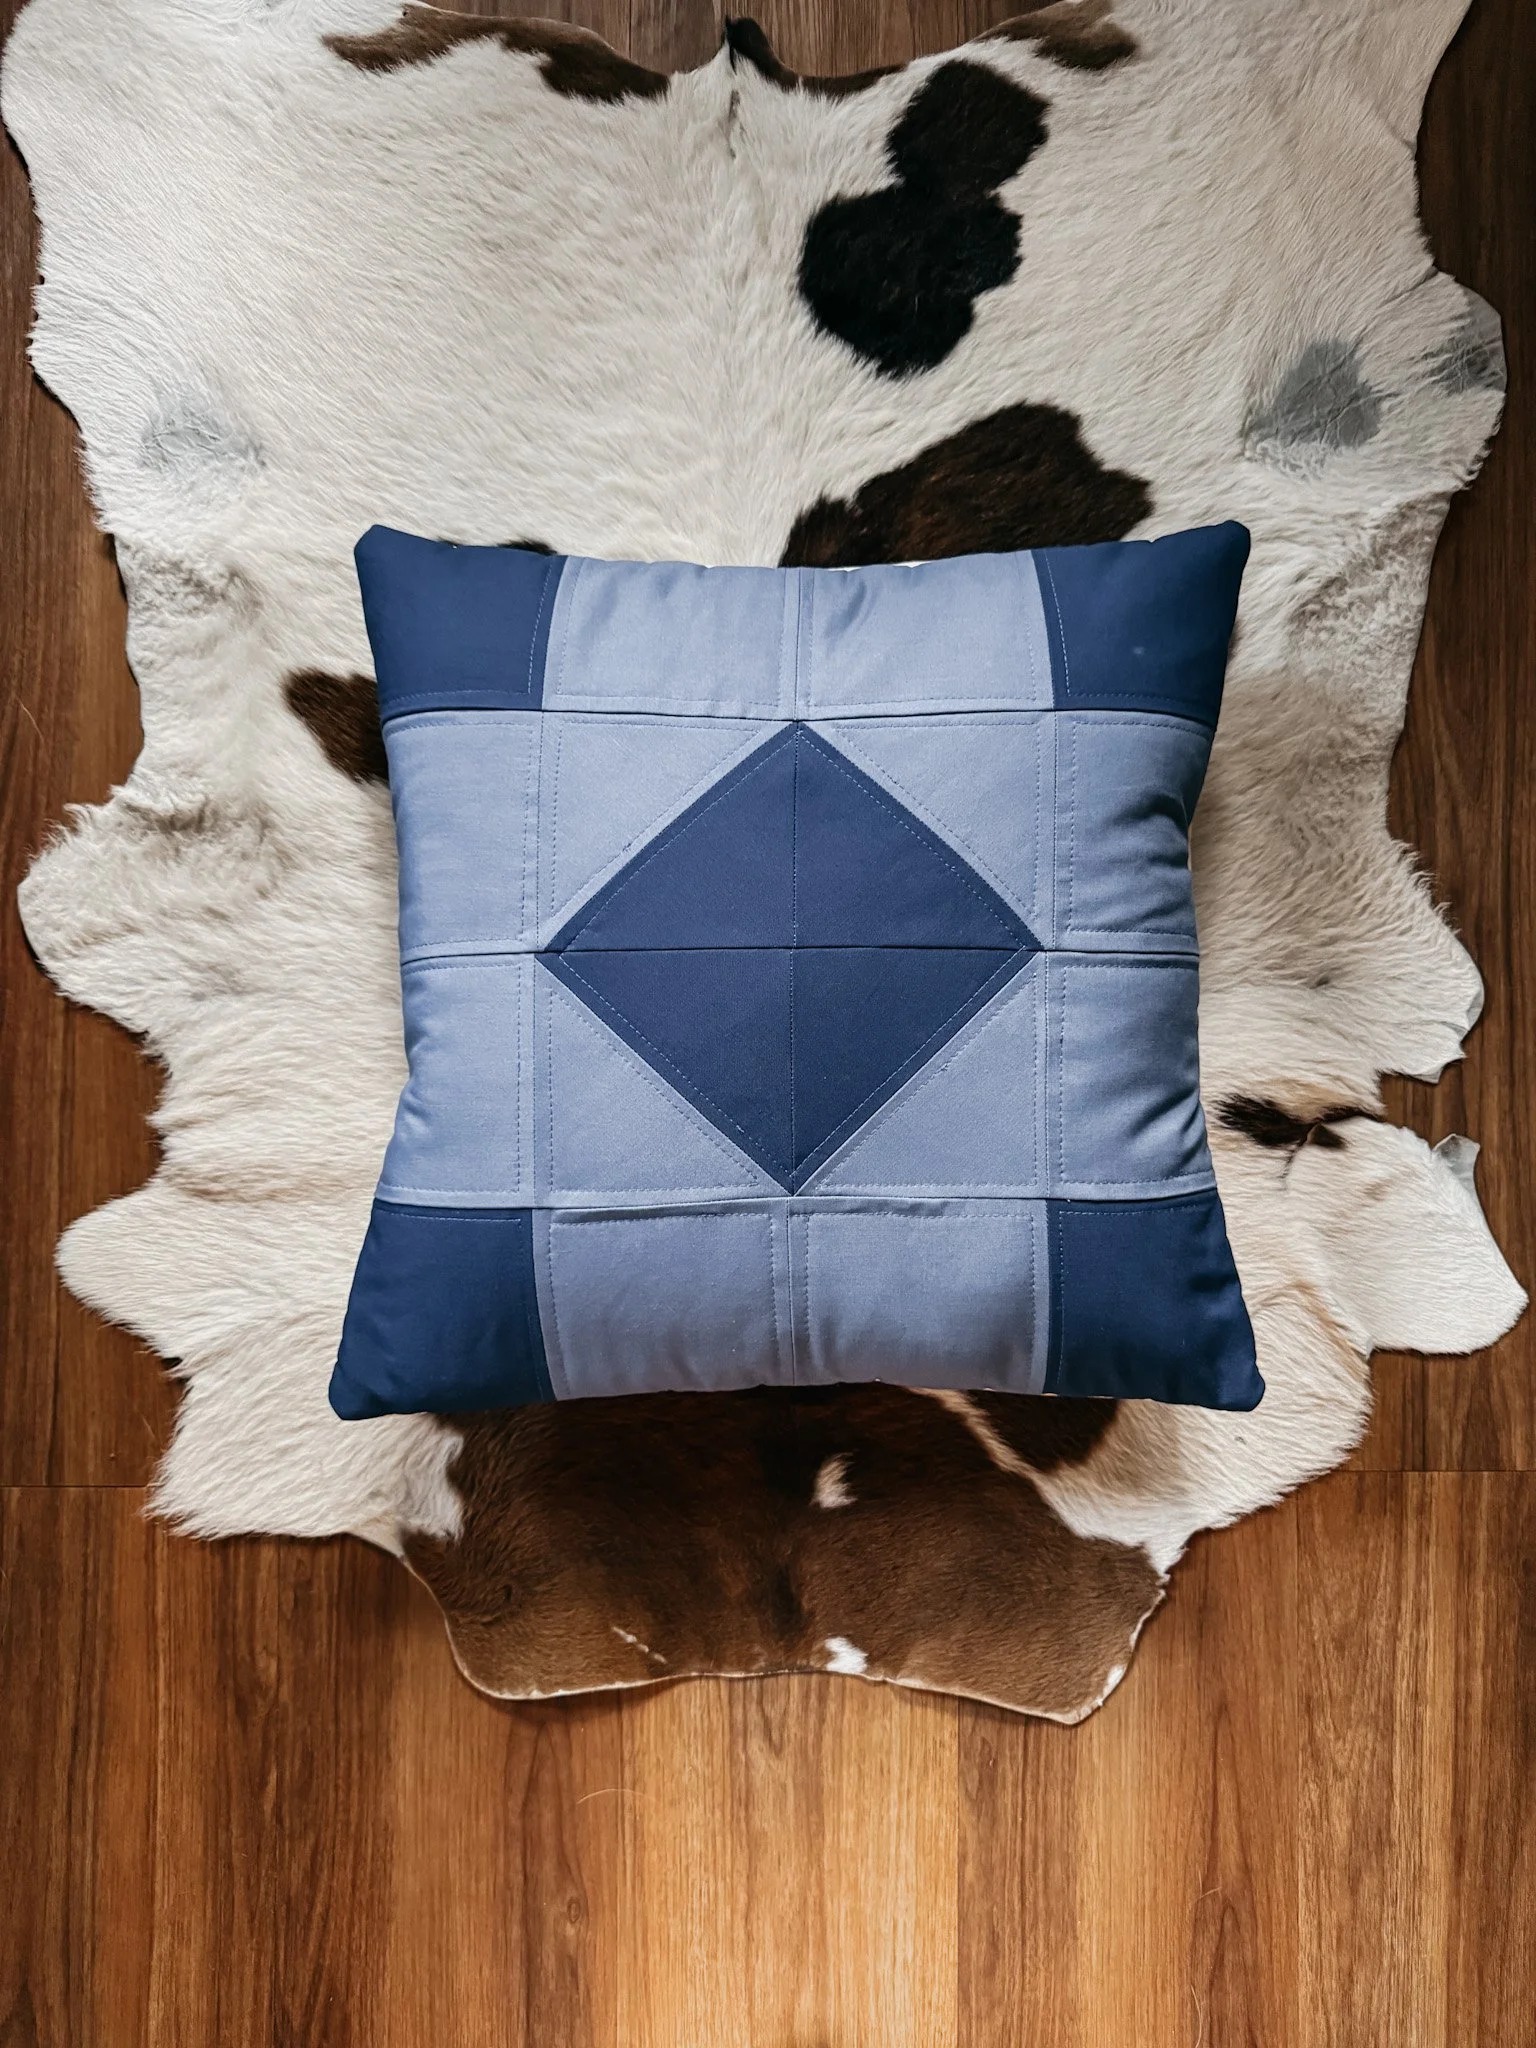
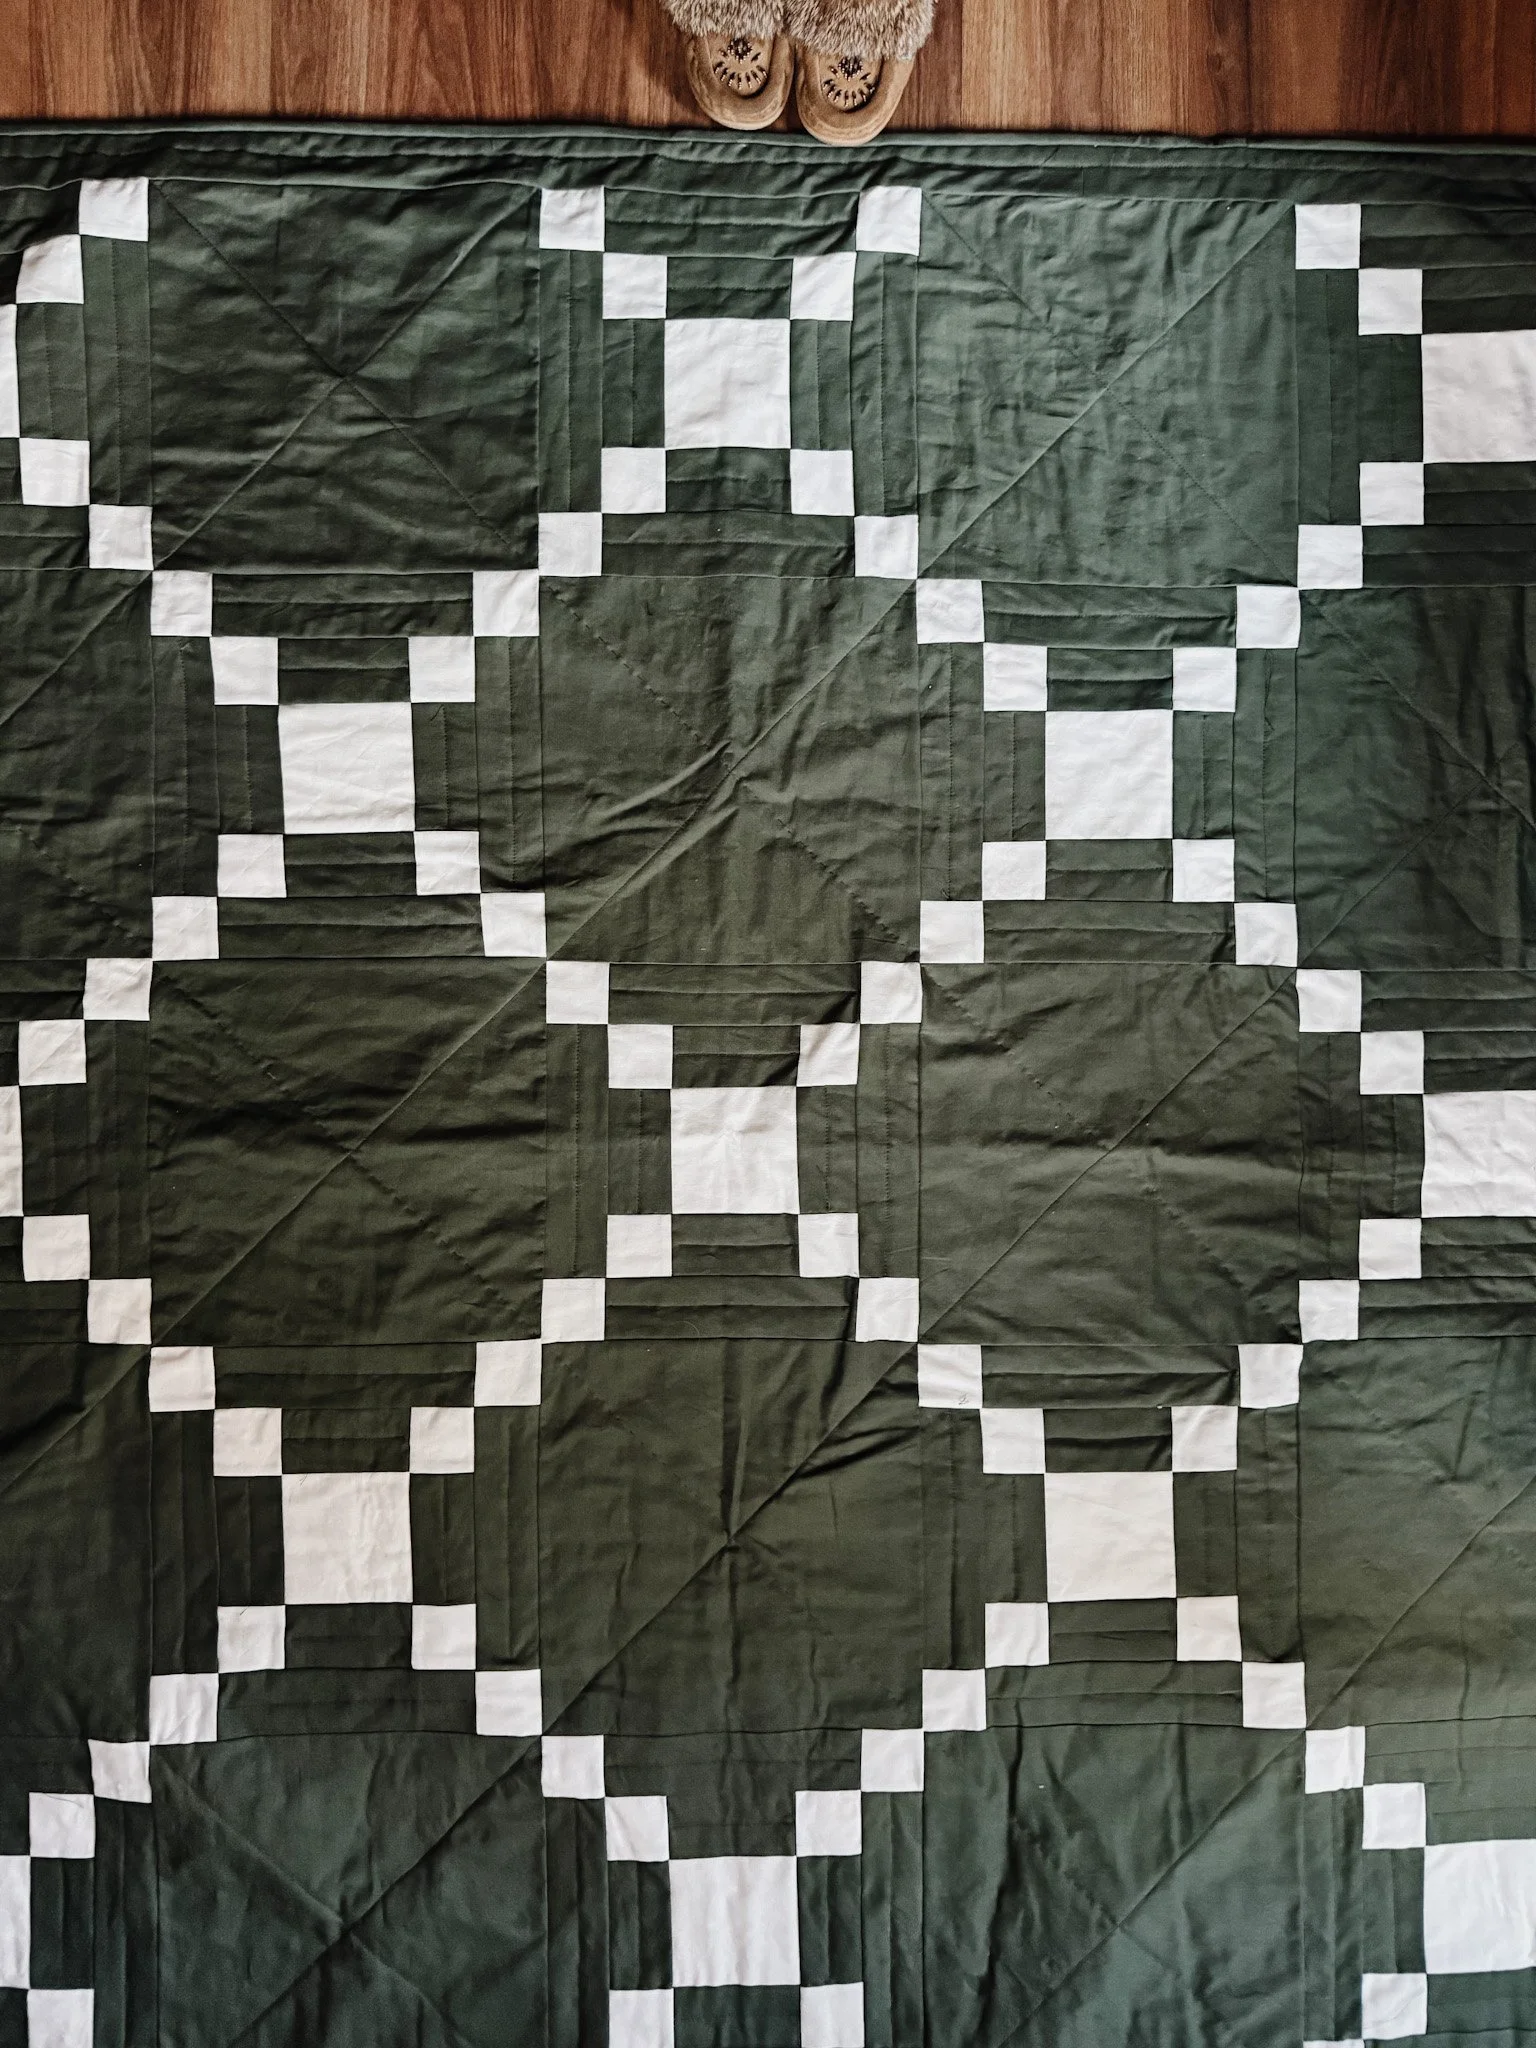
I’m usually not dyeing tiny scraps. I’m dyeing fabric that may become a quilt top, a backing, binding, or a special small batch project. I want the colour to have life and depth, but I don’t always want it to look wildly uneven or accidental.
This method gives me more of what I’m after: natural variation, but not chaos.
A Quick Note Before You Begin
Please read through the manufacturer’s instructions before you start, especially if this is your first time working with pre-reduced indigo. You can find that information here: click to download.
Indigo dyeing is not difficult, but it is a chemical dye vat and should be treated with care.
Use dedicated dye tools only. Do not use pots, spoons, measuring cups, or utensils that you also use for food. Wear gloves. Work in a ventilated area, preferably outside. Keep children and animals away from the vat. Label your supplies clearly and store everything safely. I store my supplies in a lockable tub.
This post is simply my personal quilting cotton process and what has worked well for me in my own dyeing practice.
What Is Pre-Reduced Indigo?
Traditional indigo dyeing can be intimidating because indigo is not naturally water soluble. It needs to be reduced before it can bond with fabric. That chemistry is part of what makes indigo so fascinating, but it can also make the process feel overwhelming when you’re just getting started.
Pre-reduced indigo makes the process much more approachable.
The indigo has already been partially reduced, which means it dissolves more easily and allows you to set up a vat without using lye. For a home quilting studio, that makes the process feel much more manageable.
You still need a reducing agent and soda ash, but the vat comes together fairly quickly and can be used for multiple dye sessions if it is cared for properly.
Supplies for My Updated Pre-Reduced Indigo Vat
if you're interested in natural dyeing online workshops, subscribe to my email for updates!For this process, I use a 5-gallon bucket with a lid.
You will need:
20 grams pre-reduced indigo dye
50 grams sodium hydrosulfite
100 grams soda ash
4 gallons warm tap water
Natural fabric or yarn
Rubber gloves
5-gallon bucket with a tight-fitting lid
Long stir stick
Shallow pan or tray for oxidizing fabric
Plastic sheeting or a protected work surface
Dedicated measuring tools for dyeing only
For quilting, I use natural fibre fabric, always cotton. Pre-washed or scoured quilting cotton gives the best results because the fabric is clean and ready to receive the dye.
Preparing Quilting Cotton for Indigo Dyeing
Fabric prep matters… A LOT.
Even brand-new quilting cotton can have oils, sizing, dust, or other residues on it. These can interfere with dye absorption and cause patchy or dull results. If I am taking the time to dye fabric for a quilt, I want to give myself the best possible chance of getting beautiful colour.
At minimum, I recommend pre-washing your fabric with a mild detergent.
For a more thorough prep (something I highly recommend), scour your cotton before dyeing. Scouring is basically a deeper cleaning process that removes oils, waxes, and manufacturing residue from the cloth. This is what I personally do!
Once the fabric is clean, I rinse it thoroughly before it goes into the vat. (If you scoured and let dry, make sure to rinse and soak your fabric before dyeing.) Damp fabric accepts dye more evenly than dry fabric, and it also helps reduce trapped air.
Before dipping, squeeze out excess water and air. This step is important. Indigo vats do not love oxygen, so you want to avoid plunging a big air-filled bundle of cotton into the bucket.
Slow and gentle is the name of the game.
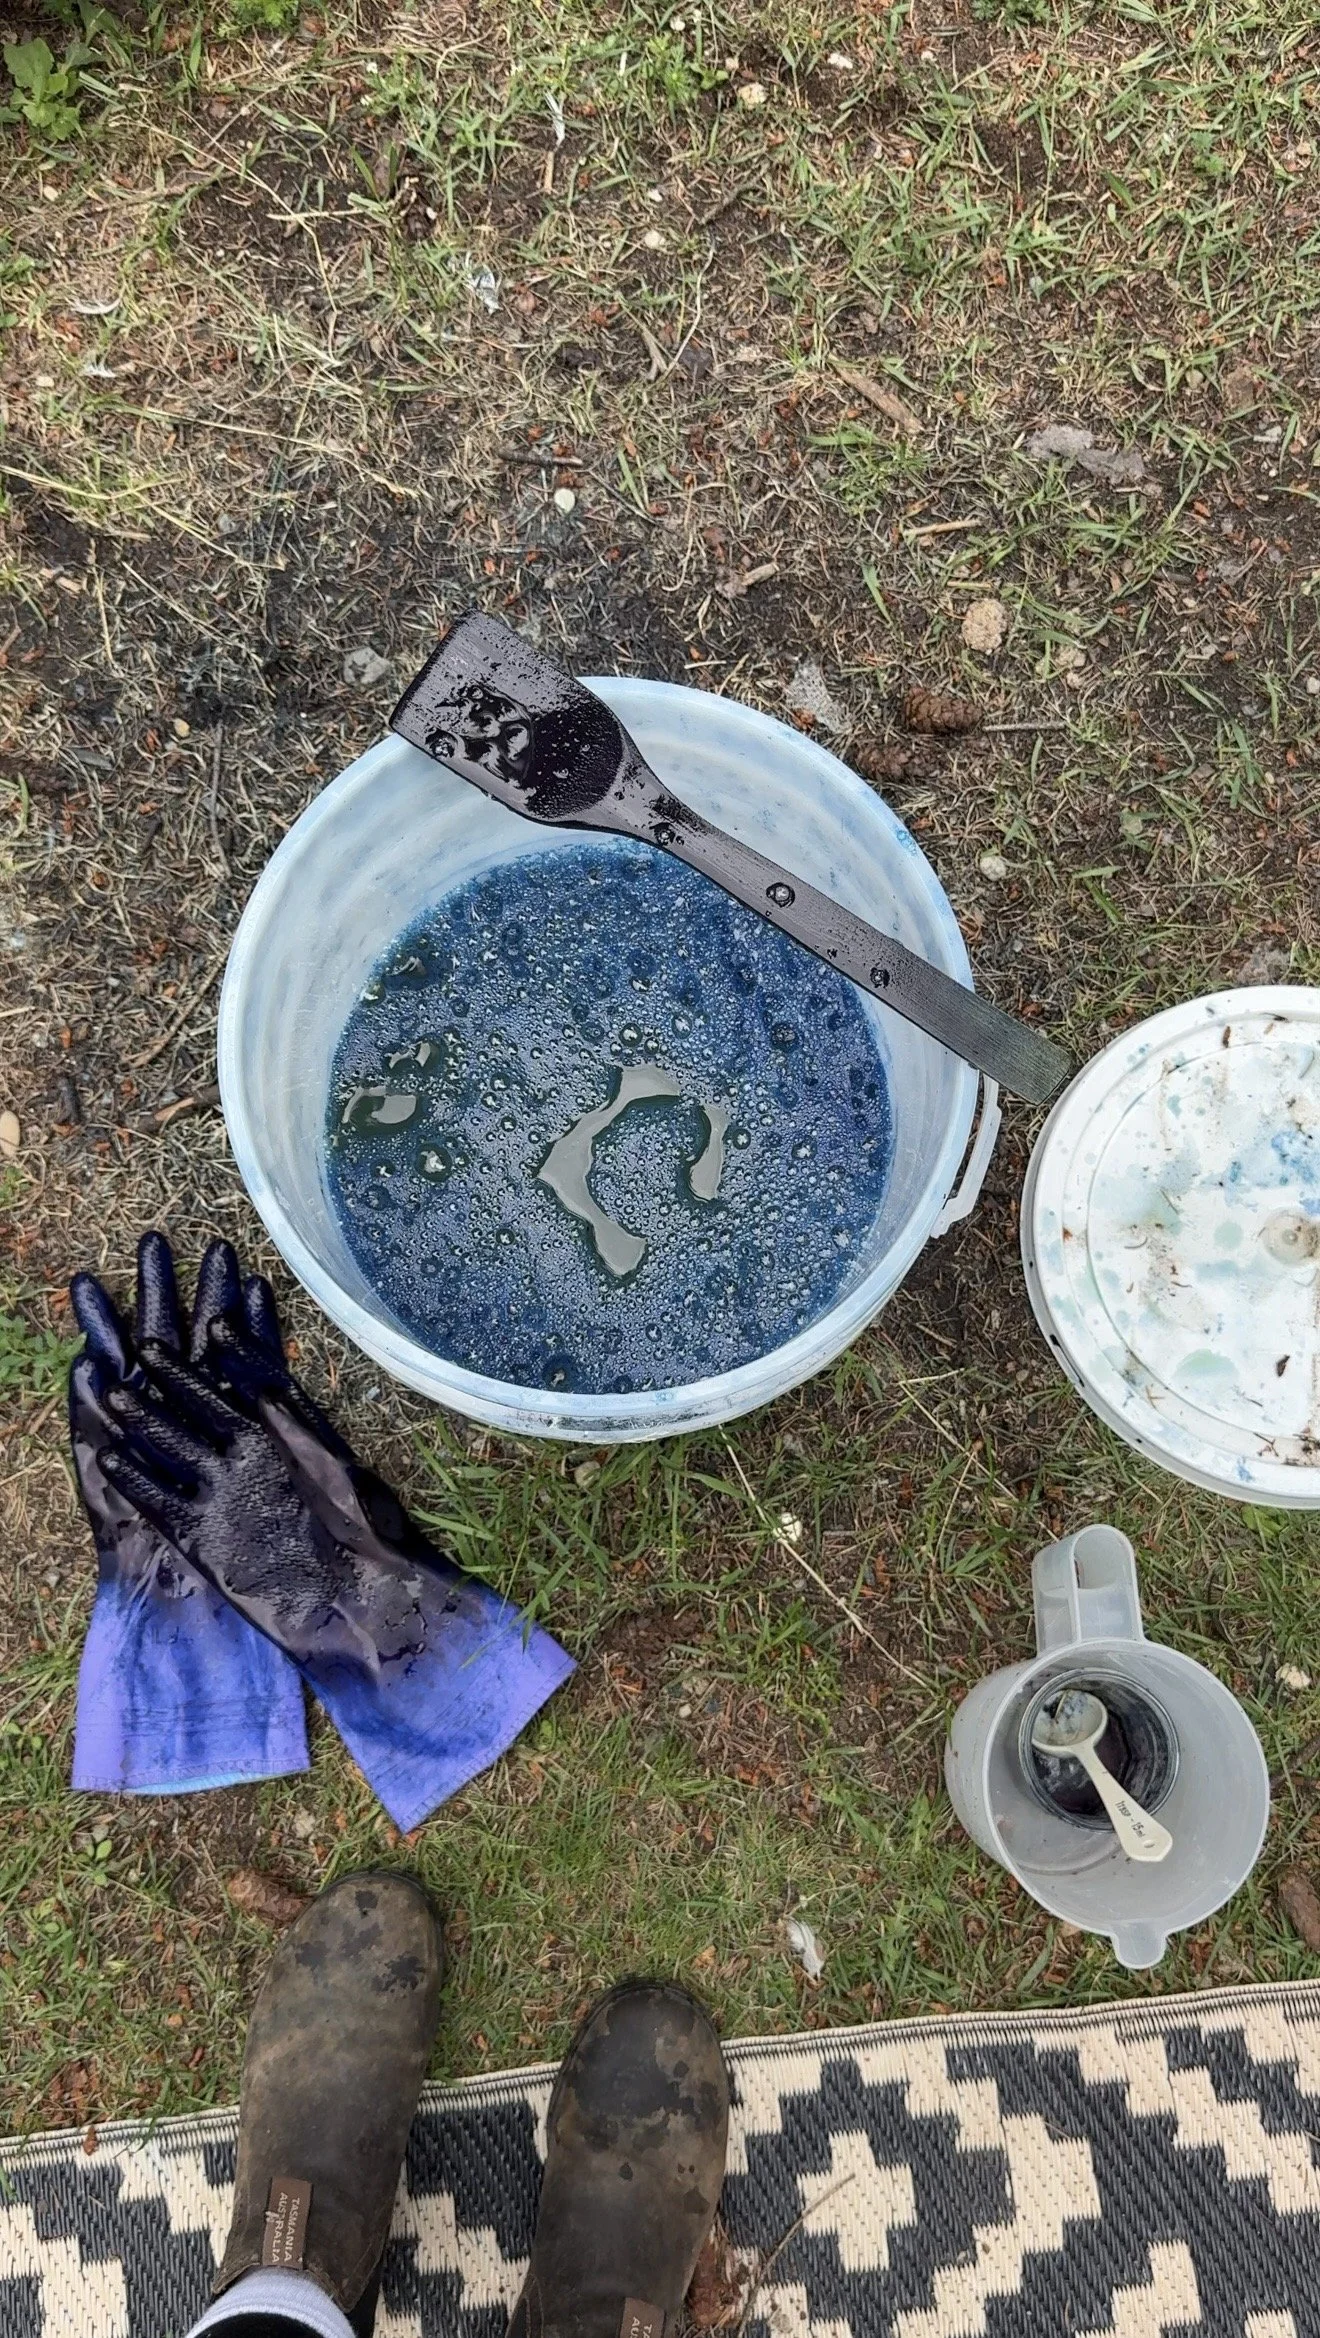
Setting Up the Indigo Vat
Start by filling your 5-gallon bucket with 4 gallons of warm tap water.
While stirring, slowly add the soda ash and sodium hydrosulfite to the water. Stir gently to dissolve. Then add the pre-reduced indigo and stir again.
The biggest thing to remember is that you do not want to splash.
You are trying to keep the vat as oxygen-free as possible. Splashing introduces oxygen, and too much oxygen can affect how well the vat performs.
Once everything is added, stir the vat gently in one circular direction to create a soft whirlpool. When the vat is well mixed, slow the whirlpool by dragging your stir stick along the outside edge of the bucket before carefully removing it.
Then put the lid on and let the vat settle.
The instructions say to let it settle for at least 15–30 minutes, but I prefer giving it closer to an hour when I can. This is one of those places where patience helps.
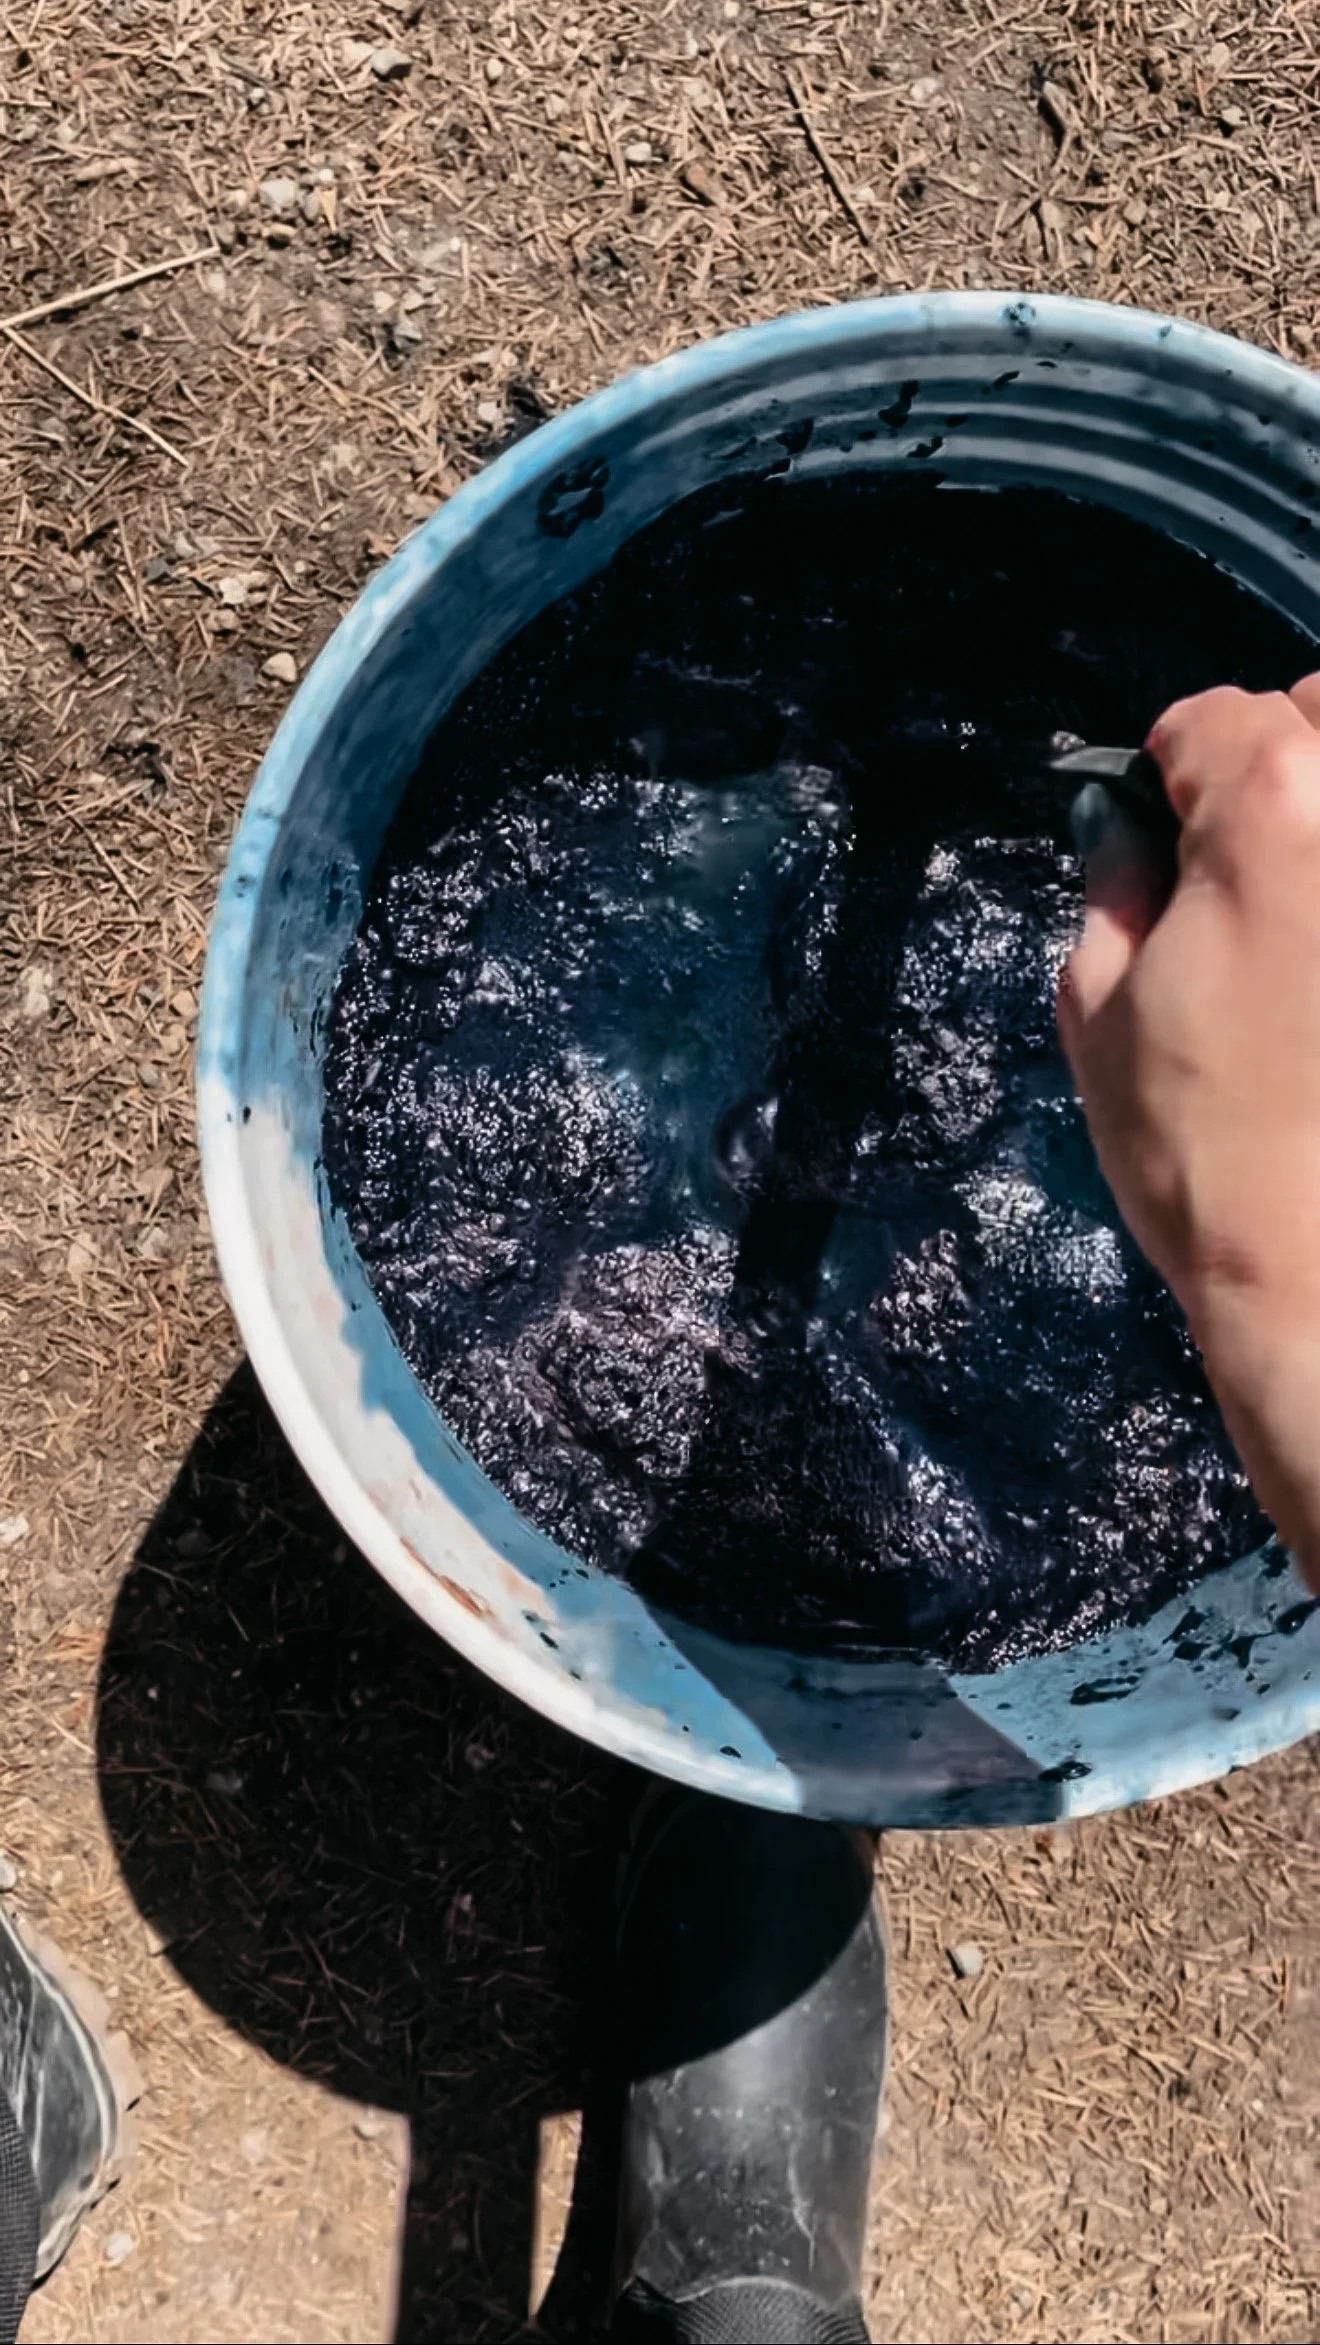
When you remove the lid, you may see a thin blue skin or film on top. Gently move it to the side while wearing gloves. Underneath, the vat should look clear yellow or yellow-green.
That strange yellow-green colour is exactly what you want.
Dyeing the Fabric
Once your vat is ready and your fabric is wet, it’s time to dye.
Squeeze excess water and air out of the fabric first. While still gently squeezing the fabric, slowly lower it into the vat. Don’t drop it in. Don’t let it sink to the bottom.
There can be residue settled at the bottom of the bucket, and stirring that up can cause spots or uneven marks on your fabric. I try to keep the fabric suspended and moving gently under the surface without touching the bottom.
Once the fabric is submerged, gently manipulate it beneath the surface so the dye can reach the unbound areas evenly. For quilting cotton, I like to move slowly and intentionally. No frantic stirring. No splashing. No aggressive swishing.
Just slow movement.
You can leave the fabric in the vat for one to several minutes (sometimes up to 15 minutes— it really depends on a lot of factors). The exact time depends on the depth of colour you want and how the vat is behaving that day.
When you’re ready to remove the fabric, squeeze it gently just below the surface and slowly lift it out. Again, try not to splash.
At first, the fabric will not look blue. It may look yellow-green, murky, or almost wrong.
Wait.
The blue is coming.
Oxidizing: Watching the Fabric Turn Blue
This is the part I will never get tired of.
As the fabric meets the air, it begins to oxidize. That yellow-green colour slowly shifts into blue. Sometimes it happens quickly. Sometimes it feels like the fabric is taking its sweet time. Either way, it is always beautiful.
Lay the fabric in a shallow pan, hang it carefully, or spread it somewhere it can oxidize without bunching too much. If there are areas you want to turn blue, open them up so the air can reach them.
I let the fabric oxidize for about 20 minutes between dips.
This is another part of the updated process that I really appreciate. Giving the fabric proper time to oxidize helps me see what colour I’m actually getting before deciding whether to dip again.
Wet indigo always looks darker than it will when dry, so keep that in mind.
if you're interested in natural dyeing online workshops, subscribe to my email for updates!
How Many Dips Do You Need?
One dip will give you a lighter blue (but not always, sometimes one dip yields a darker shade especially with a fresh vat).
Multiple dips will deepen the colour.
For quilting cotton, I would rather build the colour slowly than try to force a very dark shade in one long dip. Indigo has such beautiful depth when it is layered, and repeated dipping gives the fabric that rich, dimensional blue I love.
My general process is:
Dip the fabric.
Remove it gently.
Let it oxidize for about 20 minutes.
Decide if it needs another dip.
Repeat until I’m happy with the shade.
Some pieces only need one or two dips. Others need more especially towards the end of an exhausted vat.
This is why keeping notes is so helpful. Write down how long you dipped, how many dips you did, what fabric you used, and how the final colour looked after drying. Indigo dyeing can feel intuitive in the moment, but future-you will be grateful for the notes.
Why I Prefer This Process for Quilting Cotton
The biggest reason I prefer this updated recipe and process is that it results more consistent, even results especially when you make larger vats.
Quilting cotton can be awkward to dye, especially if you are working with larger yardage. If the fabric is packed too tightly into the vat, you can end up with hard crease lines, pale spots, or uneven patches where the dye couldn’t fully reach.
I don’t mind variation. In fact, I love variation. That is part of the beauty of naturally dyed fabric.
But there is a difference between beautiful handmade variation and fabric that looks like it fought for its life in a bucket.
This process feels more spacious and more forgiving. I can move the fabric slowly under the surface. I can avoid the bottom of the vat more easily. I can oxidize properly between dips. The whole thing just feels better.
And honestly, I enjoy it more.
That matters to me.
So much of quilting is process. Cutting, piecing, pressing, quilting, binding—none of it is instant. Dyeing my own fabric adds another slow layer to the making, and I want that layer to feel grounding, not frustrating.
This method gives me that.
Rinsing and Washing the Fabric
Once I’m happy with the colour and the fabric has fully oxidized, I rinse out the excess indigo.
Start gently. Rinse until the water begins to clear, then I dip it in a 5 gallon bucket filled with water and a cup of vinegar. From there, I machine wash it with a mild detergent in warm water.
I like to wash dyed fabric separately at first, especially before combining it with lighter fabrics in a quilt. Indigo can crock or release excess dye, particularly in the beginning, so I do not skip this step.
After rinsing and washing, I always tumble dry with heat to lock in the colour.
Once dry, the colour usually looks softer and more settled than it did when wet.
Caring for Indigo-Dyed Quilts
If you use your hand-dyed indigo cotton in a quilt, treat the finished quilt with a little extra care.
I recommend washing separately with a colour catcher, especially for the first few washes. Use cool water and a gentle detergent. Avoid bleach, harsh detergents, and optical brighteners. Line dry or lay flat when possible.
Part of the beauty of indigo is that it changes over time. It softens. It settles. It becomes more lived-in.
For me, that is not a flaw. That is part of the charm.
A quilt is meant to be used, loved, folded, unfolded, carried from room to room, and eventually worn into someone’s life. Indigo feels especially suited to that kind of slow aging.
Troubleshooting Your Indigo Vat
If your vat looks more blue-green than yellow-green, or if you see blue particles floating in the liquid, it may need more reducing agent.
If the colour seems weak, or the vat looks grey and watery, it may need more pre-reduced indigo.
When adjusting the vat, add small amounts at a time and give the chemistry time to work before adding more. Indigo does not always respond instantly, and overcorrecting can cause its own problems.
A good vat is worth tending.
With care, an indigo vat can last for days or even weeks. Keep the lid on when you’re not using it, store it at a comfortable room temperature, and avoid introducing unnecessary oxygen.
What I’ve Learned from Dyeing Quilt Fabric with Indigo
The more I dye fabric, the more I understand why people fall so hard for indigo.
It is simple, but not boring.
Predictable, but not fully controllable.
Traditional, but still surprising every time.
Here are a few things I’ve learned:
Give the fabric more room than you think it needs.
Wet the fabric thoroughly before dyeing.
Squeeze out excess air before lowering it into the vat.
Move slowly and avoid splashing.
Do not let the fabric sink to the bottom.
Oxidize fully between dips.
Keep notes.
Expect the colour to look different/darker wet than dry.
Embrace some variation.
Do not rush the process.
That last one might be the most important.
Indigo wants you to slow down.
Final Thoughts
This updated pre-reduced indigo process has become my favourite way to dye quilting cotton.
I prefer the recipe. I prefer the larger vat. I prefer the way the fabric has room to move. I prefer the more even results. And I genuinely enjoy the process more.
There is still magic in it, but it feels less like guessing now.
It feels like a rhythm.
Mix the vat. Let it settle. Wet the fabric. Squeeze out the air. Dip slowly. Lift gently. Watch the blue bloom. Wait. Dip again.
There is something deeply satisfying about making a quilt from fabric you dyed with your own hands. The cloth already has a story before you ever cut into it. And when that cloth becomes a quilt, the whole piece feels more personal, more rooted, more alive.
If you’ve been curious about dyeing quilting cotton with pre-reduced indigo, I hope this gives you the confidence to try.
Just be warned: once you watch that first piece of fabric turn blue in the open air, you may never look at plain white cotton the same way again.
if you're interested in natural dyeing online workshops, subscribe to my email for updates!