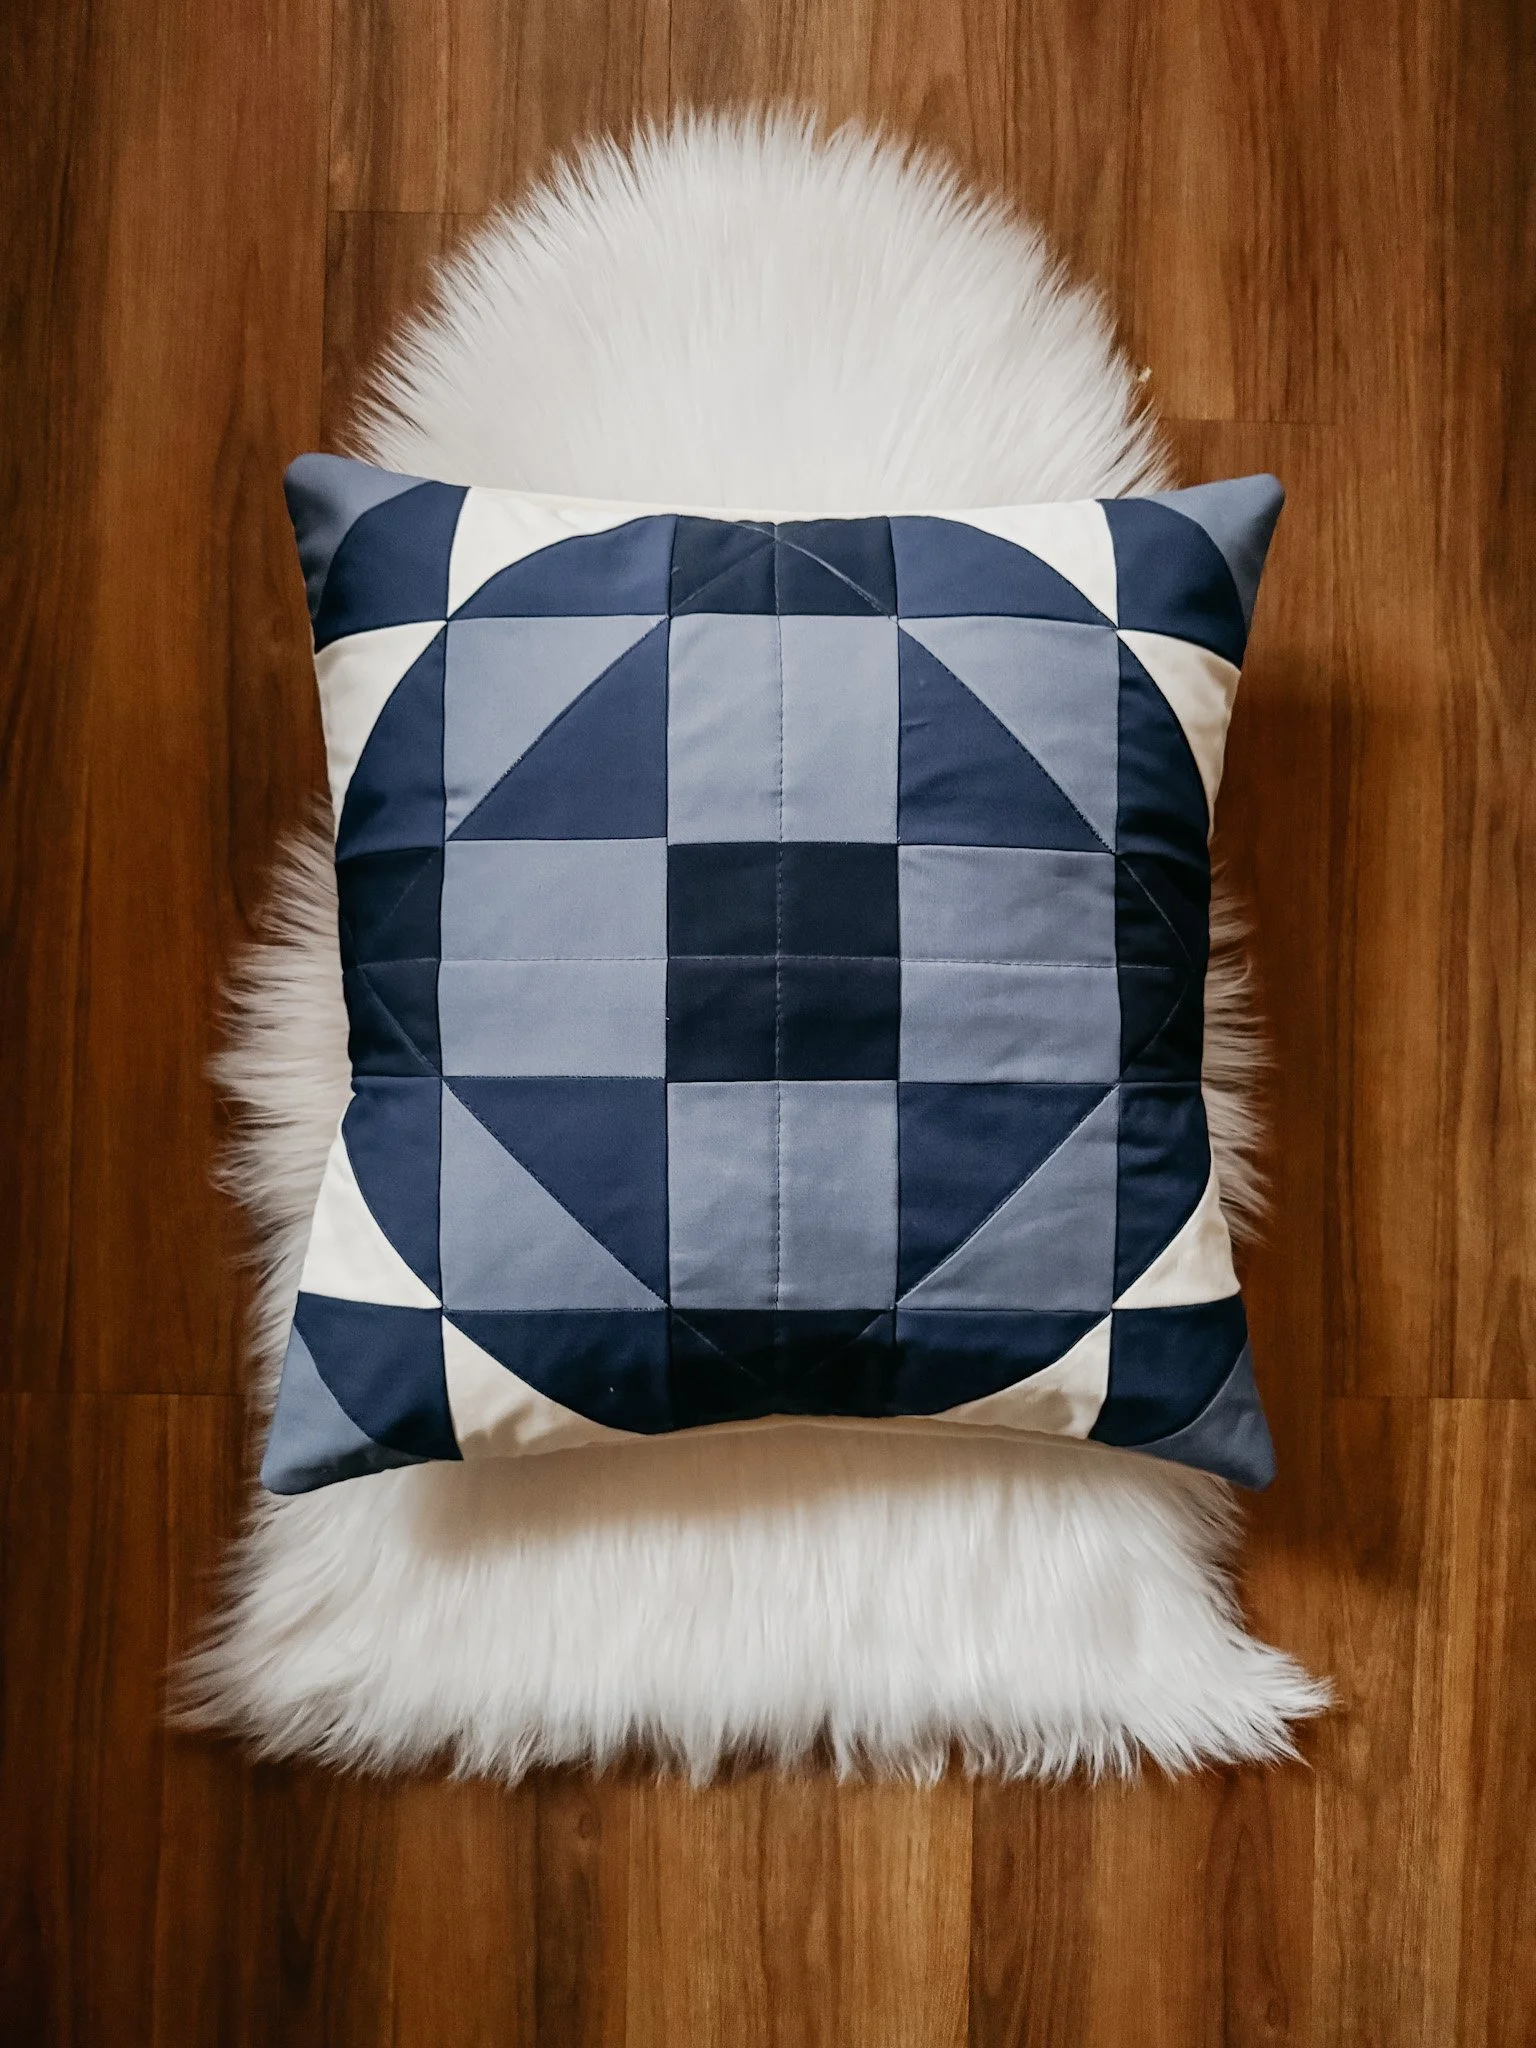
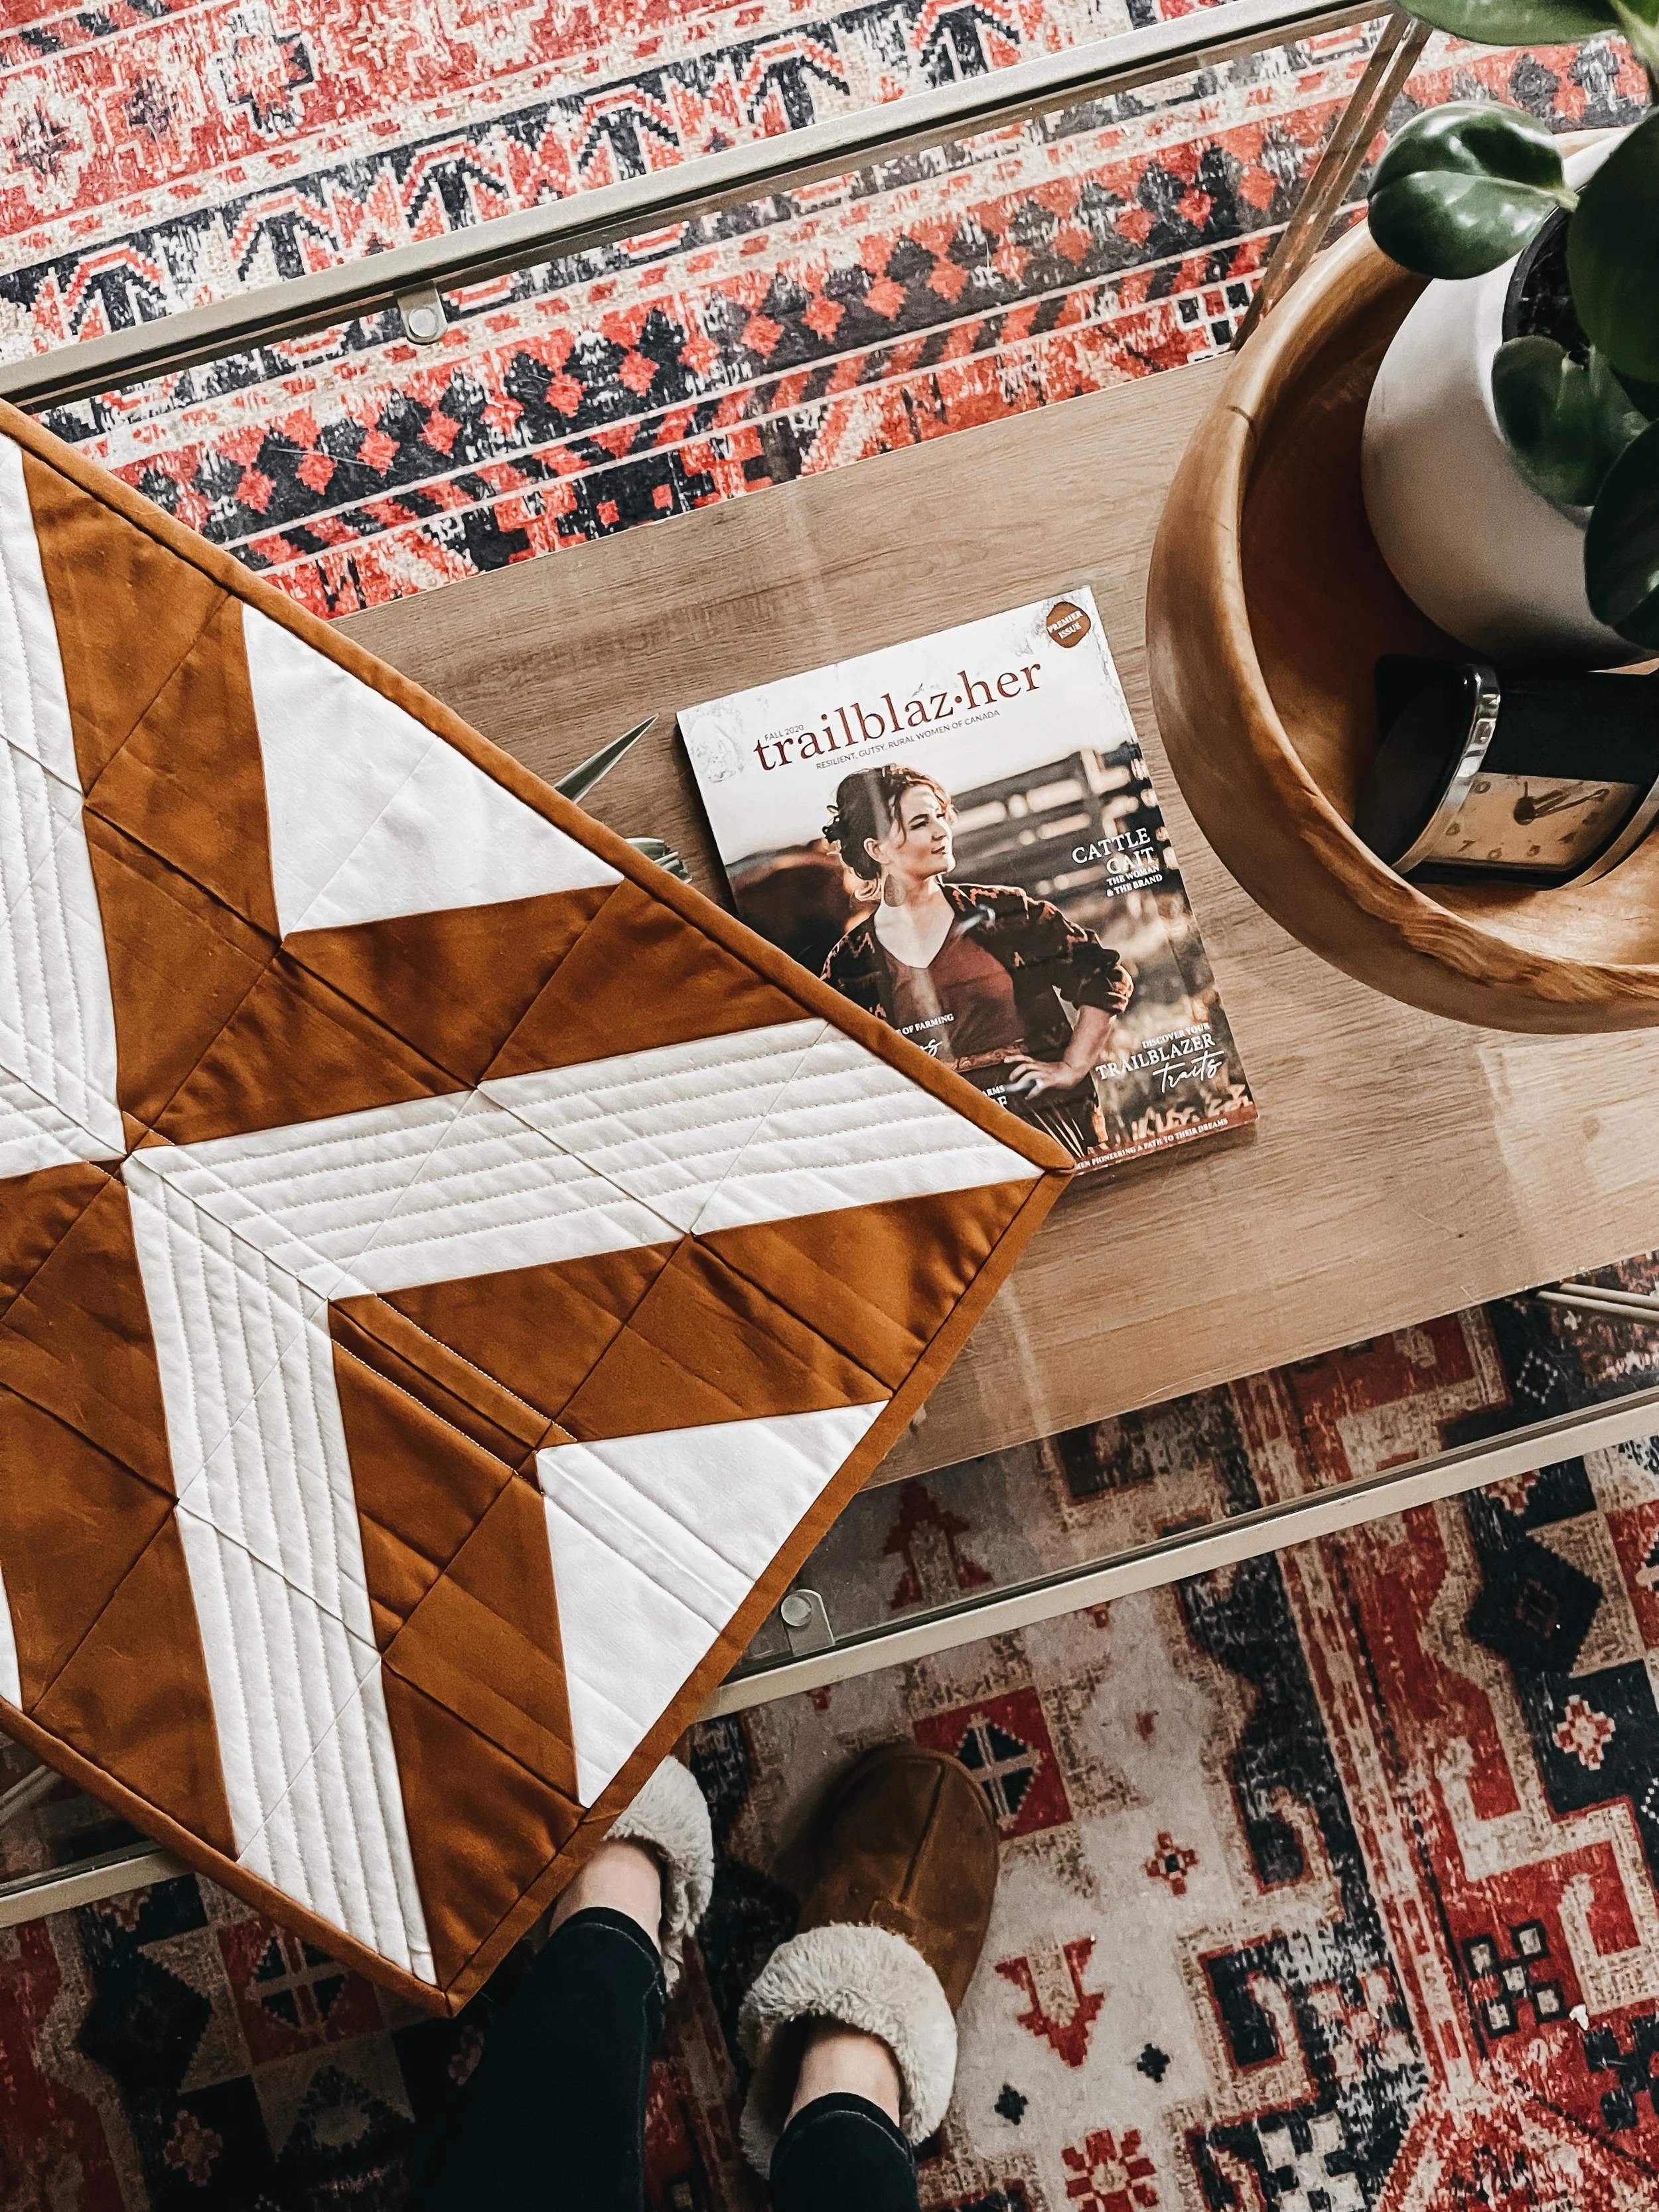
A Finished Quilt Top, Hand-Stenciled Fabric, Indigo Plans & Summer Quilting Ideas

Welcome to the blog—I'm so glad you're here.
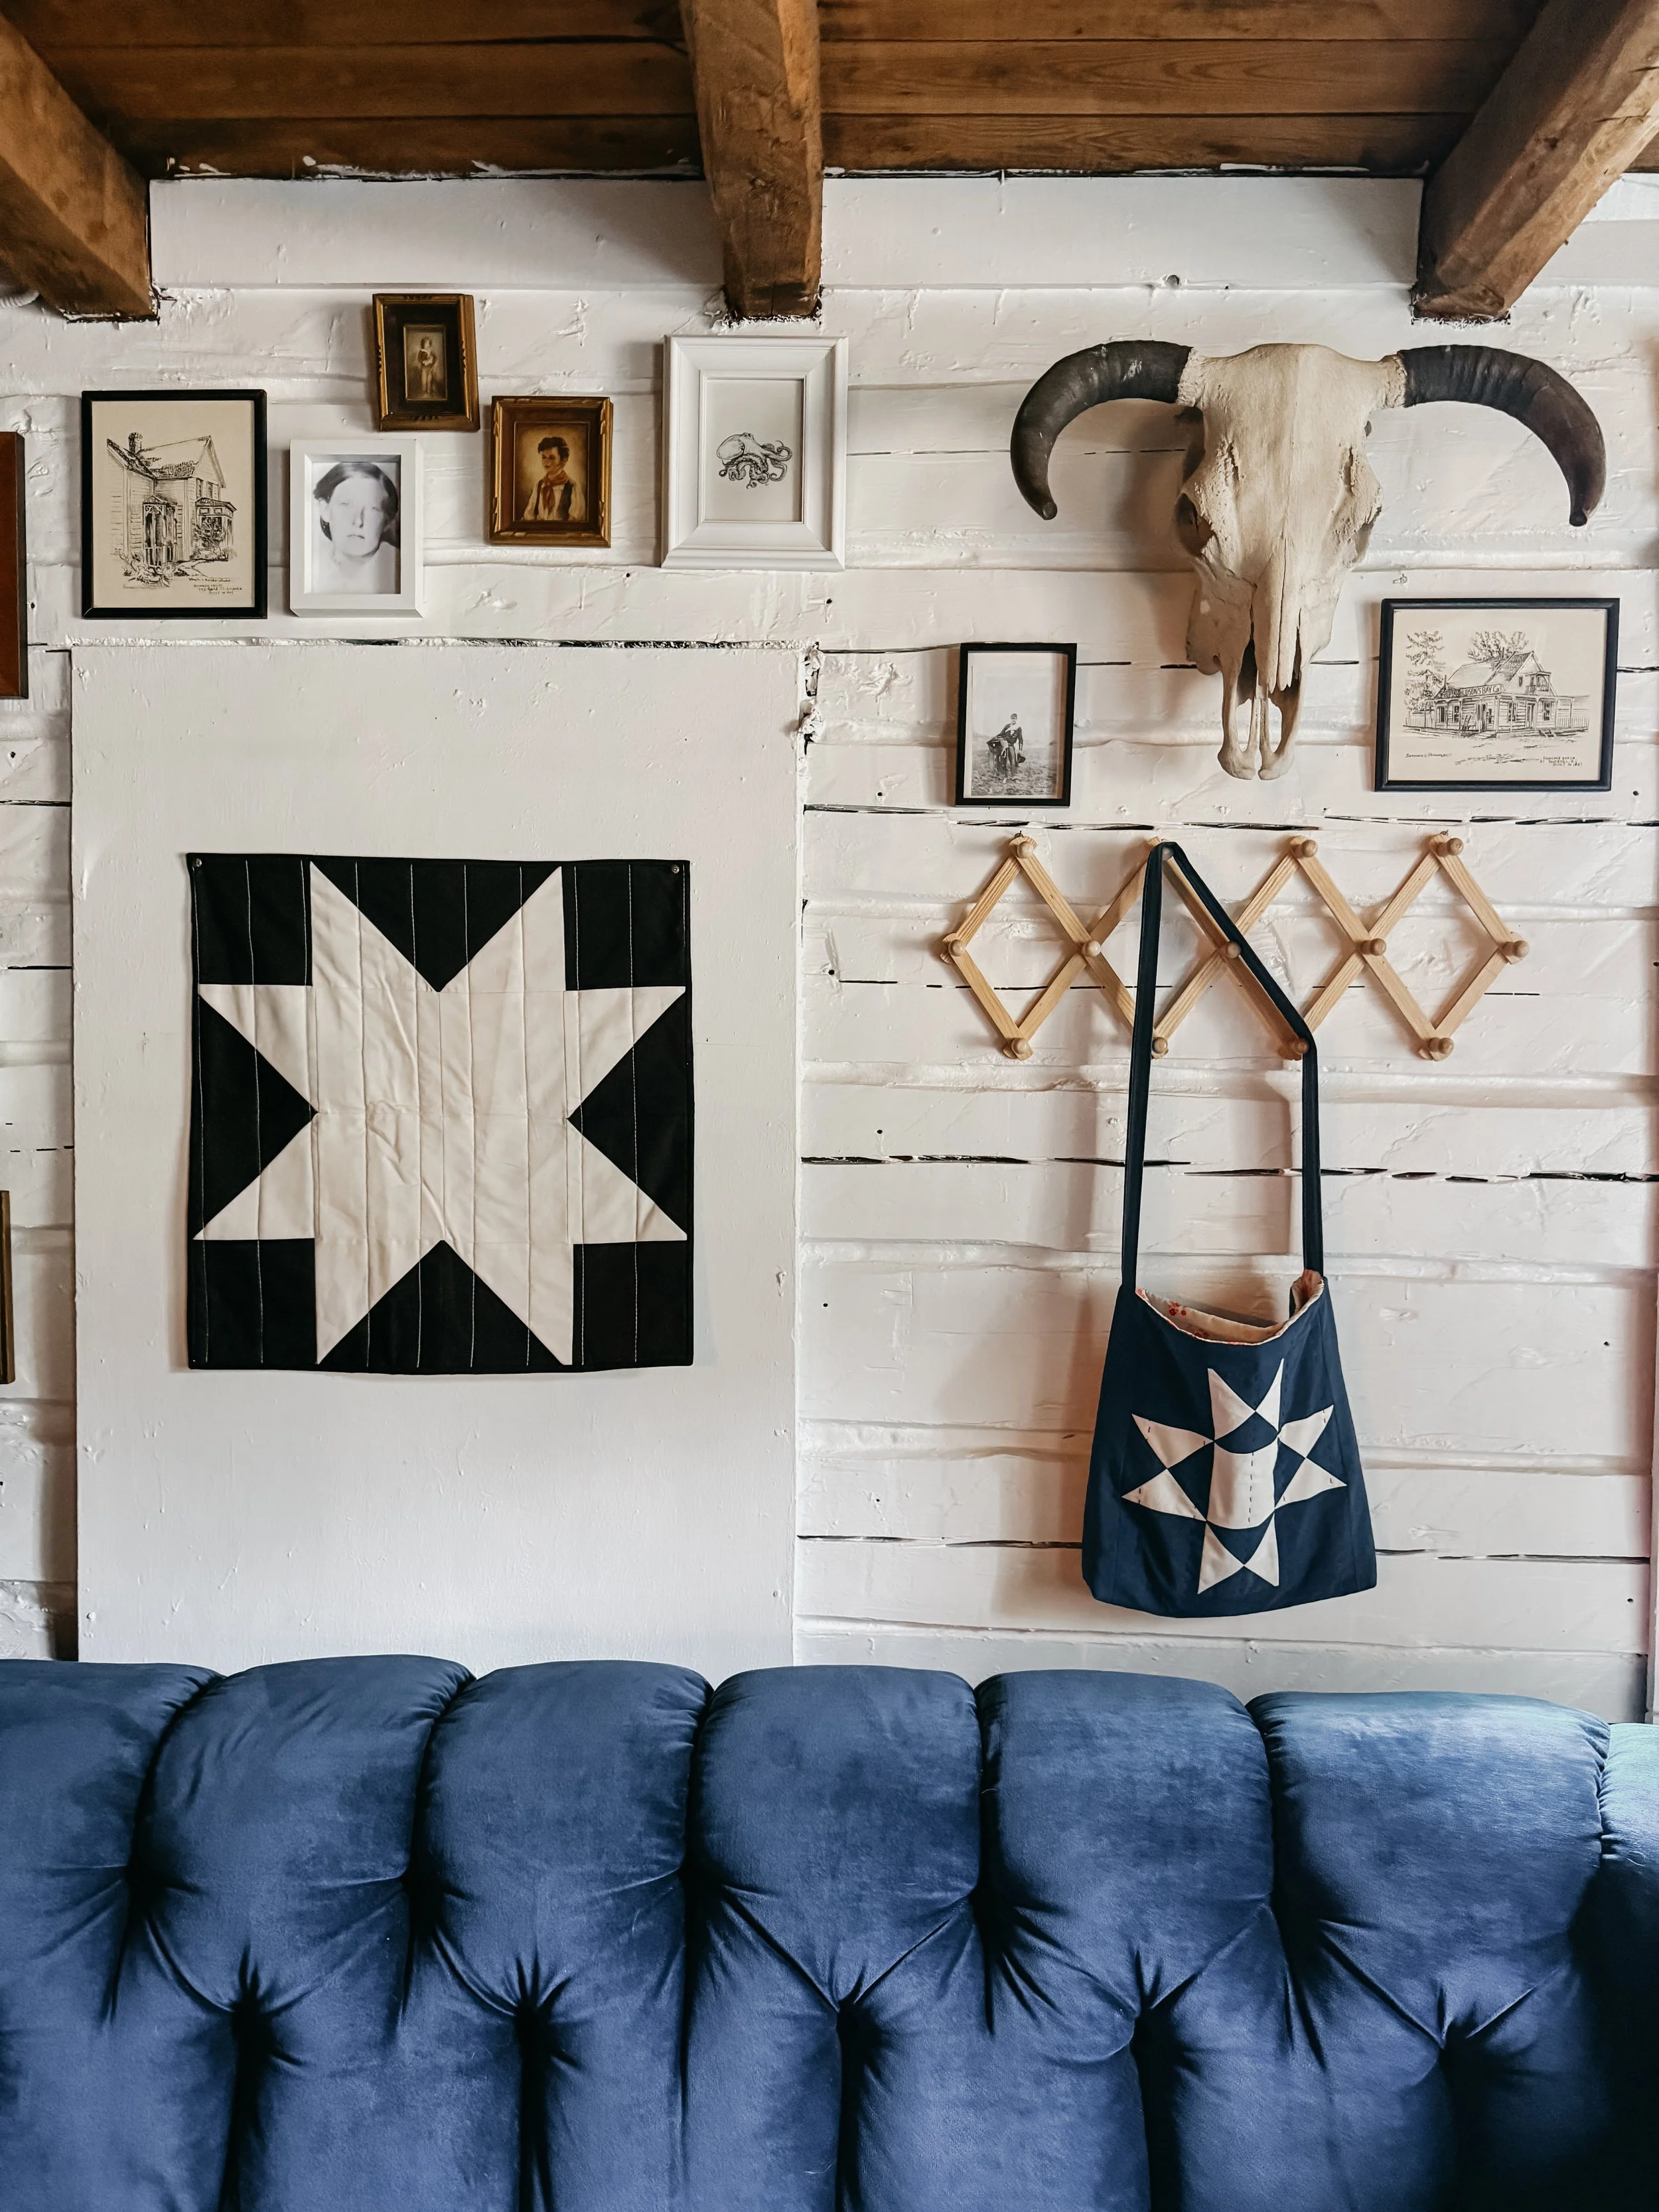
I'm Kim, quilting and indigo dyeing from an old cabin in the woods. This is where I share beginner-friendly tutorials, quilt patterns and stories from a life stitched by hand. I hope you find something here that feels like home.


My updated pre-reduced indigo dyeing process for quilting cotton, including the recipe I prefer, fabric prep, dye vat tips, oxidation, rinsing, and what I’ve learned from dyeing quilt fabric at home.
A cozy Quilts from the Cabin recap featuring a finished colourful quilt top, hand-stenciled fabric, indigo dyeing plans, sashiko-inspired stitching, denim quilt ideas, and dove appliqué patterns returning to the shop.
Welcome back to Quilts from the Cabin.
This week’s episode felt like one of those cozy, creative catch-up chats where everything is slightly in progress, a little bit messy, and honestly, exactly how I like it. I had a finished quilt top to share, a few experiments with hand-stenciled fabric, some indigo dyeing plans for summer, and a handful of ideas that I’ve been wanting to try for years.
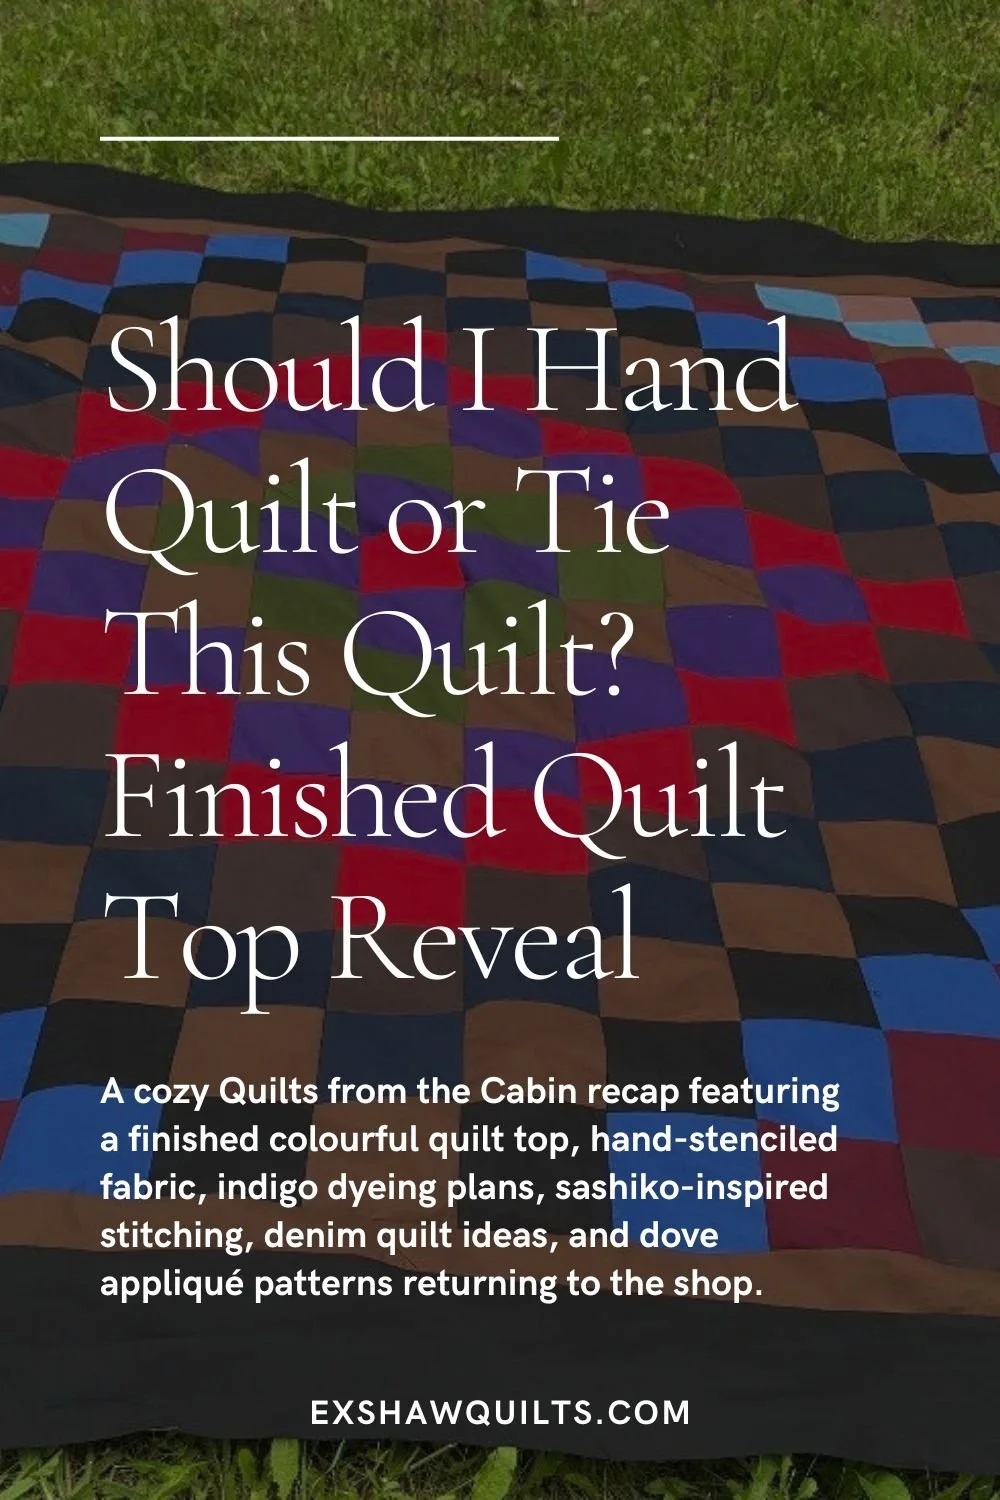
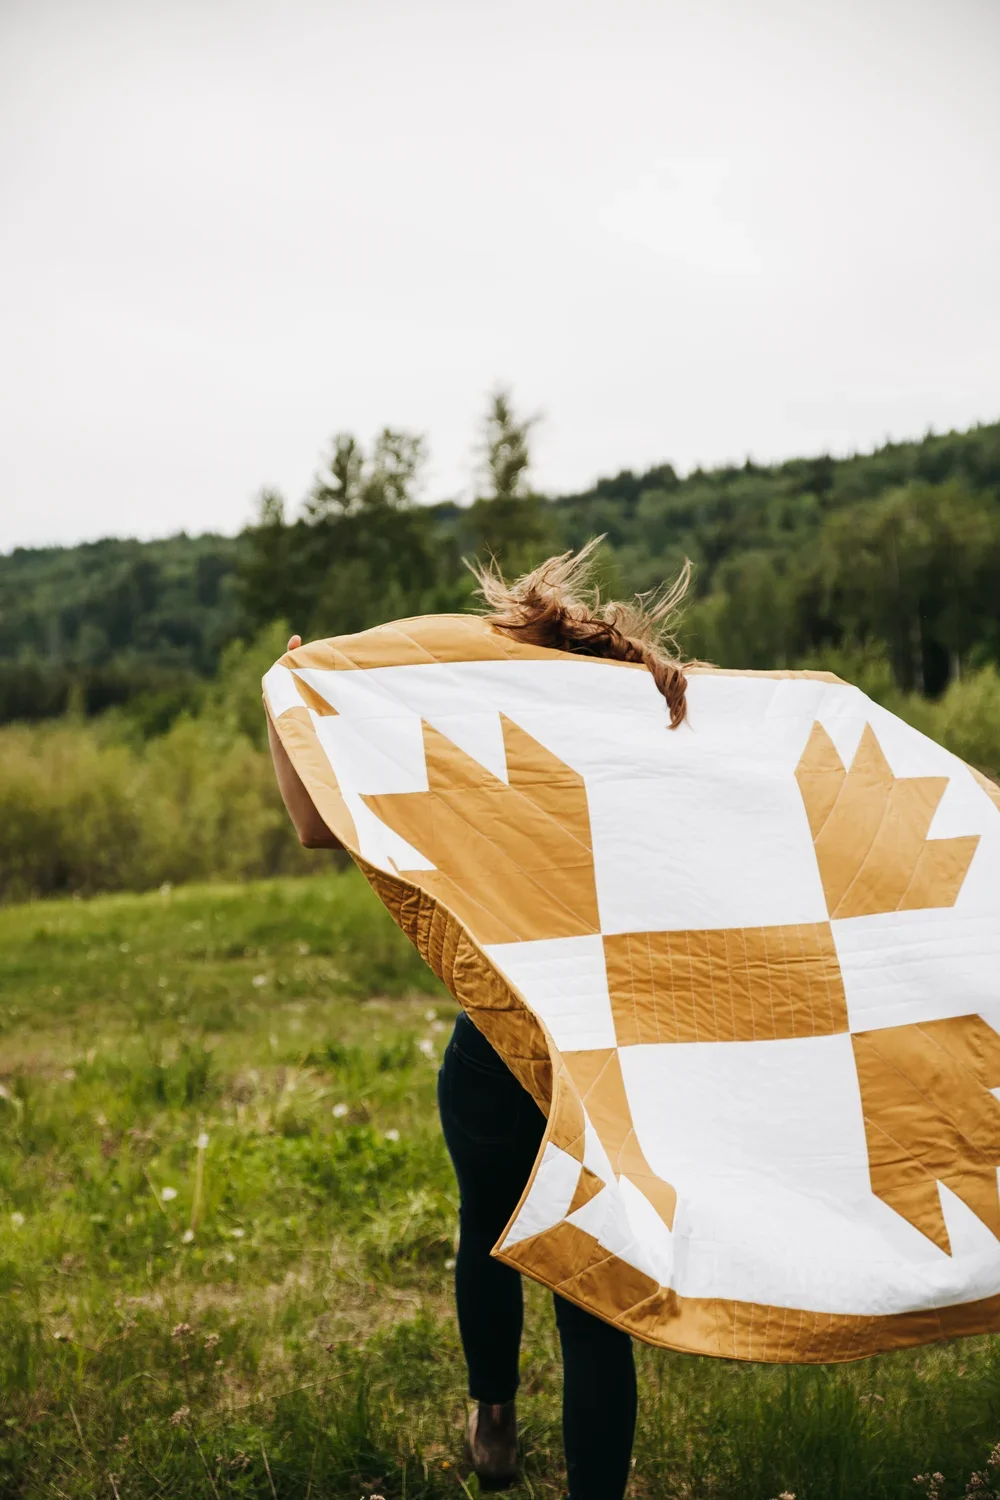
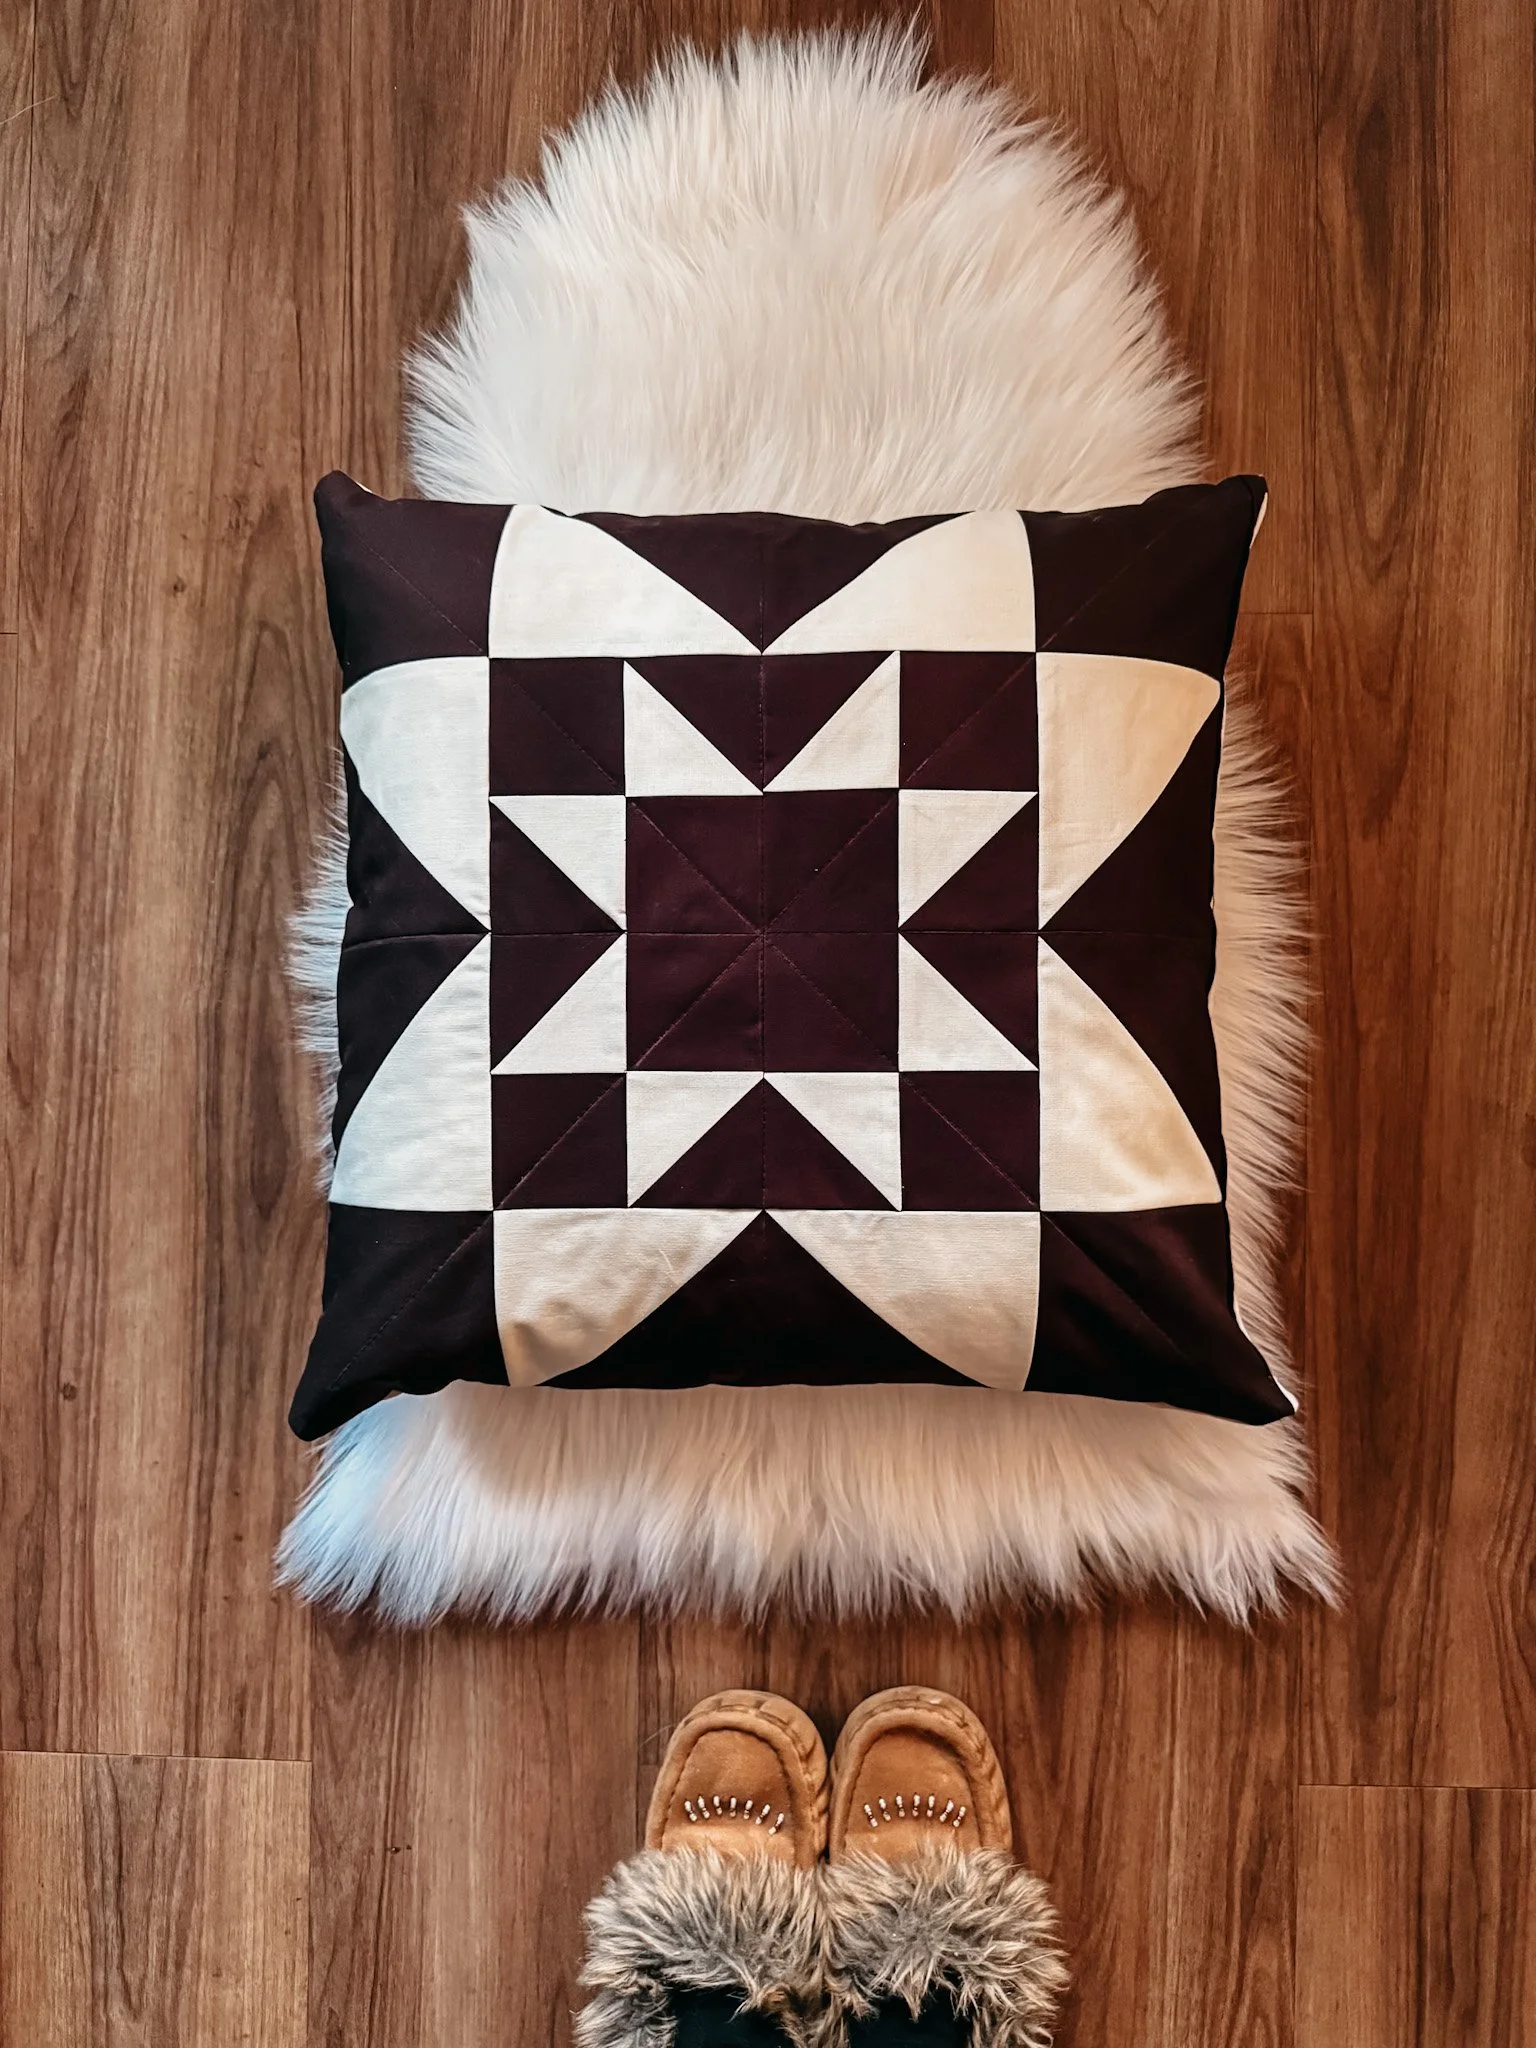
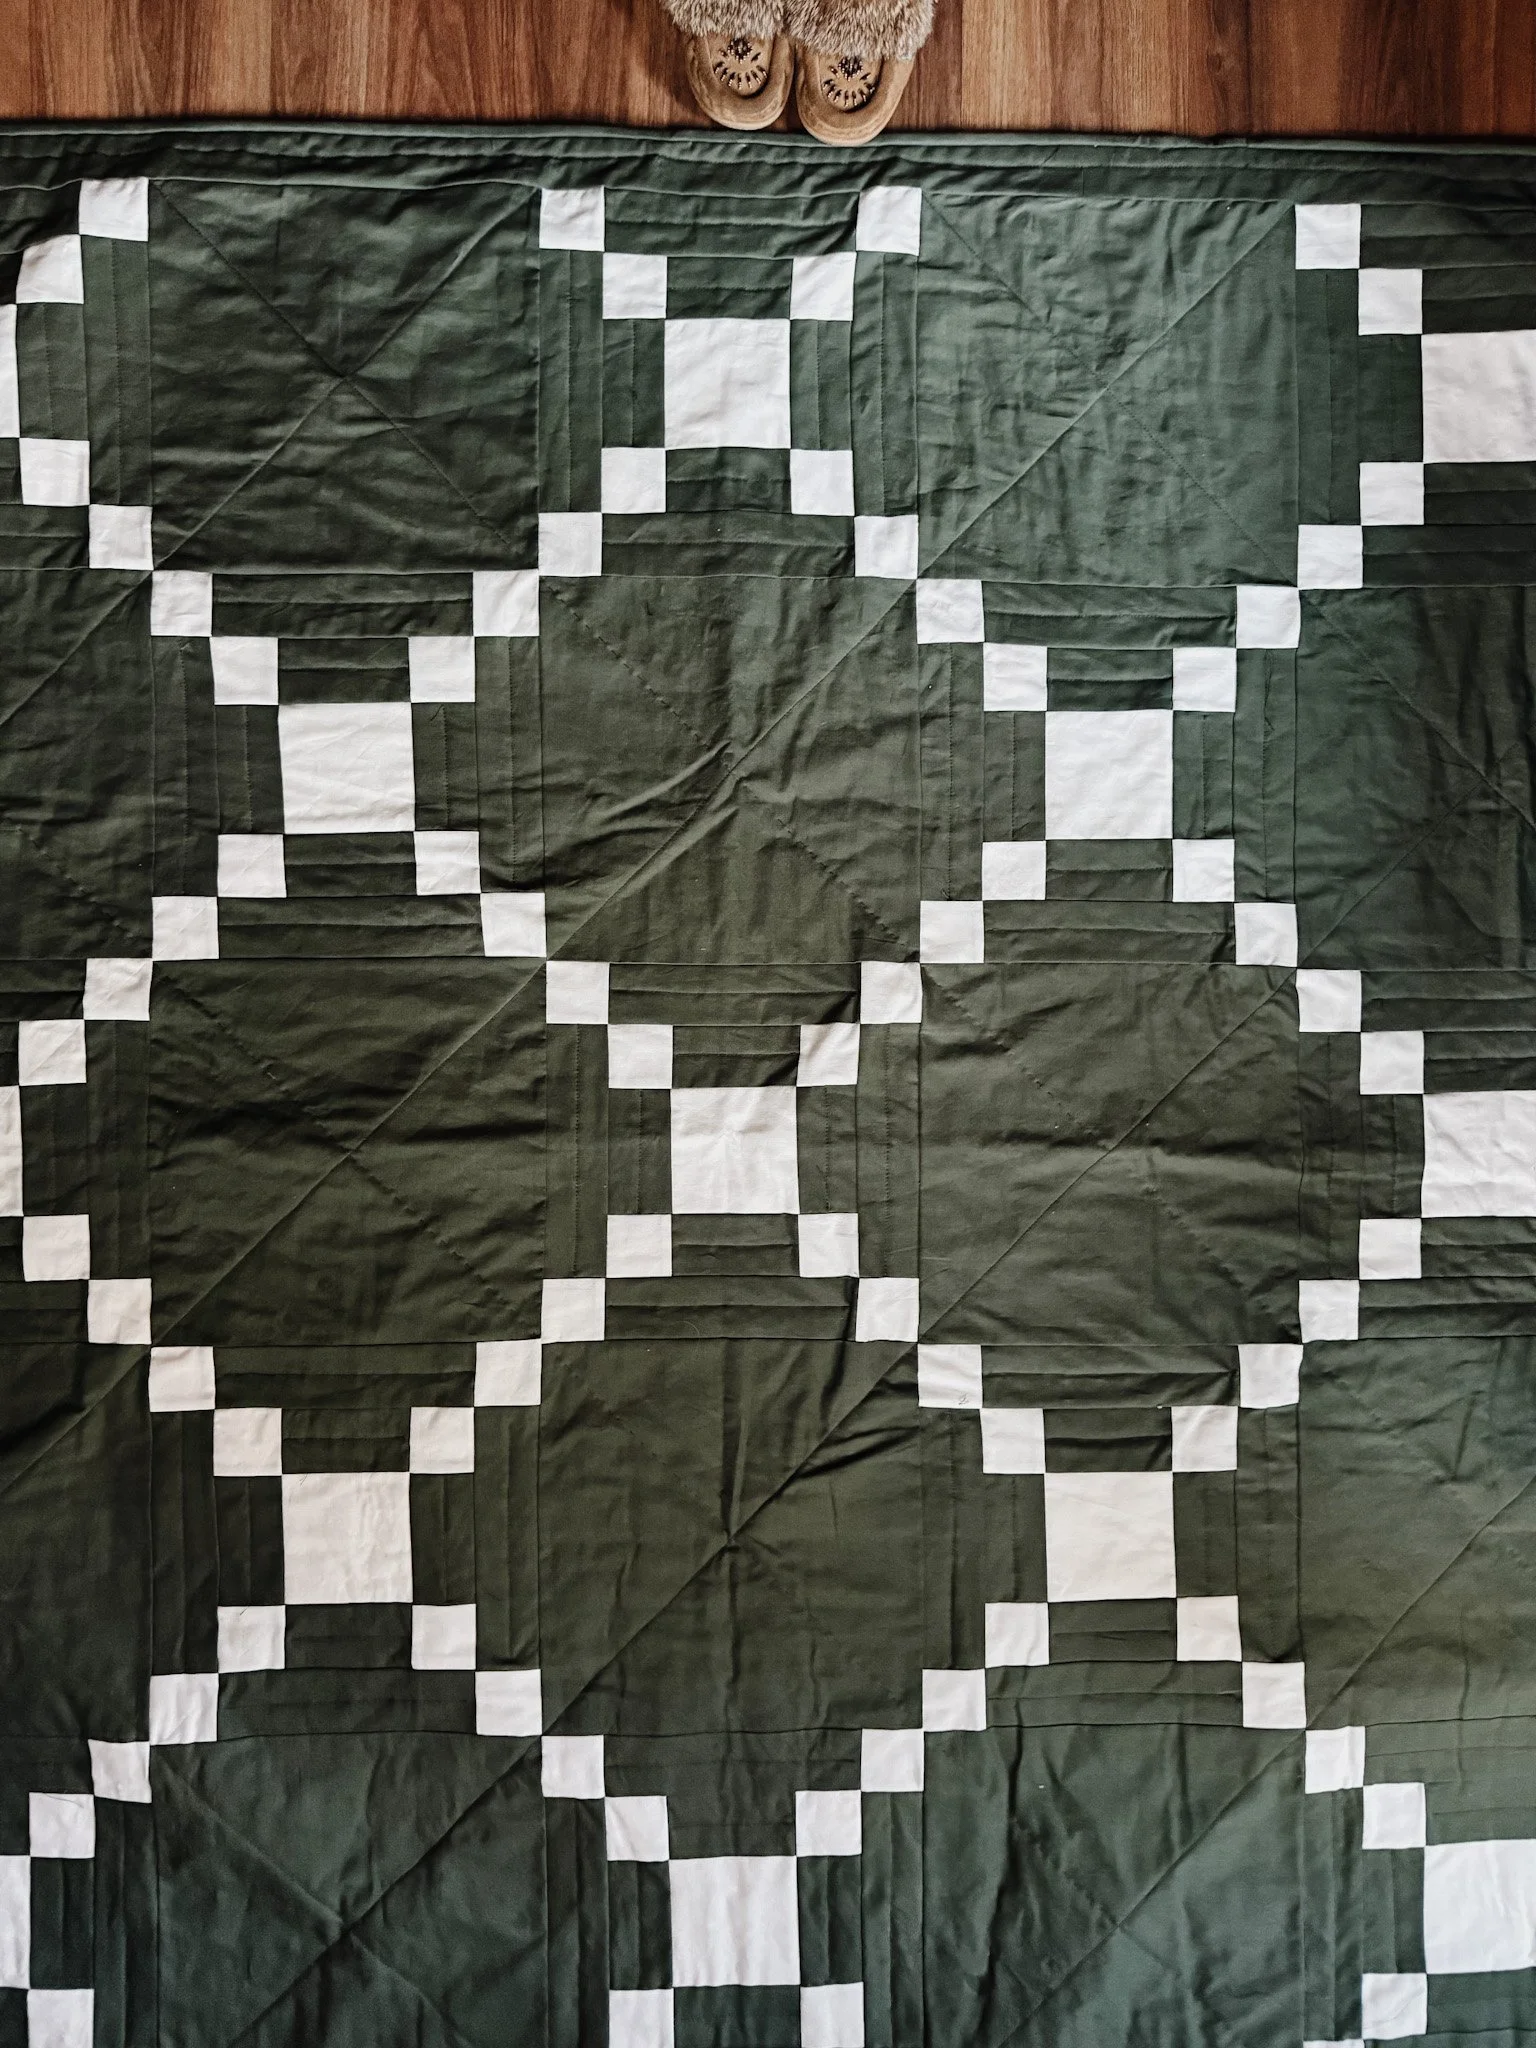
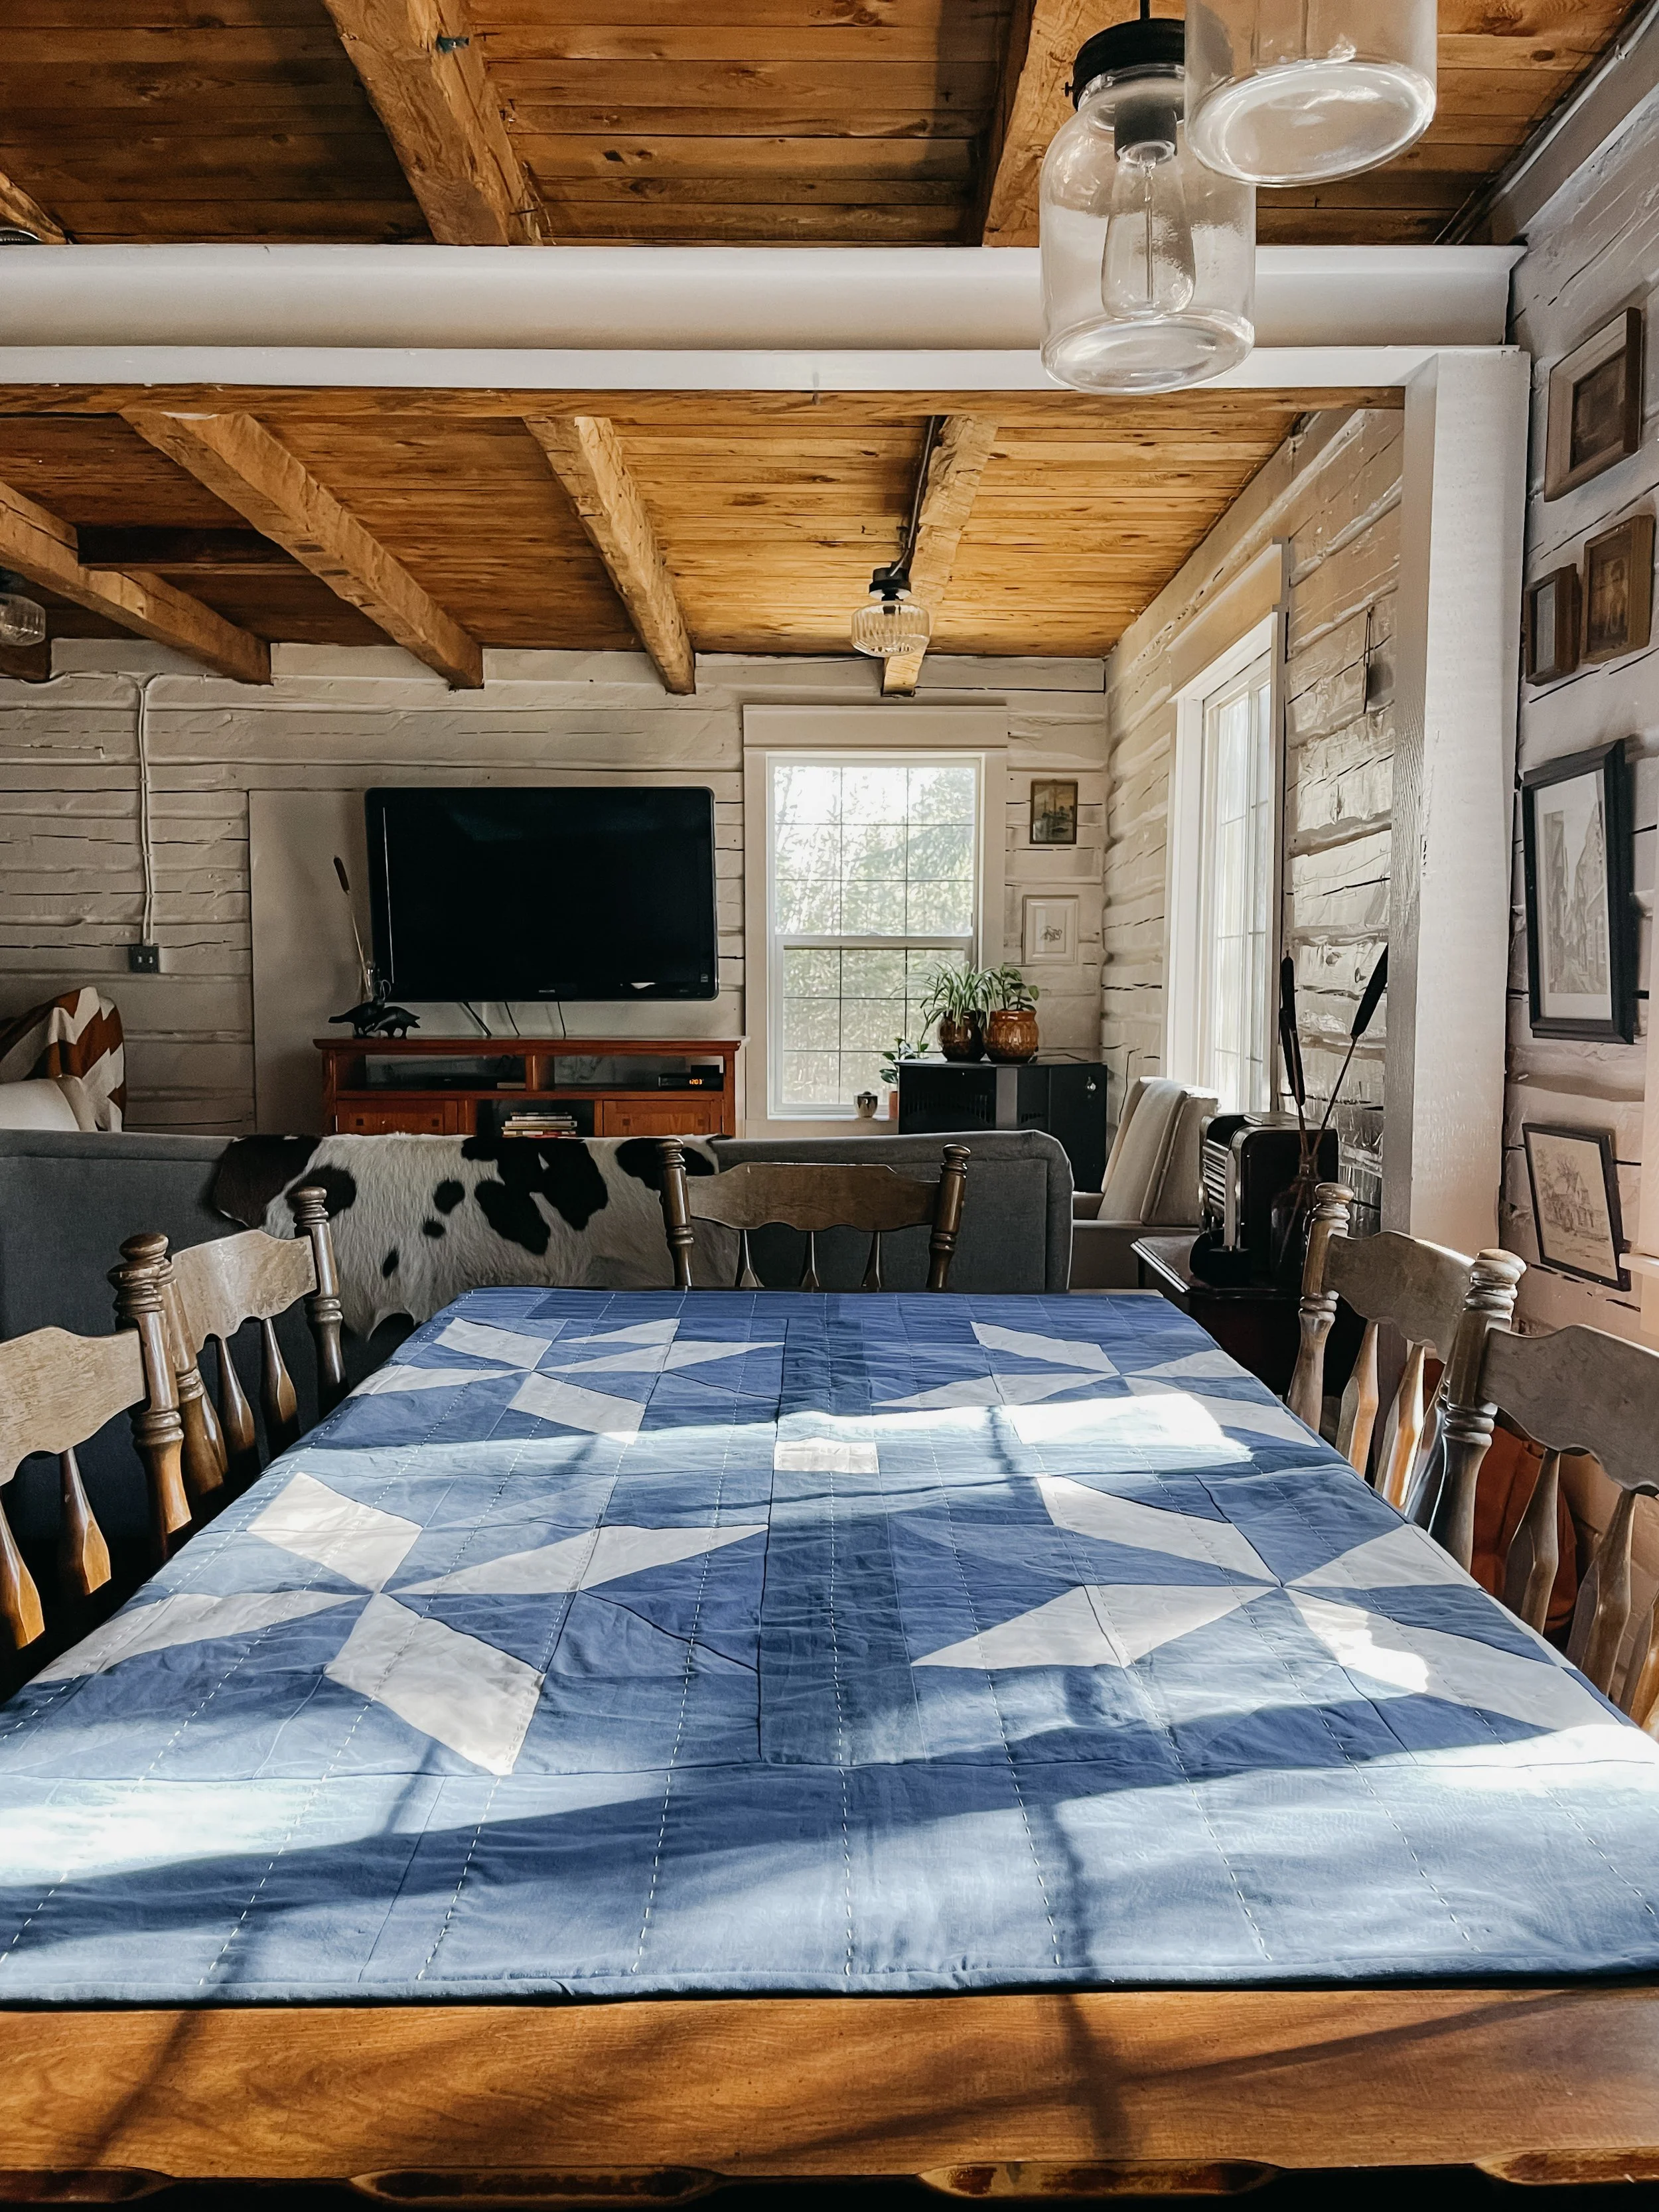
The biggest thing I shared in this episode is my finished quilt top — and she is colourful.
Very colourful.
If you’ve followed my work for a while, you’ll know that I normally stay in the two-to-three-colour range for most of my quilts. I love a limited palette. I love solids. I love a quilt that feels simple, traditional, and a little bit old-fashioned. But this one was different.
This quilt was inspired by a vintage Amish quilt I came across online. I’ve always been drawn to those darker Amish quilts with rich jewel tones, deep colours, and bold contrast. So I decided to make one in my own colours, and I am so glad I did.
It was such a joy to piece.
I used 5½″ squares for mine, but after making it, I realized the pattern could also be converted to work with 5″ squares, which means it could be charm-pack friendly too. I think that would make it such a fun and approachable quilt, especially for anyone who loves colour but doesn’t want to spend ages cutting.
Even though it’s a large quilt — mine ended up around king size — it went together surprisingly quickly. I think that’s partly because every row felt different. With so many colours, there was always something new to sew, something new to look at, and something new to feel excited about.
And honestly, I made it big because I want it for our own bed.
We have a queen bed, but I like a lot of overhang because my husband and I are forever fighting over the covers. So this one needed to be generous. I cannot wait to see it finished, washed, crinkly, and actually on the bed.
Now I just have to decide how I want to finish it.
I’m torn between big stitch hand quilting and hand tying. I’ve never actually hand tied a quilt before, but I love the look of a quilt tied with yarn — especially when the yarn is a little chunky and visible. I’m even considering red yarn, which might sound a bit unexpected, but in my mind it could pull the whole quilt together beautifully, especially with the bright scarlet red in the centre.
If I decide to hand quilt it instead, I think I’ll quilt it in the diamond shapes using thread colours that match as closely as possible. That might be a bit of a treasure hunt because some earthy colours can be surprisingly hard to find in pearl cotton #8, but I do think it would be beautiful.
Either way, I’m excited.
This quilt feels like one of those projects that pushed me outside of my usual comfort zone in the best way. It reminded me that sometimes it’s good to let the colour in, even when you’re usually a “give me two colours and I’m happy” kind of quilter.
I’m also thinking this might make a really fun quilt-along someday. It was such an enjoyable make, and I think it would be beautiful in so many different palettes — jewel tones, scraps, charm packs, solids, or even a softer vintage-inspired version.
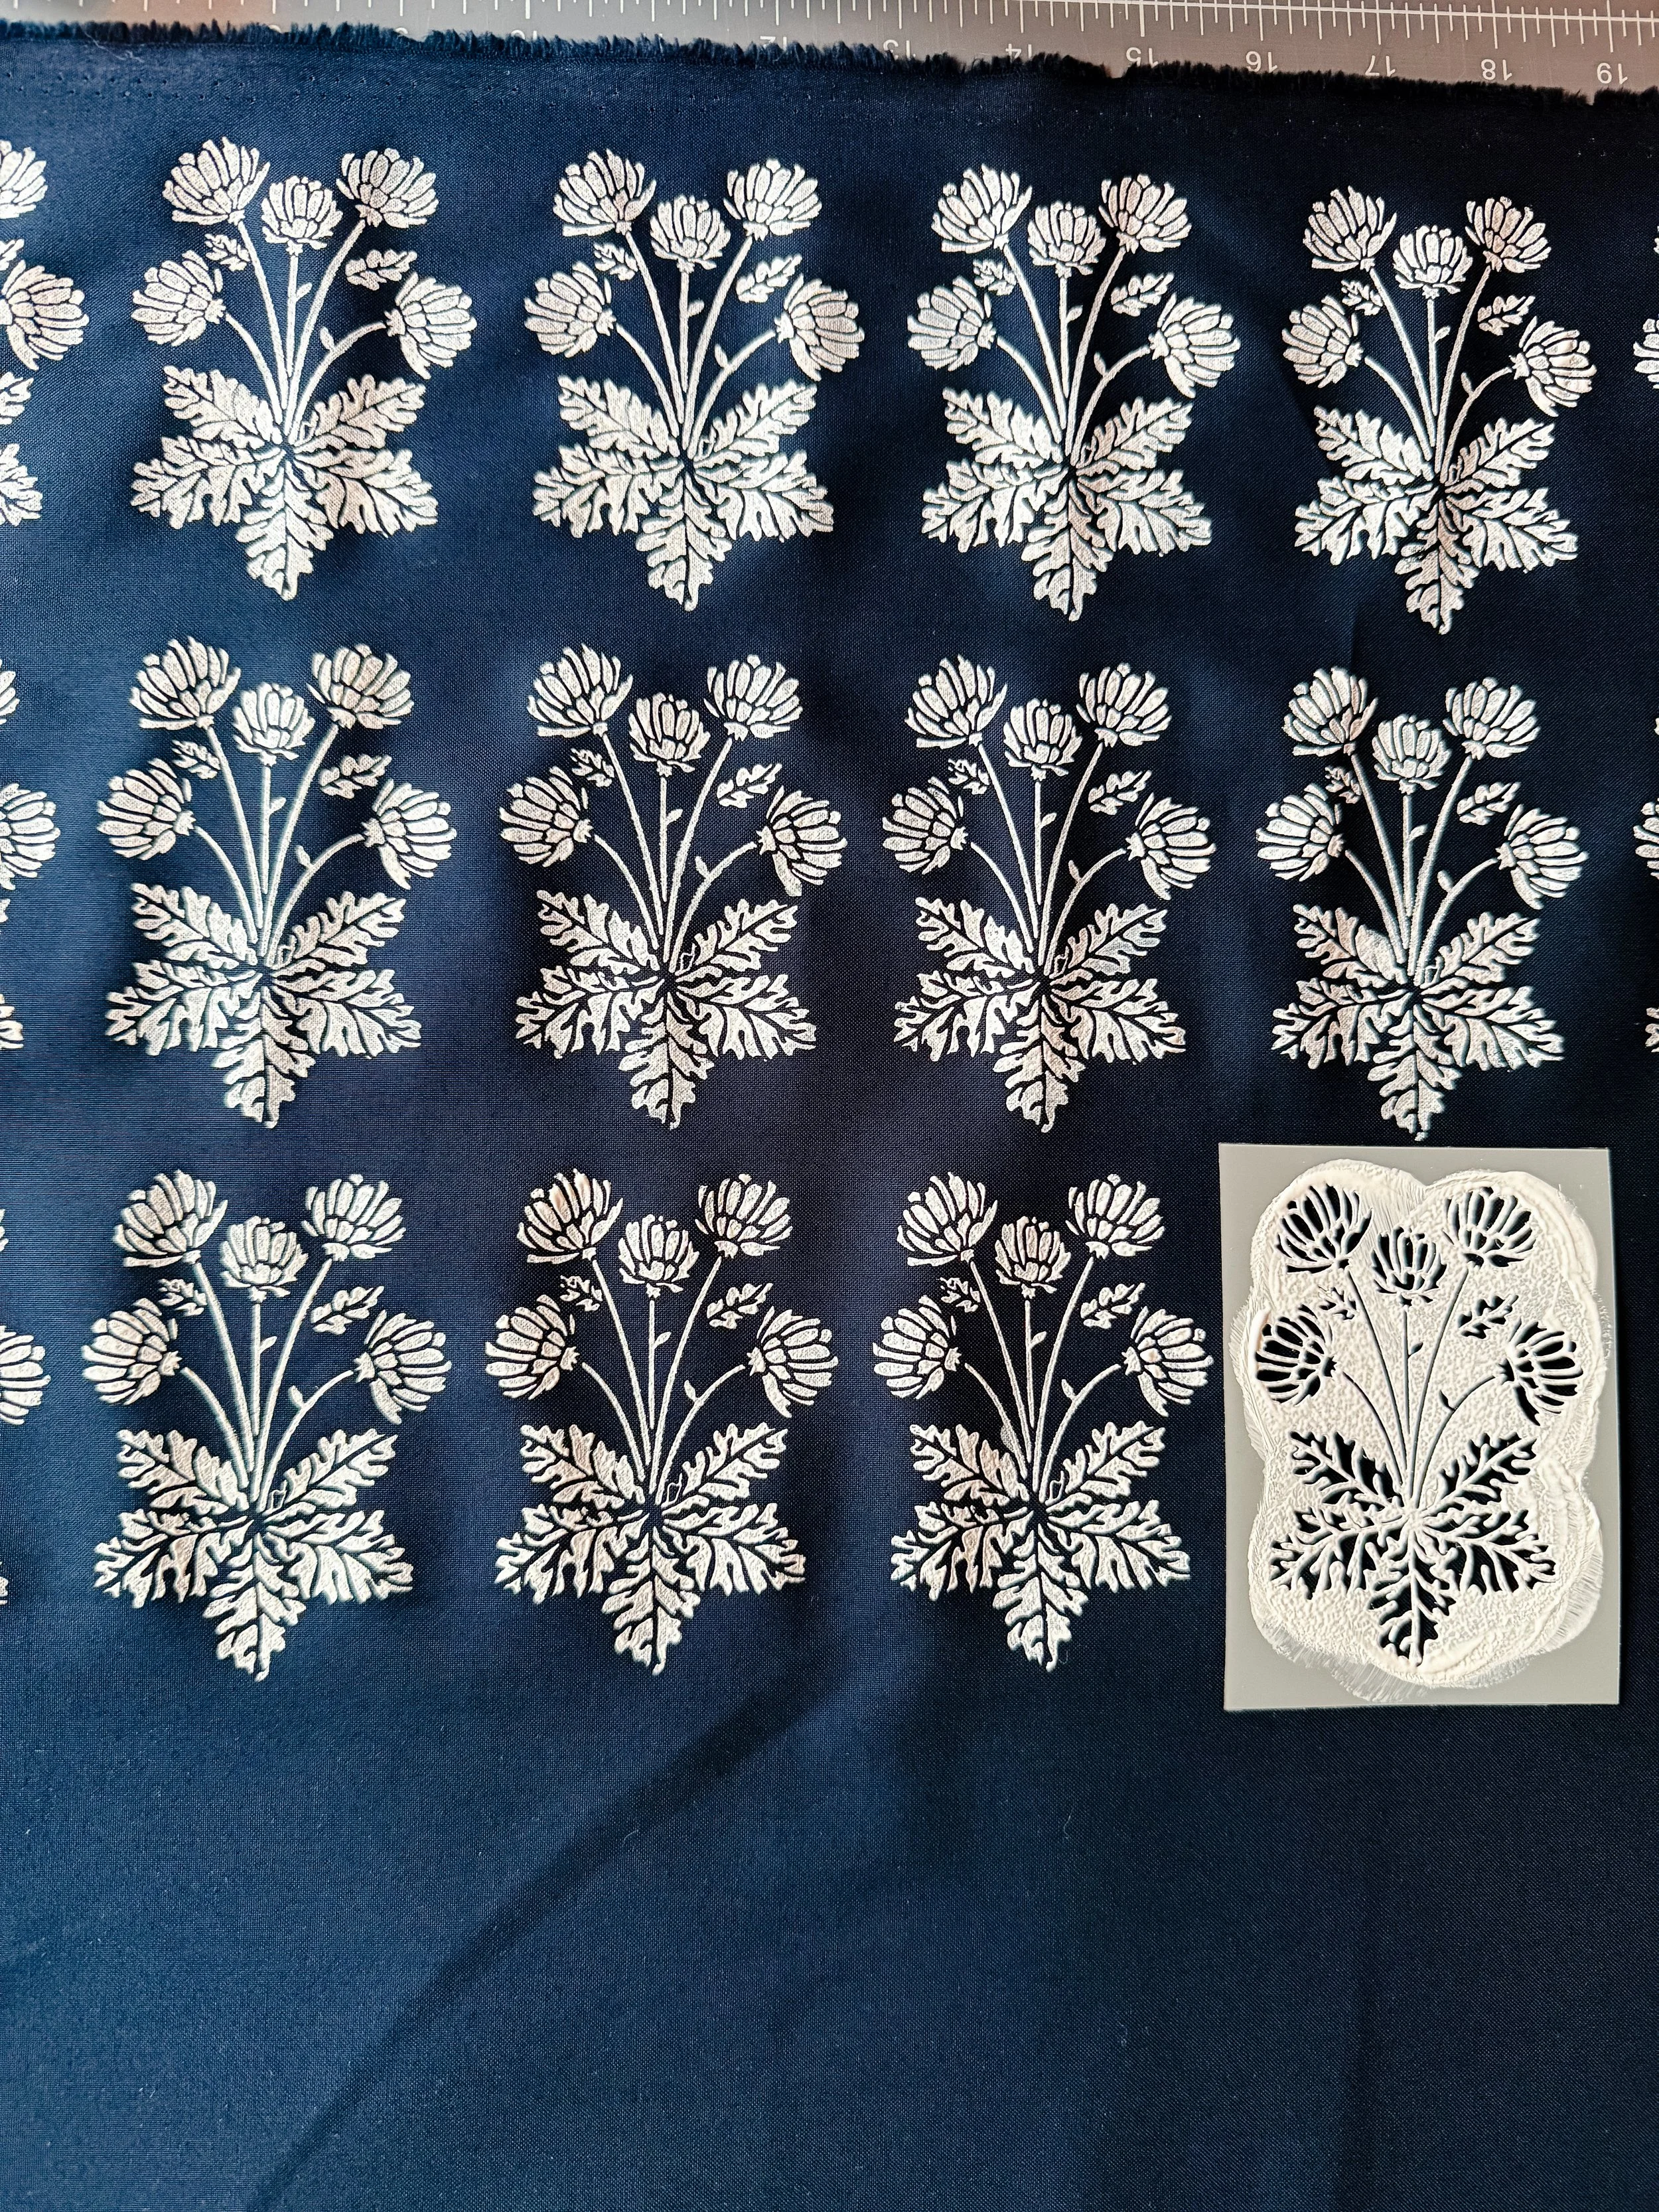
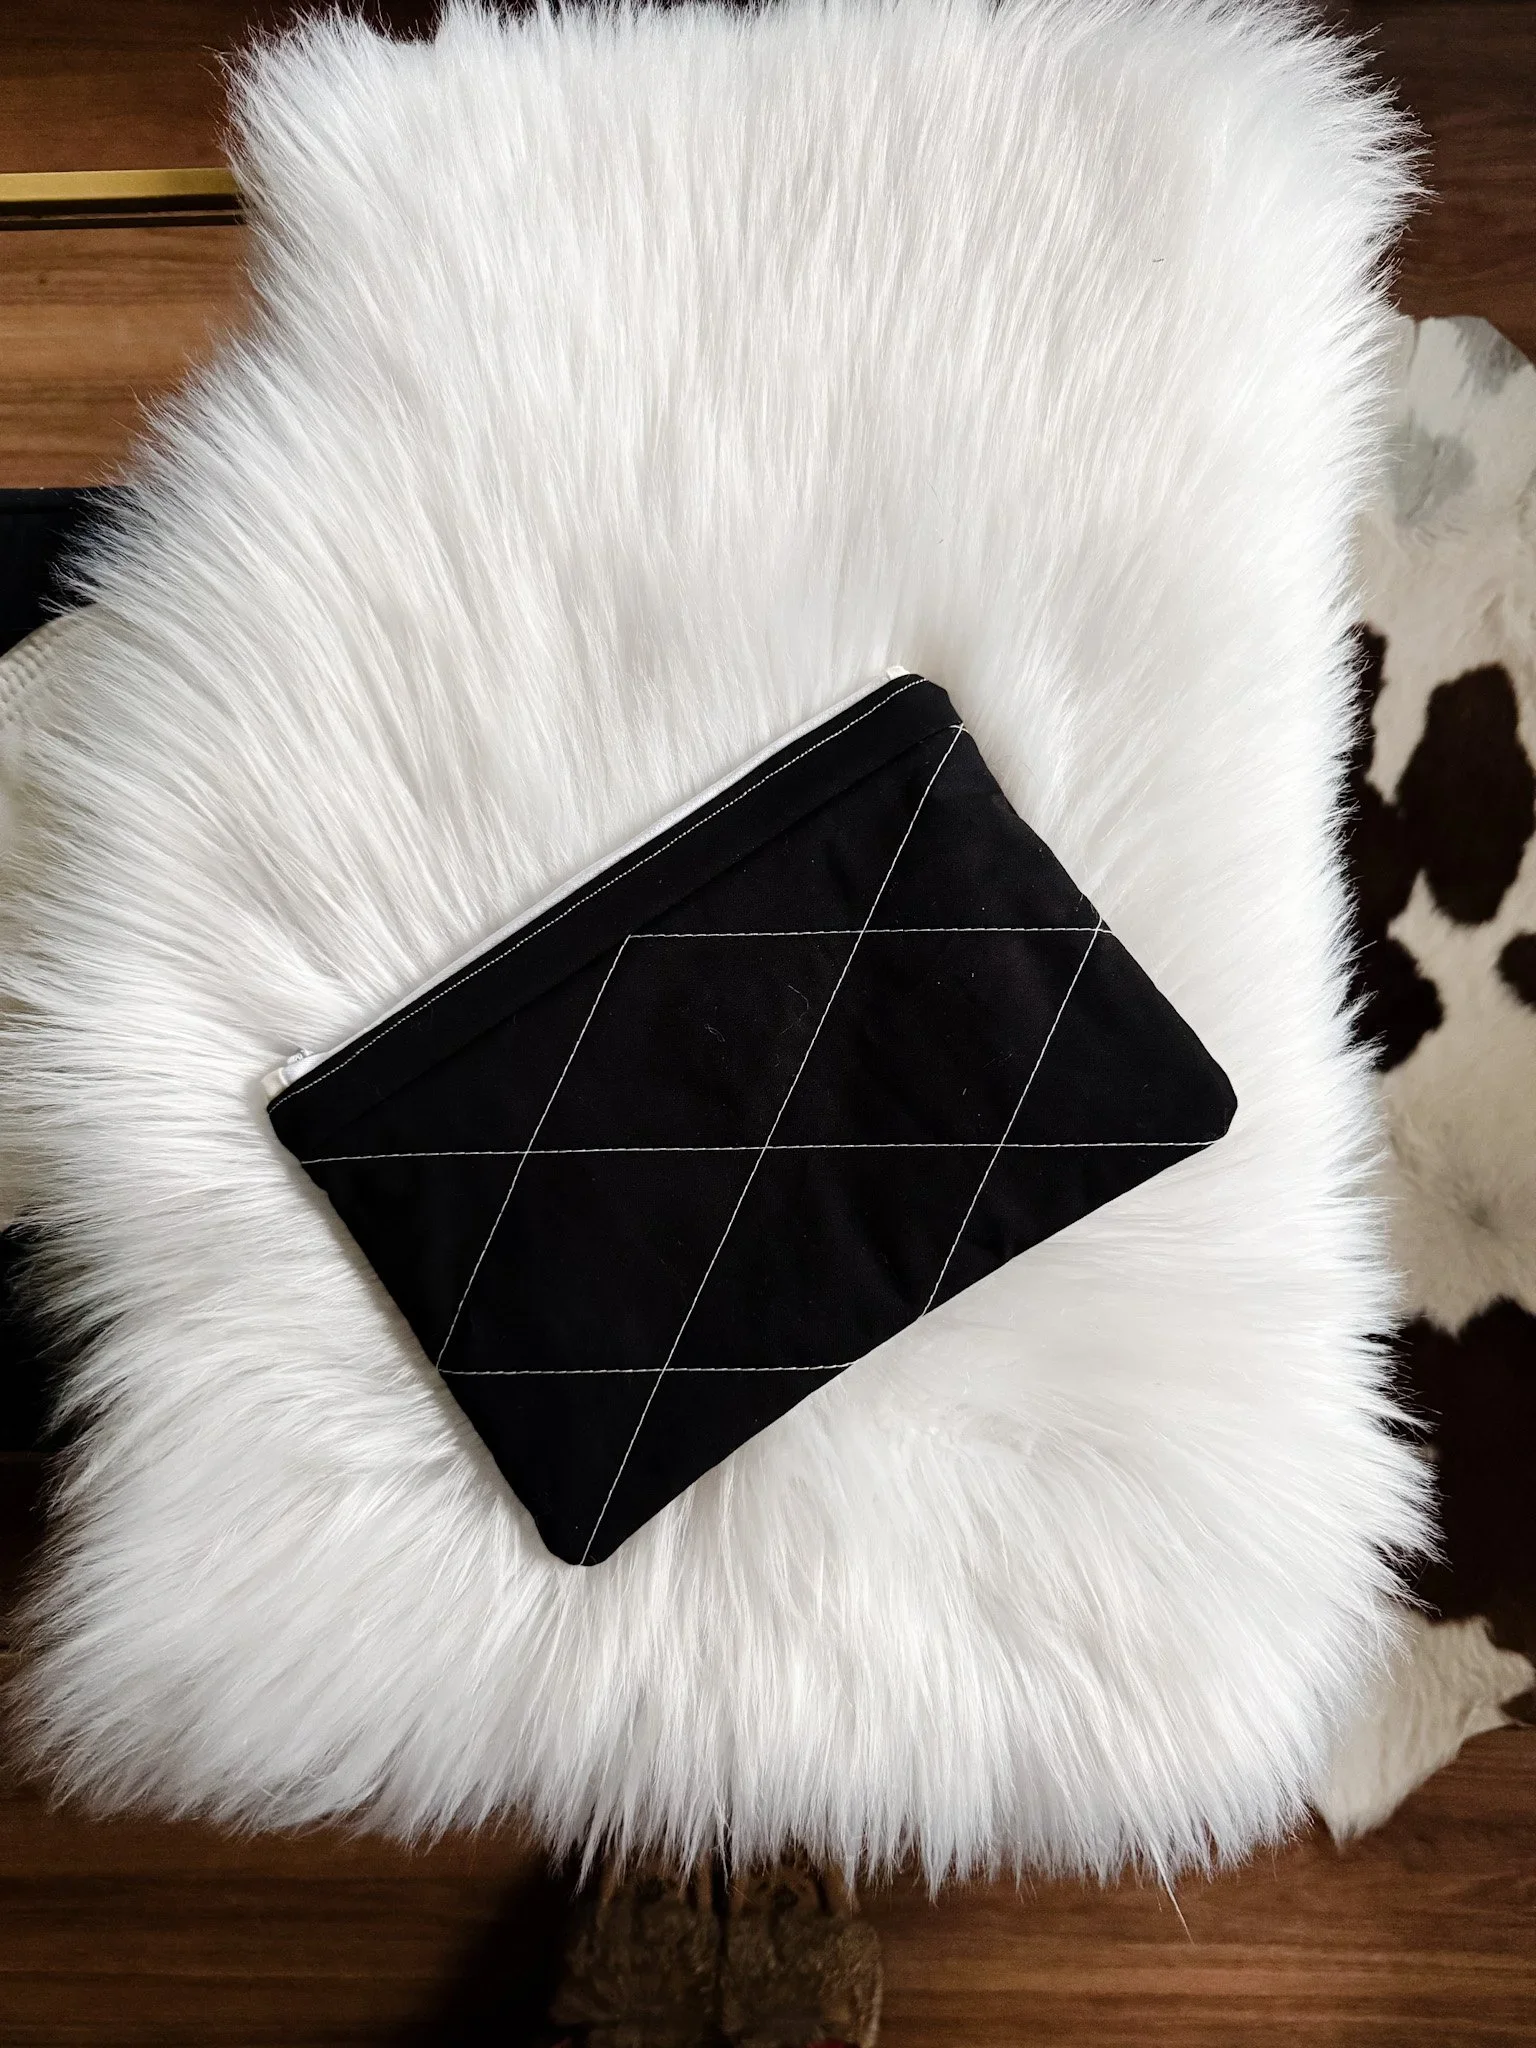
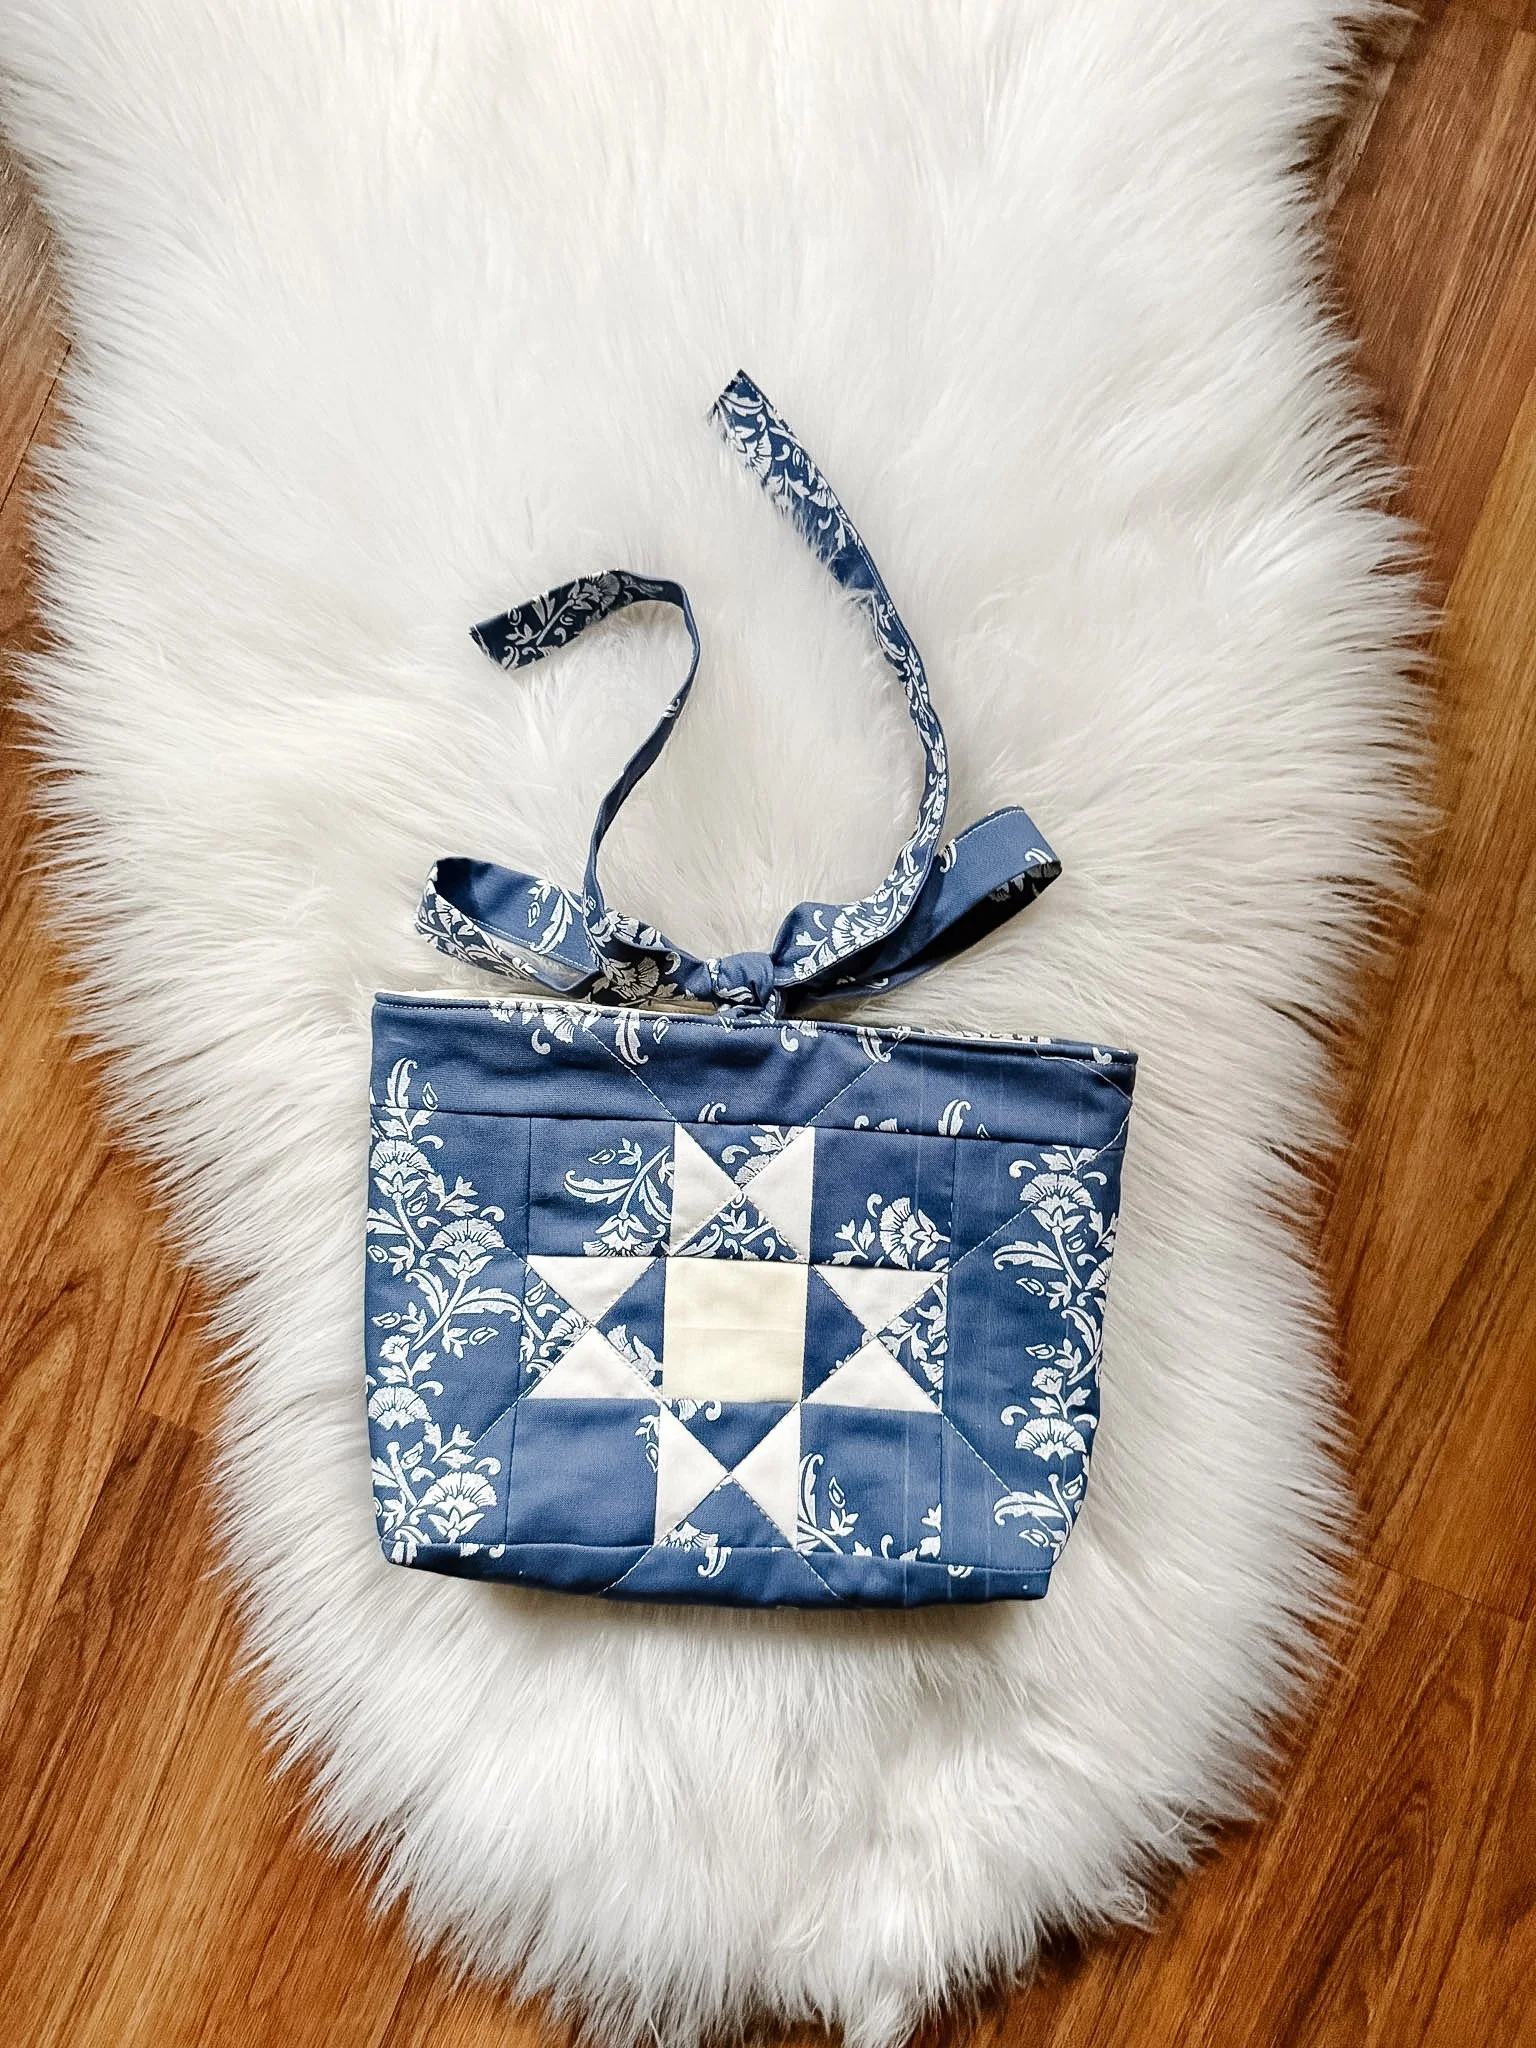
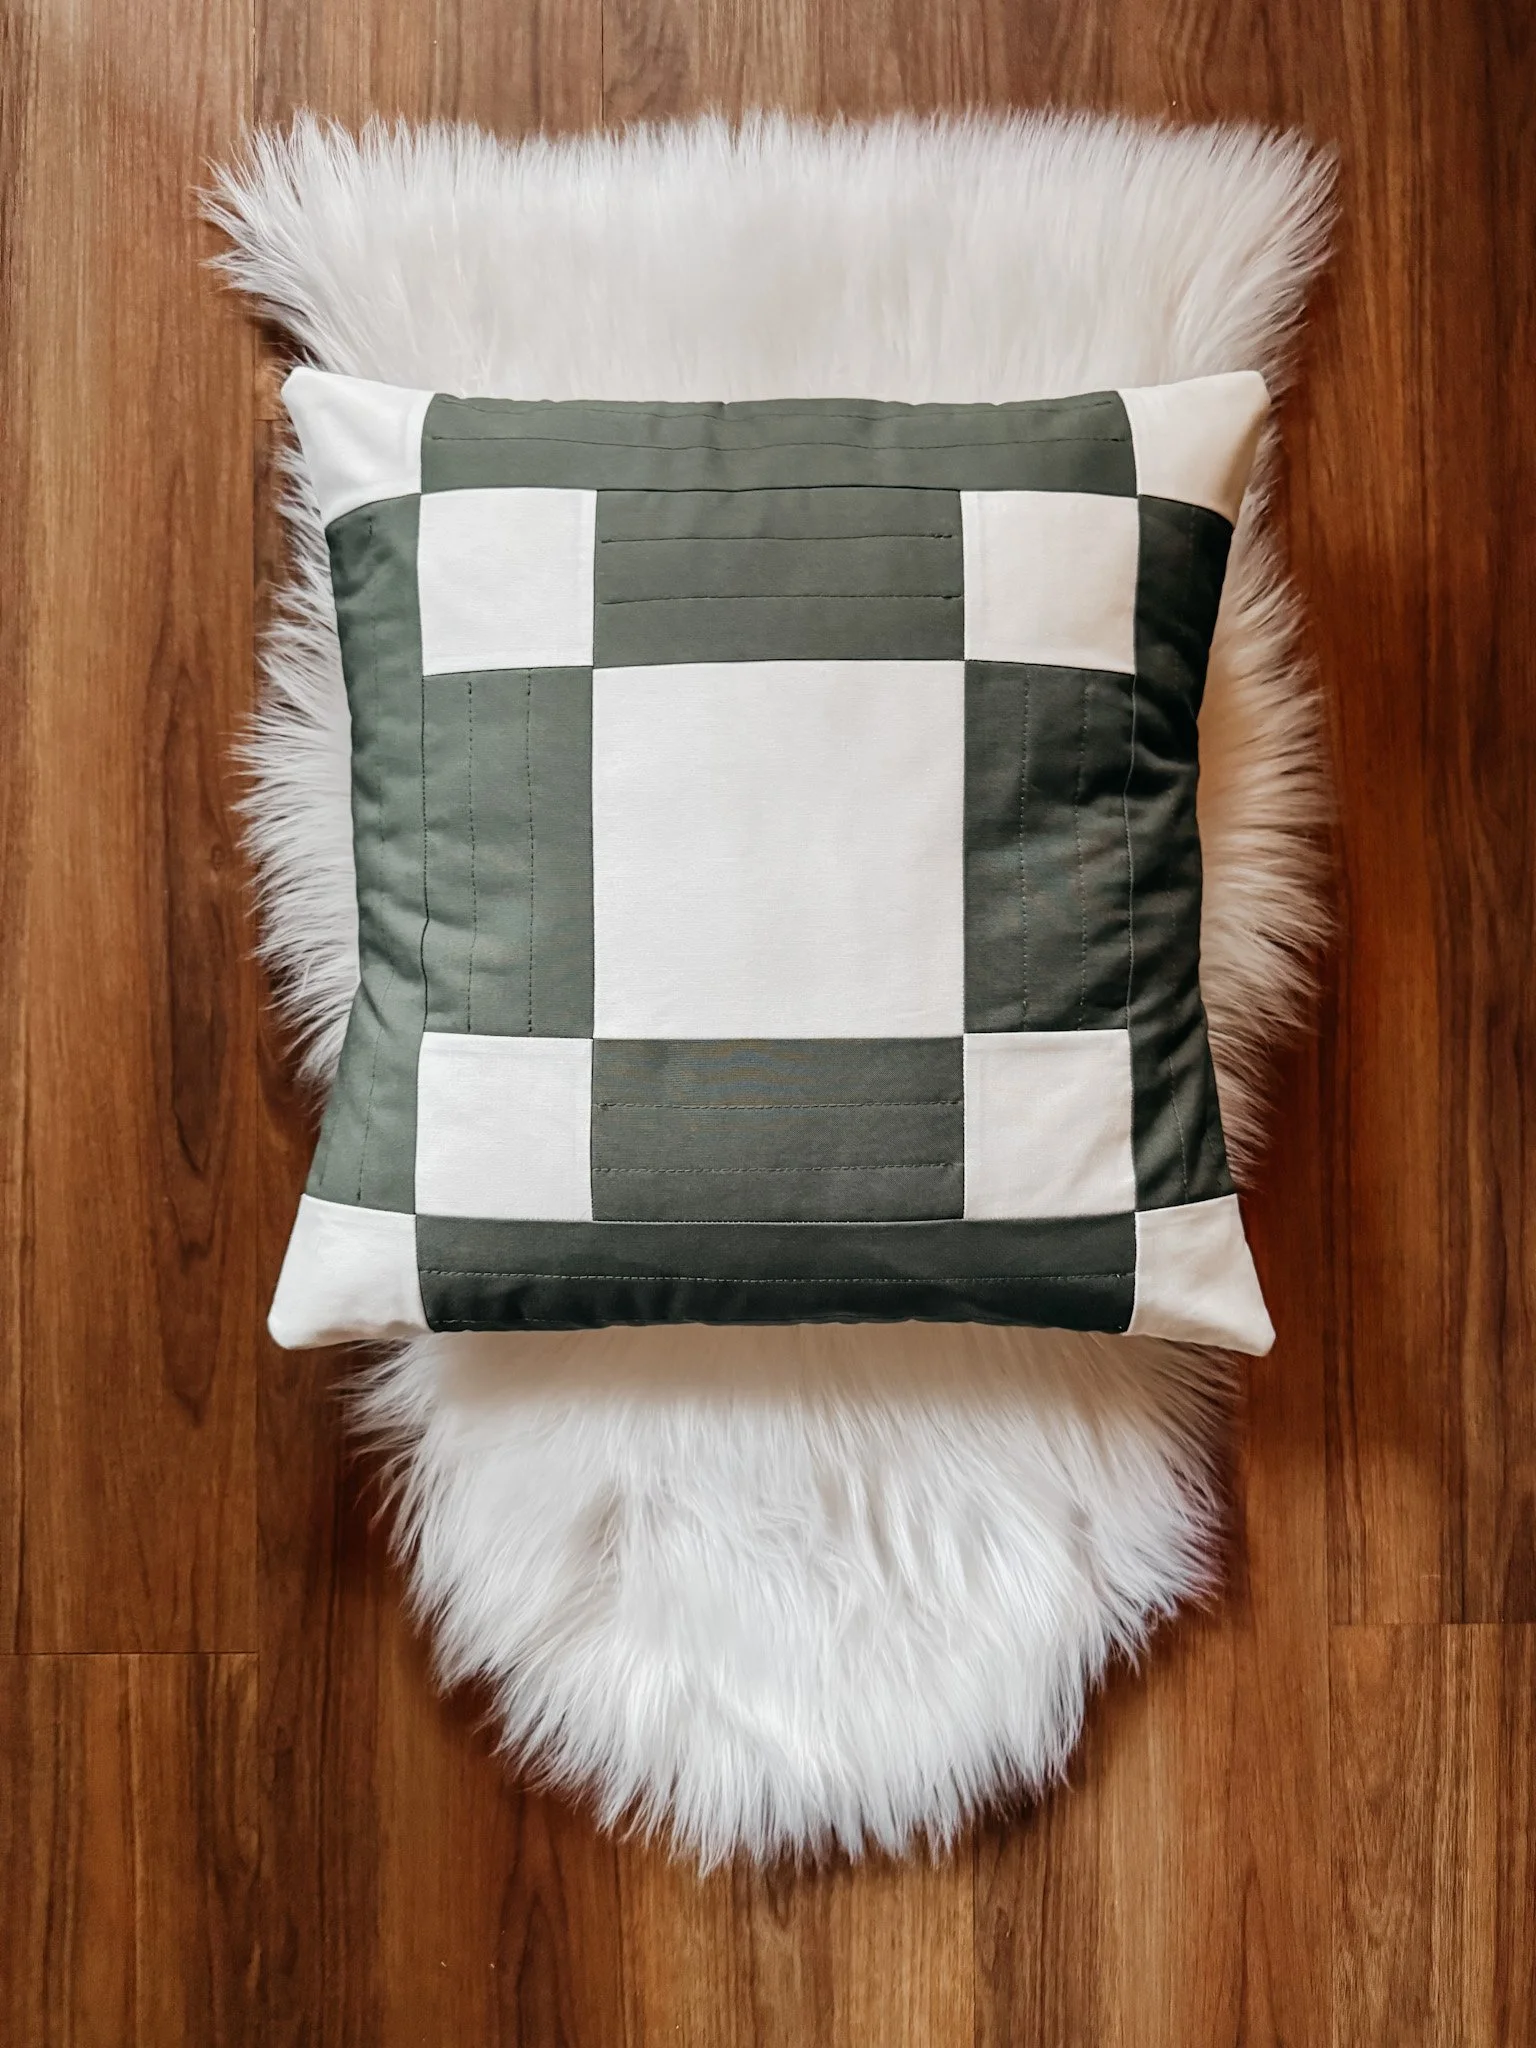
Hand-Stenciled Fabric and a Little Experimenting
I also shared a bit about the hand-stamping and stenciling tutorial/review I recently filmed and published. You can find that here: https://www.exshawquilts.com/blog/how-to-stencil-quilting-cotton-best-paints-to-use-what-i-would-avoid
I’ve been experimenting with adding my own designs to solid quilting cotton, and I really love the possibilities. Stenciling gives a much crisper and brighter result, while stamping has a softer, more imperfect look. Both are beautiful, but they definitely create different effects.
One thing I learned: I do not love the fabric paint I tried.
It looked pretty, but it felt a little too rubbery once it dried, and that’s not the texture I want in a quilt or in kitchenware. So I won’t be using that particular paint for the rest of this quilt project, but I’m still really excited about the stenciling itself.
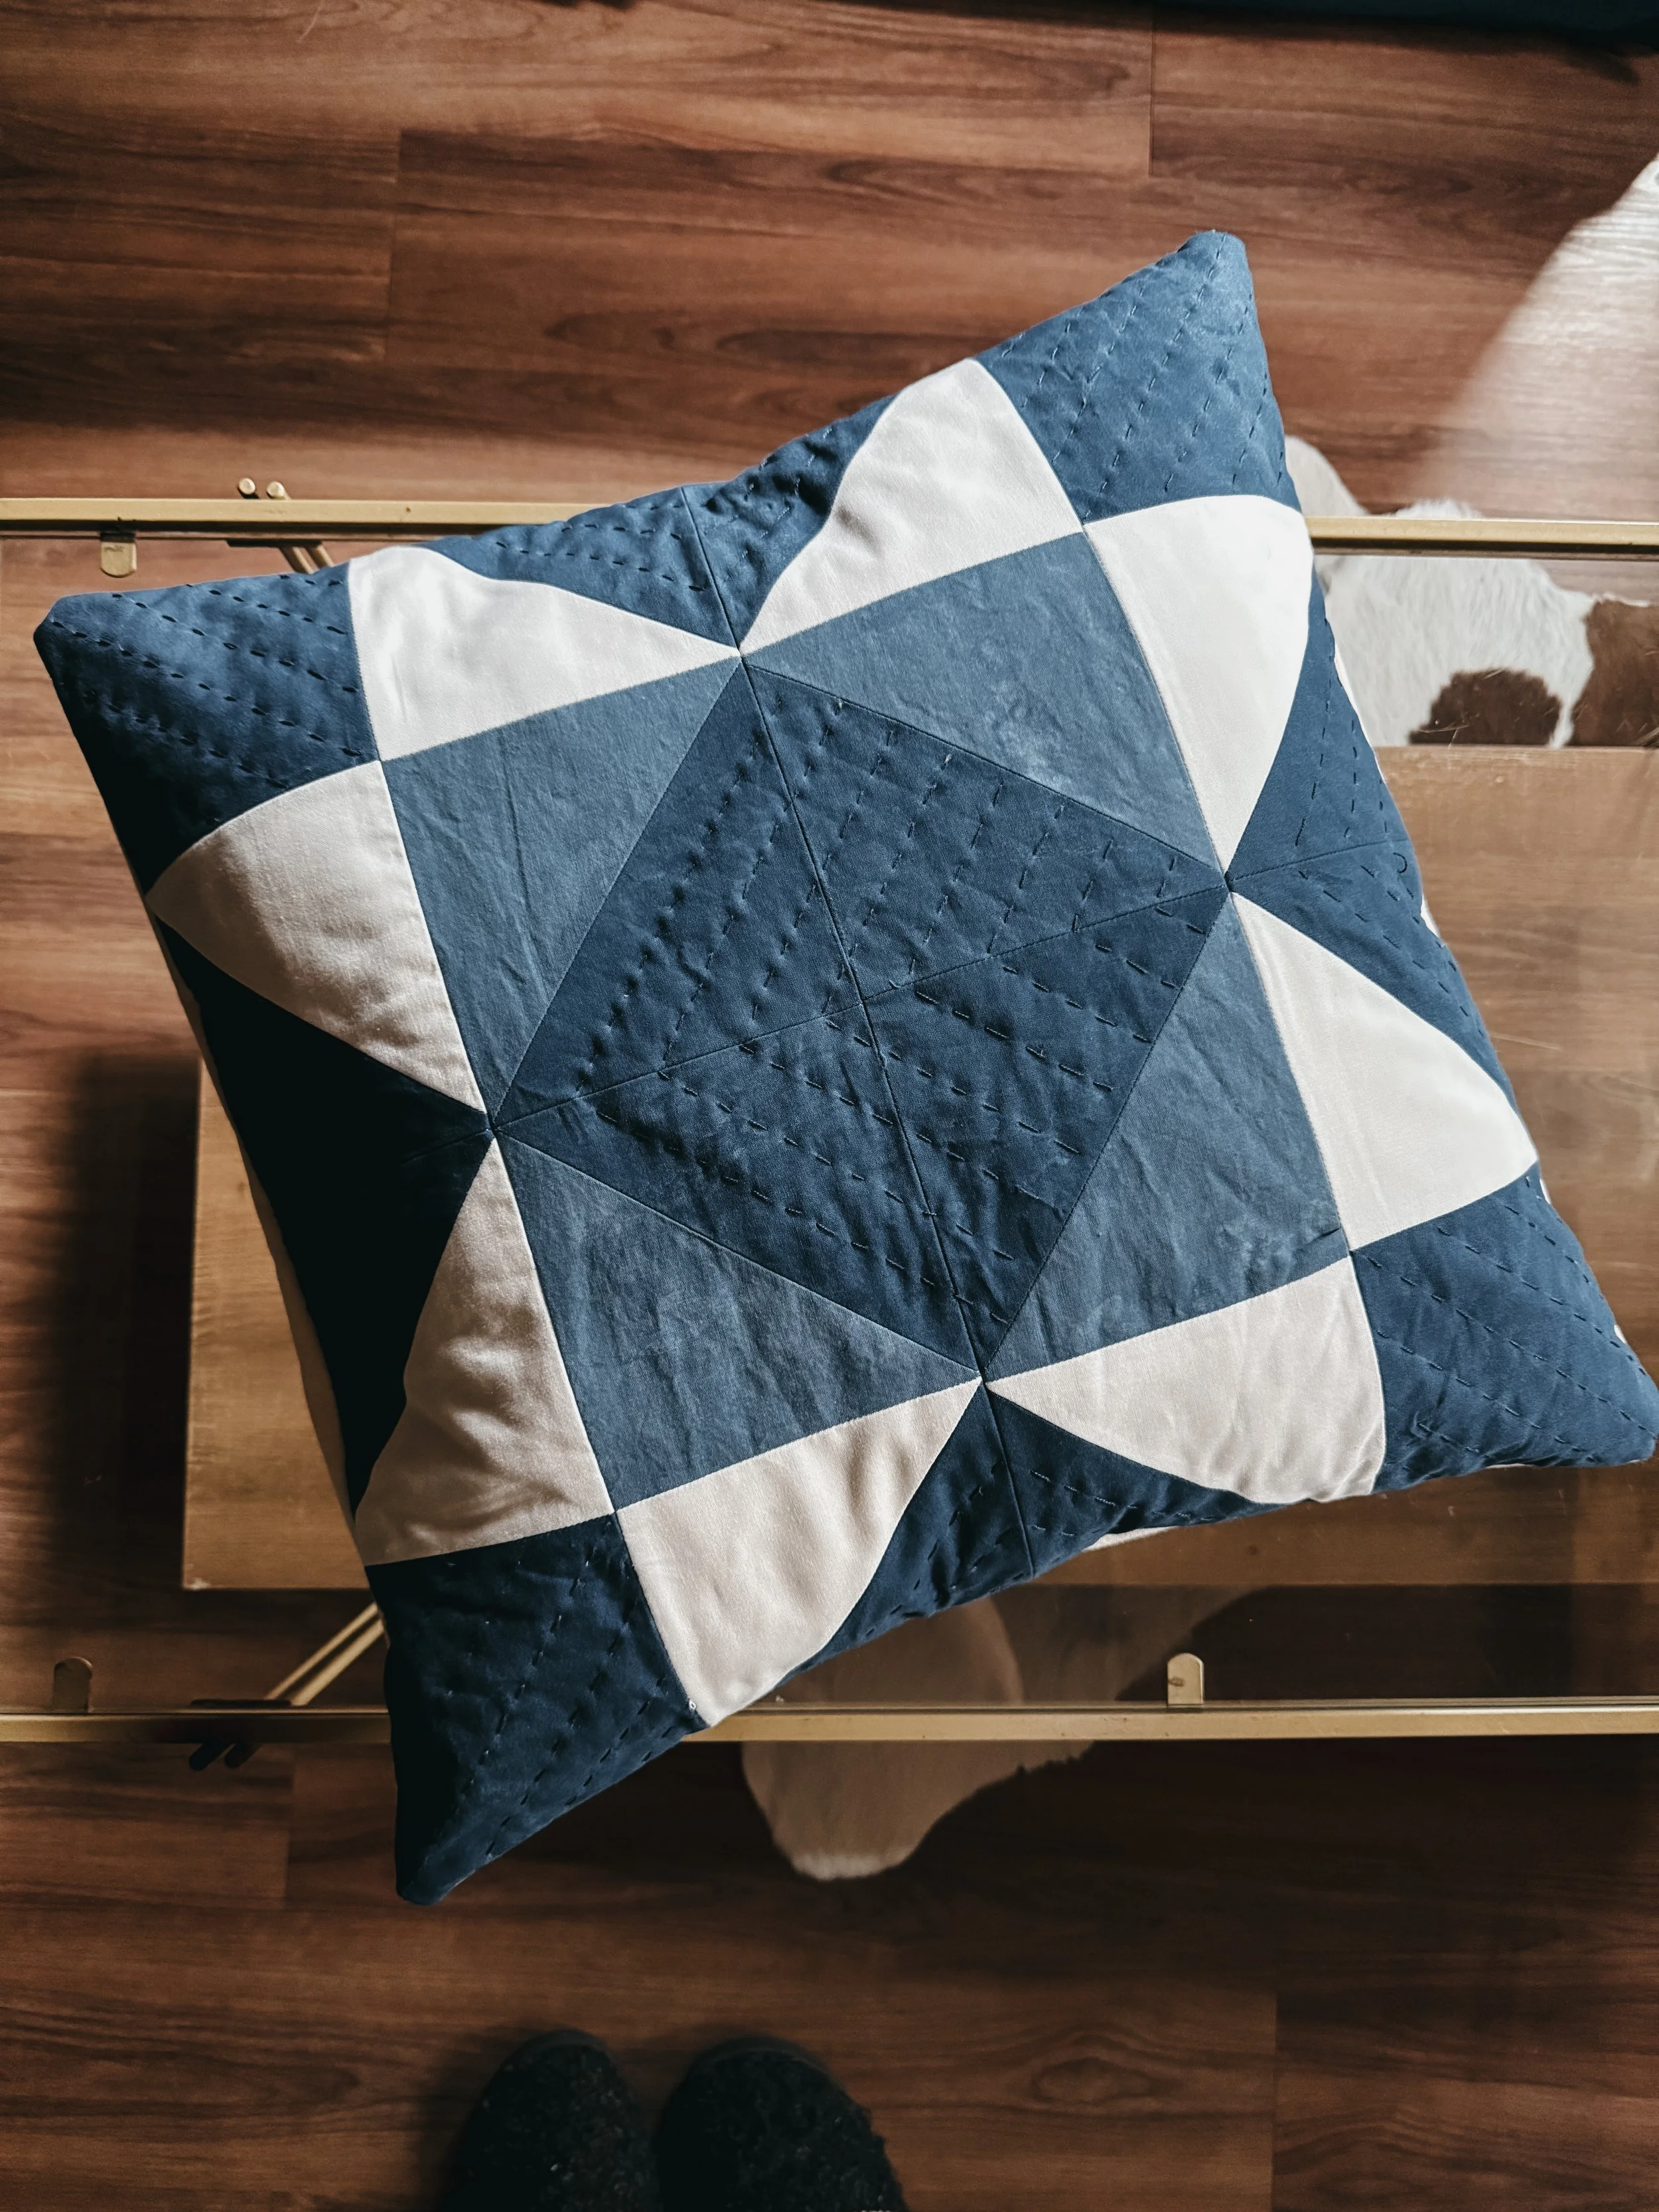
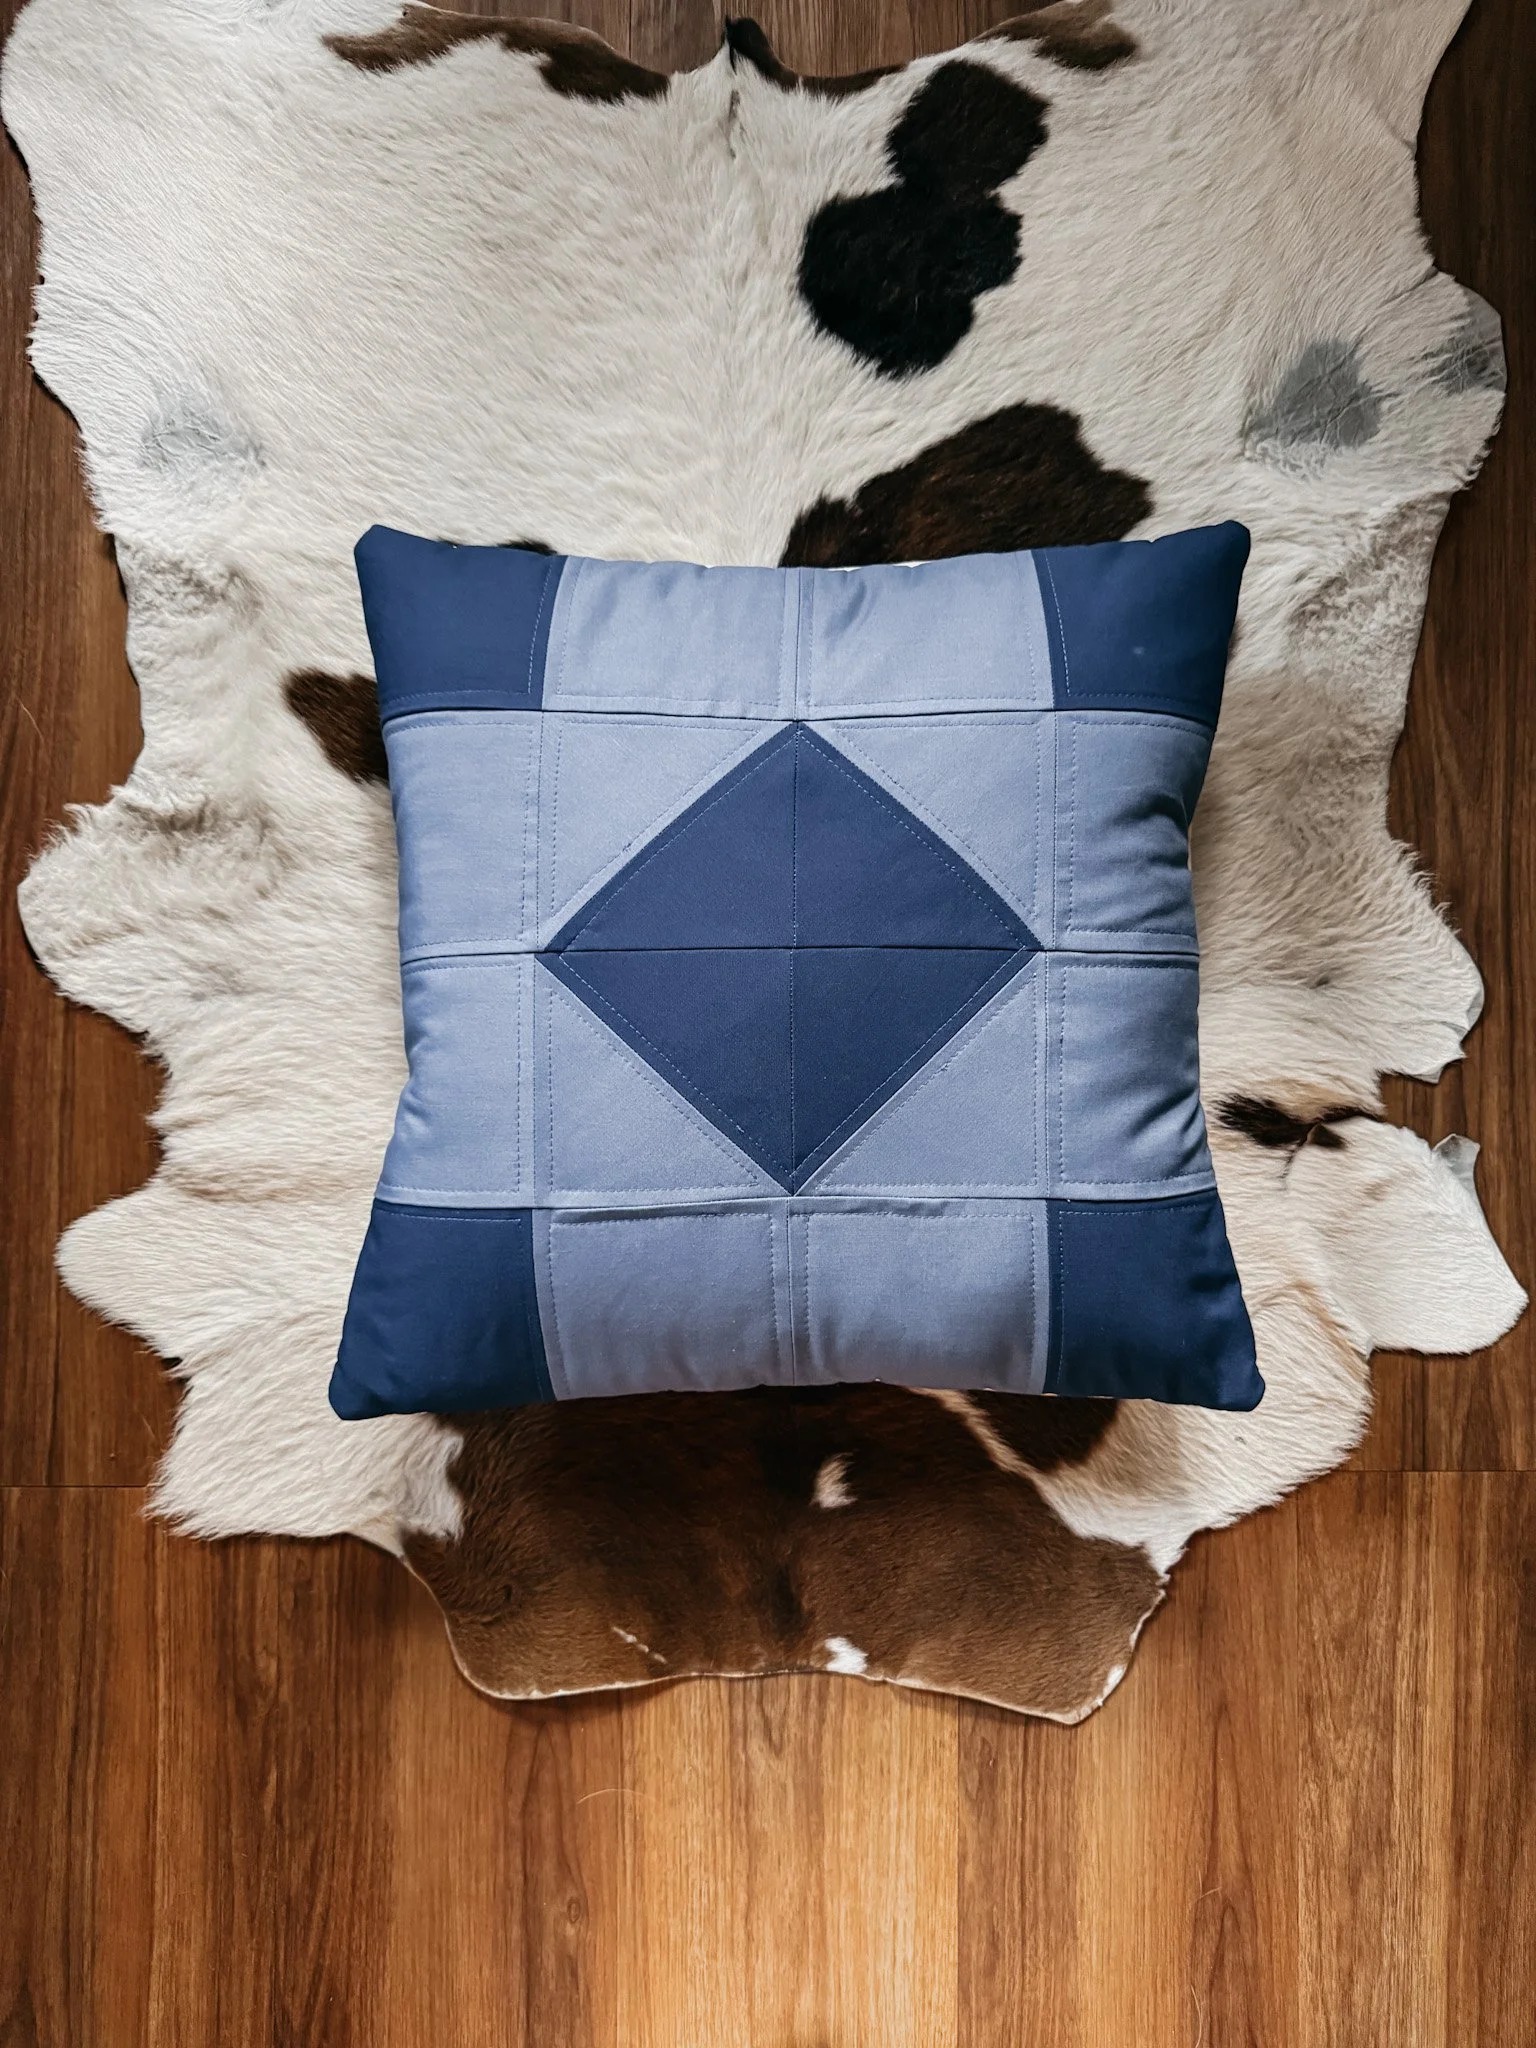
The quilt I’m working on next is a disappearing hourglass, or what I keep wanting to call a disappearing Broken Dishes quilt. Quilt blocks often have more than one name, and Broken Dishes is one of those blocks I’m always drawn to.
For this version, I’ve pulled a whole range of blues — because apparently I cannot stay away from blue, indigo, denim, or anything in that family. Some of the darker blues are being hand-stenciled with floral motifs, and I think they’re going to add such a pretty, old-world feeling to the quilt without making it too busy.
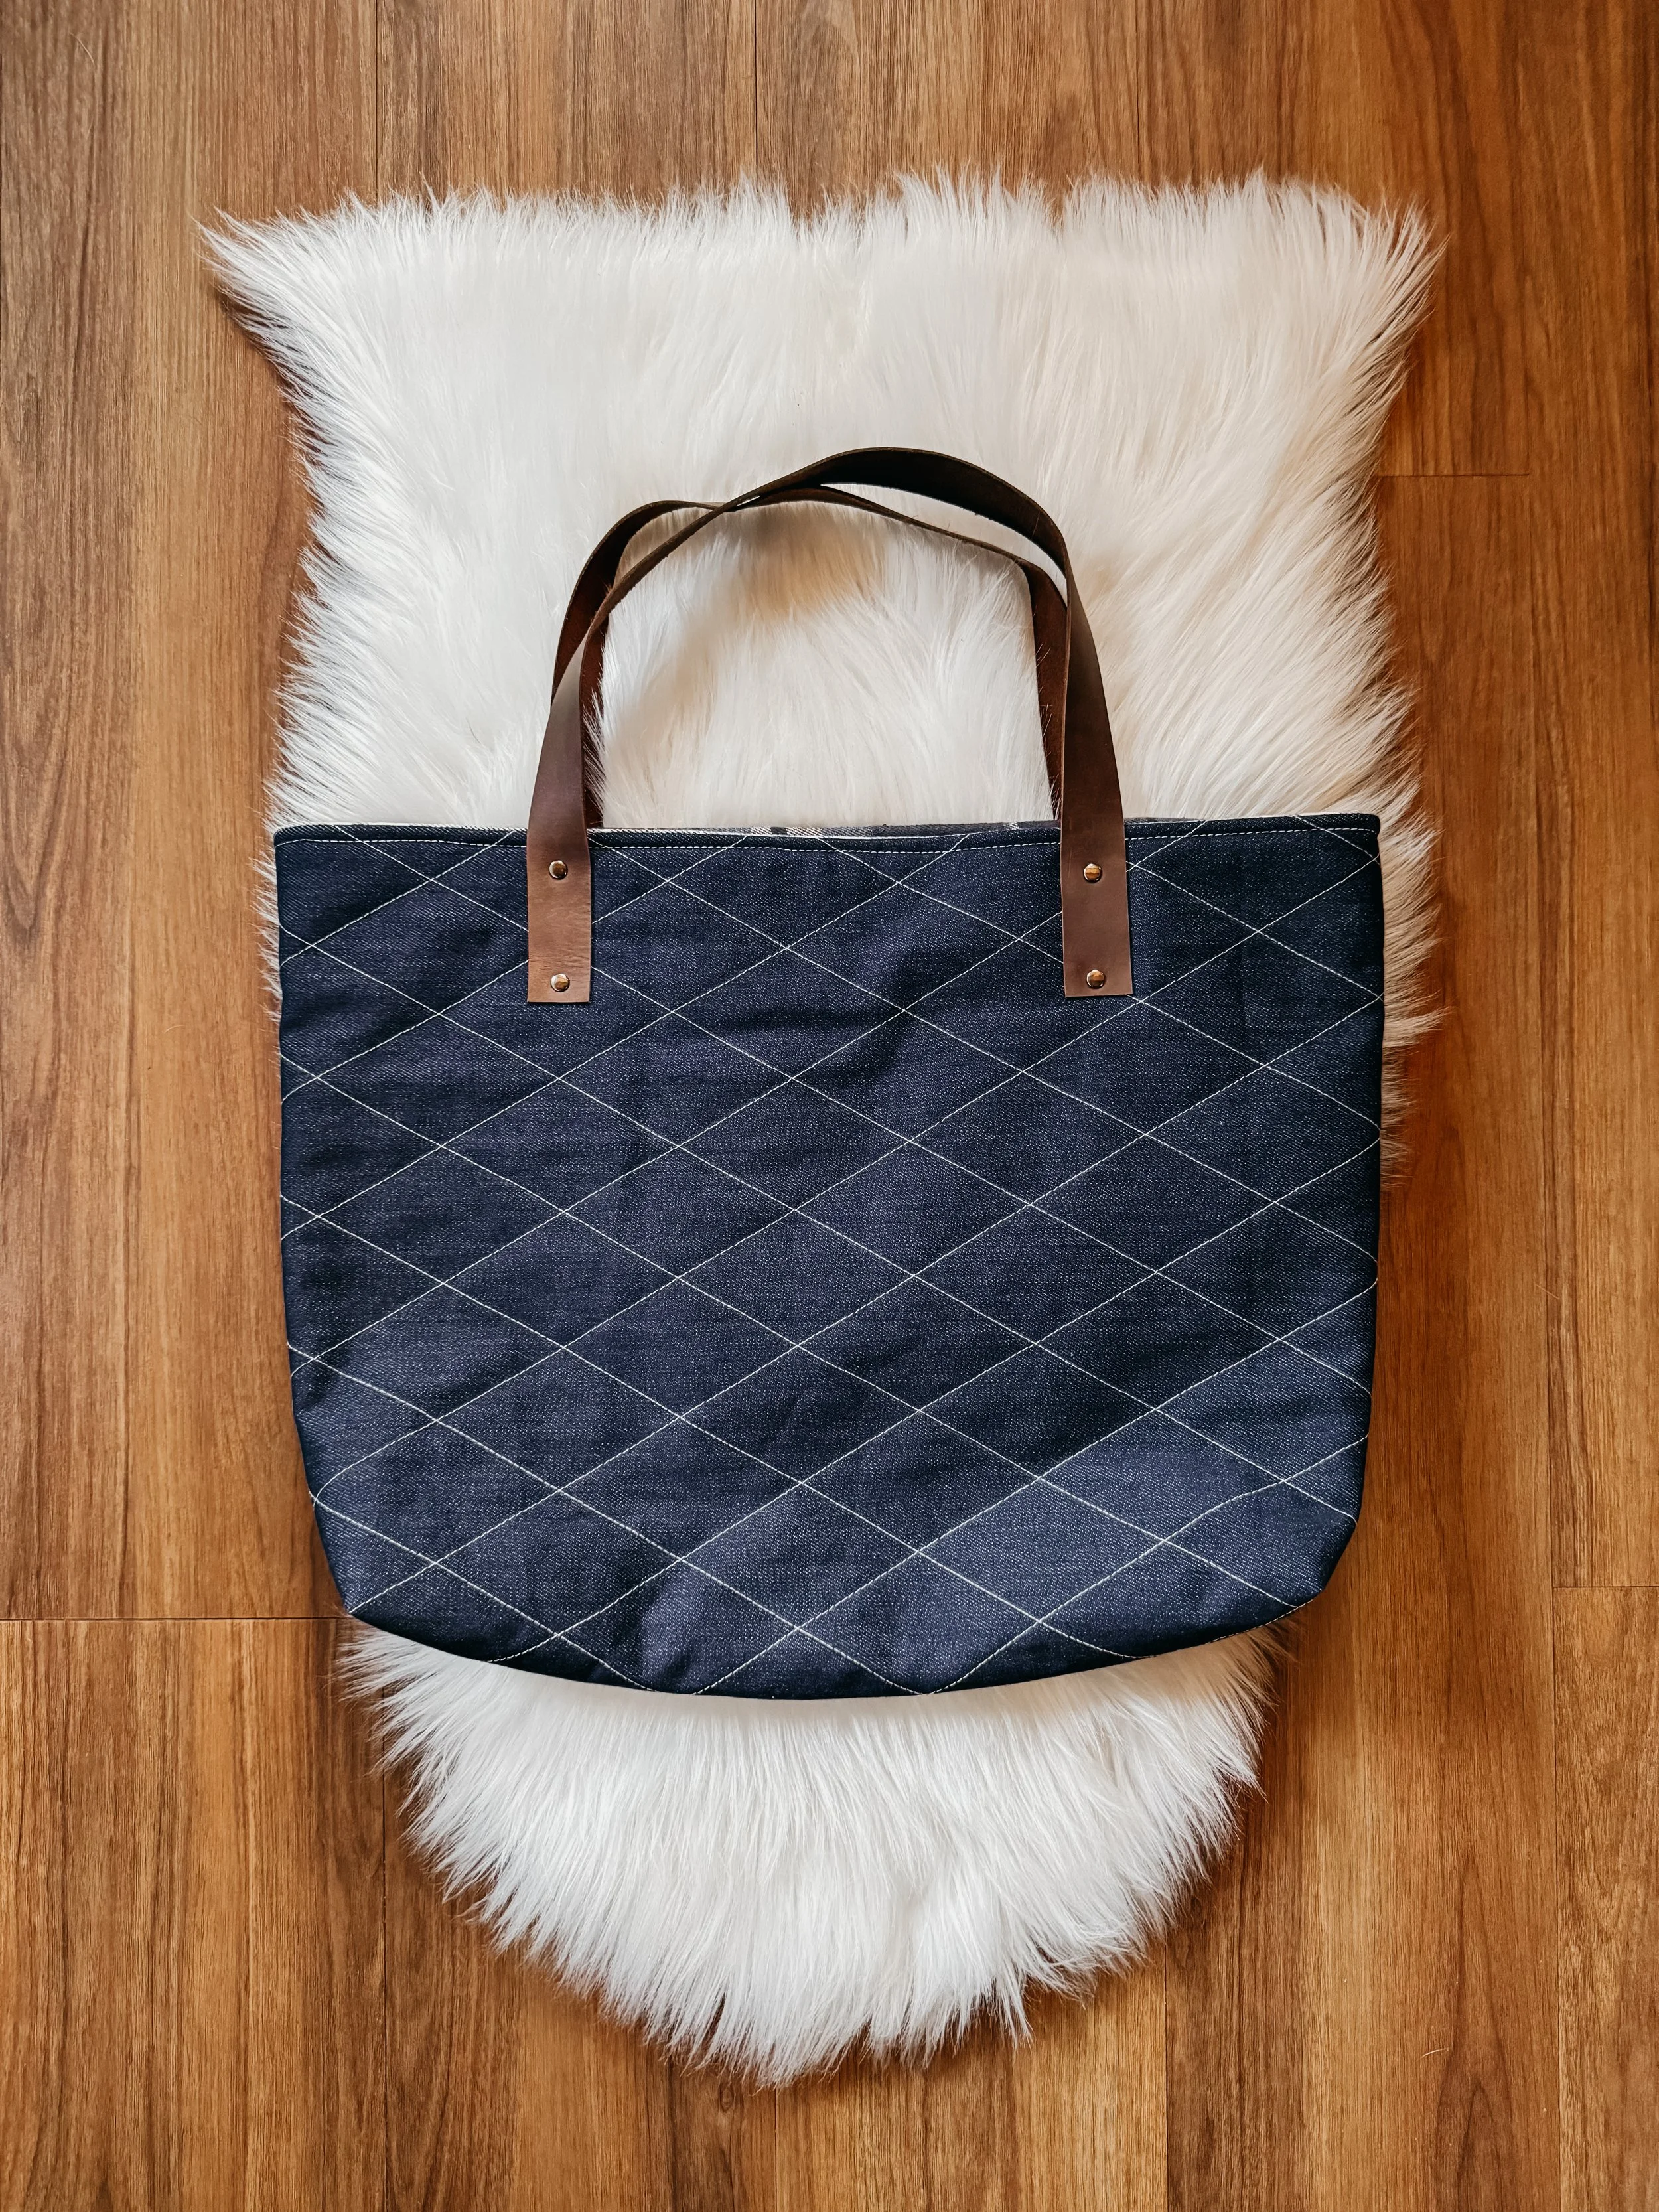
This is one of the reasons I love working with solids so much. They’re versatile, they’re usually more affordable than printed quilting cotton, and you can make them your own.
Printed fabric in Canada can get expensive very quickly, especially if you’re making a larger quilt. So I love the idea of encouraging quilters to use what they have, whether that’s solids, thrifted cotton shirts, old linens, or fabric they’ve had tucked away for years.
You do not need the newest fabric collection to make a beautiful quilt.
If buying designer prints is in your budget and you love them, that’s wonderful. But if it isn’t, that doesn’t mean you can’t make something beautiful. There is so much creativity in working with what’s available to you.
A stencil, a solid cotton, and a little patience can go a long way.
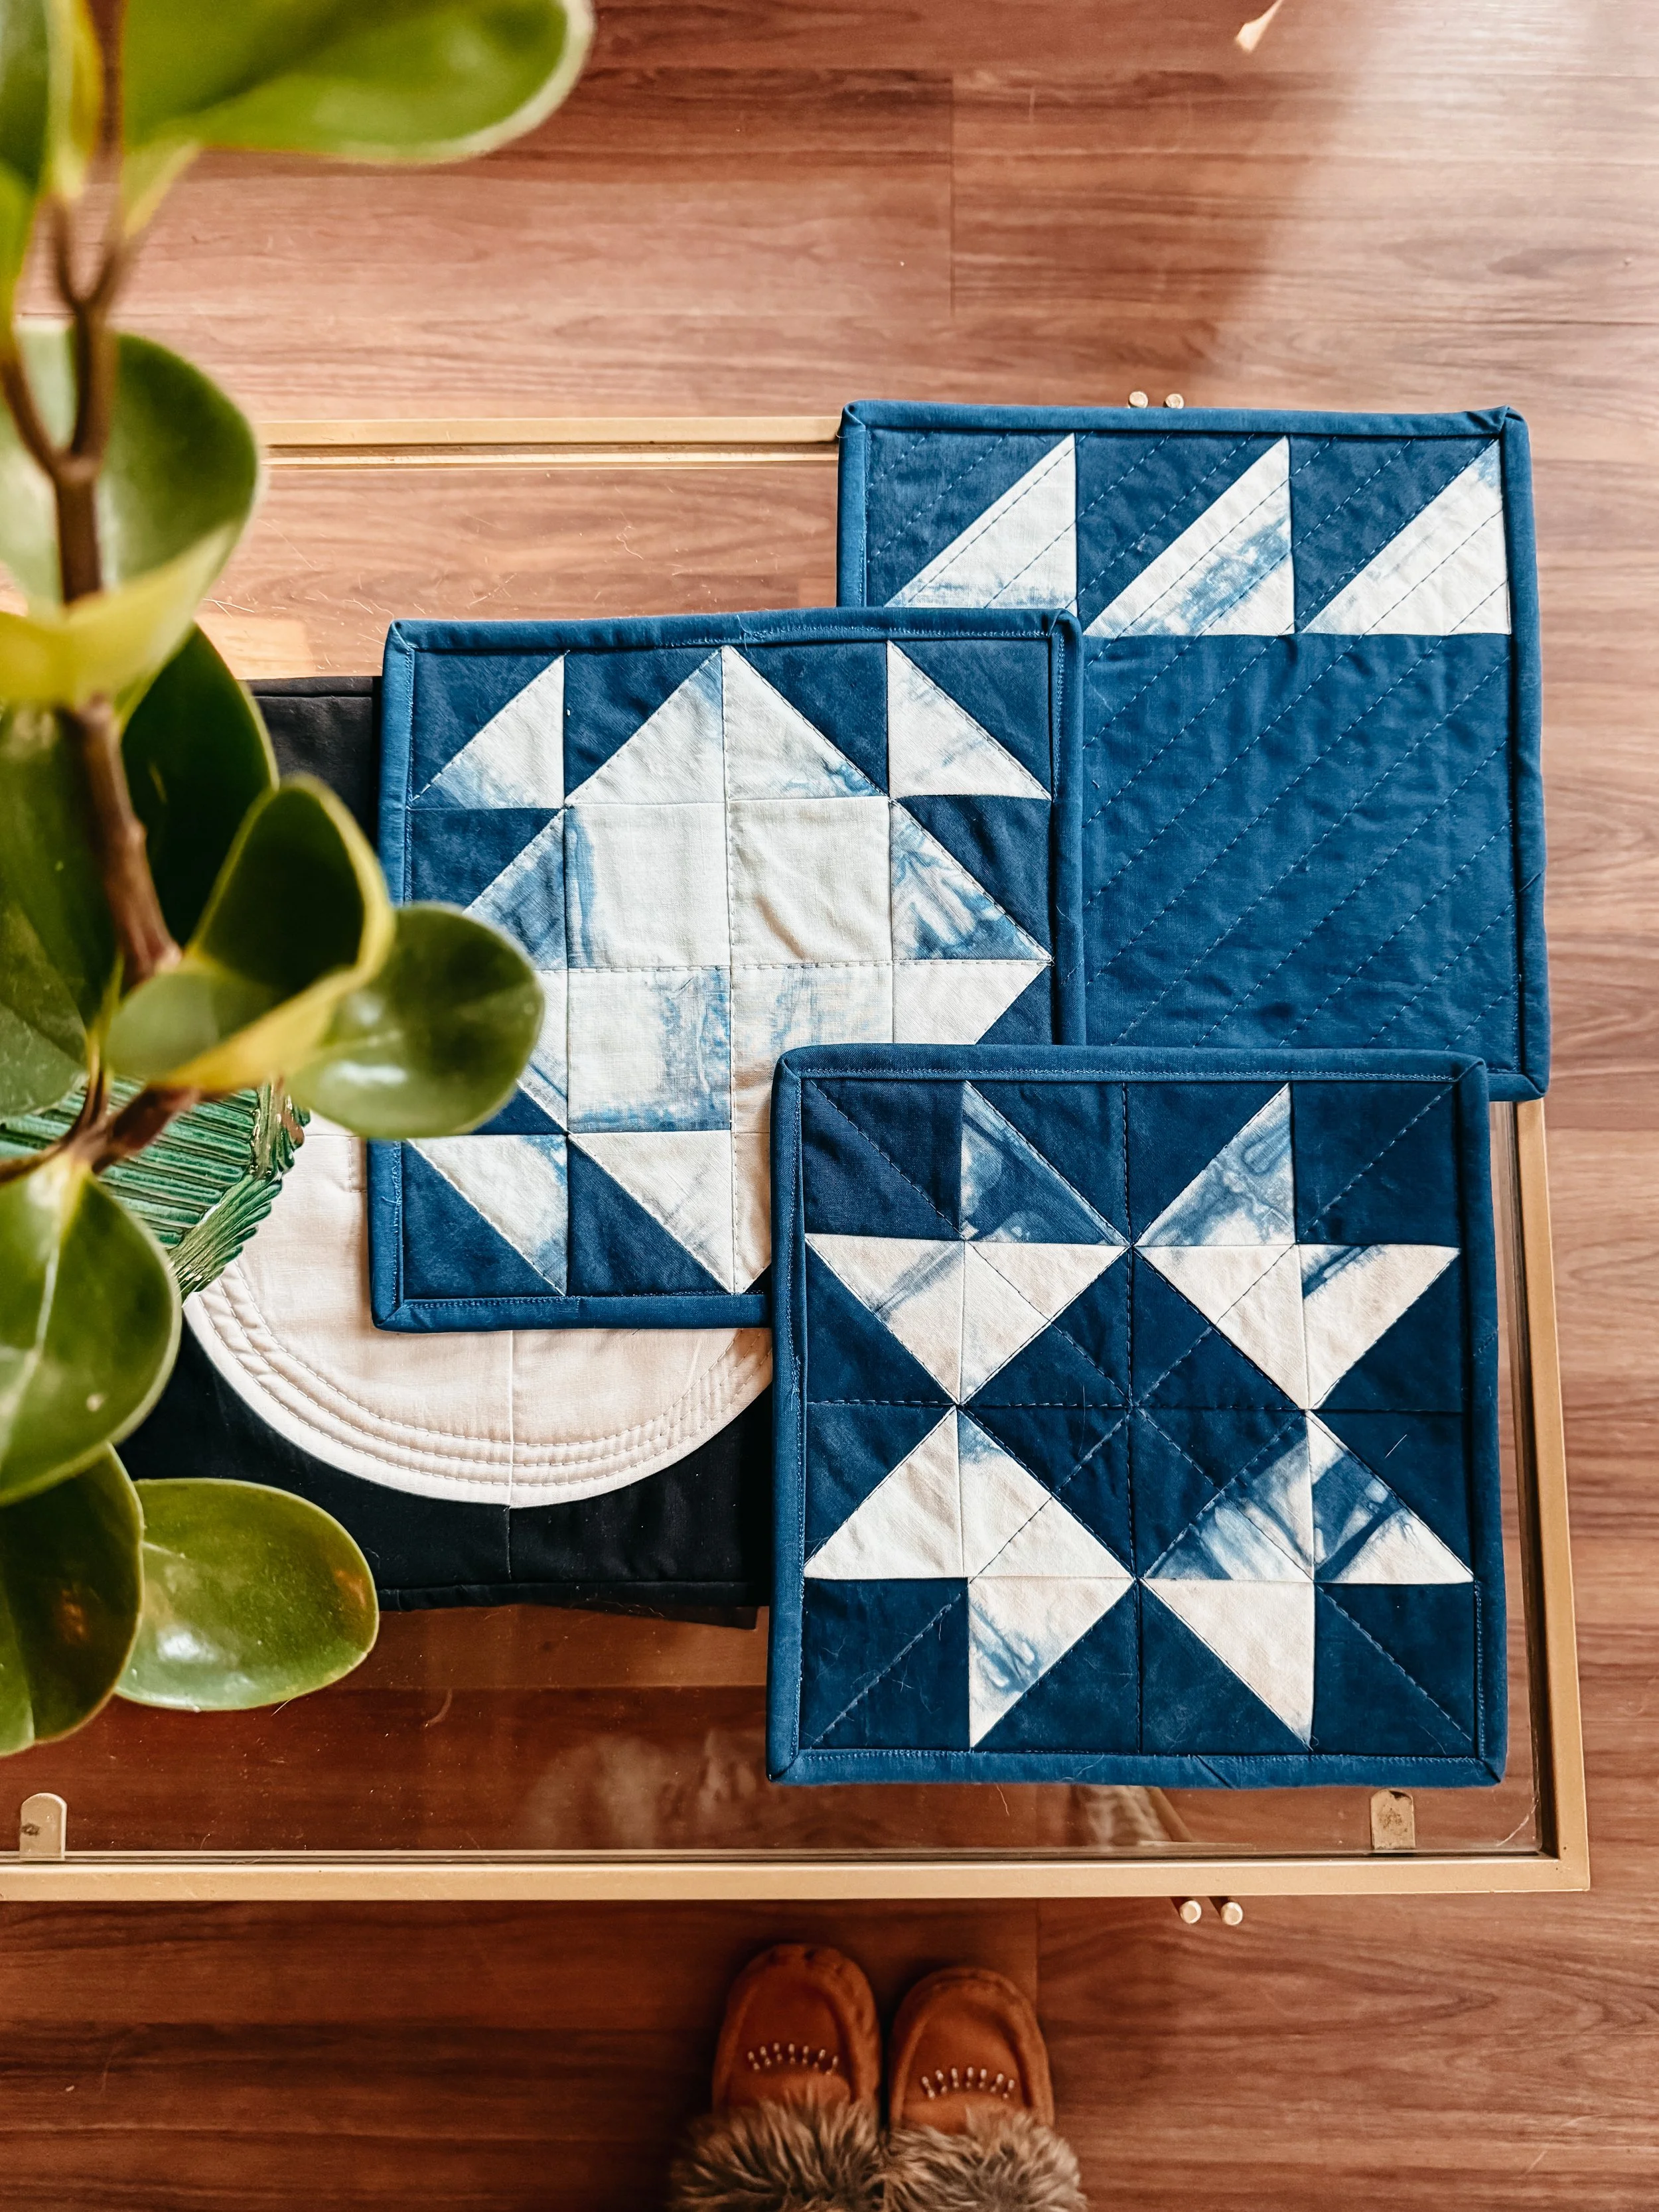
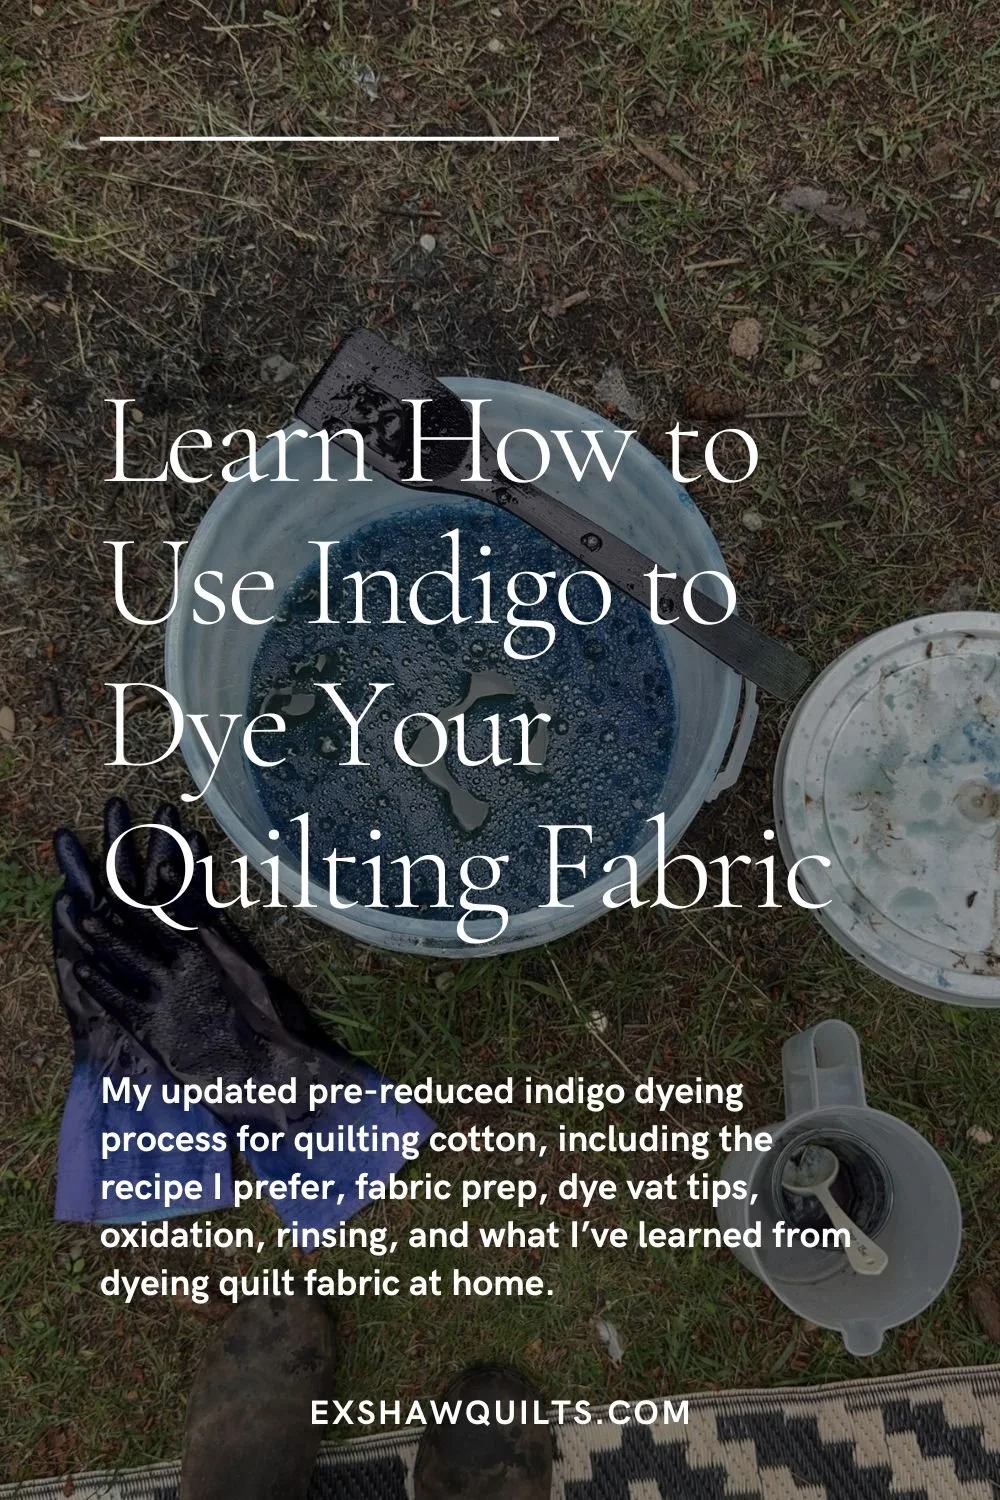
Summer Means Indigo Dyeing
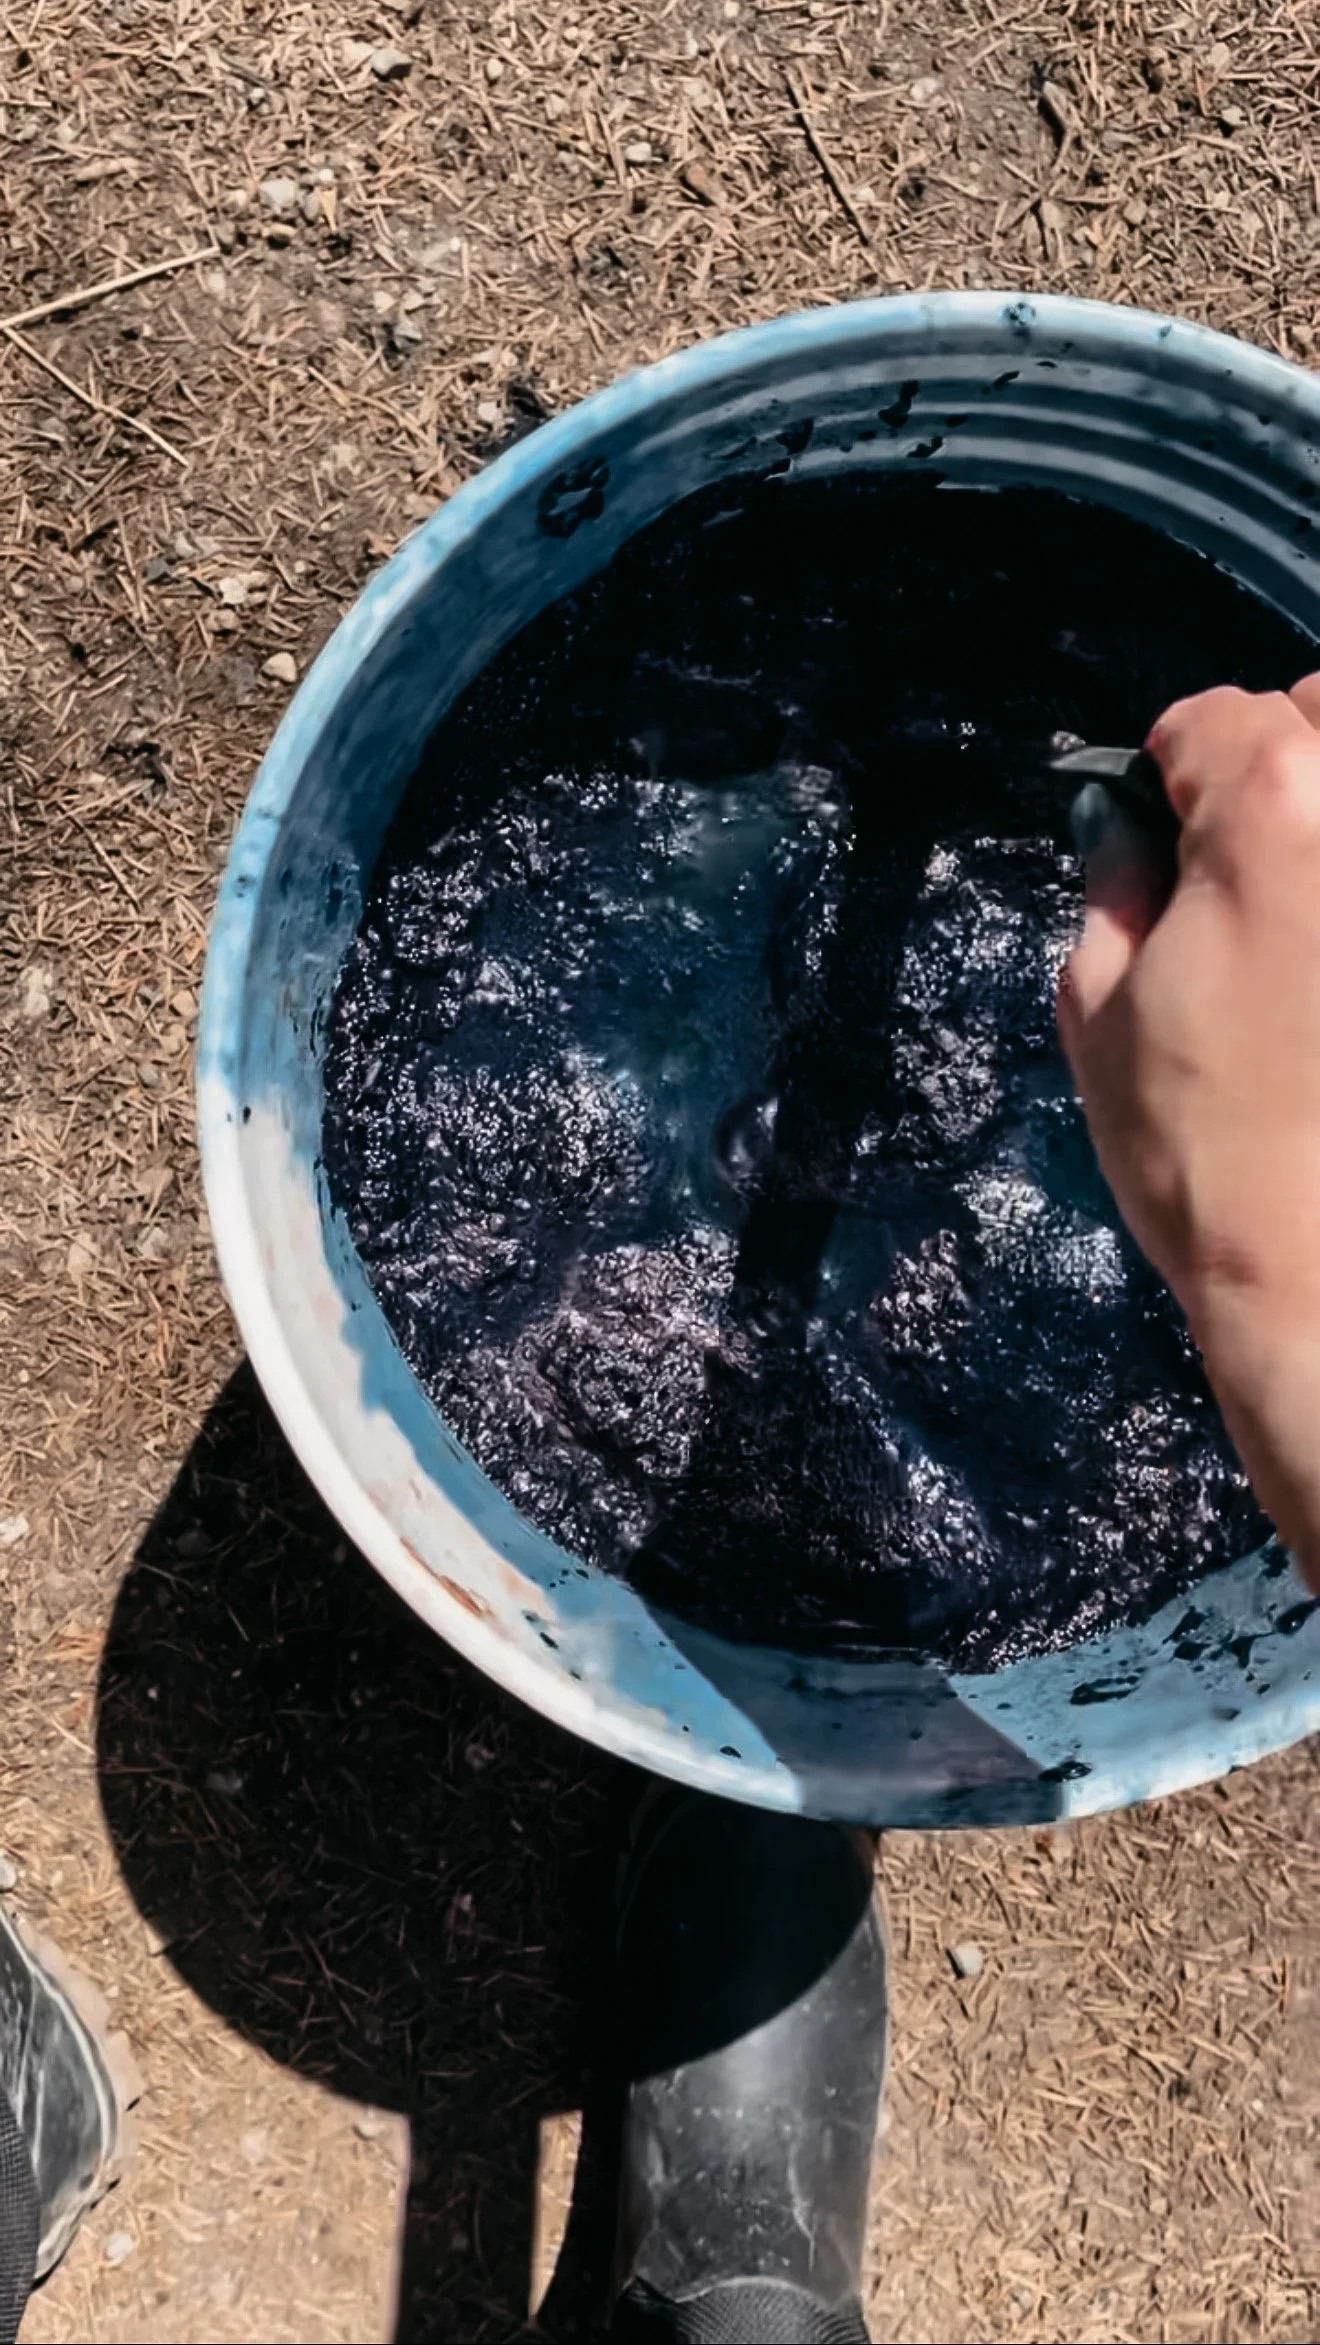
Every summer, I get excited to start dyeing with indigo again.
Indigo dyeing is messy, and because of the fumes, I only do it outside. So for me, it’s very much a summer project. I’ve ordered my supplies and I’m planning to get back into it again this season.
I’ve changed my process a little from what I used to do. Toward the end of last year, I started using a different reducing agent, and I found that I preferred the results. I was able to get darker blues, and you know I love a deep, rich indigo. You can find my updated process here: https://www.exshawquilts.com/blog/how-i-dye-quilting-cotton-with-pre-reduced-indigo-my-updated-process-for-more-even-results
When I dye with indigo, I usually make a strong vat and keep dyeing with it until it’s exhausted. That gives me a whole range of blues, from the darkest shades down to softer, lighter variations. I love that about natural dyeing. It has variation. It has surprises. It has a mind of its own sometimes.
And yes, sometimes things turn out a little weird.
But that’s part of it.
Natural dyeing is not perfect, and I don’t really want it to be. I love the movement, the unevenness, and the little marks that make each piece feel alive.
This year, I’m hoping to finally try something I’ve wanted to do for a long time: whole cloth quilts with sashiko-inspired stitching.
I’ve had a book on sashiko designs for a few years, and I’ve honestly been a little intimidated by it. The designs are so beautiful, and they require a little more care and precision than I naturally lean toward. I’m very much a “jump in and get it done” kind of maker, so anything that feels like it needs to be perfectly marked and perfectly stitched can make me hesitate.
But I’ve decided I’m just going to try.
It doesn’t need to be perfect. I just need to begin.
I have some indigo-dyed fabric I’ve been saving for this exact purpose, especially the darker blues. I also pulled out some sashiko thread and needles from my stash so they’re visible and ready to go. Sometimes I need to put things where I can see them so they keep gently reminding me, “You said you wanted to do this.”
And I do.
I want to try it this summer.
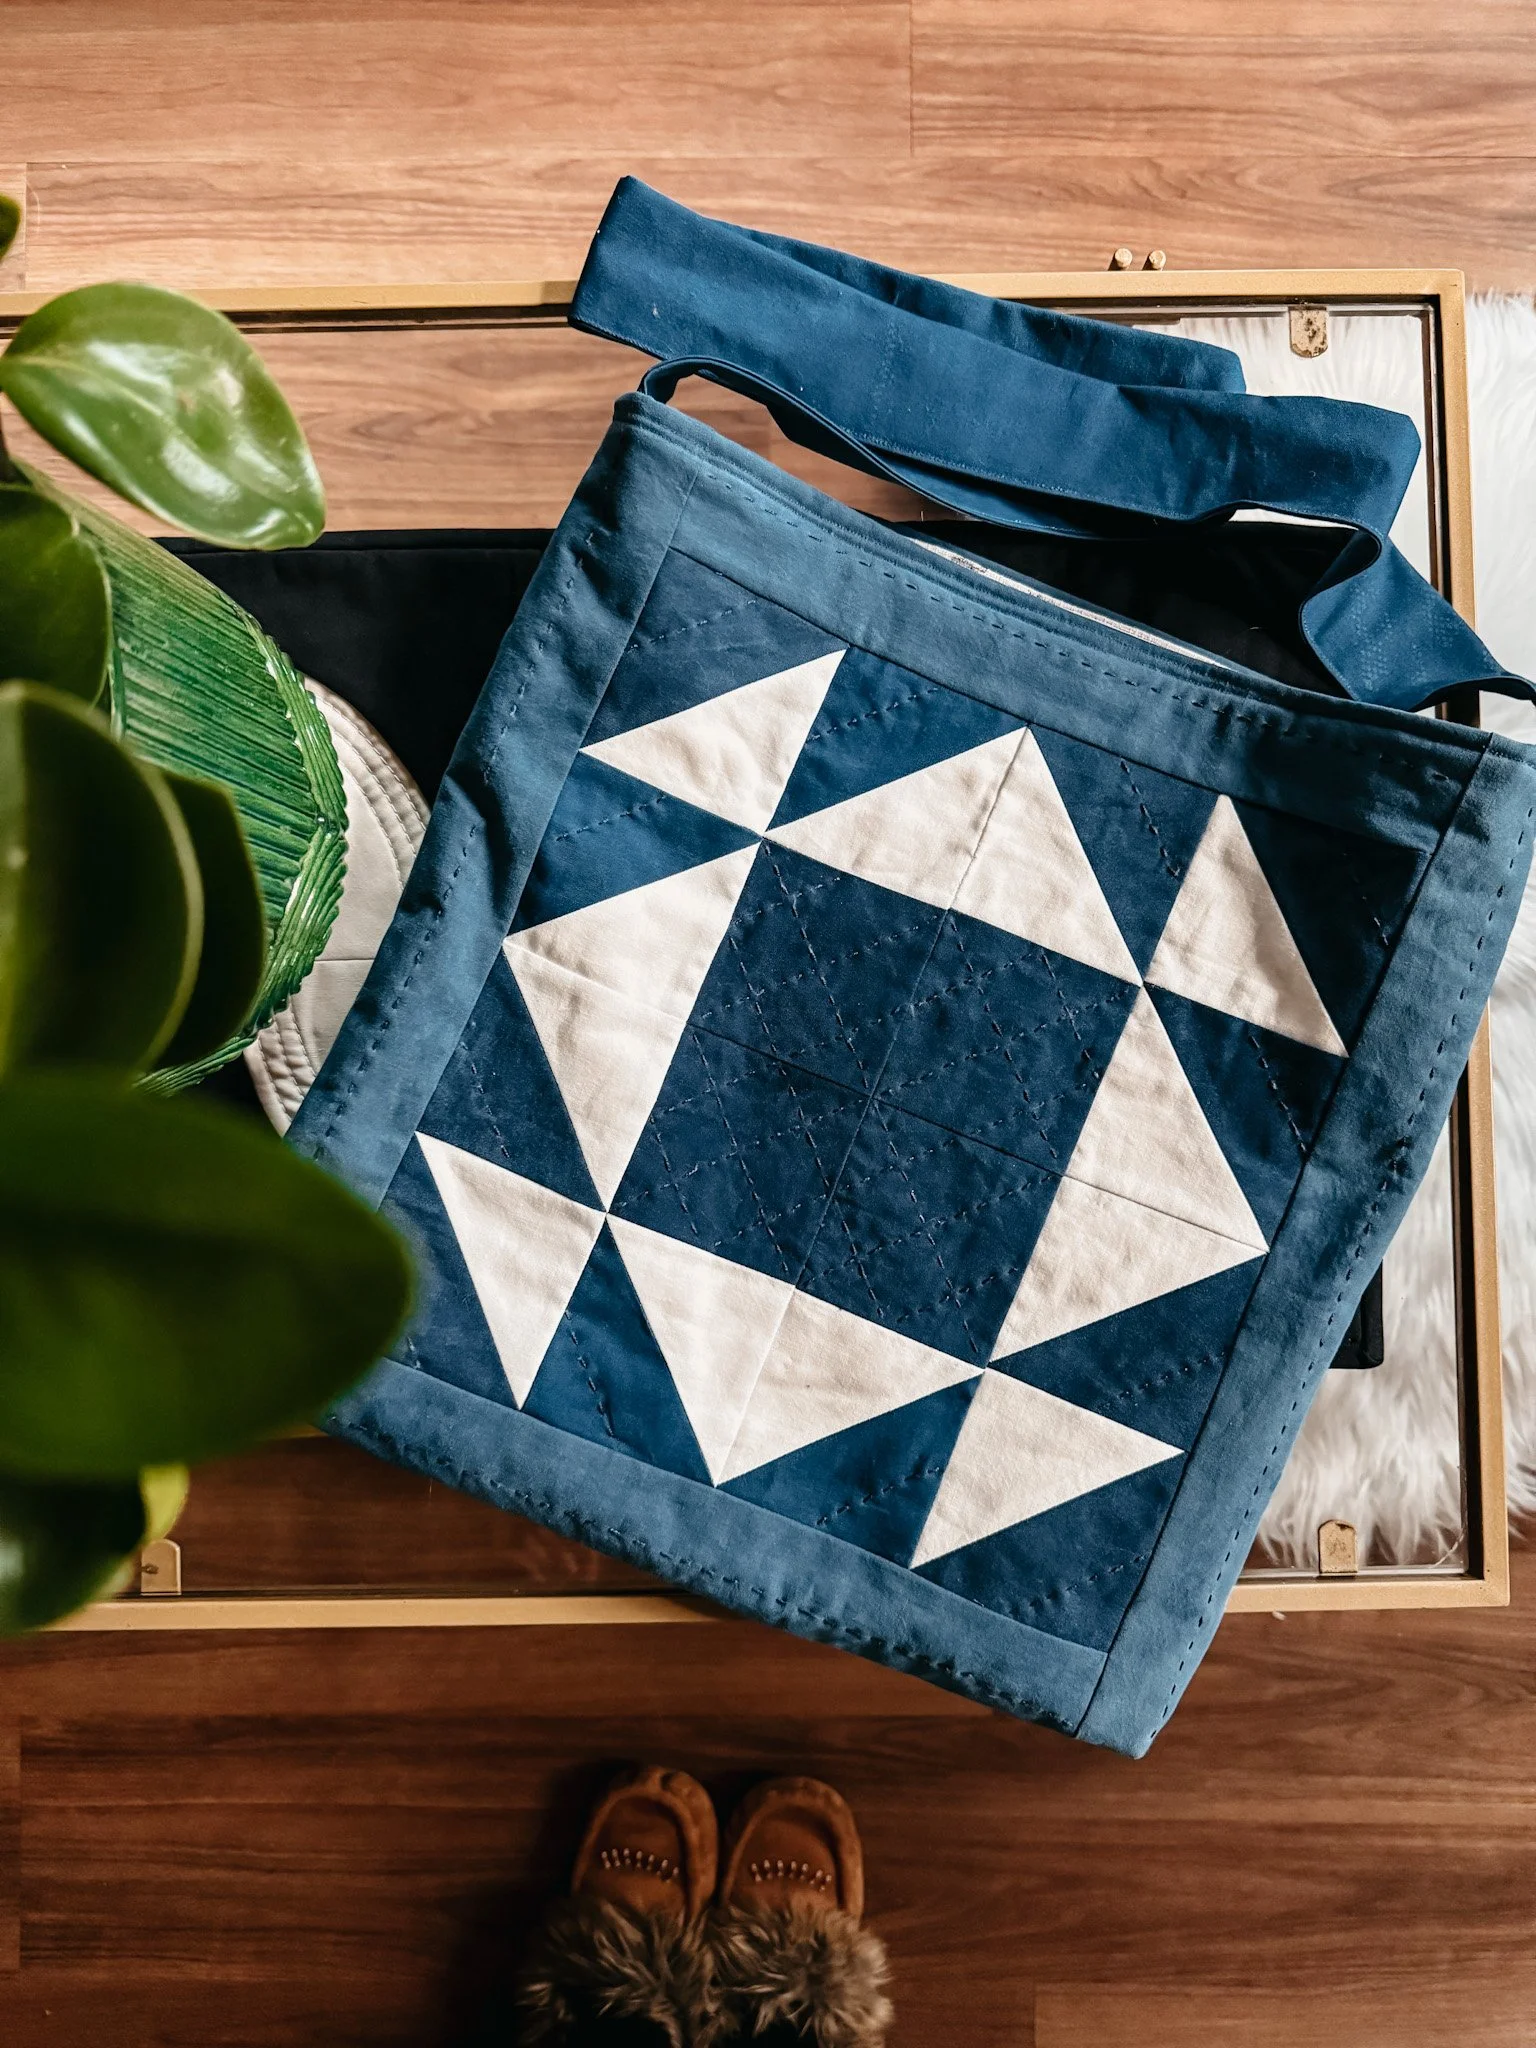
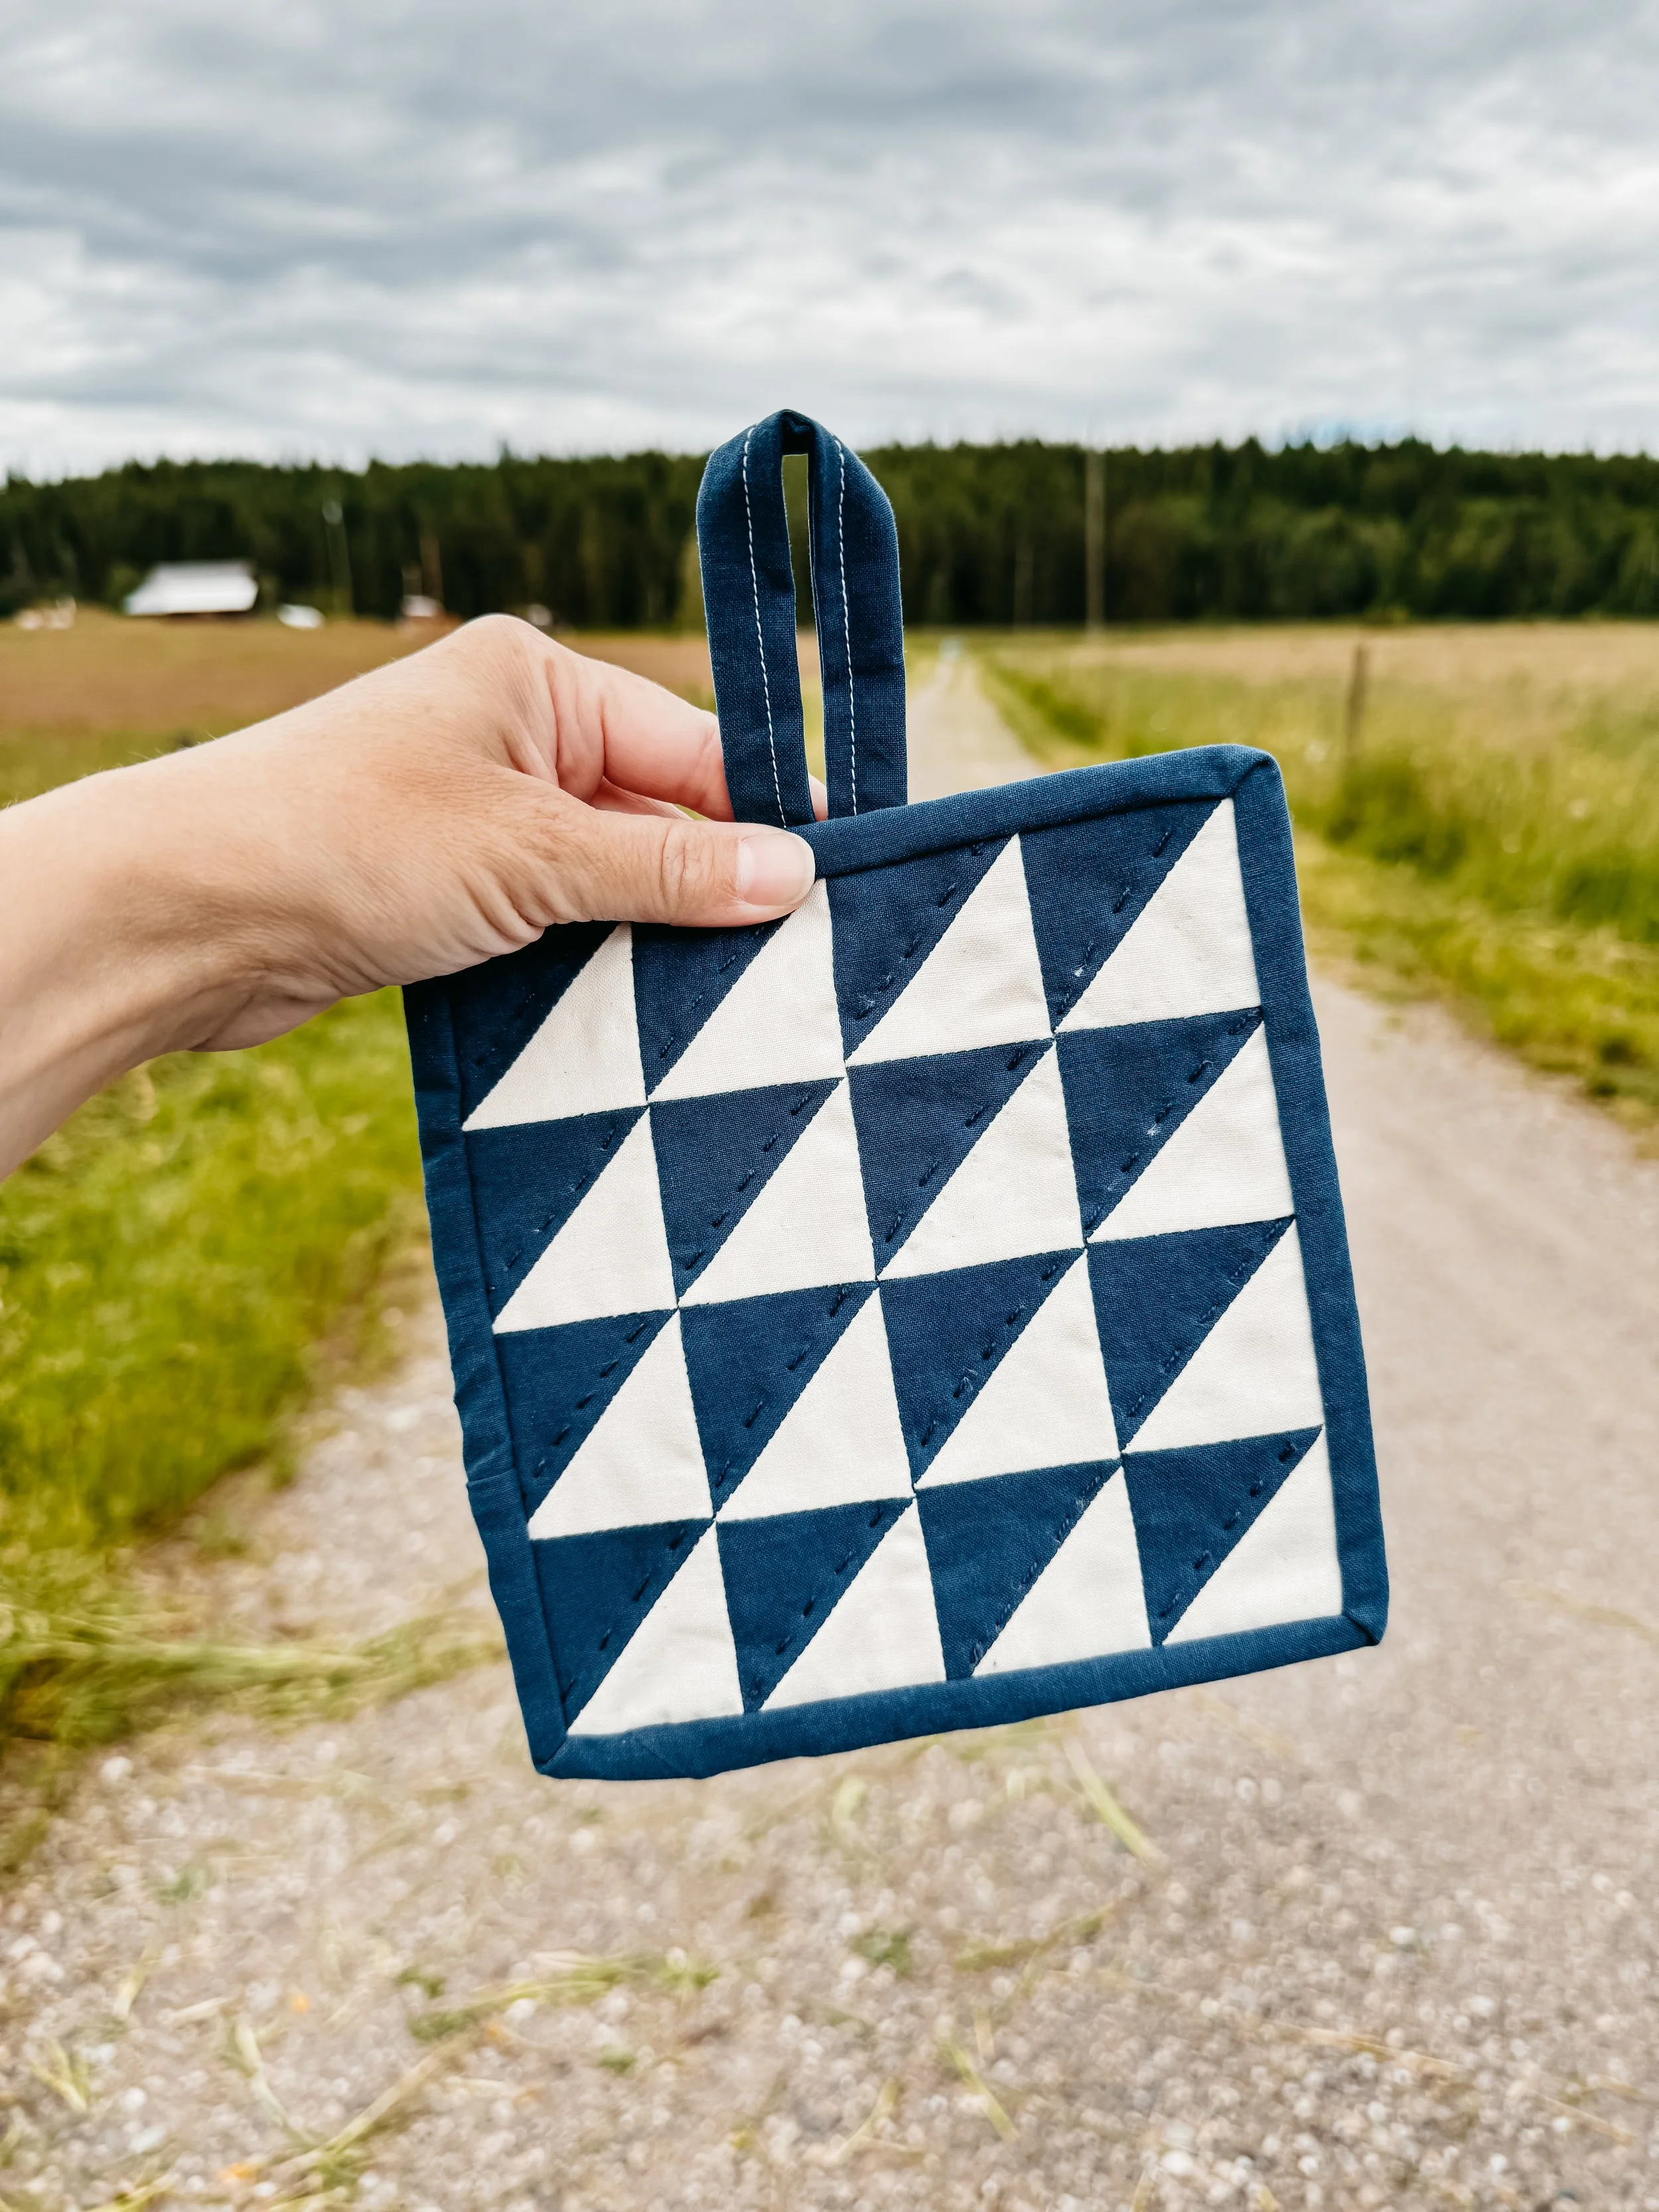
Denim Quilt Ideas
Along with the indigo quilts, I’ve also been thinking about denim quilts.
I love denim. I love blue. I love indigo. Apparently, I have a theme and I’m not fighting it anymore.
I bought some 100% cotton denim fabric because I wanted to avoid stretch denim. I had tried using old jeans from around the house, but so many jeans now have spandex in them, and I didn’t love working with that. It stretched, it shifted, and it just wasn’t as enjoyable. I purchased my denim from https://fabricville.com/
For quilting, I’d rather use denim without stretch.
I think denim paired with sashiko-inspired stitching could be so beautiful. There’s something about that combination that feels sturdy, useful, traditional, and a little bit like wearable history.
I’ve also been dreaming about making some denim art quilts or indigo quilts, and I even put my name forward for an art quilt opportunity at a gallery. I’m nervous even saying that out loud, but I’m proud of myself for trying.
Maybe they’ll say yes. Maybe they’ll say no.
Either way, I’m going to make the quilts.
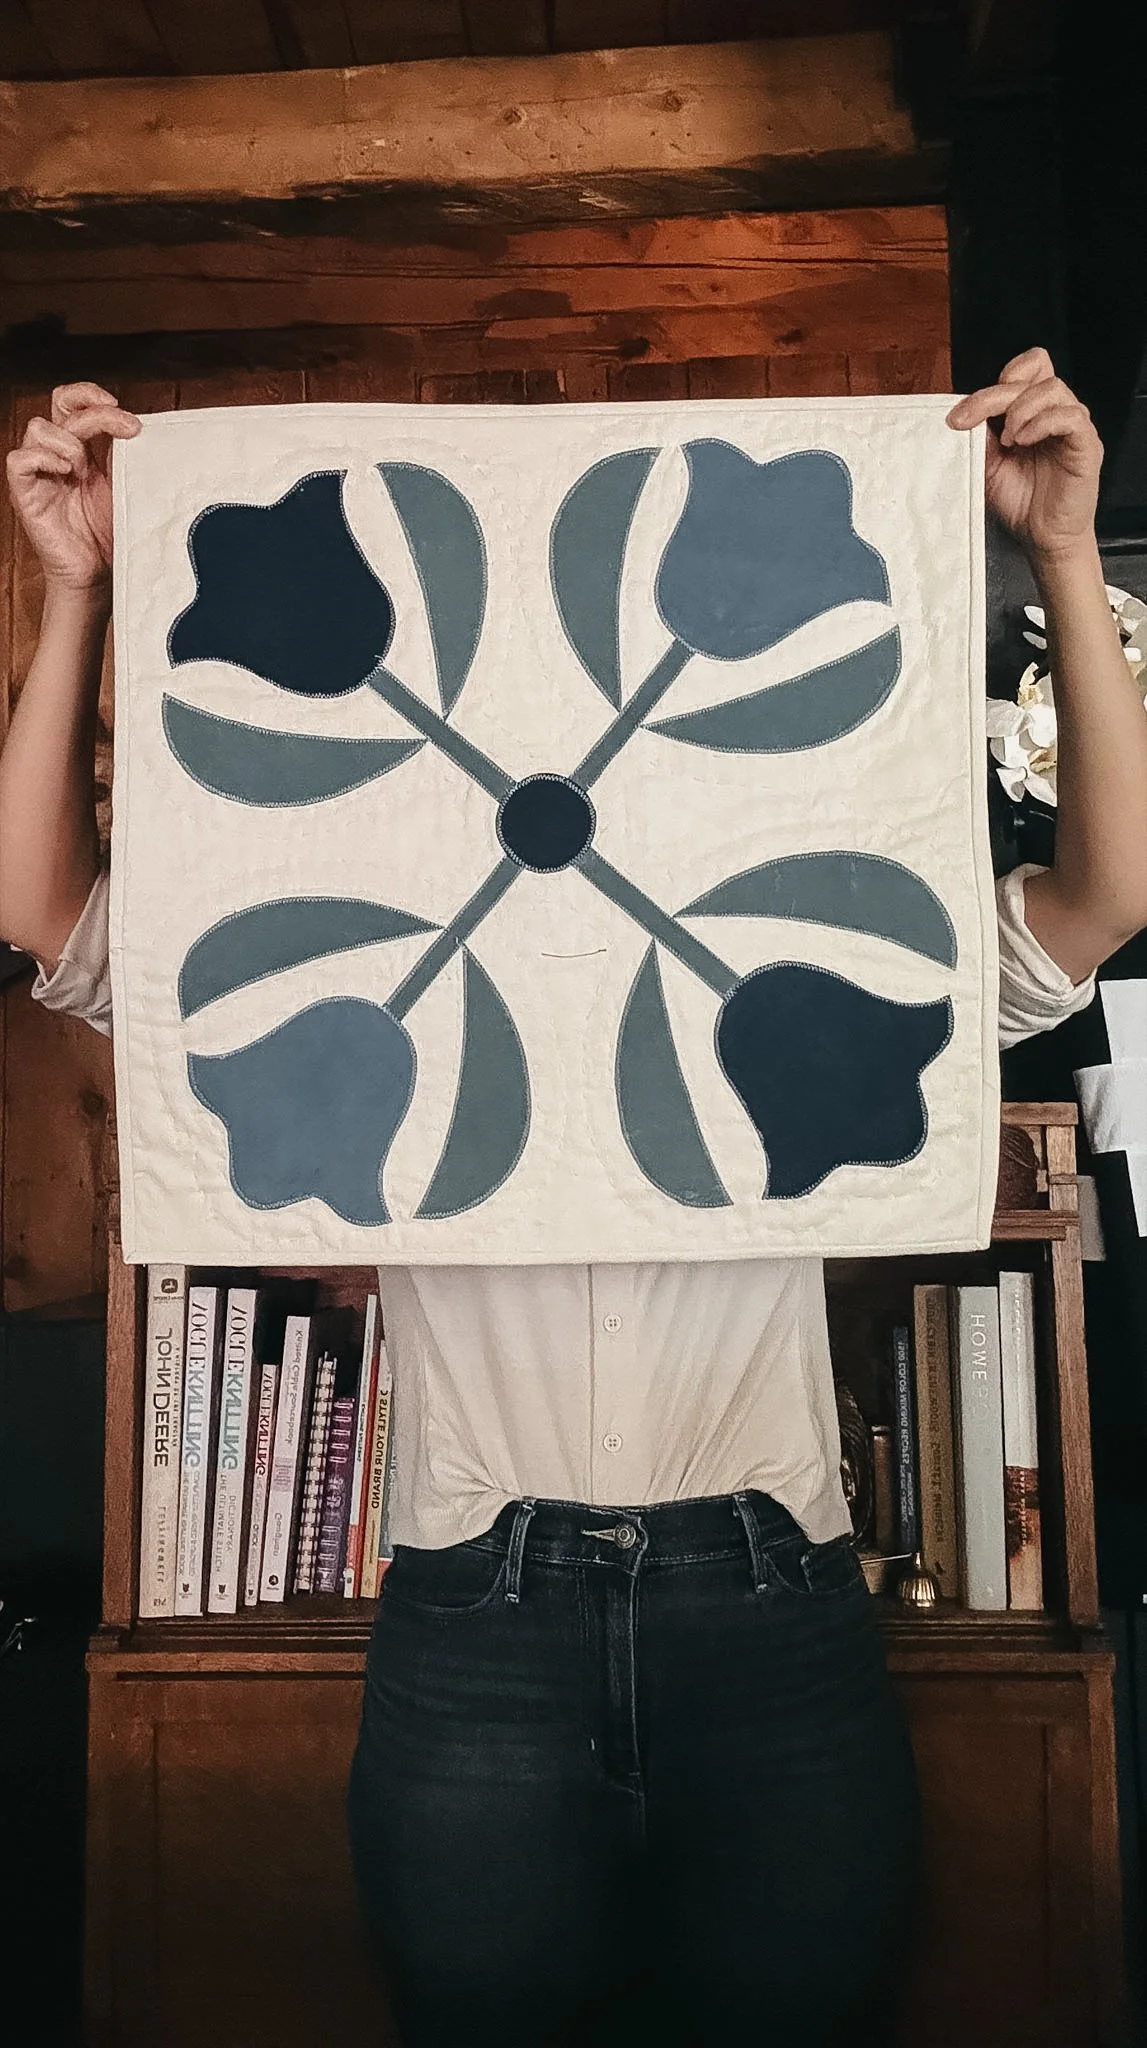
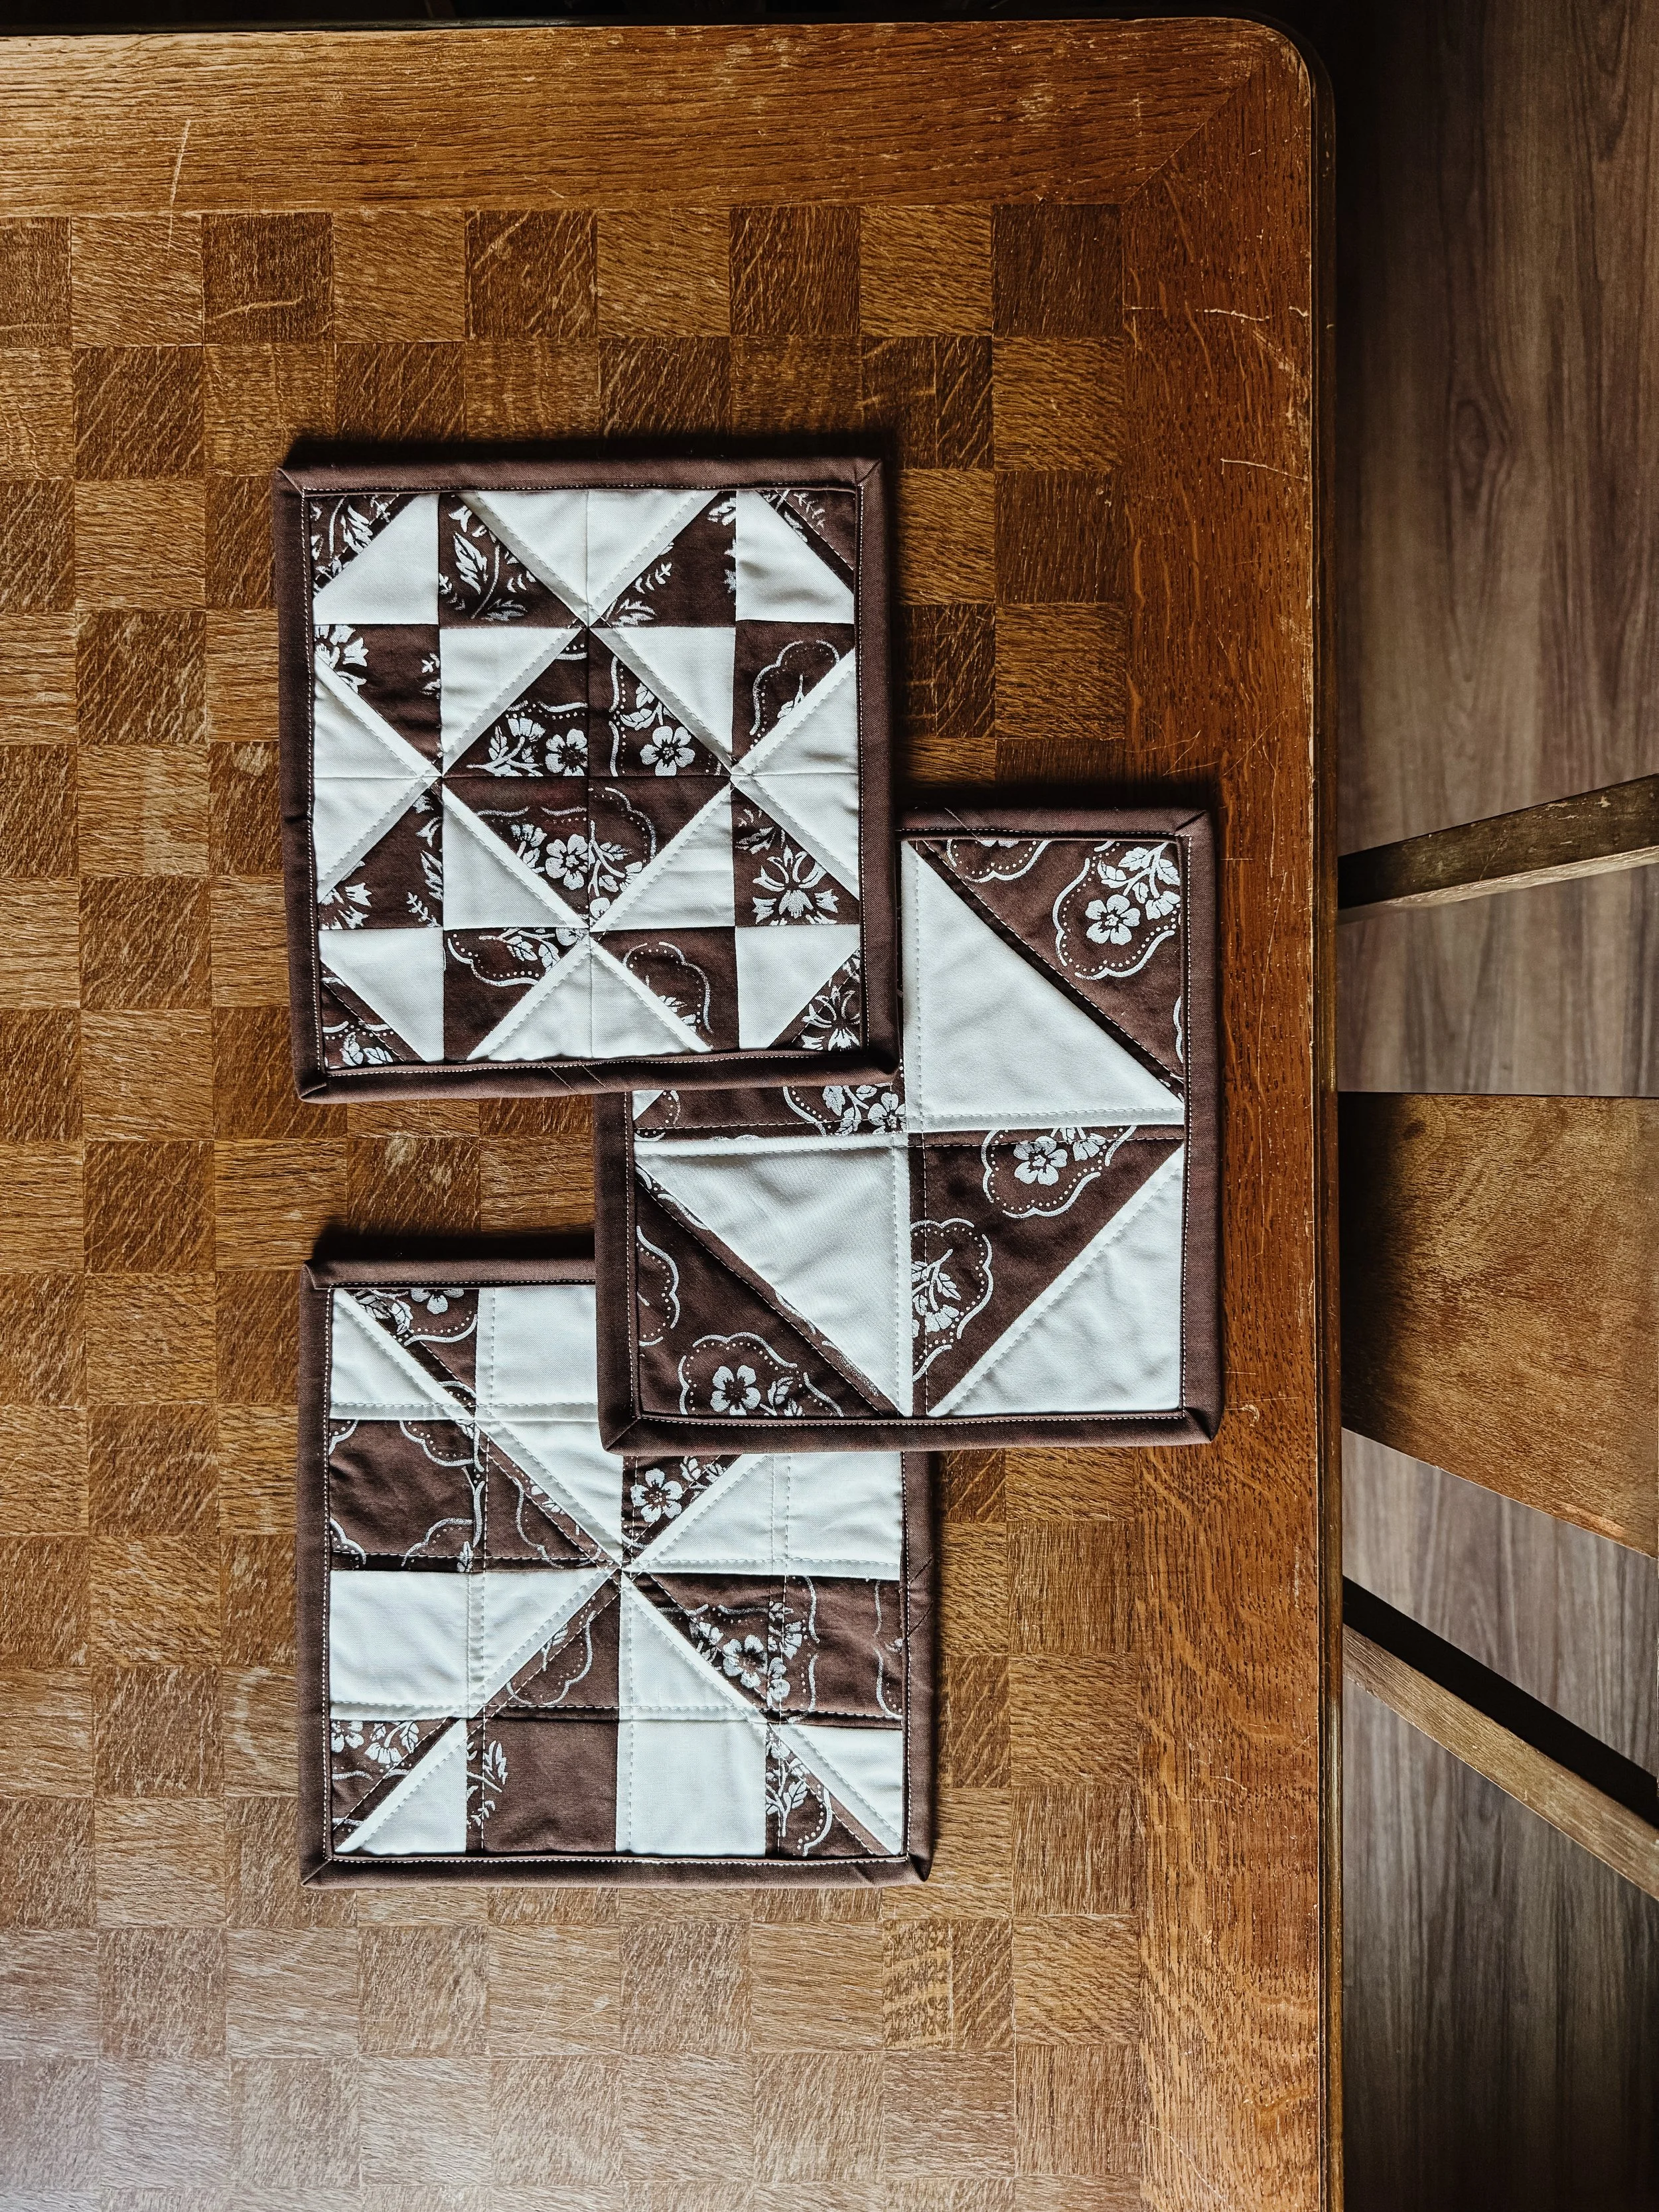
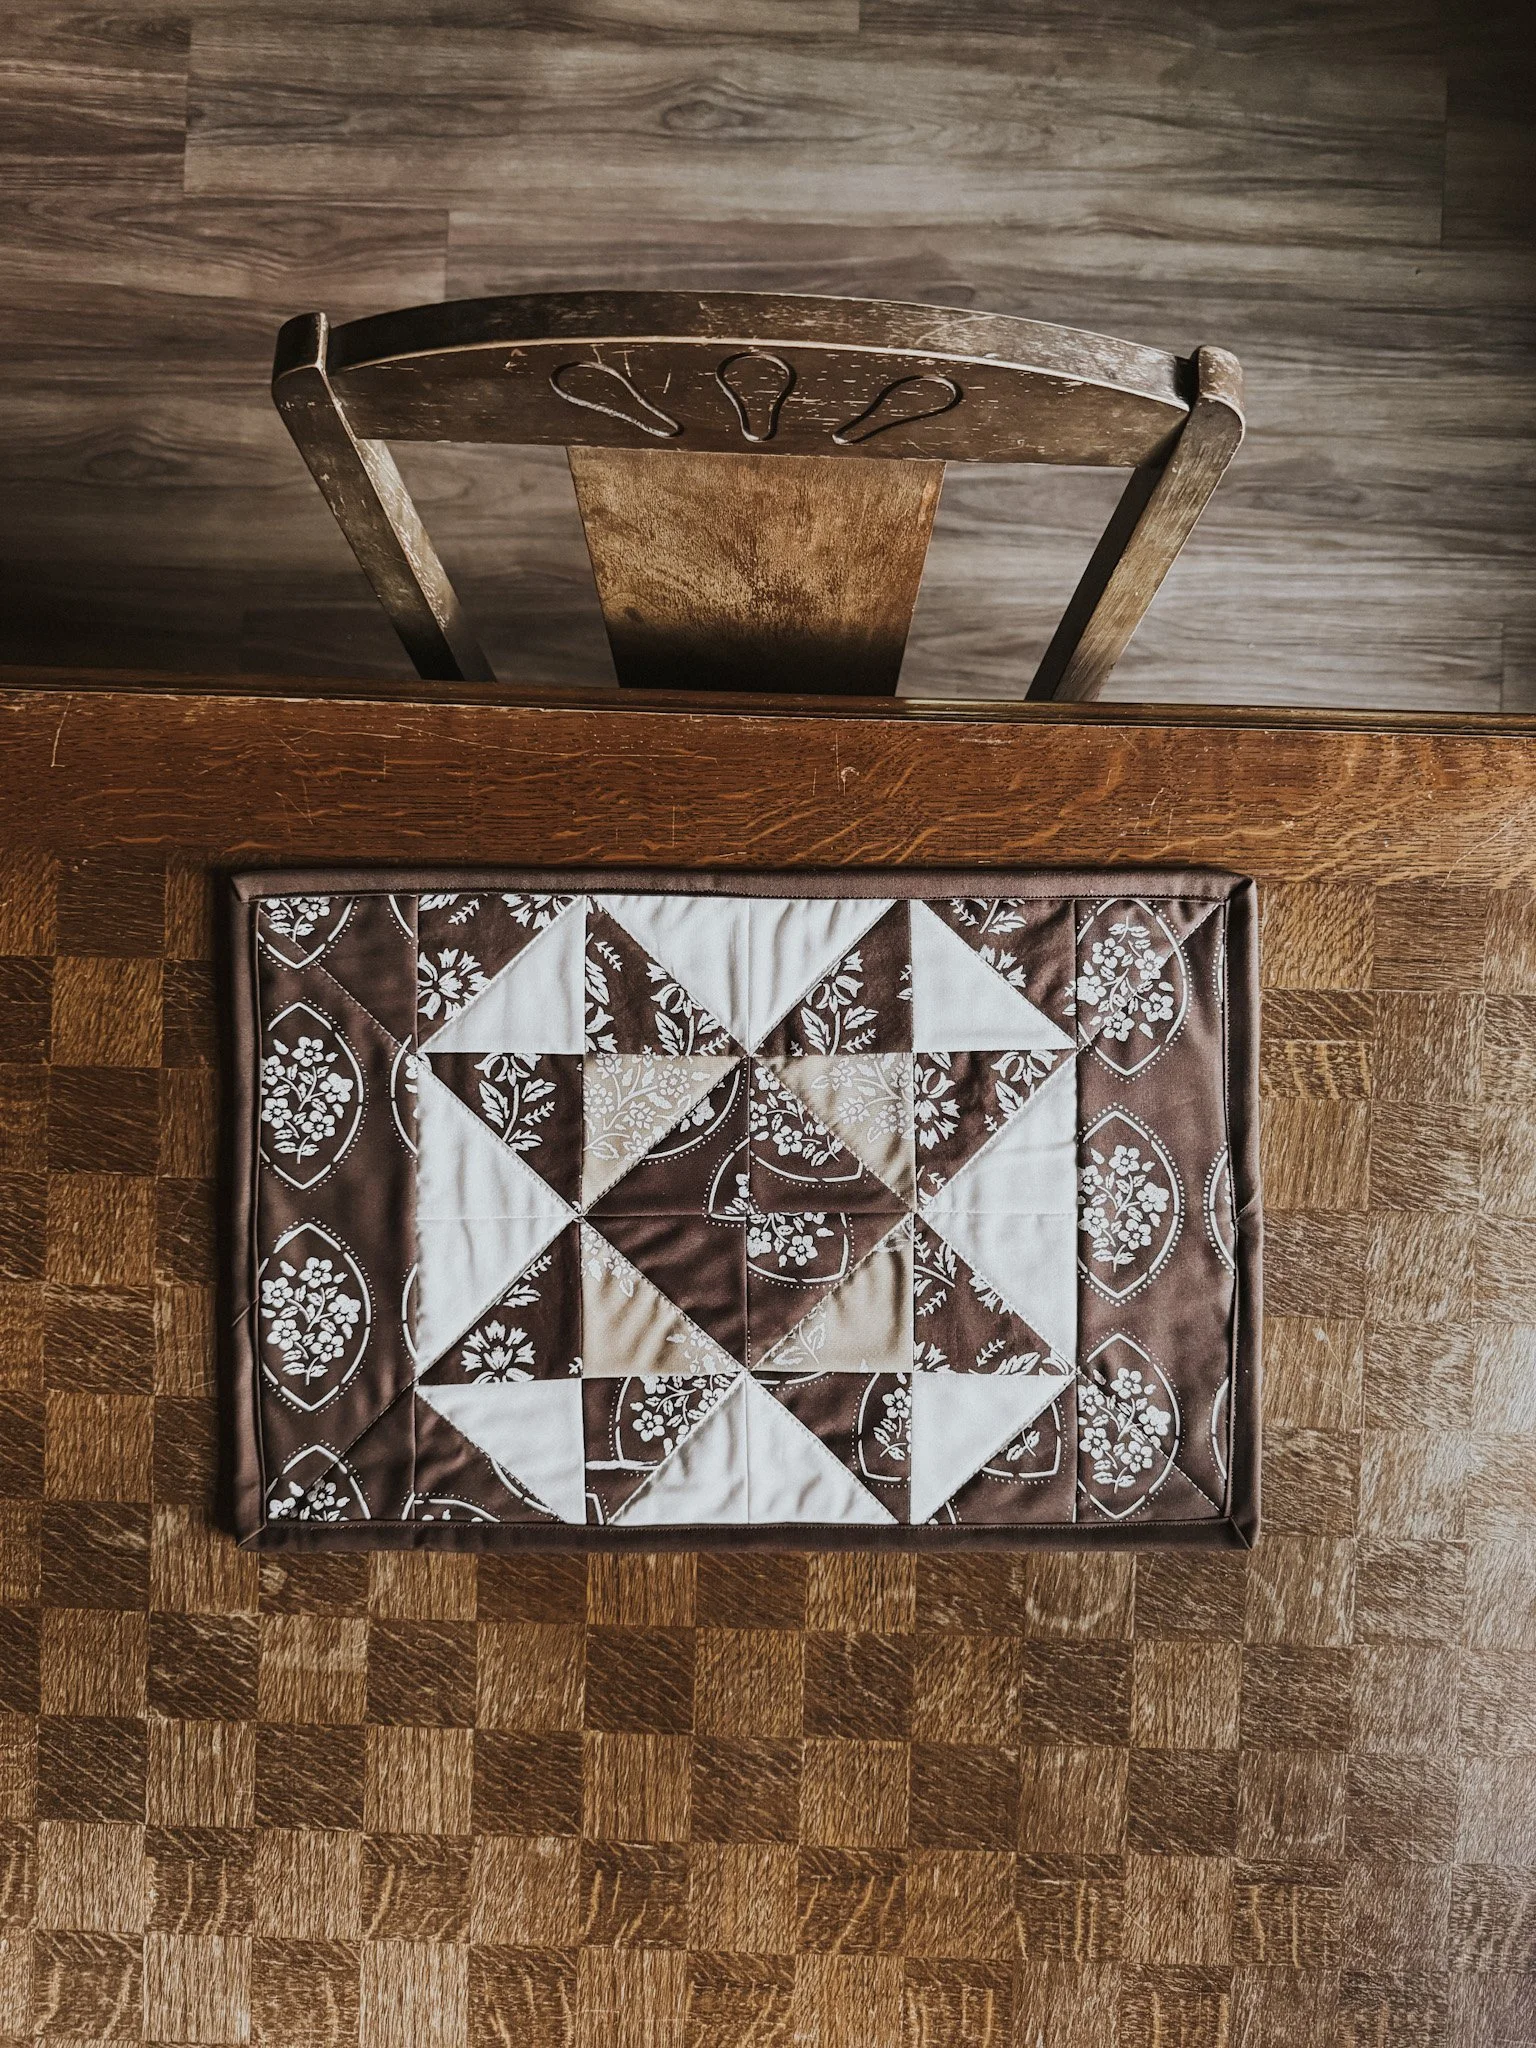
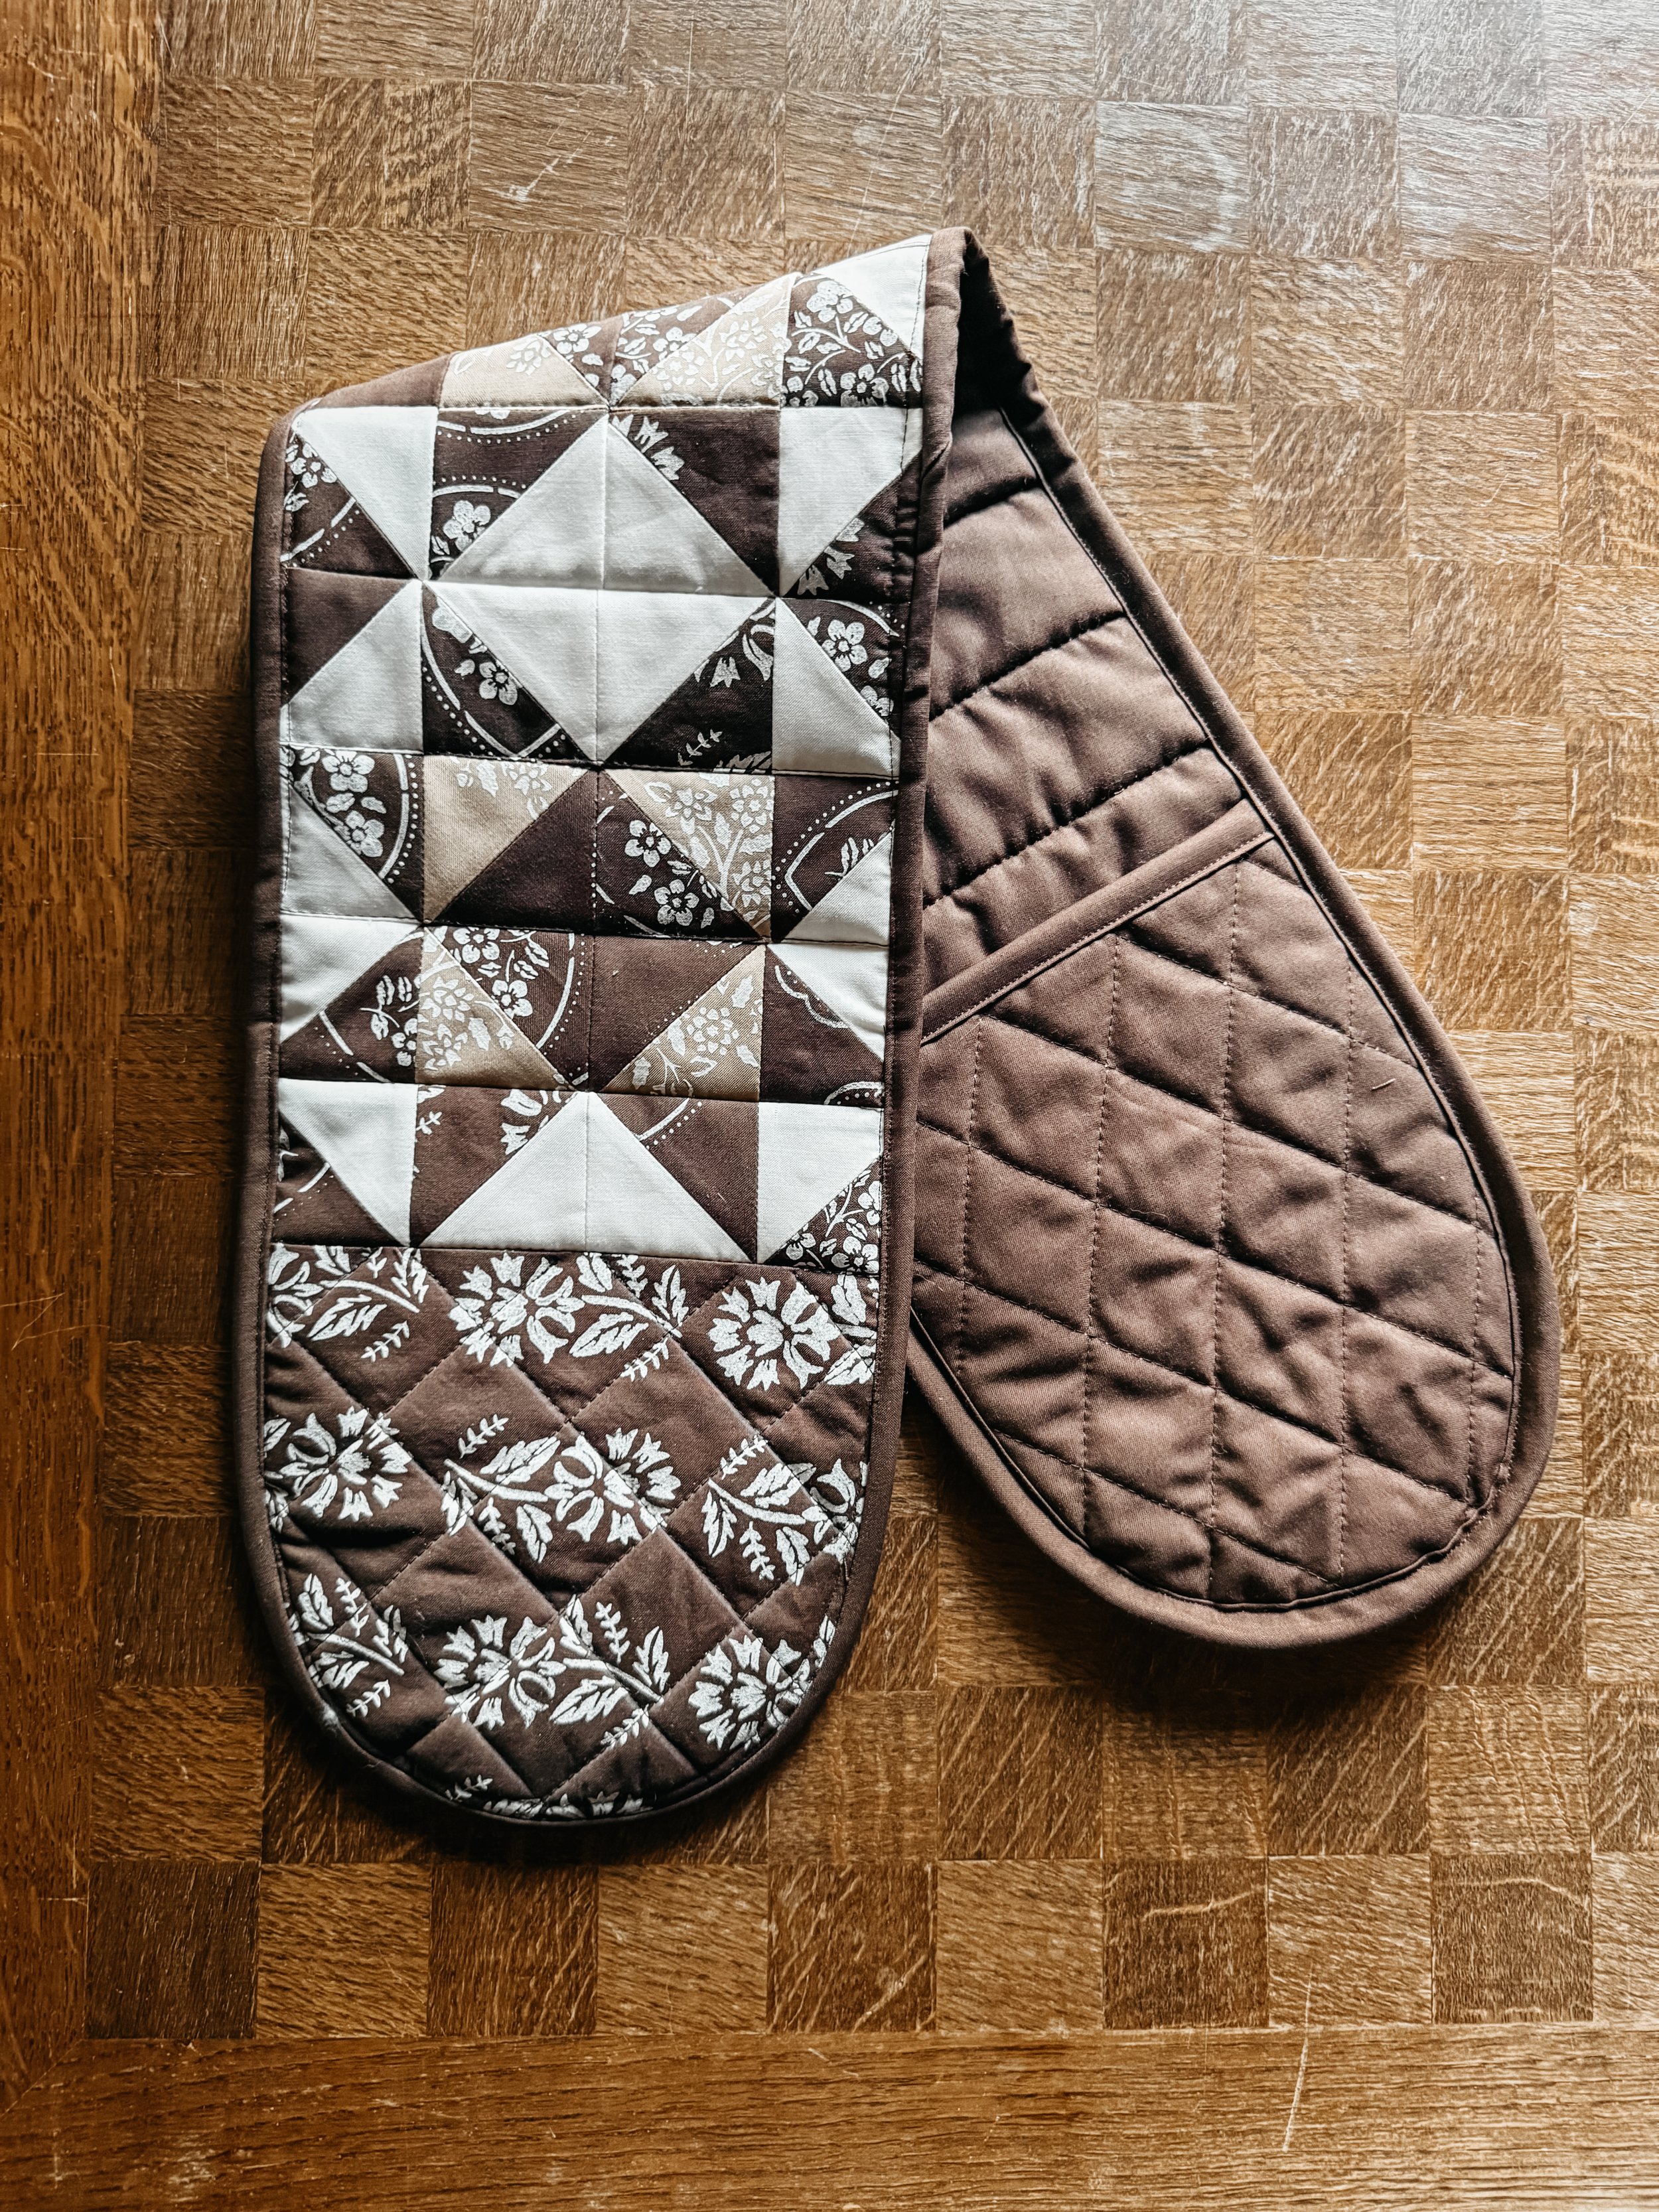
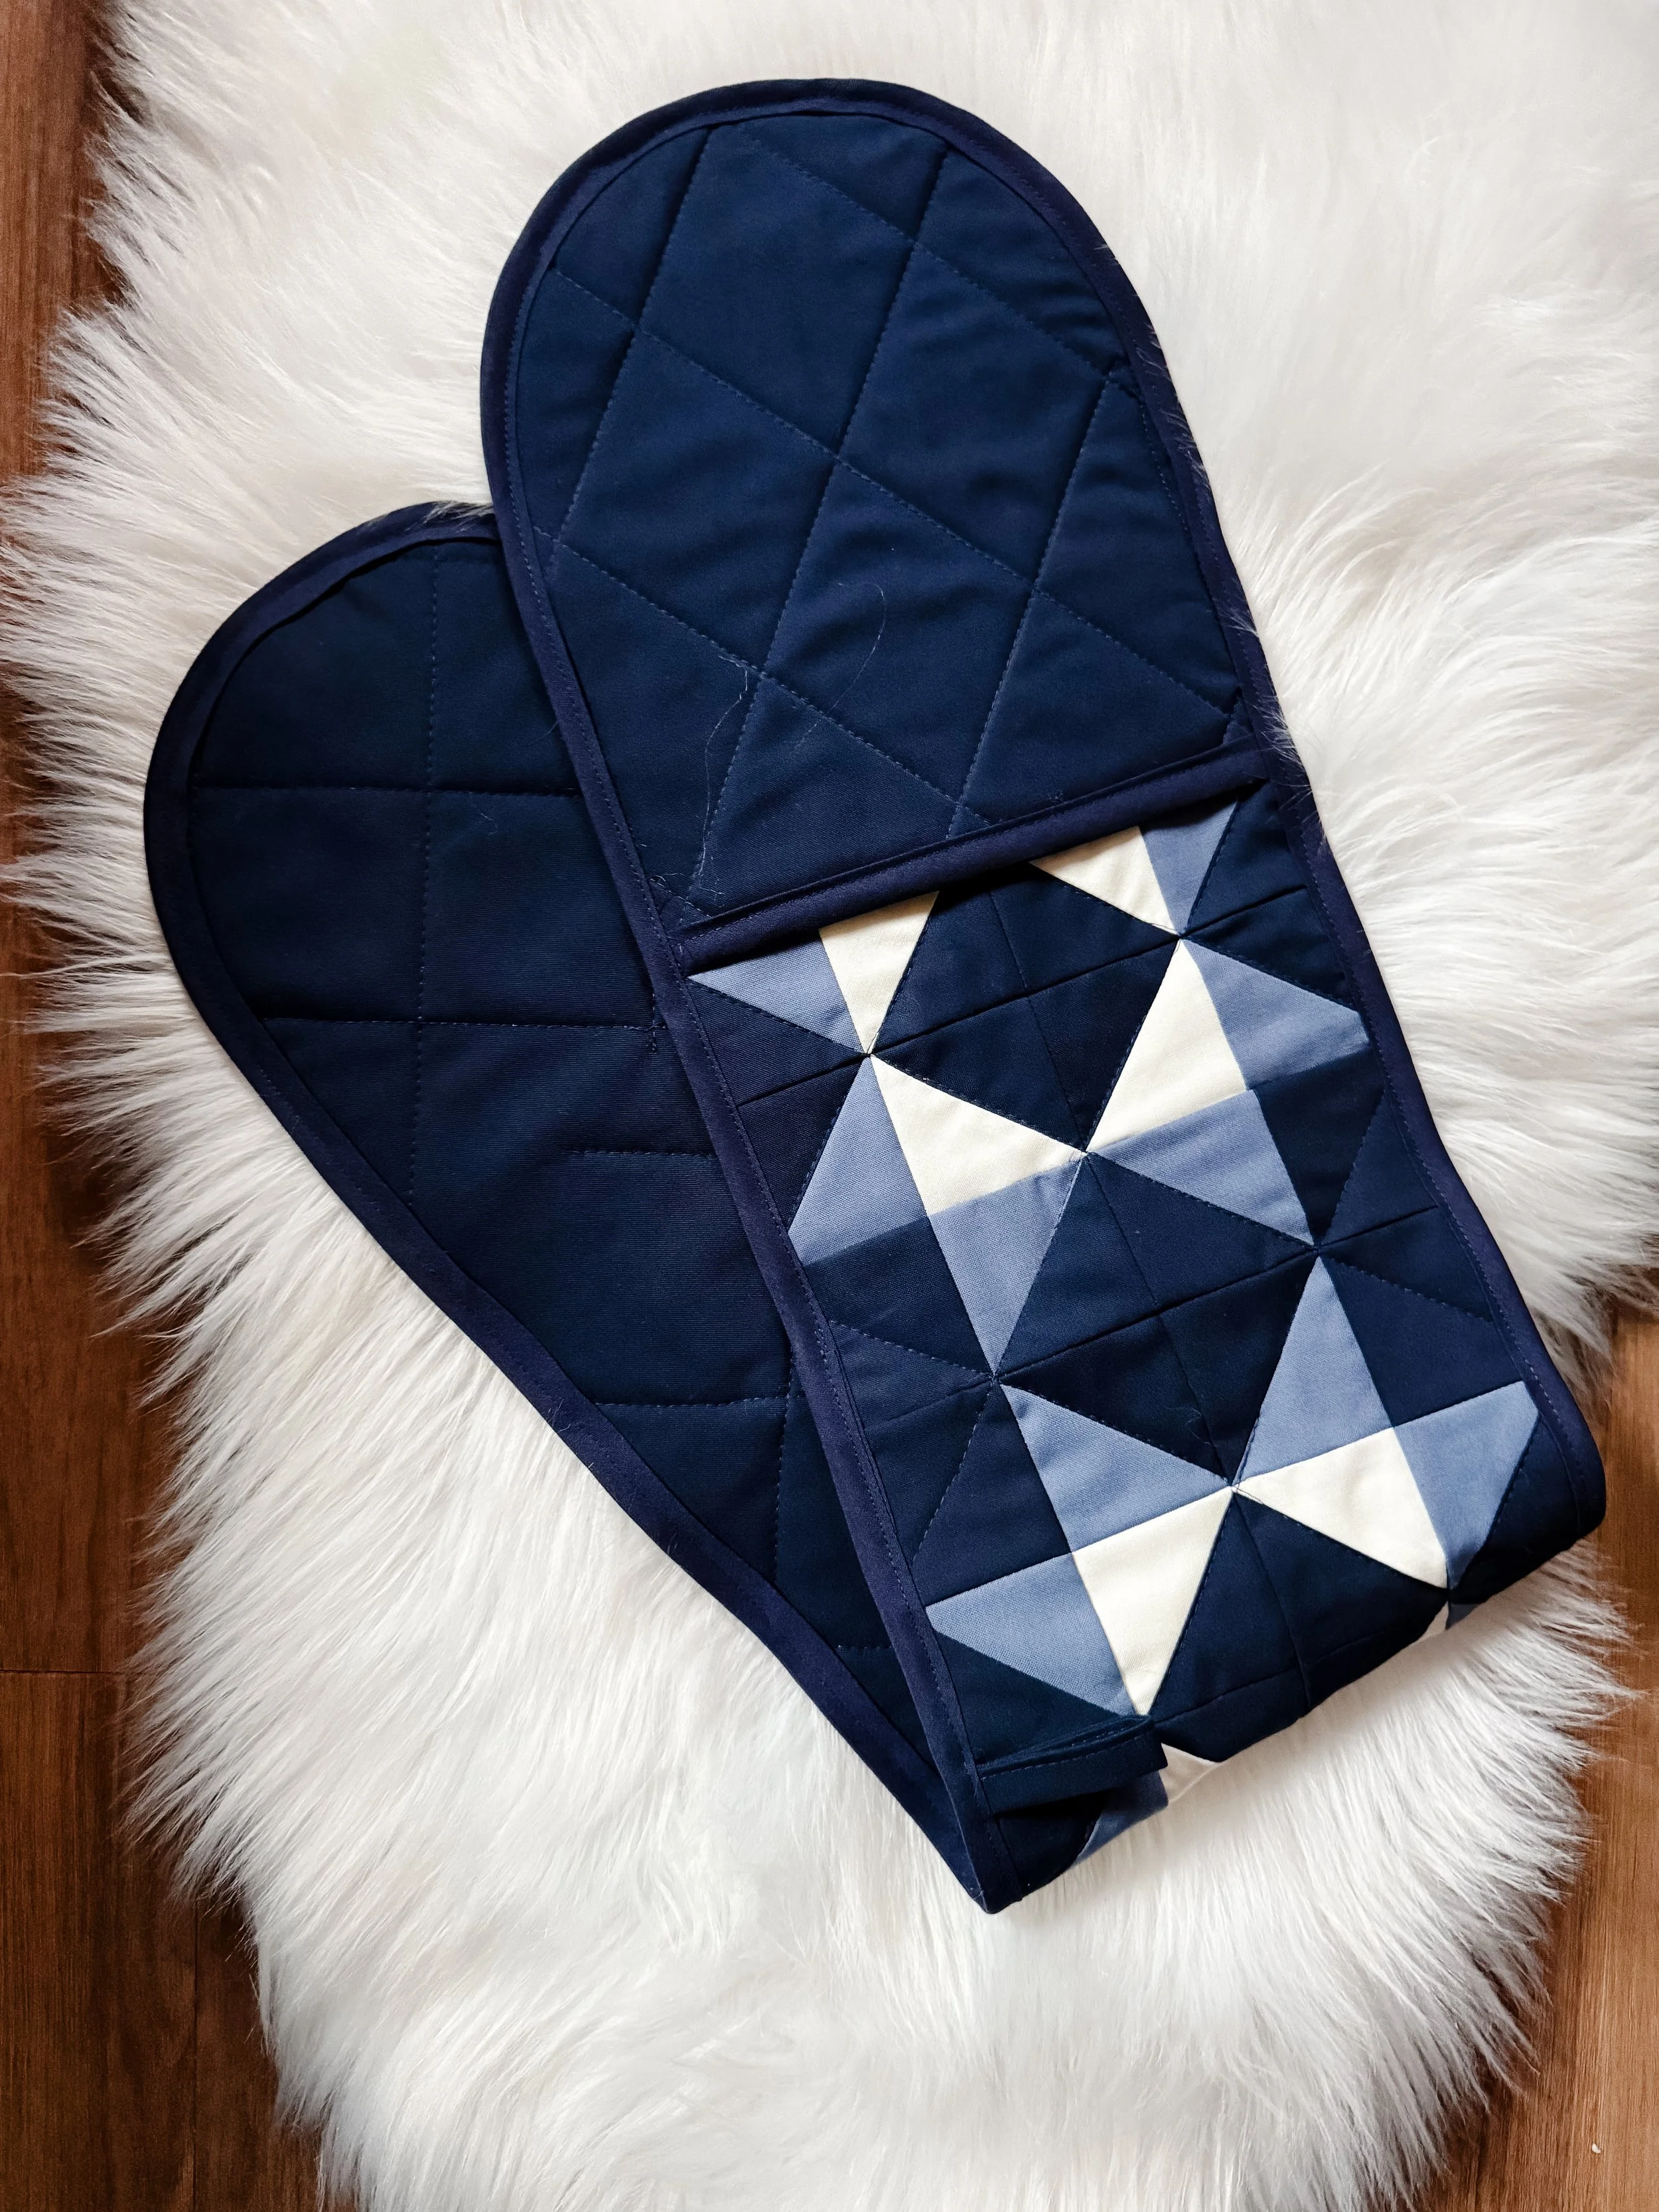
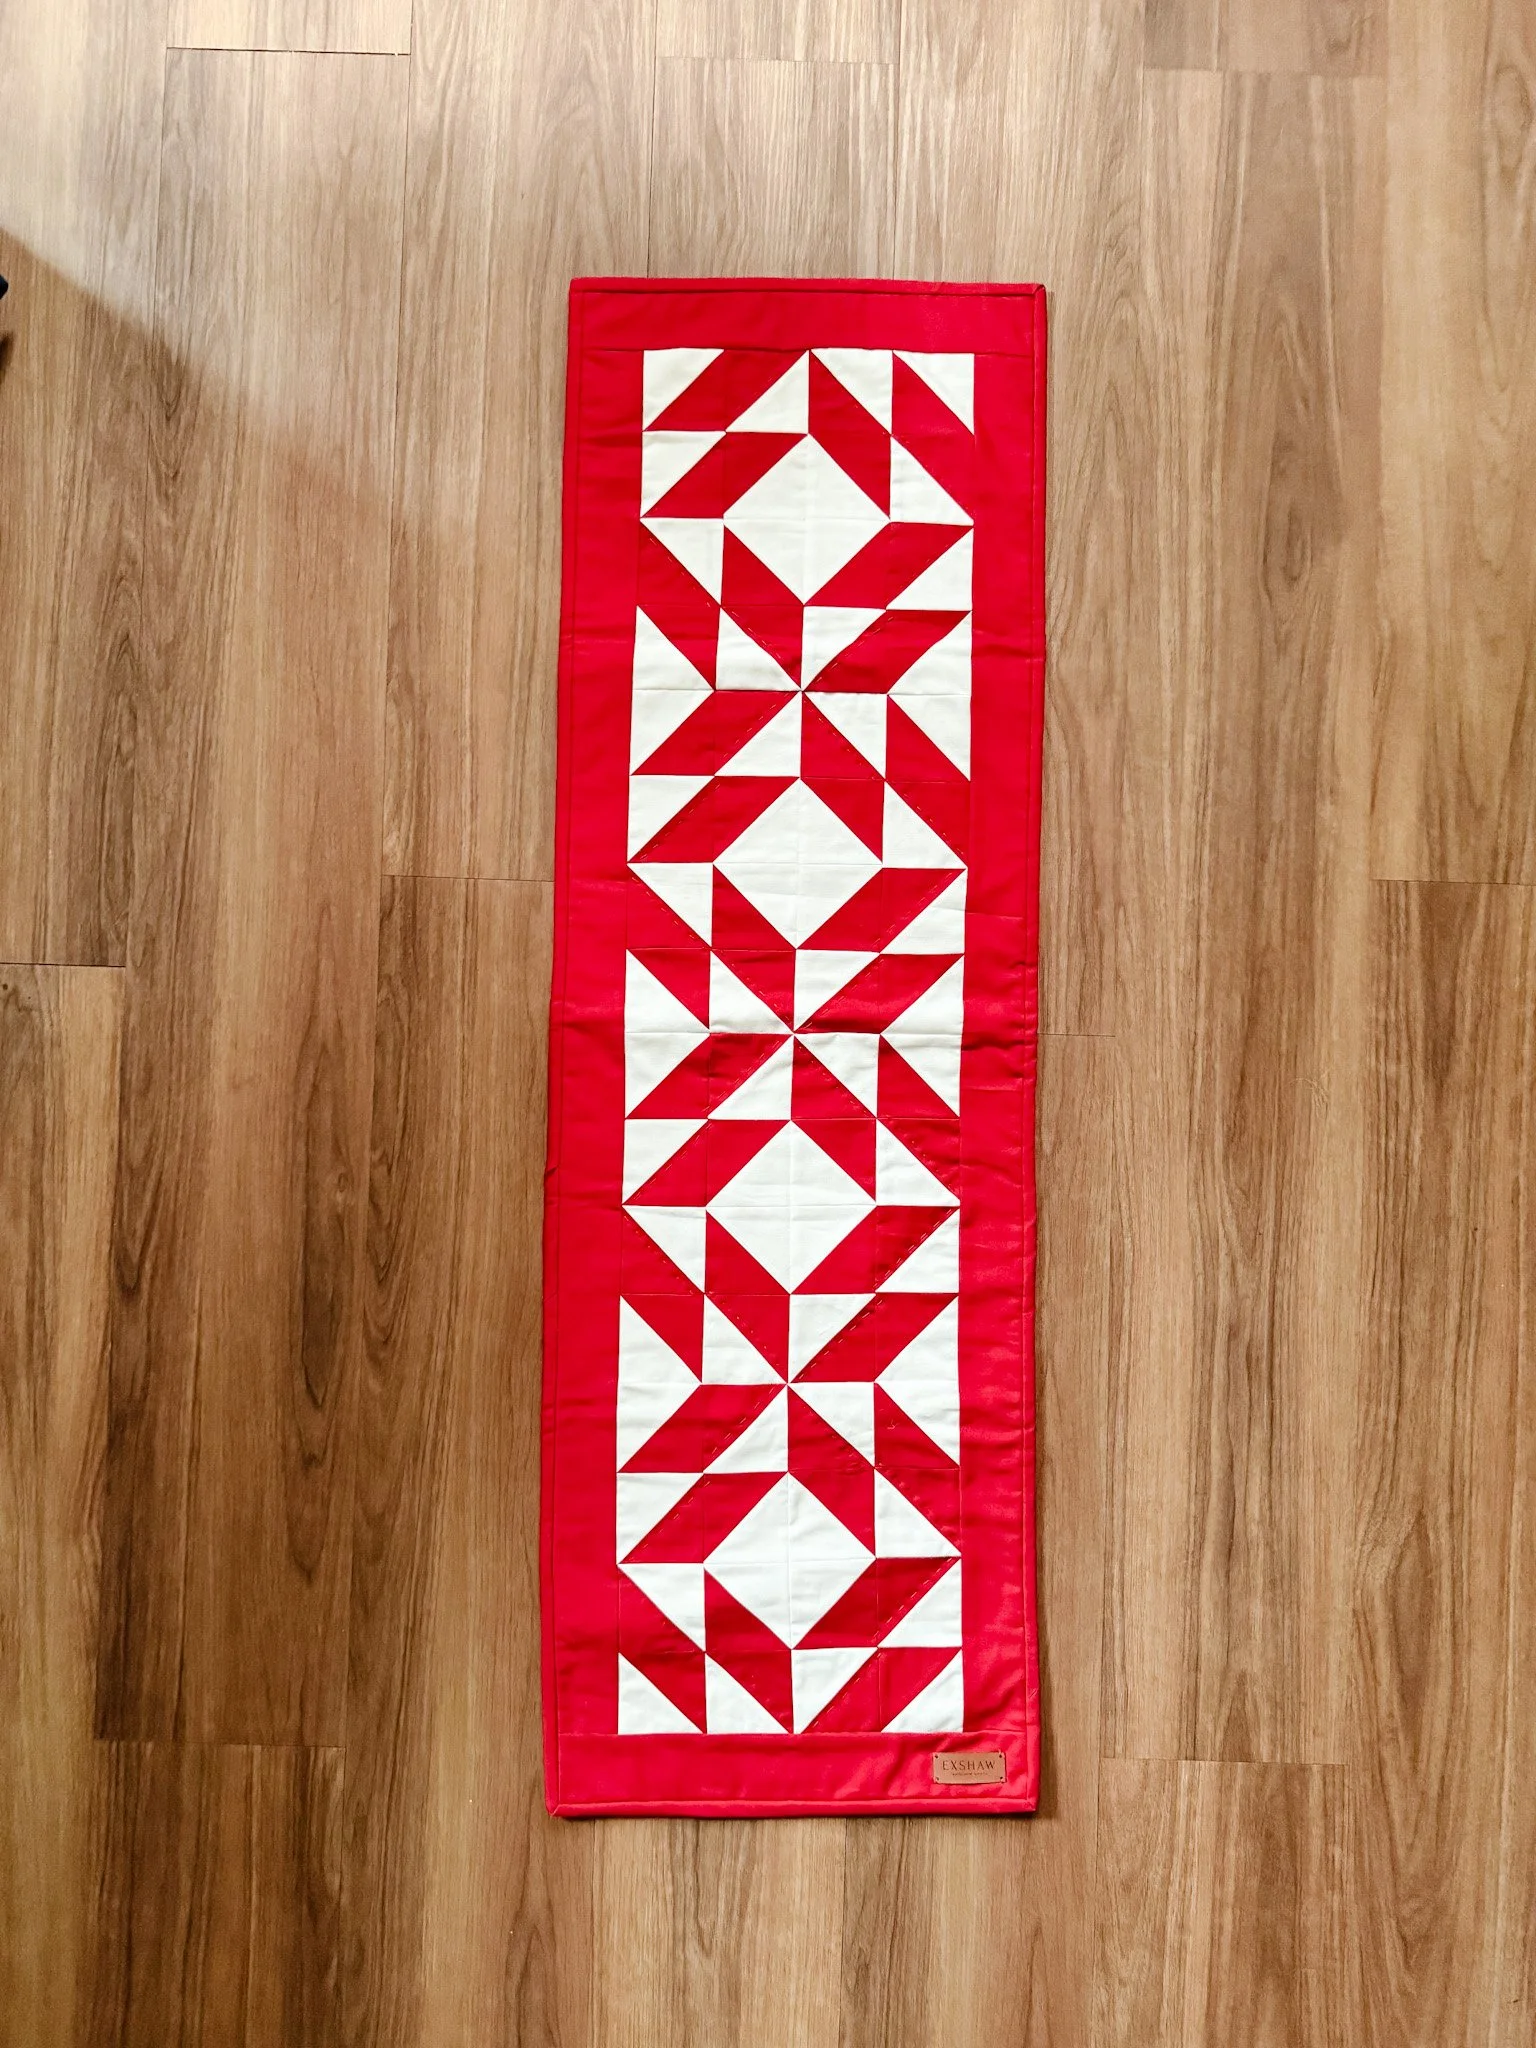
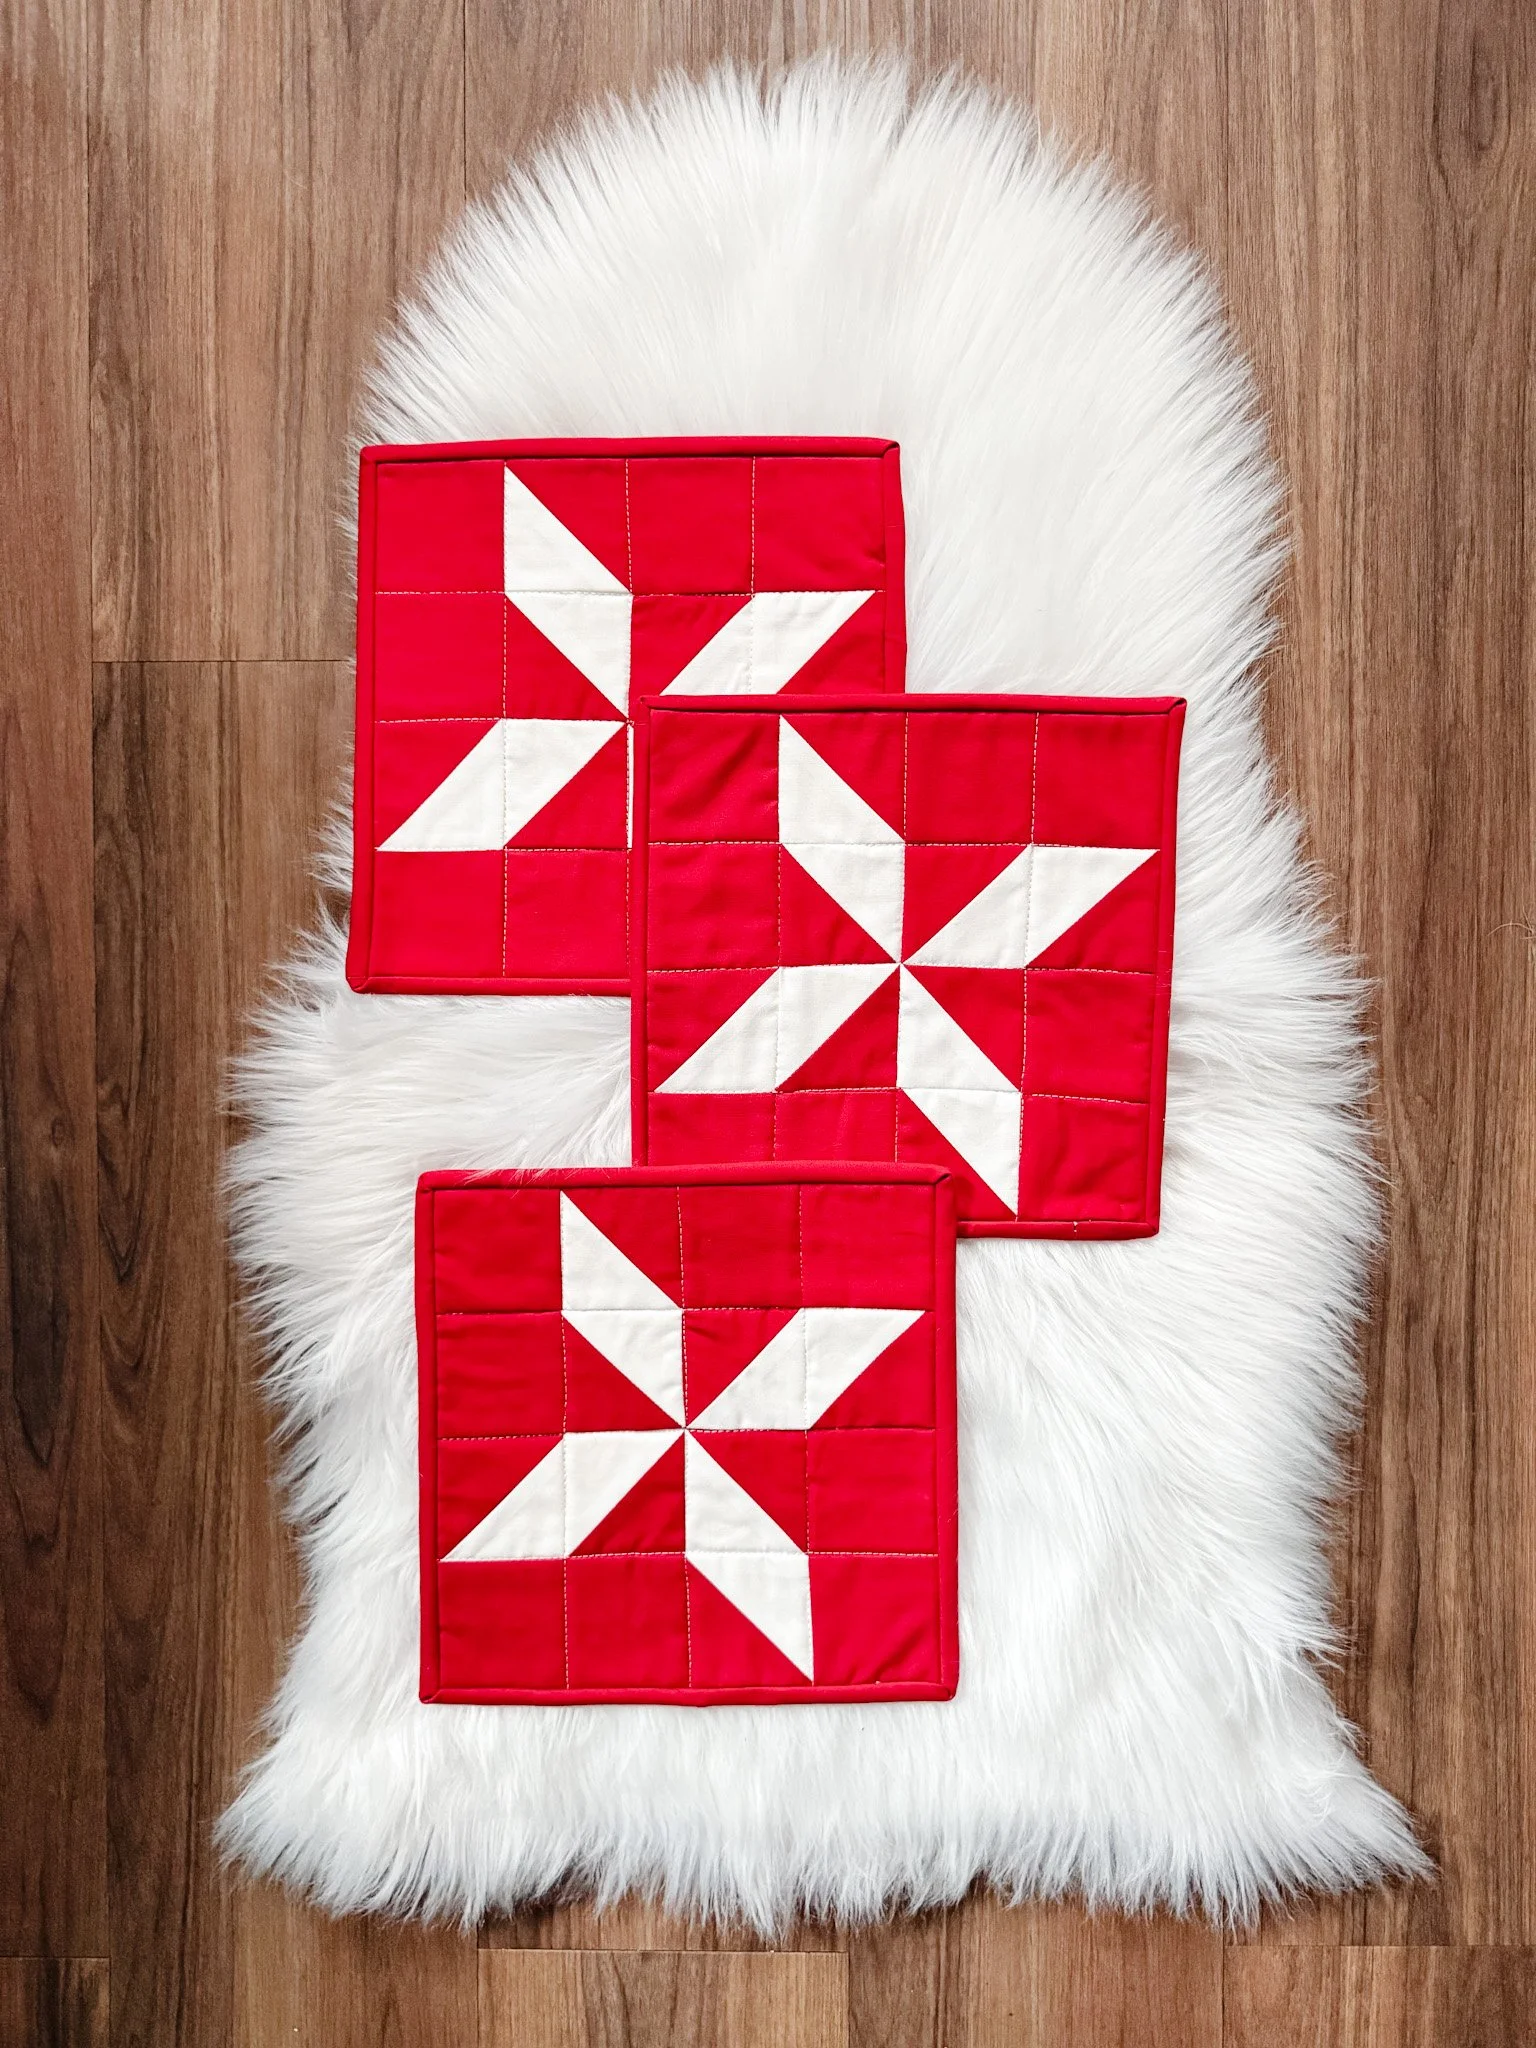
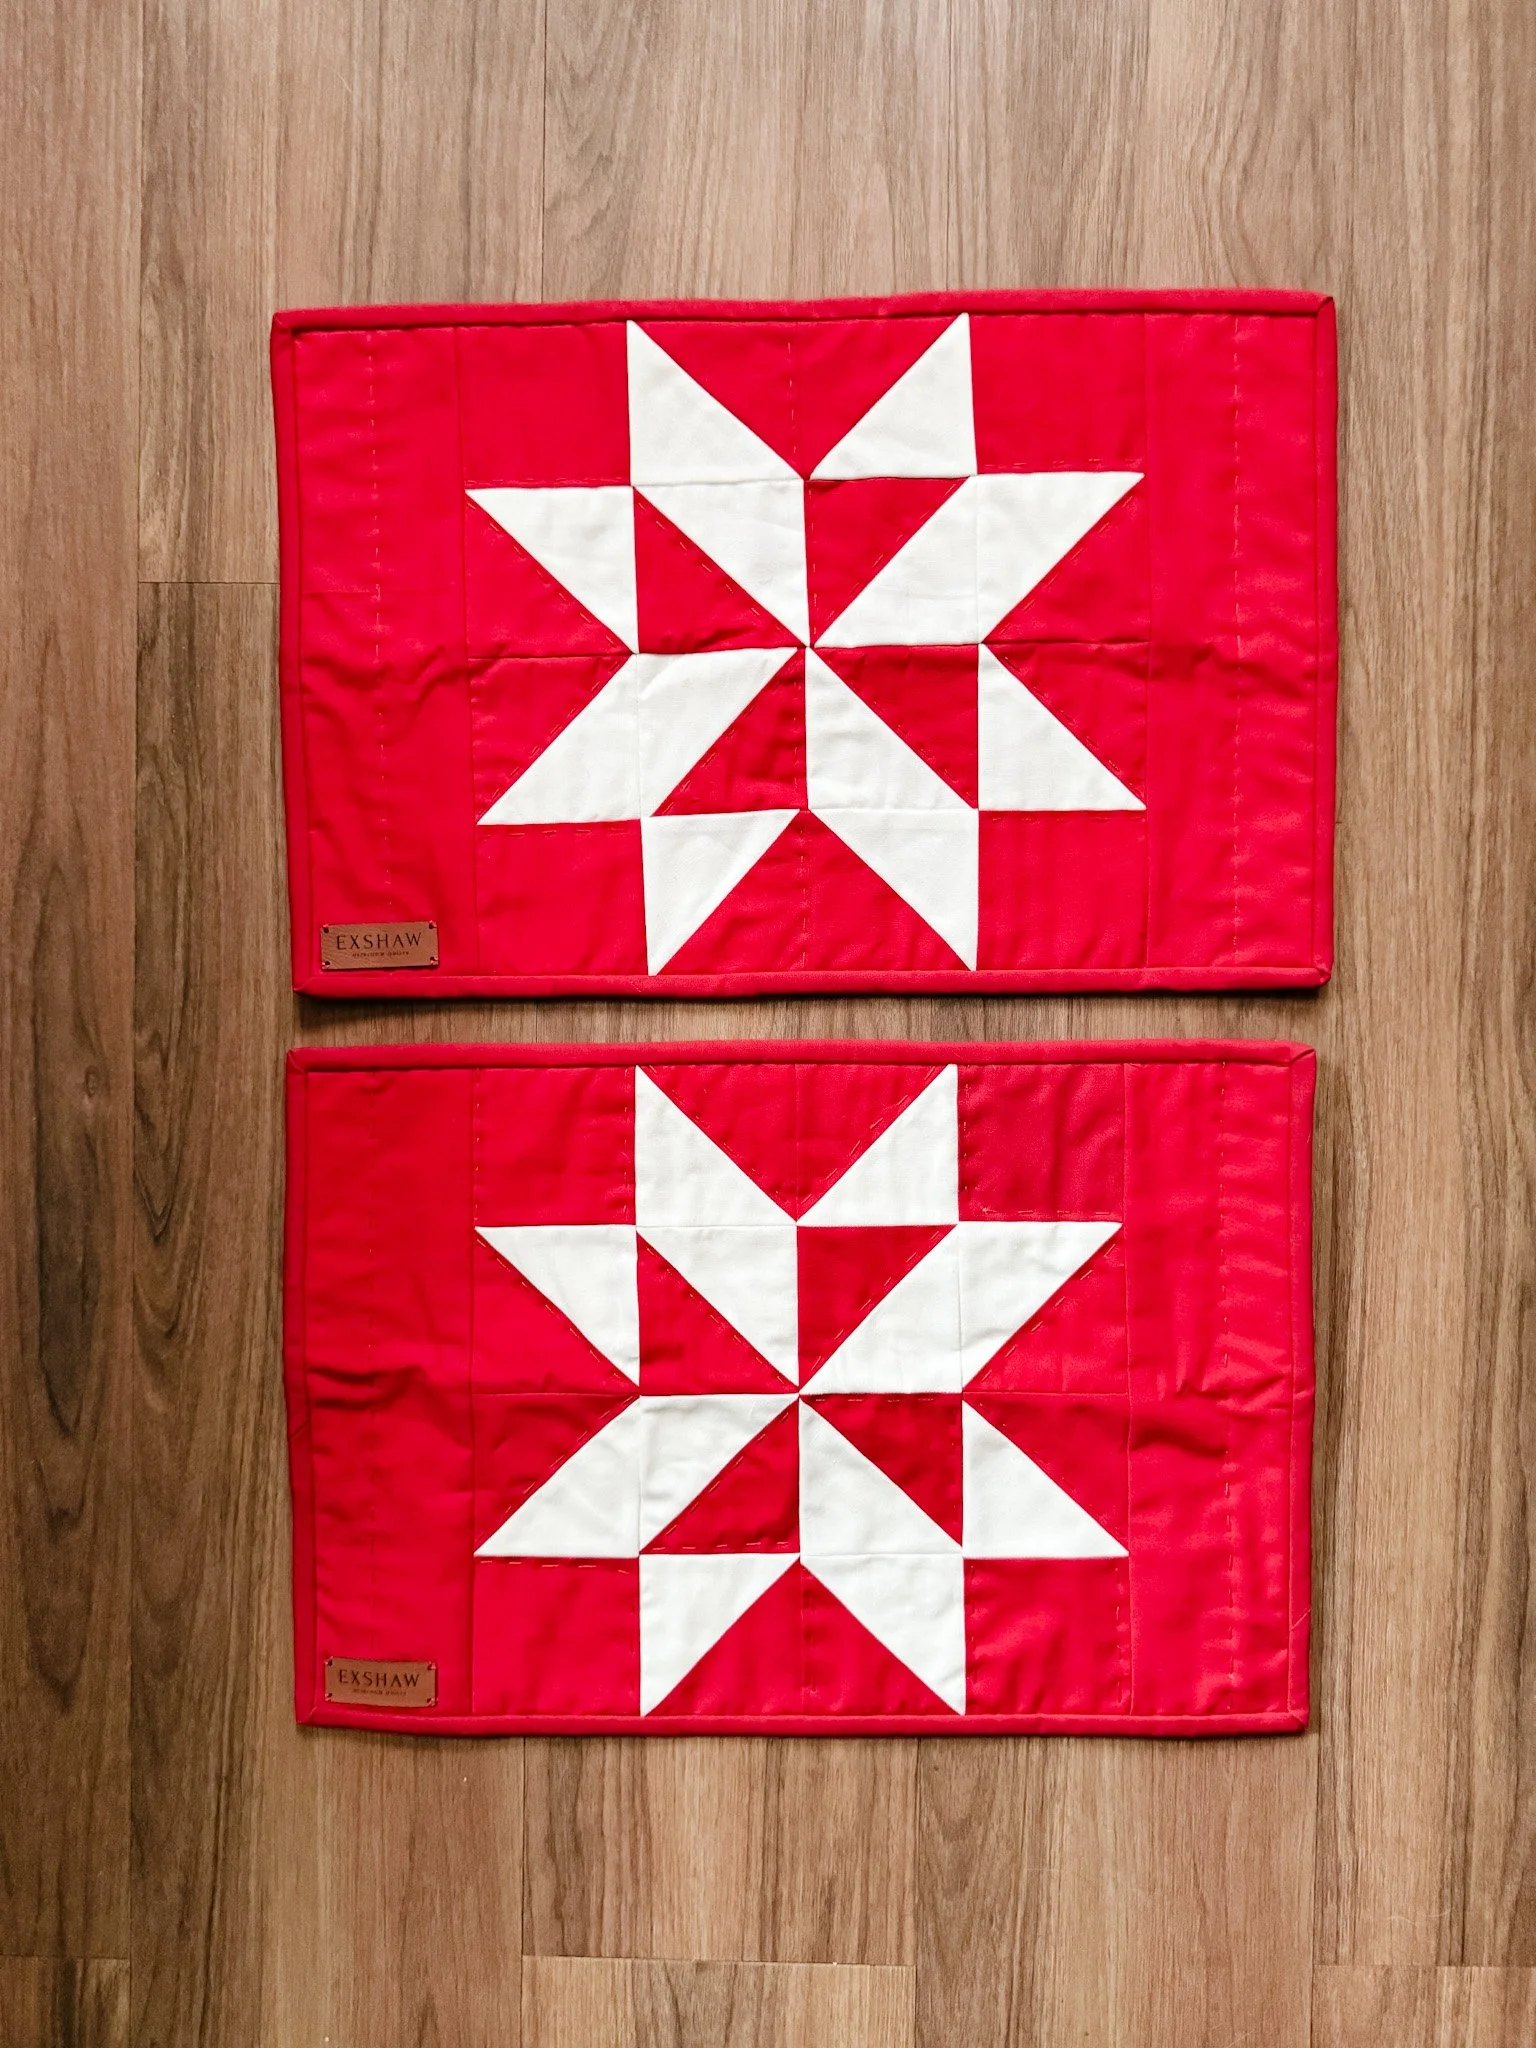
Dove Appliqué Patterns Returning
The last thing I shared is that I’m bringing back some of my dove appliqué patterns.
I had taken them off my site for a bit because I thought I might move them over to Thelma Quilts, but I’ve decided to bring them back to Exshaw Quilts instead.
These include the dove potholders, the double oven mitts, and a table runner that I somehow completely forgot I hadn’t published yet. That is very much how my brain works sometimes. I’ll make something, love it, set it aside, and then rediscover it later like it’s brand new.
The dove appliqué pieces are so sweet. I think they would make beautiful housewarming gifts, Christmas gifts, or handmade pieces for someone who loves a cozy kitchen.
For the appliqué, I used a straight stitch, which means the edges will soften and fray a little with washing. I love that look. It feels relaxed, handmade, and not too precious.
I also shared one of my favourite little appliqué tips: using a zipper foot for straight-stitch appliqué.
I discovered it by accident because I didn’t feel like changing my sewing machine foot, and it ended up working beautifully. The edge of the zipper foot acts like a guide, and it gives such a nice, even stitch line around the appliqué.
For dense quilting around appliqué, I still love things like echo quilting and matchstick quilting, depending on the project. Matchstick quilting can make things quite stiff, so I wouldn’t choose it for every quilt, but for smaller pieces, wall hangings, and appliqué projects, it can really make the design pop.
A Cozy Season of Making
This episode felt like a little peek into everything I’m excited about right now: a colourful finished quilt top, hand-stenciled fabric, indigo dyeing, sashiko-inspired stitching, denim quilts, and appliqué patterns coming back to the shop.
Some ideas are fully formed. Some are still messy. Some might change halfway through.
That’s just part of making.
I’m trying to follow my own advice and jump in, even when I feel intimidated. Not everything has to be perfect before we begin. Sometimes the joy comes from trying, learning, changing your mind, and seeing where the project wants to go.
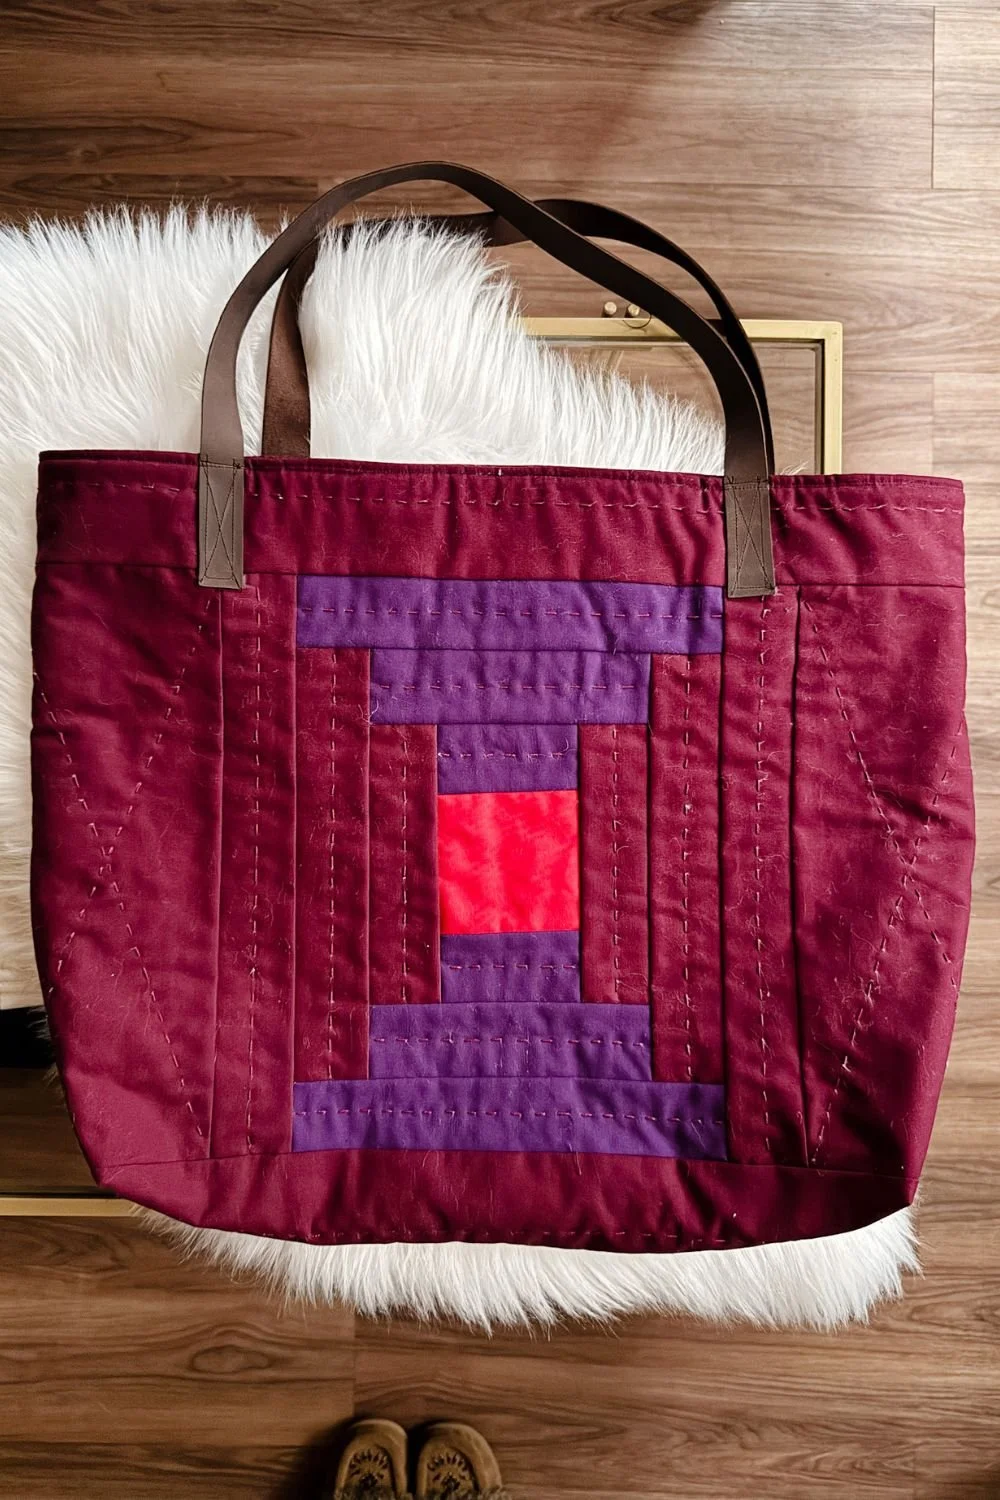
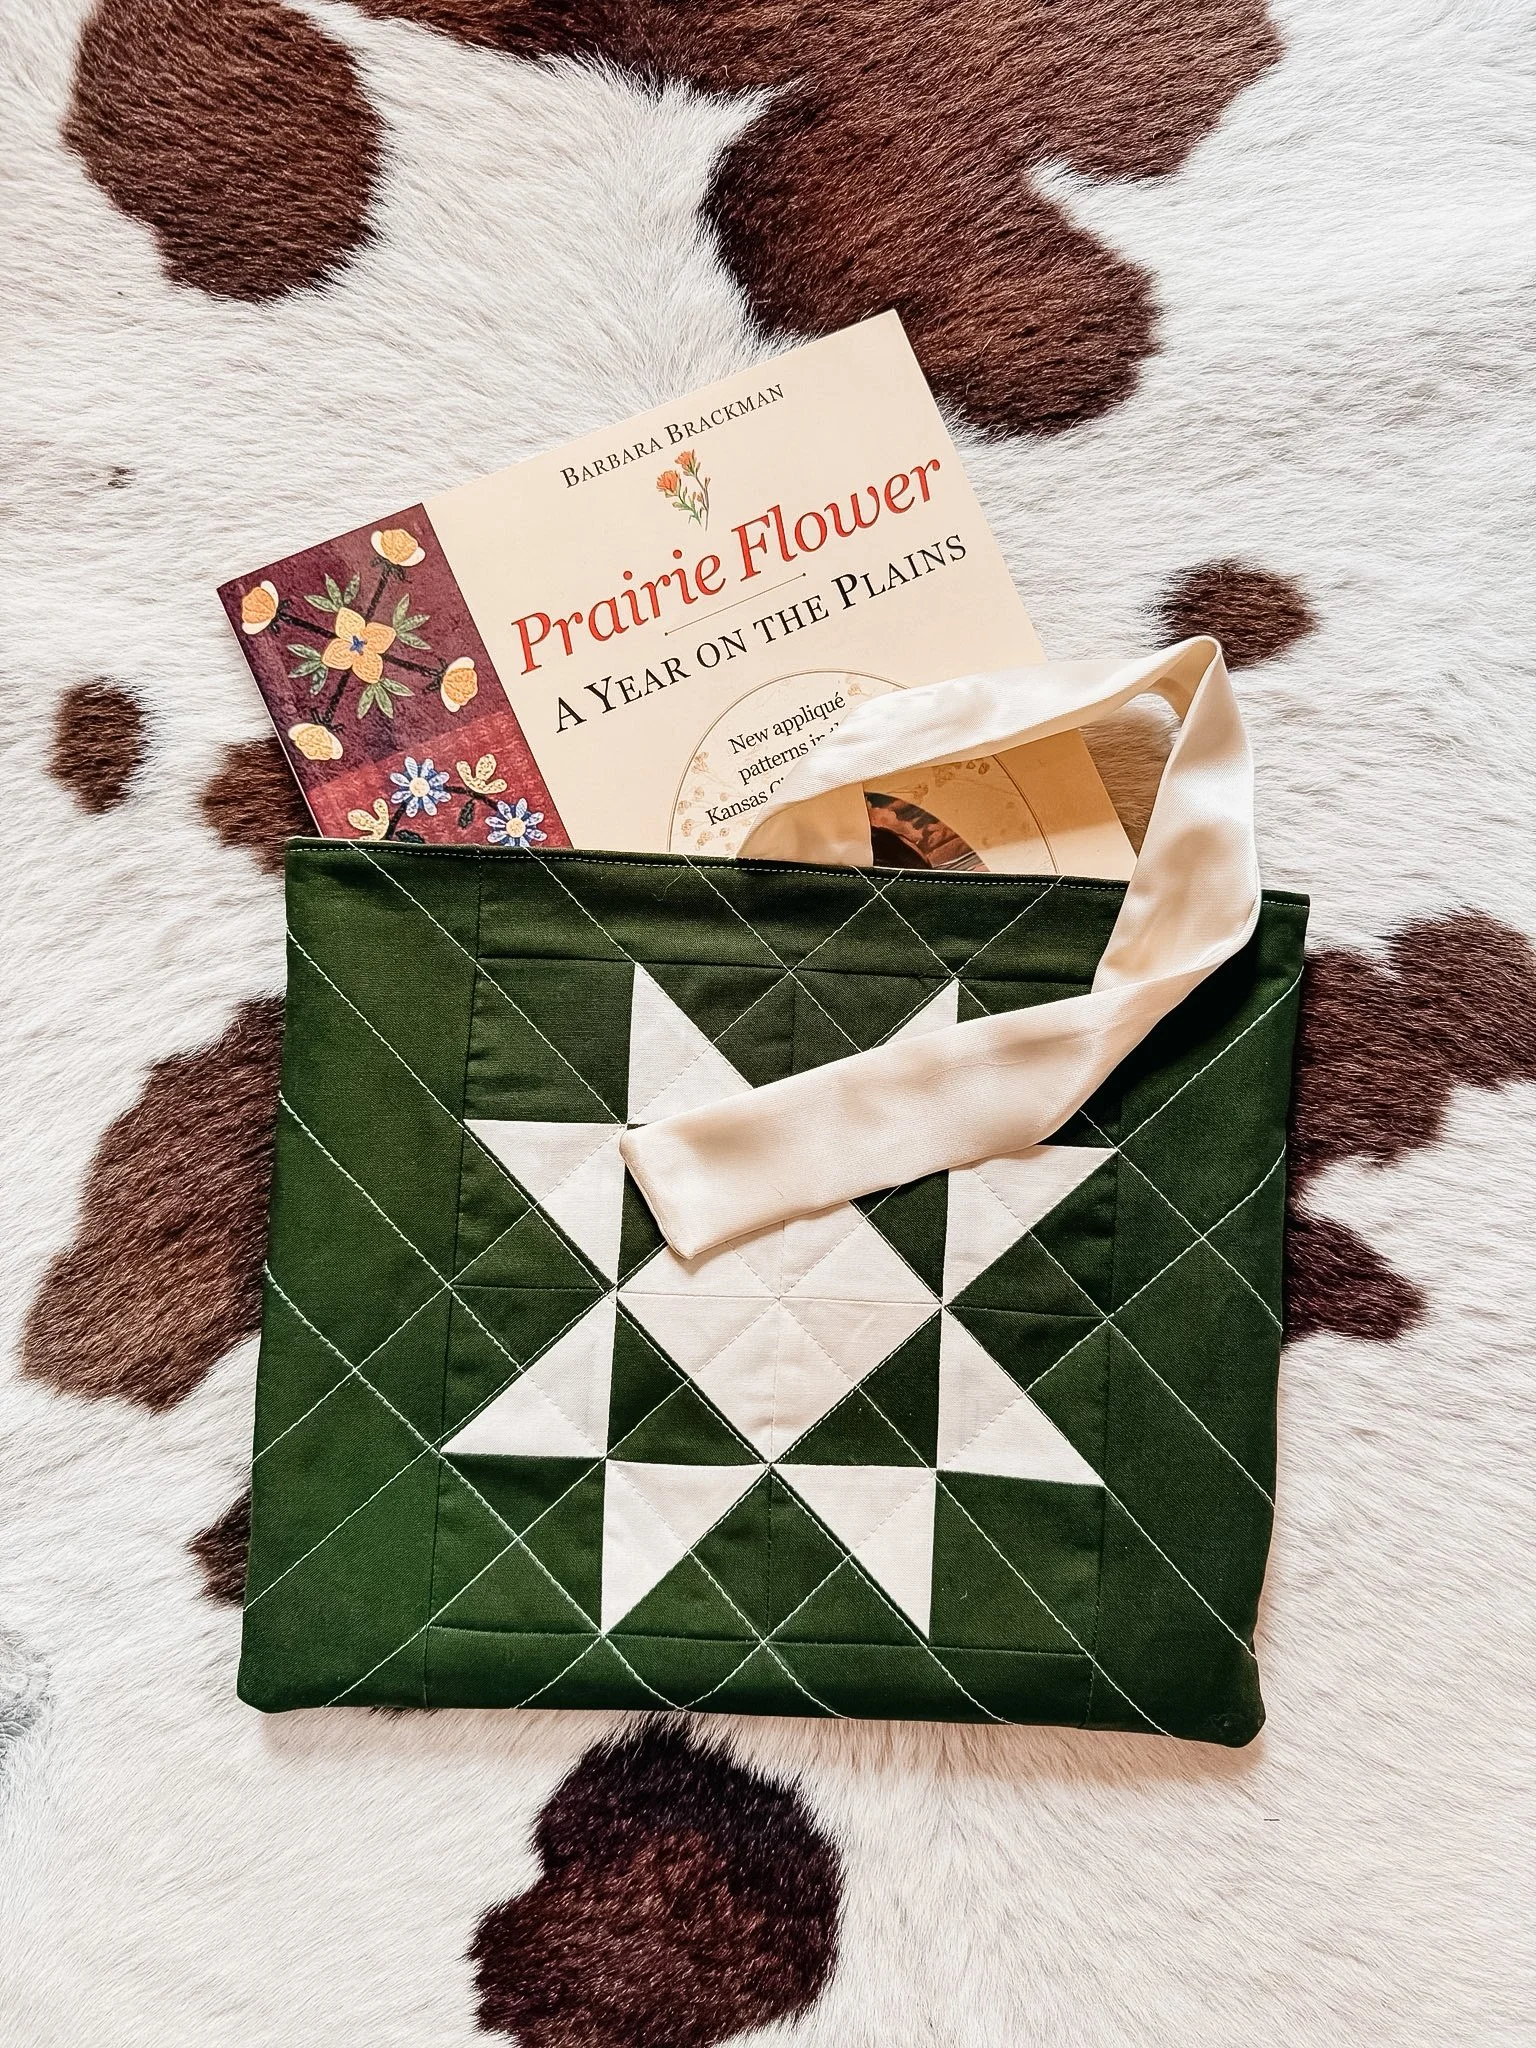
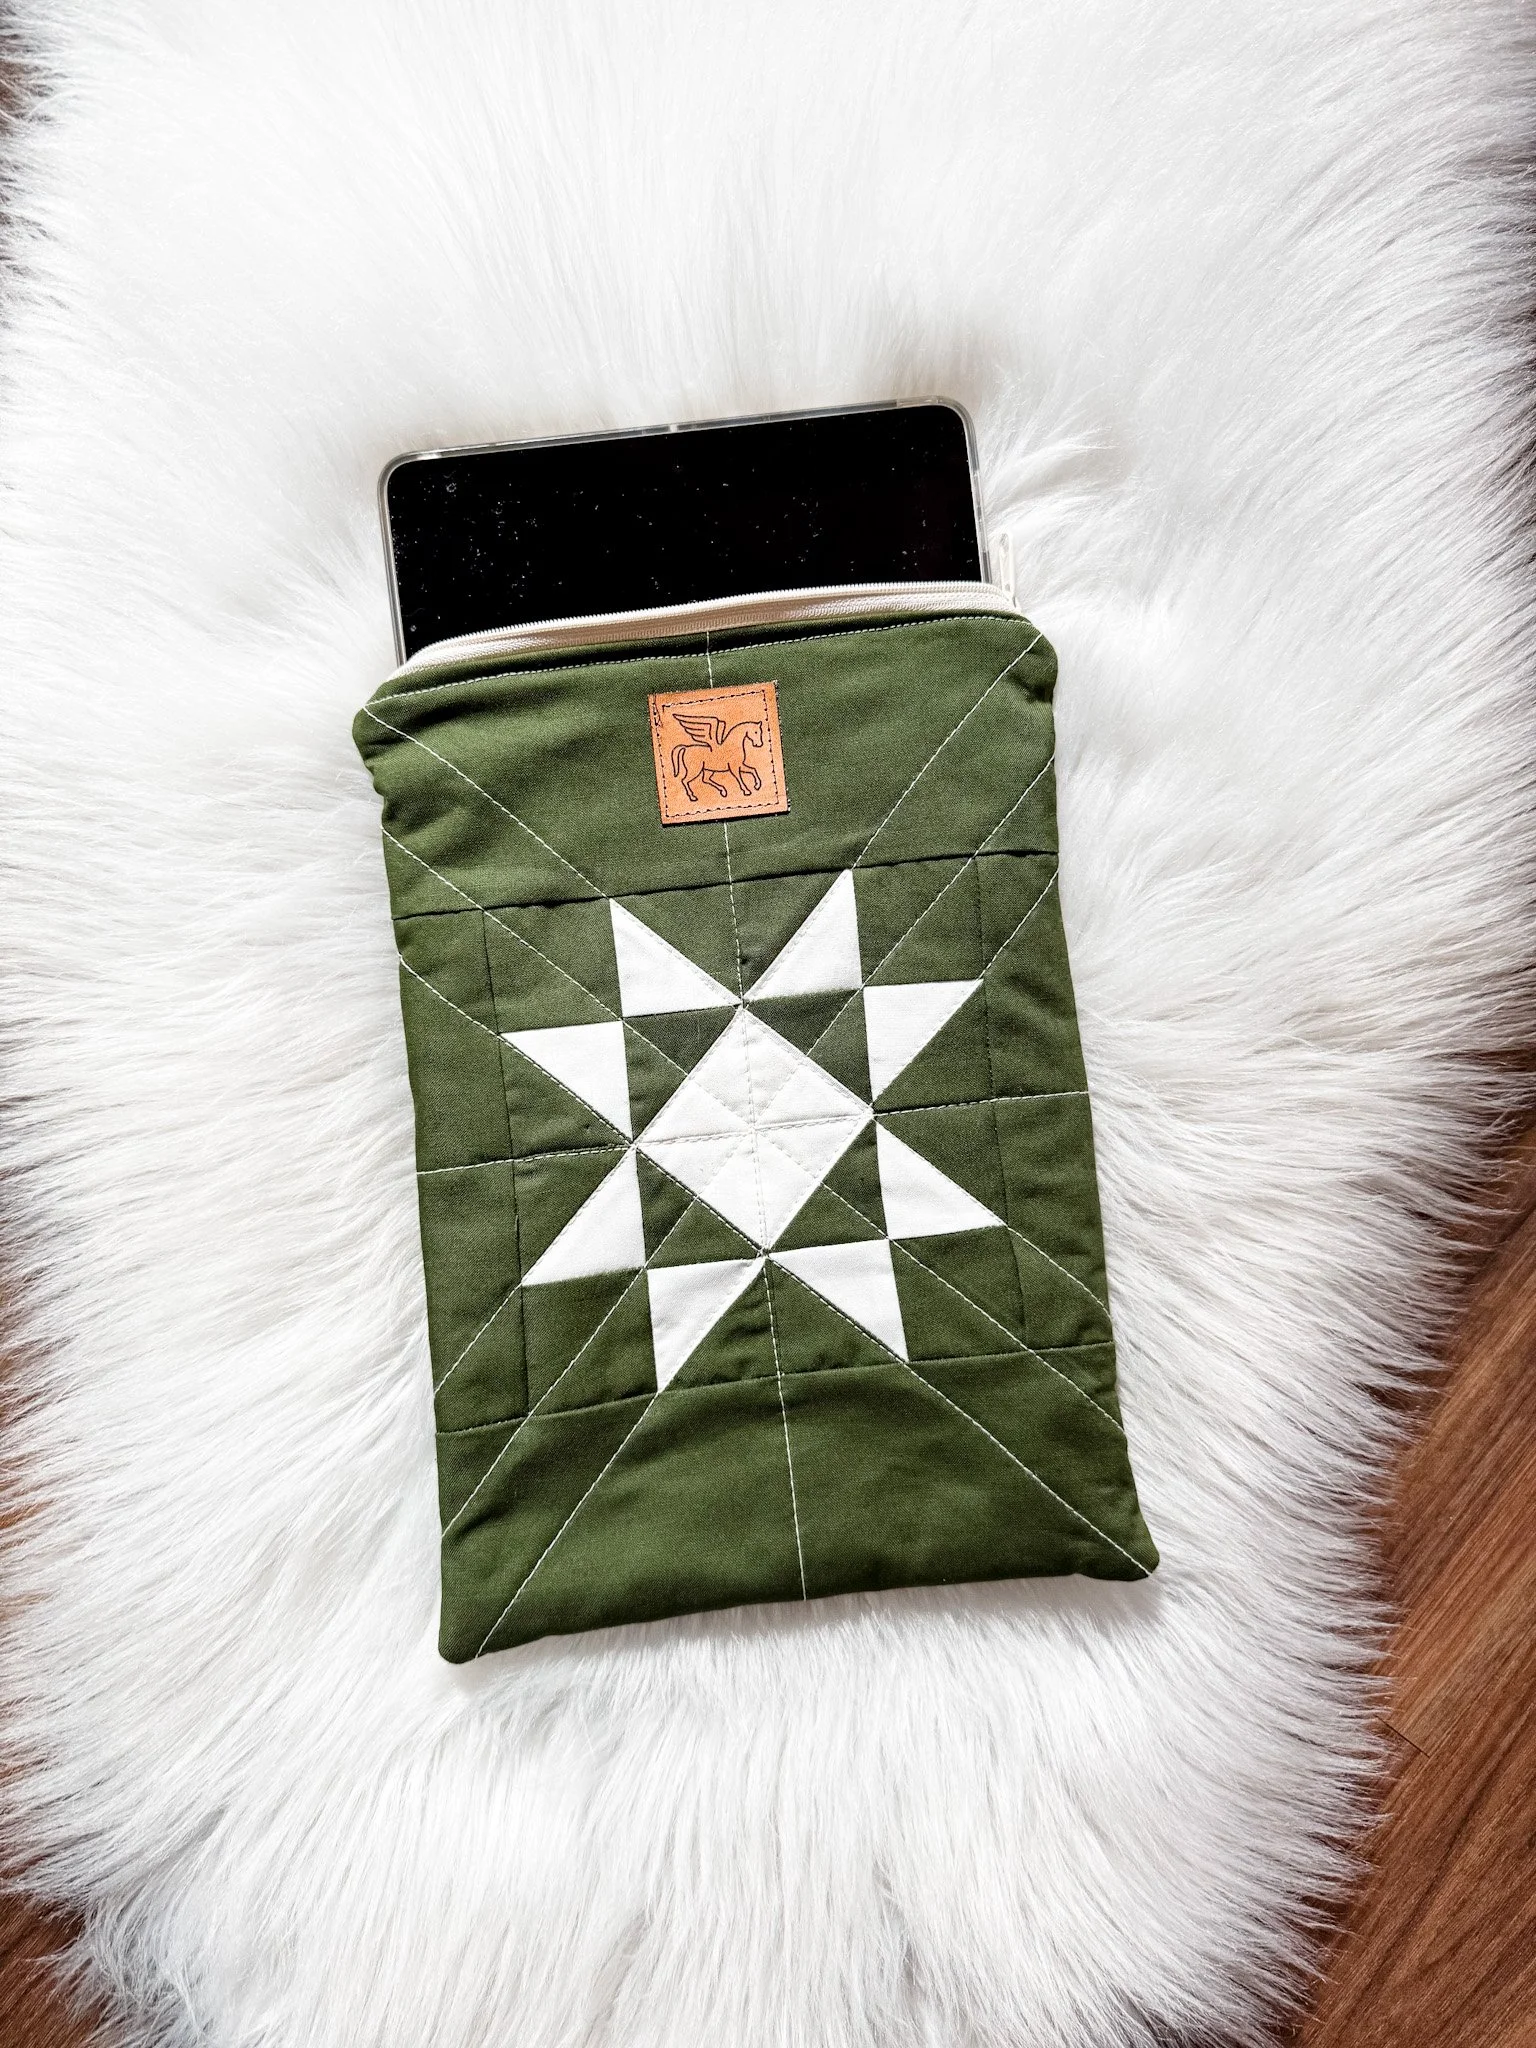
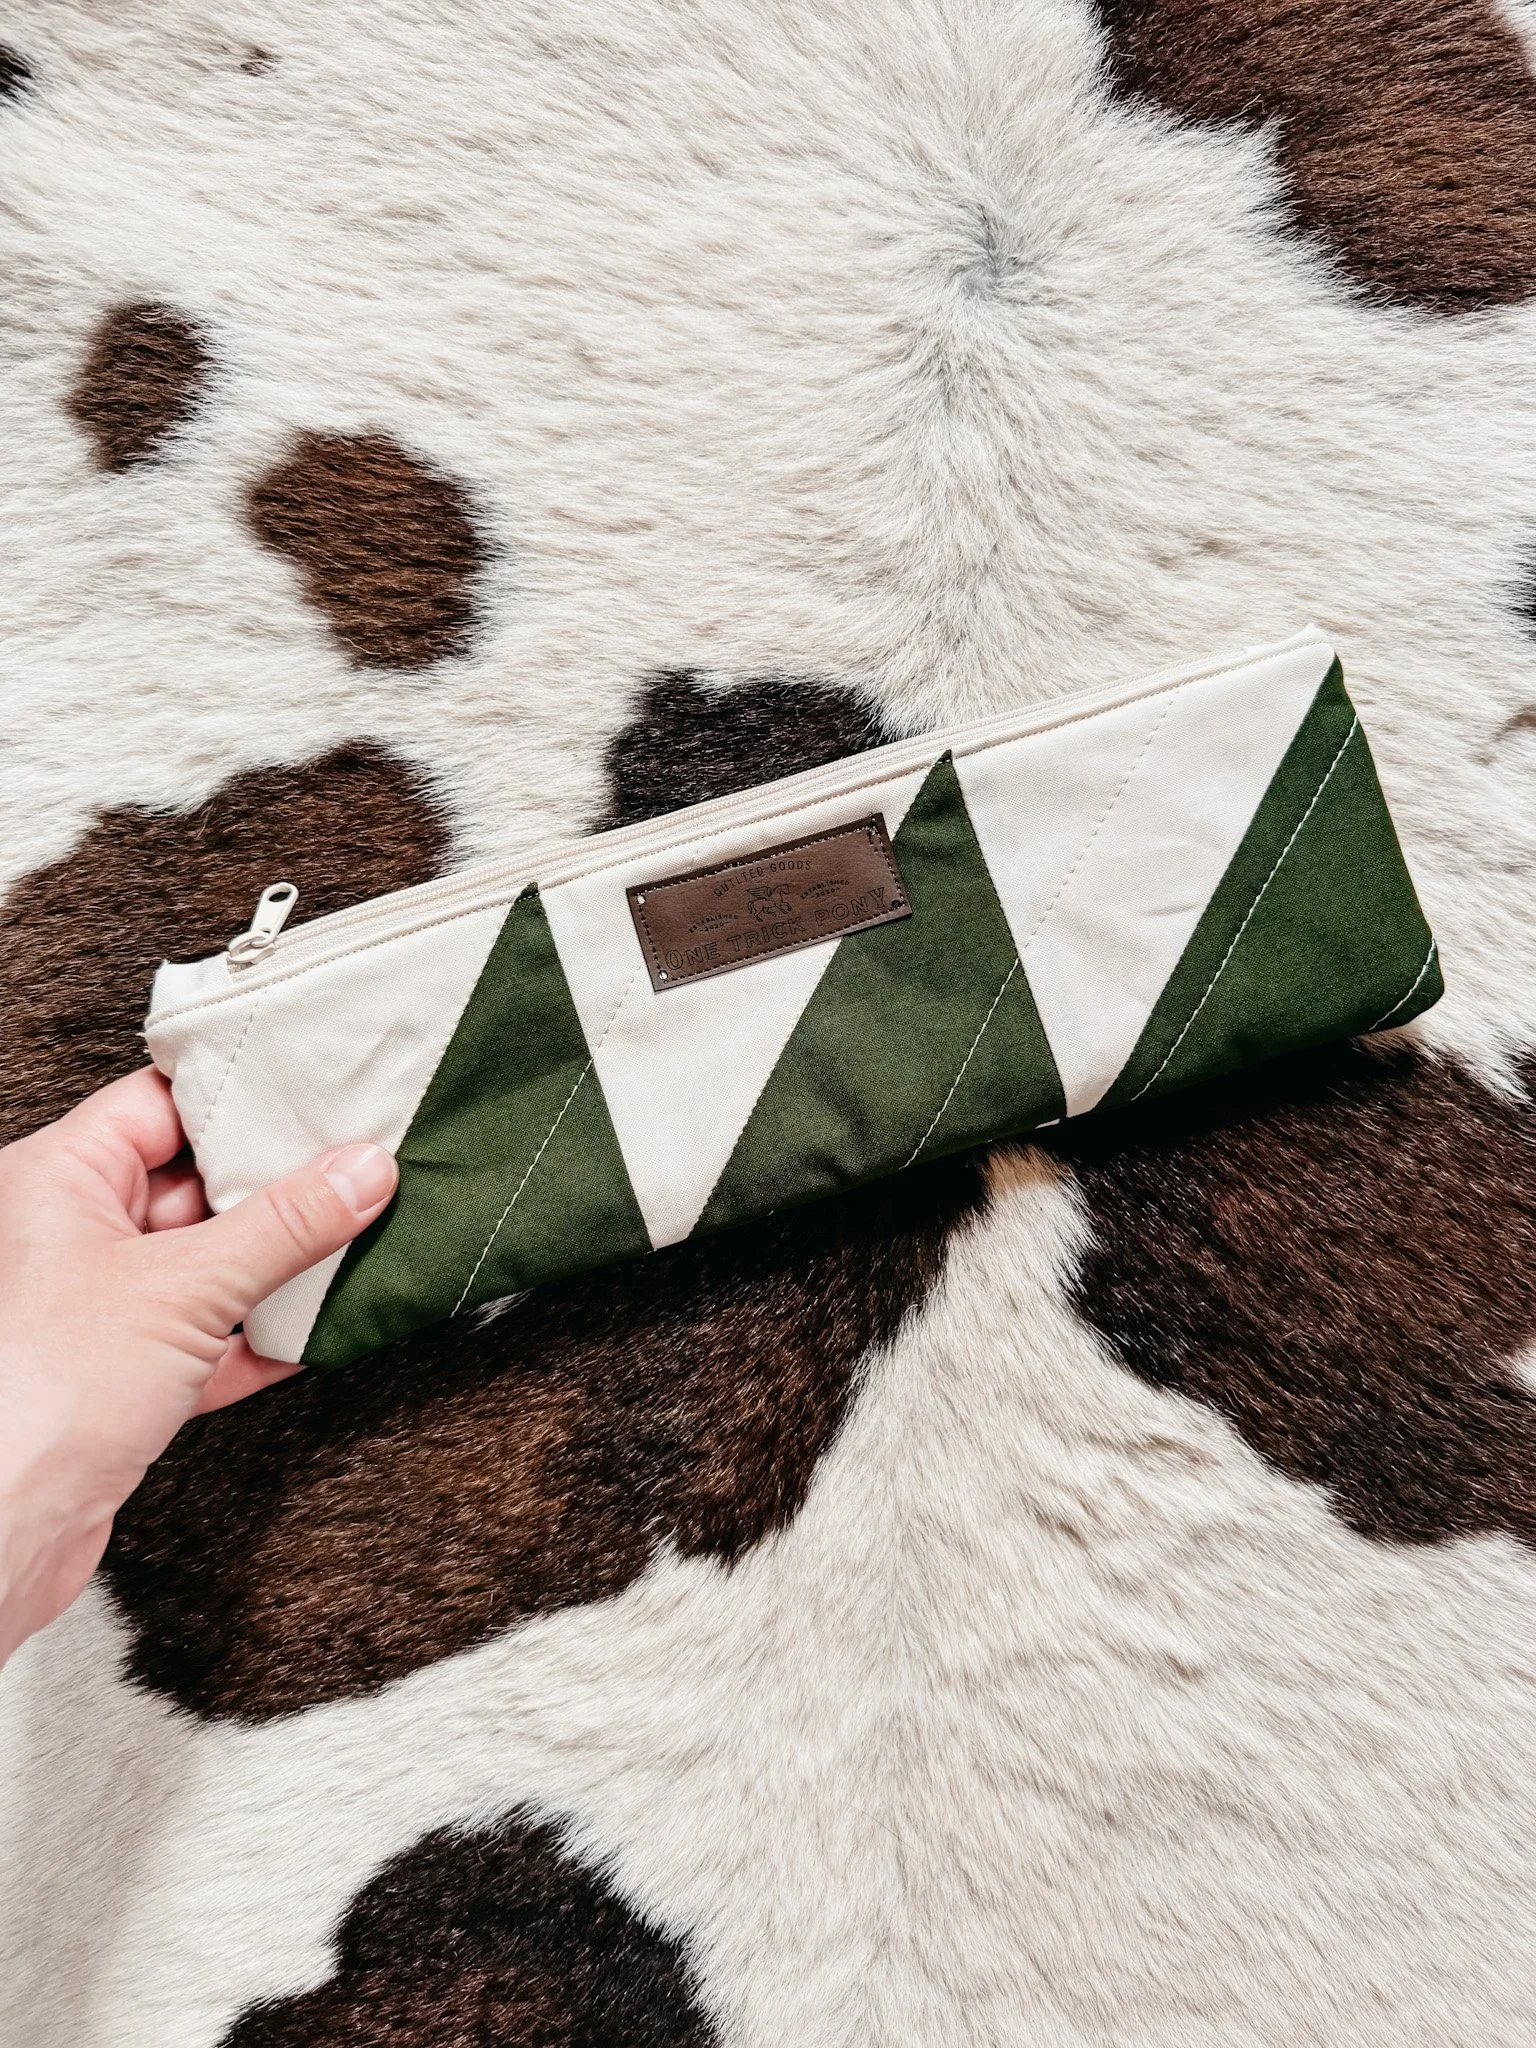
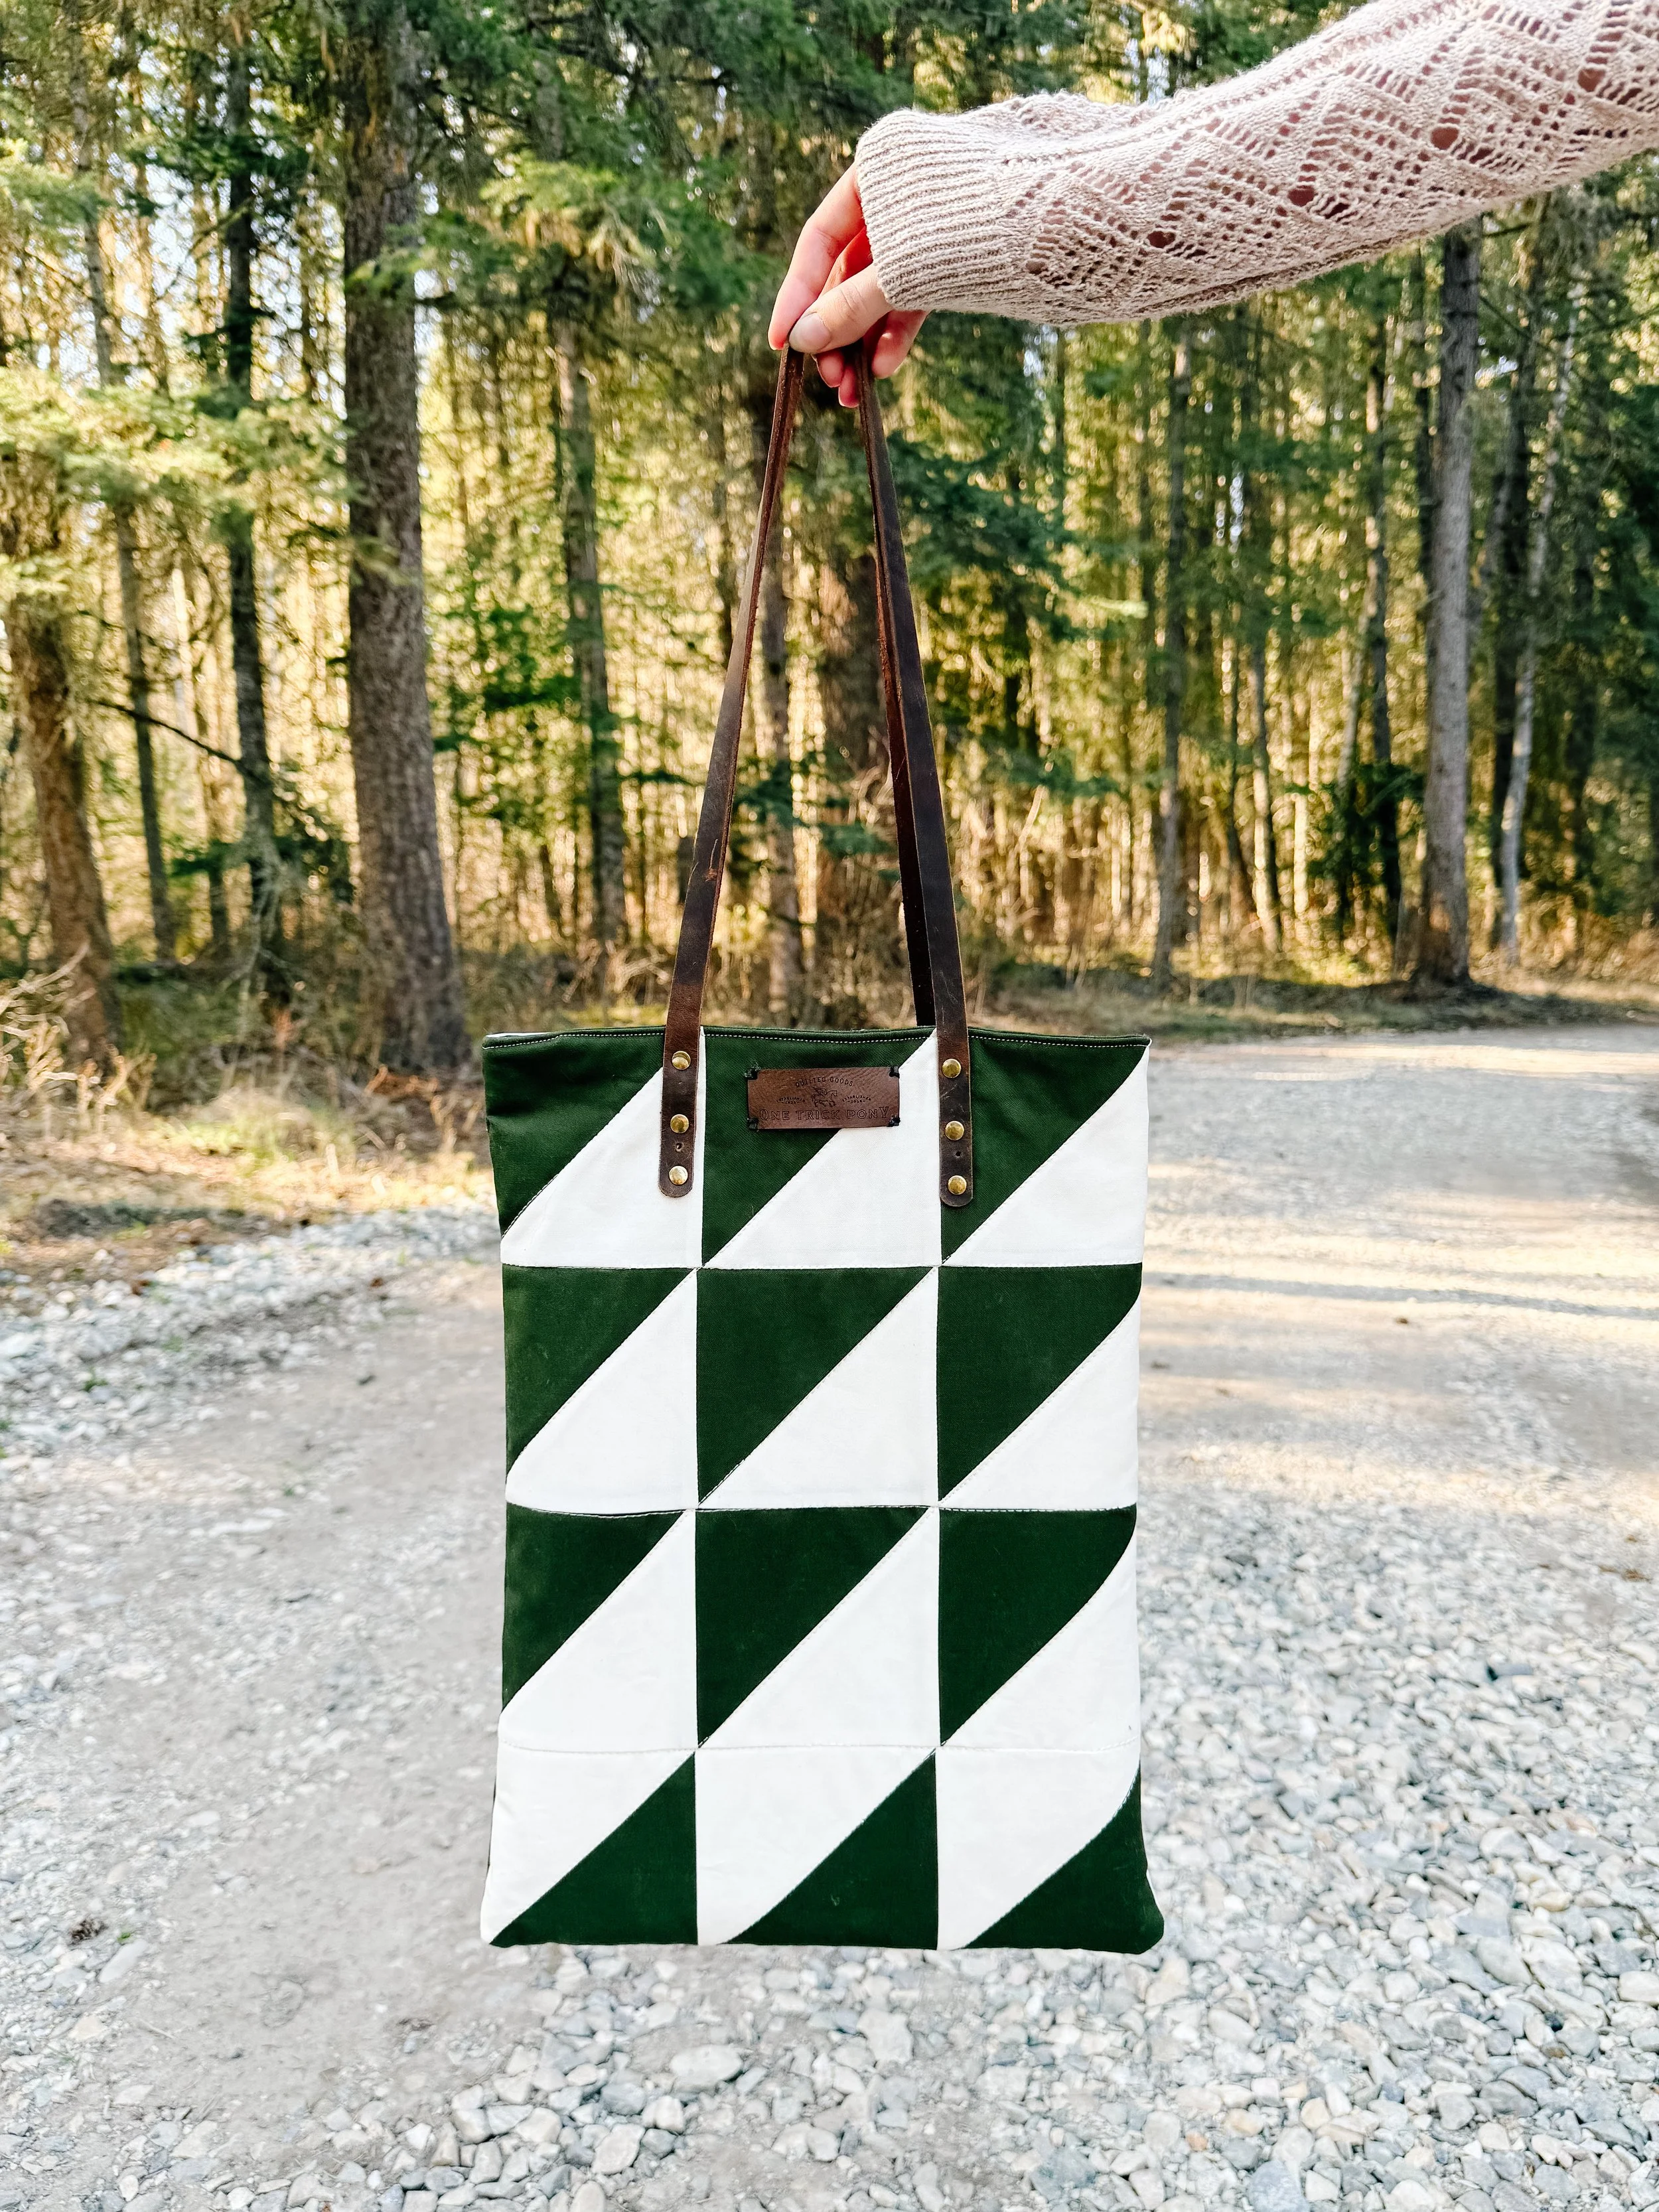
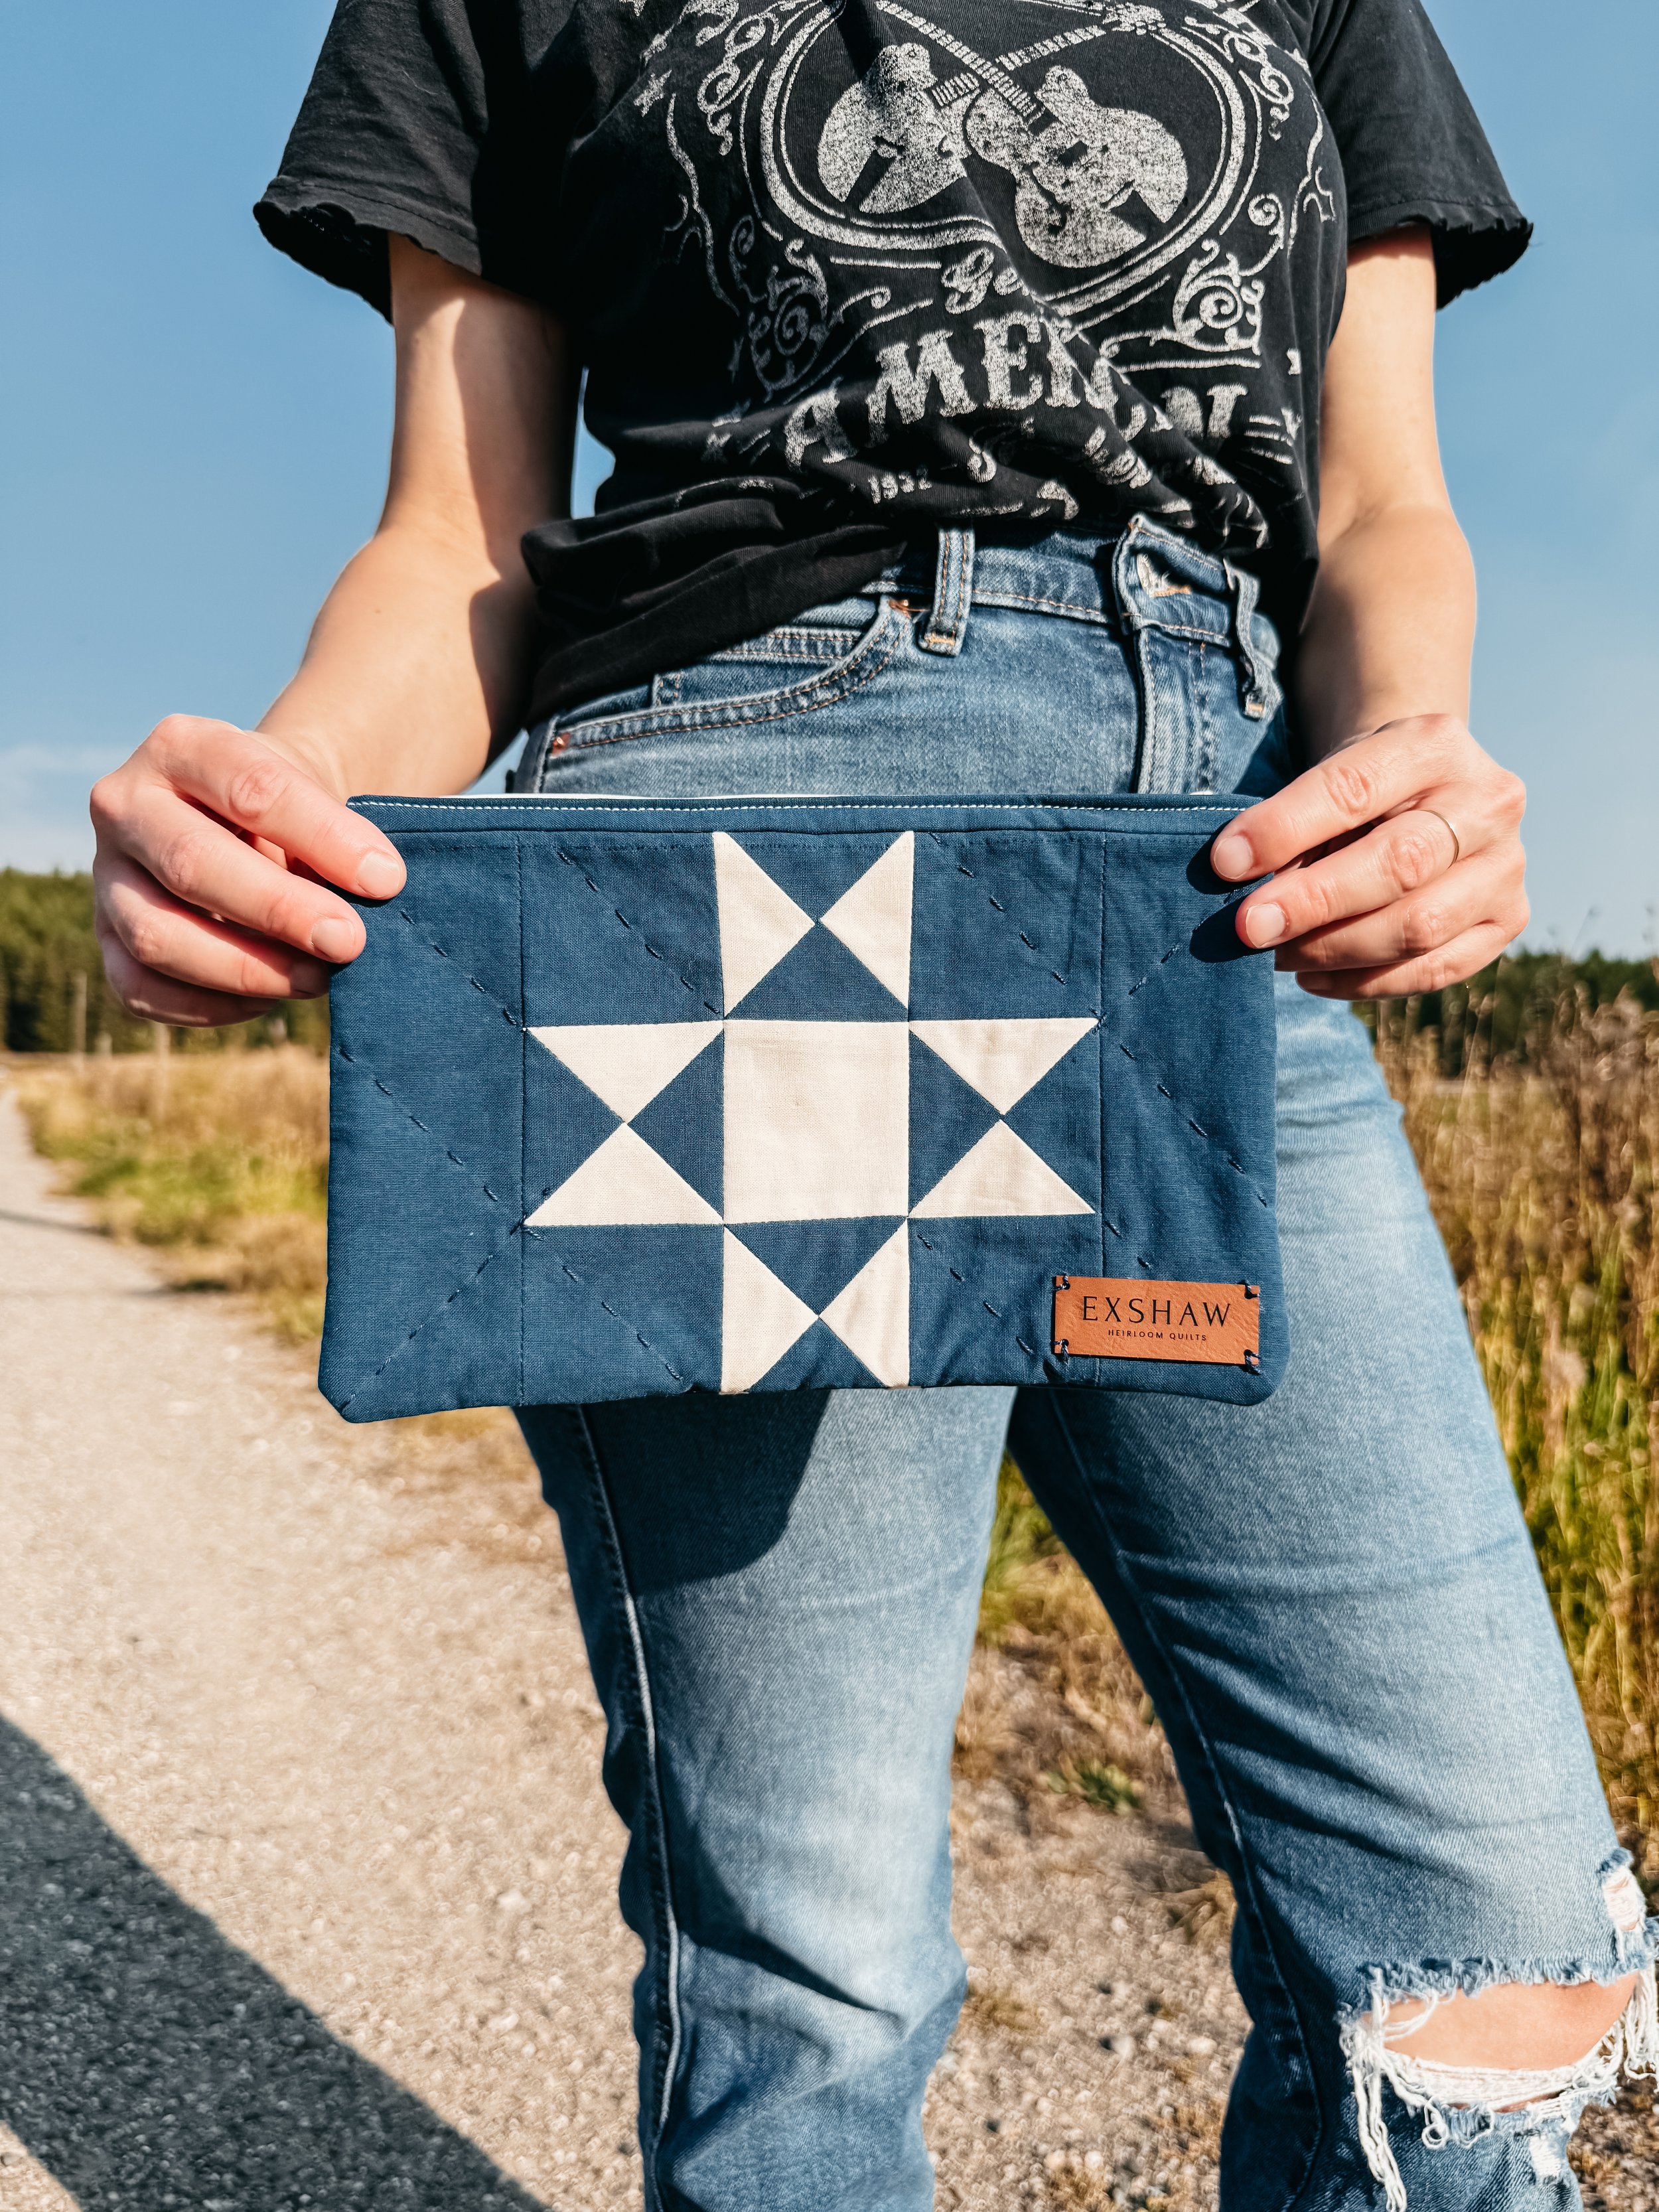
You can find my quilt patterns at exshawquilts.com, finished handmade goods at onetrickponygoods.com, and my appliqué patterns at Thelma Quilts on Etsy.
Thank you so much for joining me in the cabin. I’ll be back next Thursday with another episode of Quilts from the Cabin.
Until then, happy quilting.
XO Kim